Hello Everyone,
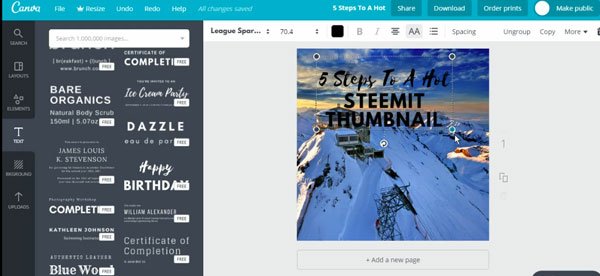
In this tutorial that you may also watch in video format by clicking on the image below, I hope to share with you 5 simple steps that may be used to create a hot or very nice looking thumbnail for Steemit.
I was inspired to make this post after seeing @hopehuggs cool tutorial. Thanks a lot for the idea.

You may definitely use that type of thumbnail for other platforms too or to create a random image. Before even moving forwards, I want to mention that I am not a graphic designer. So, you you do not need to have an eye for design to make this work. Just follow along and implement these steps to get yourself a professional looking thumbnail or image at the end of the process.
Step 1: Getting A Background Image
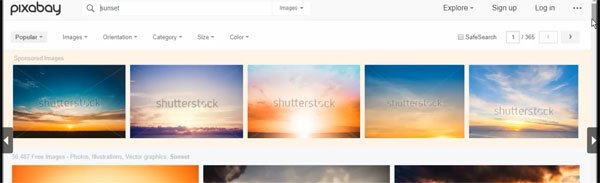
One of the first things we need to make our thumbnail is a background image. It is not a requirement because a background could very well be a color and not an image. However, I prefer images. There are many quality and free images that may be found online. One of my favorite sites to get pictures from is Pixabay. A valuable thing with that site is that many pictures do not require a link back to the author.
Insert a keyword and select an image* that you like. Here, I searched for "sunset" and picked an image that I believed was particularly nice.
Step 2: Select A Design
After getting our image, the next step will be to login on Canva. This site will be the tool that should help us speed up the creation of a professional looking thumbnail. Go to Canva by using a Google Chrome browser and signin with your Facebook account, or Google account or an email to get started.
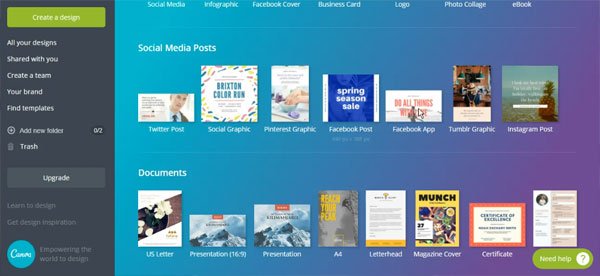
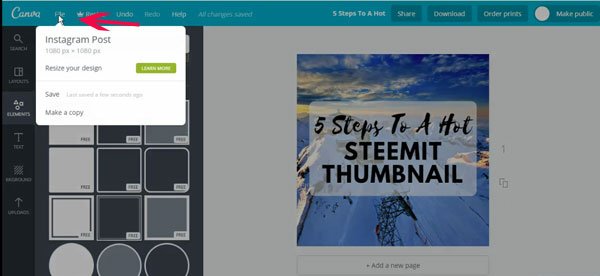
Next, click on "Design" in the top left side of the screen. Doing so will lead you to reach a page with a variety of design templates you may use.
For this tutorial, I picked one of the images under the "Social Media Posts" heading.
Step 3: Upload Our Background Image
Now, we have a design template picked. However, we need to make it our own. The image selected earlier may be a very good item to help us accomplish that. You may start with a design template but end up with something rather unique.
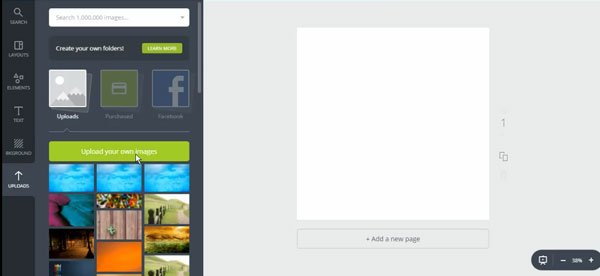
In order to upload our image, click on "Upload" lower in the left sidebar. Then click on "upload your own images". The image should be available for use relatively quickly.
Click on your image after it has been uploaded. Clicking on the image will make it appear in the workspace.
Step 4: Add Some Text
This section is one that may really show how effective Canva is at helping anyone create very nice looking designs in a matter of minutes. We are going to select a text template to add it on top of the background image.
Again, in the left sidebar, look for the heading named "Text". Text is likely to be towards the upper part of the screen (compared to the "Upload" section)
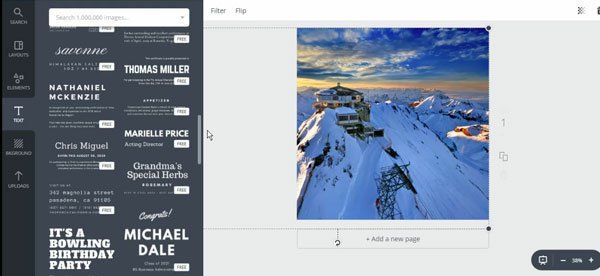
At this point, you may pick a text style that you like. I picked one and it was then placed on top of my image. Once, the text has appeared on the background, we may now edit it. Click on the text located above your background image on the workspace to be able to modify what is written.
Step 5: Adding A Shape/Element
This step is not really necessary. In fact, depending on the background you have selected or your taste, you may already have a nice looking image by the end of step 4. However, I had selected an image that somewhat made it harder to read the text located on top of it.
In order to make my text more visible, I used an Element. Elements are located in the left sidebar. click on "Elements" to bring up a selection to choose from.
I picked a rounded edge shape for this tutorial. That shape was placed on the image I had in the workspace.
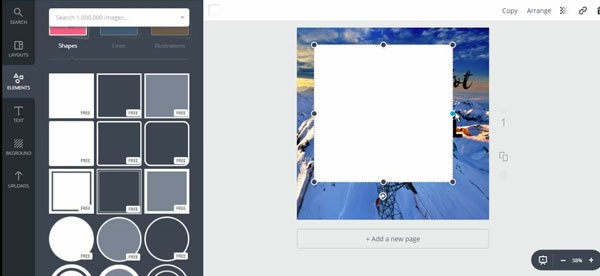
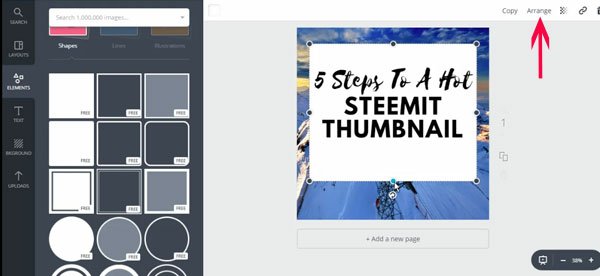
After the shape I selected was placed on top of my image, I moved it around and changed its dimensions to cover the text I had initially. As you move your cursor on top of an image or text or shape inside your workspace, look at the mouse cursor image. It may change and give you the ability to perform different editing tasks. I also moved the shape behind the text by clicking on the "Arrange" link and then "Back".
Once, the shape was behind my text, I decreased its opacity to be able to see the background I had placed earlier. To do that, I clicked on the checkered icon near the top right corner of the workspace. This permitted me to increase the level of transparency of the image.
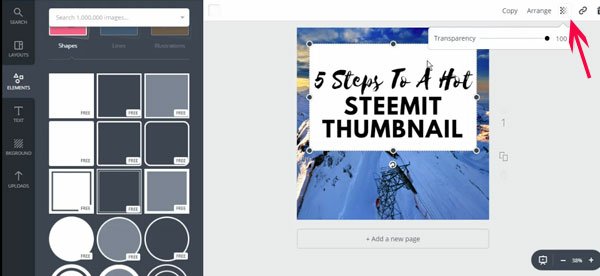
After you have picked a level of transparency for your shape that you are comfortable with, you are done. Save your image.
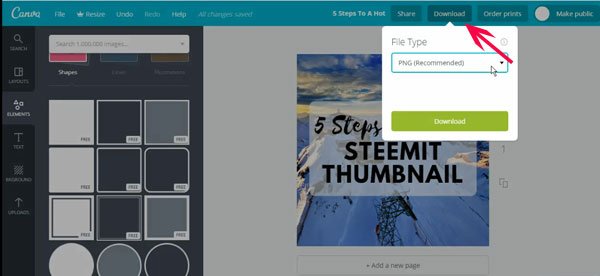
Then download your image.
I hope this tutorial will be helpful and help you create hot or very nice looking thumbnails fairly fast and for free.