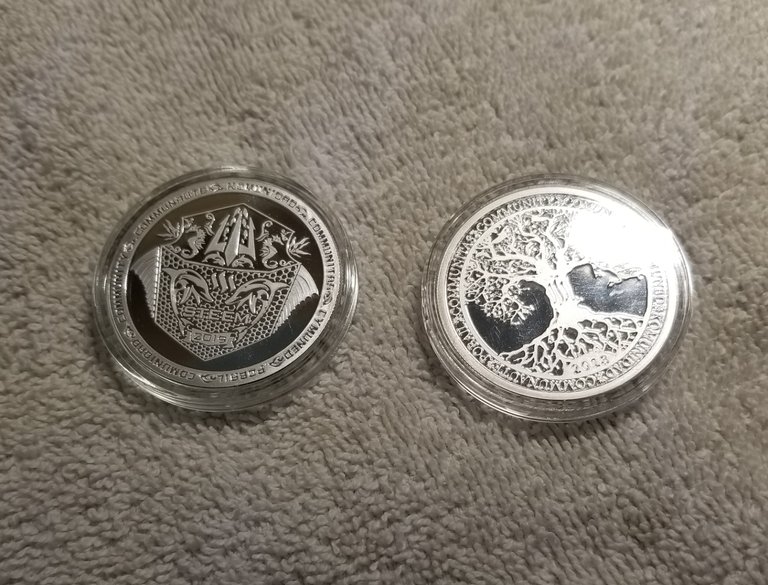
Why, right? I mean they already look good. They are however very detailed and sometimes hard to read and make out.
Now if you are gonna try this at home ( which I recommend) then make sure you do it in the garage or outside, do not, I repeat do not do this in the house.
Now 1st you will need Liver of Sulphur (gel form) yes it smells as bad as it sounds.
Next you will need a bowl of HOT water, not boiling but close to it.
You will also need a cup of cold water with 2 teaspoons of baking soda mixed into the water.
So lets get started, once you have your hot water mix in a small amount ( about a teaspoon) of the Liver Of Sulphur. The water should be a dark Tea color. Go ahead and drop your silver in the water.
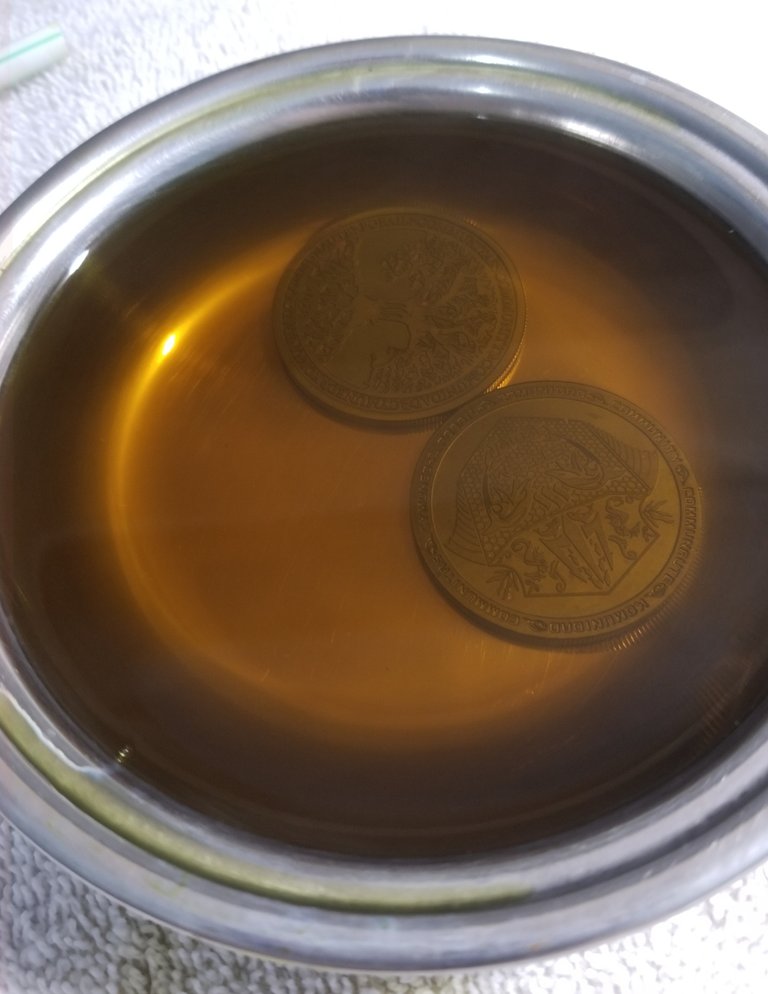
Your silver will stay in the Liver of Sulphur bath from 1 minute to 5 minutes all depending on the darkness you want your silver to turn.
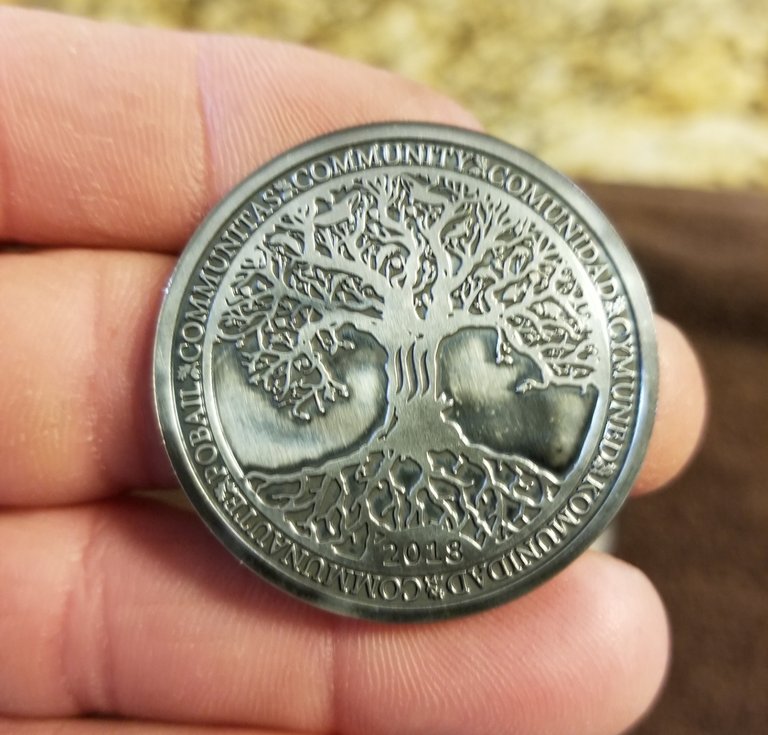
That picture showed the round at 3 minutes and 30 seconds. I will let them go to 4 minutes and 30 seconds.
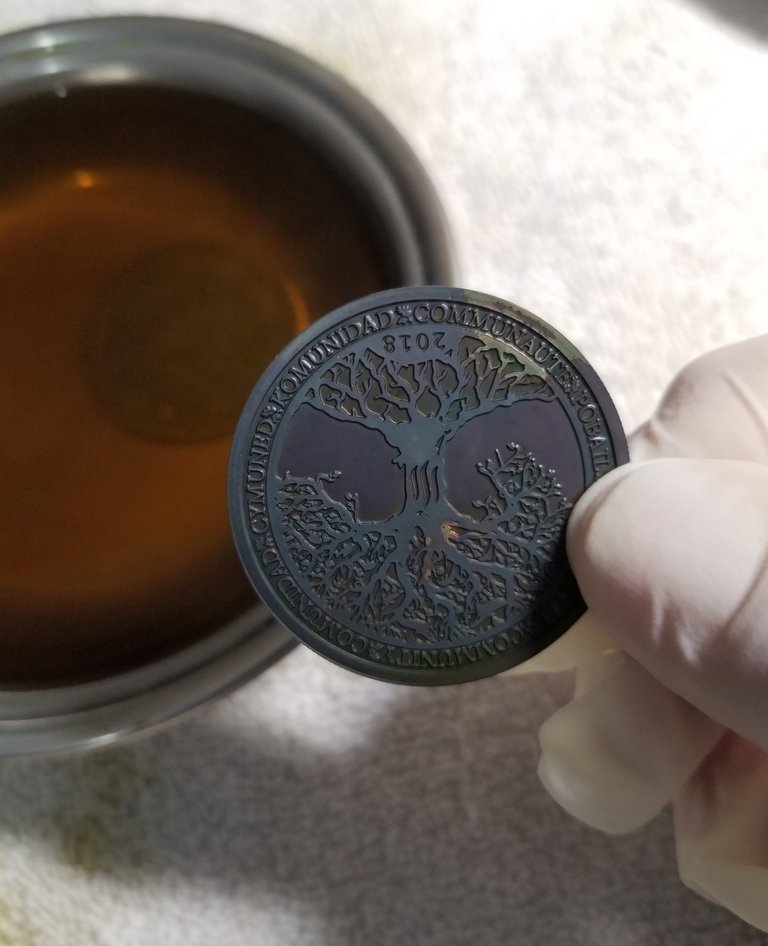
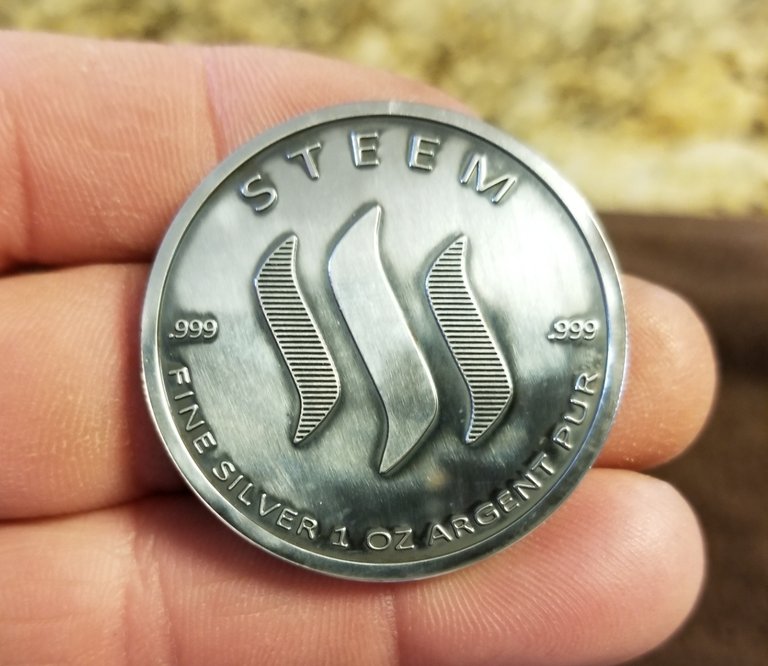
So as you can see the have some significant toning to them now. Here take a look at the back of the rounds.
Now you will need to place your silver in the cold baking soda water, this stops the toning process, Do not skip this step.
Now you will need to polish them with a liquid polishing compound and a polisher, I used a Dremel with a polishing wheel.
Now before I show you the result, you need to know that before today, I had never antiqued any piece of silver. So please be easy on the judgment.
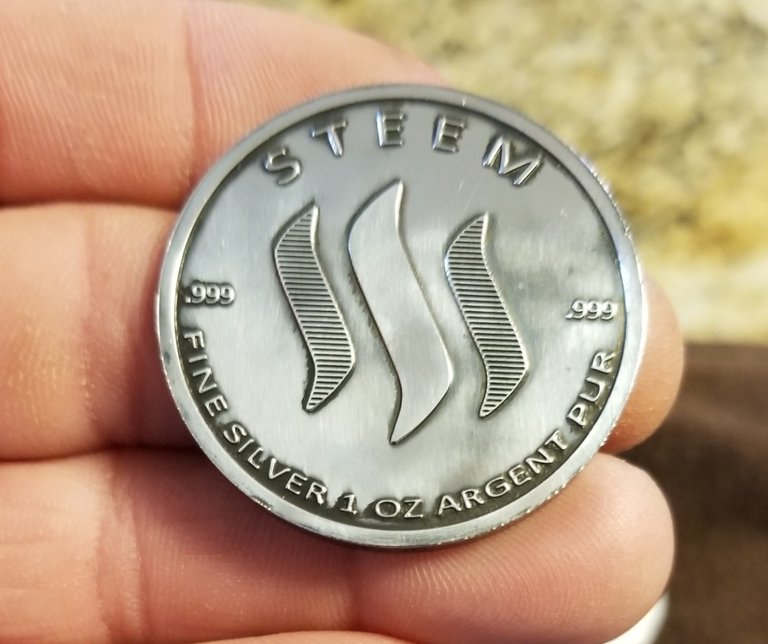
First lets take a look at the 2019 steem round, now I wasn't really impressed with the way this one turned out, did a little bit to much polishing.
Here is the back.
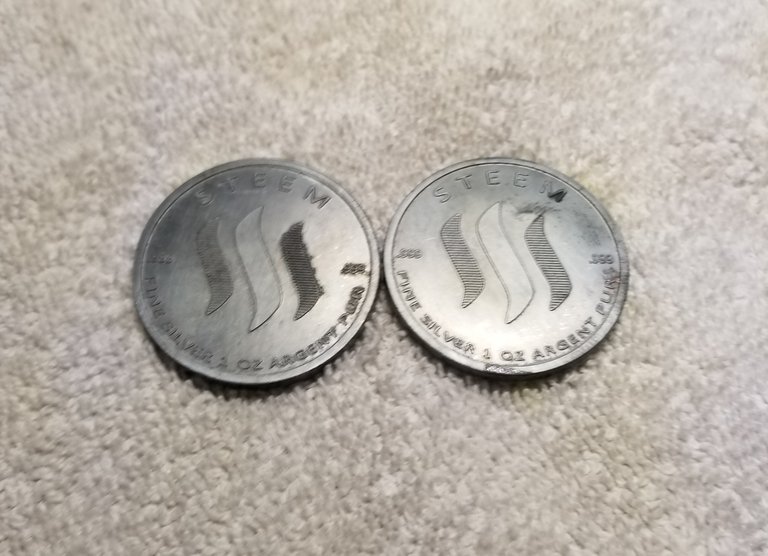
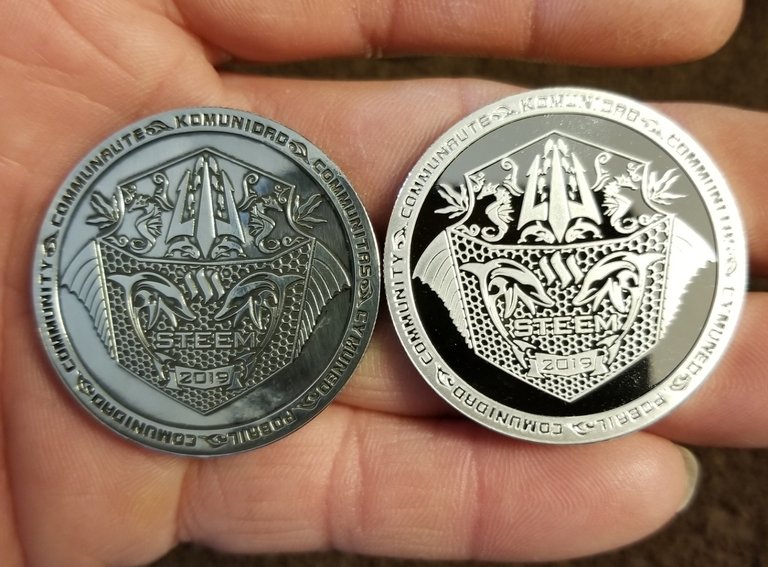
Now here it is side by side with a normal 2019 round
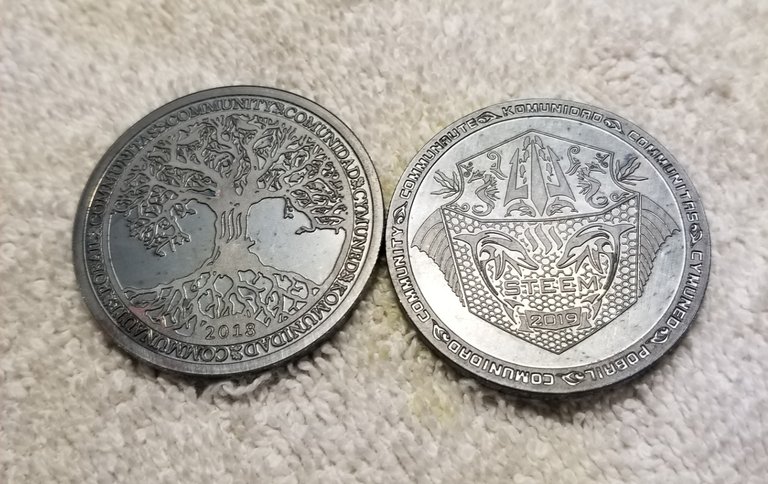
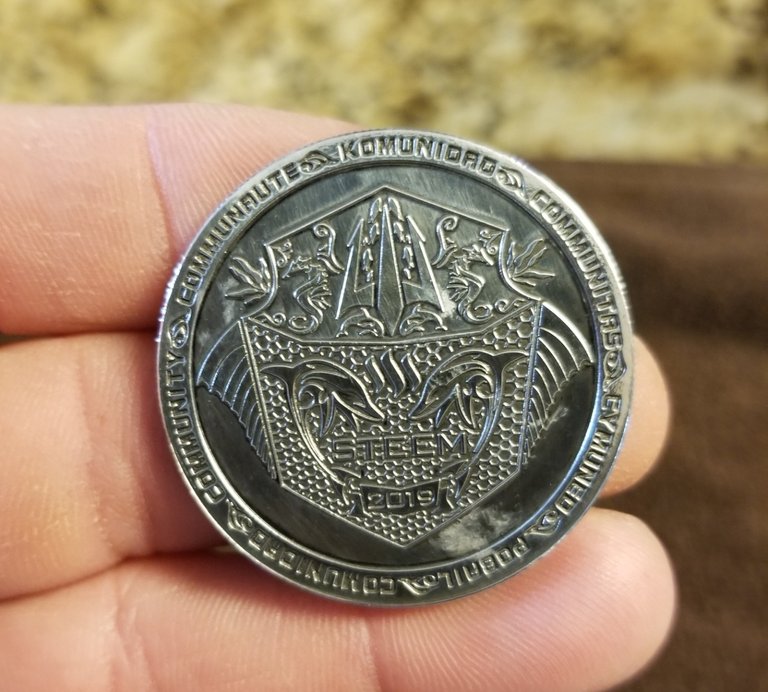
Now lets take a look at the 2018 Steem silver Round, now in my opinion this one tunred out much better.
Here is the back of that round.
Now here it is next to a normal 2018 steem round.
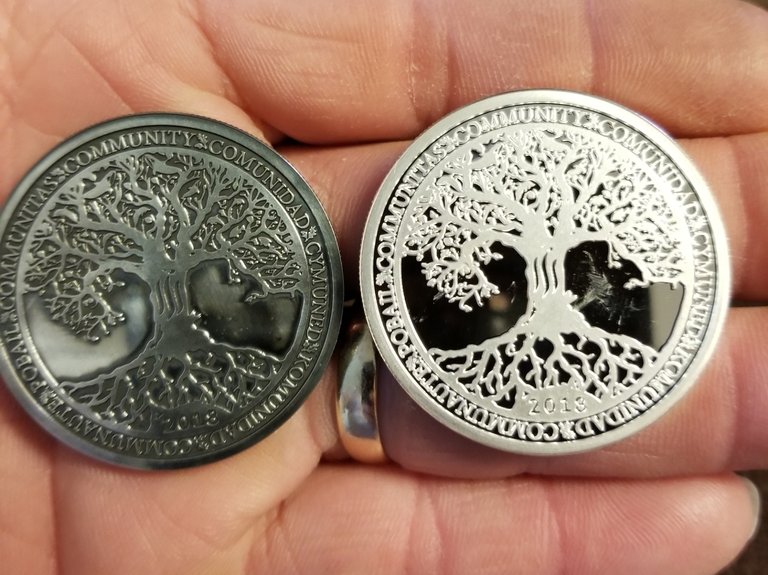
The detail is clear when the round has been antiqued.
All in all this project took me roughly 30 mins. It was kinda cool to see it in its stages.
So go ahead and order some Liver of Sulphur and give it a try.
Thanks for stopping by!!
Keep stacking!!
My wife does acid etching of copper and brass with feric chloride and this is VERY similar to the process. If you want to keep certain areas from tarnishing you can try to use Sharpie pen on the metal before dunking. The Sharpie wipes off with alcohol afterwards. Could be super useful for the raised areas of the coin.
⬆️ Thats a very good tip and something I didn't known.
Intresting, I would have never thought about the sharpie.
That's very impressive @ray!!!🤗
I like the look, but I don't know if I have the nerve to antique My Steem Silver Round....I only have one.....at the moment!!😇
I understand, if you only have one, you better leave it be for now.
Looks sooo Cool. Good Luck on your Journey, UPVOTED!!!
Thanks
Fair play, that really does make the detail in the 2018 "POP". Makes it so much easier to see the details in the branches.
It does! Appreciate ya Mr. @welshstacker!
@raybrockman, what great end result. I really do love the antique finish on silver coins. I have a few antiqued coins produced by The Perth Mint. I have never tried it at home though, but thanks to your helpful guide I might have to give it a go. Thanks.
Do you know what happens if, instead of a shiny coin/round you use a toned one? Will it equalize the toning?