¡Hola, chicos!
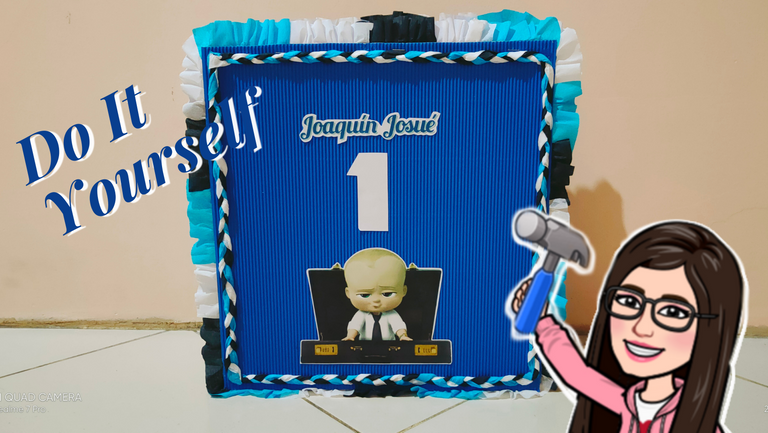
Hoy, quiero enseñarle a hacer una piñata sencilla y fácil, con pocos materiales y que les puede sacar de apuros a la hora de una fiesta.
Por lo general yo hago las piñatas con cartón 2 en kilo, esas las hago para vender, ya que son más duras y ende aguantan más palo jajaja.
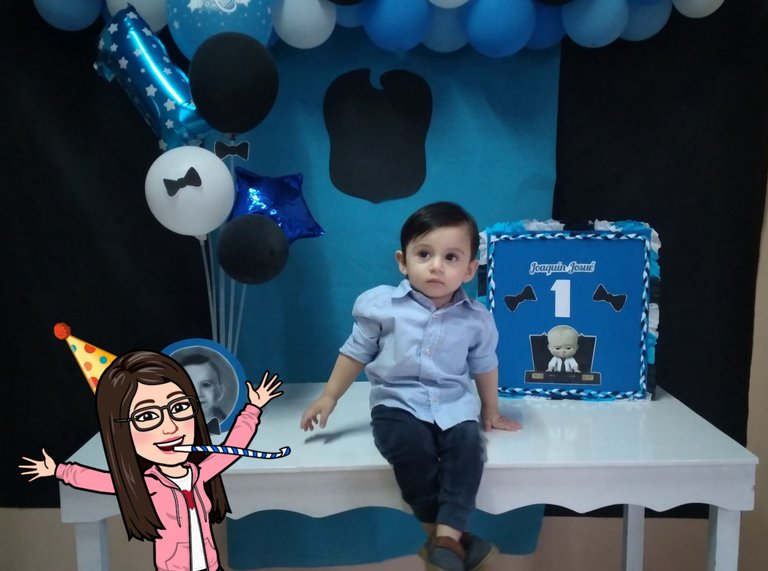
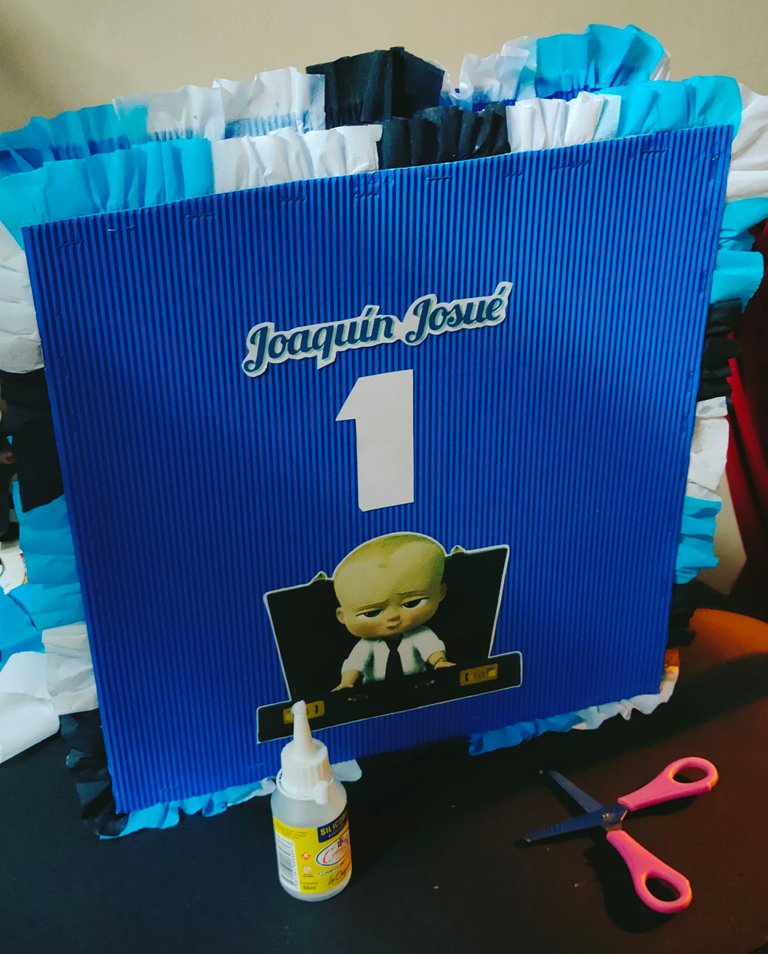
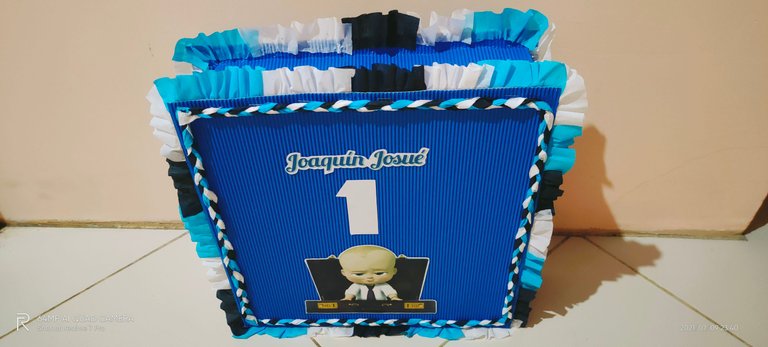
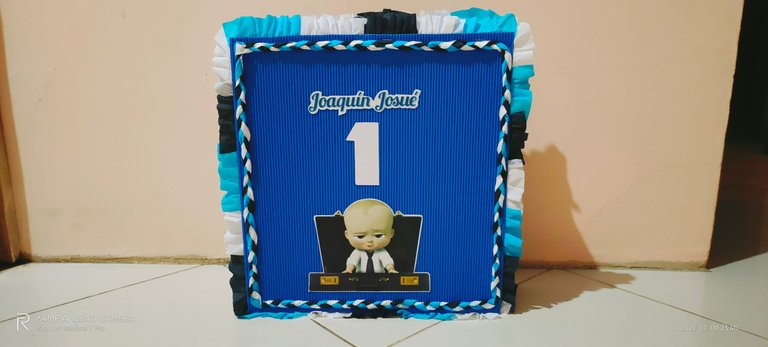
En este caso hice una sencilla, más que todo para decoración y fácil de romper ya que solo era para mis tres niños, por la celebración del 1er año del bebé Joaquín.
Hi, guys!
Today, I want to show you how to make a simple and easy piñata, with few materials and that can get you out of trouble when it's time for a party.
I usually make piñatas with cardboard 2 in kilo, those I make to sell, as they are harder and can withstand more stick hahaha.
In this case I made a simple one, mostly for decoration and easy to break as it was only for my three children, for the celebration of baby Joaquín's 1st birthday.
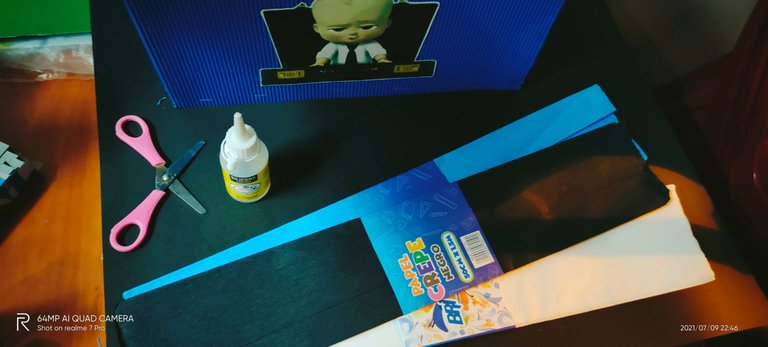
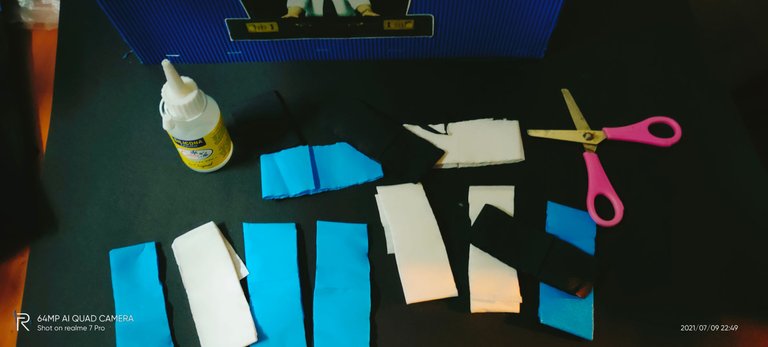
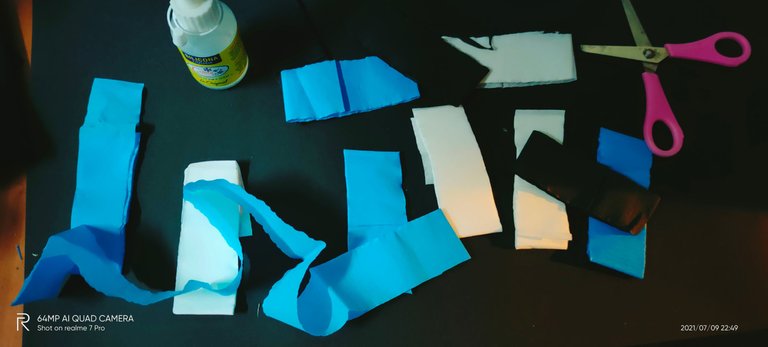
Materiales a Utilizar:
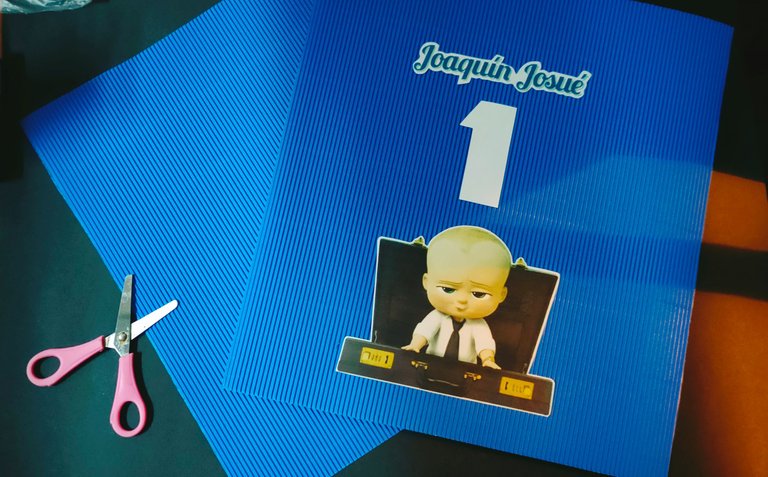
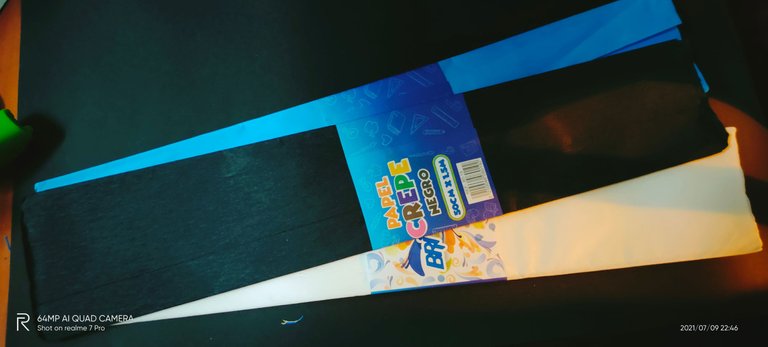
▪︎2 Pliegos de cartulina corrugada del color de tu preferencia.
▪︎1 silicon liquido
▪︎1 grapadora
▪︎Papel Crepe de los colores que prefieras. Yo utilicé 3 colores distintos.
▪︎Tijera
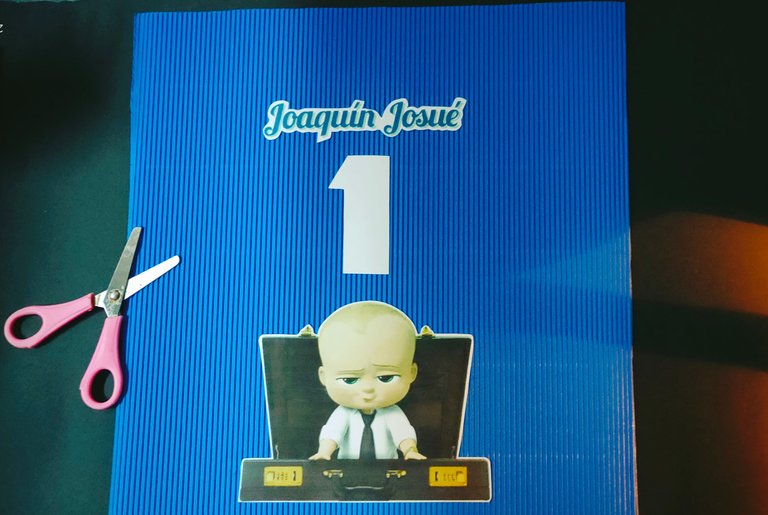
▪︎Dibujo de la temática del cumpleaños impresa.
Materials to Use:
▪︎2 Sheets of corrugated cardboard in the colour of your choice.
▪︎1 liquid silicone.
▪︎1 stapler
▪︎Crepe paper in the colours of your choice. I used 3 different colours.
▪︎Scissors
▪︎Drawing of the birthday theme printed out.
Decoración hecha por mí, esta imágen ya fue utilizada antes en mi blog / Decoration made by me, this image has been used before in my blog.
Paso a Paso:
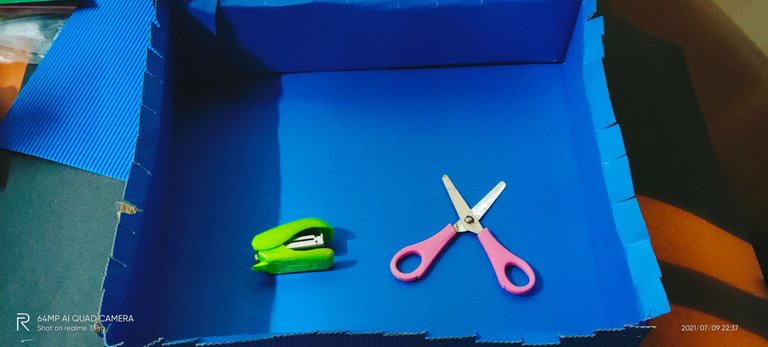
▪︎Recortamos 2 bases cuadradas con la cartulina corrugada, del tamaño de nuestra preferencia y pegamos nuestra el dibujo que hemos impreso sobre la temática que deseamos.
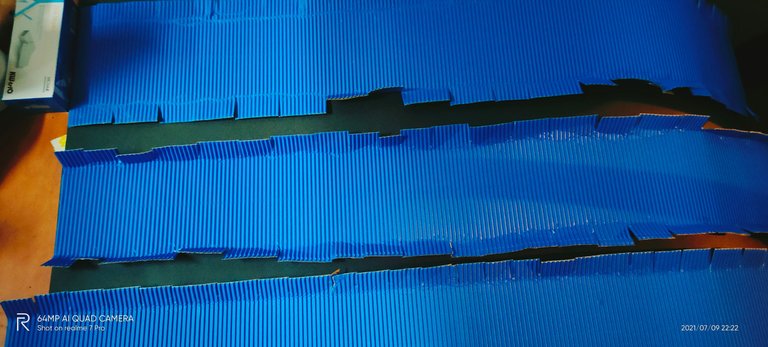
▪︎Cortamos dos o tres cintas de 15cm de ancho o dependiendo del grosor que deseen tenga su piñata.
Tips: Tome en cuenta que debe contar 1.5 cm de cada lado para el doblé.
▪︎Doblamos las orillas de las cintas y cortamos dejando espacios para que pueda hacerse mas fácil el doblé. Debo aclarar, que al usar ese tipo de material este proceso es más complejo. Con el cartón 2 en kilo es mucho más fácil.
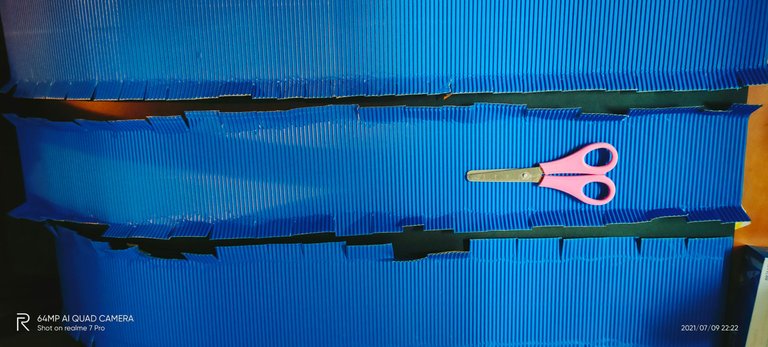
▪︎Con la ayuda de la grapadora, pegamos las cintas a los bordes de nuestros recuadros, como lo indica la imágen. Con las puntas de las grapas hacia la parte de a dentro, para mantener la estética.
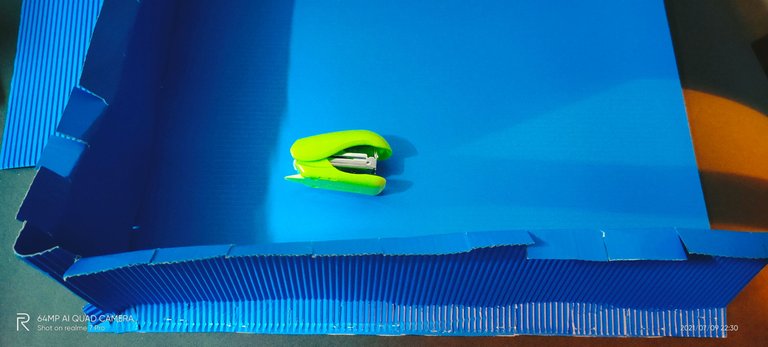
▪︎Hacemos esto, primero con un lado y luego con el otro, como si de colocar una tapa se tratase.
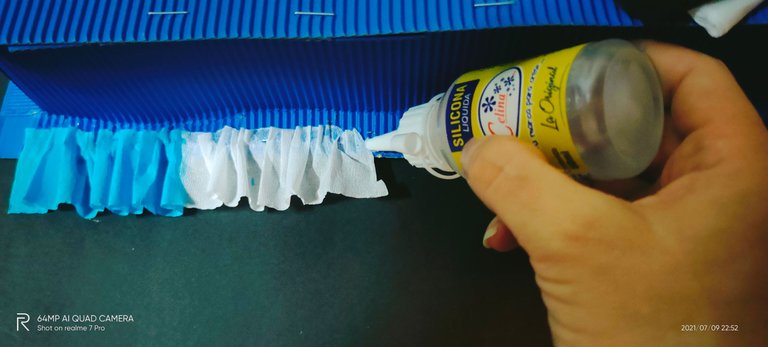
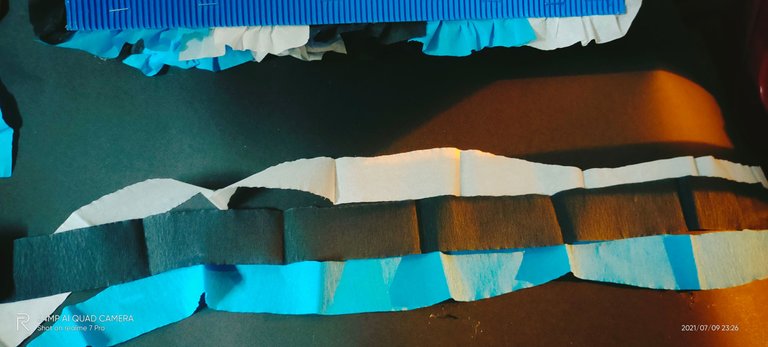
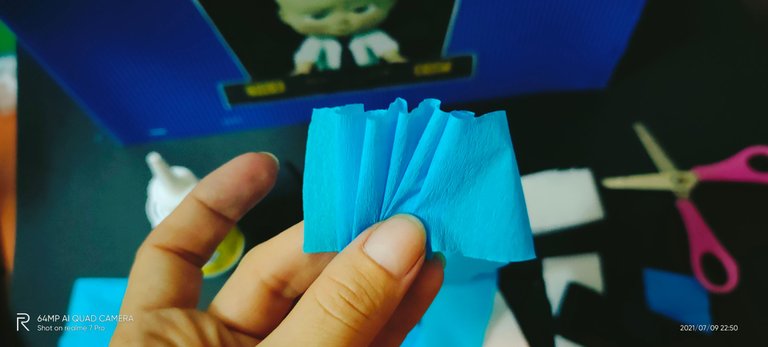
▪︎Una vez realizado el proceso por completo. Tomamos el papel crepe, de los colores que hallamos elegido para cortar unas cintas y comenzar a decorar nuestra piñata.
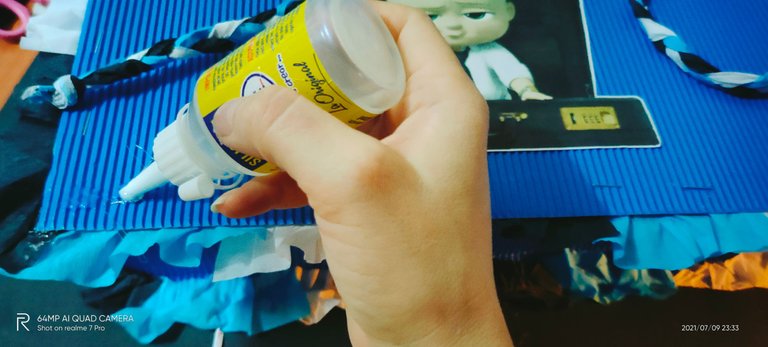
▪︎Con la ayuda del silicon en frio, también puedes utilizar silicona caliente, solo debes tener cuidado en no quemarte, ya que usaremos bastante la ayuda de nuestros dedos.
▪︎Vamos a ir pegando por la parte de adentro l cinta, como haciendo una especie de falda e intercambiando los colores, si así lo deseas.
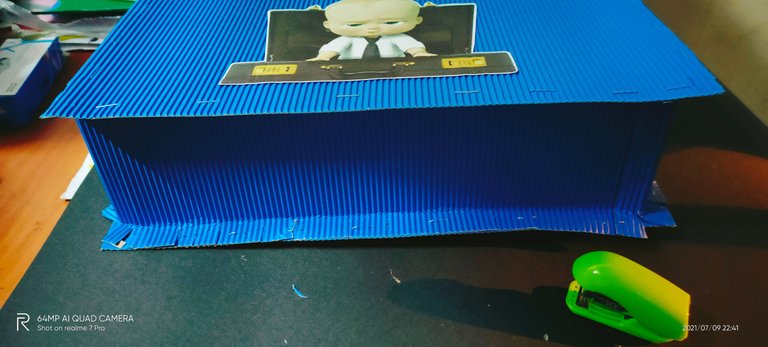
▪︎Vamos a repetir este proceso una y otra vez, hasta haber cubierto toda la parte de arriba (delante) y la parte de abajo (atrás) de nuestra piñata.
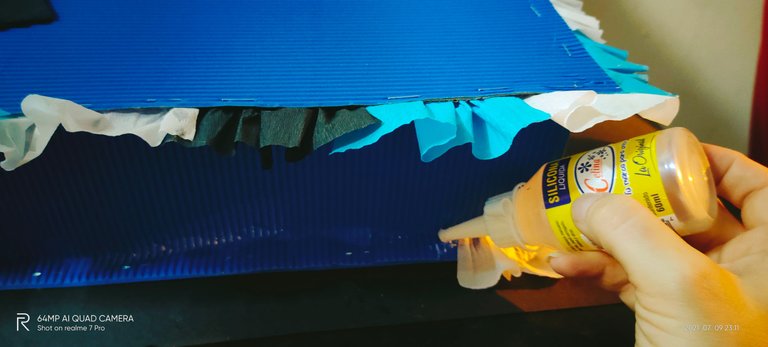
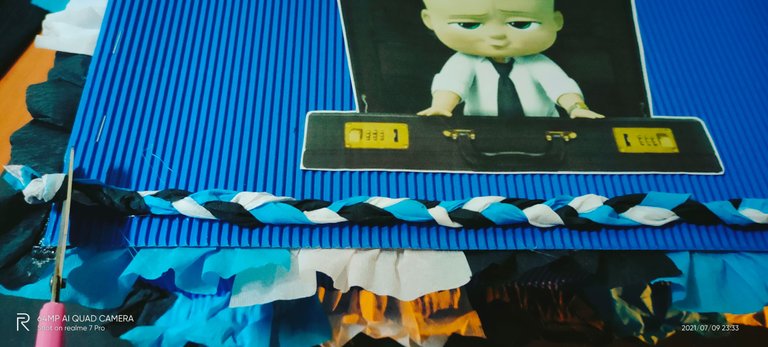
▪︎Una vez terminado este proceso y como observan en la imágen, aún se ven las grapas con que sellamos nuestra piñata, así que ahora con unas cintas de papel crepé, vamos a cubrir esos bordes.
▪︎Cortamos las tres cintas y hacemos una trenza, es decir, tejemos con mucho cuidado de no enredar las cintas y de no romperlas. Luego de esto, esa trenza la pegamos con el silicon a nuestro borde cubriendo las grapas.
▪︎Una vez listo este proceso, abrimos un agujero en la parte de atrás para meter en l piñata, los dulces y jueguetes.
Tips: Recuerda que esta es una piñata sencilla y por el material no puedes colocarle mucho peso. Luego les mostraré otro tipos de piñatas para cosas más pesadas o más caramelos.
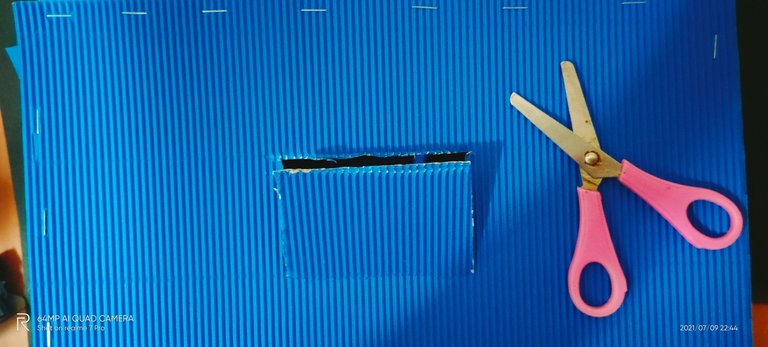
▪︎Como muestra la imágen, hacemos el agujero con la ayuda de tijera y así quedaría lista nuestra hermosa piñata.
Step by step:
▪︎Cut out 2 square bases with the corrugated cardboard, the size of your choice and glue our the drawing we have printed on the theme we want.
▪︎Cut two or three 15cm wide ribbons or depending on how thick you want your piñata to be.
Tips: Note that you need to count 1.5cm on each side for the fold.
▪︎Fold the edges of the ribbons and cut them leaving spaces to make the folding easier. I should point out that using this type of material makes this process more complex. With the 2 in kilo cardboard it is much easier.
▪︎With the help of the stapler, we glue the ribbons to the edges of our squares, as shown in the picture. With the tips of the staples towards the inside, to maintain the aesthetics.
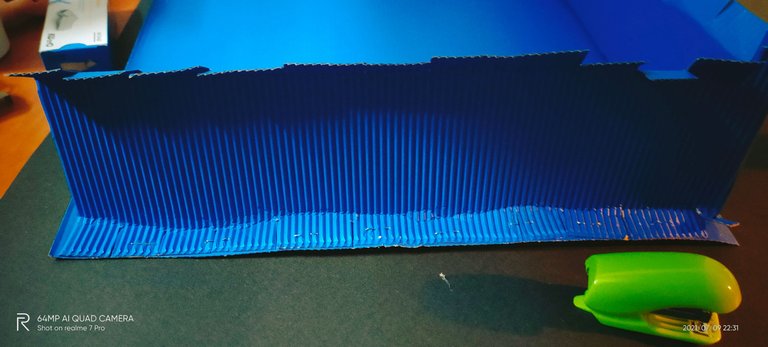
▪︎We do this, first with one side and then with the other, as if we were putting on a lid.
▪︎Once the whole process is done. We take the crepe paper, in the colours we have chosen to cut some ribbons and start decorating our piñata.
▪︎With the help of cold silicone, you can also use hot silicone, you just have to be careful not to burn yourself, as we will use a lot of help from our fingers.
▪︎We are going to glue the inside of the ribbon, like a kind of skirt, and we will interchange the colours, if you wish.
▪︎Repeat this process again and again, until you have covered the entire top (front) and bottom (back) of your piñata.
▪︎Once this process is finished and as you can see in the picture, you can still see the staples with which we sealed our piñata, so now with some crepe paper ribbons, we are going to cover those edges.
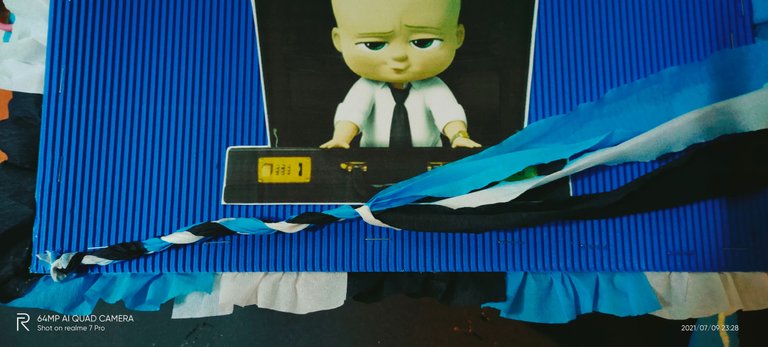
▪︎We cut the three ribbons and make a braid, i.e. we we weave it carefully so as not to tangle the ribbons and not to break them. After that, we glue the braid with the silicon to our border covering the staples.
▪︎Once this process is done, we open a hole in the back of the piñata to put the sweets and toys into the piñata.
Tips: Remember that this is a simple piñata and because of the material you can't put too much weight on it. Later I will show you other types of piñatas for heavier things or more sweets.
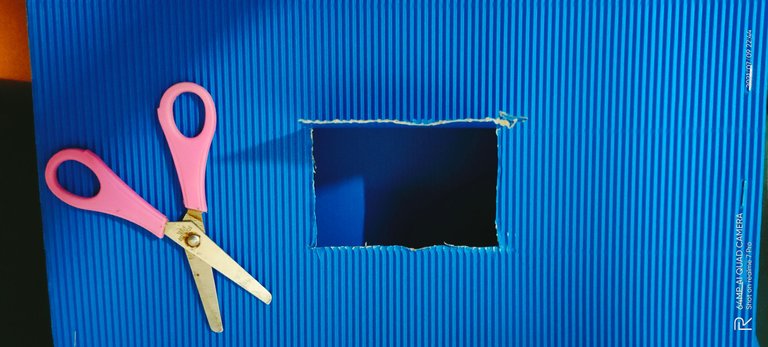
▪︎As the picture shows, we make the hole with the help of scissors and our beautiful piñata is ready.
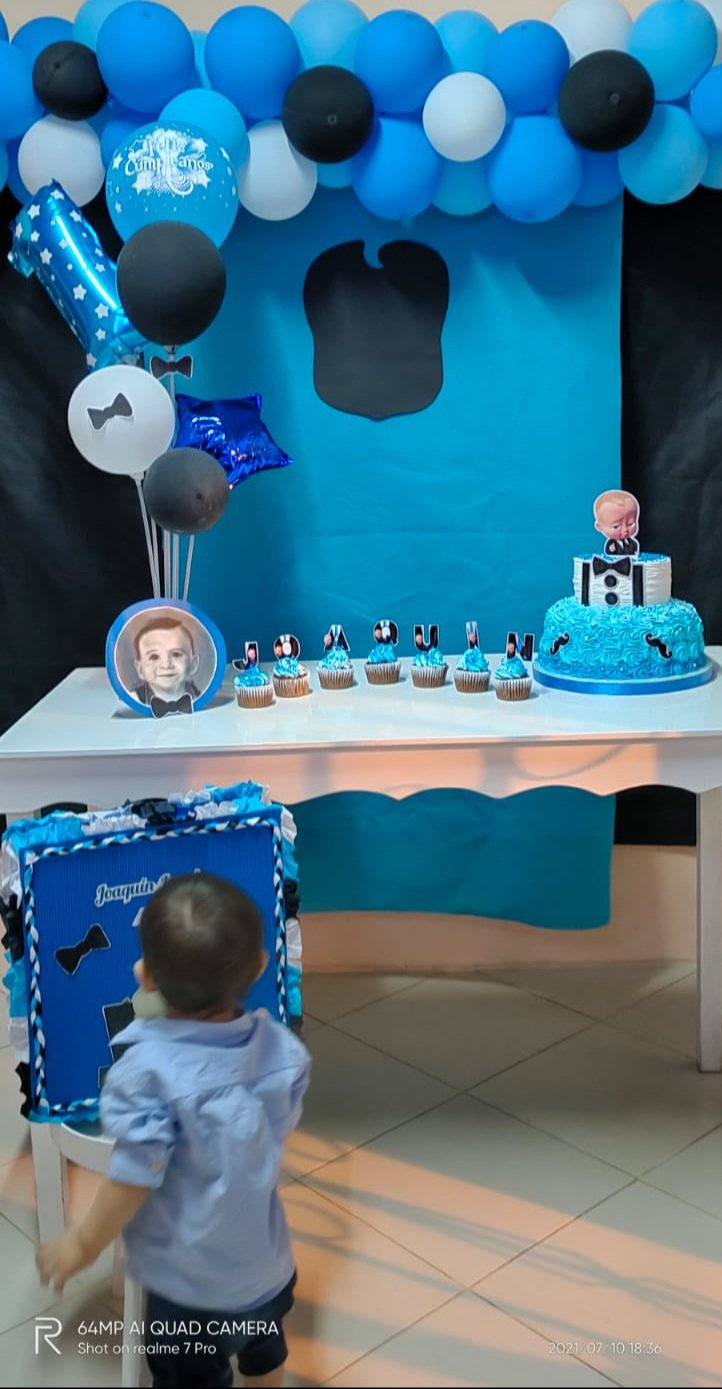
Adicional, les quiero mostrar que por primera vez hice un semi arco de globos (odio los globos y trabajar con ellos), me gustaría saber que opinan de como quedó.
Additionally, I want to show you that for the first time I made a balloon half arch (I hate balloons and working with them), I would like to know what you think of how it turned out.
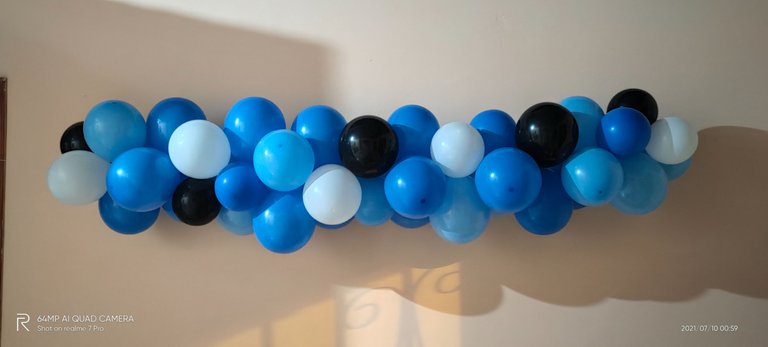
Me vi en la obligación de aprender, ya que me gusta ser la que decora todas las fiestas de mis hijos y esta no ibaa ser la excepción y una fiesta infantil lleva globos.
En esta ocasión no hice la torta pero soy de esas chicas que me gusta hacerlo todo yo misma y así economizar un poco.
I felt obliged to learn, as I like to be the one who decorates all my children's parties and this one was not going to be the exception and a children's party has balloons.
This time I didn't make the cake but I'm one of those girls who likes to do everything myself to save a bit of money.
¡Anímate y hazlo tu mismo! || Go ahead and do it yourself!

Las fotografías son de mi propiedad, tomadas por mí con un Realme 7 pro. Todas mis publicaciones son realizadas desde un teléfono móvil Samsung Galaxy A20s.
The photographs are my own, taken by me with a Realme 7 pro. All my publications are made from a Samsung Galaxy A20s mobile phone.
Get to know these communities as well:


The rewards earned on this comment will go directly to the person sharing the post on Twitter as long as they are registered with @poshtoken. Sign up at https://hiveposh.com.
Hola amiga te quedo genial esa piñata, me gusto como muestras el procedimientos a través de las fotos, felicidades, saludos y feliz dia.
¡Muchas gracias!
Amé la combinación de colores en todo, hay una armonía increíble. El personaje que elegiste me encanta, es muy cómico. Feliz primer añito bebé. Gracias por compartir con nosotros.
Muchas gracias mi querida Isabel 🥰😊
Saludos amiga! la piñata es hermosa que ternura me encanto, gracias por compartir con nosotros el tutorial.
Gracias a ustedes por el espacio.
Wuao hermanita menor te quedo linda, falto la foto de Joaquin dandole palo a esa piñata.
Un abrazo @elizabeths14