
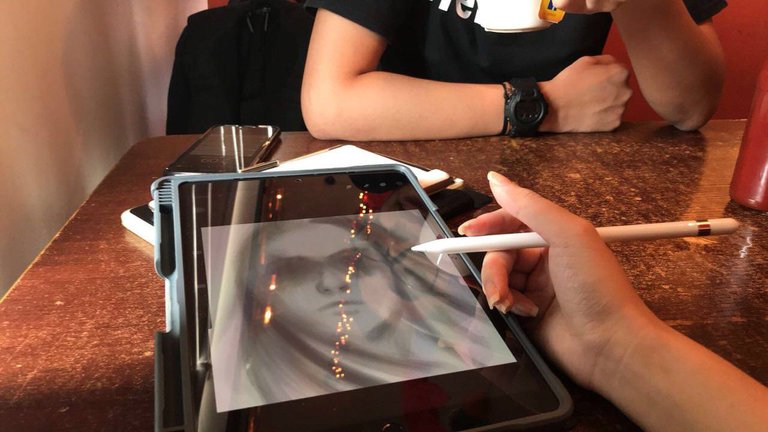
My first time testing out Keith's new Ipad Pro and Apple Pen :) I drew on the popular Procreate app, which was pretty interesting. I didn't really like the brush sensitivity, I had to sort of press it really hard to actually draw out something. Or it probably had to do with the really thick tempered-glass screen protector he had plastered on. Let me just tell you though how insanely beautiful everything looks with the retina display on the iPad :O
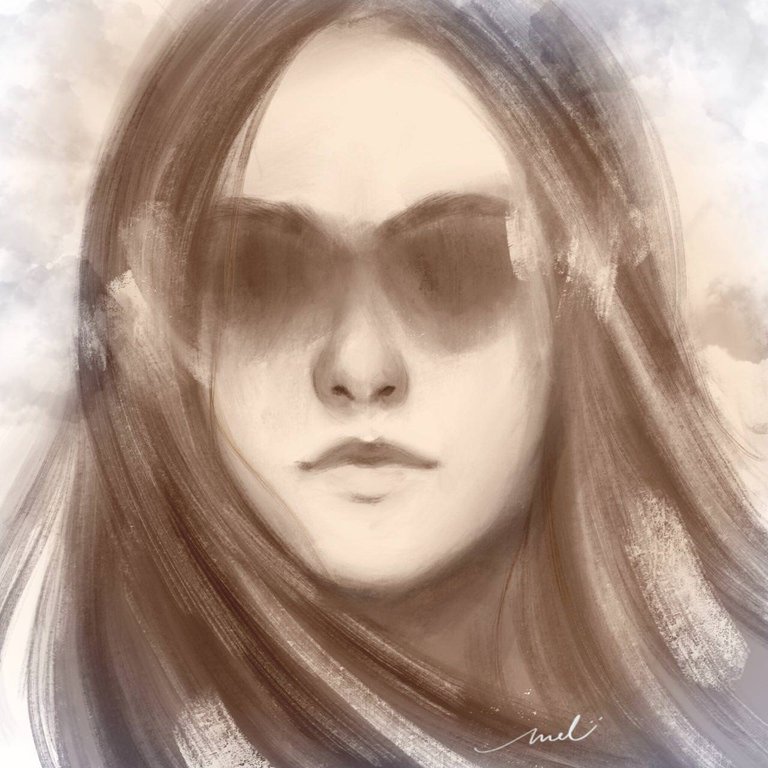
Today's quick piece is a headshot of 'The girl with no eyes'. Why? I'm not really sure, she is a mystery. I like to think that she's seeing the world through a different pair of 'eyes', the way most people won't understand, and she doesn't need them to.
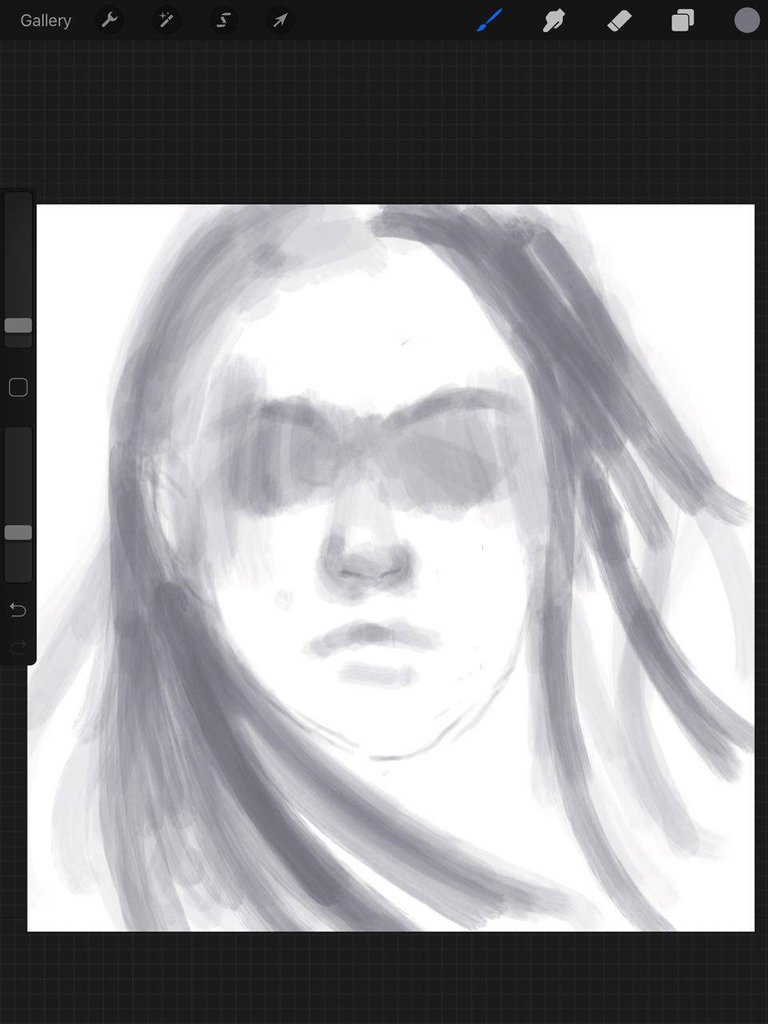
How I begin a sketch
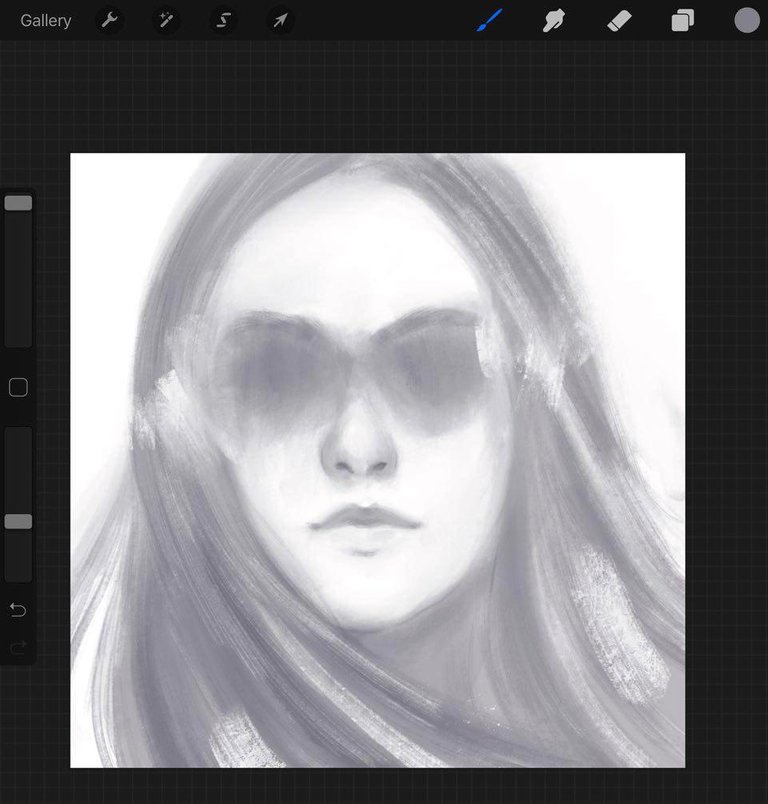
I'm not very big on drawing outlines when I start to paint or sketch digitally. I prefer taking big brushes and blobbing out the shapes and structure of an image I have in mind, and then blocking in and blending shadows before getting into details. This method not only saves you time, it also helps to focus on things like how the painting should flow. When painting digitally, I find it easier to deal with colours when you start an illustration in grayscale, and then layering in colours. That way you can focus more on the form and shadow of your artwork.
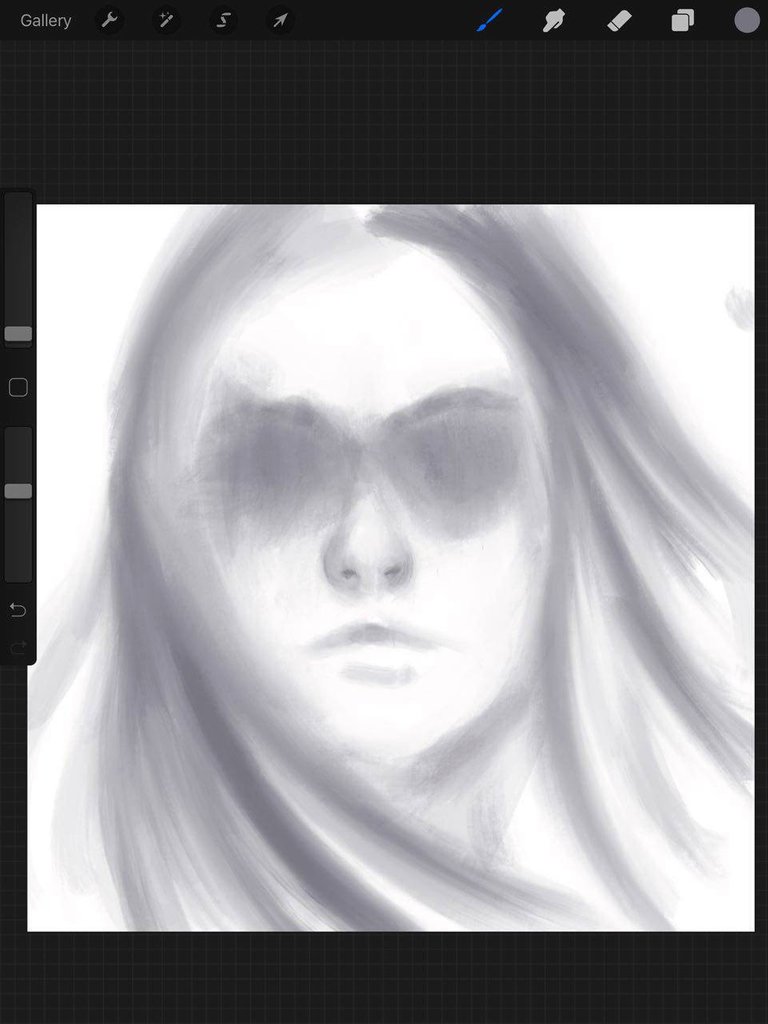
Shadow and Blending
You can see here after laying down the shapes, I begin to blend everything together with a smudge brush to soften any hard edges and started to define some shadows. psssssttt! I'm really bad with noses. See how awkward that looks? hehe
Spotting mistakes - Flipping your canvas
I learned this little trick during college when I did my first recreation of 'David and the Head of Goliath' by Caravaggio and presented in front of our lecturers for our History of Art class. (Major nostalgia right there. I will have to show you the painting some time :P) Mr. Brandon was pretty impressed with it, but told me I had painted his upper torso a little awkwardly. He went on to tell me a tip to help spot mistakes with paintings, which was to hold it and look at it in a mirror, a.k.a. looking at the canvas flipped. Basically, at this point I start flipping the canvas back and forth and repaint areas where I spot mistakes.
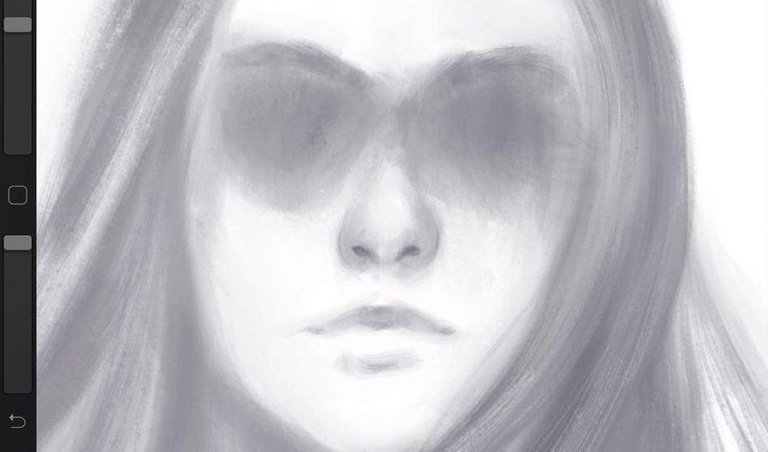
Details & Layering Colours
Nearing the final stages, I usually scale down my brush size and get into drawing in the details. I often also like to add some brush strokes just to give the illustration a rugged/sketchy feel. I also added another multiply-effect layer which I airbrush in colour. You could add in several layers and play around with the effects to your liking.
and short simple digital painting tutorial today :)
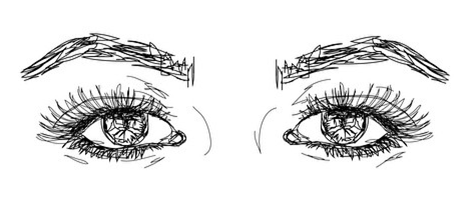

Niiceeee, and then her eyes below. Hahha
Thank youuuu xD lmao isn't that fancy? I had a giggle over that hahaha
Congratulations @melissamyra! You have completed some achievement on Steemit and have been rewarded with new badge(s) :
Click on any badge to view your own Board of Honor on SteemitBoard.
For more information about SteemitBoard, click here
If you no longer want to receive notifications, reply to this comment with the word
STOPCongratulations @melissamyra! You have completed the following achievement on Steemit and have been rewarded with new badge(s) :
Click on the badge to view your Board of Honor.
If you no longer want to receive notifications, reply to this comment with the word
STOPDo not miss the last post from @steemitboard:
SteemitBoard and the Veterans on Steemit - The First Community Badge.
Even without eyes, it is quite expressive.