Been a while since my last rambling here..fuh too busy with office work now.
By the way, I'm a DIY type of person. Since childhood, I love to do thing on my own, even sometime I might just broke it or make it worse..haha. For me, DIY is not a talent, but's more to hobby and passion thus anyone can be Mr DIY, right?
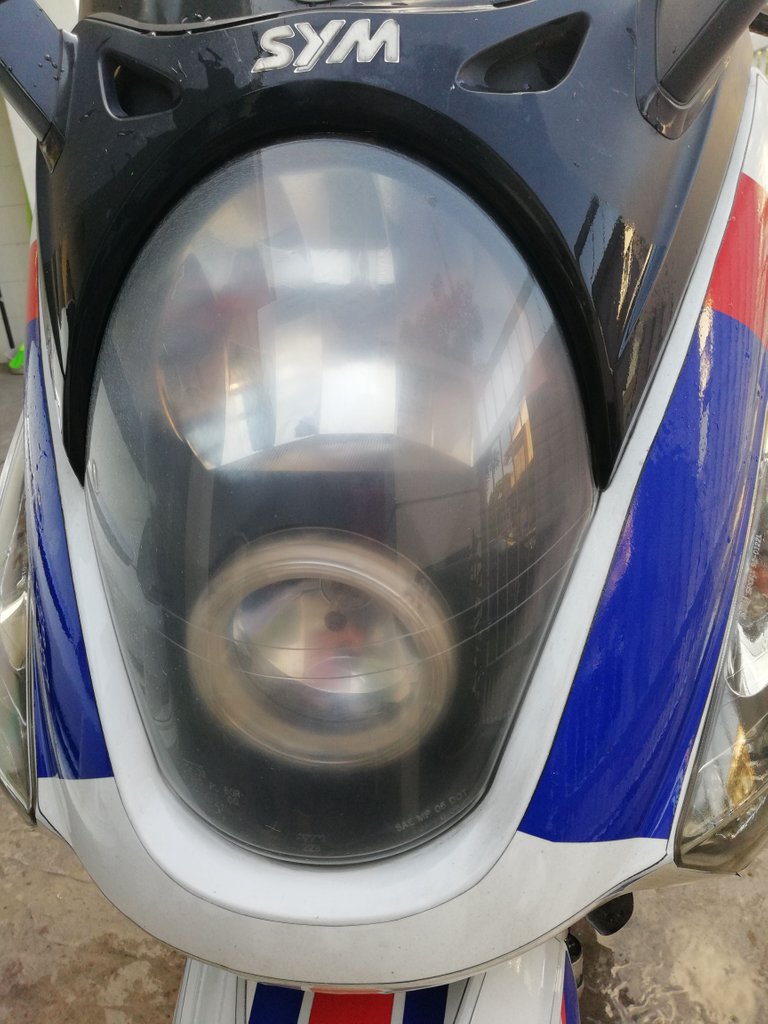
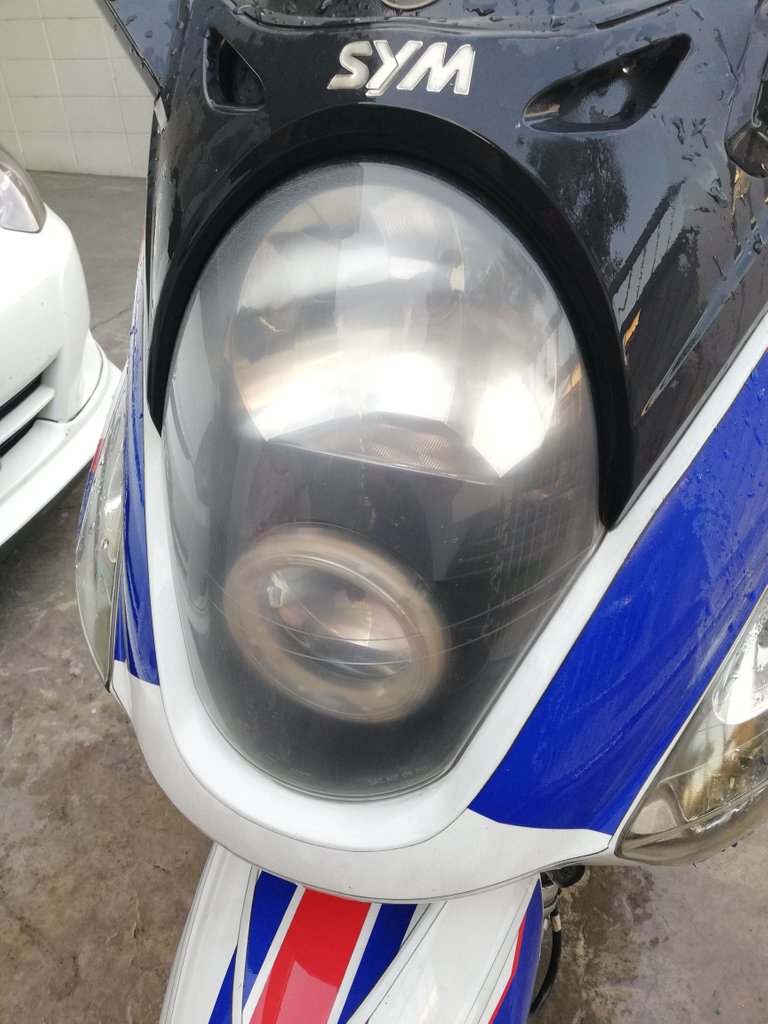
Ok, this's how I spent my last weekend. Getting bored watching television, then I decided to wash my bike, but when I saw my headlamp..oh my!
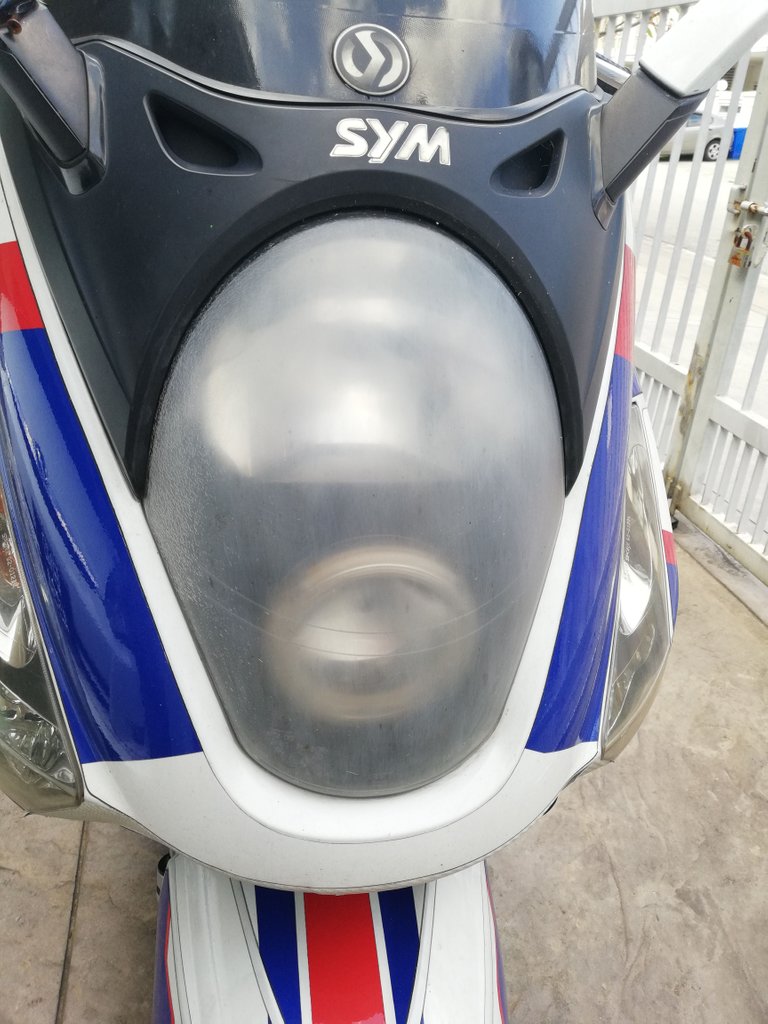
See this foggy headlamp? It just make my bike looks ugly and old, haha. Guess you guys might have same problem if you parked your bike or car under direct sunlight and too lazy to wax your headlamp. By the way there are shop out there offering service to renew the headlamp..but for me since I have all the tools needed in my store, then just decided to do it myself even the result might not the same as those shops.
Ok for a start you will need the following:
- Faded headlamp for sure :p
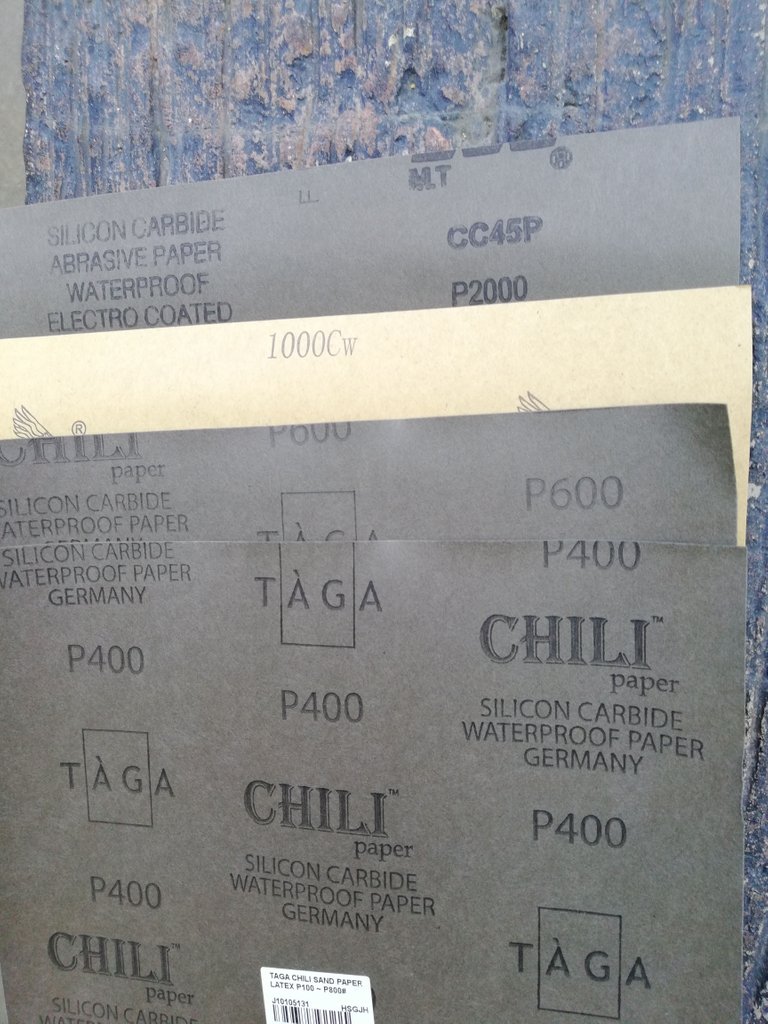
- Sandpaper size 400, 600, 1000 and 2000
- Toothpaste
- Clear code spray
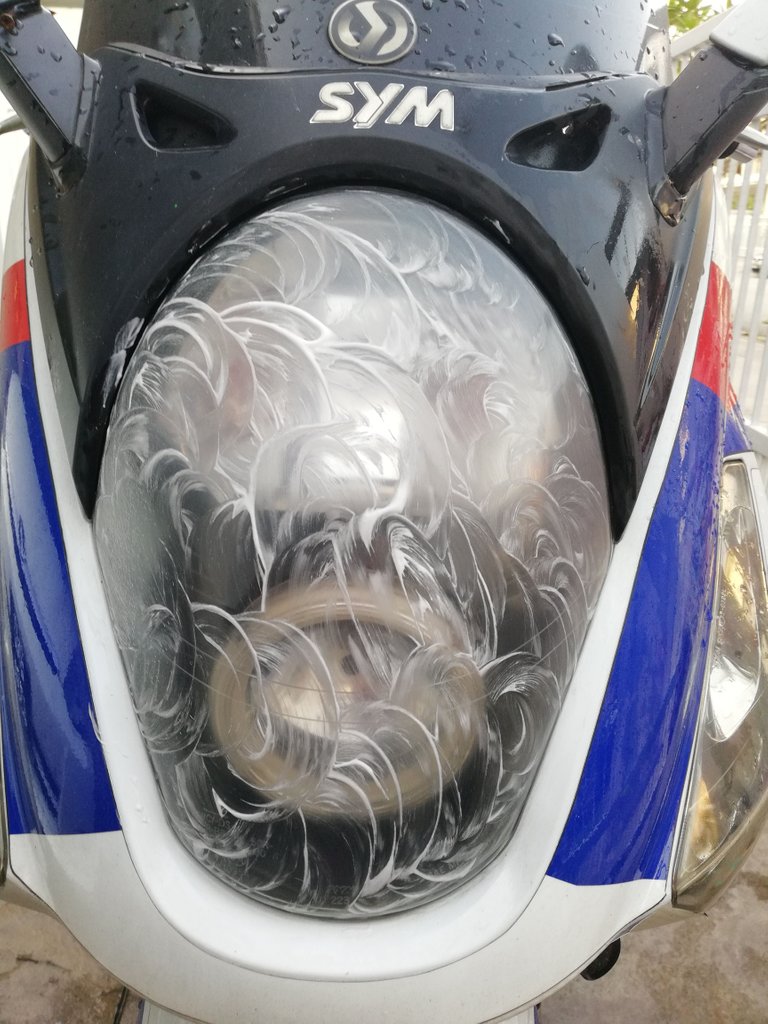
First, wash the headlamp and make sure it is clean from dirt. Then use sandpaper size 400 to rub the headlamp. At this stage, you will see it will become worse because we are using the rough sandpaper. It's okay, just proceed, but make sure you keep watering the headlamp to that the dirt that came out from the process will be washed away. Move the sandpaper in small circle. Here the picture after my 1st process.
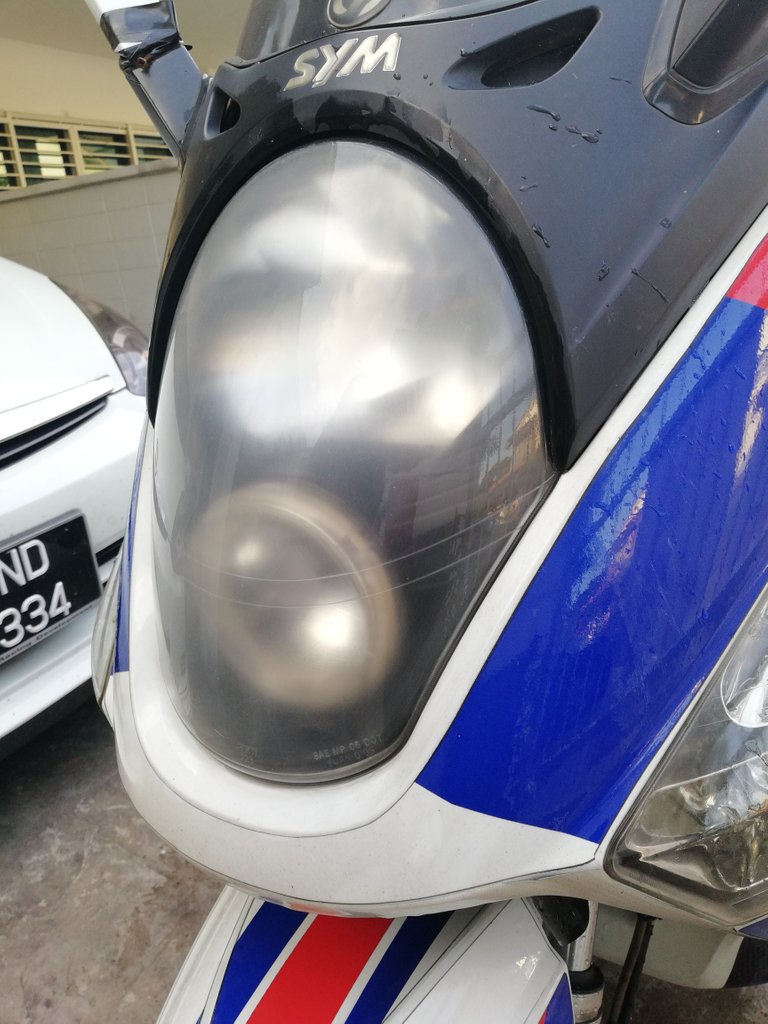
Then, proceed with sandpaper size 600. Apply the same process. And here's my result.
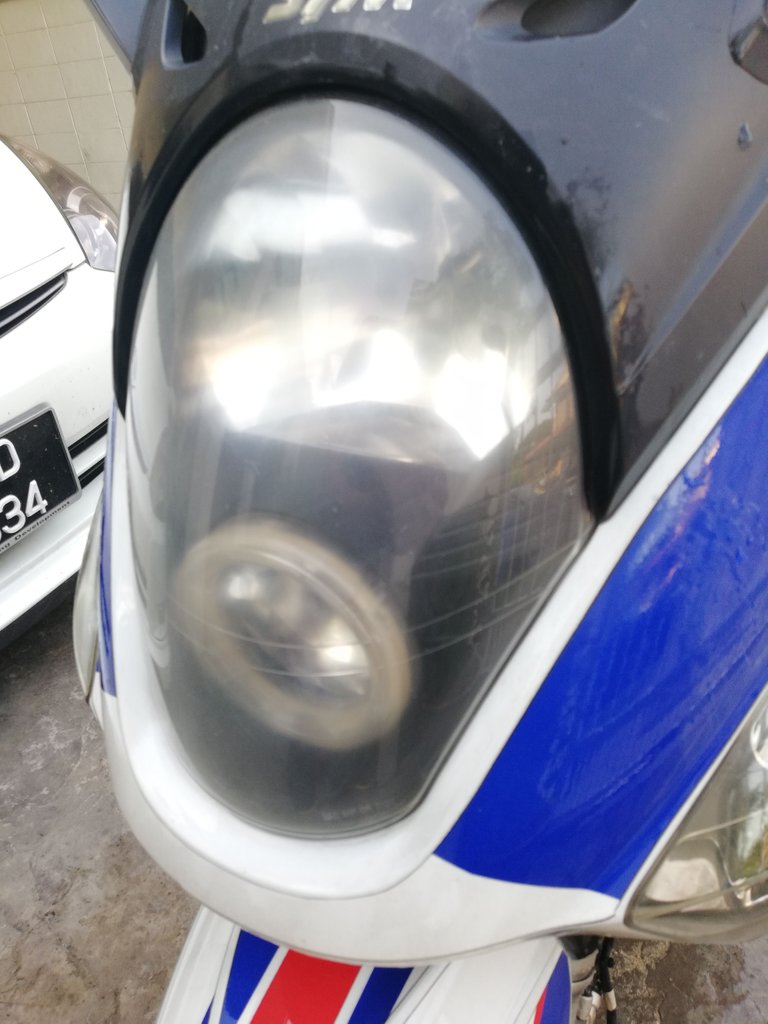
Next one, sandpaper size 1000. Same process as before. You'll see the surface will become smoother and clearer.
Lastly, use sandpaper size 2000. For this, you need to take longer time to rub it. Keep rubbing and watering until the surface looks clean, smooth and clear. Here's mine after the 4th process. Better right?
Ok, next clean all dirt and dry the headlamp. Then apply some toothpaste onto it just like the way you polish your cash. Wait until it totally dry and wash it with clean cloth.
Final process, apply clear code spray onto the surface. Make sure you do this during dry day. Just apply thin layer of the spray and dry it under sunlight. Tadaaaaa!
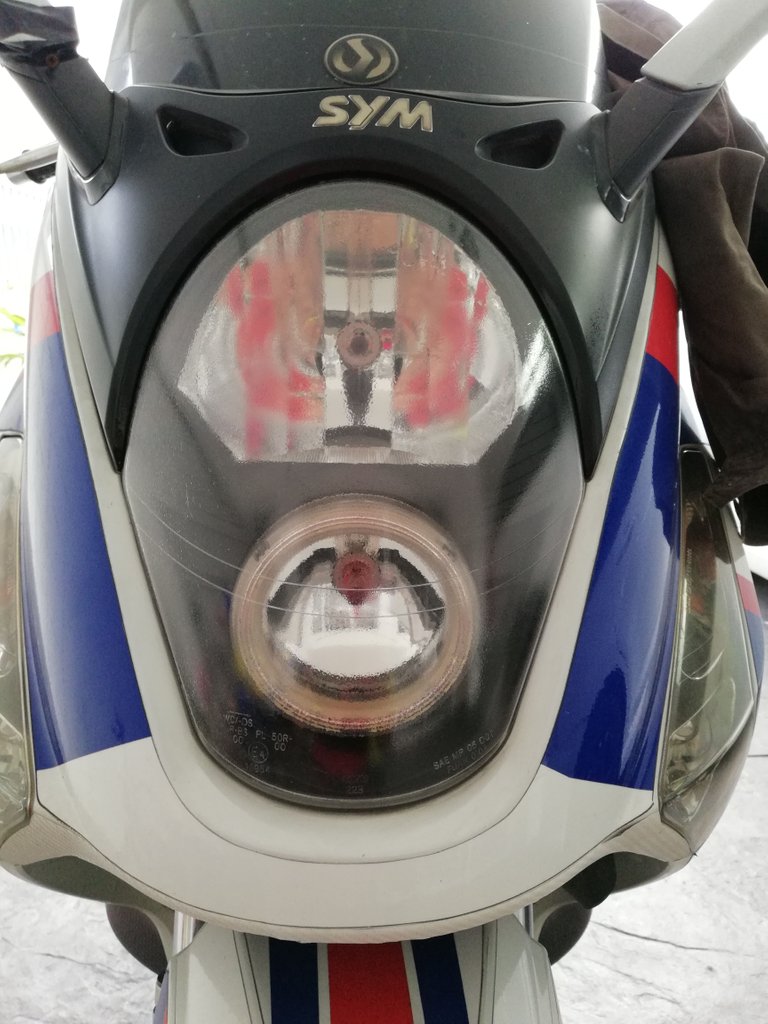
It might not be totally like new, but still way better than before right? Most important is, it cost me less than 15 bucks! Adios guys!
Pakcik, untuk gambar kenderaan, lain kali boleh pakai tag #vehiclephotography . Sekian
Hehe. Ok anak muda. Tq tq.