DEFINITION OF MAIL SERVER & WEB MAIL
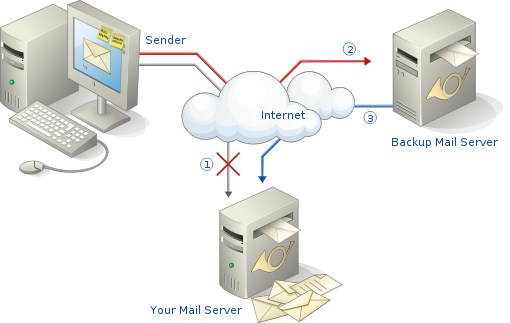
Mail server is software that allows users to be able to send and receive electronic mail or e-mail each other in some network or with internet. This service uses client-server architecture, meaning there is client application accessing email server. Commonly used protocols are SMTP protocol (SIMPLE MAIL TRANSFER PROTOCOL), pop3 (post office protocol v3). IMAP SMTP is used as a standard to store data distributing emails. POP3 and IMAP are used so that users can retrieve and read emails remotely.
Web Mail is a tool to allows users access e-mail through the web, in other words the web mail server is interfaces an e-mail is on the web, so to open the e-mail can be done by accessing the web mail pages.
I am using the default application from Debian Linux. Postfix, Courier-Imap, Courier-Pop and Squirrelmail (for Web Mail server).
Configuring Web Server.
- Install Postfix, courier-imap and courier-pop for Mail server applications.
# apt-get install postfix courier-imap courier-pop -> use space in command applications name to install 3 applications at once. Make sure you have scanned all discs of your Debian 7.8 Linux. I have explained about discs scanning in my past post DNS Server Then confirm by typing "Y" and press Enter.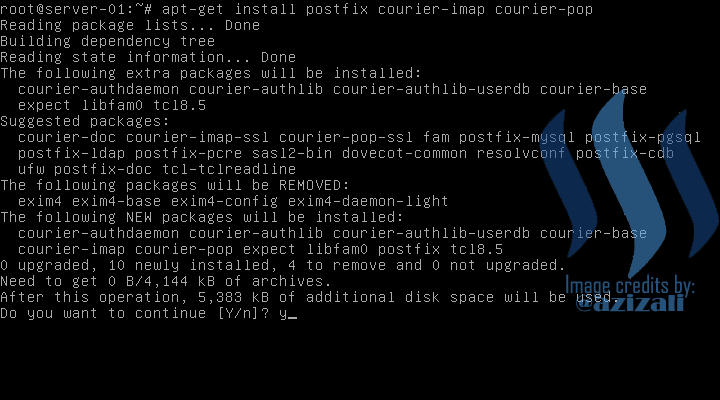
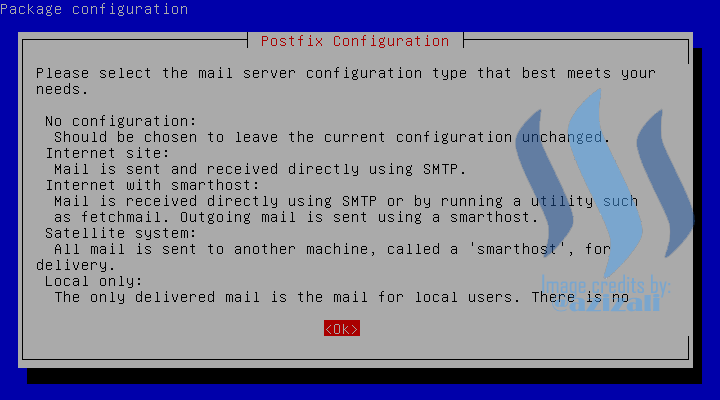
- Point to "OK" button by hit "Tab" and then press Enter
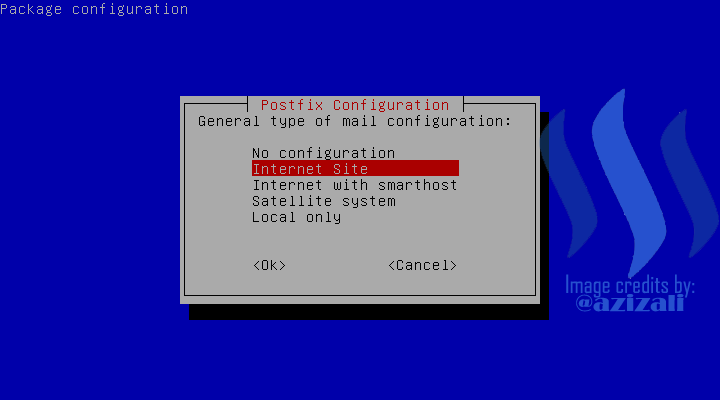
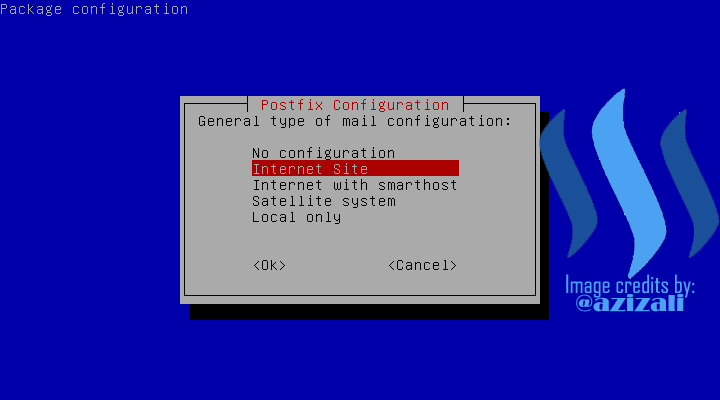
- Select Internet Site, then press Enter
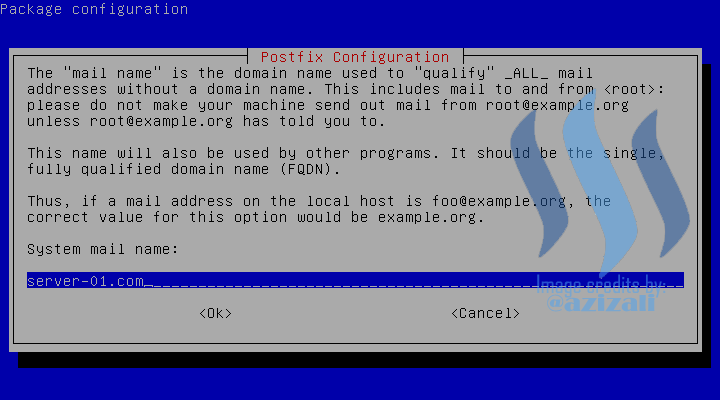
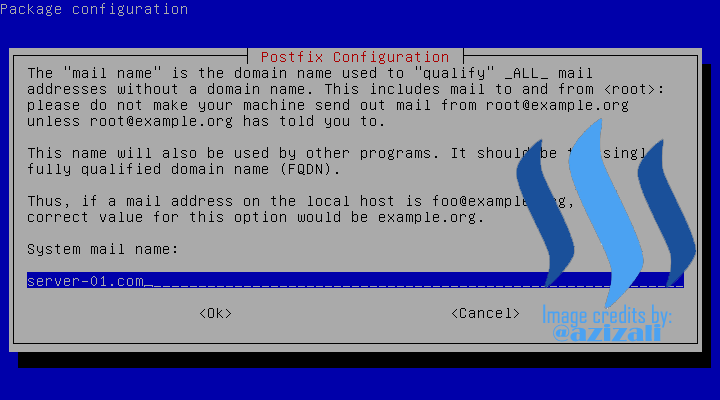
- System mail name is Domain name, make it sure in your past configuration of DNS Server. click here to read more configuration about DNS Server.
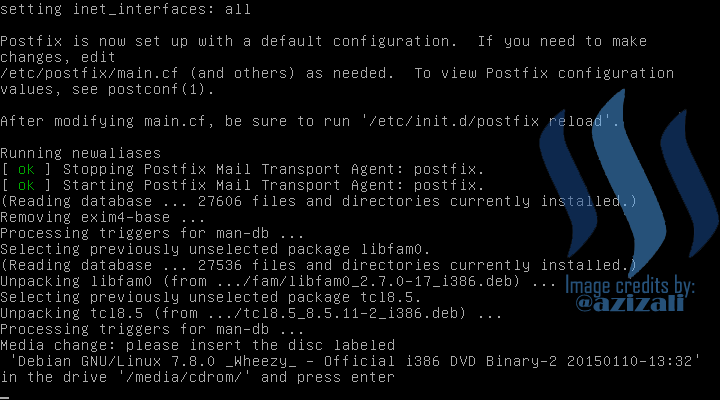
- Installation ask for Disk Binary 2 of Debian 7.8, please mount it to your drive and press Enter.
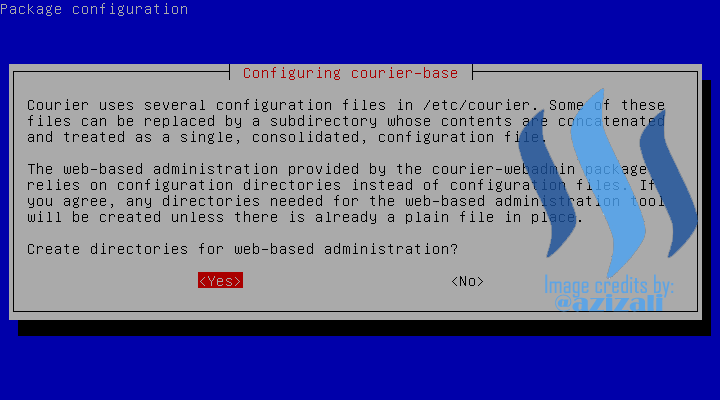
- Select "YES" and press Enter
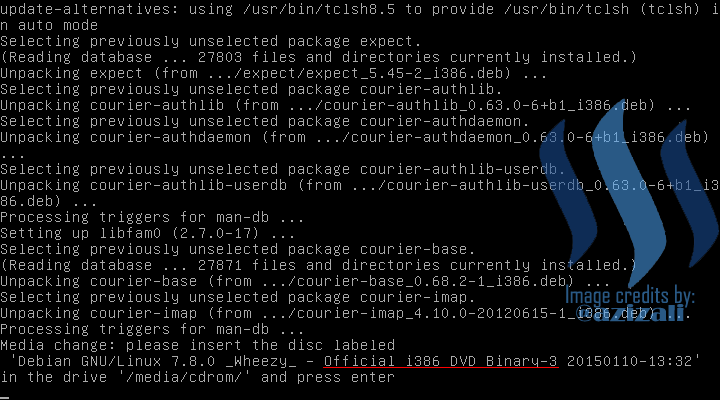
- Installation ask for Disk Binary 3 of Debian 7.8, please mount it to your drive and press Enter.
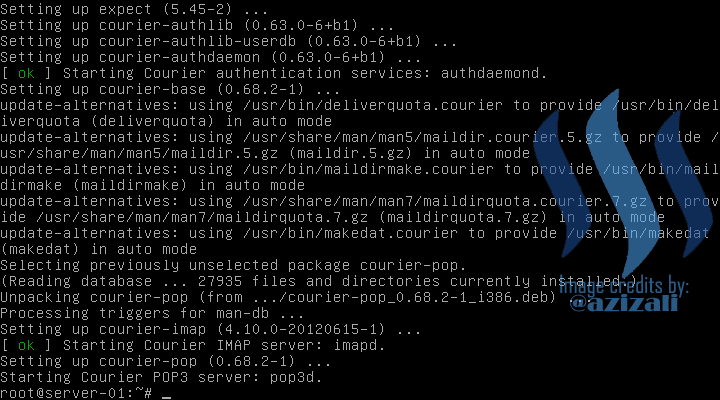
- Installation of Mail Server applications has been successful installed.
- Configure Postfix service. For easy and simple configuration, I am using wizard configuration.
# dpkg-reconfigure postfix
Just follow my instruction! The First 3 steps of Postfix configuration was same with step number 2,3 and 4 at above- Select OK

- Select Internet Site
- Enter System Mail Name (Domain Name)
- Root and postmaster mail recipient (Leave this blank)

- Other destination, make sure there is has our domain name, I have placed at first.

- Force synchronous update on mail queue? --> Select NO

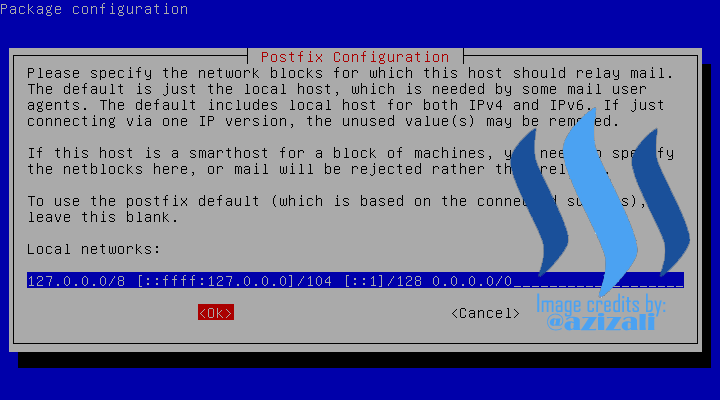
- Local network --> Add at last 0.0.0.0/0, it's mean allow all IP to use the Postfix service.
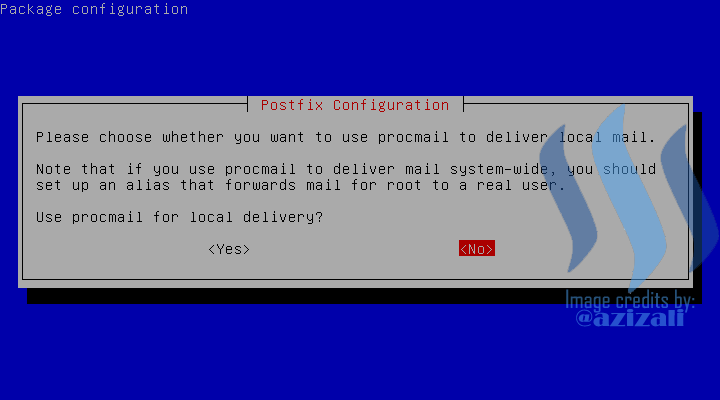
- Use procmail for local delivery? --> Select NO
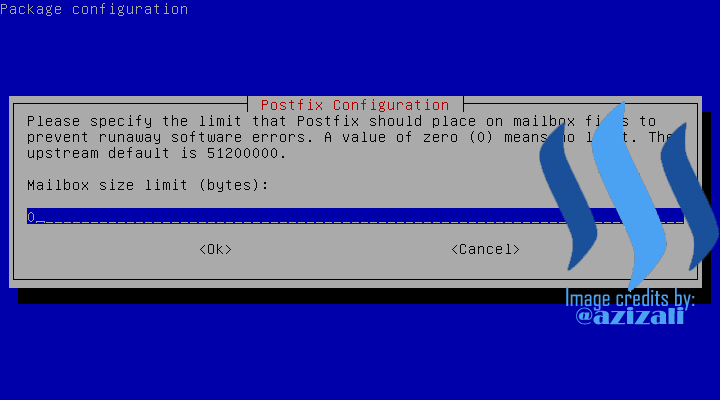
- Mailbox size limit --> I'm not limiting for mailbox size, type 0 (Zero)
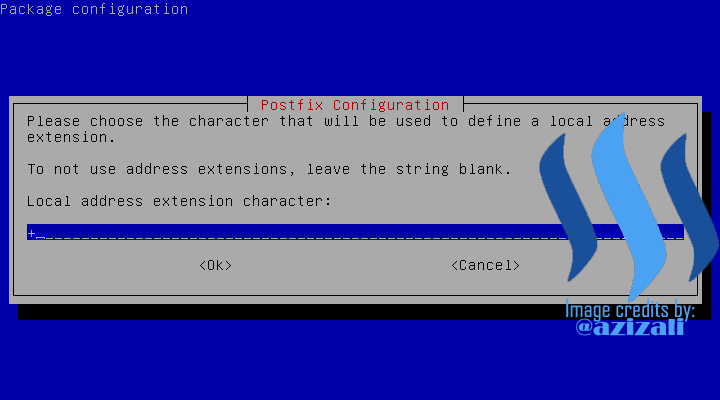
- Local address extension character --> I am using "+" character.
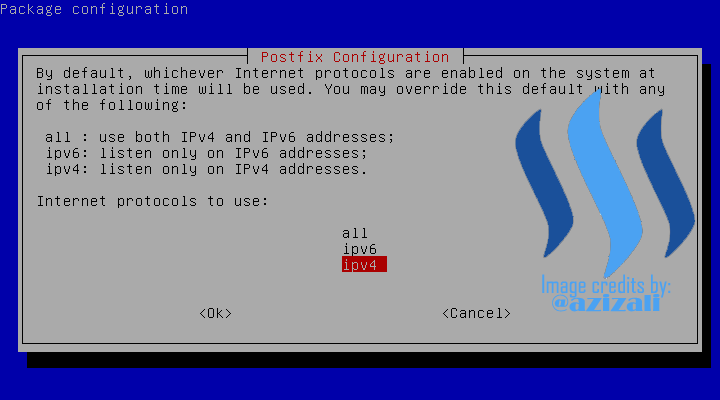
- Internet Protocol to use --> IPV4, because my network did not support for IPV6. If your network was supported for IPV4 and IPV6 select select all. Then press Enter.
- Select OK
- Now, we need to list mailbox at Postfix
# nano /etc/postfix/main.cf
Point to the last line and add
home_mailbox = Maildir/
Please careful to your writing, at "Maildir/" text--> it has Capital case for "M" character.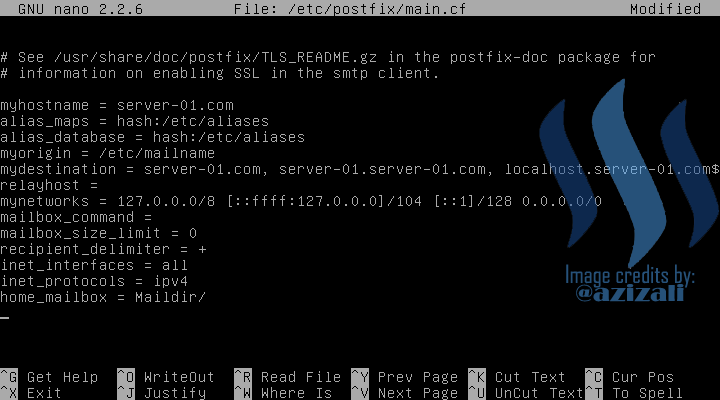
- Create the folder that has been listed in Postfix.
# mkdir /etc/skell/Maildir
# ls /etc/skell/ -->to see verify crated folder
Then restart postfix
# service postfix restart
Make sure there is no "Error" or "Failed" messages after postfix restart.
Now, create user account for email,
# adduser aziz01 --> aziz01 is user, so it may different for you, user account name is up to you.
Enter new unix password : --> I am using easy text : 1234. Press enter and reapeat password.
User info can be leave blank, or if you want you can fill in it.
Press enter and repeat it until finish.
- Create second user for email account.

You can add more user, but to test message sending we need 2 accounts.
- Running test telnet SMTP (port 25 ) to send message from account aziz01 to ali01.
# telnet server-01.com 25
Make sure port 25 is connected.
Let's start sendding
Pay your attention to writing text, capital, symbol and space.
mail from:aziz01 --> first created account.
rcpt to:ali01 --> second created account.
data -->type your message and ended by press Enter and "." (dot, without quote)
Then exit from telnet by typing:
quit
Message has been sent but not necessarily accepted before checking the mail recipient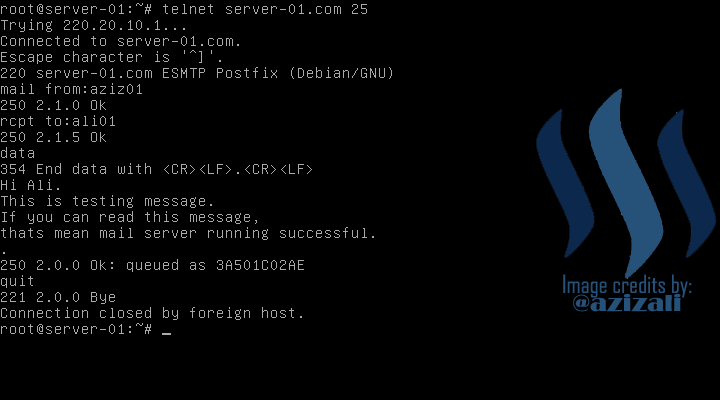
- Now, We need to login second mail account to check delivered message or not.
# telnet server-01.com 110 --> 110 is port for POP3
Make sure telnet is connected to destination port (110)
user ali01 --> receipient account
stat --> to check incoming messages, there is must have some value, if the answer is 0 0, mail was not received.
retr 1 --> to read email number 1 -
This is the message from aziz01 to ali01, so Mail server is running successfull.
Everything is good, now exit telnet.
Type quit and then press Enter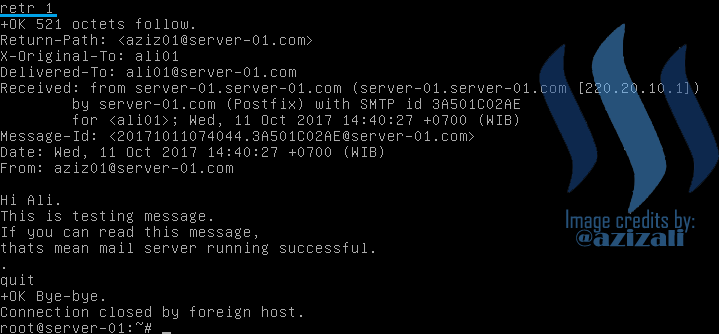
Installing Web Mail Server.
# apt-get install squirrelmail
Confirm nstallation by press "Y" and "Enter"
Wait until installation cemplete.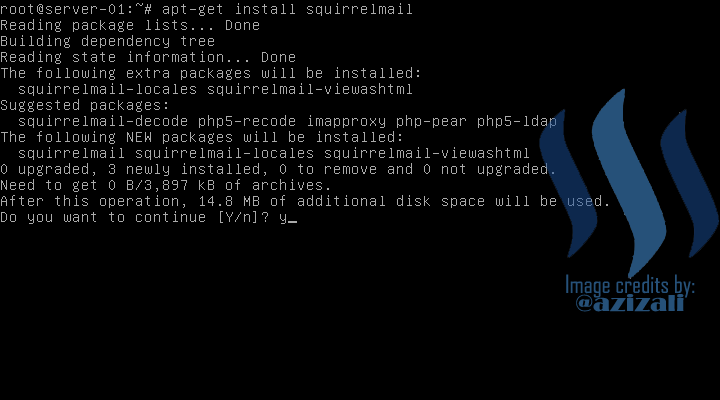
After installation complete, register Web Mail Server to Apache2
# nano /etc/apache2/apache2.conf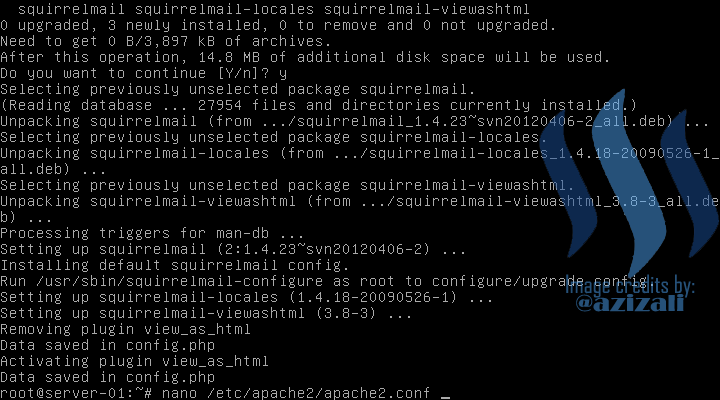
Add Squirrelmail Web Server to the last line.
Include /etc/squirrelmail/apache.conf
Save configuration and exit to continue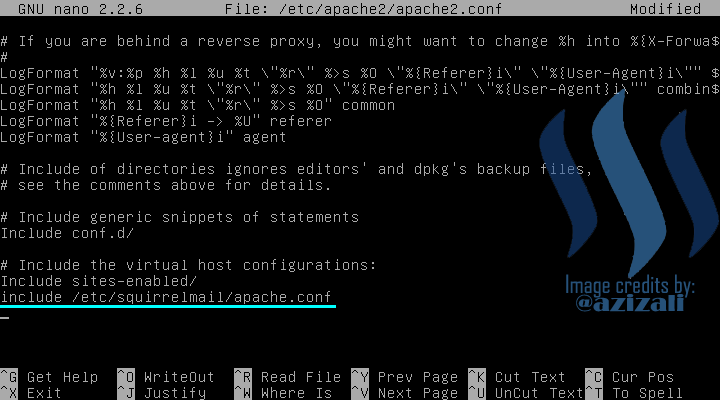
- Configure Squirrelmail virtualhost
# nano /etc/squirrelmail/apache.conf
Point to line 21, 22, 23, and 24 and remove the tags
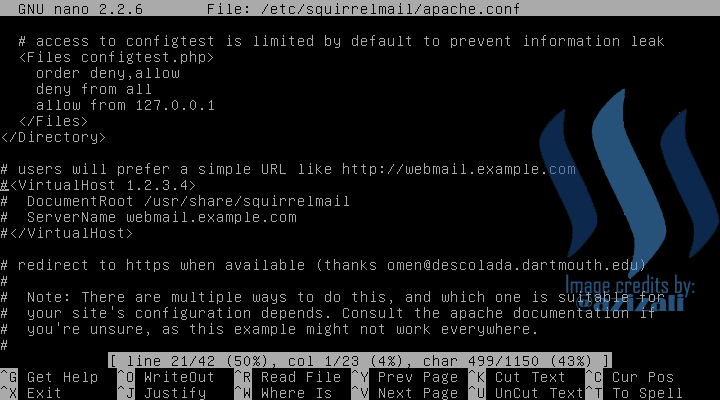
-
Replace line 21, 22, 23, and 24 like in bellow pictrure
Save configuration and exit.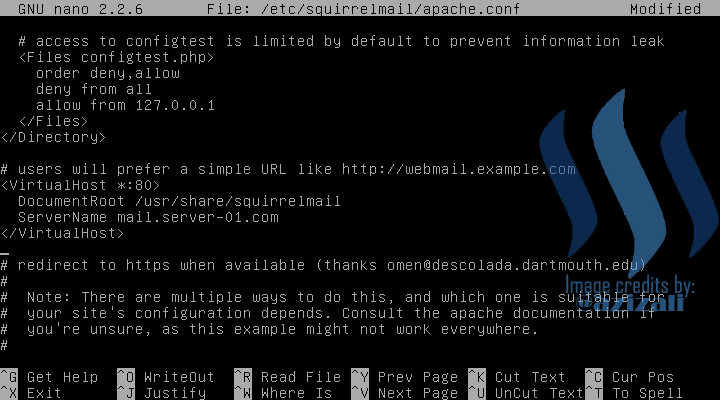
-
Restart apache service
# service apache 2 restart
Make sure there is no Error and Failed messages.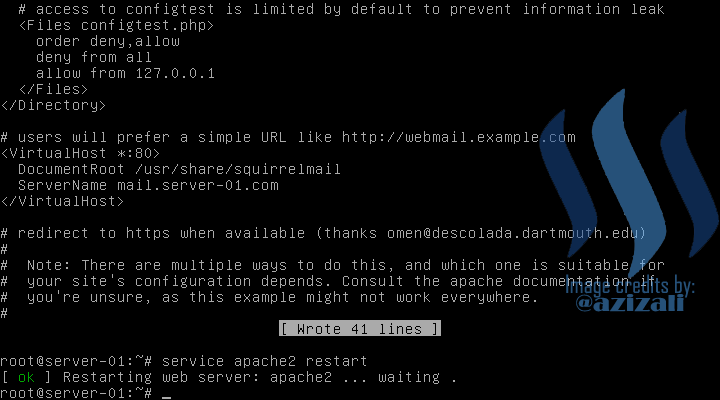
-
Let's trying access Web Mail Page from CLI
# lynx mail.server-01.com
Then confirm by "Y" or "A"
-
Web mail server now displayed from CLI successful
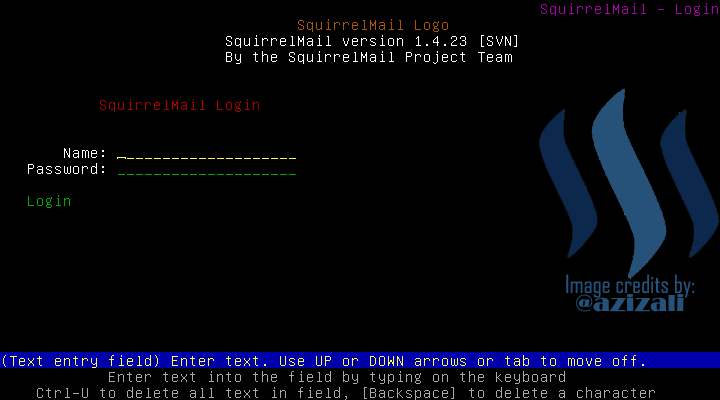
Login to accont testing
Name: ali01
Password : 1234
Then press Enter
Confirm by pressing "Y"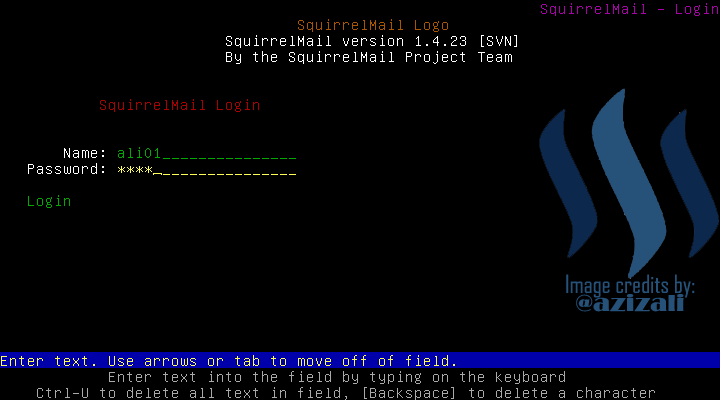
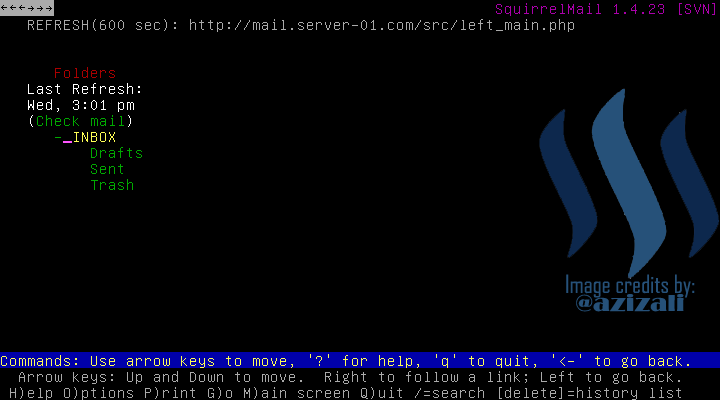
Select frame position, Left or right
I am choosing "Left"
Then press "Enter"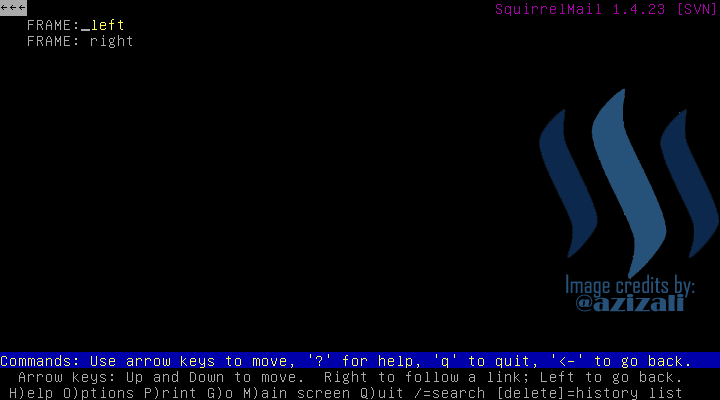
Select INBOX to read incoming messages.
Select Message Subject to start reading
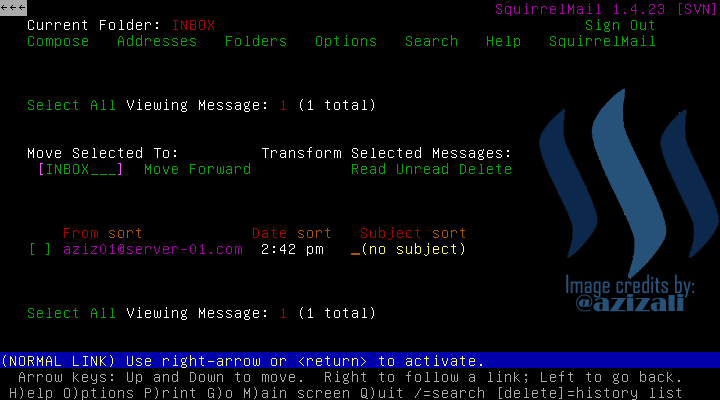
This message was sent from telnet by aziz01
Press "Q" and then "Y" to exit from lynx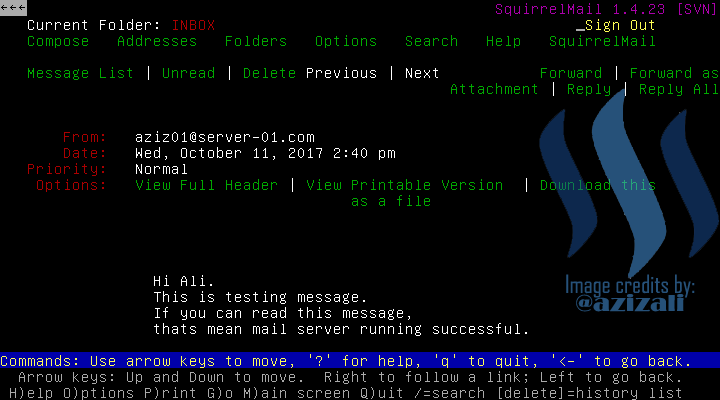

FINAL, TESTING WEB MAIL SERVER FROM CLIENT USING WEB BROWSER
To access web server from client side, we need to check IP Client. I have configured it at my post on DNS Server. Please visit it first to configure IP address client.
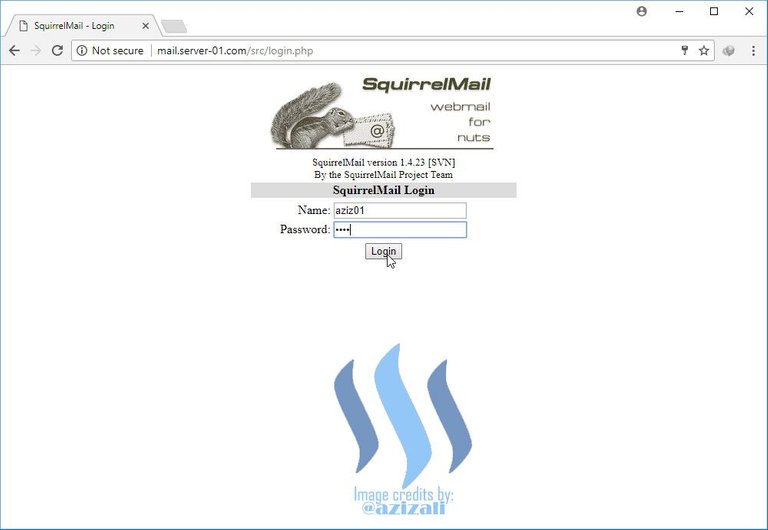
- Open Web Browser on client (Opera, Mozilla, or Chrome)
Then type URL for Web Mail
http://mail.server-01.com
Enter User and Password the press LOGIN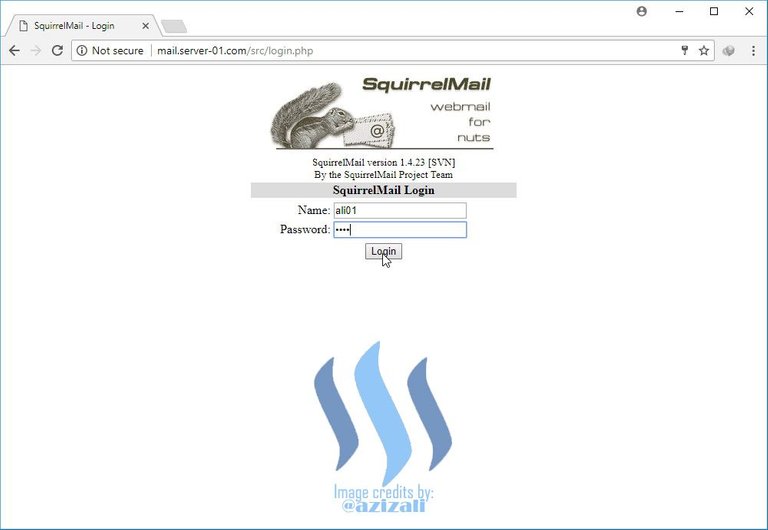
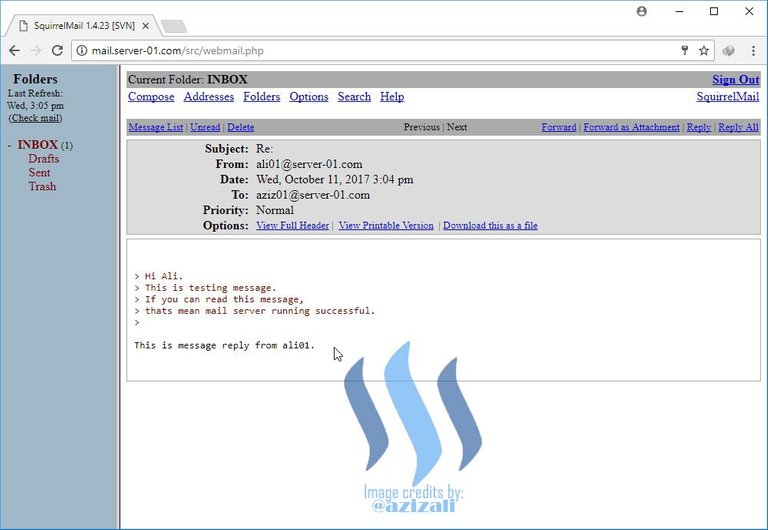
- Login successful, now we can read, reply, send, save, and delete messages.
To test reply this message, click on Reply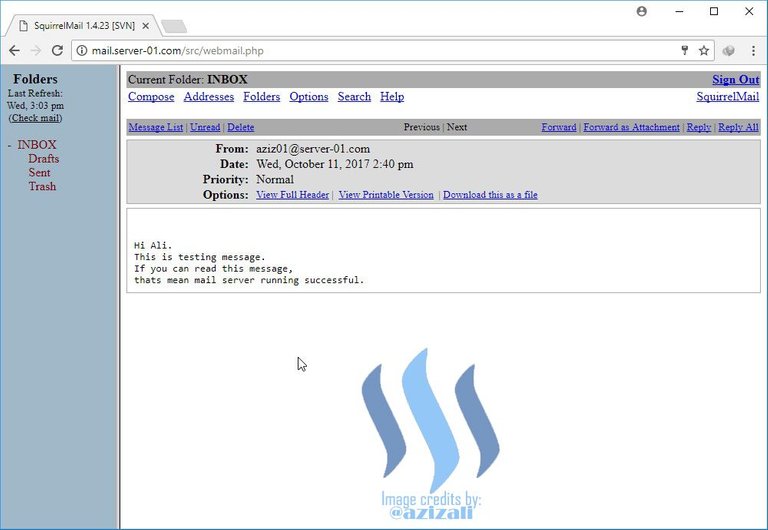
- Testing reply message from aziz01.
Enter message to reply and the click Logout (at right corner)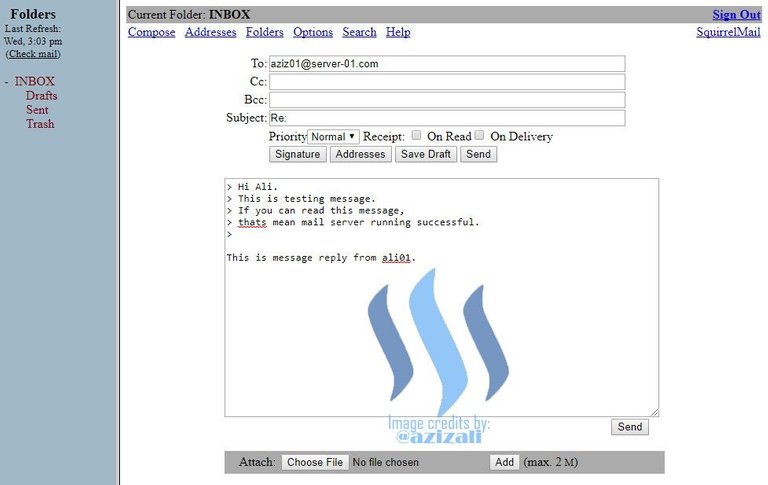
- Login to aziz01 and enter Password.
- Message successful receive by any account.
Testing was completed.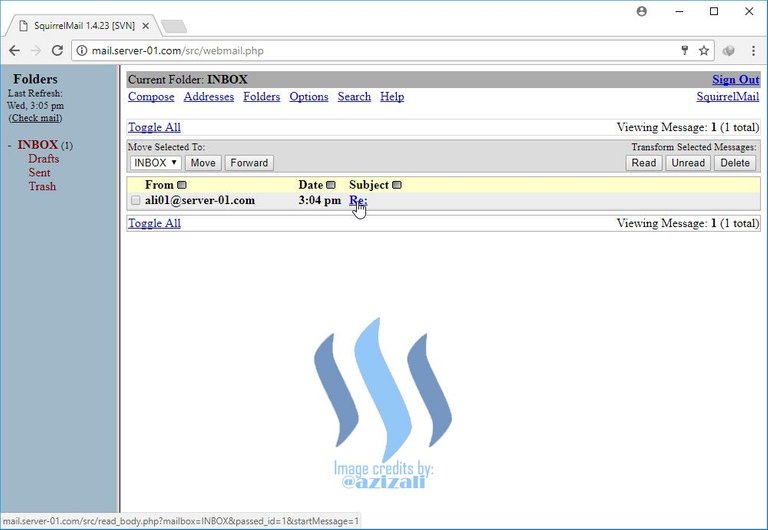
- Read INBOX messages at aziz01

First classes description, I had the first official email Id of squirrel and currently using zimbra. Good explanation.
Thanks fot visit and comment me @face2face.
Thank you very much for sharing inspiring content.
Very good work..
WELCOmE...
Thank You For The Tutorial