Greetings Crafters and Steemers!
It's been a couple of weeks since my last post, and for that I apologize.
This is a relatively easy build, so you should have no problem knocking this out in no time!
For this tutorial, I will be showing you how to make Red Brick columns. Now, you don't have to paint them red ...you can paint them to match whatever color that will match your system or battlefield terrain.
I just figured I'd try something different from the boring gray colored stone that seems to dominate most builds.
Lets get started, shall we?
Lets gather up our supplies:
-Ruler
-Pencil
-Ball Point Pen
-Glue Gun
-Razor/Box Cutter
-White Glue
-Ball of Aluminium Foil
-Base Coating-1/2 black paint & 1/2 Mod Podge
-3 different shades of the same color acrylic paint (example: 3 shades of red-light, medium, dark)
-Gray acrylic paint
-Spray Bottle of Rubbing Alcohol
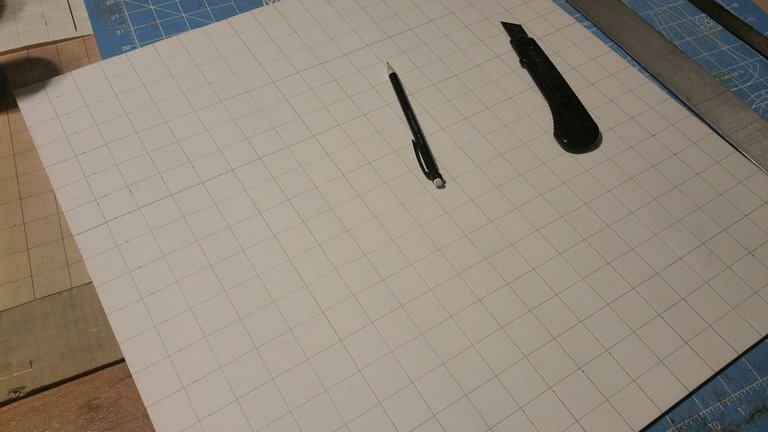
-a sheet of Dollar Tree Foamcore poster board
NOTE: This blog assumes you know how to handle chemicals-if you don't, then don't mess with it

Start by drawing out 1 inch by 1 inch squares on the Foamcore, like this:
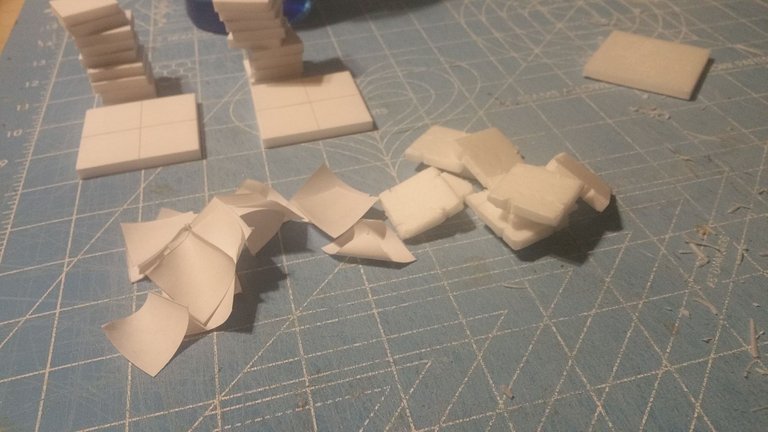
Cut out several 1 inch squares with your ruler and razor.
Also, cut out a few 2x2 inch squares as well.
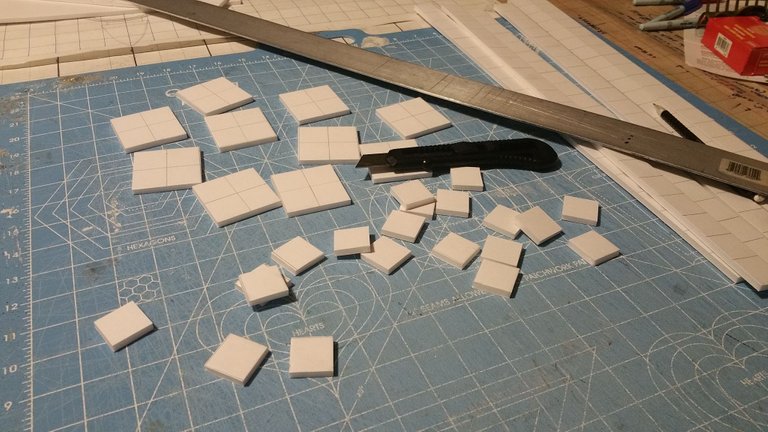
There will be 10- 1x1 inch squares to every 1- 2x2 square. The 2x2 inch square is the base of the columns.
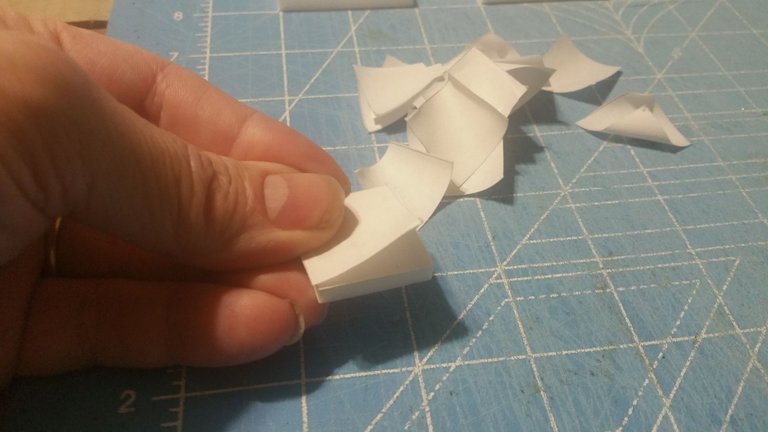
Here's where the spray bottle of alcohol comes in to play. There are some brands of Foamcore that you can easily pull the paper off. The paper on the Dollar Tree brand, usually will peel right off.
If it doesn't, then spray some rubbing alcohol on the 1x1 inch pieces, and peel the paper off BOTH SIDES. This will leave you with the raw foam on BOTH SIDES.
As for the 2x2 pieces, only peel off ONE SIDE of the paper. This will leave you with raw foam on ONE SIDE.
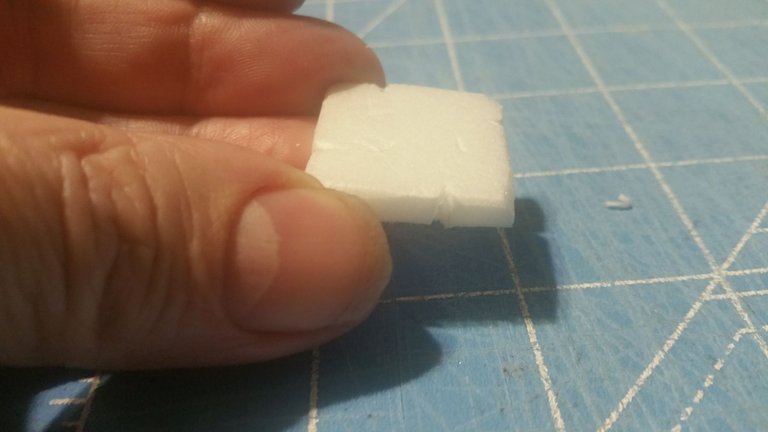
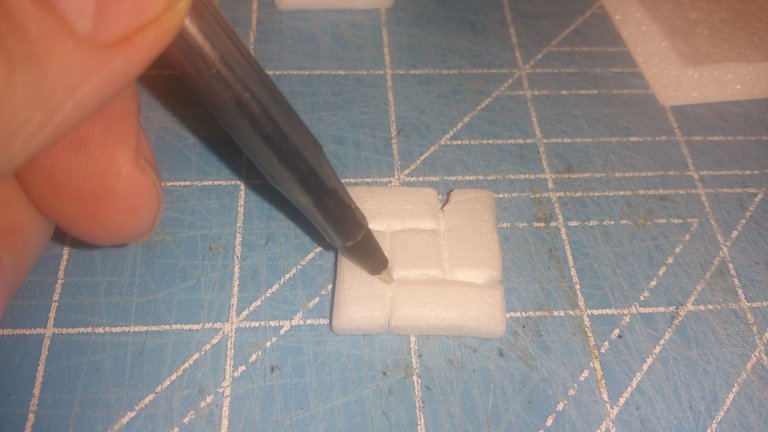
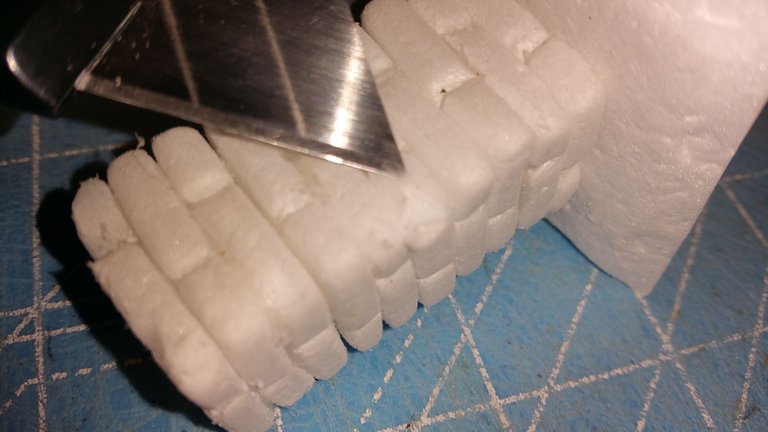
Now we take the 1 inch pieces and and make notches, about 1/4 inch from each corner like this, make sure it looks like this:
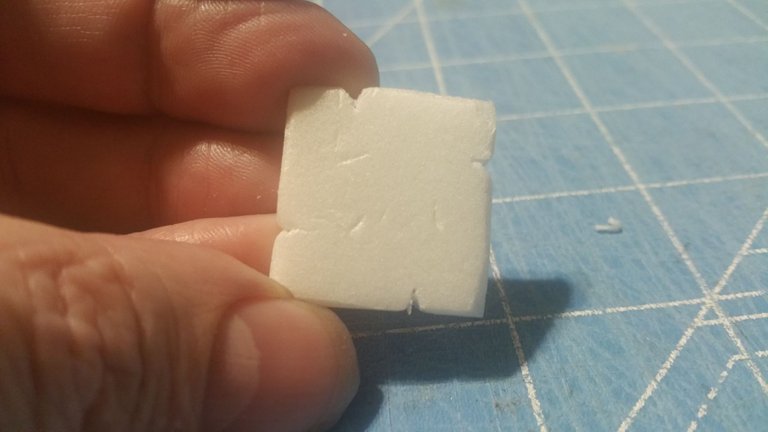
Choose one of the 1x1 inch squares to be your top piece, and use an ink pen to make the top look like this, and you only need to do one of the 10 pieces to look like this:
If you want a more rounded edge, you can sand all four edges to make them look a little more worn.
OR, you can just leave then with the hard edges.
Both options are fine, it just depends on what kind of look you're going for.
Now, this is important!
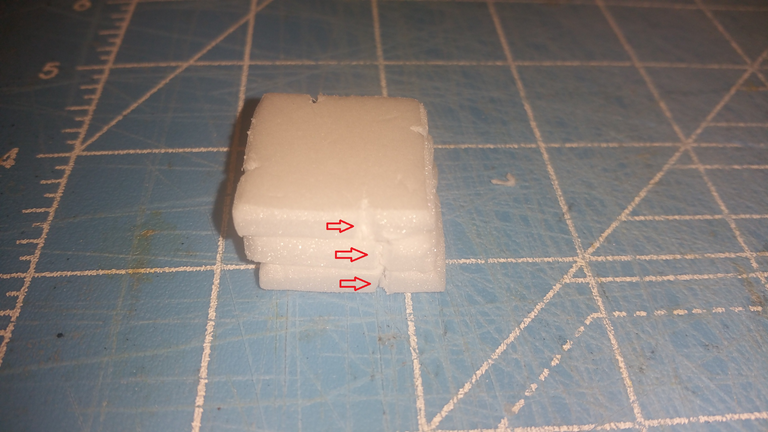
When you stack the 1x1 inch pieces...you want the notches to alternate.
They need to look like this:
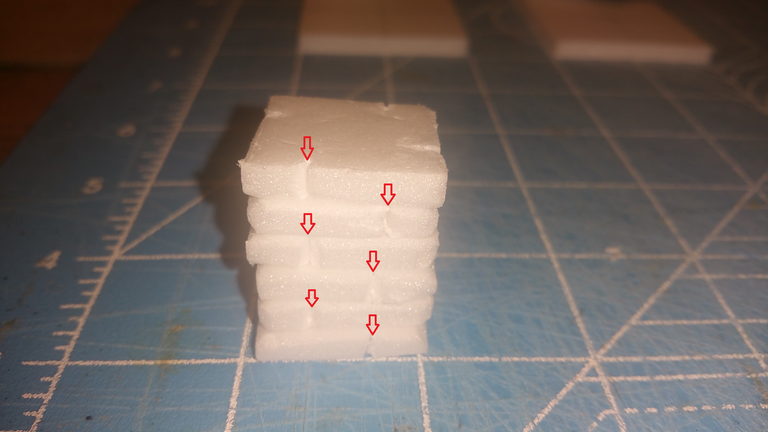
NOT THIS!
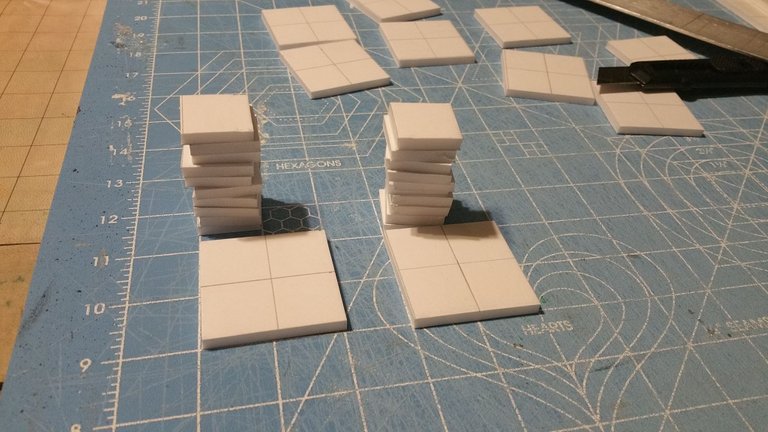
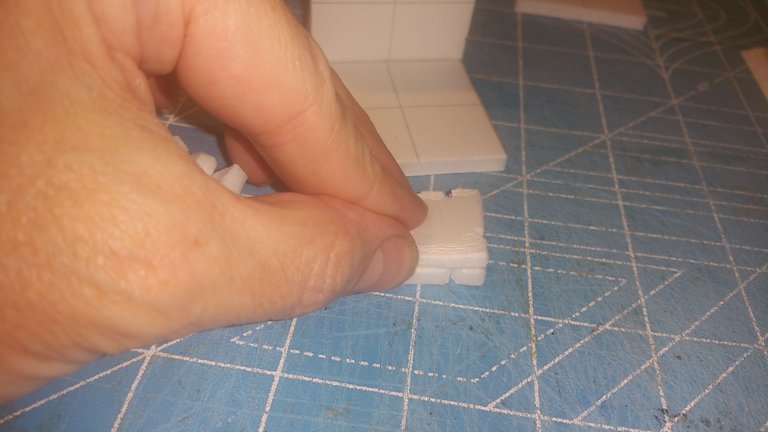
Now, get ready to glue them all together. I laid them all out, so I know which way they needed to face.
I also made a jig, to help with insuring that the squares were all 'squared up'. You don't have to make the jig, just make sure they pieces are all squared up...top to bottom.
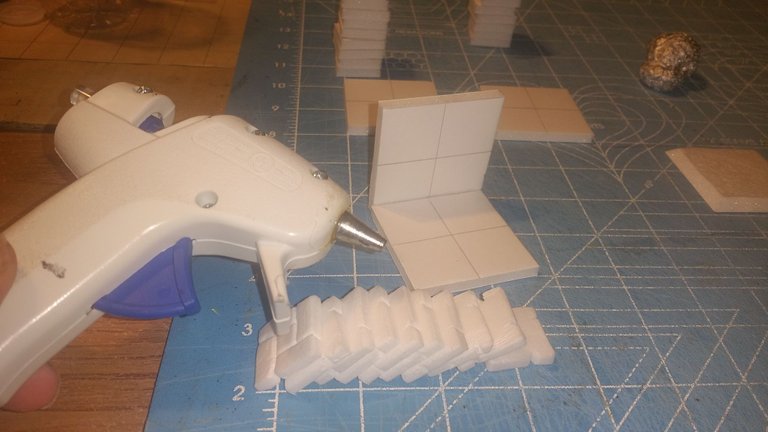
I used a tiny dab of hot glue. This can be a problem if you aren't careful...
If you use too much hot glue, it seeps out between the layers. you can be quick and wipe it off, or leave a little of it.
The other option can be to use white glue. Either way, only use a dab.
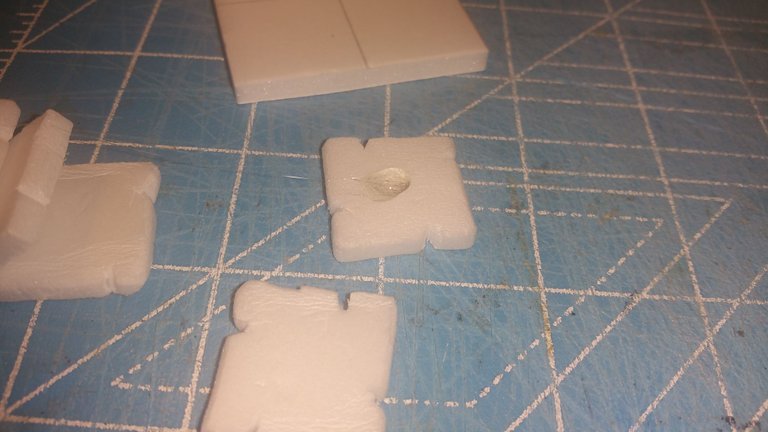
Then glue the top piece on:
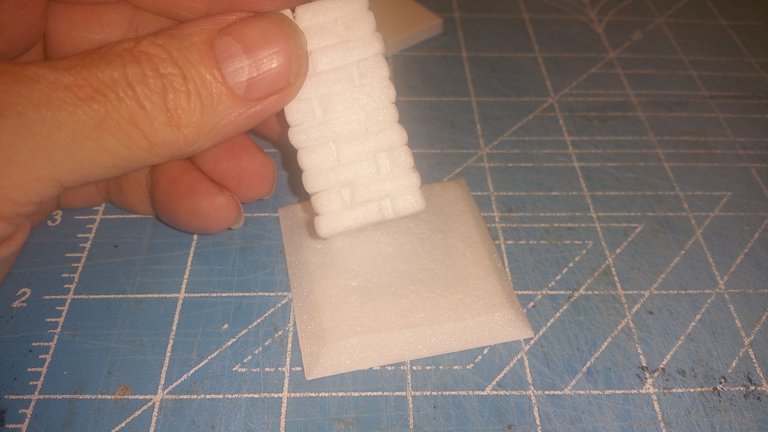
Now, while all those are drying, get the 2x2 inch pieces and you should have only removed 1 side of the paper.
You want to carefully trim the edges and make a bevel:

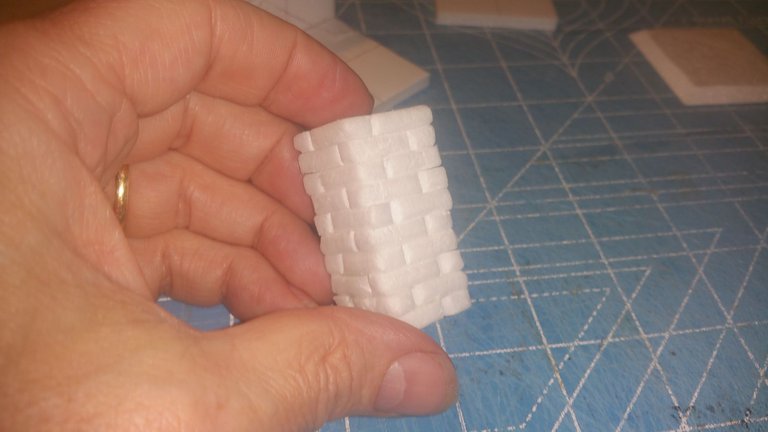
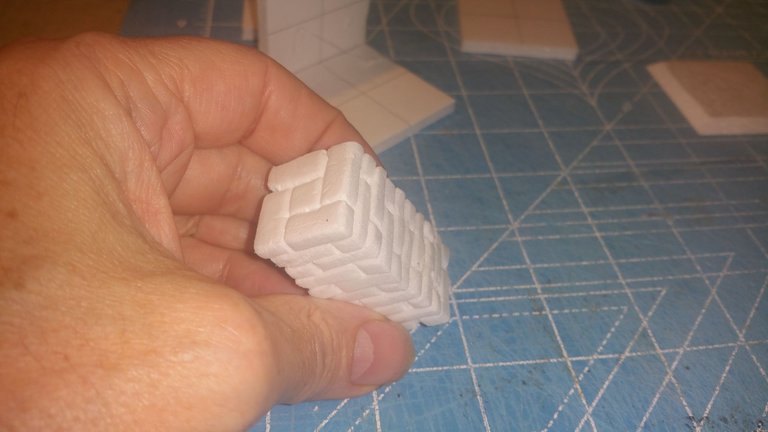
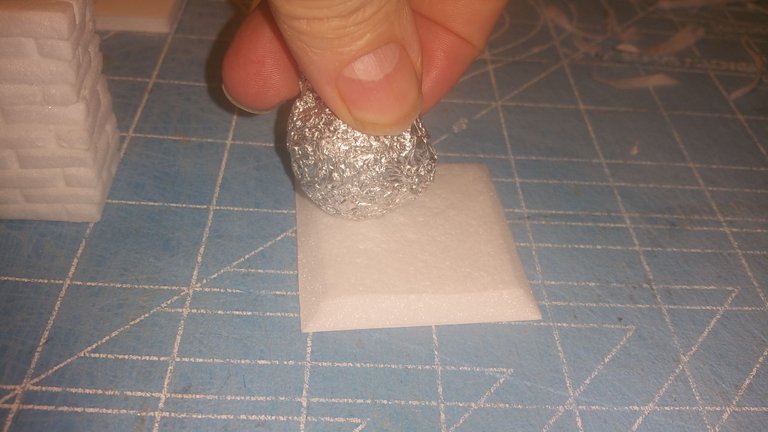
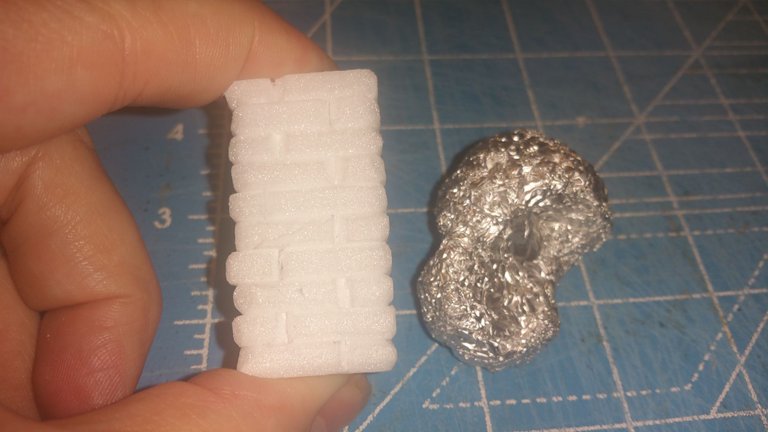
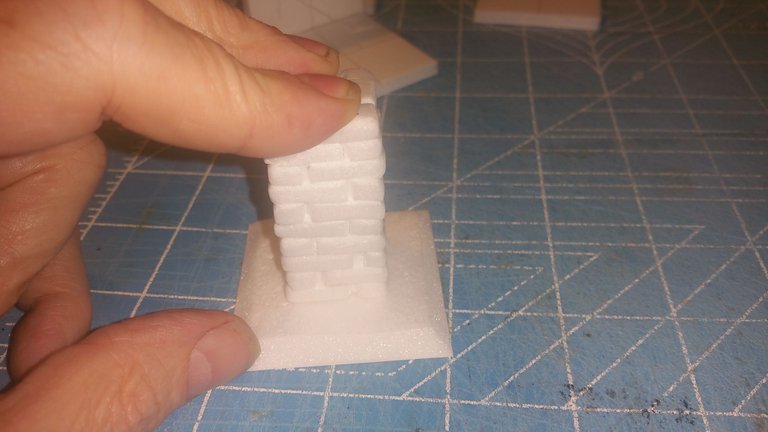
Grab your ball of aluminium foil, and press your 'texture' into the base (the 2x2 inch pieces):
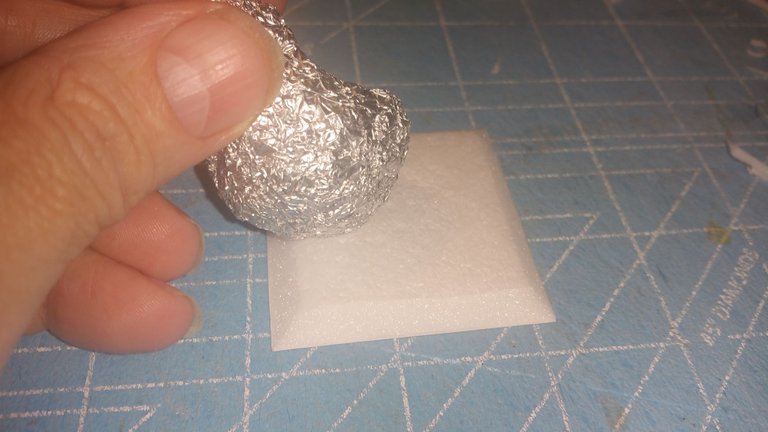
Now, do the same 'texture' on the glued columns (make sure the glue is dry):
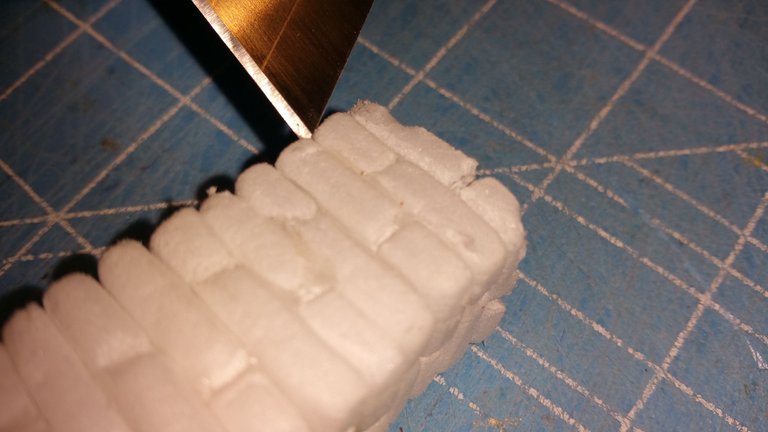
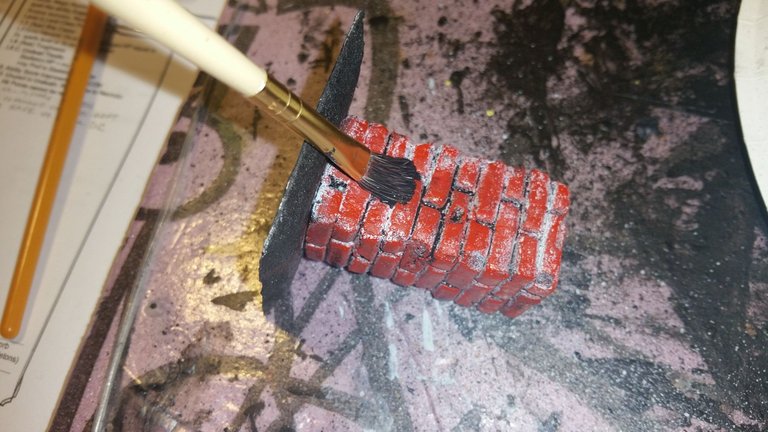
Carefully take the tip (giggity) of the razor, and make some tiny brick holes to show some weathering.
Now glue the columns to the base:

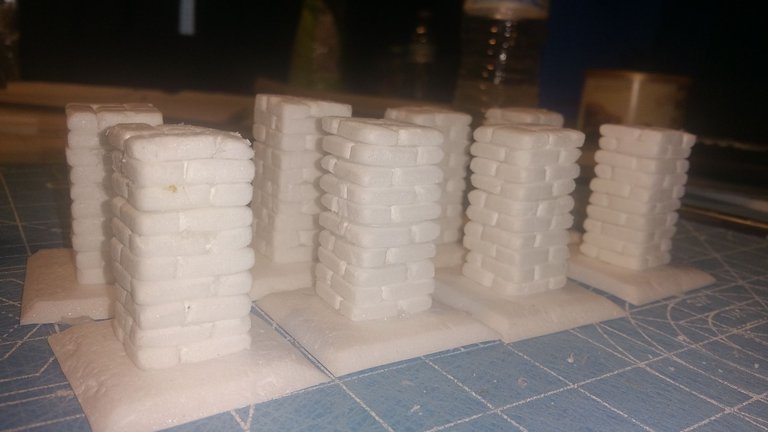
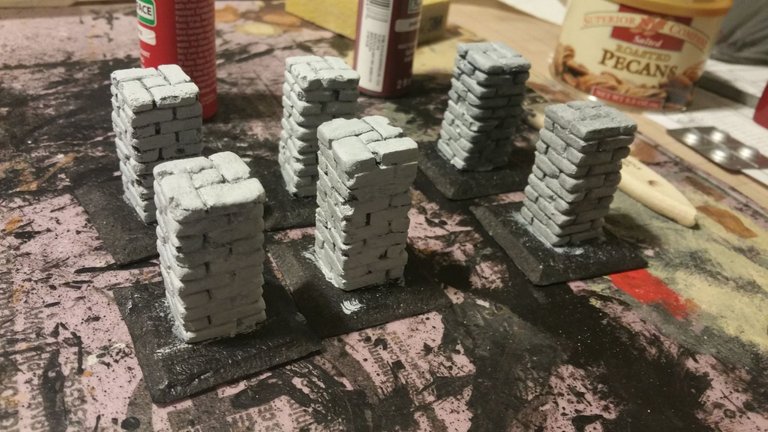
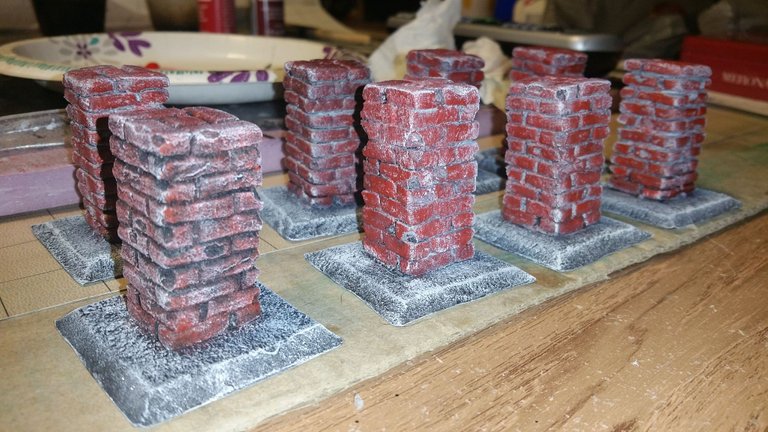
Here is a picture of all 8 that I put together:
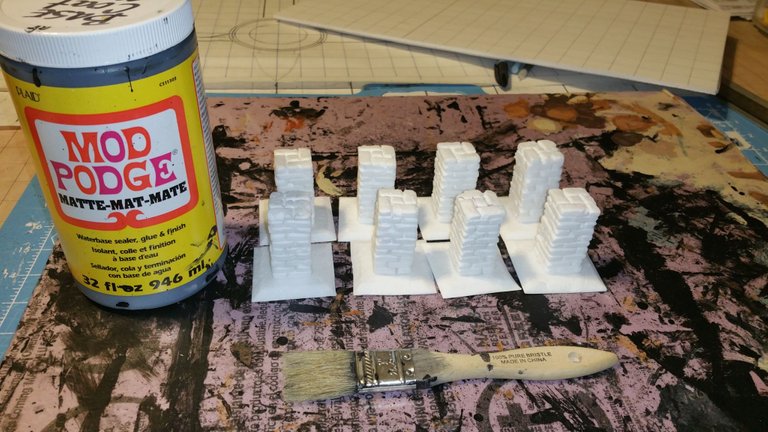
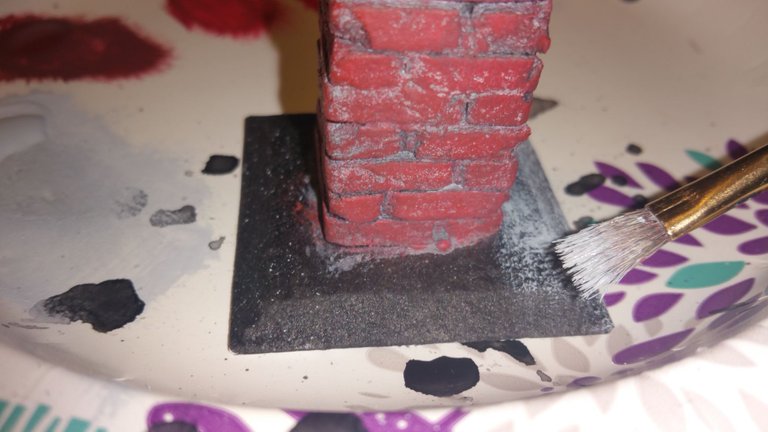
After they are all glued together, I used the base coat mixture of 50/50 black acrylic paint and ModPodge.
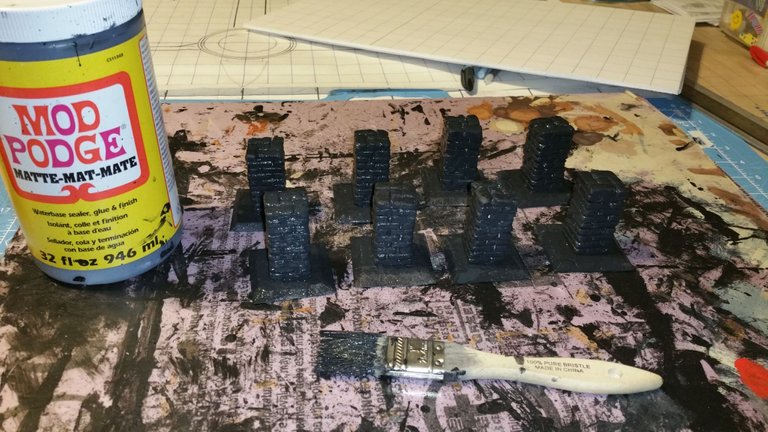
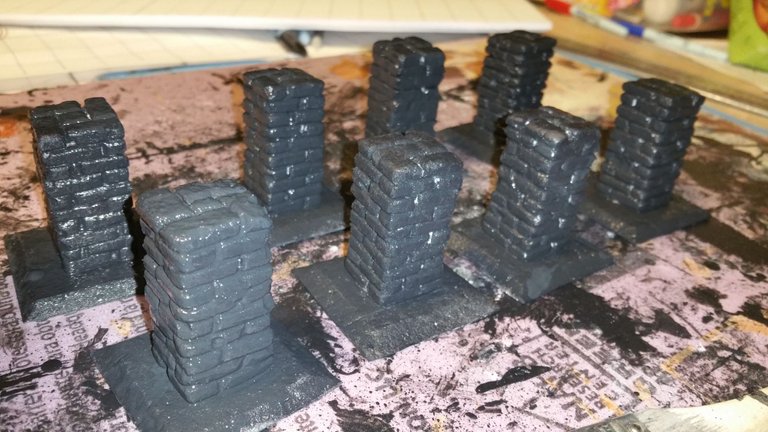
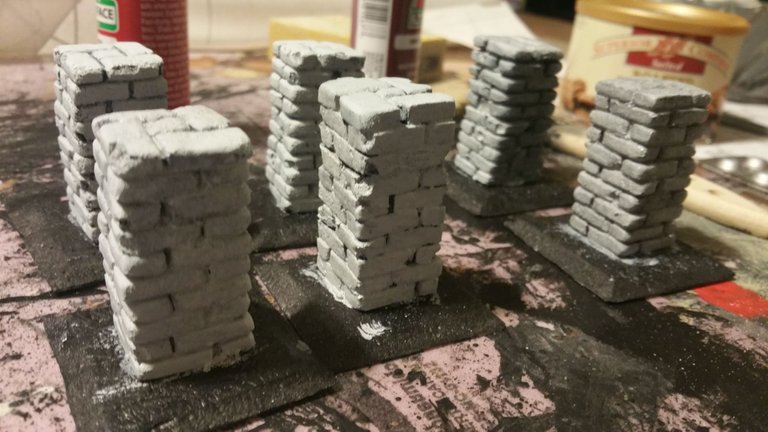
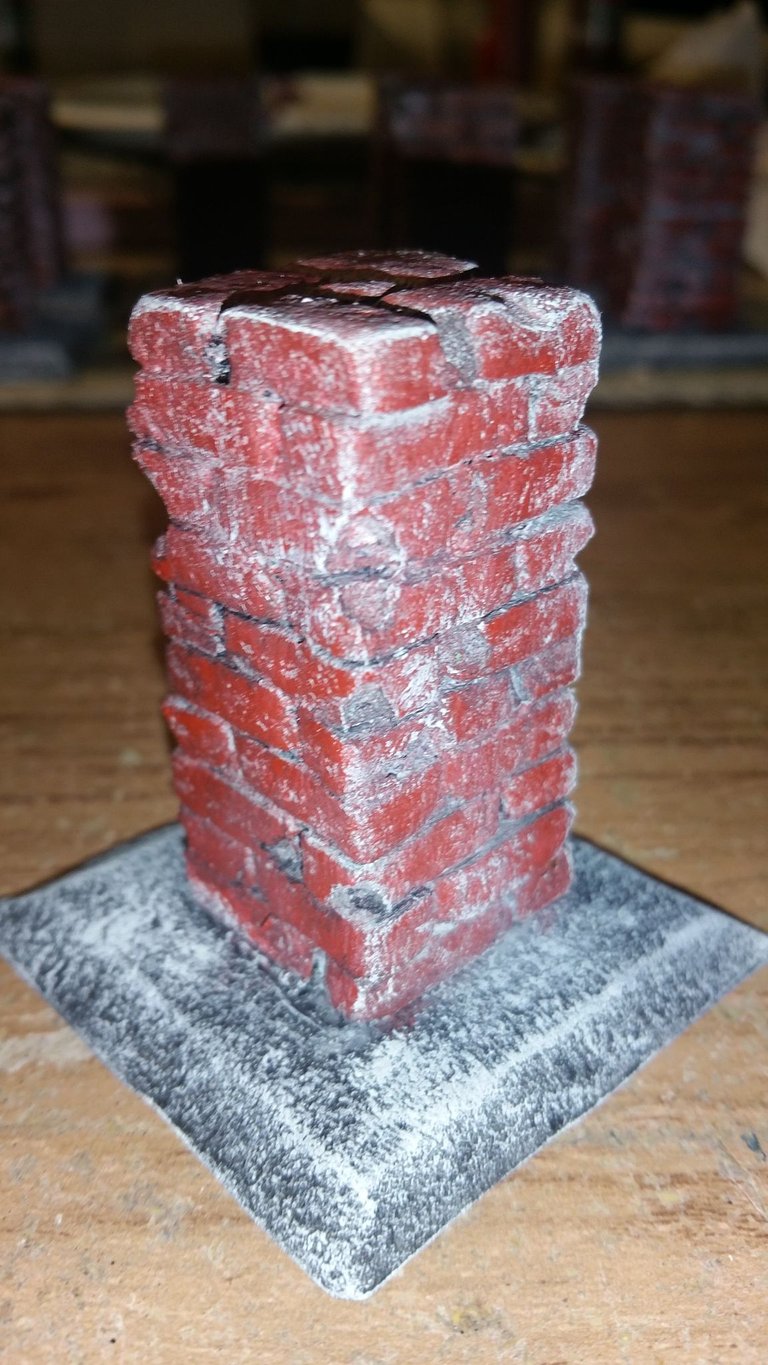
But then I decided that the black paint would be too dark for what I wanted to do. So, I painted them all gray.
This allowed the deeper spots to look like actual grout. I like this option better.
I found 3 different shades of RED that I thought would look good, and make these columns look like real 'red bricks'.
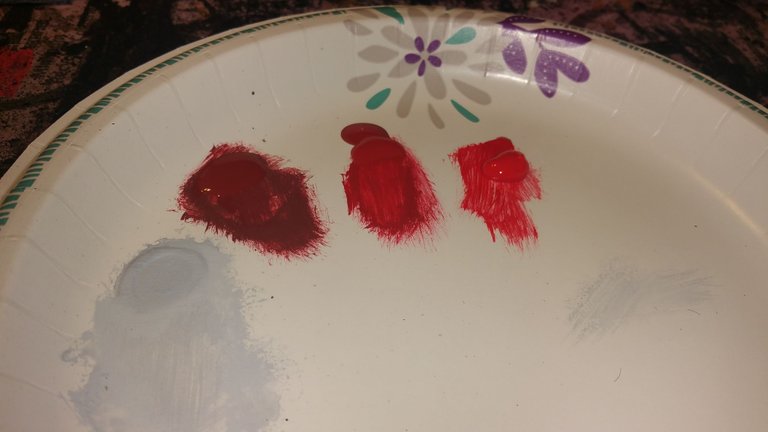
I dry brushed a good coating of a dark RED, (Apple Barrel brand called "Tuscan Red"):
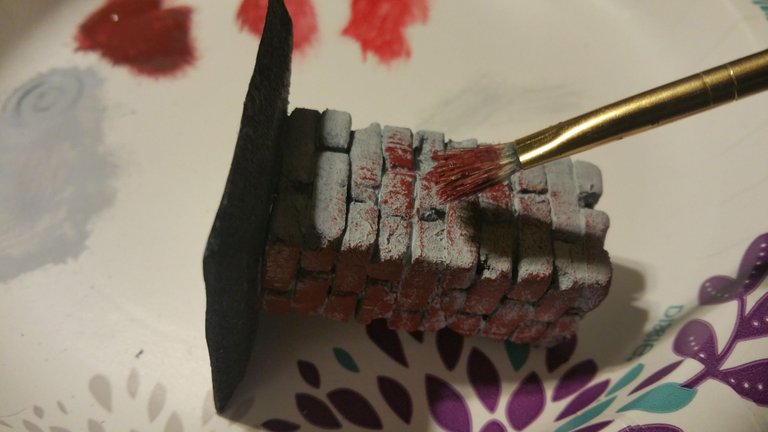
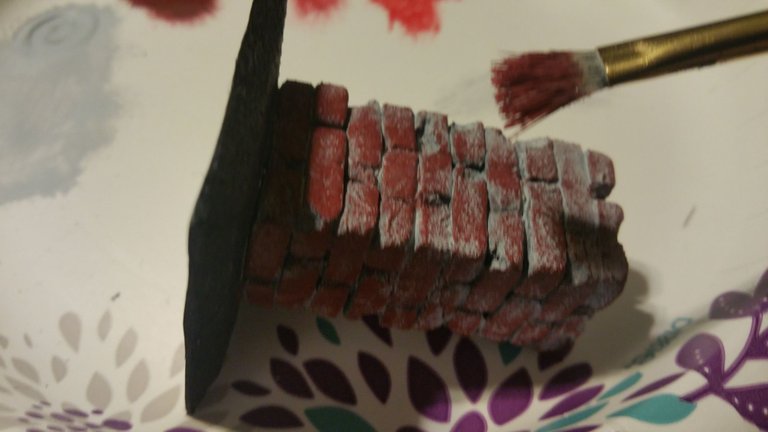
Notice how I avoid getting into the cracks? This gives the visual of the gray grout/cement that's used to lay real bricks.

Then go over the bricks again with the medium RED (Apple Barrel brand called "Flamenco Red").
Then go over the bricks again with the lighter RED, This gives the illusion of highlights. You want to really go light on the light RED, only enough to accent the edges. NOT all of the bricks!
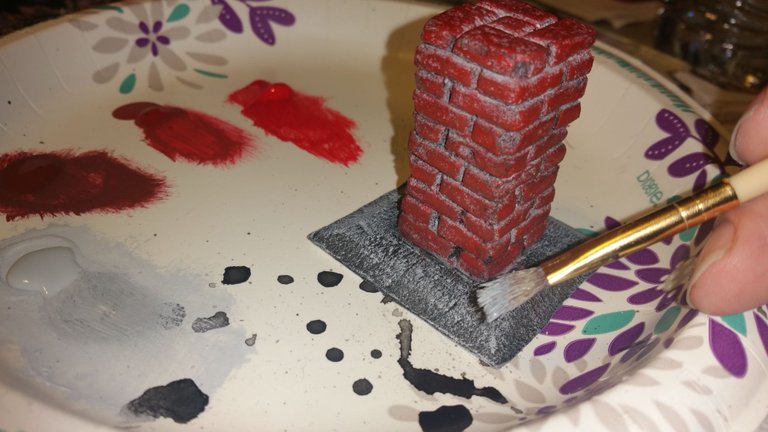
Lightly drybrush the base with a light or medium gray, like this:
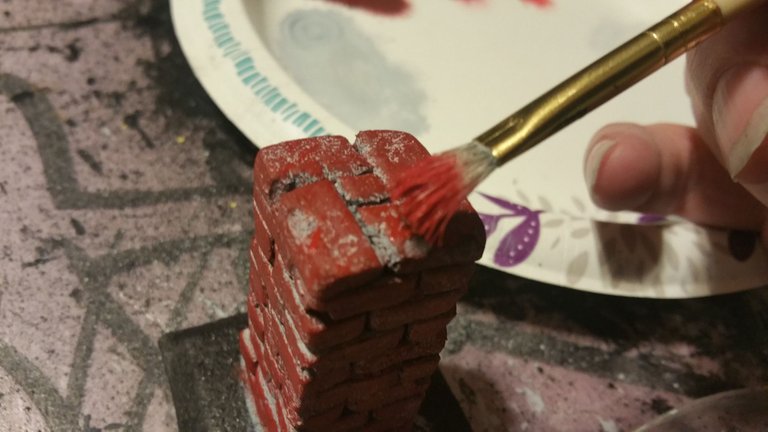
You then can do a dark wash over all of the nooks and crannies. A wash is a very watered down black or brown paint.
When I say 'watered down', I mean you should be able to spread it out like water. You aren't painting with this wash, you are running it over some of the bricks, to pick up some of the shadows.
It gives it a really nice look:
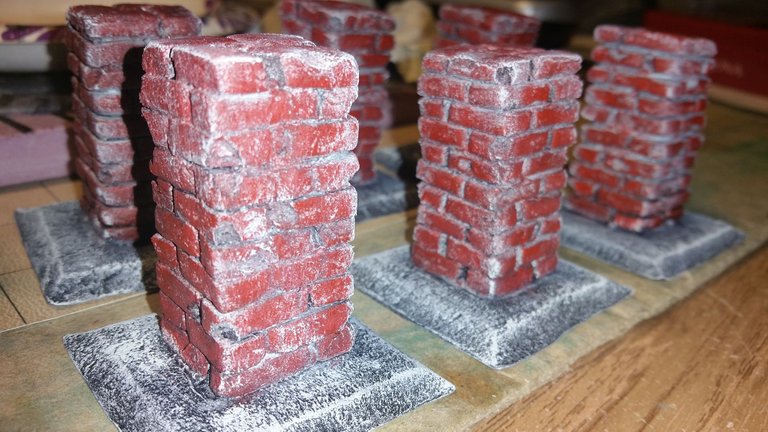
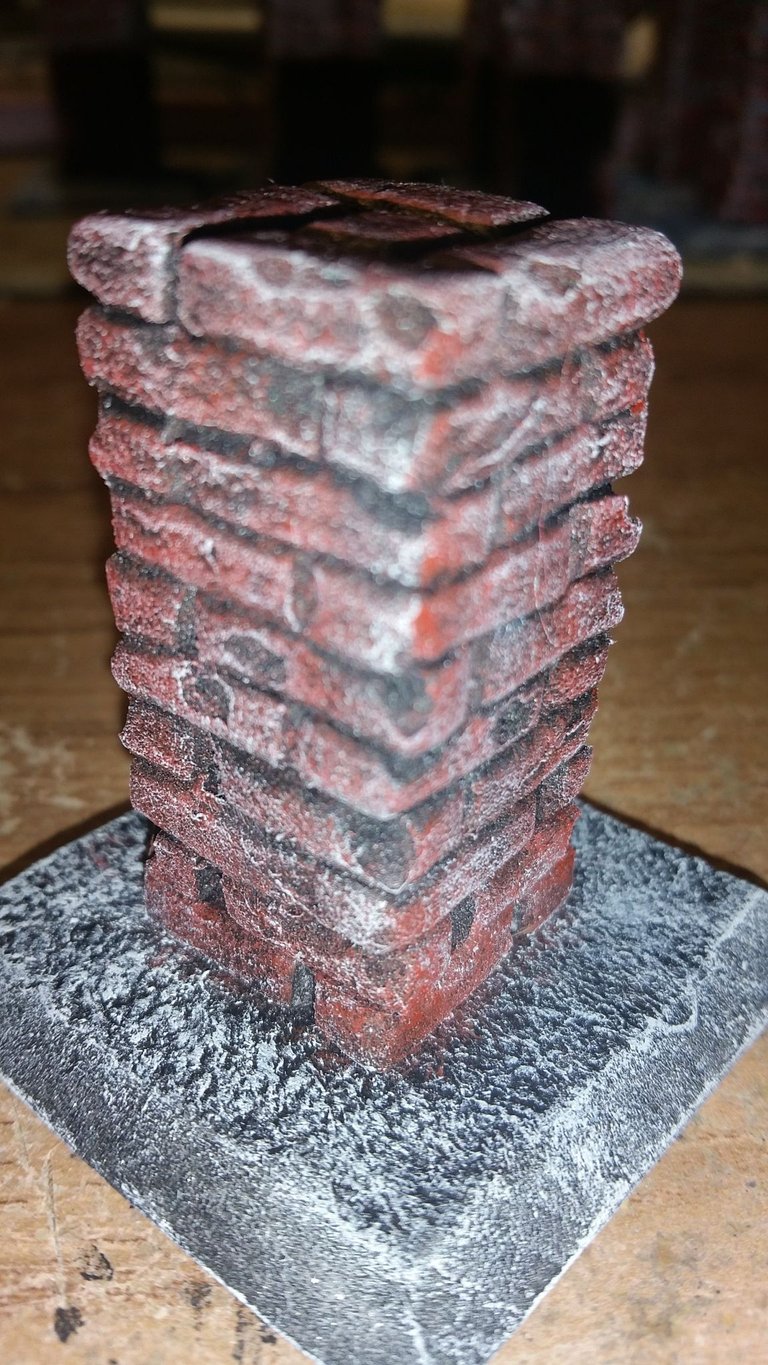
Here are the finished products:
NOTE
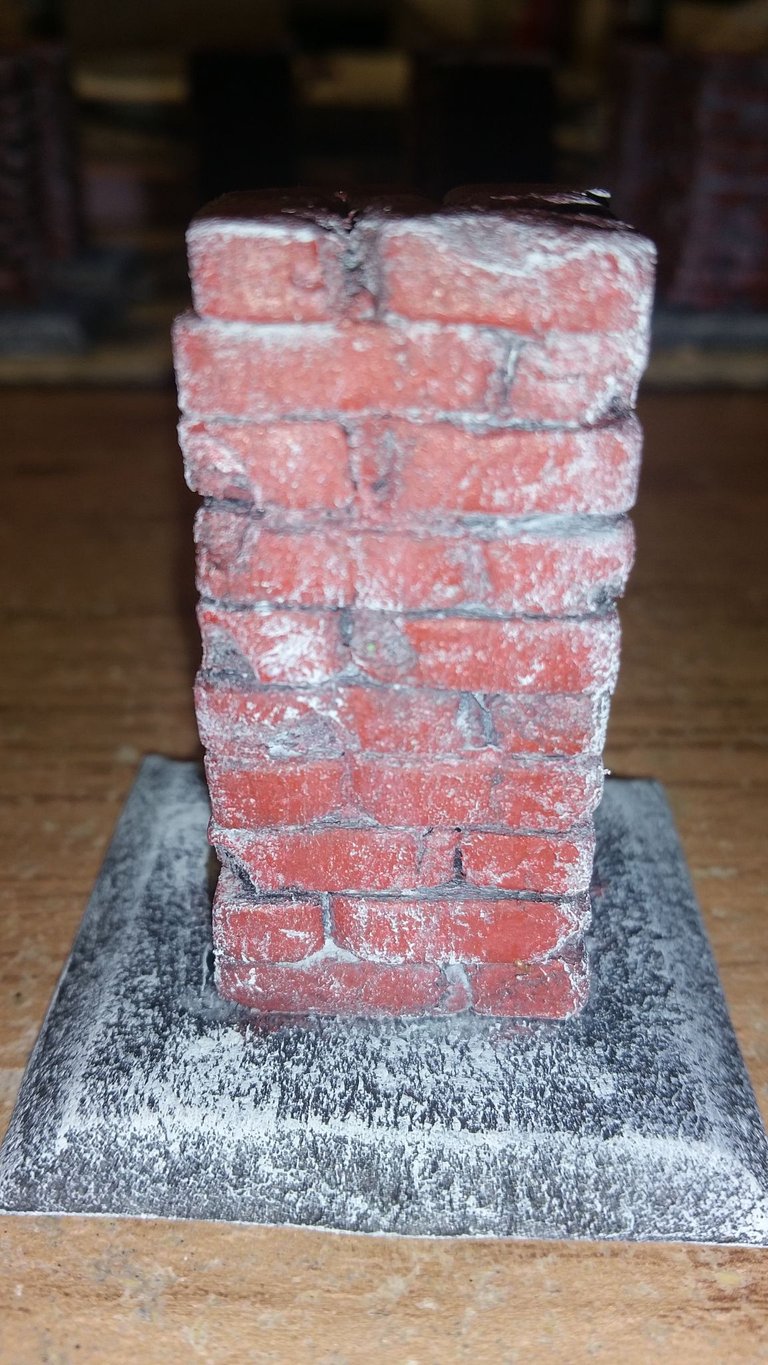
I experimented with using the black as a base coat. Here is one with the black base coat:
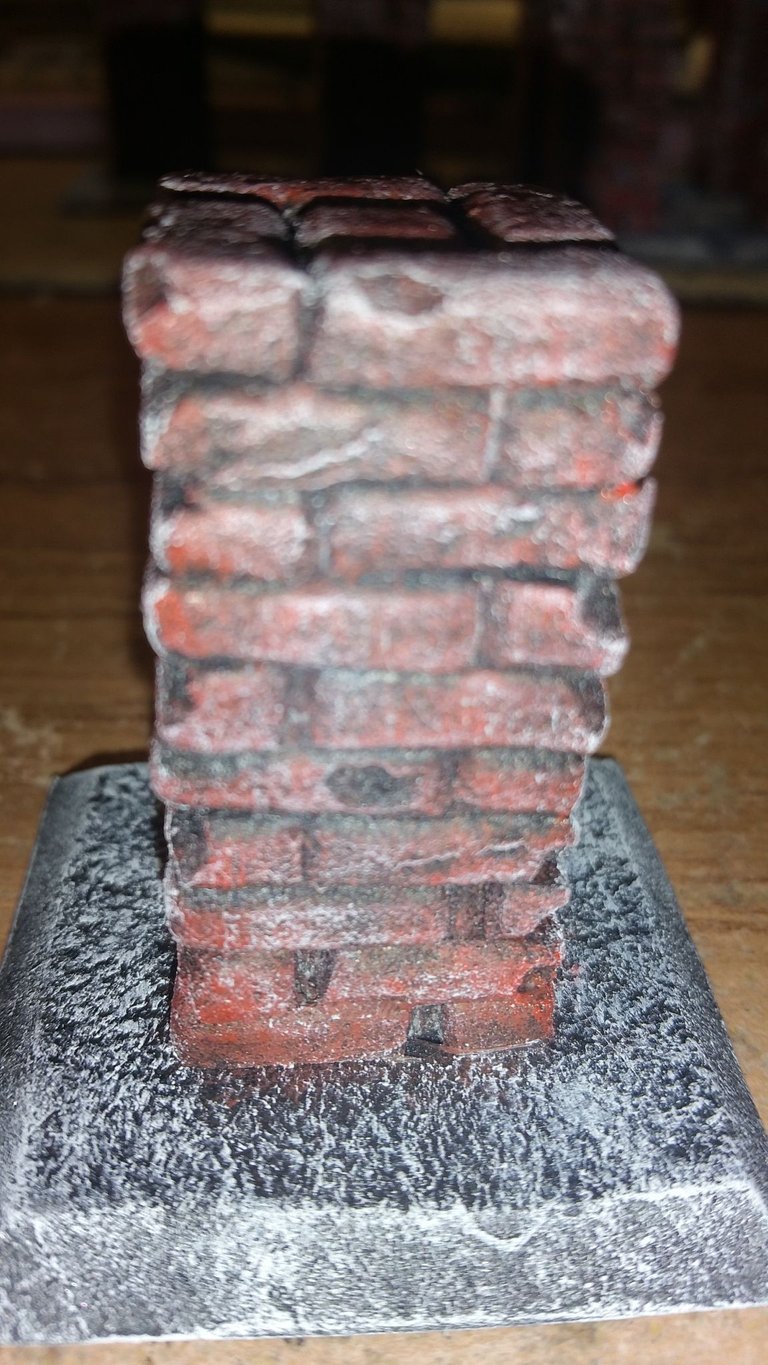
![20180226_015532.jpg]
( )
)
Here is one with the gray base coat (I think these look better, as far as trying to look like real bricks and grout):
Nevertheless, they look really neat...am I right?

Well, that wraps up another tutorial. I really hope you enjoyed these modern brick columns, and I also hope they find a place on your battlefield or plat mat.
I can't wait to see what you build. Post some pictures of your creations!

Very nice! I love your work!
Thank you so much!
So cool! Love this!
Thanks a bunch!