It was the fall of 2015.
Our landscaping business was coming into existence, yet we still had much to figure out over the long prairie winter. Things were starting to look up as we began a new relationship with Gen's mother. We decided on a living arrangement that would help us save money and get our plans off the ground.. call it a unique sort of mini co-operative. We had a garage to store our tools in, a driveway for our truck and the use of a beautiful house. What we needed next was a private space for sleeping and brainstorming!
Long story short, I came up with the idea to build this shed. The shed came to be from my attendance and involvement in the Saskatoon Tiny House community. At the time we were really interested in the idea of tiny houses and the freedom that came along with them. Most people were interested in tiny houses on wheels, however I really liked the design of a ready to move structure built on skids. I guess I like being closer to the ground!
The group had many meetings and we got to discuss some of the details with city officials (as tiny houses are not really an excepted thing in our community). I learned that a regular city lot with a house on it could potentially have up to five small out buildings each up to ten square metres in footprint with no permits involved. This was the game changer for me. I knew exactly what I was going to do and I went about planning!
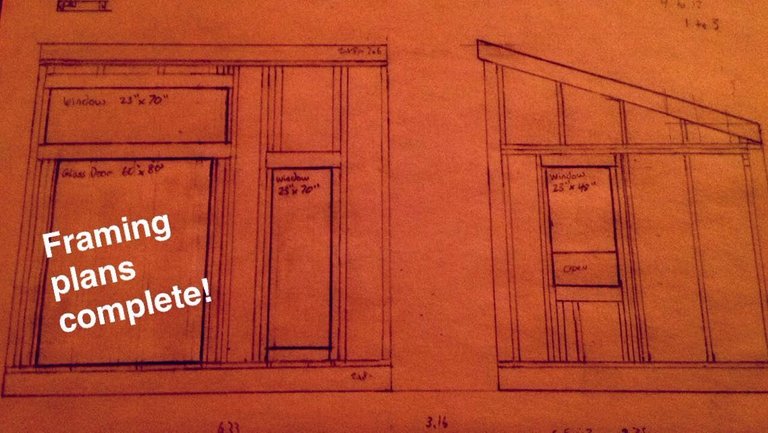
Did I mention I love planning and drafting out my ideas.. I cant get enough of making my ideas into real plans, it can be quite rewarding. The planning stage involved making a floor plan, drafting up the framing, sourcing a door and windows, deciding on the buildings location within the back yard, and doing a lumber count and cost estimate.
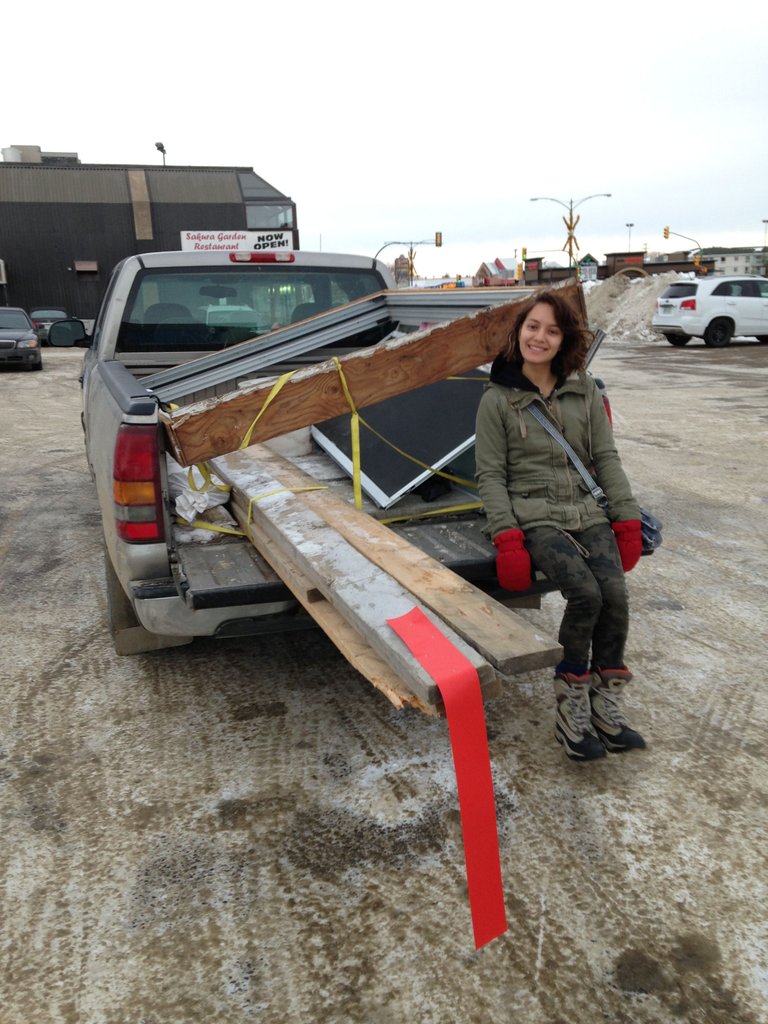
We took every opportunity we got to stop by at the Habitat For Humanity Re-store to stock up on material we could re-purpose into our build. We found all of our windows, the door and about 25% of our framing lumber there! The next step was marking ourlocation and foundation.
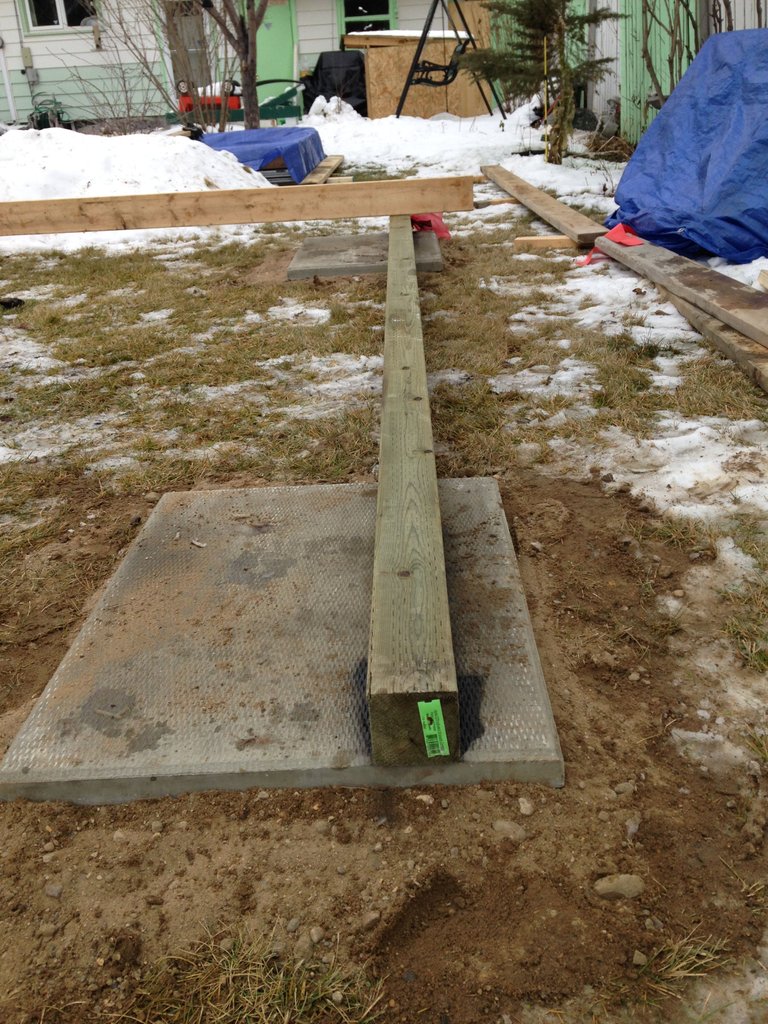
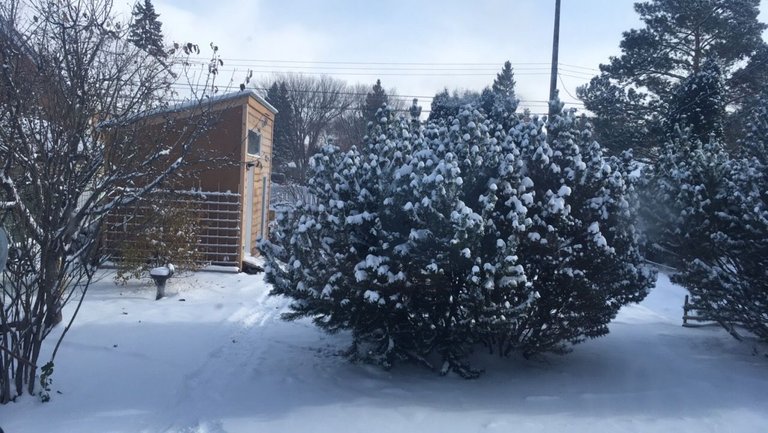
The backyard is mostly garden, so I wanted a spot that wasn't "in the way" with decent privacy and solar exposure. I chose a spot near the North fence out by the compost bins where we once had a fire pit. There it wouldn't block any gardens or views from the house. I started by making piles of sand where the patio blocks would go, raked them as level as possible and then put down the blocks. It took a bit of play to get things in order with the level but we figured it out. We then added pressure treated green 4x4's to build the floor system on top of.
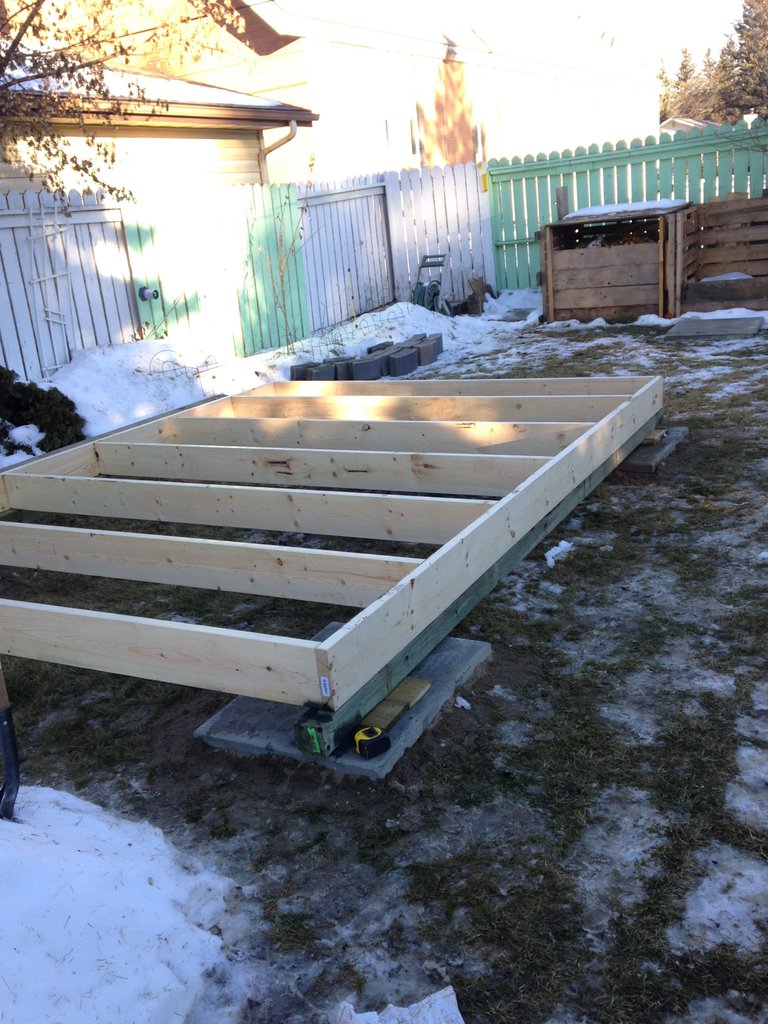
The floor was built with 2x8's on 24" centres. I wanted it to be very sturdy in the event that we would one day move it. With a strong and well insulated floor what could go wrong?
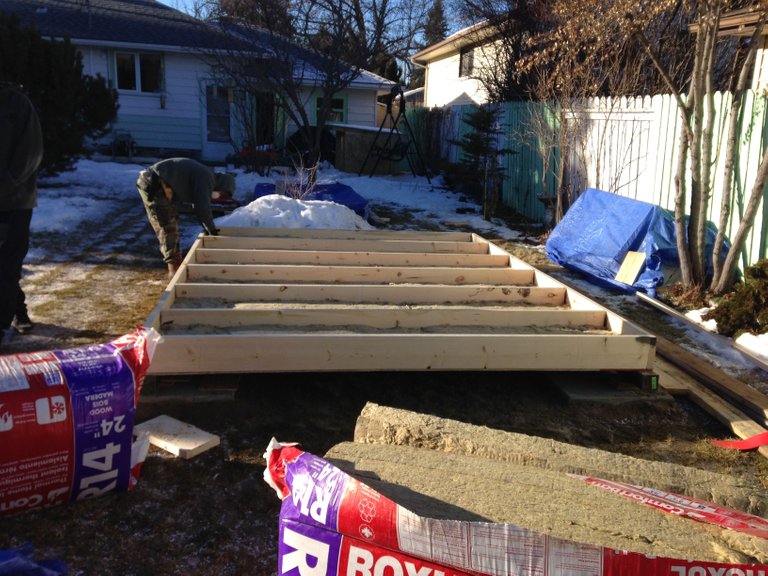
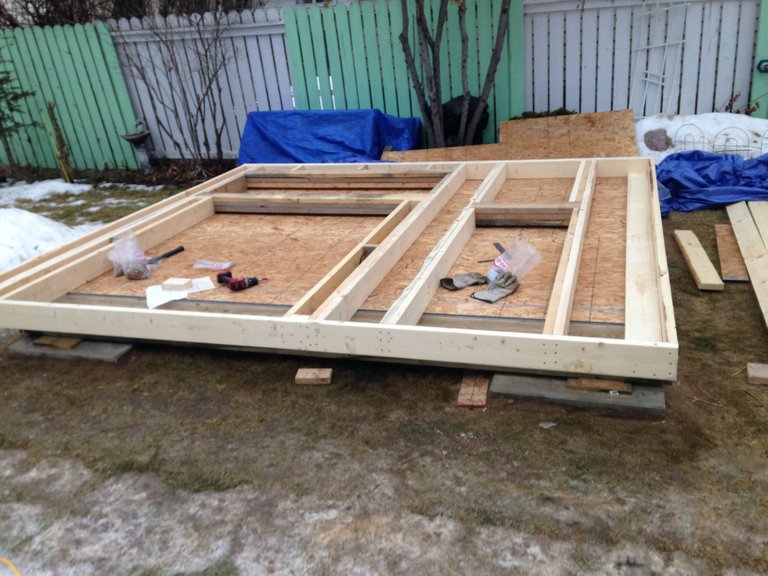
From my previous experience in the construction trade I have come to the conclusion that fibreglass insulation is vile in many ways.. it gives me horrible allergies, doesn't holdup its shape and tends to harbour mould easily. I decided on using mineral wool (ROXUL) for the entire project as I believe it superior in all those areas (and very fire resistant), it did cost more money but I could live with that. We did a double layer of insulation to fill the entire space with a decent value of R28. Vapour barrier was added and next was the tongue and groove sub-floor.
With the framing details all worked out on paper it was time to work on the biggest and most challenging wall. I designed the south wall to take in as much light as possible in order to create a bright living space during our cold winters. It could be considered a pseudo passive solar shed, it would also work great for growing plants year round inside. I decided on thick 2x6 walls for the added insulation. Once I began framing it I realised how heavy the framing had become, after I added the sheeting I invited one of my really strong friends over to see if we could stand the thing up.
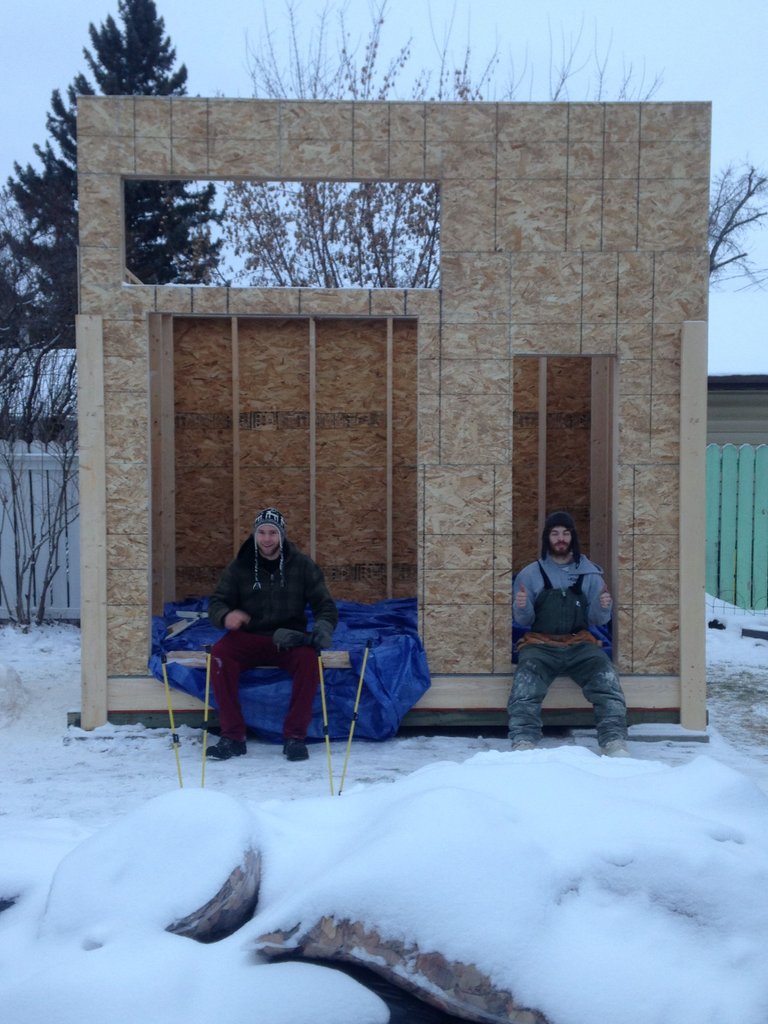
We got it up! However I did learn to never attempt standing such a wall with only two people, wow was it heavy! I then worked on the other walls and they went up pretty easy. I got them all level and squared up then added the header boards to tie them together for good.

The roof was interesting as I am I huge fan of large overhangs and here I was doing the opposite. Why?, because I needed the structure to stay within a certain footprint in order to stay permit free. I crunched the numbers and just made it work out with an inch and a half overhang all the way around. The shed style lean-to roof was pleasantly easy to build on my own.
Continued in Part 2!
Hey @localprairie. I am loving your post very much. So much detail here, that it feels like I can come back here to check out certain details, when building stuff myself. Can't wait for part 2.
Thanks a bunch for the kind words! glad you enjoyed it.. please let it help you build your own dreams! Part 2 is ready for ya!
This gem of a post was discovered by the OCD Team!
Reply to this comment if you accept, and are willing to let us promote your gem of a post! By accepting this, you have a chance to receive extra rewards and one of your photos in this article will be used on our compilation post!
You can follow @ocd – learn more about the project and see other Gems! We strive for transparency.
If you would like your posts to be resteemed by @ocd to reach a bigger audience, use the tag #ocd-resteem. You can read about it here.