Welcome to Part 2,
let me continue where I left off.
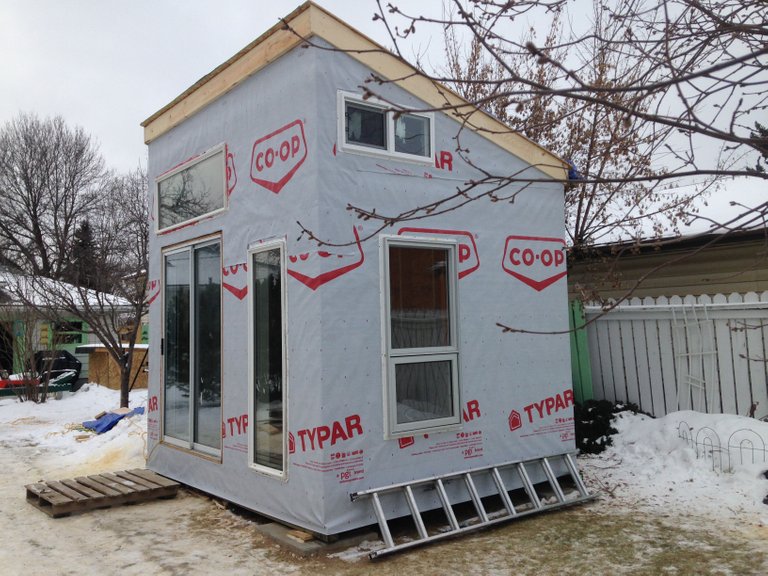
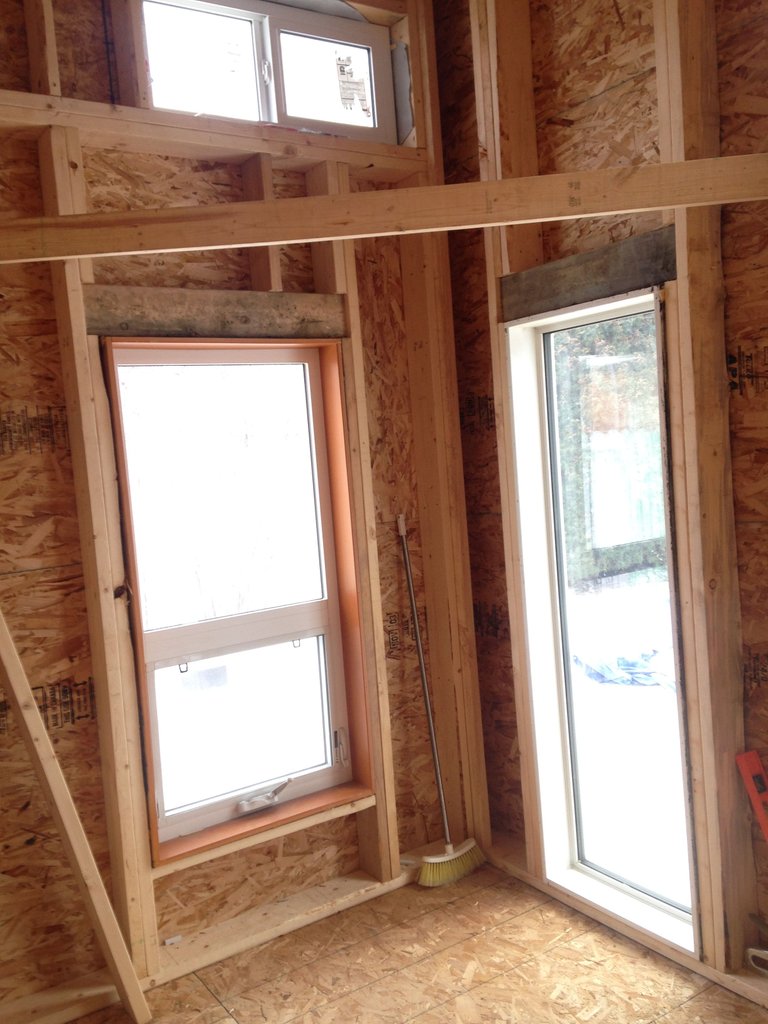
It was well into December by this point and I wanted a heated space to work in. We went ahead and installed the windows and doors, the building wrap was also done to keep the wind out. It was starting to look like my vision by this point so I made a goal of having it liveable by Gen's birthday at the end of January! Now it was time to do the electrical and hook up a heater.
I've done some electrical work in the past with men skilled in the trade, however on this project it was just me. As I often do when life presents me with a challenge..I went to the local library and took out as many books on the subject as I could find! I spent the holiday season reading, sketching and asking questions. Once the work looked good on paper I bought the rather expensive hardware and went to work, it was slower going than I expected. I had 3-way switches and dimmers which made it even more interesting. I tied it together into a sub panel with some breakers left open for future needs, I then found a weather proof male end that I installed on the outside of the building. It could now be powered by an extension cord from the garage or from a generator/PV system! Next came the exciting part.... To test it out! Wow was I a happy camper when it actually all worked. Doing your homework does pay off!! I was so focused and busy figuring out the details that I didn't even take any pictures sorry :p
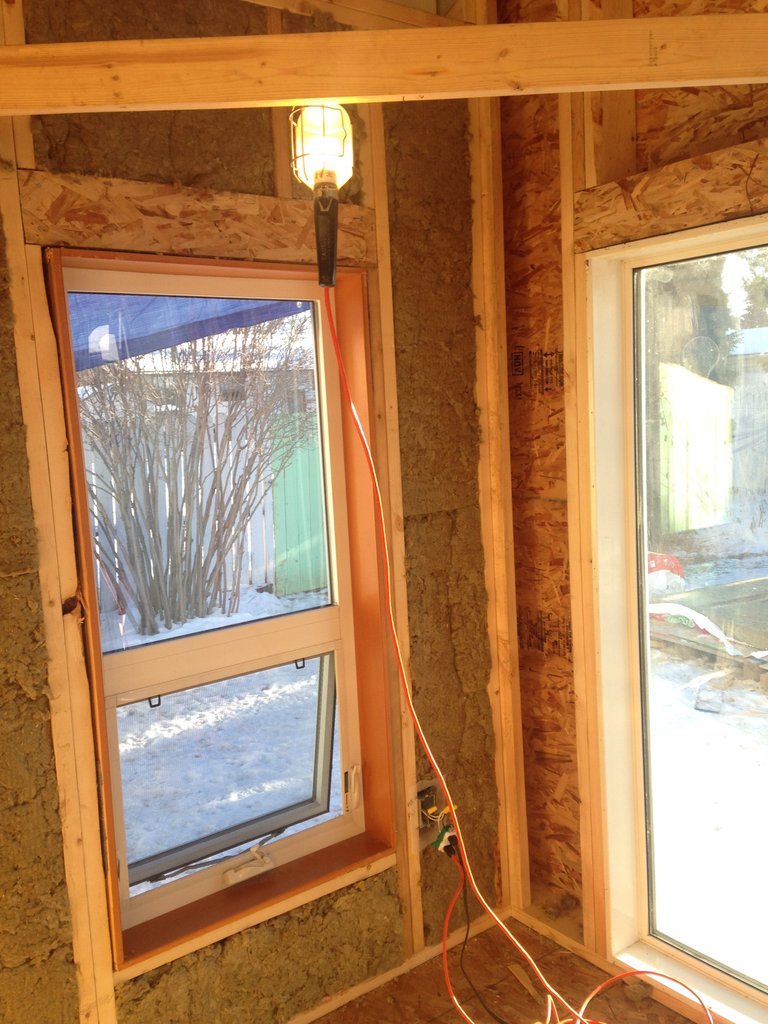
It was time for insulation, once again I decided to use mineral wool for the walls and ceiling. During this part it is very important to cover up, wear a mask and have good ventilation. Even though it is a better product than fibreglass a person still has to be health conscious!
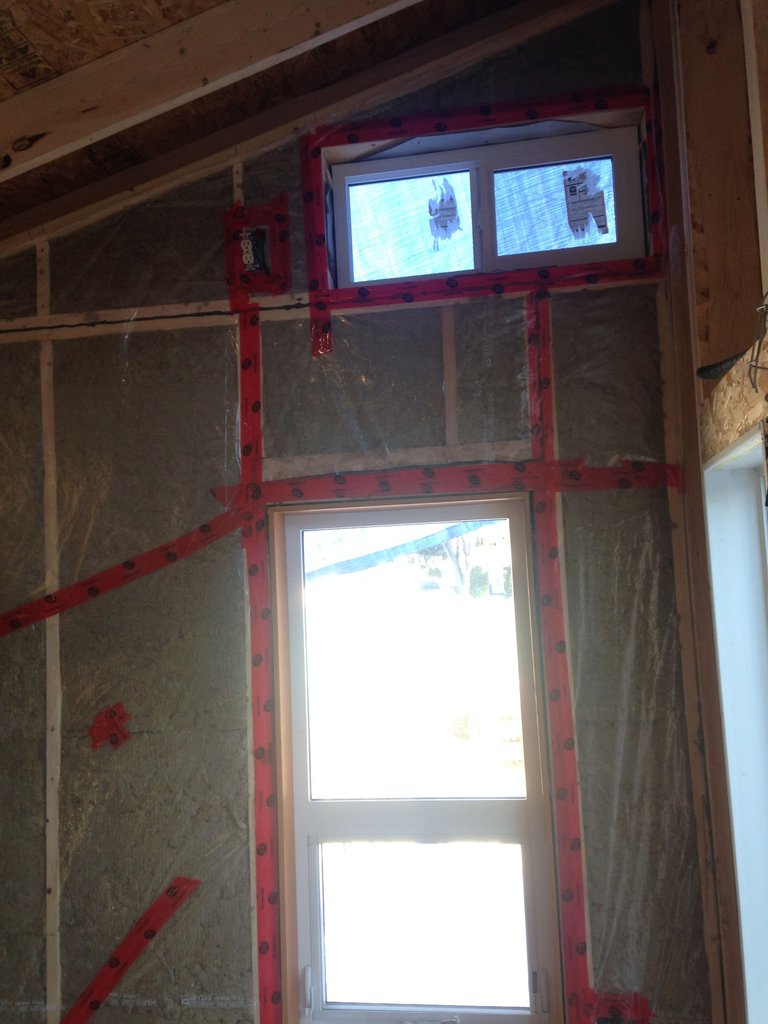
We next installed a layer a vapour barrier to seal it all up, making sure to also seal up around the windows and electrical in the process.
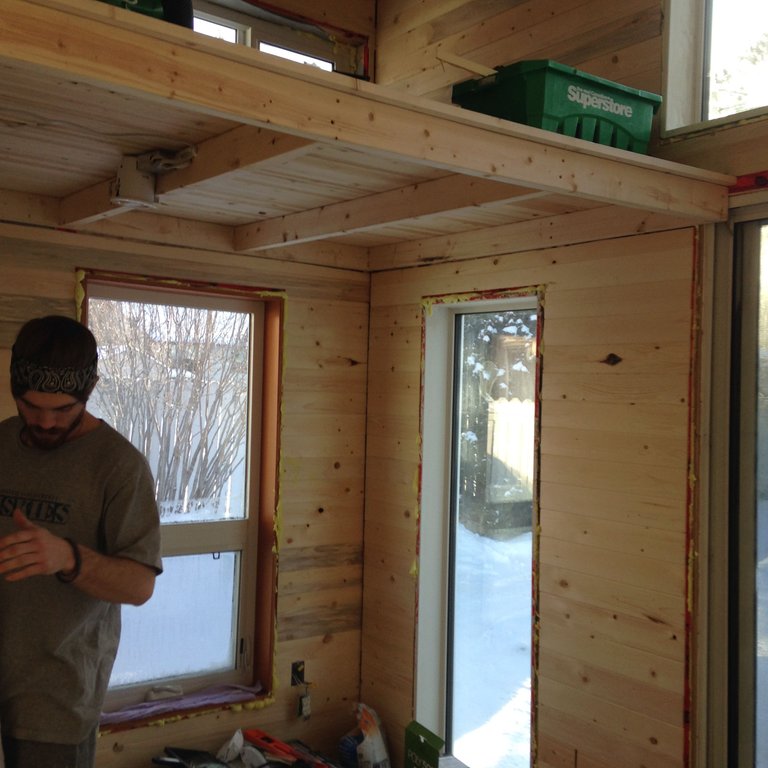
The loft was framed and lifted into place, extra long screws were used to keep it solid. Now it was time for the pine interior! This was when the inside started to look quite pretty. I used economy grade tongue and groove pine, it is cheap stuff but it was within the budget and it looks just fine.
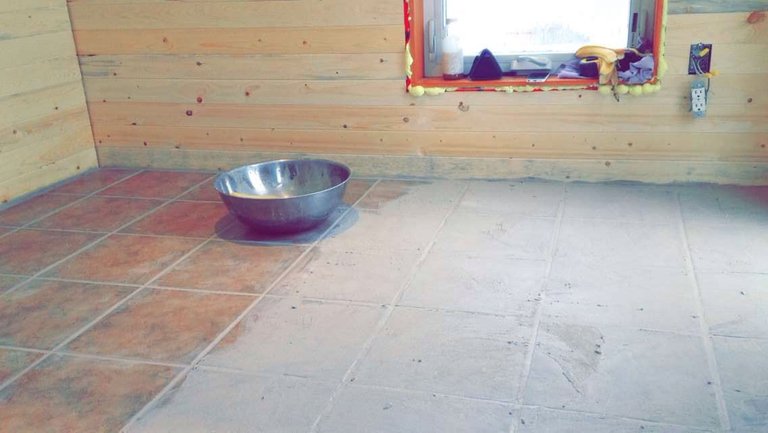
Out at my fathers acreage I had some left over tiles from Habitat For Humanity, we had bough a truckload of them a couple years in the past when we built our first house (another story). I picked through the pile and brought back enough for the shed floor. Oh how I love tile floors, aside from the crazy amount of labour they take to install. I put in 3/4" spruce plywood over top of the sub-floor to make things super strong in order to keep the tiles from ever cracking or shifting. We had a fun time doing the tile floor in two sections. First you mix and put the mortar down evenly, then you put the tiles down making sure to put in spacers to keep the gaps all even while it dries. After it dries you can mix and apply the grout between tiles, using a wet sponge to take away the extra and give it a smooth finished look.
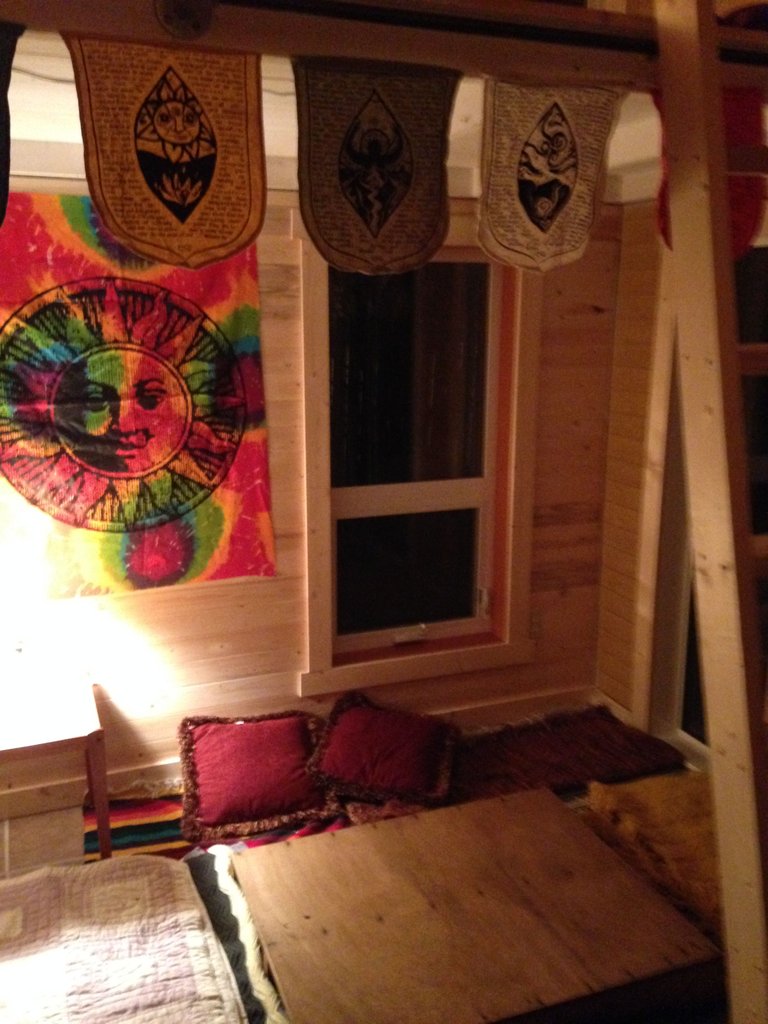
At this point it was almost February and we started hanging out in there! I had made my goal and we slowly worked on the trim and shelving. It turned out to be a small but fun project that I think anyone could accomplish with a bit of help!
When we bought our land I got a hold of a farmer who was selling old 8" ship-lap spruce siding, I decided to use that on the front of the shed.. and I ended up using the rest for an outhouse out at the land. The back and sides were done in 4'x8' sections of ship-lap looking sheets for ease of installation and economical cost.

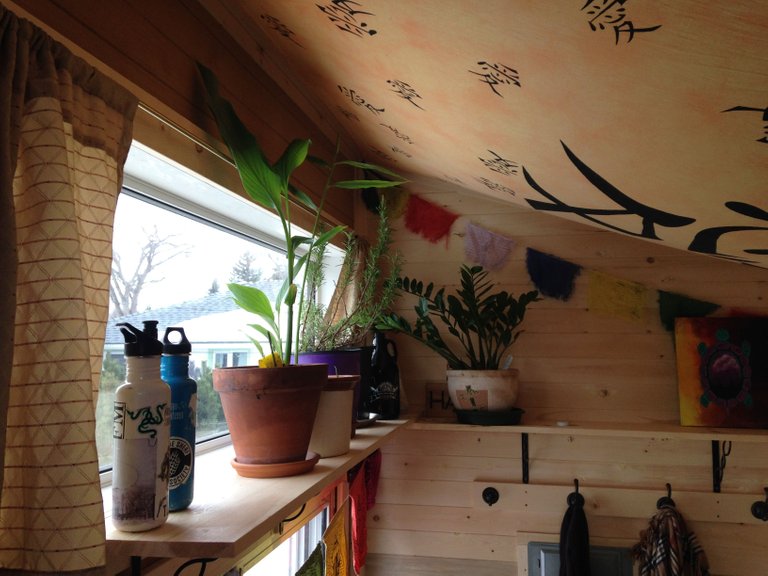
The Shed has been well used, we enjoy the small space tremendously! We have had gatherings (you would be surprised how many people we have fit in there!), business meetings and tea parties in it. Gen and I sleep in the loft most nights when we are in the city, except in the middle of summer when the loft just wont cool down unless there is a breeze coming through the windows. We spend time in it reading and designing during the winter months when the south facing windows make it delightfully sunny inside, the house plants enjoy it as well.
Thanks for reading,
Cass
Look great! Thank you for sharing pictures. I had a chuckle as I was going through it as you called it a 'shed' but it is indeed a tiny home. hehehe. Nice!
Ya calling it the shed just seemed to stick haha so that's it's name. thank ya
Man. Thanks for the heads up for part 2. Happiness, jealousy and the urge to also start building stuff mix by seeing these images. Great work. How many cm of mineral wool did you use? And how does the insulation work out in winter?
I used the 2"x6" (5.5")thick batts from the hardware store if that is what you are asking? R24 inslation value. They work great, however from experience and research I do agree that small buildings do not perform amazing in extreme cold or hot weather.
Did you insulate the floor (below the tiles)? I find that's a massive problem for buildings that sit on the ground - cold floors.
Yes Check out Part 1 where I go into info on the floor! https://steemit.com/tinyhome/@localprairie/the-shed-building-a-tiny-nook