Hello, and welcome to my page!
I started this series about a month ago, but I only wrote the first post in the series before the hard fork. I'm finally getting back to this series of posts with part 2. If you would like to read part one, here's the link to that post.
https://peakd.com/travel-trailer/@amberyooper/rebuilding-my-travel-trailer-part-1
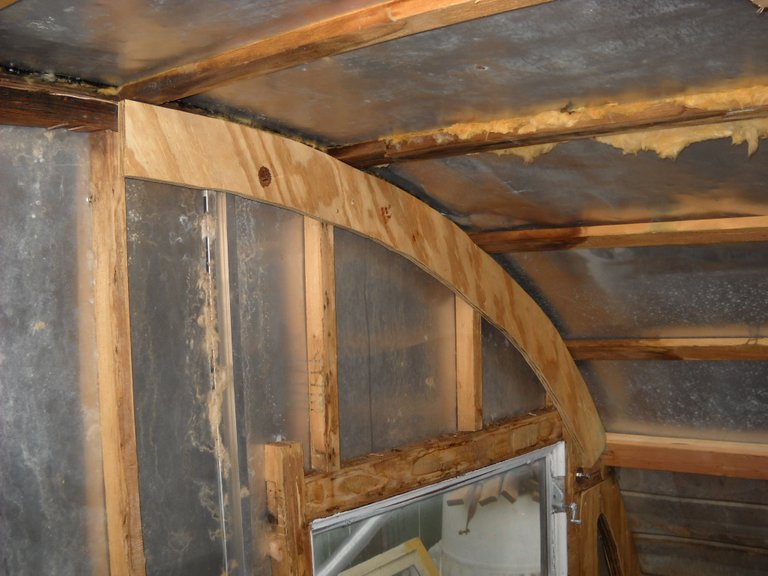
In the first post, I talked about reinforcing the top of the walls in the back of the trailer. The shape of the curve of the top of the walls was formed by a thick laminated strip across the top of the wall that runs the entire length of the top edge. That lamination had deteriorated with time and roof leakage and has to be braced up to continue to hold the ends of the roof supports properly.
After that was done in the back, I started working on the roof supports. This trailer was built a long time ago and they used 1" X 3" wood strips for the roof supports. Those supports sag with very little snow on the roof, so I decided to add to them to give them more support. I had to replace a couple of them because of water damage from leakage, so I decided to do that first.
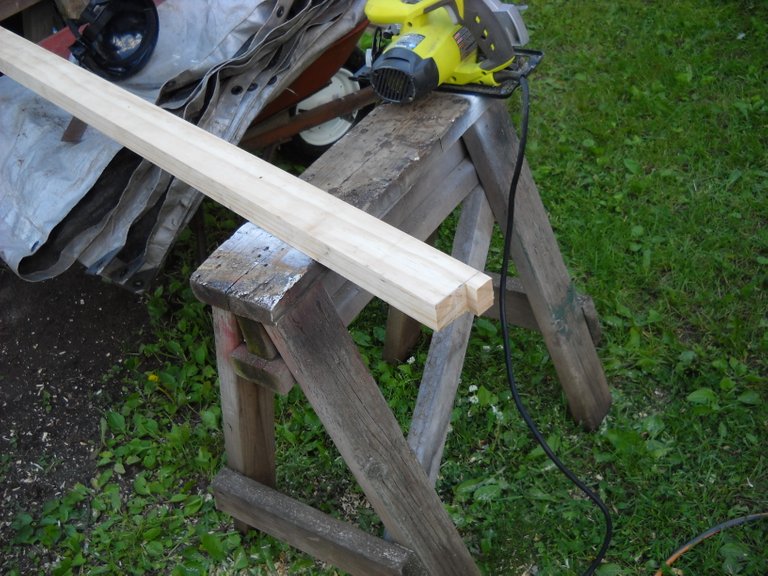
I decided to use clear pine to make the new roof supports. It has no knots, which makes it stronger than regular pine. I bought a 1X6 clear pine board and cut it into 2 strips that were 1X3s. I glued and screwed the 2 boards together to make a laminated 2X3. After that, I cut it to length and notched the ends of the board to fit over the top of the wall support where the original board had been.
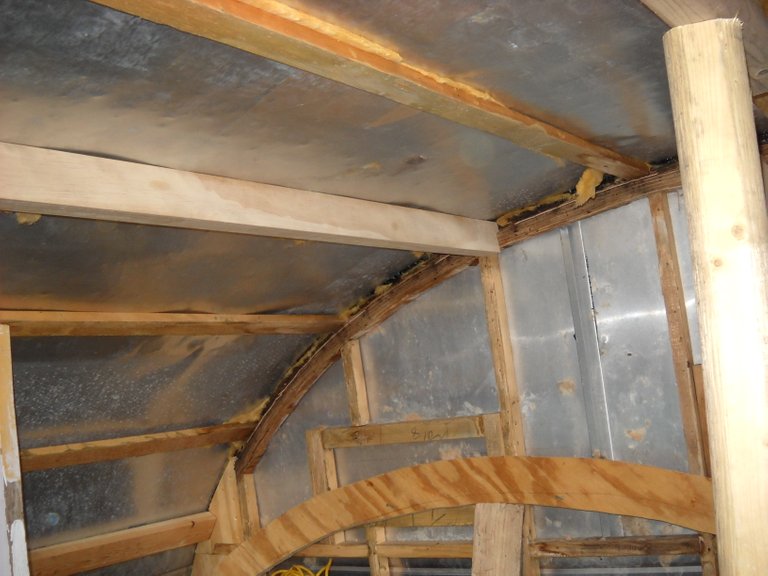
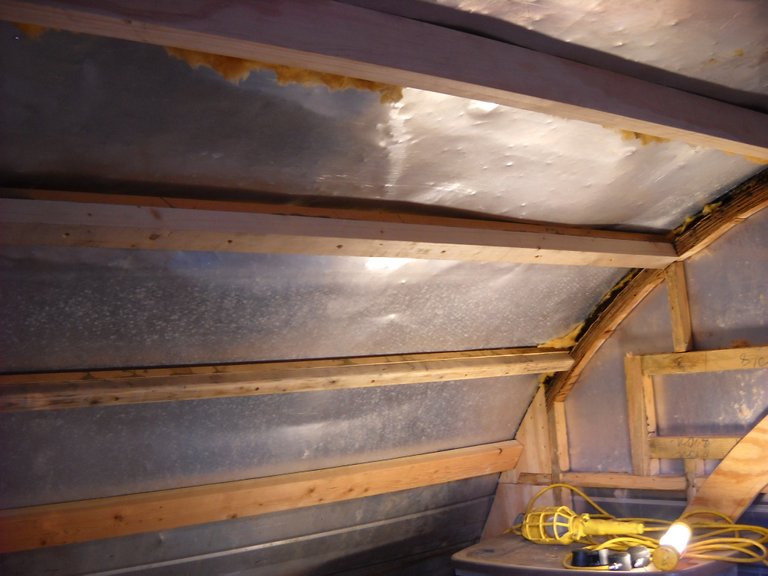
After I got the first support properly fitted and into place, I made a second one to replace the next water damaged support. You can see how the roof supports are positioned on top of the vertical wall joists for strength.
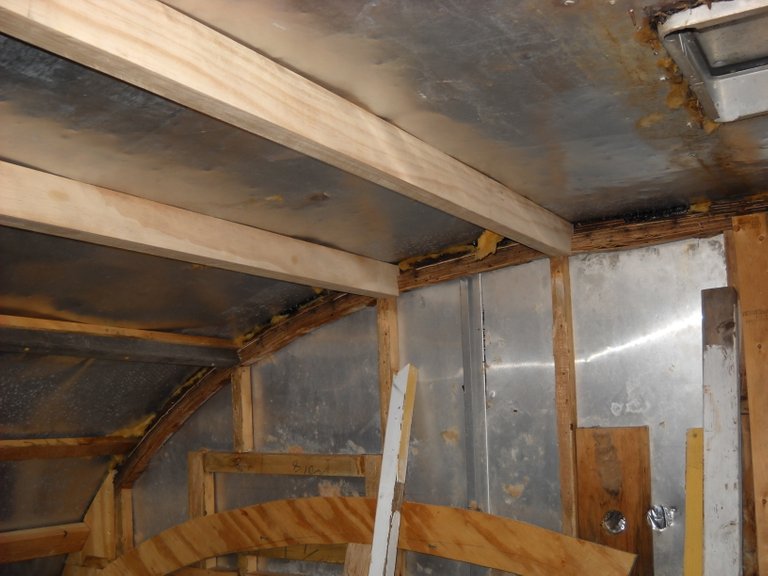
Once I had these 2 roof supports put in, I notched and fitted the plywood wall reinforcement on the left side to help hold up the ends of the roof supports.
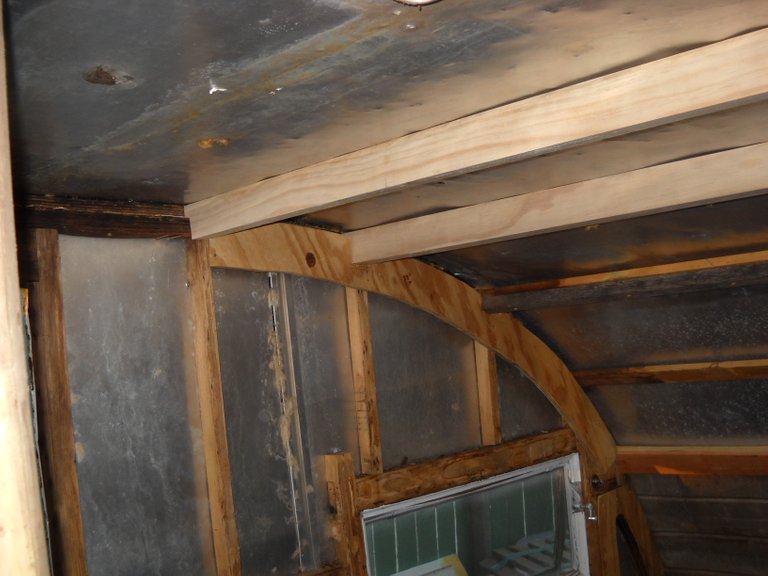
After that was done, I decided to make the replacements for the next 2 roof supports going forward from the ones that I had already replaced. These 2 supports go on either side of the roof hatch. These 2 supports had to be notched on the ends the same way as the first 2 so they would fit over the top of the wall.

These 2 supports were a little more tricky to fit properly because I had to have the proper spacing between them for the roof hatch. Once I had the second support more or less in place, I made 4 spacers to go between the 2 roof supports to hold them in the proper position in relation to the roof hatch.
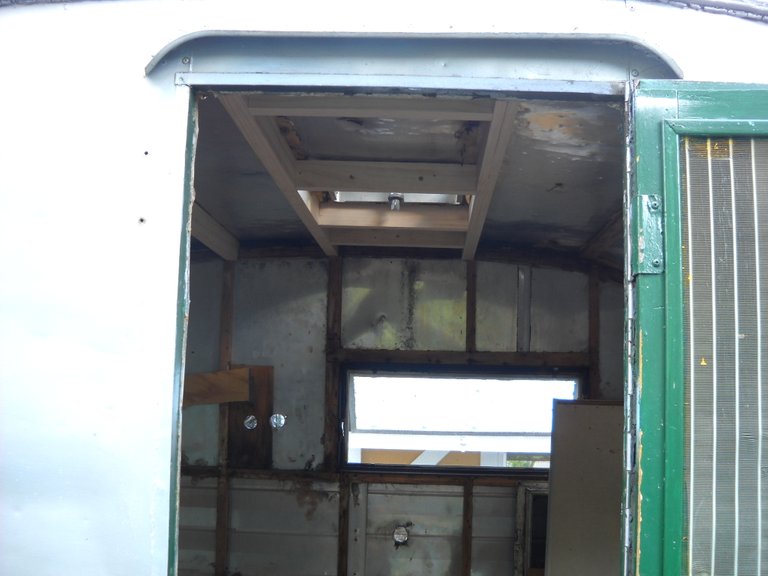
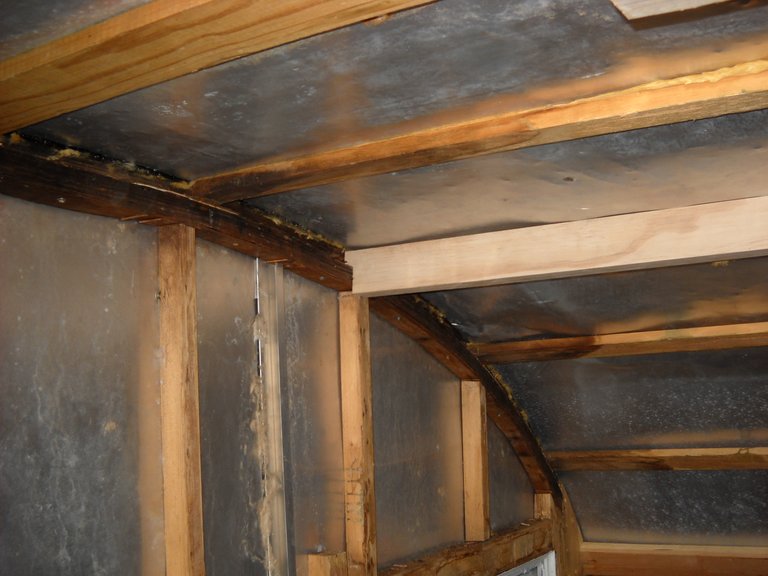
I also added some support to the last 2 roof supports in the back of the trailer roof. I decided to just glue and screw extra wood to the existing supports rather than completely replace them because they're still in decent condition. As you may have noticed, at this point, I still had not fitted the plywood wall top support for the back end of the trailer on the right hand side. I did manage to get that piece fitted, but apparently I never took a picture of that.
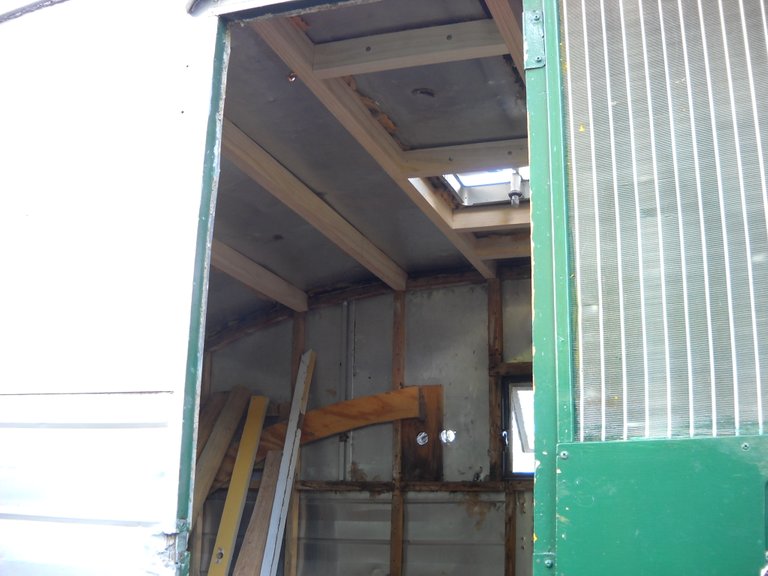
After finishing those last 2 supports in the back, I decided to finish the floor in the back of the trailer instead of working on the roof in the front. That will be the subject of my next post in this series.
That's all I have for this post, thanks for stopping by to check it out!

Gotta fix it up in time before winter hits so you can go down to florida.
I should be so lucky as to have it done enough this year...LOL