How to Make an Inverted Painting
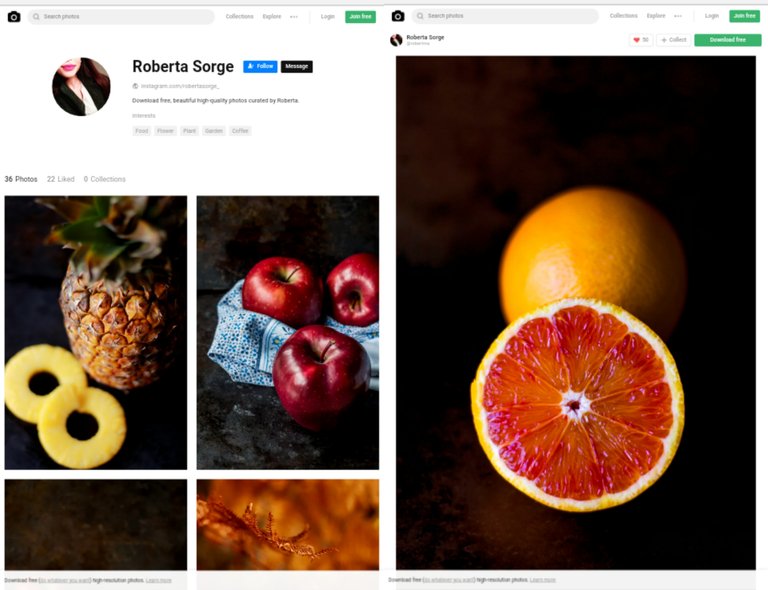
Hello, I will share with you a brief tutorial of my recent inverted artwork. It is a watercolor painting of an orange from a photo that I found on Unsplash, uploaded by Roberta Sorge. I will show a not so detailed but sensible process of how I did the painting and I will also include a breif tutorial of how I edited my reference photo so you guys can do the same whenever inspiration will hit you and you feel like creating your very own inverted artwork.
Choosing and Editing the Reference Photo
So first, I downloaded the reference photo from Unsplash and thanks to this site, the photo comes in a very high quality.
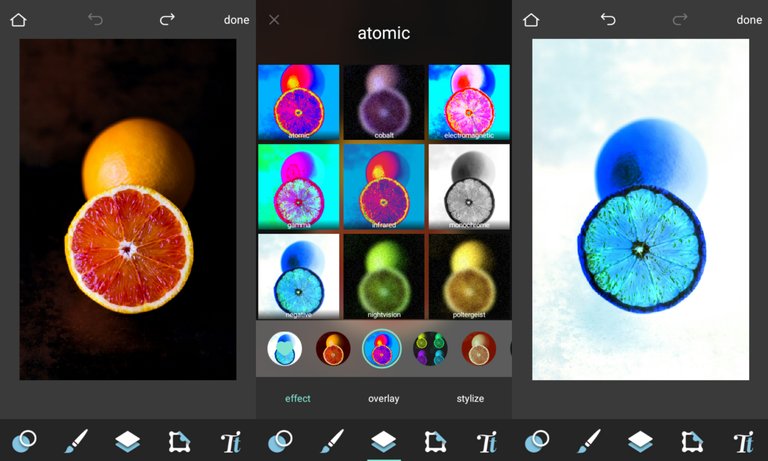
Next I opened the photo on Pixlr, clicked on Effects, and chose the Negative filter. I clicked the check mark and then I saved the photo. That's it!
Getting on with the Painting
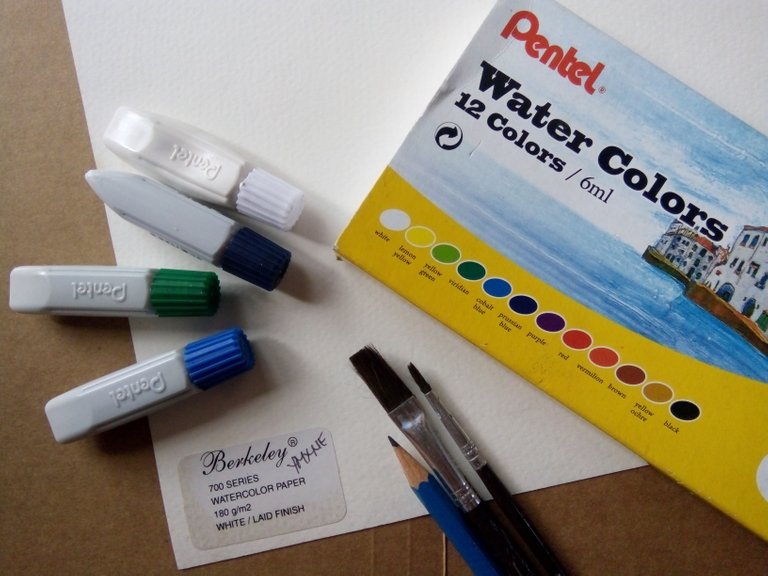
I prepared my materials first, namely the Berkely 700 Series watercolor paper, pencil, Pentel watercolors, and two of my paint brushes - one for tiny details and the other for bigger details.
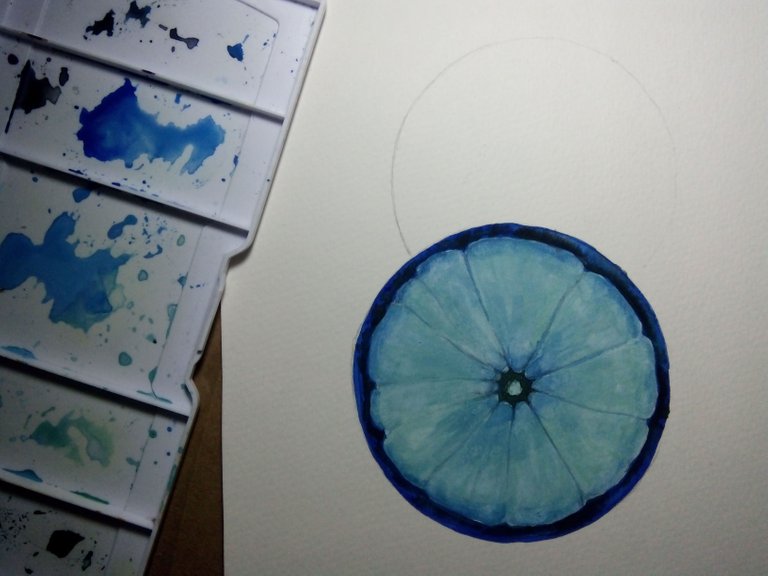
I mixed white and skyblue paint to make a light blue base and painted it inside the sectors.
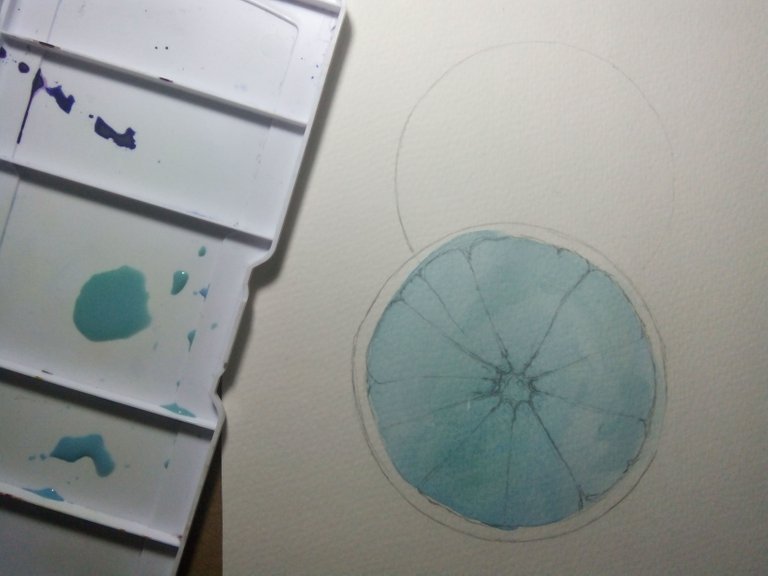
Then I added more skyblue paint by dabbing at the sides and center just outside the circle where the lines meet to build up the orange's inside
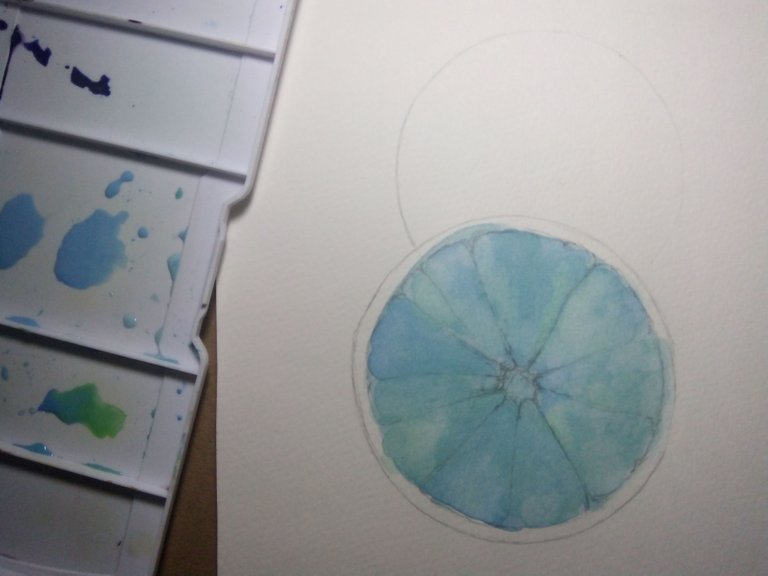
Now, I painted the segment walls with blues slightly fading it at the center to make it look more realistic.
I painted a dark green circle with ends that point to the segment wall at the center where I beleive the seeds are located.
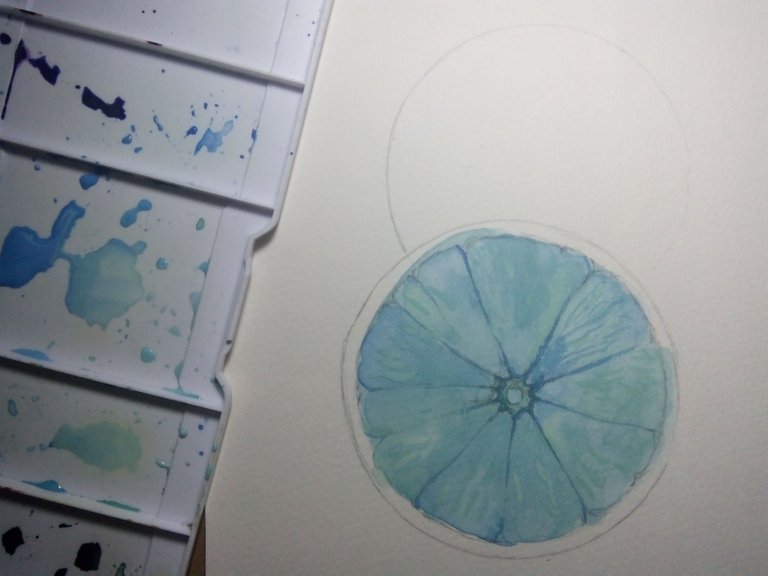
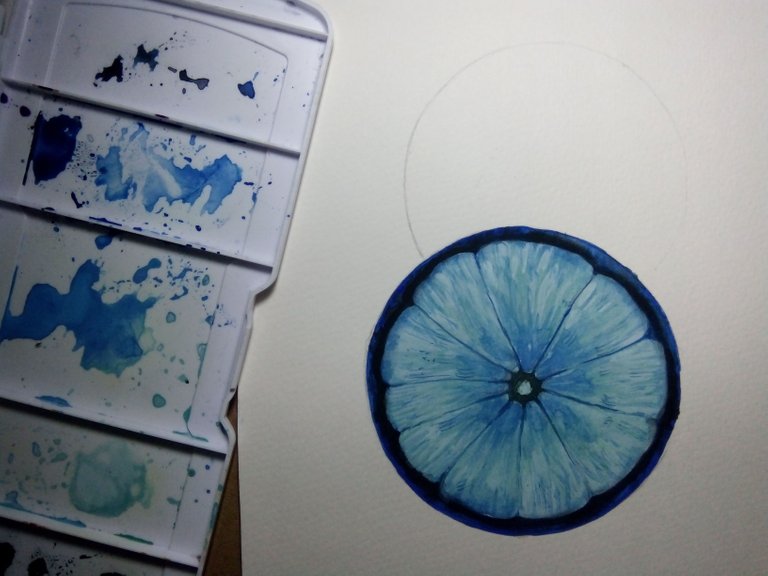
I started painting the orange peel around the circle with dark blue and black. I also cleaned up the round segments while adding black to emphasize the segments.
Here I started emphasizing the pulps on the orange by adding blue tones that are a bit darker than the base.
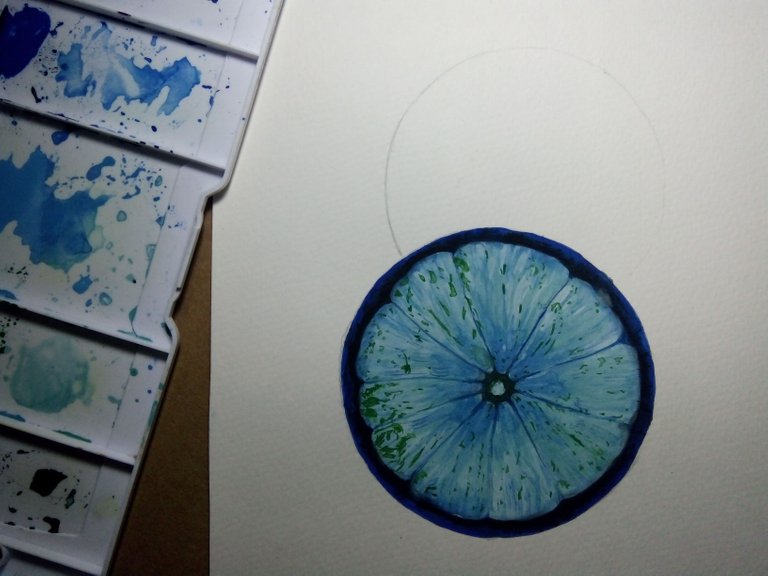
This time, I added the green accents on the orange segments. This is the highlight of the segments. Adding the greens makes the orange look watery.
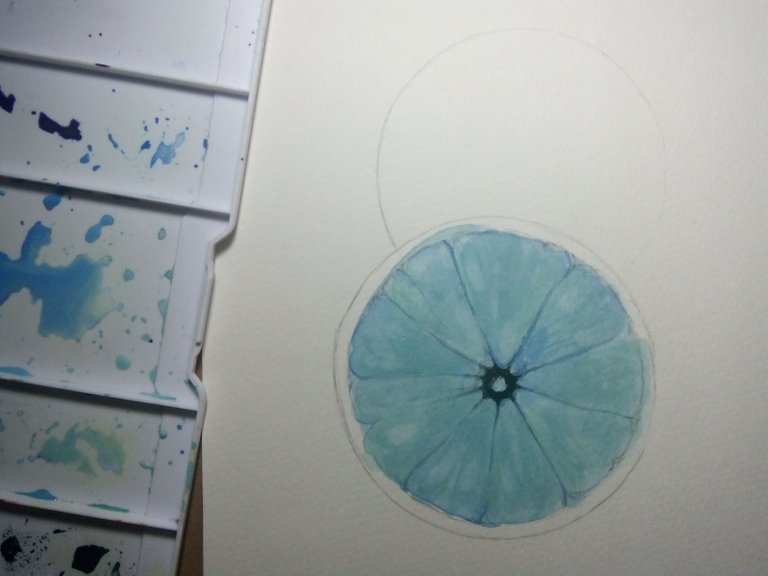
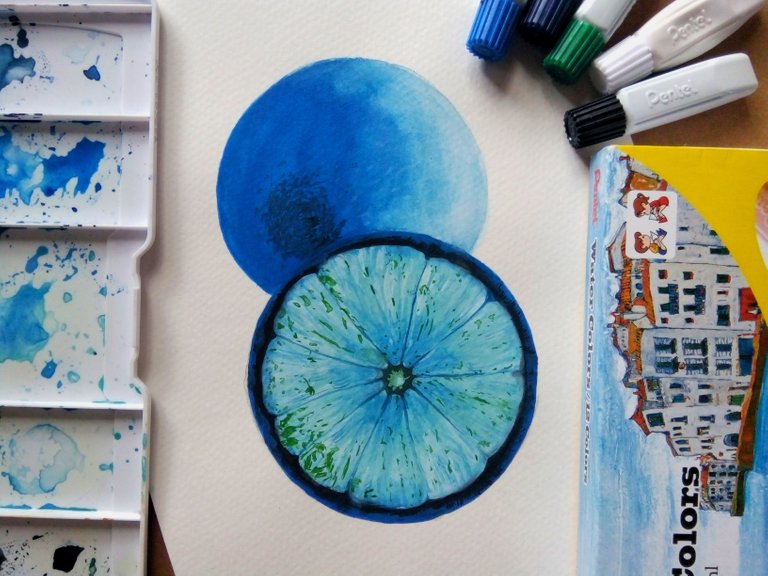
I then started filling up the whole orange at the back. I painted solid blue paint on the left side and then faded it towards the right with skyblue and white paints and added more water as I get to the fainted section on the right. I curved my brushstrokes at the ark seen in my reference photo so it would make the orange appear rounder.

Finnaly, I added the dark blue accent on the orrange. This is the light reflection on the peel.
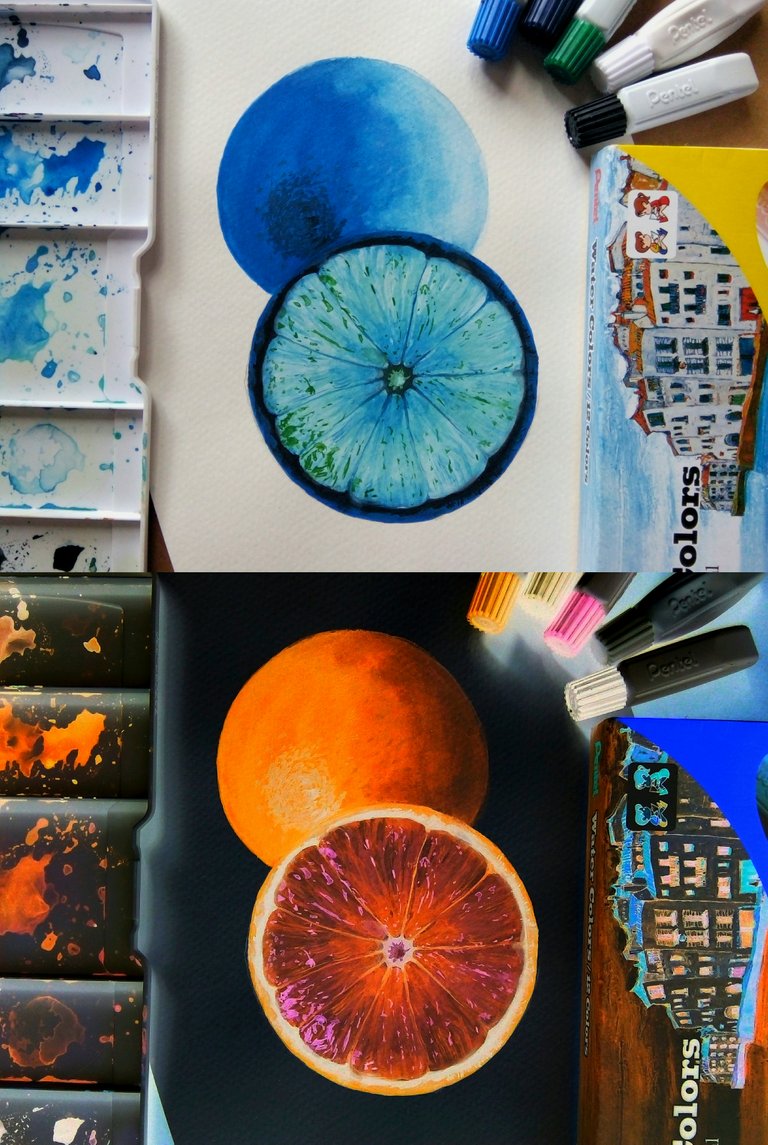
Here is the compiled progress shots of my painting without the negative filter:

And here is the progress with the negative filter:

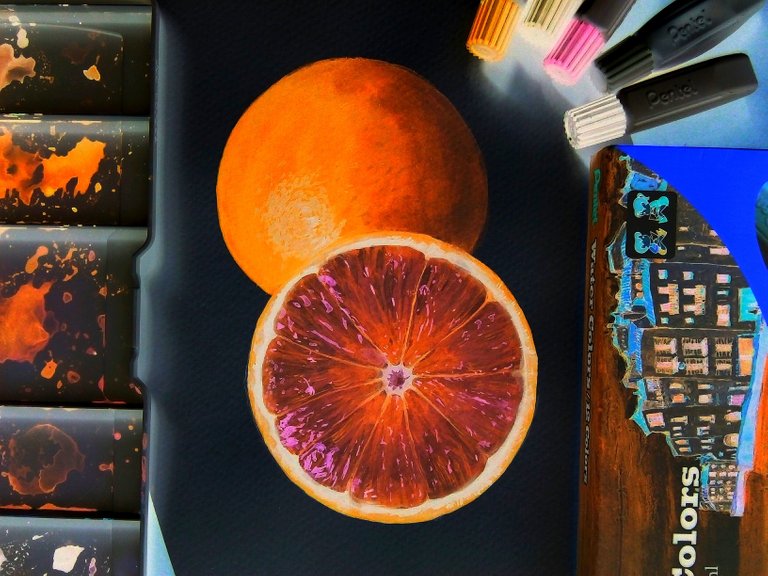
The Artwork
Ready to make your own inverted art?
Doing inverted art is easy and fun, and you can create an amazing artwork within a few time without even knowing it. Just make sure that you choose subjects has a black background or if not, with any other color, just try and experiment with it. Have fun!
Photo reference from Roberta Sorge on Unsplash.
Thank you for reading!
I will post more inverted artworks soon so if you'd like, you can follow me to get updated.
@knthalo


Great art post @knthalo. I like the twist in the art. Aside from the final image, big props to how you constructed this post like a pro. Really aweome job.
Thank you. Great that you liked my art.
Really awesome process and result! I'm impressed!
Thanks.
napakahusay. so neat:)
Salamat!
Great work! I really like the process, it has a very impressive result :D
🙇
This post has been upvoted and picked by Daily Picked #36! Thank you for the cool and quality content. Keep going!
Don’t forget I’m not a robot. I explore, read, upvote and share manually ☺️
I will. Thank you.
Great job!The blue color is my favorite.
oh really.
Mine too! and orange.
Wowowow Very Amazing.... Skill drawing profesional... Nice
Thank you @irysadzeal
Wow! I have never thought to do this! This is amazing!! Thanks for sharing!
Thank you! Glad you checked this out @pyrowngs