Hey, this is my way to color the base colors. This tutorial is dedicated for beginners.
The lineart that I used is by melphith
1 -
Create a new layer beneath your lineart layer:
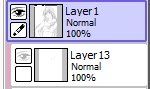
Select the lineart layer.
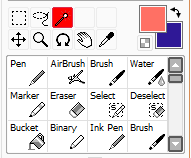
Click on the Magic Wand Tool: (The Red Box, It should appear above the brushes )
Click on the parts that you want to color, in this example I chose the skin: (it's better to make a diffrent layer for every color / part - it will be easier to add shadows later on. ) don't forget to click on the lineart layer.

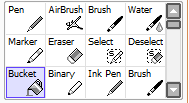
Click the bucket tool
Select the layer that you created before and start clicking on the parts that you selected:

Create a new layer for every color and it should look like this:

Usually there will be some voids, I fill them with the brush.
Some tips:
CTRL + D to deselect a seletion
I prefer to color the skin first and filling the voids, and after that create a new layer for the hair and put it beneath the skin color. this way it will be easier to fill the voids of the hair.
If you have any qusetions let me know :)
Thanks for the tuto initiative, I really like Paint Tool Sai!! (I use the version 2 for coloring) and nice choosing for the linework 😍 will you do more advanced tutorials ?
Thanks :) , and yea I plan to do more tutorials but not sure when.
ok, great!