Related Posts:
Part I: https://steemit.com/unity/@therajmahal/developing-games-with-unity-serialization-part-i
Part II: https://steemit.com/unity/@therajmahal/developing-games-with-unity-serialization-part-ii
Part IV: https://steemit.com/unity/@therajmahal/developing-games-with-unity-serialization-part-iv
Phew, okay, so we have covered a lot in the past two posts, and we're probably going to cover a whole lot more in this one.
A Note about Unity's built-in JSON Serializer
Before proceeding further, in my previous posts I said that .NET 2.0 did not have a JSON serializer. That is true. Unity, however, has had a JSON serializer in its API since some version in the 5.x branch. The benefits to the JSON serializer in the Unity API is that its fast. The problem is that it can't serialize and deserialize certain types of classes, including some within Unity's API (yes, you read that correctly). When it comes to JSON serialization with Unity you are going to have to make a decision - are you after speed or are you after the ability to serialize practically any class. As mentioned in Part II, our JSON serializer of choice is still Full Serializer. We like dictionaries and we like to have the ability to serialize them.
Notes on Offline Changes Since My Last Post
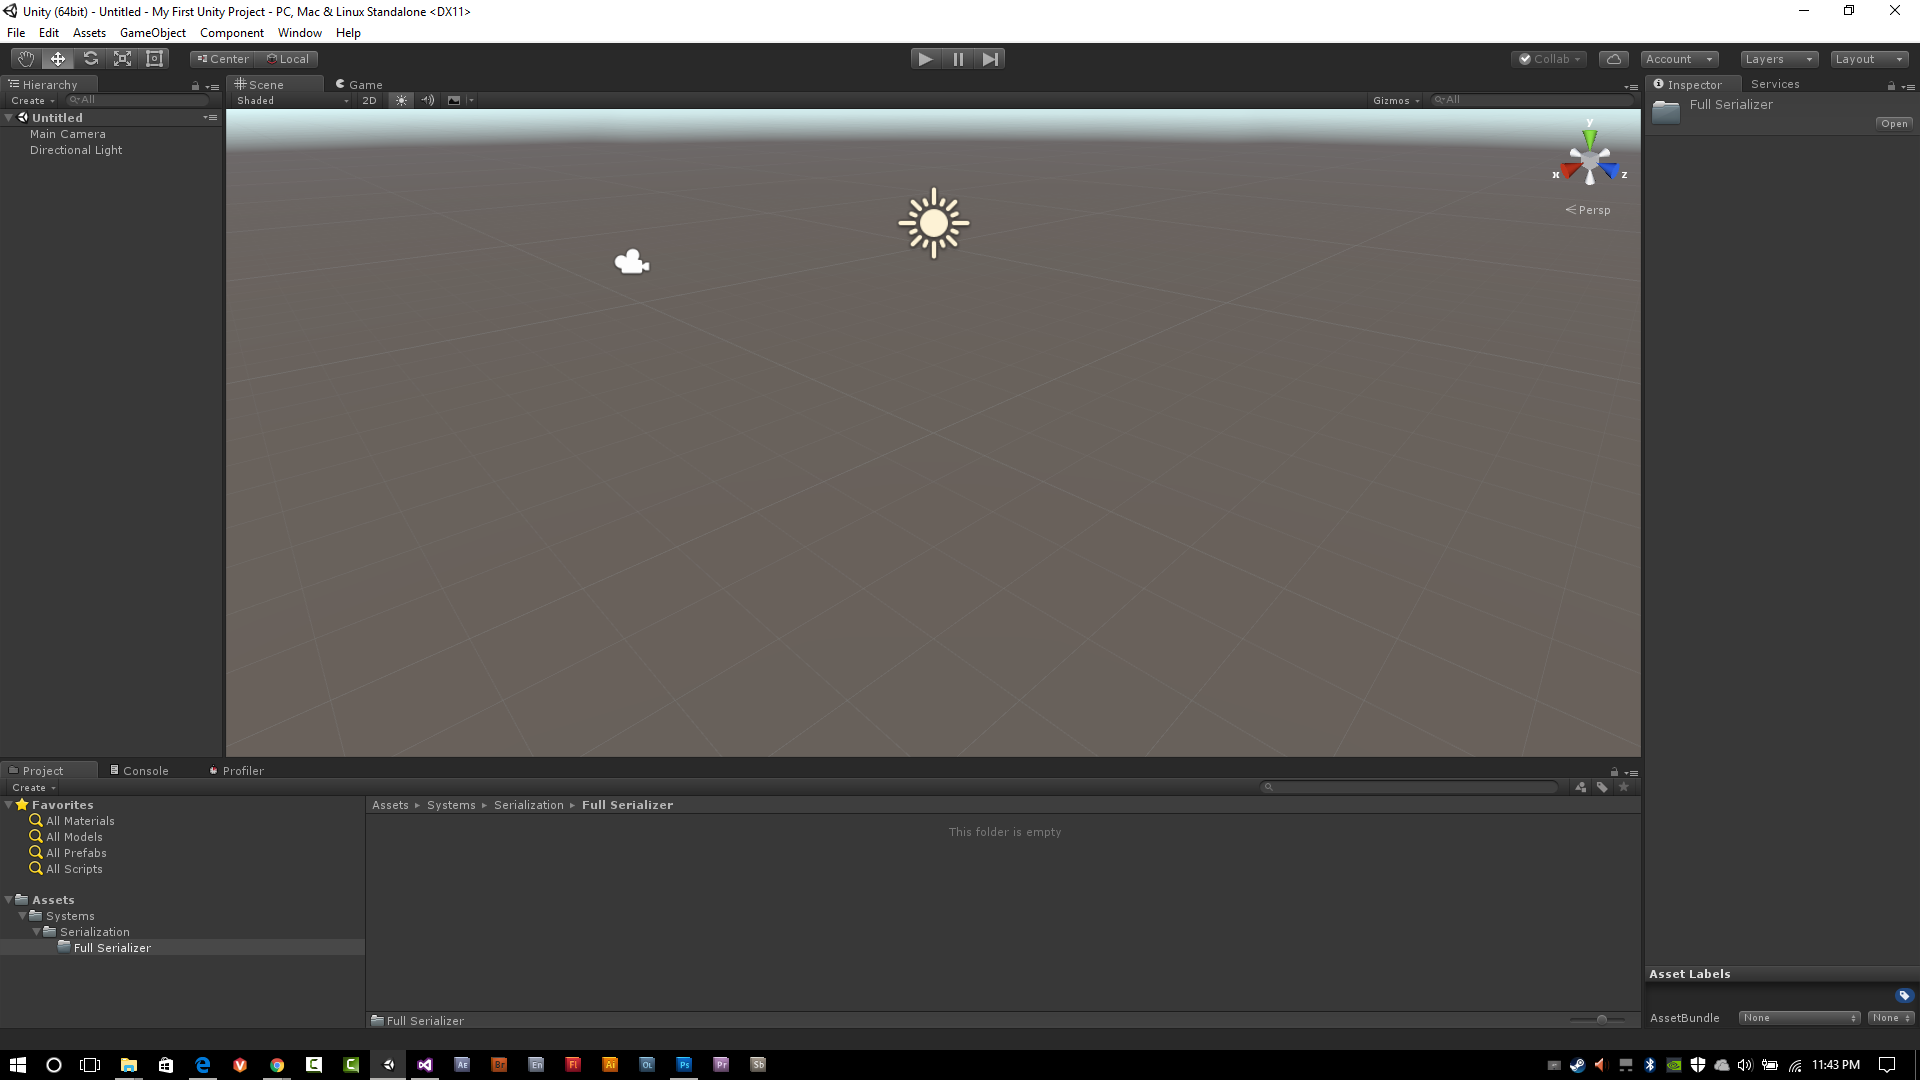
I added a Full Serializer folder in the project we created in our last post. You can follow the steps I used in Part II to create a folder if you forgot how to do that.
Alrighty, time to get to business. The first thing we are going to do is get Full Serializer into our project.
Adding Full Serializer to your Unity Project
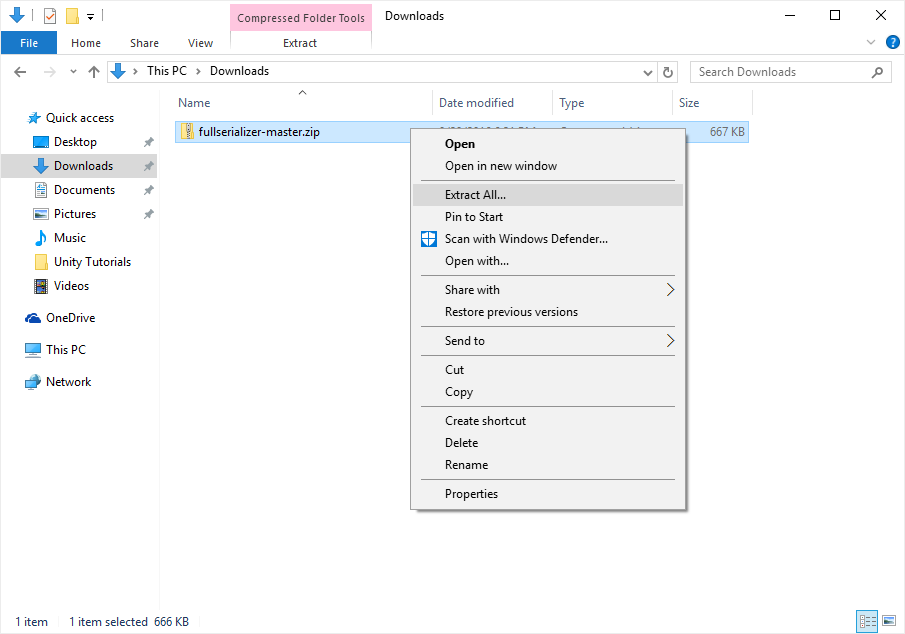
The process is fairly straightforward, find Full Serializer on GitHub, download it, extract it and copy it into your Unity project. Details below for those who need them:
Go to the Full Serializer GitHub page: https://github.com/jacobdufault/fullserializer

Click on the green Clone or download button:

Click on the blue Download ZIP button. This will download the Full Serializer source to your download directory on your computer. For Windows users this would be your current user's download folder by default. I'm not sure how Macs work, so I don't know where web browsers on Macs save files from the Internet to.
Once downloaded, extract the zip file:
Go into the folder that was extracted, and navigate to the fullserializer-master\Assets\FullSerializer\Source folder. Once there, press CTRL+A to select everything, and then CTRL+C to copy it to the clipboard.

Next, go to your project's folder and navigate all the way into our Serialization Folder (from Part II). Right click, and select Paste.

Now go back to Unity. When Unity gets focus, it will detect that a change has occurred under the Assets folder, triggering a recompilation of your project.
Note: This is not where I would put Full Serializer normally; I usually create a "Third Party" folder in my projects, but for the sake of this tutorial I didn't want to go through all the screen shots just to create a more organized folder structure. You really can copy it anywhere you want in your project.
Okay, so now we have added, imported, copied (use whatever term you want) Full Serializer into our new Unity project and can start writing our Serialization Manager.
The Singleton Design Pattern, Unity and Multithreading
So, here's the lowdown. The Unity engine itself is multi-threaded. However, the Unity API itself is not thread safe and will throw an error if you attempt to make API calls or use an object of a Unity API class in a thread other than the main thread.
Back in the day, when I was young and had more hair on my head the Unity engine was not as multi-threaded as it is today, contributing to lower performance. Today its one of their top priorities and throughout every revision, even the minor ones, there seems to be something in the release notes relating to another thing that gets the multi-threading treatment.
Which brings us to singletons. You can make them thread safe, or you can make them not thread safe. As a developer, I prefer to err on the side of caution and optimism, in this case that one day I would be able to execute API calls in separate threads so I prefer to use a thread safe singleton.
To clarify, you can write .NET 2.0 C# code in your Unity project that executes in their own threads if the code that is executing does not use any Unity classes from the Unity API or function calls into the Unity API. However, if you do this you restrict yourself from build targets like WebGL that do not support multi-threading. The caveat is that there is a new technology in the works called WebAssembly which WebGL will sit on top of eventually that does support multi-threading. If your building for iOS, Android, MacOS, Windows, Linux... you should be fine, but if you want your game to run as an HTML5 / WebGL game in a browser window (like hosted somewhere and accessed through Facebook), you're out of luck. No multi-threading your code then, at least not until WebAssembly arrives and is supported by Unity.
Ok, so we are going to with a thread safe (not multi-threaded, but thread safe for the future) singleton pattern, which can be found here (the last example at the very bottom):
https://msdn.microsoft.com/en-us/library/ff650316.aspx
It looks like this:
using System;

public sealed class Singleton
{
    private static volatile Singleton instance;
    private static object syncRoot = new Object();

    private Singleton()
    {
    }

    public static Singleton Instance
    {
        get
        {
            if (instance == null)
            {
                lock (syncRoot)
                {
                    if (instance == null)
                    {
                        instance = new Singleton();
                    }
                }
            }

            return instance;
        }
    }
}
What Does All That Code Do?
Glad you asked. Lets run through it real quick.
using System;
System is what we call a namespace. A namespace is a way to classify a set of related objects. Saying that we are using the System namespace in this file gives us access to all the objects (mainly classes) contained within the System namespace.
public sealed class Singleton
The word public tells us the accessibility level of the following class. Public makes this class accessible from anywhere in code which is what we are looking for. A more complete explanation of accessibility levels can be found here: https://msdn.microsoft.com/en-us/library/ba0a1yw2.aspx.
The word sealed prohibits any derived classes from this class.
The word class tells the compiler we are declaring a class.
The word Singleton is the identifier for the class we are declaring, so we have a way to reference this class in our code.
After that we encompass the declaration of our class in curly braces ({, }) and can start defining our newly declared class.
private static volatile Singleton instance;
The word private tells us the accessibility level of the variable we are declaring. Because it is private, the variable named instance is not accessible outside of this class or in any class derived from this class (which can't happen because we declared this class with the sealed keyword).
The word static means that this variable does not require an instance of this class to exist (of course, the variable is an instance of the class we are declaring as this variable represents the one instance of this class that will ever exist while your app/game is running).
The volatile word has to deal with multi-threading. When your source code gets compiled, the compiler (the program that converts your source code into a program or library) can optimize your code to make it run as fast as possible. Sometimes those optimizations only work under certain assumptions, like your program or game will be run on one thread. Assigning the volatile keyword to a variable prevents the compiler from performing optimizations that would make the variable be out of synch if being used in a multi-threaded project.
The word Singleton tells the compiler what type of variable we are declaring; in this case a variable of type Singleton.
The word instance is the name we are giving this variable.
private static object syncRoot = new Object();
This line is fairly similar to the previous line with two exceptions; first, instead of declaring a variable of type Singleton it is declaring a variable of type object (System.Object, to be exact - there's that namespace thing again!). The second difference is that we are instantiating an object of that type (object) when its declared.
So what is this syncRoot variable all about? Well, to make a variable or function thread safe one method is to have a variable that is "locked". When that variable is locked the code following it cannot be called again until the lock is released. This way, in a multi-threading environment only one thread can be in the code following a lock statement on a variable, ensuring that you don't get any messy bugs with variables being overwritten in other threads as they are being used on the current thread.
private Singleton()
{
}
Phew, okay. Moving along... these three lines are what we call a constructor. The constructor of a class is a special type of function. It bears the same name of the class. The private keyword here ensures that only the class itself can instantiate an object of this type. Even though the constructor has no code in it, we will need it defined to fully implement the singleton (so that we have an instance).
The next (and final) part of a basic thread safe singleton comes with the rest of the code. The code defines what we call a property. Properties are often used to provide a way to access private or protected variables in a class - in this case our private Singleton instance.
A simple example of a property looks like this:
public class SomeClass
{
    private Int32 m_SomeInteger;

    public Int32 SomeInteger
    {
        get { return m_SomeInteger; }
        set { m_SomeInteger = value; }
    }
}
Since mSomeInteger is private nobody can access it directly; however, we have defined a property that implements both getting the value of mSomeInteger and setting the value of m_SomeInteger. Example below:
SomeClass someClass = new SomeClass();
someClass.SomeInteger = 123;
Int32 aVariable = someClass.SomeInteger;
In the example code above, we create an instance of SomeClass. Then, we use the SomeInteger property to set the value of m_SomeInteger and then get the value of m_SomeInteger.
Some of the benefits of using a property to get or set the value of a variable include being able to keep your variable private in your class (no direct access to the outside world) and that access to your variable can be mitigated by a set of rules in the get code block and set code block. In fact, this is what the property for our Singleton instance does.
When the Singleton instance is accessed through the get code block of the Singleton property a check is made to see if it has already been created or not (the null check). If it hasn't been created yet, we use our syncRoot object to lock access to the code in the following curly braces, which does another instance check. Why? Because in between the time of the first instance check and the locking of the syncRoot object another thread (assuming we had gameplay code running on separate threads) could have tried to do the same thing. If it is still null, we create our Singleton instance.
Alright, well, we got some coding in. The last thing I'm going to do on this post is take the boilerplate Singleton code that we went through and turn it into our Singleton Manager, using some naming conventions that I use personally. Here's how it looks in the SingletonManager.cs file that we created in Part II:
using System;

public sealed class SerializationManager
{
    private static volatile SerializationManager m_Instance;
    private static object m_syncRoot = new Object();

    private SerializationManager()
    {
    }

    public static SerializationManager Instance
    {
        get
        {
            if (m_Instance == null)
            {
                lock (m_syncRoot)
                {
                    if (m_Instance == null)
                    {
                        m_Instance = new SerializationManager();
                    }
                }
            }

            return m_Instance;
        }
    }
}
And finally, the Serialization Manager class in its current form in Visual Studio:
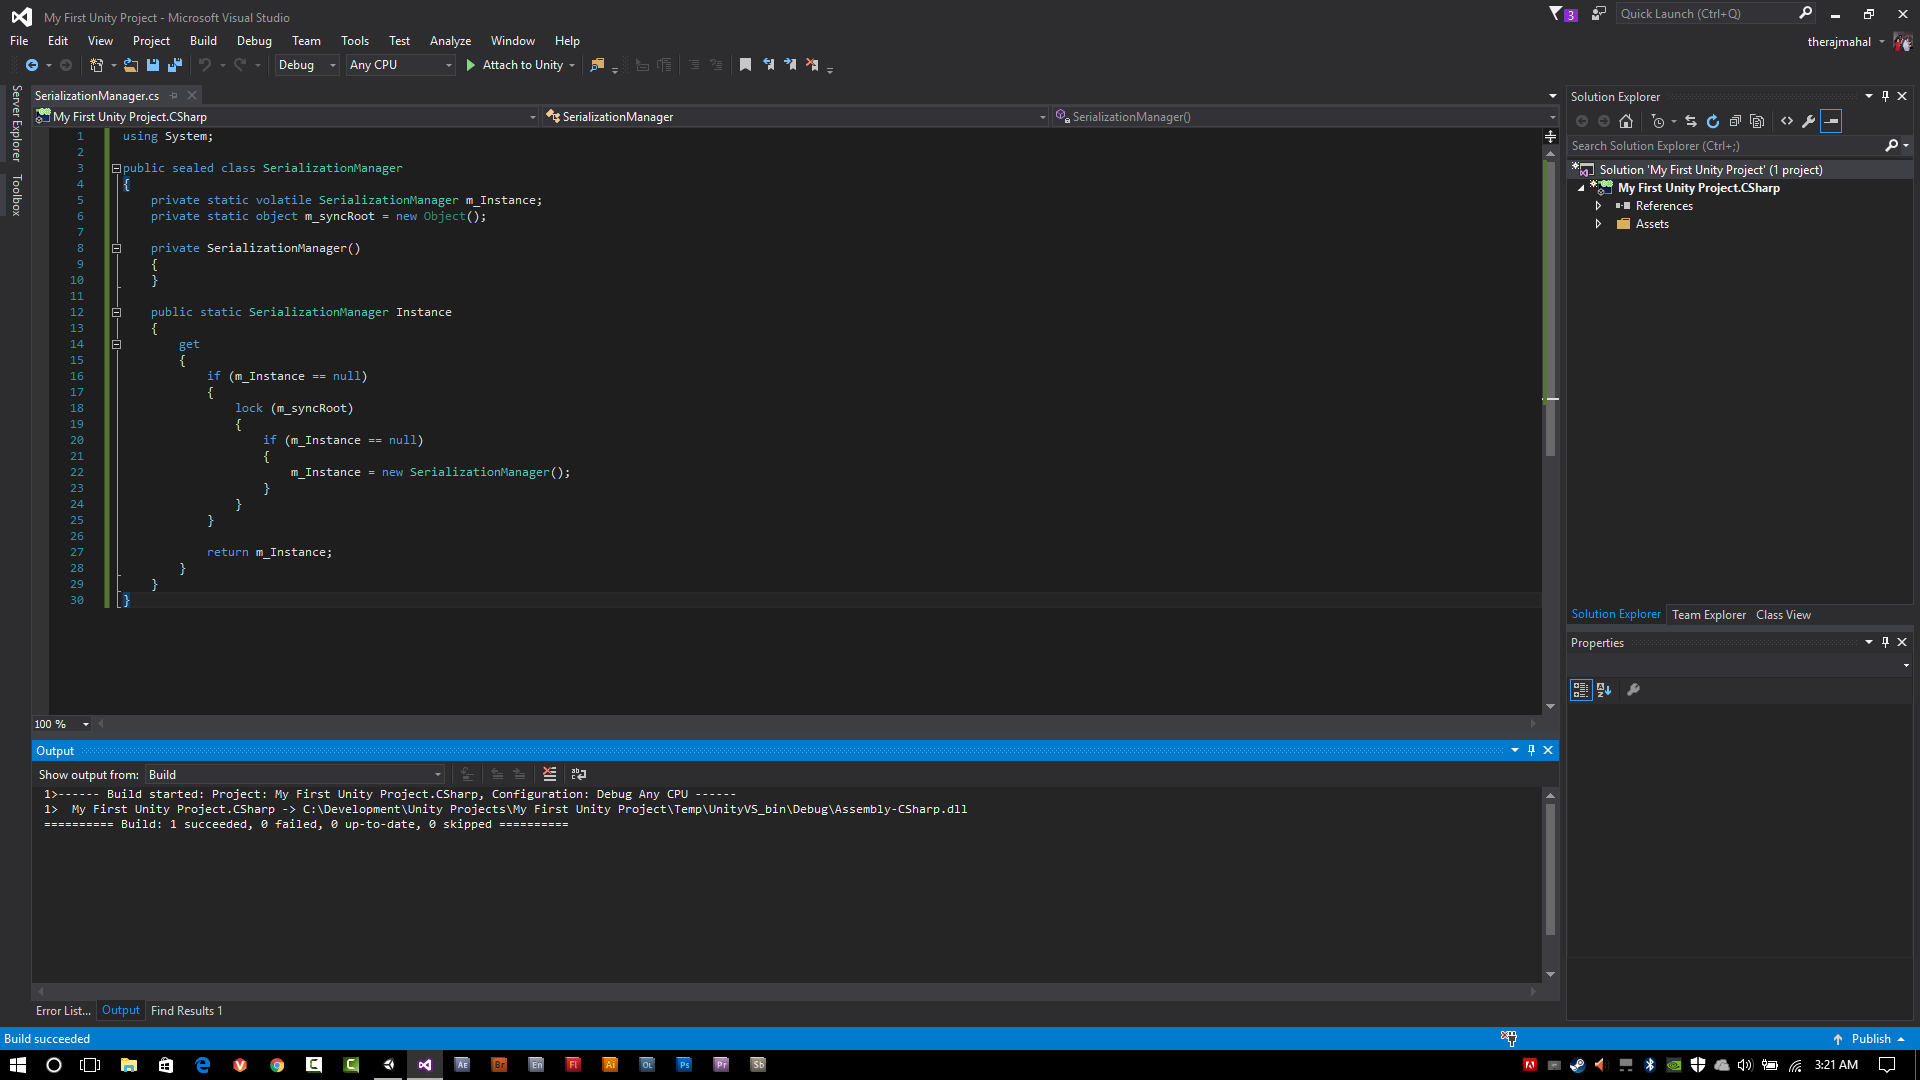
And with that, we'll call it a wrap. In the next post we will begin fleshing out this class with serialization, deserialization and helper functions.
If you have any questions, comments or suggestions let me know. I'm usually in late-night zombie mode when I write this stuff so its easily possible that I may have missed something.
Thanks for reading!
Hi @theramahal. I work at Unity, the game engine and I'd definitely like to get your insight on how you'd use cryptocurrency across a mobile platform with 50% of all mobile games? I’m wondering if you or your audience is familiar with Unity Game Engine and Development Platform. If so, from a Gaming or social Perspective, how would you use Crypto Currency in the Unity Game Engine?