
What Will I Learn?
- Integrate SCLAlertView to iOS project
- Install Cocoapods
- Import SCLAlertView library
- Implement SCLAlertView to display alert in various ways like show error, show warning, show success messages, etc
Requirements
- Xcode
- Install Cocoapods
- Understanding of Objective-C language in iOS development
Difficulty
- Basic
Tutorial Contents
Integrate the library via Cocoapods
Make sure you have installed Cocoapods. Add this line at the Podfile pod 'SCLAlertView-Objective-C'. This is the entire Podfile.
# Uncomment the next line to define a global platform for your project
# platform :ios, '9.0'

target 'PopUpDemo' do
  # Uncomment the next line if you're using Swift or would like to use dynamic frameworks
  # use_frameworks!

  # Pods for PopUpDemo
  pod 'SCLAlertView-Objective-C'

  target 'PopUpDemoTests' do
    inherit! :search_paths
    # Pods for testing
  end

  target 'PopUpDemoUITests' do
    inherit! :search_paths
    # Pods for testing
  end

end
After you write the code, go to the terminal and change directory to your project and run pod install command to install the dependency. Then, open up the .xcworkspace to be able to use libraries in the Podfile.

Importing the library to ViewController
Go to your ViewController class, we will import SCLAlertView library and its style kit using these lines.
//
//  ViewController.h
//  PopUpDemo
//
//  Created by Andri on 1/26/18.
//  Copyright © 2018 Andri. All rights reserved.
//

#import <UIKit/UIKit.h>
#import "SCLAlertView.h"
#import "SCLAlertViewStyleKit.h"

@interface ViewController : UIViewController


@end
After done with the import library, we will use and implement it in our ViewController.m class.
Use and implement the SCLAlertView
First of all, we'll initialize using common way like this line. We allocate using initWithNewWindow.
SCLAlertView *alert = [[SCLAlertView alloc] initWithNewWindow];
When we have declared, we'll try to show success alert first. Write down this line.
[alert showSuccess:@"Alert Success" subTitle:@"This is a your success info to user." closeButtonTitle:@"Done" duration:0.0f];
We have some parameters above that consist of:
showSuccessthis is a kind of alert type and also provide we to write message to the titlesubTitlethis is the detail of the alert we give to the users.closeButtonTitlethis is the text of our close buttondurationspecify how long the popup is showing to the screen. If we are using 0.0f, then the popup will never disappear like we write above.
When you run the code, you will see the result like this

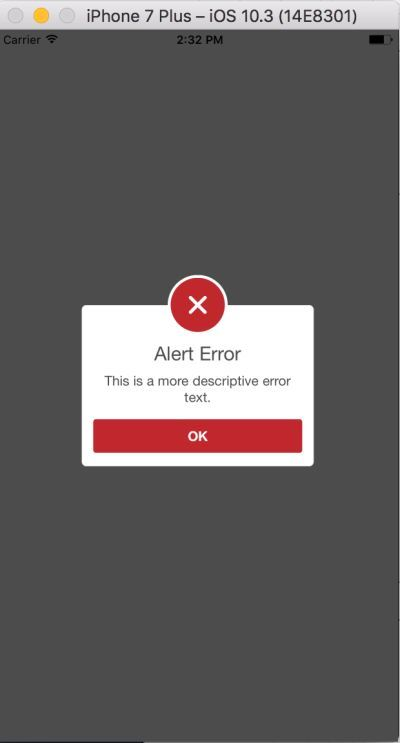
Okay, let's continue with the showError. It's almost identical except the showError method. Write these lines to show error.
[alert showError:@"Alert Error" subTitle:@"This is a more descriptive error text." closeButtonTitle:@"OK" duration:0.0f];
And you will see the result like this.
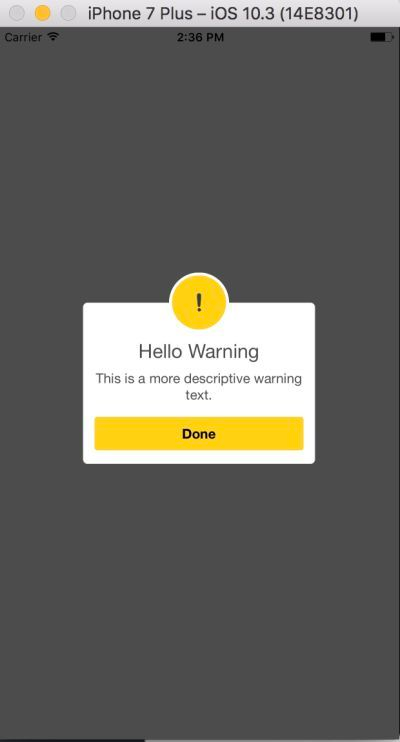
The same goes to showWarning method, write this code
[alert showWarning:@"Hello Warning" subTitle:@"This is a more descriptive warning text." closeButtonTitle:@"Done" duration:0.0f];
Run it, and you will see this.
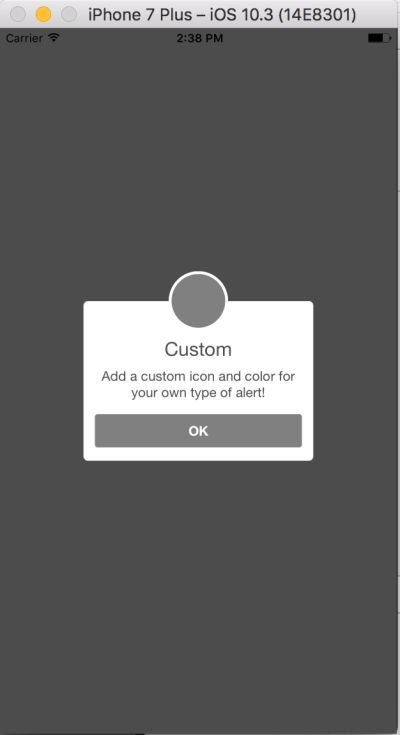
We can also custom the alert using custom image and color using showCustom method with some additional parameters like this.
[alert showCustom:[UIImage imageNamed:@"git"] color:[UIColor grayColor] title:@"Custom" subTitle:@"Add a custom icon and color for your own type of alert!" closeButtonTitle:@"OK" duration:0.0f];
The result will be like this
You can try another type by exploring the method of each alert type. And if we combine some alert type like these lines.
    [alert showSuccess:@"Alert Success" subTitle:@"This is a your success info to user." closeButtonTitle:@"Done" duration:0.0f];
    [alert showError:@"Alert Error" subTitle:@"This is a more descriptive error text." closeButtonTitle:@"OK" duration:0.0f];
    [alert showNotice:@"Hello Notice" subTitle:@"This is a more descriptive notice text." closeButtonTitle:@"Done" duration:0.0f]; // Notice
    [alert showWarning:@"Hello Warning" subTitle:@"This is a more descriptive warning text." closeButtonTitle:@"Done" duration:0.0f]; // Warning
    [alert showInfo:@"Hello Info" subTitle:@"This is a more descriptive info text." closeButtonTitle:@"Done" duration:0.0f]; // Info
    [alert showEdit:@"Hello Edit" subTitle:@"This is a more descriptive info text with a edit textbox" closeButtonTitle:@"Done" duration:0.0f]; // Edit
    [alert showCustom:[UIImage imageNamed:@"git"] color:[UIColor grayColor] title:@"Custom" subTitle:@"Add a custom icon and color for your own type of alert!" closeButtonTitle:@"OK" duration:0.0f];
    [alert showWaiting:@"Waiting..." subTitle:@"Blah de blah de blah, blah. Blah de blah de" closeButtonTitle:nil duration:0.0f];
    [alert showQuestion:@"Question?" subTitle:@"SINI" closeButtonTitle:@"Dismiss" duration:0.0f];
we'll see some stackup alert like this.

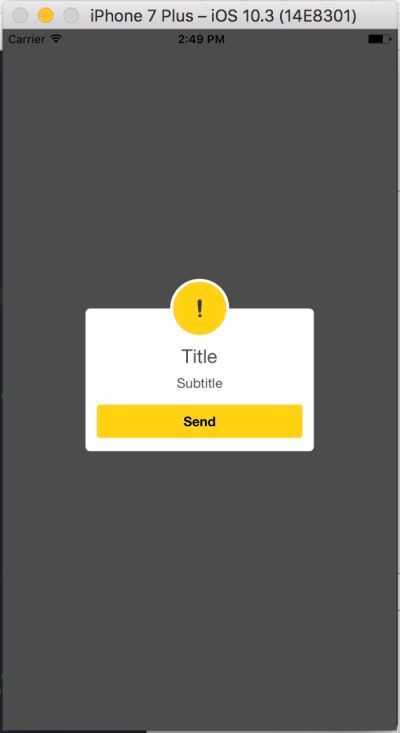
The next thing we are going to do is using the SCLAlertViewBuilder. This is the builder version to initialize and styling the builder. Write down this code.
SCLAlertViewBuilder *builder = [SCLAlertViewBuilder new]
    .addButtonWithActionBlock(@"Send", ^{ /*work here*/ });
    SCLAlertViewShowBuilder *showBuilder = [SCLAlertViewShowBuilder new]
    .style(SCLAlertViewStyleWarning)
    .title(@"Title")
    .subTitle(@"Subtitle")
    .duration(0);
    [showBuilder showAlertView:builder.alertView onViewController:self];
We first initialize the builder, and then addButtonWithActionBlock to be able to pass callback function when the action button is tapped. Then, we initialize the SCLAlertViewShowBuilder and give it warning style, give title, subtitle and duration. Then we show it using [showBuilder showAlertView:builder.alertView onViewController:self];. When you run the app, you will see something like this.
If you tap the send button the callback function will be called. Okay, that's all about this alert tutorial. Thanks for reading this guide.
Curriculum
- https://utopian.io/utopian-io/@andrixyz/creating-floating-action-button-in-ios-development-like-in-path-app
- https://utopian.io/utopian-io/@andrixyz/working-with-realm-to-create-a-simple-to-do-list-ios-app-development
Posted on Utopian.io - Rewarding Open Source Contributors
@andrixyz, Contribution to open source project, I like you and upvote.
Thank you for the contribution. It has been approved.
You can contact us on Discord.
[utopian-moderator]
Hey @andrixyz I am @utopian-io. I have just upvoted you!
Achievements
Suggestions
Get Noticed!
Community-Driven Witness!
I am the first and only Steem Community-Driven Witness. Participate on Discord. Lets GROW TOGETHER!
Up-vote this comment to grow my power and help Open Source contributions like this one. Want to chat? Join me on Discord https://discord.gg/Pc8HG9x