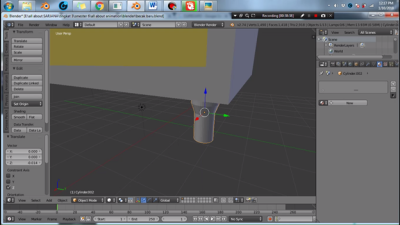
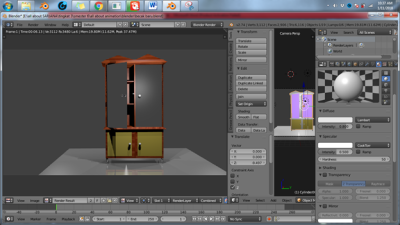
open the application blender like usual
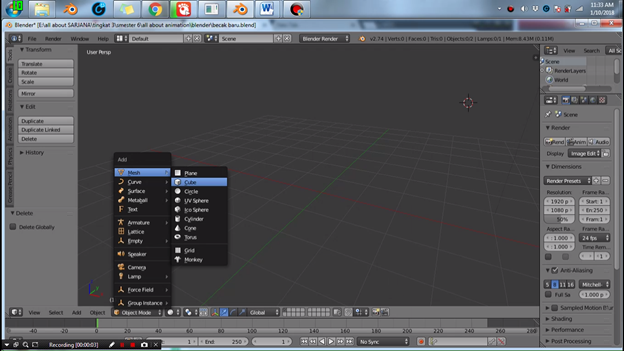
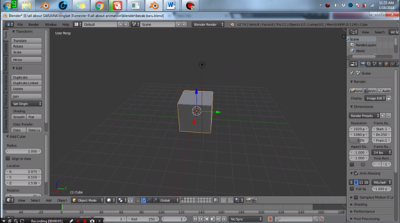
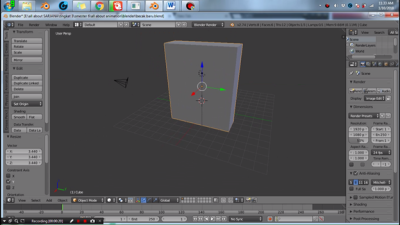
press shift A – mesh – cube to choose object cube
Press the S-Z to pull the object size and above
press S to widen Then press Y pull the fuse to the side
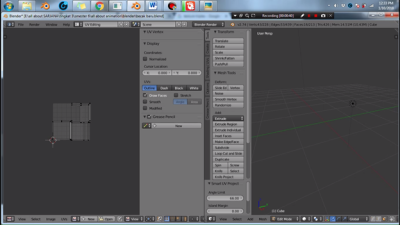
press tab to change the object mode to edit mode
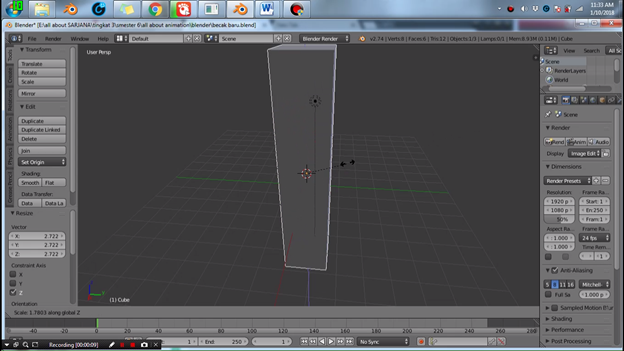
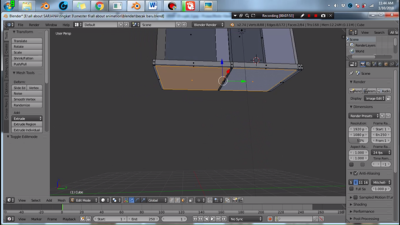
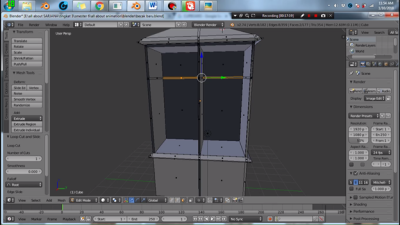
the selection of the top by way of press control R
the form of the upper part of sekreatif may be

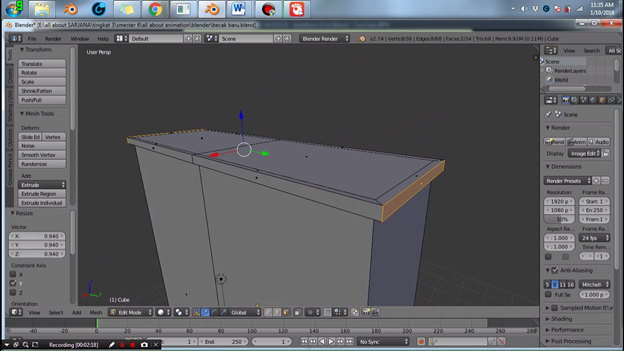
the central part of the Block and drag the blue axis to up
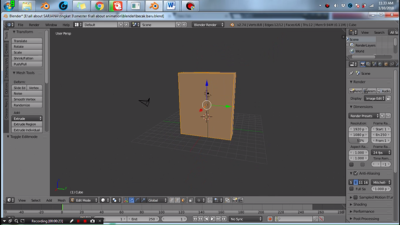
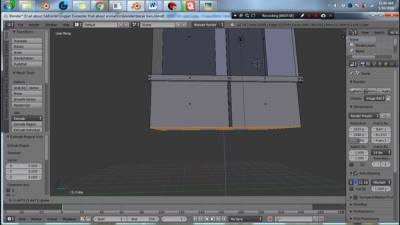
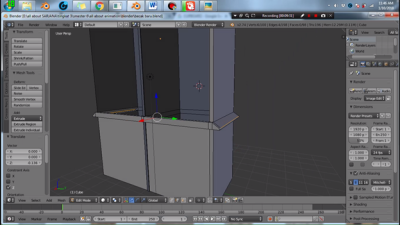
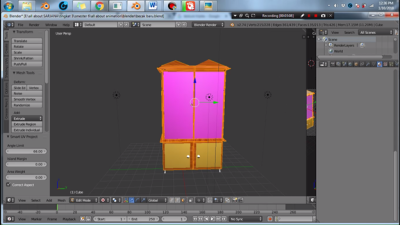
there is the front of my closet so that some parts of the selection rectangle is formed by pressing control R
block of the central part of the object that was already selected by way of a right click
then we remove the front part with the way the press X select Face
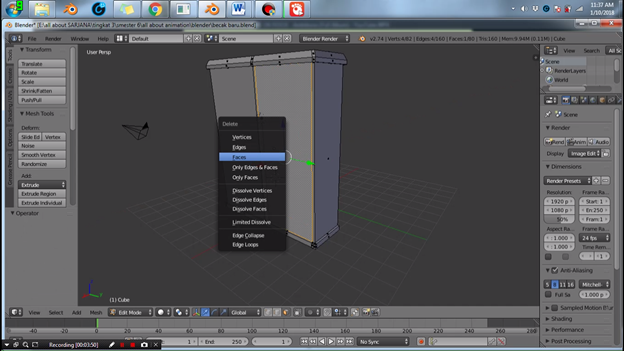
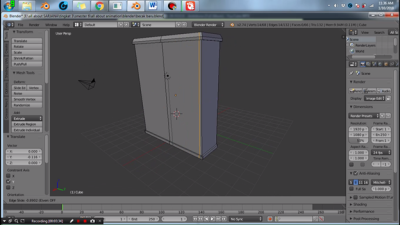
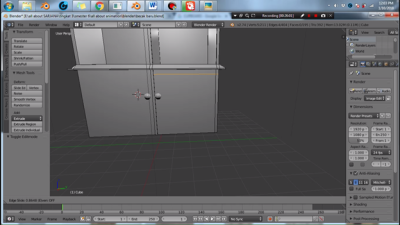
Then the result as follows
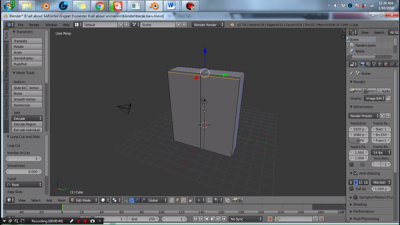
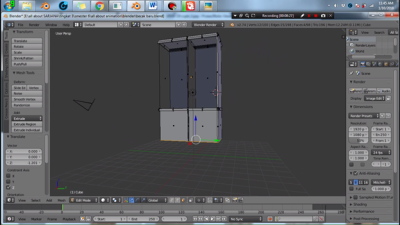
Do the same thing on the left closet

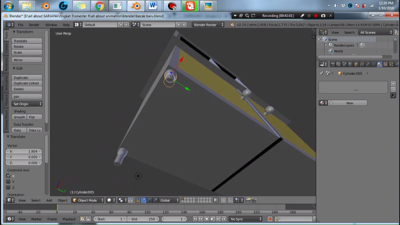
after all bolong then then we goto the bottom of advanced closet
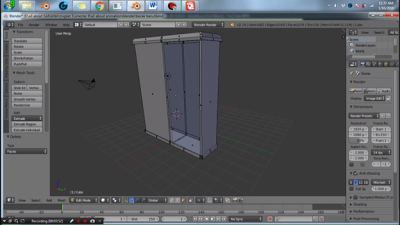
Block the bottom and then press E and pull down axis so be like this
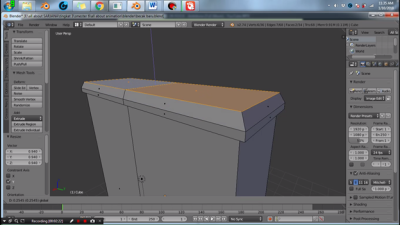
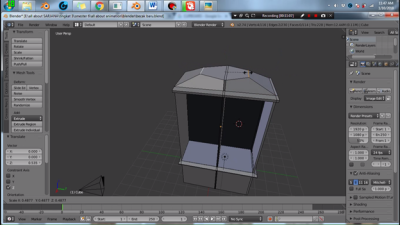
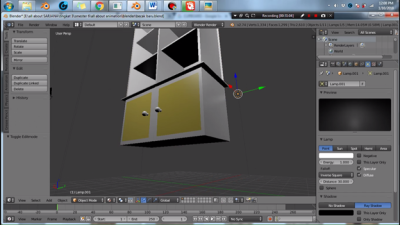
subsequent to the formation of Proses the outskirts of cabinets to make it look more attractive
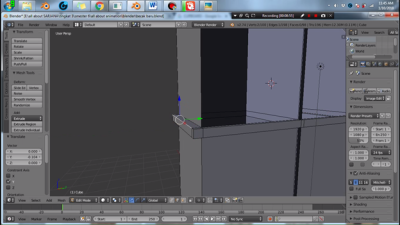
once it's On the roof of the closet we make as good as possible by means of adjusting the axis-s
and your creative

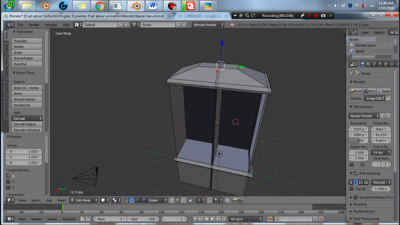
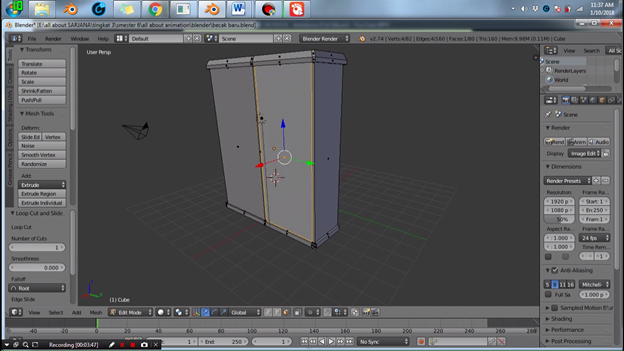
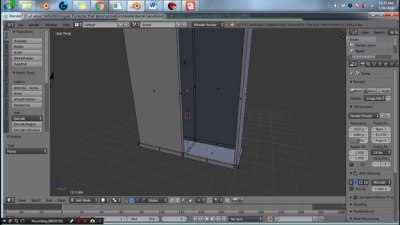
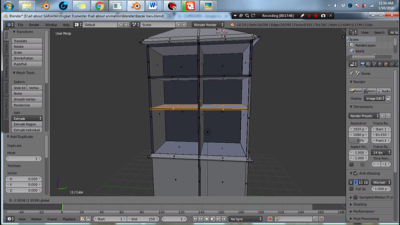
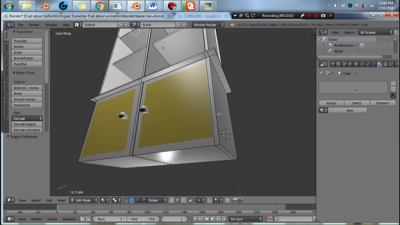
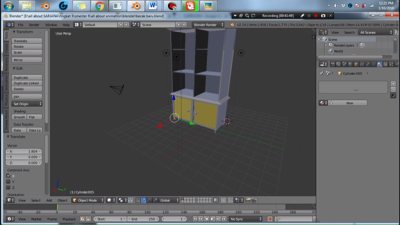
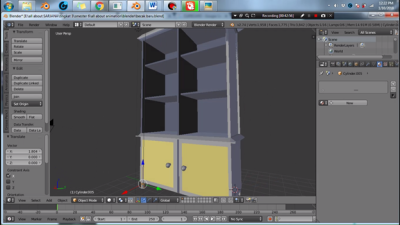
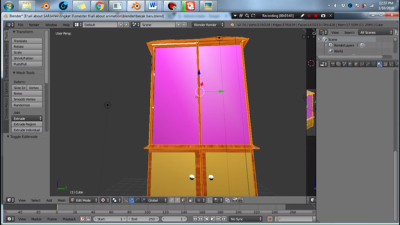
the selection of the next section in the closet to create a shelf arrangement
Press E and pull the Red axis and the result as follows

create a shelf in accordance with the arrangement that you want, follow the step 21
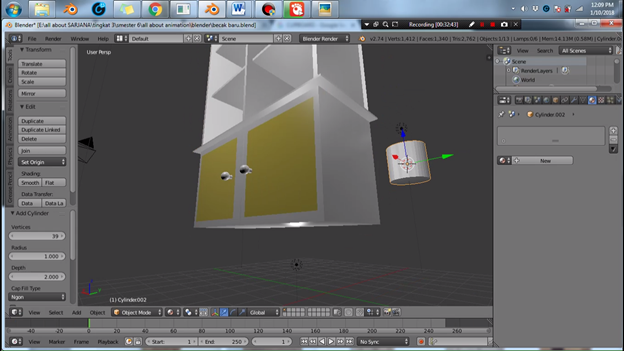
the process of making Next door handles cupboards by way of press tab to change the editing mode to the mode object
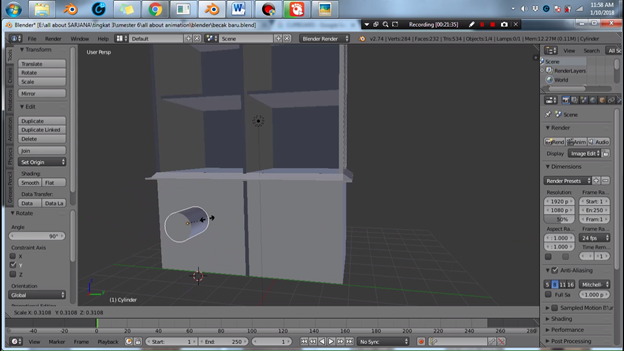
Select the new object by means of A mesh select press shift-cylinder
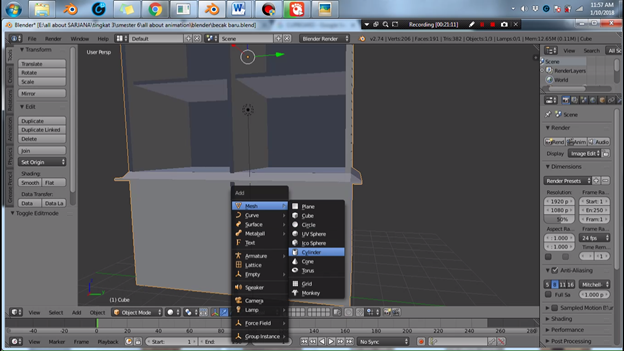
it will come out of the cylinder object like below

turn the object by means of press R – Y – 90 then the object will rotate in accordance the axis has been specified
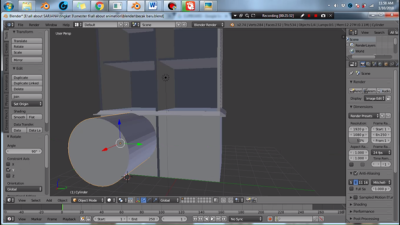
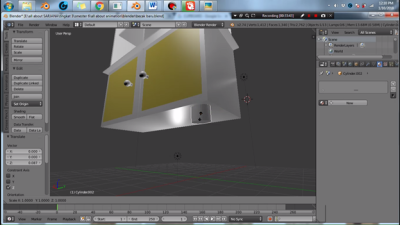
Change the size of the object by means of press S and slide the mouse as desired
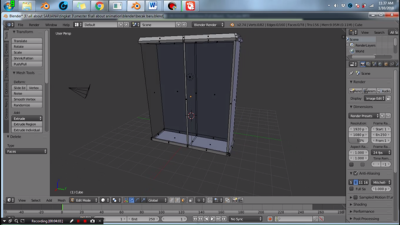
Adjust the layout of the handle, to beautify the handle you can add other objects as you want
Make 2 pieces the handle by means of control C to copy
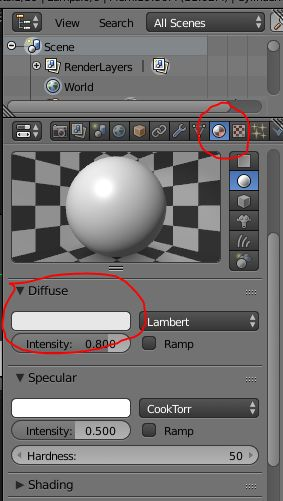
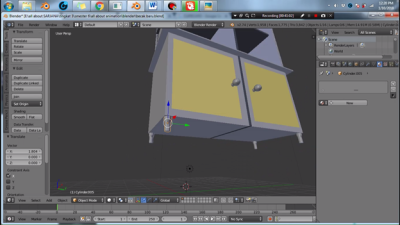
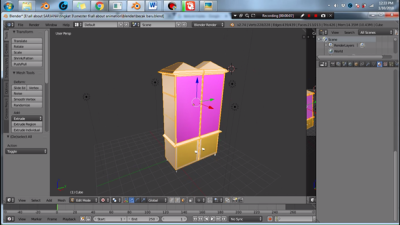
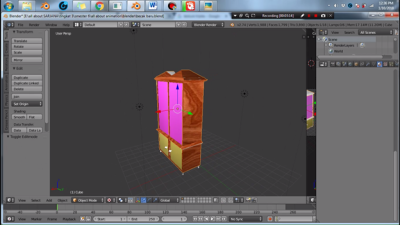
next we add color to choose closet doors by means of material on the right display

click the white color diffuse
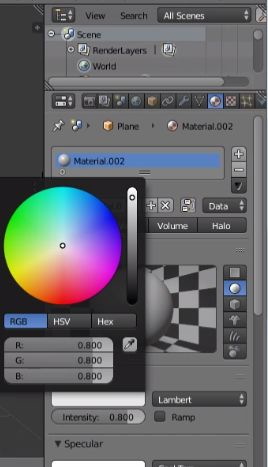
then the result image will be like this
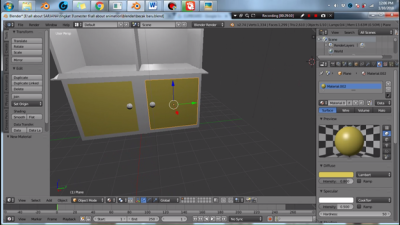
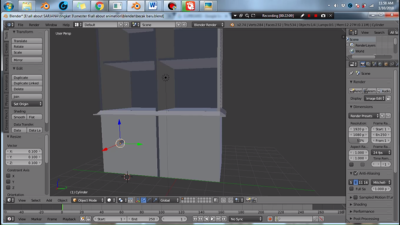
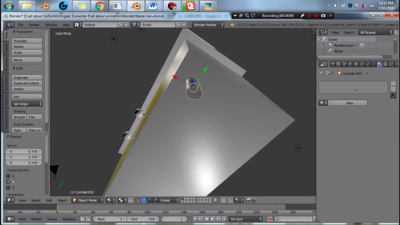
Okay the next process, namely the manufacture of foot closet
Steps i.e. Select a new object such as steps that I have discussed above
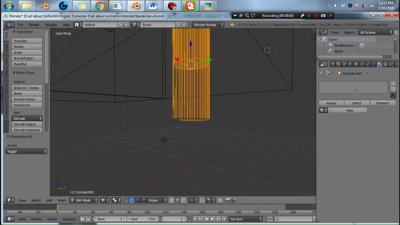
Choose mesh-cylinder
Change the size of the object
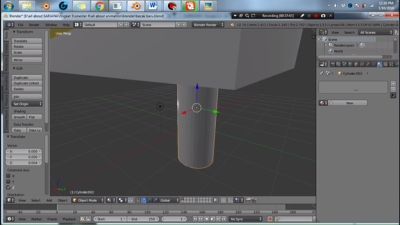
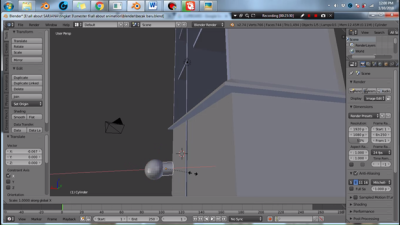
Create foot closet was as pretty as possible with the way the press tab to change the mode
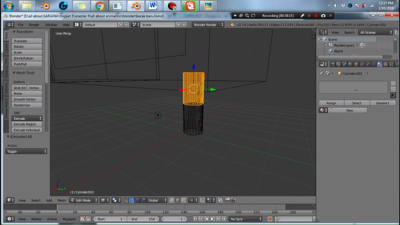
the central part of the Block by means of control R
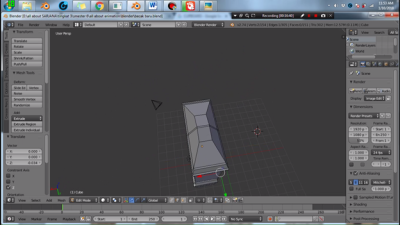
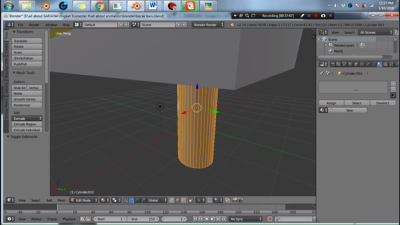
Press Z to change the display object
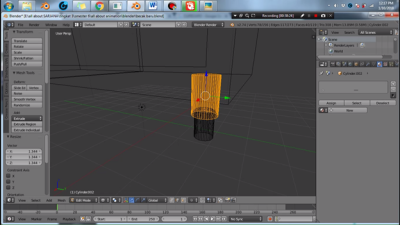
remove the lower part by means of selection press B – shift
Press S to enlarge the object
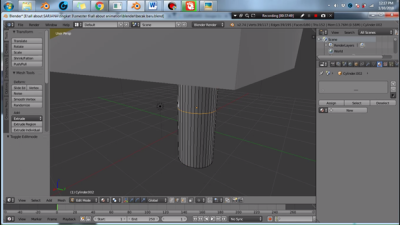
the shape of the object as you want
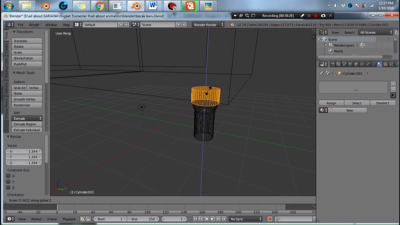

Customize the layout of the closet legs
the next process, namely the granting of texture
Steps i.e. press tab to change the object mode into edit mode
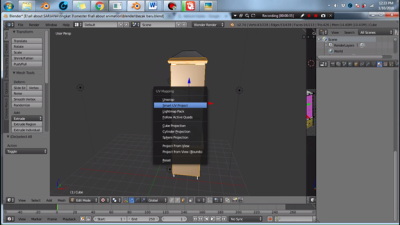
the block part of the closet who would like to be given texture
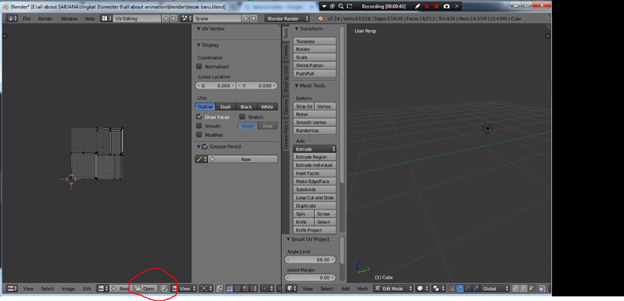
press U and select Smart UV Project
Click at the* screen layout* select UV editing
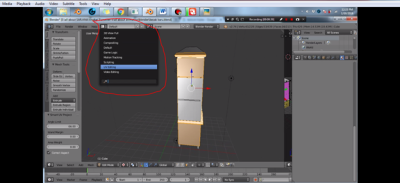
then the layout will be changed to the UV layout editing
click open to open the picture file that you want to insert the object into the
Select image file where you put the

once you select the image and click open image

thus the object turn into like this

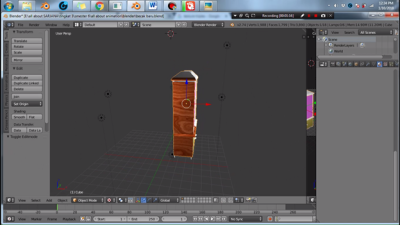
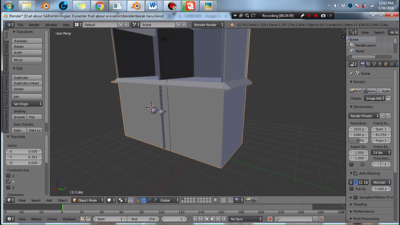
Okay all process is finished
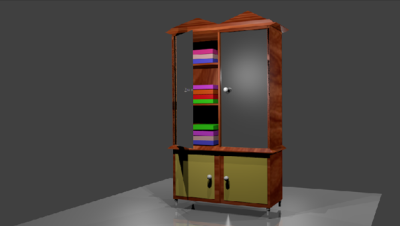
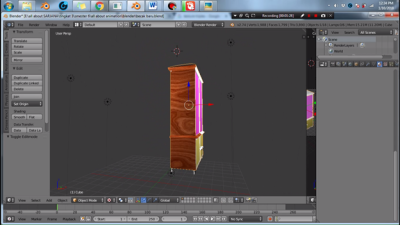
the results of Cupboard project
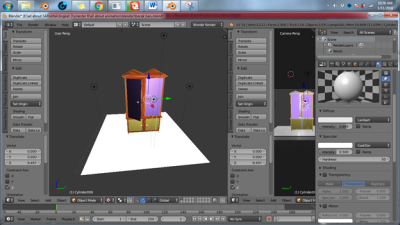
the results of rendering project

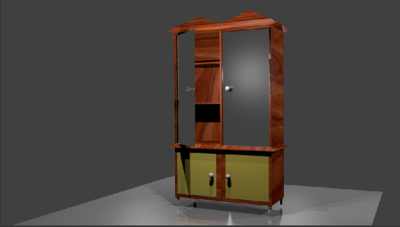
so tutorial from me may be useful :)
Download File
Note : Cupboard
Posted on Utopian.io - Rewarding Open Source Contributors
Thank you for the contribution. It has been approved.
You can contact us on Discord.
[utopian-moderator]
Hey @damla, I just gave you a tip for your hard work on moderation. Upvote this comment to support the utopian moderators and increase your future rewards!
Hey @bangkimo I am @utopian-io. I have just upvoted you!
Achievements
Suggestions
Get Noticed!
Community-Driven Witness!
I am the first and only Steem Community-Driven Witness. Participate on Discord. Lets GROW TOGETHER!
Up-vote this comment to grow my power and help Open Source contributions like this one. Want to chat? Join me on Discord https://discord.gg/Pc8HG9x