Repository: https://github.com/mongodb/mongo
Download link: https://www.mongodb.com/download-center/community
![]()
Introduction
What is MongoDB?
MongoDB is a document database, which means it stores data in JSON-like documents. It is a natural way to think about data and is much more expressive and powerful than the traditional row/column model.
Advantages
- MongoDB stores data in flexible, JSON-like documents, meaning fields can vary from document to document and data structure can be changed over time;
- The document model maps to the objects in your application code, making data easy to work with;
- Ad hoc queries, indexing, and real-time aggregation provide powerful ways to access and analyze your data;
- MongoDB is a distributed database at its core, so high availability, horizontal scaling, and geographic distribution are built in and easy to use;
- MongoDB is free to use;
- MongoDB is NoSQL (non-relational).
Prerequisites for Windows:
- Windows 7/Server 2008 R2
- Windows 8/2012 R2 and later
It is also available for macOS and Linux. This tutorial was made using Windows 10.
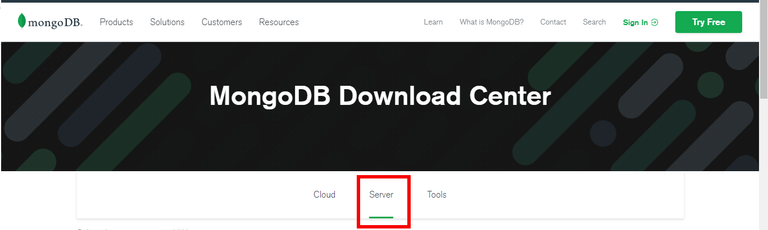
Installation Guide
Select Server Tab
Select MongoDB Community Server
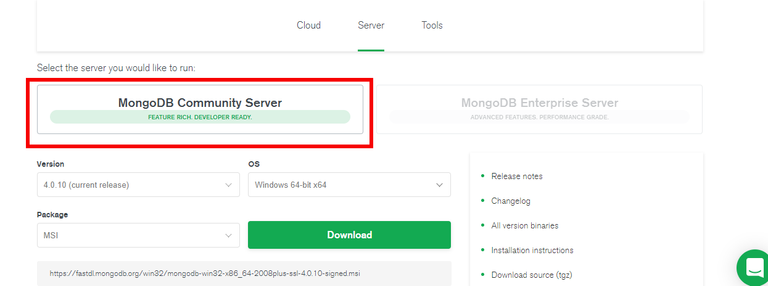
Both MongoDB Community and Enterprise Server are available. The Enterprise version has support for MongoDB, SLA, Ops Manager, Compass and the Connector for BI. It comes with: in-memory Storage Engine, encrypted Storage Engine, and Advanced Security.
The Community Server is totally free and Enterprise is not, so starting with the Community version, testing and evaluating if it is suitable for what you want to do is the best start.
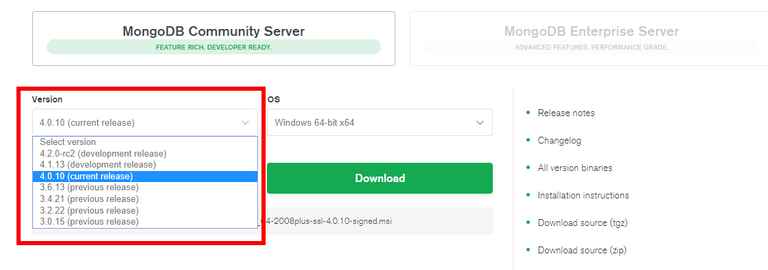
- Select the version of MongoDB you want to install. The current release is going to be selected by default, you can change to previous versions or to development releases if you want. I am going to use the current release because it is more stable.
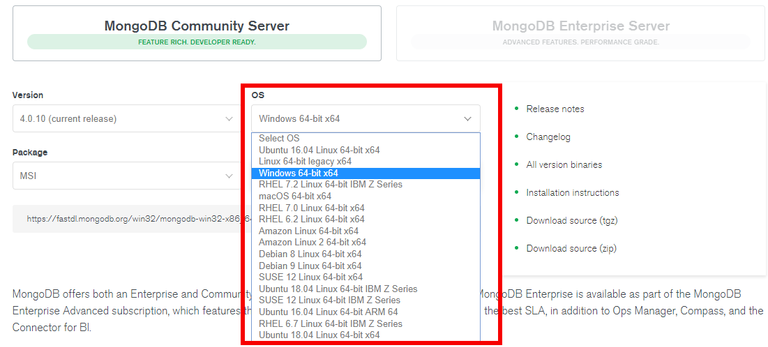
- Select the OS system of your computer where you are going to install it:
Select the Package MSI:
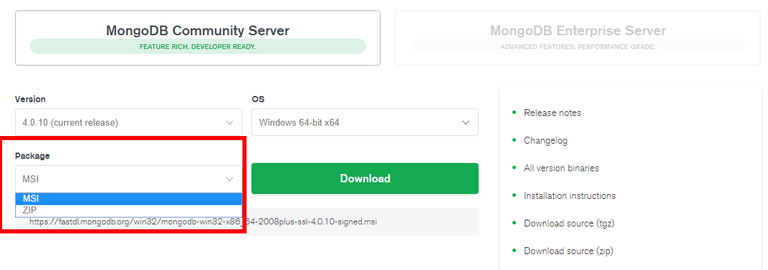
MSI is an installer package file format used by Windows. Its name comes from the program’s original title, Microsoft Installer, which has since changed to Windows Installer. MSI files are used for installation, storage, and removal of programs.
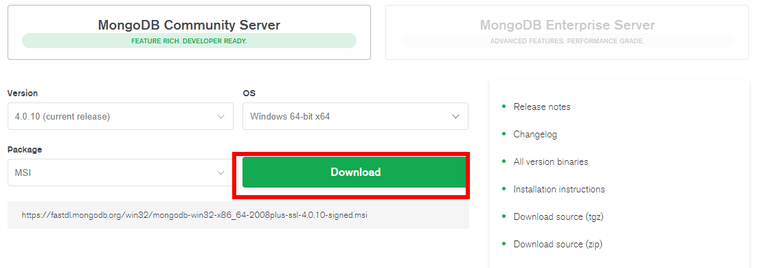
It is much easier to install from MSI archive than ZIP archive in Windows systems.Click on Download button
Click on the downloaded msi file
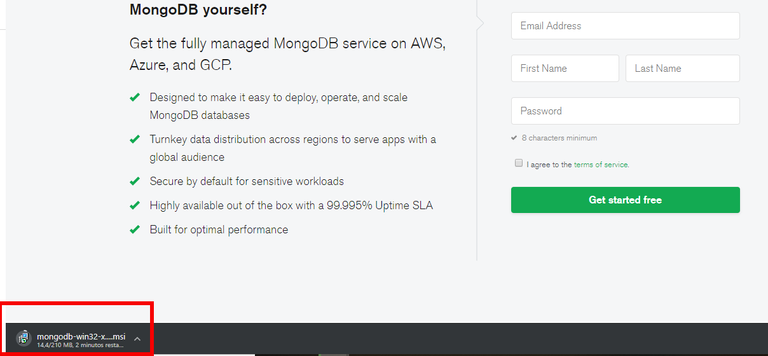
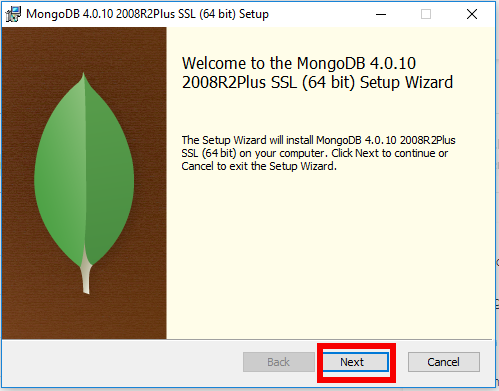
You can click on the MSI file directly from your browser or double-click the file in the folder you saved it.The following window will appear and you just click Next:
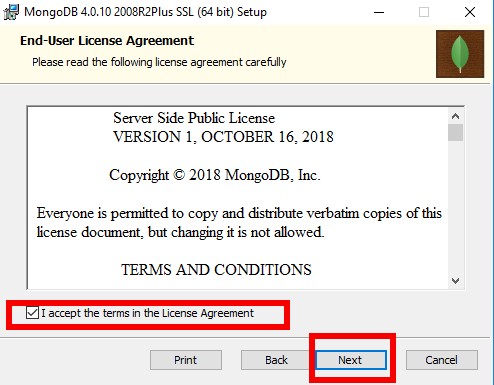
Accept the terms and click on Next
Choose Setup Type
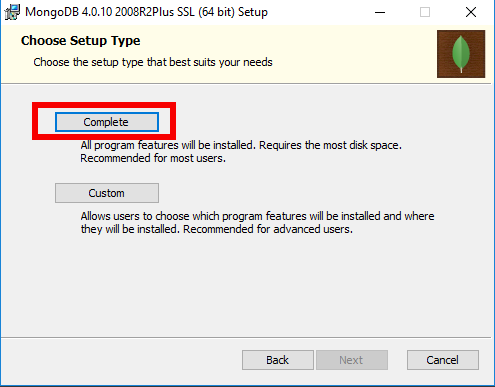
You can choose either the Complete (recommended for most users) or Custom setup type. If you choose the Custom installation option, you may specify which executables are installed and where. I just used the Complete version by clicking on Complete button.After clicking on “Complete” we can see the Overview Configuration of the Server

Starting in MongoDB 4.0, you can configure and start MongoDB as a Windows service during the install, and the MongoDB service is started upon successful installation.
Running MongoDB as a service gives you some flexibility with how you can run and deploy MongoDB. For example, you can have MongoDB run at startup and restart on failures. If you don't set MongoDB up as a service, you will have to run the MongoDB server every time.
You can:
- Run the service as Network Service user (Default): This is a Windows user account that is built-in to Windows
- Run the service as a local or domain user: For an existing local user account, specify a period (i.e. .) for the Account Domain and specify the Account Name and the Account Password for the user. For an existing domain user, specify the Account Domain, the Account Name and the Account Password for that user.
Running MongoDB as a network service means that your service will have permission to access the network with the same credentials as the computer you are using. Running MongoDB locally will run the service without network connectivity.
Service Name. Specify the service name. The default name is MongoDB. If you already have a service with the specified name, you must choose another name.
Data Directory. Specify the data directory. If the directory does not exist, the installer will create the directory and sets the directory access to the service user.
Log Directory. Specify the Log directory. If the directory does not exist, the installer will create the directory and sets the directory access to the service user.
You can change any configuration if you want, in this tutorial I am going to use the Default Configuration. And click “Next”.
- Install MongoDB Compass
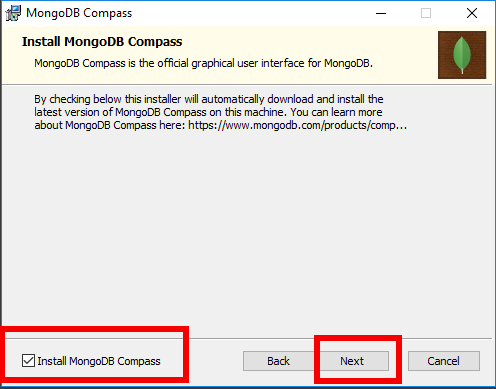
As the GUI for MongoDB, MongoDB Compass allows you to make smarter decisions about document structure, querying, indexing, document validation, and more. The MongoDB Compass is a user-friendly interface to manipulate your database, it is useful if you are not familiar with command prompts.
If you don’t want, you can remove the selection of installing MongoDB Compass.
And click “Next”.
Click “Install”
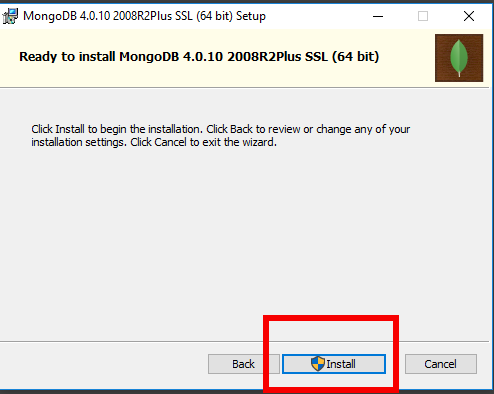
Windows system will ask you if you really want to install, you just confirm it
It will take some minutes to install.
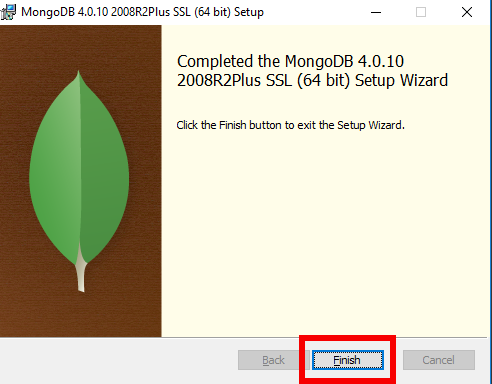
When the installation is finished, you just click “Finish”
The MongoDB Compass will automatically open

All done. Your MongoDB is installed and ready to be used.
In the next parts of this series, I am going to show to use MongoDB.
Resources
MongoDB main website:
https://www.mongodb.com/
Download page:
https://www.mongodb.com/download-center/community
Manual:
https://docs.mongodb.com/manual/?_ga=2.235936065.1758499200.1563115578-1869962640.1563115578
Thank you for the contribution. However, I have a few issues with the post.
The first and most pressing issue is the copy-paste part of this post. A good blog post should contain original and editorial content. The post is more of a tutorial, as it involved how to install the application.
The Blog category is meant for people to share their experiences with open source projects. Thus, for your future post, focus on sharing your experiences more than basic ''how to''. Also, refrain from copy-paste as it could lead to a temporal or permanent ban.
Need help? Chat with us on Discord.
[utopian-moderator]
Thank you for your review, @tykee! Keep up the good work!
Congratulations @maargarita! You have completed the following achievement on the Steem blockchain and have been rewarded with new badge(s) :
You can view your badges on your Steem Board and compare to others on the Steem Ranking
If you no longer want to receive notifications, reply to this comment with the word
STOPVote for @Steemitboard as a witness to get one more award and increased upvotes!
Congratulations @maargarita! You received a personal award!
You can view your badges on your Steem Board and compare to others on the Steem Ranking
Vote for @Steemitboard as a witness to get one more award and increased upvotes!