Hello smoker.
My name is Dennis and I am going to show you how easy it is to set up your device. If you have considered vaping as a way to quit smoking you are not alone. There are millions of people who have kicked the nasty cigarette habit due to vaping. Unfortunately Vape shops cannot show you how to set up your new device which can be very frustrating to someone who has never done it. Think of it as if you have never driven a car and someone tosses you the keys to a brand new 6 speed corvette and say “have fun” so what I’m going to do in this multi-part series is show you through pictures and instruction how to set up your device and get you on the road to a better life. A life free of those awful cigarettes. Let’s begin shall we
This is a vape pen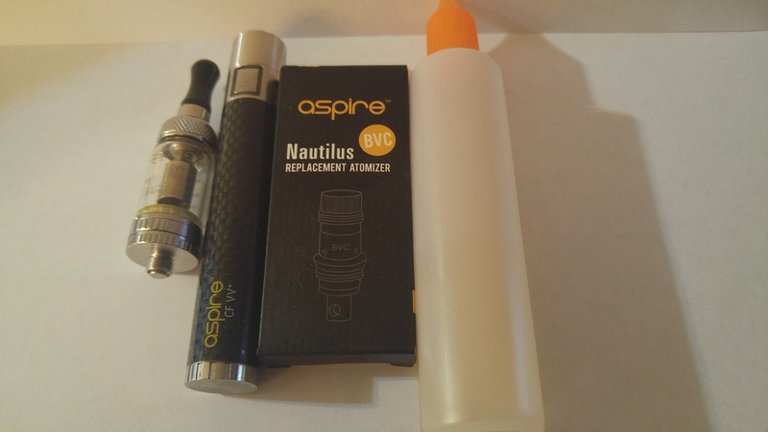
There are dozens and dozens of different beginner’s vape pens on the market. I highly recommend these to new vapers due to the fact they will give you the familiar mouth to lung inhale that you are used to with smoking. These also allow for higher nicotine levels without making you cough up your lung that a sub ohm style direct lung inhale device would. Smokers need that higher nicotine level to help cure that cigarette craving they desire. Every single vaper I know started with a pen style and I know a lot of vapers. The great thing is while they all look different 99% of them will essentially work exactly the same. To begin you will need the items shown in the picture above. A battery, a tank, coils (the piece that absorbs the juice around the coil and heats up creating the vapor) and E-Juice.
Ok let’s start setting up your new device
This is your tank otherwise known as a clearomizer. They consist primarily of 3 parts. The tank section that holds the juice, the base that holds the coil, and the coil itself. Some different variations will come with or without airflow control. What air flow does is control how hard you have to pull on it to create vapor and how much vapor you get. Rule of thumb is the more air the more vapor. I highly suggest adjustable airflow because everyone is going to be different as to how much restriction and vapor they like. The key is for you to be happy with the vaping experience you get from your device so you will want to continue using it.
Priming and replacing the coil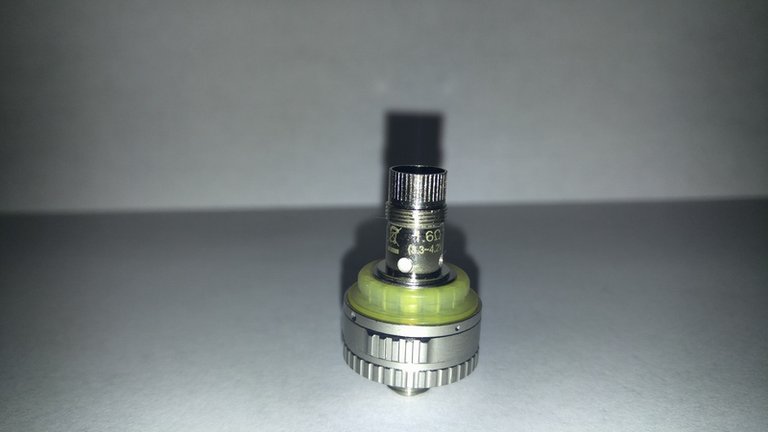
Ok this part is important to get a good vaping experience. When you buy your fist pen it will have a coil in it already. The coil is the only part you will have to replace on a regular basis. On average you will get 1-2 weeks of vaping out of one coil. You will know when the coil needs replacing when your vape starts tasting like burnt cotton and not like juice. The majority of clearomizer coils will cost less than a pack of cigarettes so you will save a ton of money. To replace the coil you will simply unscrew the base of your tank as shown and unscrew the old coil and screw in a new one. Once you do that you will need to put a small drop of juice on the wicking holes. The wicking holes are the little cut out holes on the side of the coil. This process known as priming ensures that the cotton that is in the coil will be properly saturated to give you the best vaping experience and helps with the overall life of the coil.
Ok now fill your tank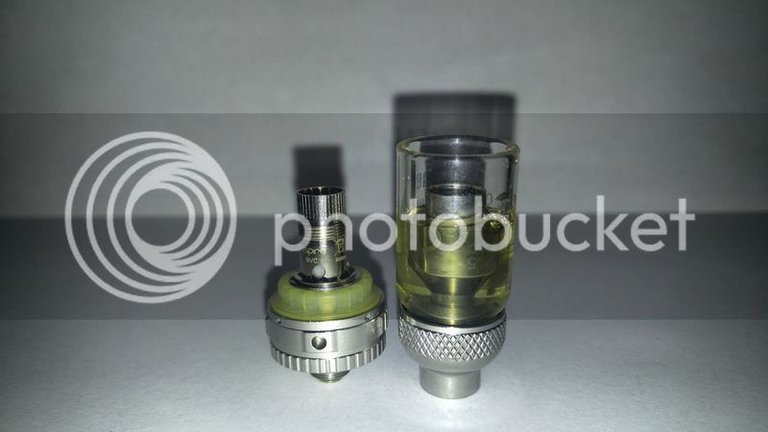
This part is easy. Just fill your tank with your juice. You will fill it on the side being sure to not get juice in the center hole. You can now screw your base onto your tank. Congratulations you have filled your device and are almost ready to vape. At this point you will want to take a few good long puffs on the tank without firing the battery to further ensure proper priming of the coil. Basic rule of thumb is 5 good pulls or until you can start to taste the juice. You will only do the priming process with a new coil after that you will just fill your tank and keep on vaping
Now the battery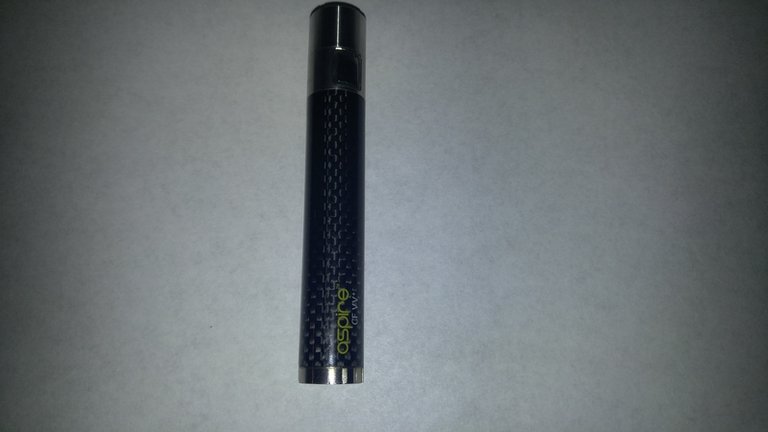
This is your battery. 99% of pen style batteries will work exactly the same. 5 click ON 5 clicks OFF to operate the battery. That’s it. I usually tell people to hit that button fast until it starts flashing telling you it’s on. These are rechargeable. To recharge the battery there are 2 main ways depending on the battery. One kind will have a screw in charger. These types you will screw the charger into the top of the battery where your tank goes. The charger and the battery fire button will usually start blinking when you screw it in. the charger light will turn red when it’s charging and green or off when it’s done. Most batteries will have the same light indicator. Most new batteries will have usb charging using micro usb like most android and windows phones. The plus side to usb charging is you can vape while the battery is charging which is nice for the times you forgot to charge and the battery dies during the day.
That’s it you are ready to vape. To do so turn the battery on and push and hold the button as you’re taking a smooth good draw on it. Wasn’t that easy?
Bonus #1 Adjustable air flow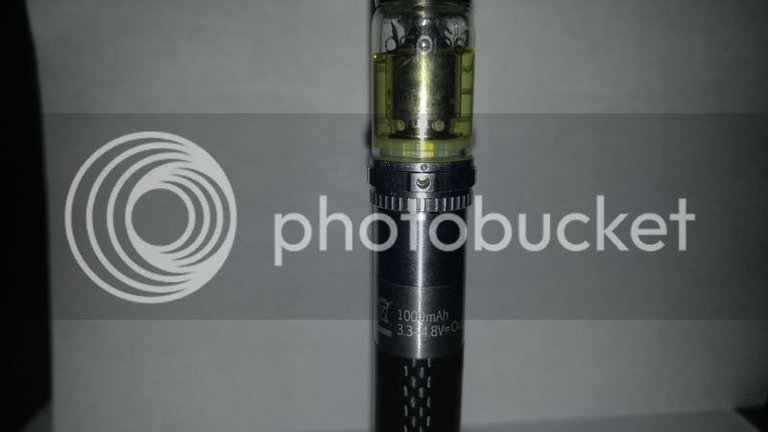
If your tank came with adjustable airflow like this one there will be an air flow ring on the base like there is pictured above. Some will have holes like that or a slot. With the hole style like this one you will simply turn the ring until it clicks into place on the next size hole. On the slot kind primarily you can turn it back and forth to adjust how much of the slot is open. Either way the only thing to remember is more air is more vapor. If you find yourself vaping with the air flow wide open and still not getting enough to satisfy you then check back later as I will be doing a walk-through on sub ohm tanks.
Bonus #2 Variable Voltage
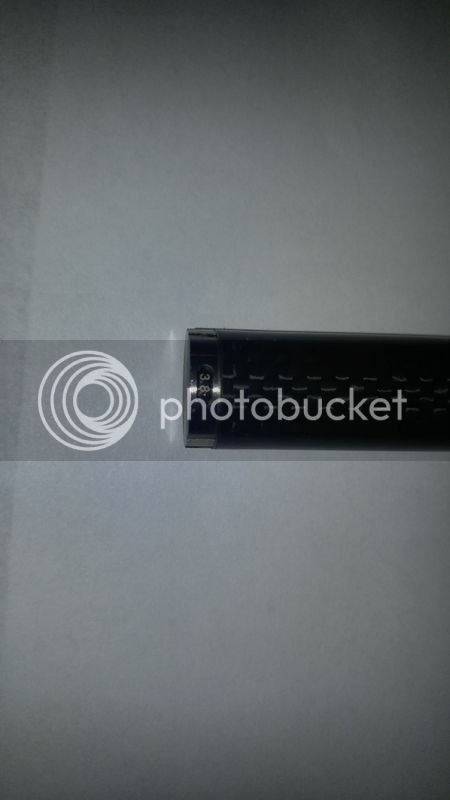
Some batteries have adjustable voltage on the bottom like this. 99% go from 3.3 to 4.8 volts in preset increments. Voltage means the higher it’s set the hotter it will burn the coil to produce more vapor. This option is great for vapers that want a bit more vapor but aren’t ready or don’t want to step up to sub ohm vaping. I suggest you start at 3.8 volts and turn it up from there to what you like. Keep in mind some coils can’t handle high voltages and you will get a “burnt hit” which means it will taste like burning cotton. If that happens turn the voltage down to where it tastes like juice again. The downside to higher voltage is coil life. If you run your coil at 4.8 volts it will not last near as long as it would at 3.8 volts.
Thank you for reading. Feel free to share this with your friends who need to quit smoking. Feel free to ask any questions you may have. I do my best to answer questions a.s.a.p.
Niiiiiice!
Despite what the rules say, as long as I make it clear that I am not acting as a representative of the company and am not speaking for the vape shop I work at, I'm well within my rights to explain and show people how these things work. That has got to be one of the dumbest regulations ever conceived, and none of us here are buying into it.
This is true but there is a very good chance that when someone needs help in a shop there won't be someone in the shop that's not a employee that can help them