Basic step by step guide how to setup and use Vesta CP to host websites on VPS.
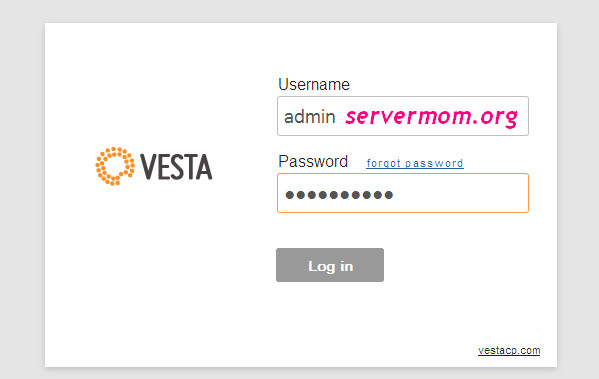
Very first step before any other steps is “to login to Vesta Panel”:
Open your VPS IP with port 8083 via https://.
example: https://000.000.000.000:8083/
then login as Admin:
A. Basic Setup
Some necessary steps to do after installing Vestapanel:
- Change default admin password:
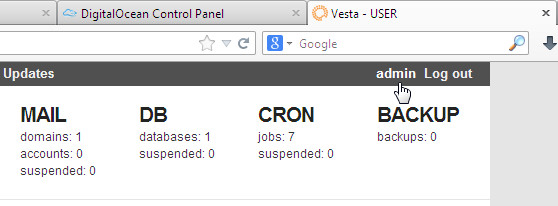
Once logged in, click the “Admin” link in top right-hand corner of your screen. The one beside Log out in top of Backup menu.
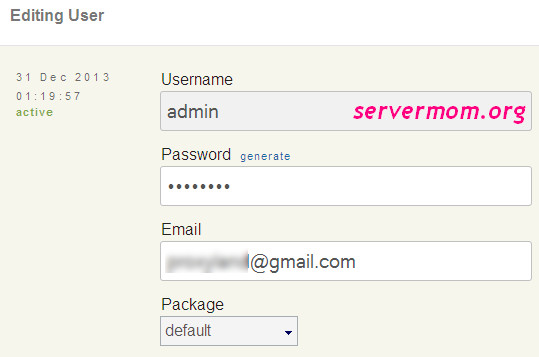
Now you’ll enter the “Editing User” page which you can change your password there. This is necessary so you can easily remember your own Admin password. Just make sure to use strong combination.
- Define Your Main Nameserver
Scroll down that page a bit and you’ll see other options. Feel free to adjust those options but for me I better leave that as default except the “Default Name Servers” part. Change this part to your own main NS for your domain.
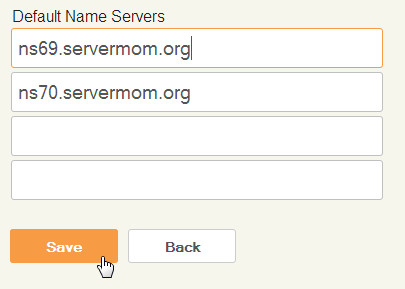
once done, hit the Save button.
- Adjust Hosting Packages Configuration
Click on the “Packages” link on the top left-hand corner of the screen (above Vesta logo). For your information, “Packages” is a feature on Vesta that serves as “Hosting Plans” which you usually see on many web hosting company sites. In that Packages page you can adjust some necessary limitations / features of a plan which can be assigned to a user.
For example, we can configure the “Default” plan to have how many domains, sub-domains, databases, backups, cron jobs, how much disk space and bandwidth will be allocated, and so on.
It means you can create your own hosting plans.
B. Add New Website
So here it is the time to add our new website / domain. First, click on the “WEB” menu and you’ll see default.domain is already there.
You can delete it by clicking the delete link next to it.
It will then ask for confirmation. Simply hit OK.
Next, add our new website by clicking “Add Web Domain” button.
There are Advanced options hidden, click on it if you wish to change some advanced configurations including Aliases, will you use Nginx or not, SSL support, Web Statistics enabled or not, Statistic Authorization and additional FTP. Adjust as you like.
Once done, hit the Save button.
You can see all automatically added DNS entries by clicking “list of x records” link of that domain. x represents the numbers of available entries.
What you can do with each domain are: See the list of DNS records, Add new DNS record, Edit DNS configuration, and Delete. The Suspend menu only available for Admin.
dns records
Ok, I am a newbie, and this is my very first time using Vesta and my very first time adding new website to my Vesta vps. What should I do?
Nothing. All default configurations are setup once you added a new website. Without adding or editing anything in your DNS your DNS is ready to use. But in this DNS page you can see all your DNS settings. So what you should also do is to see all available records just for your own review (or learning).
How can add new DNS entry?
Simply the “Add new record” link. The “Adding DNS Record” page is really easy to understood. Example:
add dns record
D. Add New MYSQL Database
Most of recent scripts and CMS are using database to store its data. You can see all available MySQL datyabases by clicking DB menu.
database
In that DB page you can see all available databases. As for this guide, lets start adding a new database. Click on the “Add Database” button.
add database
Now go ahead add your database and also database user and its password. Note: Prefix username_ will be automatically added to database name and database user (example: admin_).
add database
In that example then my database name is “admin_wordpress”, my DB user is “admin_johndoe” and the password is as shown in screenshot ^_^.
That’s it so now you add manage your database via PHPMYADMIN by clicking “Open phpMyAdmin” link.
phpmyadmin
phpMyAdmin interface should appear in a new browser Tab / Window. You have to login using your just created database username and password.
E. Uploading Website Content to VPS
So you now have DNS and MySQL database setup and ready. Next, lets upload all files of websites. FYI: Vesta CP doesn’t have File Manager (may be yet) and also no support for third-part module or plugin line zPanel with its Ajaxplorer File Manager. So the only way you upload your web files is via FTP which is handled by vsFTPd.
First, go to WEB then click Edit link of the domain name you like to add new FTP user.
ftp
then tick the Additional FTP option and enter your FTP username and password. Note: a prefix username_ will be automatically added, in my case is admin_.
add ftp
Once done, hit the Save button. Now you can use your favorite FTP client like Filezilla to upload your files. Use your VPS IP as Host at port 21.
upload ftp
That’s it!
Source
Plagiarism is the copying & pasting of others work without giving credit to the original author or artist. Plagiarized posts are considered fraud and violate the intellectual property rights of the original creator.
Fraud is discouraged by the community and may result in the account being Blacklisted.
If you believe this comment is in error, please contact us in #appeals in Discord.