by @savetheales
ToC:
1. How to open IPFS link using Cyb
2. How to add own IPFS node to your Cyb
3. How to add own ETH node to your Cyb
4. How to import ETH wallet from Metamask to Cyb
Hi! As we know from an earlier post we need 3 green lights on the right side of the footer. Today we'll add ETH node to Cyb. We'll use Parity node as an example, but you can try Geth node if you feel strong enough.
Installing Parity-node
The easiest way to install the stable version of Parity is Homebrew. Run this command in terminal:
brew tap paritytech/paritytech
brew install parity
Additional methods you can explore here, but I still recommend you Homebrew :)
Syncing
After successfull installation run:
parity --jsonrpc-cors="all" --jsonrpc-apis="all" --jsonrpc-interface=all
this command starts syncing of Parity. Actually, the node is available for use by address
http://127.0.0.1:8545
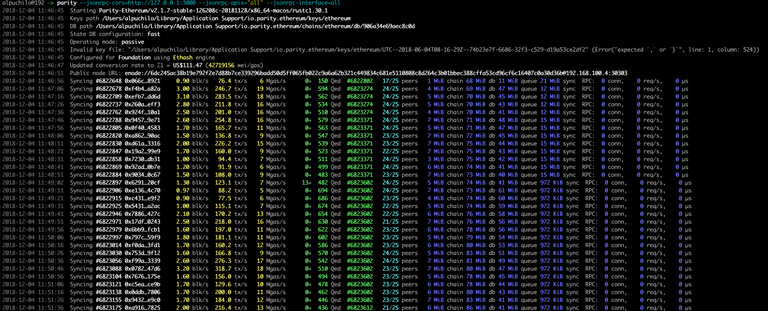
it can sync for 48 hours and more, it depends on your hardware and internet connection. The total size of the synced node at that moment is approximately 80 Gb. After syncing you should see something like this:
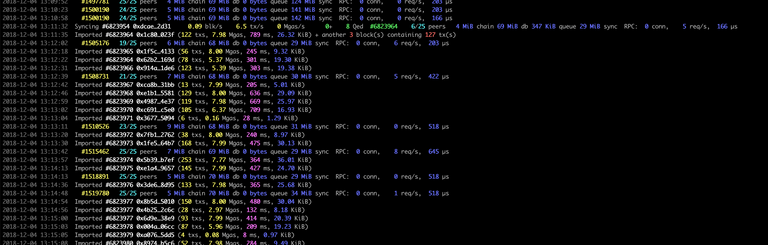
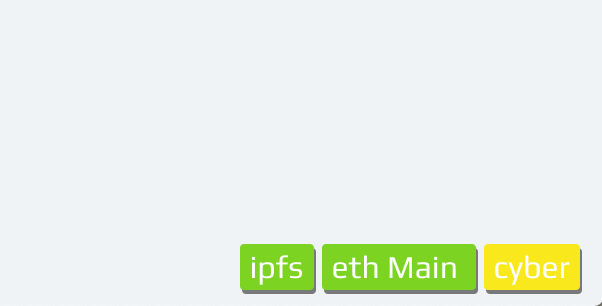
As you see Syncing is switched to Imported. It means that the node in a valid state.
Adding port to Cyb
Launch Cyb, latest version you can download here if you still not have it :). Type settings.cyb in a search field or click on a gear at the top right side.
You need to insert this address http://127.0.0.1:8545 opposite ETH NODE like this:
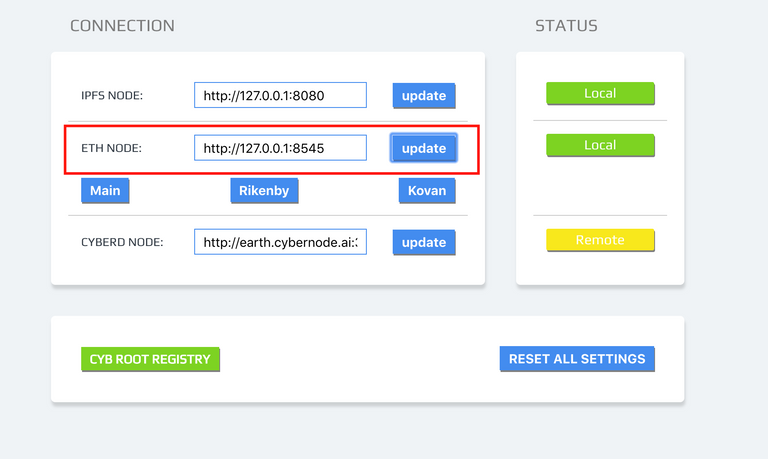
Don't forget about the update button!
That's it ;)
Now you run your own node and use it with Cyb ;)
2 of 3, move on! ;)
Subscribe at Steemit, Reddit, Twitter, Telegram channel and join our community in @fuckgoogle
content hash is signed-from at the Dec-04-2018 12:11:45 PM +UTC