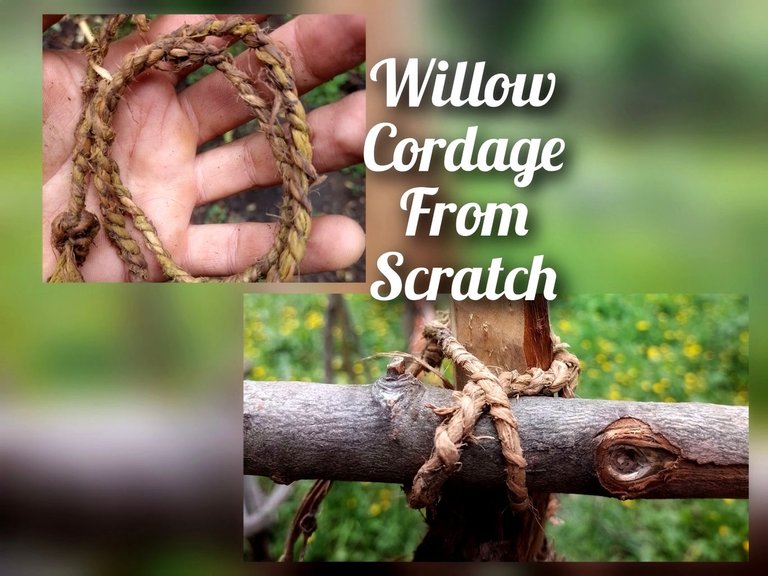
Good day people of Hive and DIYHub community. Today I want to share with you something I recently got the hang of and can be useful to all of us in countless situations. I don't think I need to enlist the uses for cordage and though it's quite easy to get in hardware stores, the day may come when you need it to survive, or would rather do it yourself instead of buying.
In this case the cordage will be made of willow bark, but there are many plants and trees that can provide you with the appropriate fibers for the job, including nettle and blackberry bushes.
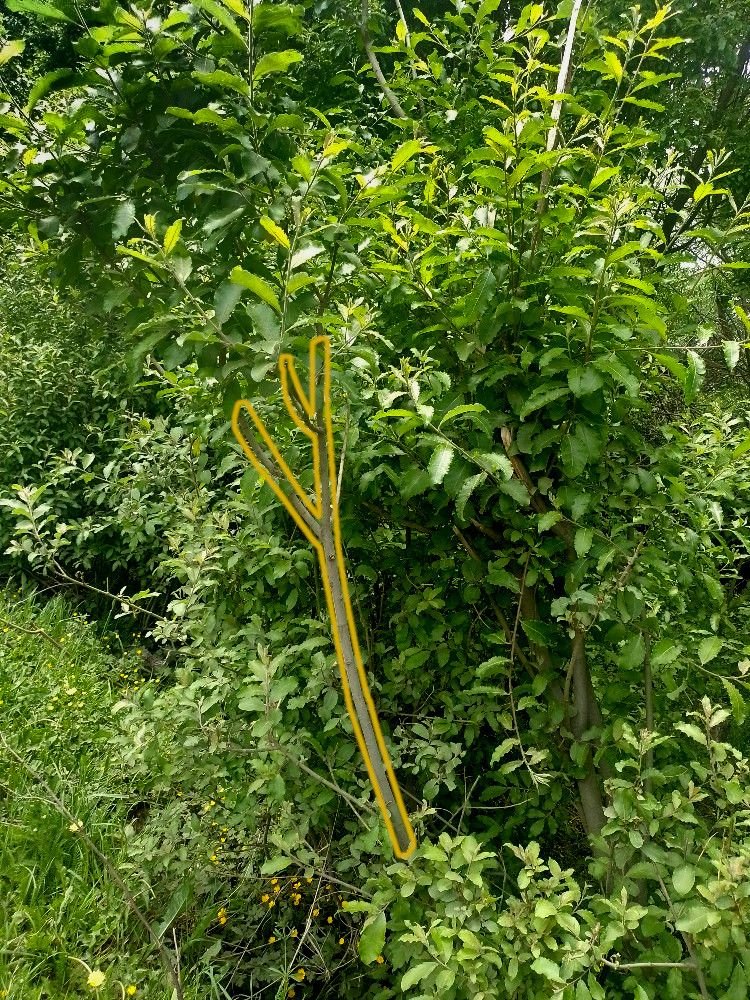
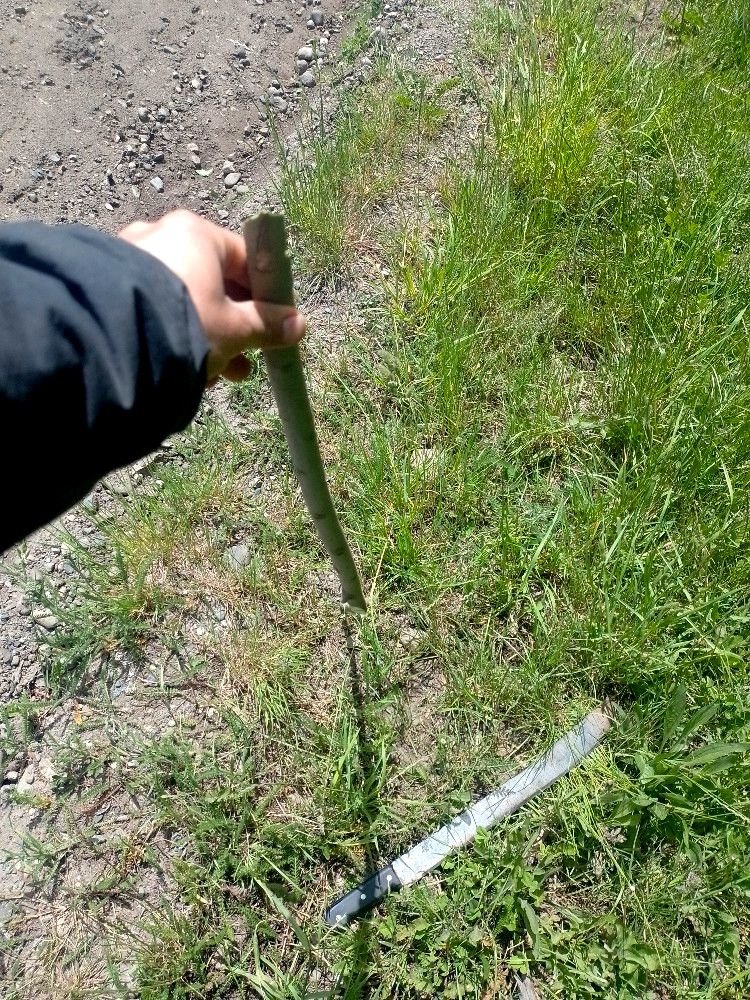
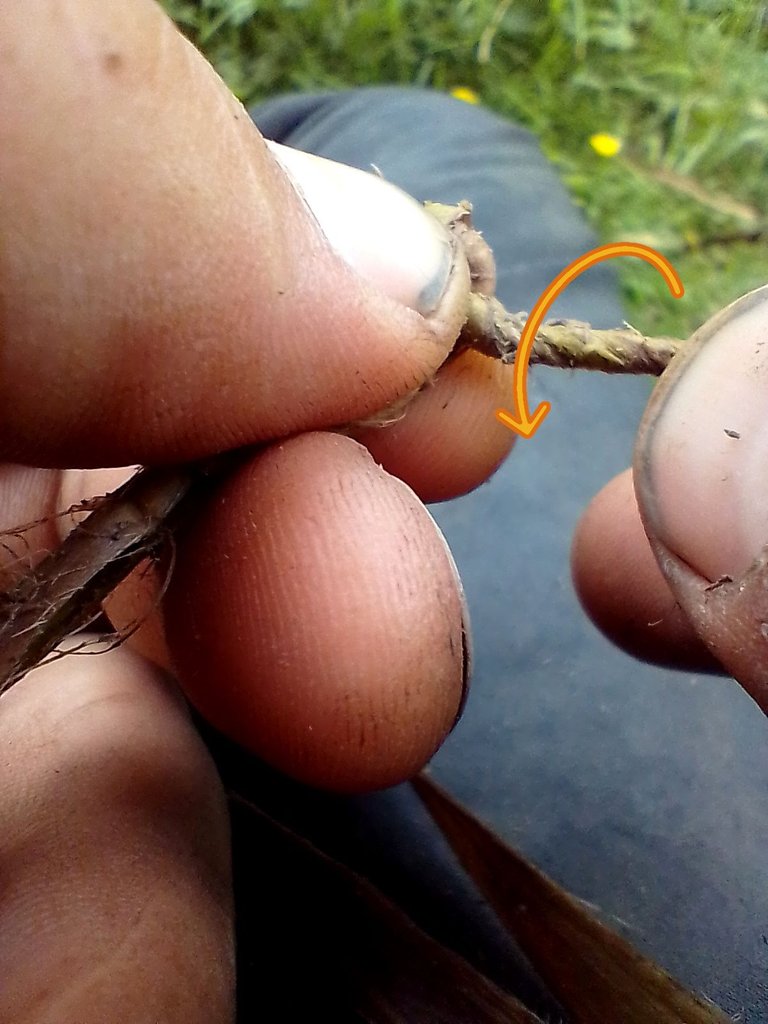
The first thing is to choose a branch that is relatively straight and has few side branches. For the purpose of this tutorial I chose this one as it was sticking out, but I'd prefer longer ones if possible.
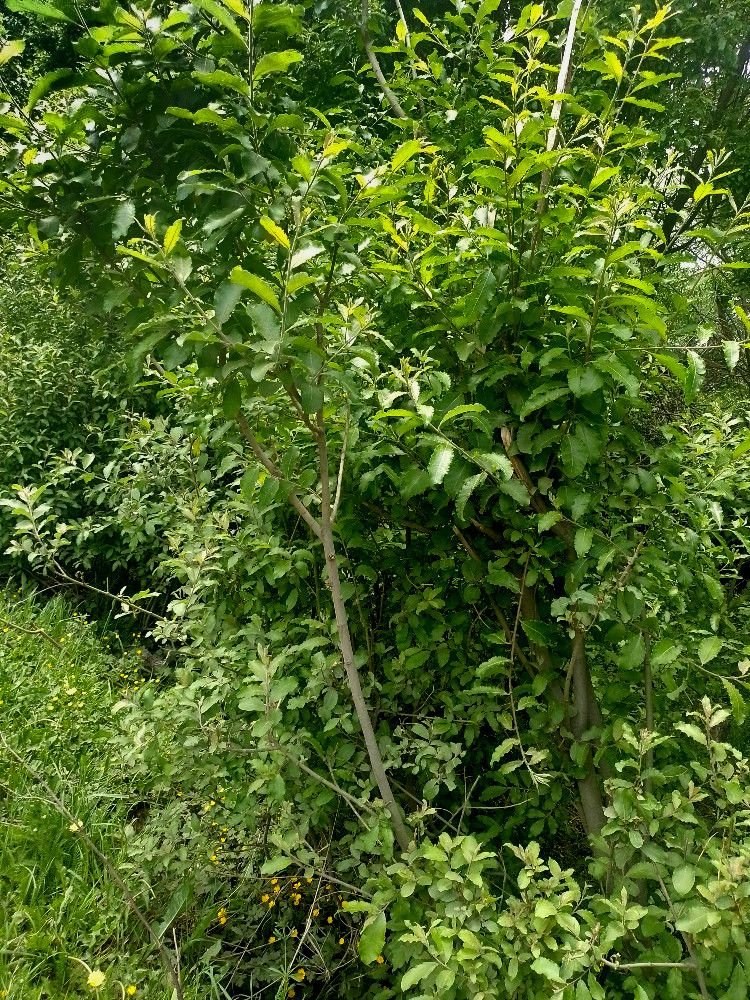
Still, it had a pretty good shape and few side branches.
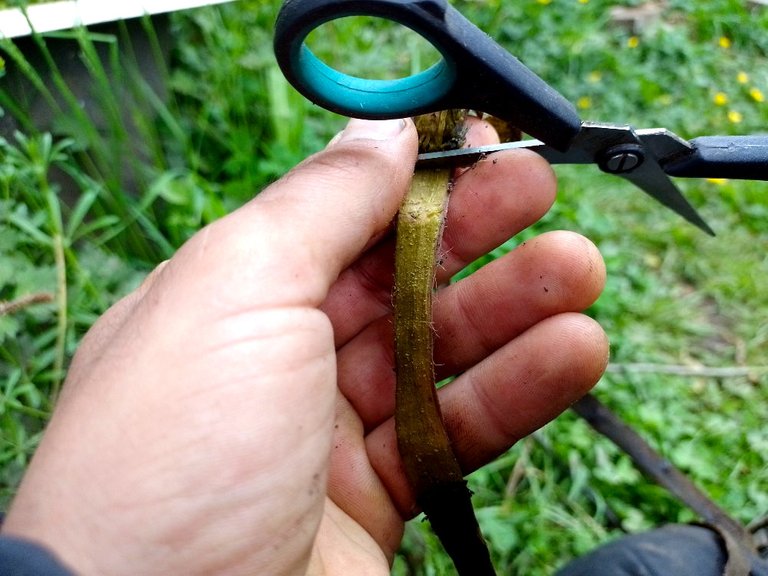
Cut the branch off as cleanly as possible. Always important to sharpen your tools if you don't want to make a mess of the tree.
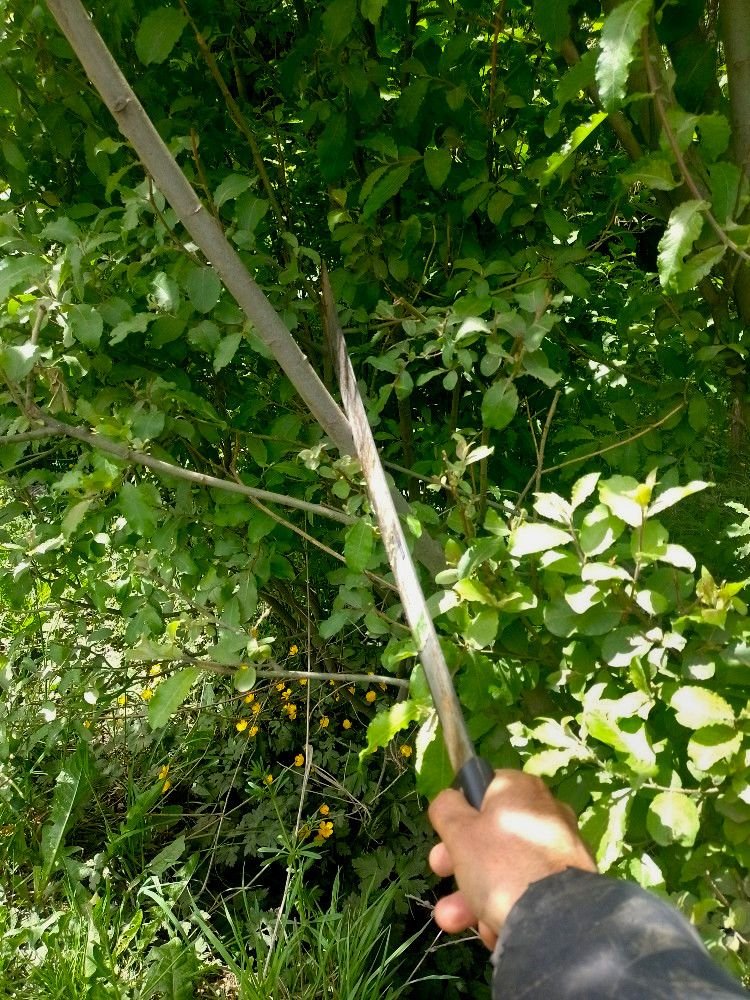
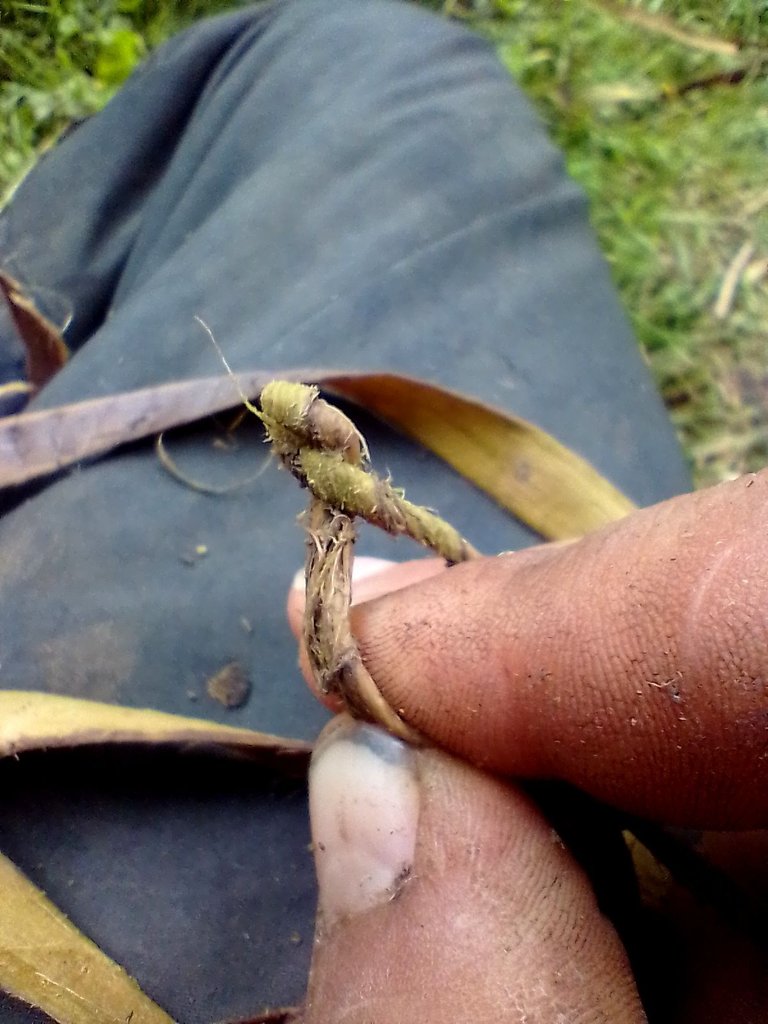
Cut off the side branches trying to avoid hurting the bark.
This process is best done during spring and summer, when the sap of the trees is in the branches, because this makes it easier to peel off the bark.
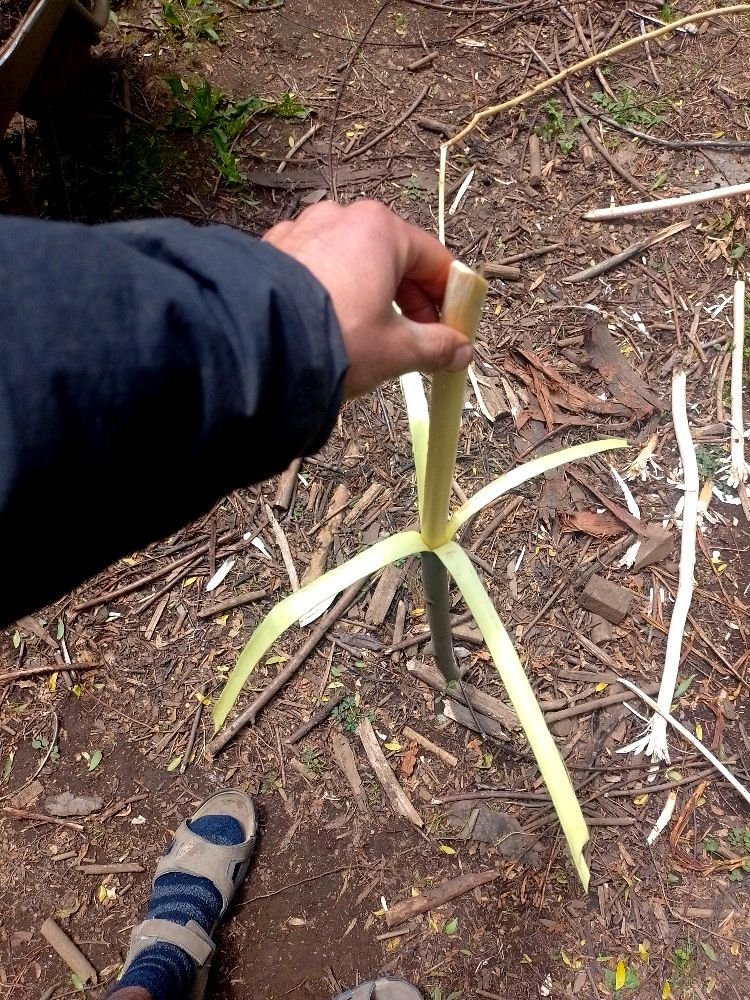
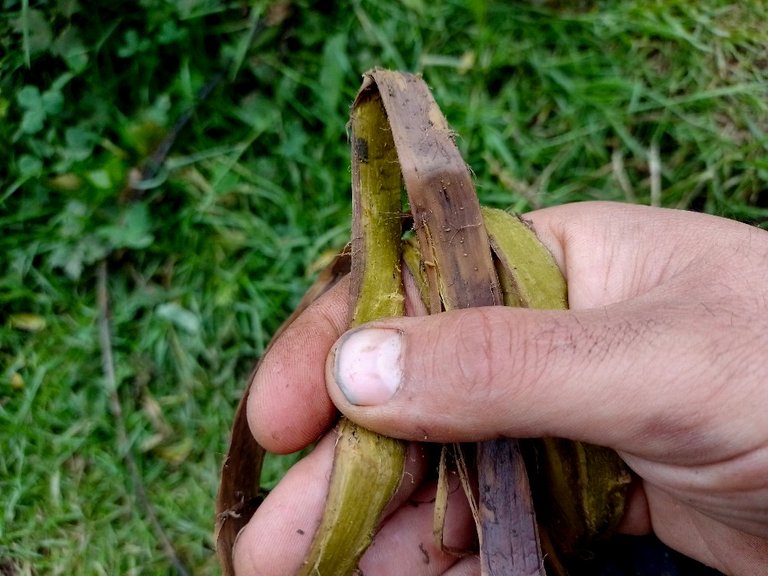
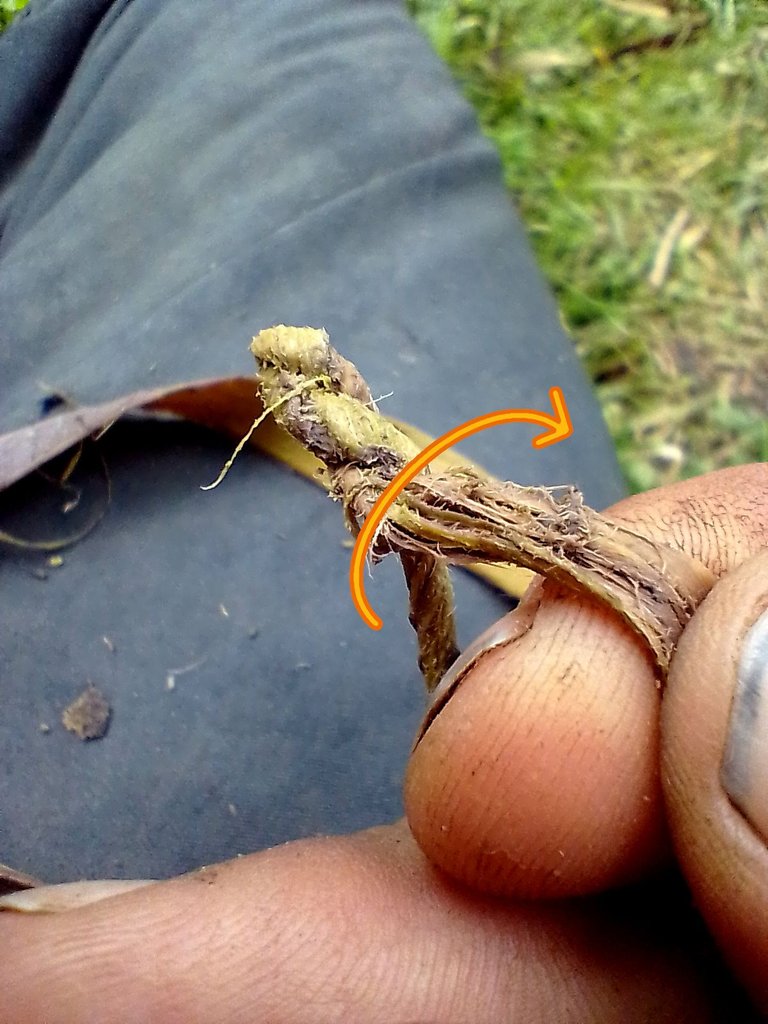
I like peeling them like seen in the image. Four strips which I go removing little by little, making sure that they go down evenly. If you try to take away one side completely, it is likely to have an odd shape. This way you make sure you have pretty straight strips.

Once you have your strips you could immediately do some cordage if it was an emergency, but it's not ideal as they will be hard to manipulate and the end result will not be as lasting. To improve the quality of your material it's better to boil the strips for a couple of hours, and even better if you add ashes to the water.
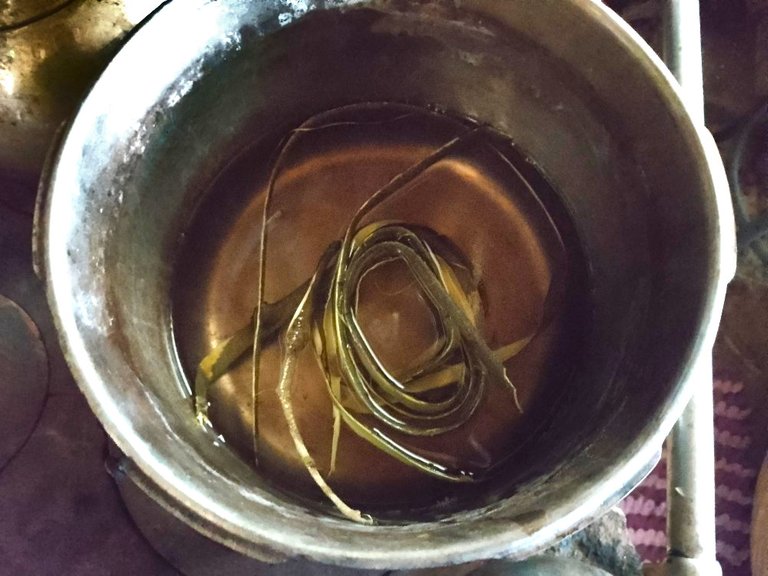
After boiling, it should look something like this:
Nezuko checking out if there's a good spot to put herself comfortable 😸
We could already work with this but there is one more step that can improve the quality of the end result, so let's do it.
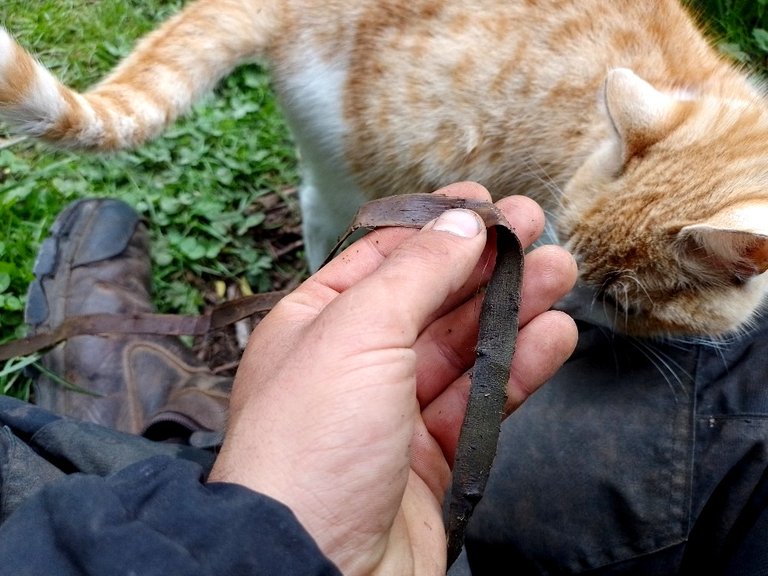
It's the inner layer of the bark that is the best material for this work so we'll want to peel that outer layer. I find that scissors do the job just fine.
In the end it should look like this:
That dirty nail though... was in the garden previously, don't judge
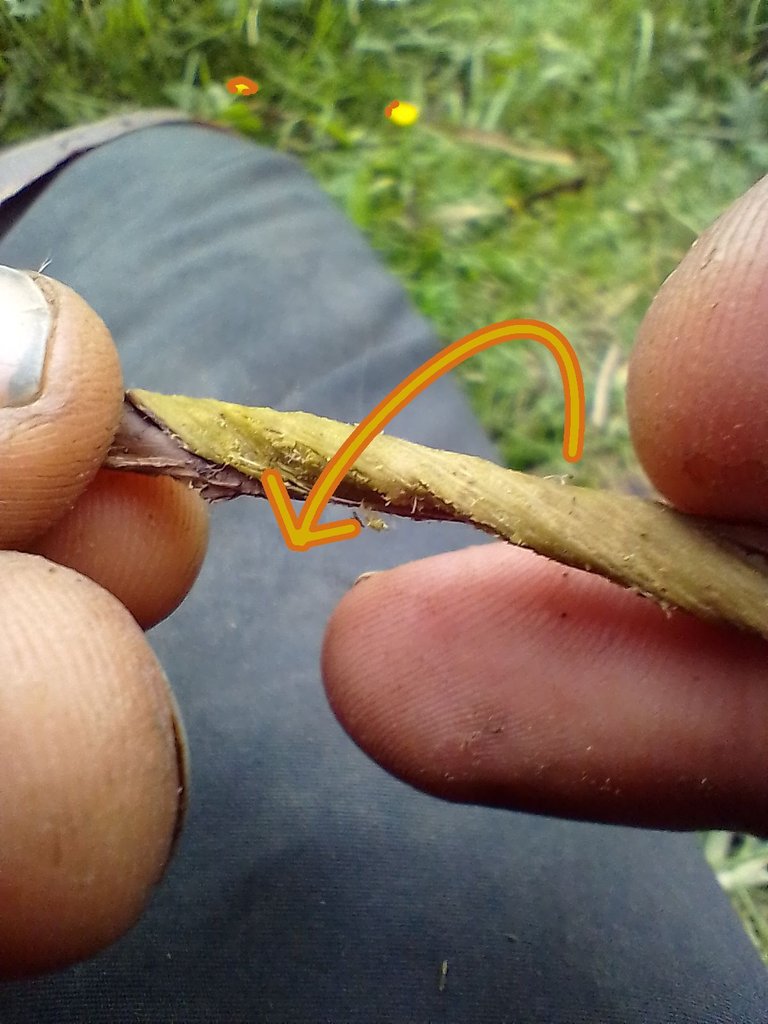
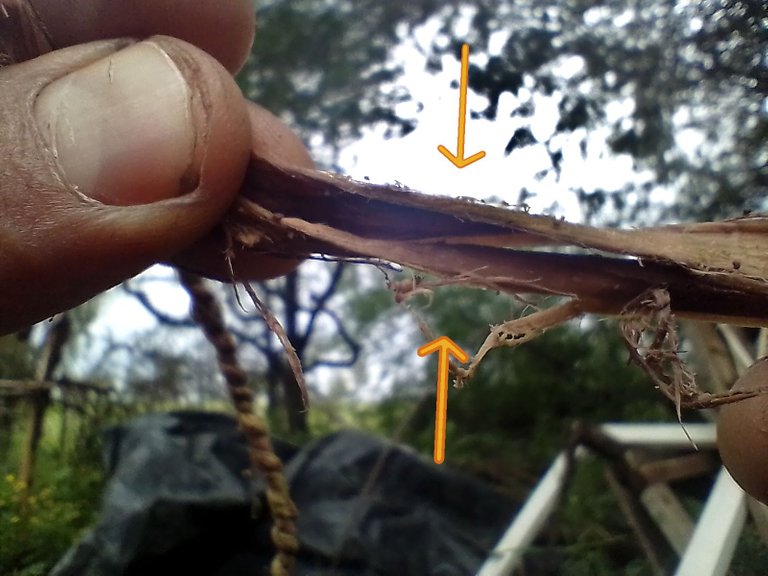
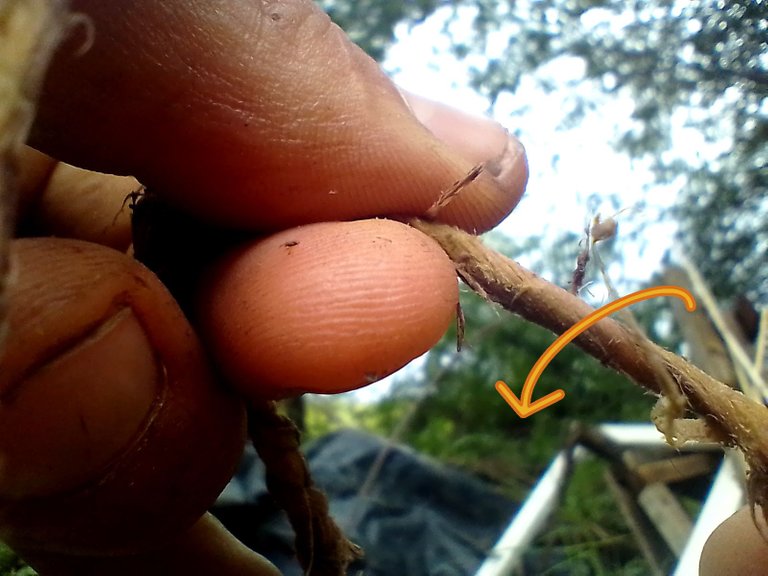
If you want to be able to add more strips of bark and keep going on your cordage, you need to leave an offset between the extremes. They can't be the same length or you won't be able to attach any more bark (notice the yellow line at the bottom of the image).

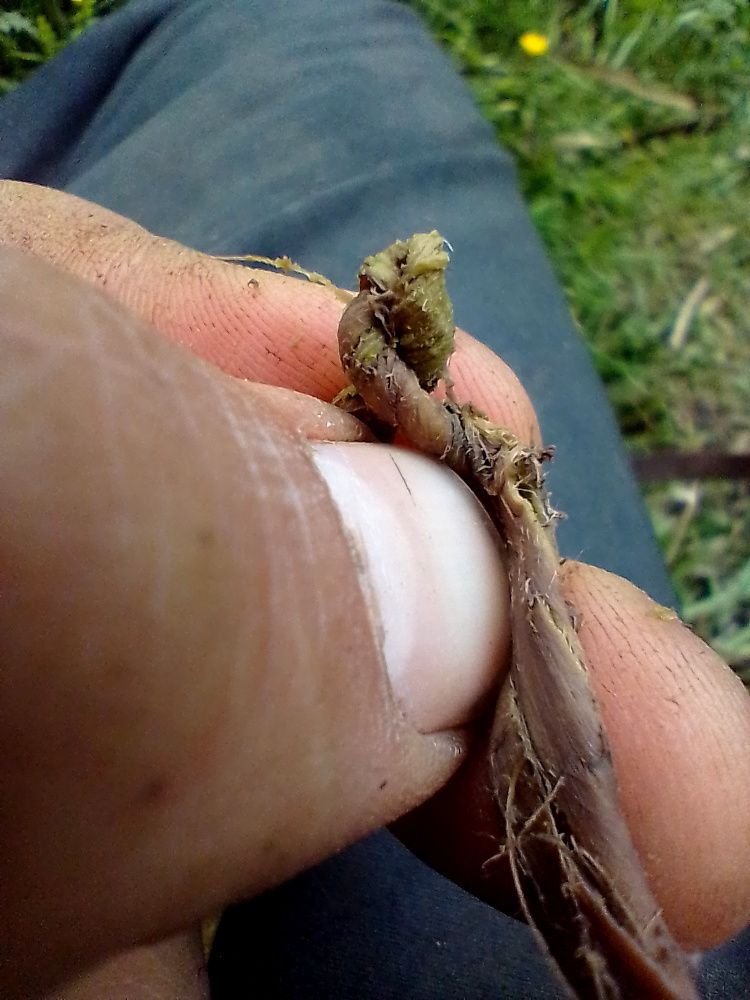
Now we begin twisting at the starting point. This part is tricky so I'll leave a video as well to help you out. I would have made this all into a video but all my energy comes from solar panels and video making is a more energy consuming process, which I can't afford in the current moment.
You want to make these first turns inwards. Keep twisting until the strip coils upon itself like this:
The pattern begins
From here on it's a really simple pattern and once your muscle memory picks up on it it becomes quite easy.
First you spin towards your body once again.
Once you feel it tightens, you bring your index finger between the two lines of your chord.
And you turn the inner line (the one closest to your body) outwards, and over the line you just twisted, like this:
From here it's just repeat and repeat. I recorded this video so that you can see the process in action (don't worry, I cut my nails before doing it haha):
If you left an offset in your strip, you can theoretically go on and on extending your cordage. The offset is so that you can add another strip and keep going when your current one has run out.
Once you feel you're getting to the end of your strip, put the next one on top and begin twisting as if it was one strip. Just continue the same technique and it will be perfectly joined. Keep in mind that these will be the weaker parts of your cordage, but the longer the union of the strips is, the stronger it will be.
I suppose it's always clearer on video:
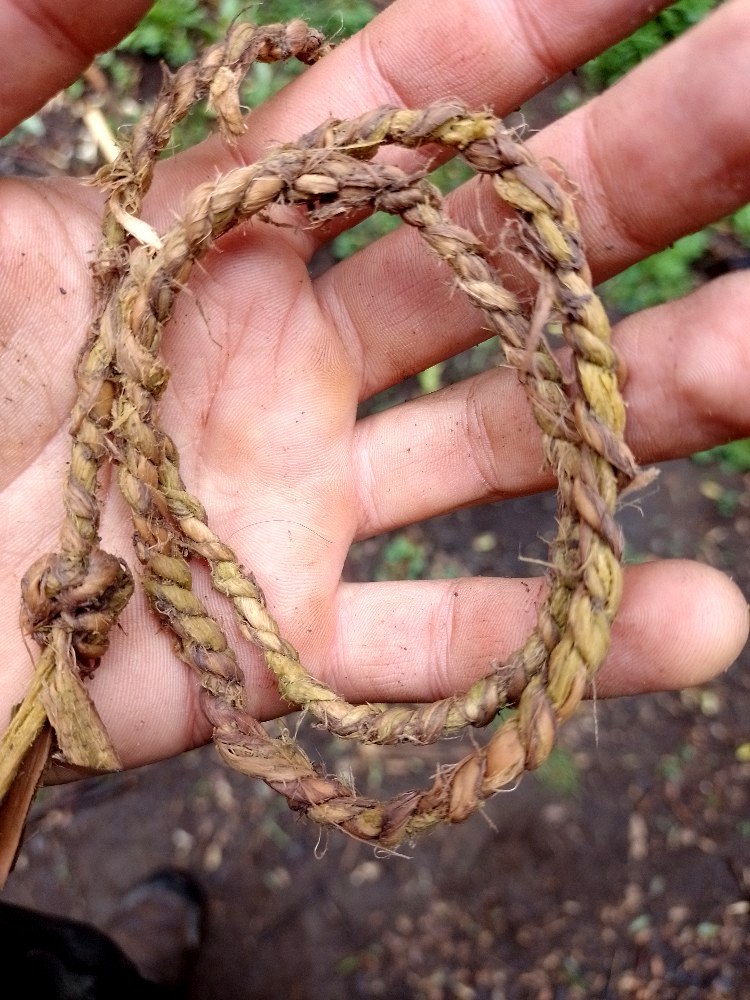
From here on it's just keep going till your desired length. Once you're ready you can do a simple knot with a loop and you're done!
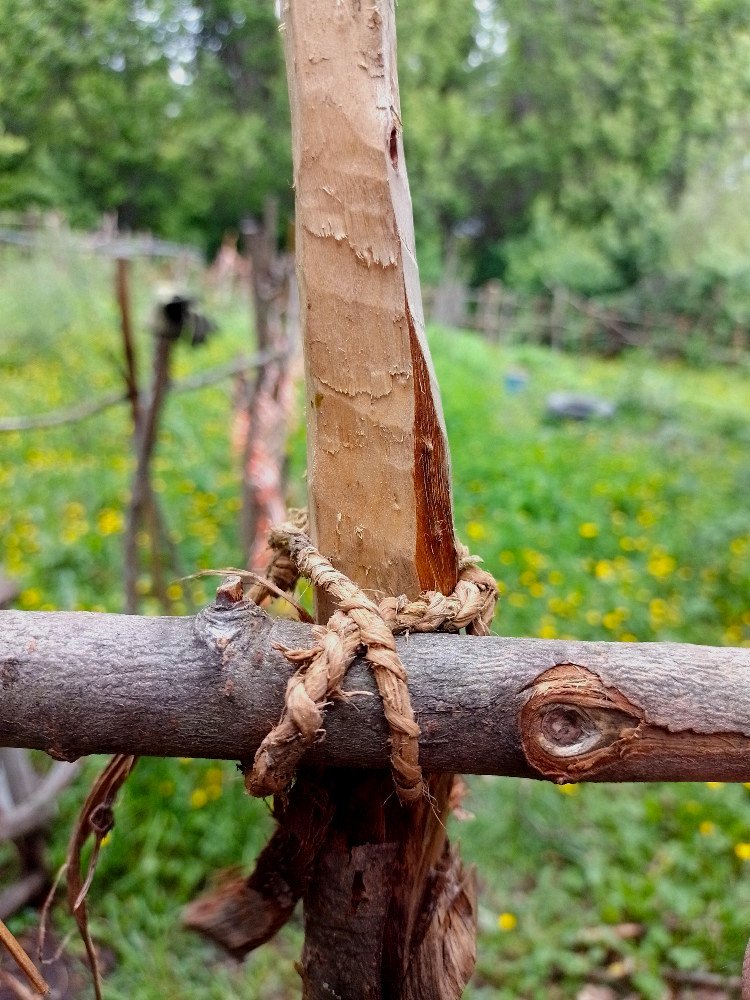
Use cases are infinite. Personally, I'm using them to build fences without the need for buying anything.
I hope the tutorial was clear and you were able to understand the process. Feel free to ask any questions, I'll do my best to clear up doubts.
Have a great day, thank you for stopping by 🌿
Wow, @fenngen - I absolutely love this post, and your videos especially help make it really clear... As a child I remember naturally playing with materials like these and forming very primitive ropes - but obviously this is a beautiful level of skill that you are transmitting! I will share it with my partner, as he loves this kind of skill, and we have a lot of willow around here to use, as well as other similar-bark-y trees which might work. I've been experimenting with basketry recently, using whole twigs/ withies, but was thinking too about using strips of bark for the horizontal aspects... Thanks so much for the inspiration!
Blessings,
So glad to read this 😁, I recommend this channel for all things willow:
https://youtube.com/@HannaVanAelst
Tons of material and she makes living willow structures which is awesome
Thank you, @theapothecary ! I also follow Julie Gurr, a fabulous willow worker who used to live in the village where I grewup on Arran 🌟🙏🌈🌿🌿🌿🌿
Whoops, answered with my microblogging account haha, typical Ecency issue.. I'll check out Julie, thanks for the tip!
Thank you for sharing this post in the DIYHUB Community!
Your content got selected by our fellow curator desro & you just received a little thank you upvote from us for your great work! Your post will be featured in one of our recurring compilations which are aiming to offer you a stage to widen your audience within the DIY scene of Hive. Stay creative & HIVE ON!
Please vote for our hive witness <3
🙏
It looks like it requires a lot of patience to build a long cord, but that is a super important skill for a survival situation. I like it.
It seems that way but really once your fingers pick up on it, it comes out rather fast
Thanks so much 🙌 What do the ashes do for it?
This post has been manually curated by the VYB curation project
Not sure, it's just a recommendation from a teacher... Maybe the minerals permeate the fiber and make it stronger?
Definitely worth finding out :)
!LUV
@fenngen, @wrestlingdesires(5/5) sent you LUV. wallet | market | tools | discord | community | <>< daily
HiveWiki
HiveBuzz.me NFT for Peace
!ALIVE !CTP
Has sido curado por @visual.alive, cuenta curadora del token ALIVE del proyecto @visualblock / You have been curated by @visual.alive, curator account of the ALIVE token of the @visualblock project.
Bienvenidas delegaciones / Delegations welcome
Encuentra nuestra comunidad aquí / Find our community here
Trail de Curación / Curation Trail
@fenngen! You Are Alive so I just staked 0.1 $ALIVE to your account on behalf of @visual.alive. (4/20)
The tip has been paid for by the We Are Alive Tribe through the earnings on @alive.chat, feel free to swing by our daily chat any time you want.

Thanks for the reminder, I tend to forget!
👍🙏
Thanks 🌿
Great job! Super awesome your handmade and natural string, love it ☺️.
Thanks 🙂 glad you like it!
I might have overlooked this good post, haha.
You are very talented one, you should consider making a following from this. I found about this crafts about a year ago on Suzie's foragedfibres Instagram account. She uses leaves, barks, and other fibers to make cordage, bracelets, baskets, and other crafts. :)
I was planning to try and make one, but kept on procrastinating 😆