Hello there !
I got new toys yesterday, so of course I had to play with them a little last night.
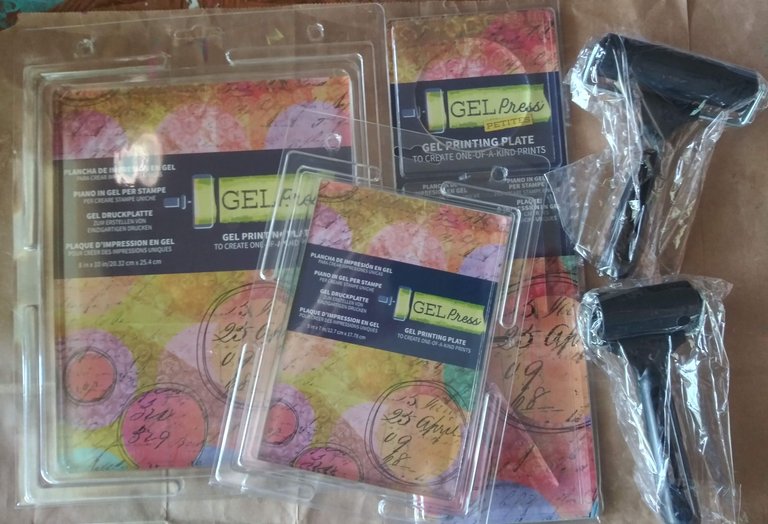
I had heard of these gelli plates before I began to explore mixed media art, but I never had a use for one before, so I didn't pay much attention to them. Now that I have been watching mixed media art videos, I have seen them more and more. Since I didn't have one before, I would usually skip the videos that featured them.
I did see bits about them here and there, so finally I decided I should try some out and of course I couldn't just get one. 😆 Actually, the 8 X 10 and 5 X 7 came as a set. You could get them individually, but like many things, you would pay more for each if you bought one now and one later. While I was whim buying, I also got a pack of miniatures. Why not? Right? I also bought a set of rollers to use with them.
Trigger Warming: If seeing too many photos in a post sets you off on some sort of tangent, you might want to scroll real fast through the rest of this post. 🤣
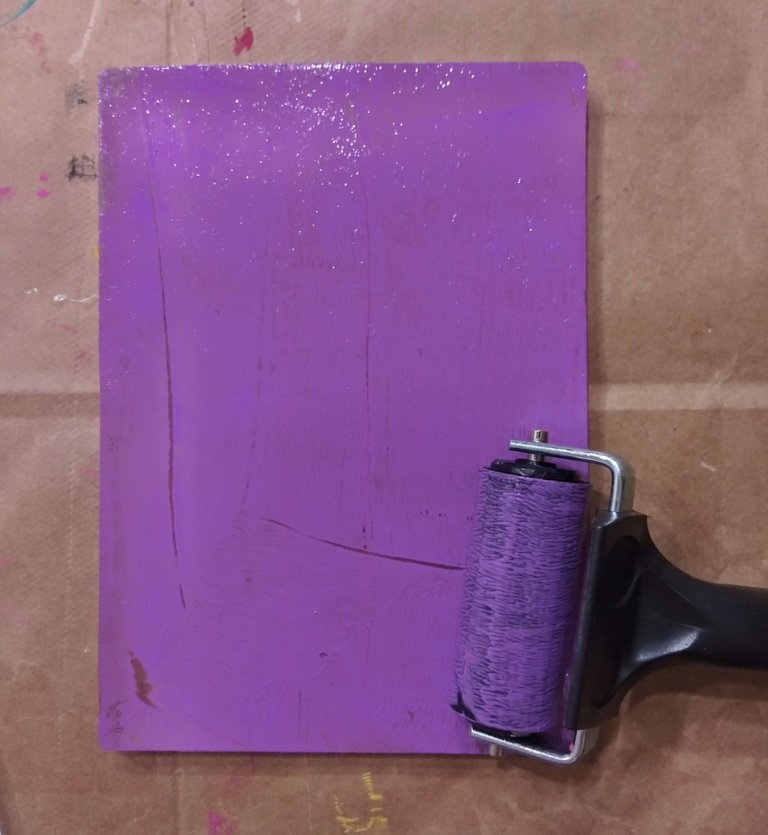
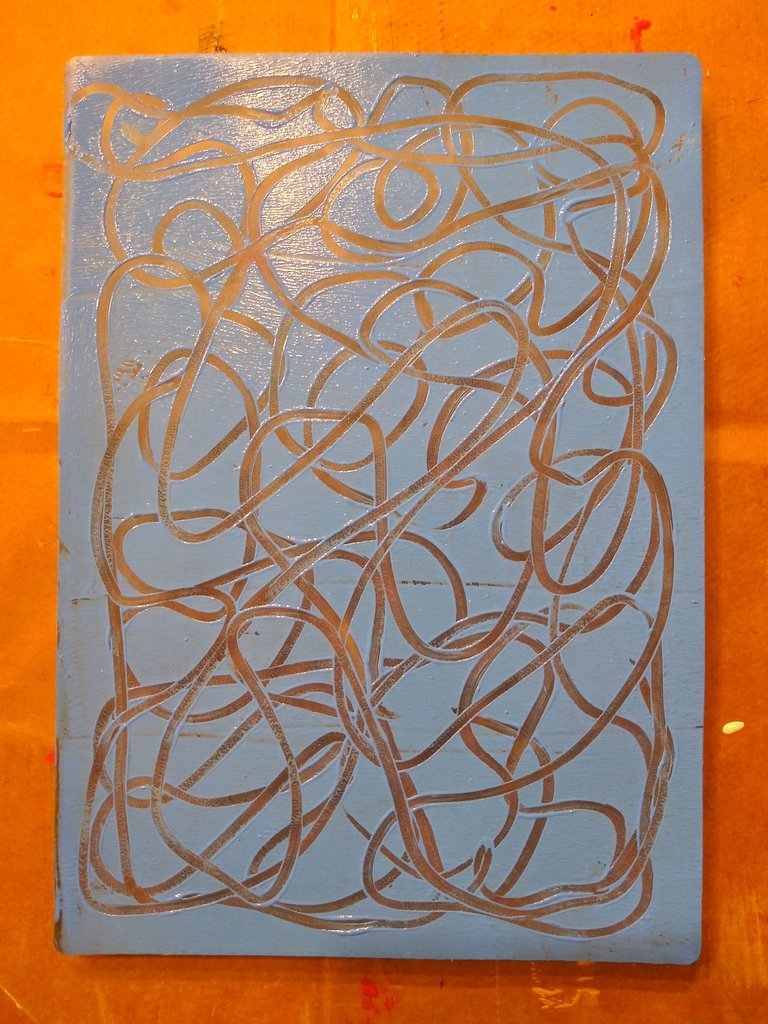
The Gelli Plate or Gel Press is made for manual printing of a sort. It is soft and pliable, but not soft enough to lose it's shape. It feels gooey and a little sticky, which keeps it from sliding around while you use it. The first photos show kind of how it works, although it can be used for printing other ways too, this was the simplest and a good way to get used to using it.
You know me though, first use it however and then study on how to use it better. ha ha
First I squeezed a few drops of paint on the press. It doesn't have to be one color or completely covered and the such. So I rolled on the purple.
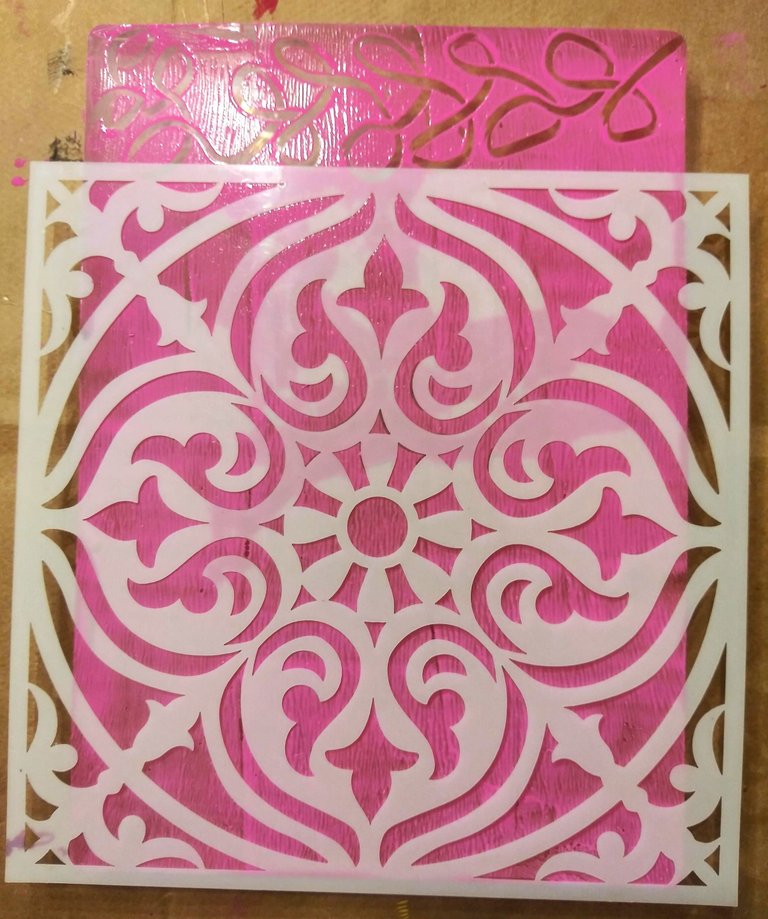
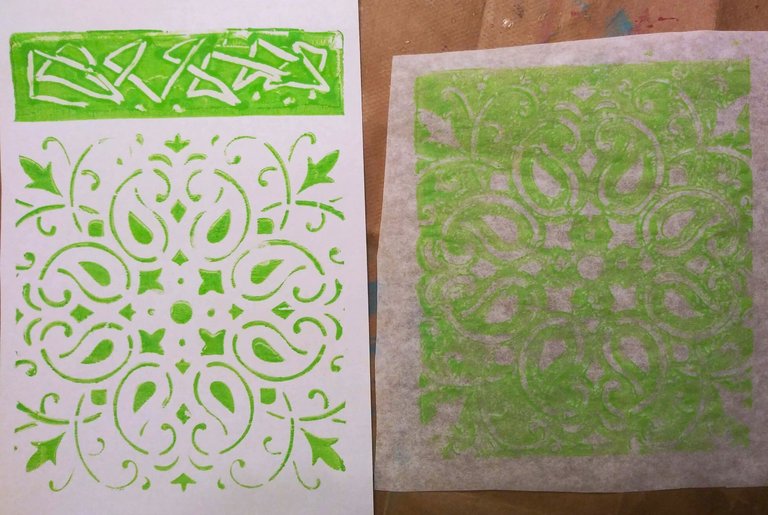
Then I laid a stencil on top.
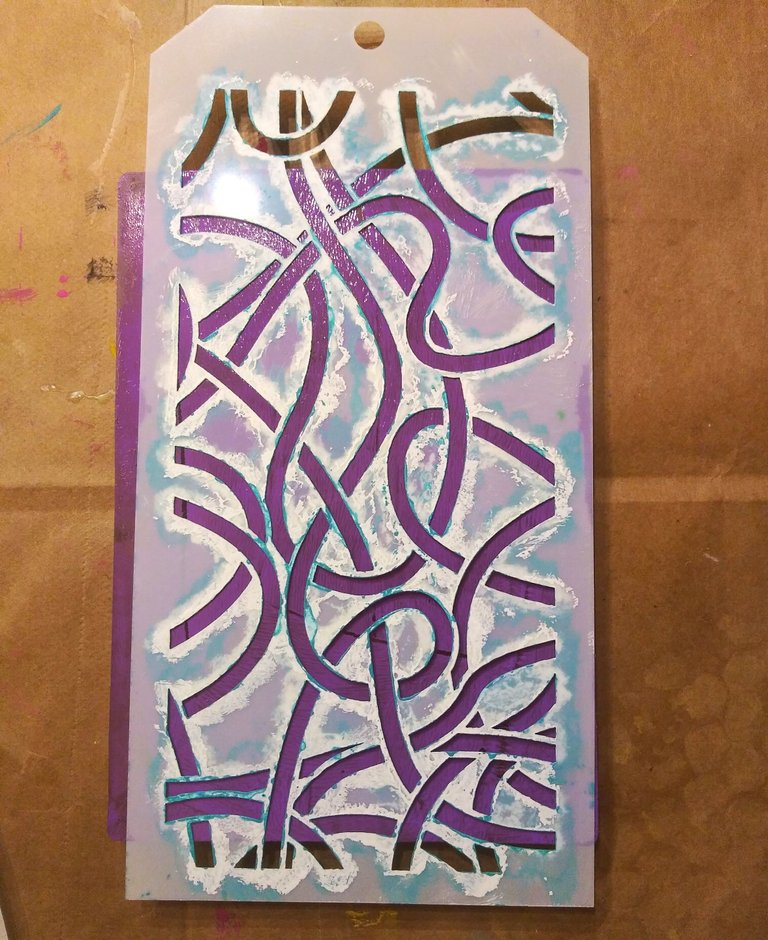
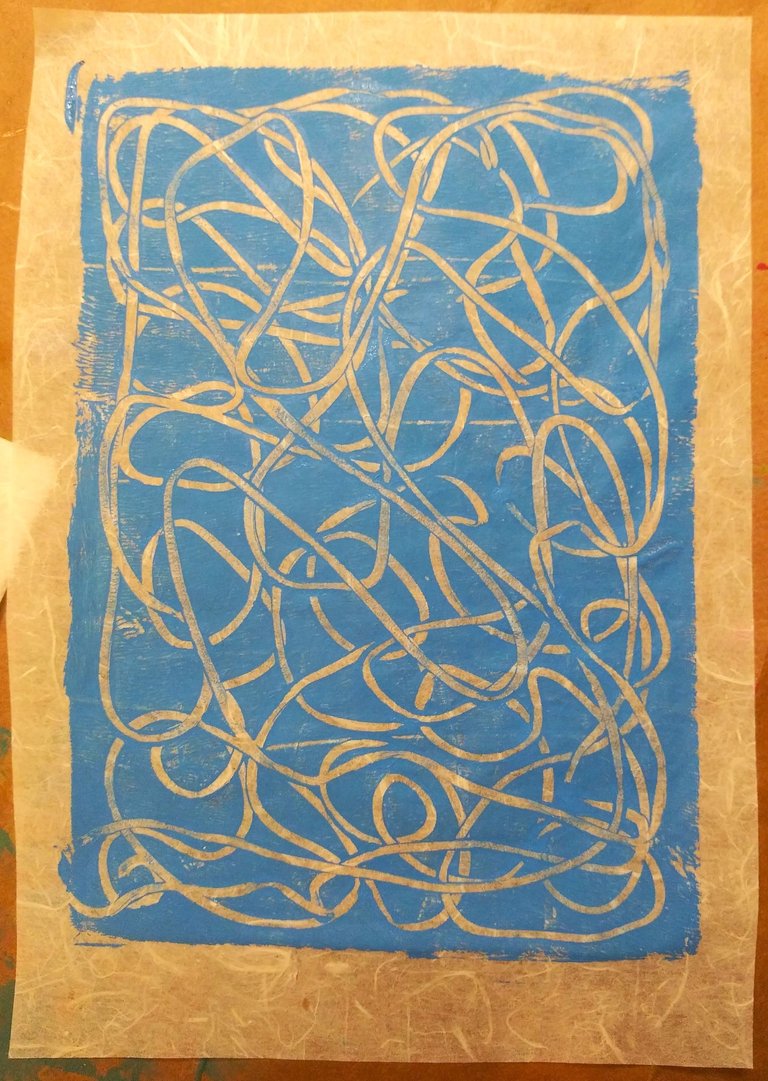
I had cut some sheets of paper in half to play with, so I laid a piece of that on top. After I put the paper on, I took one of the new rollers and rolled across the top of it, which let the paper pick up some of the paint in the open spaces of the stencil.
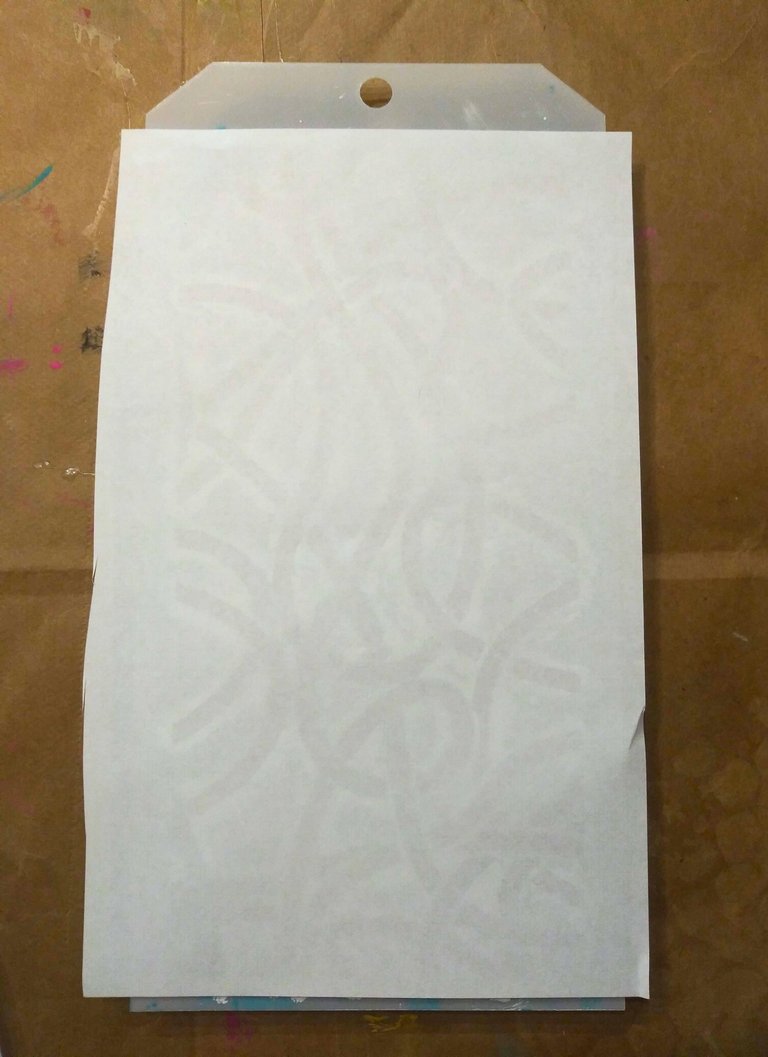
I took the paper up and you can see the stencil design, similar to if you had just normally stenciled it.
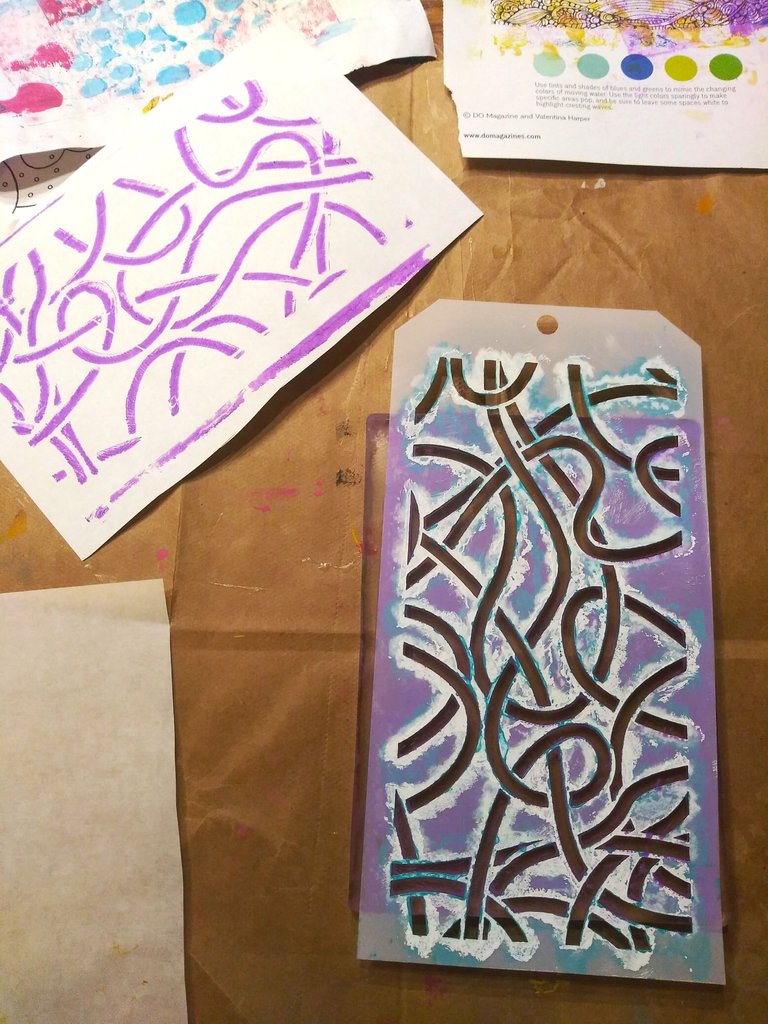
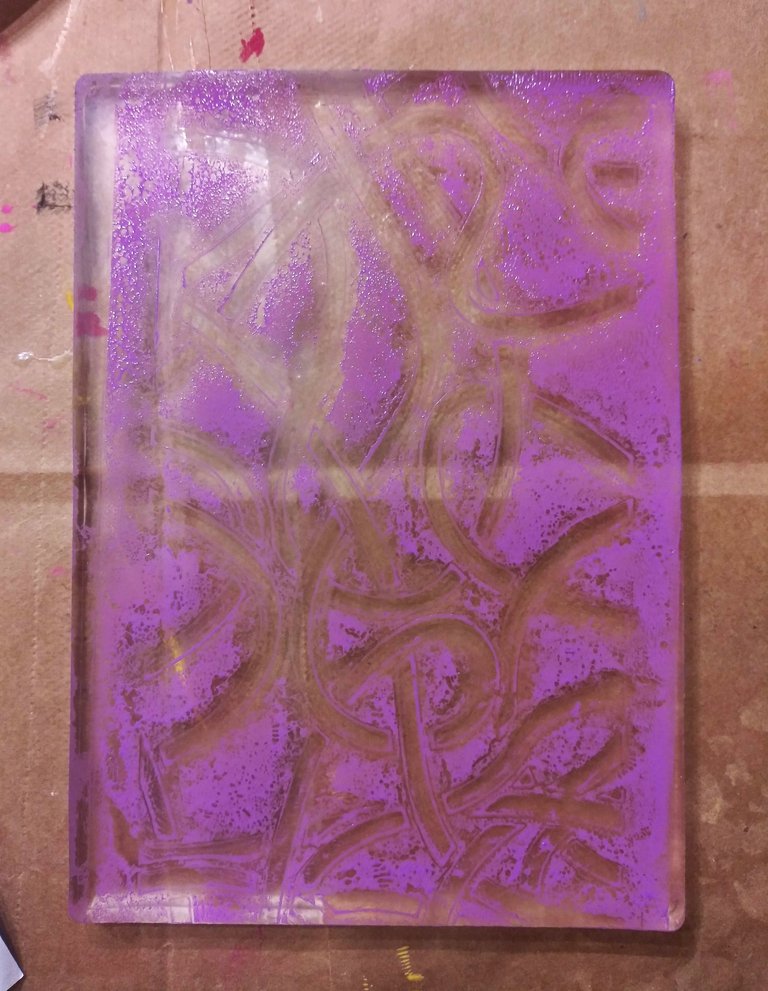
Then I took the stencil up and you can see the design of it still on the plate where the stencil was covering some of the paint that the previous paper could not access.
I put another piece of paper on top of that and then rolled across it again.
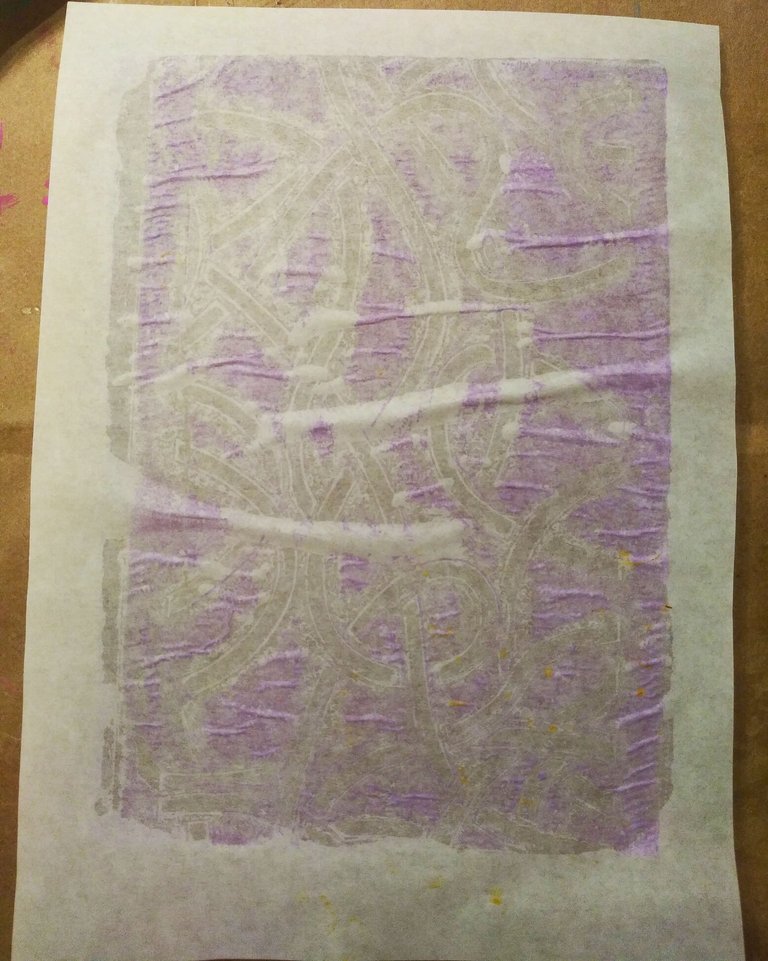
Stop laughing ! ok.. .go ahead. What you see then is a reverse print that (is supposed to be) the shape of the actual stencil. You can at least get an idea of how it "could" have been.
This was actually the first one I pressed, but at that moment, I forgot about the reverse print. I knew the stencil wasn't going to cover the whole press, So I had taken my chop stick paint tool and squiggled in the paint that was on the plate, above where the stencil was laying, just to get an idea of how it might look if you did that. I had used the coloring page on the top left as a blotting paper. This press printing process will be good for not only what you intend to do, but rolling the excess paint off the roller after and cleaning excess from the stencils will also be making some random painty papers on the side.
After that I began to get the feel for it better. That doesn't mean they all came out better, but I had a better idea of how I was supposed to be doing it.
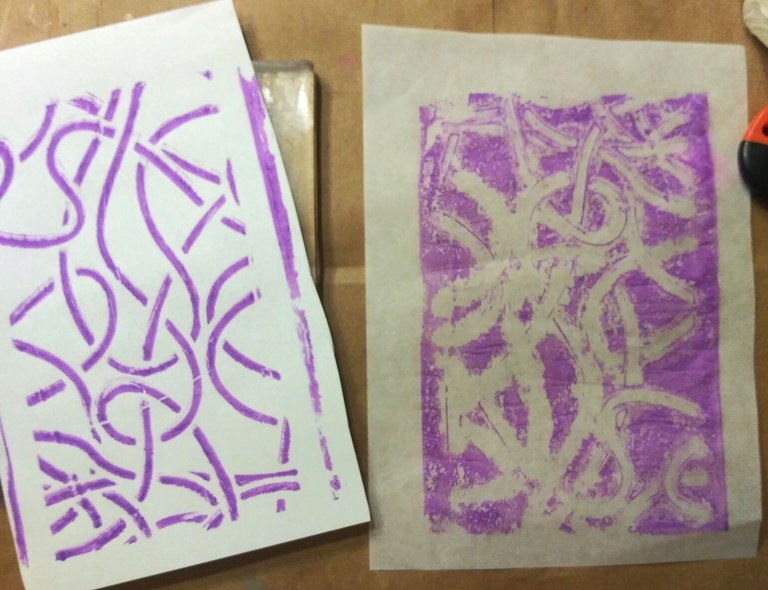
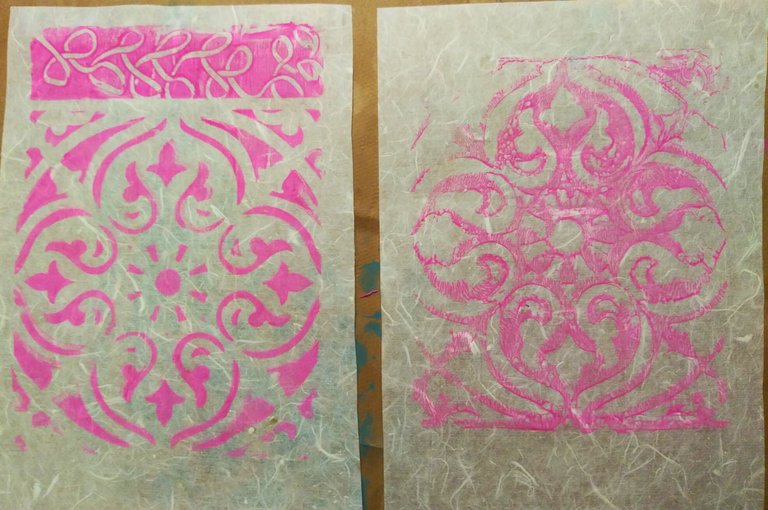
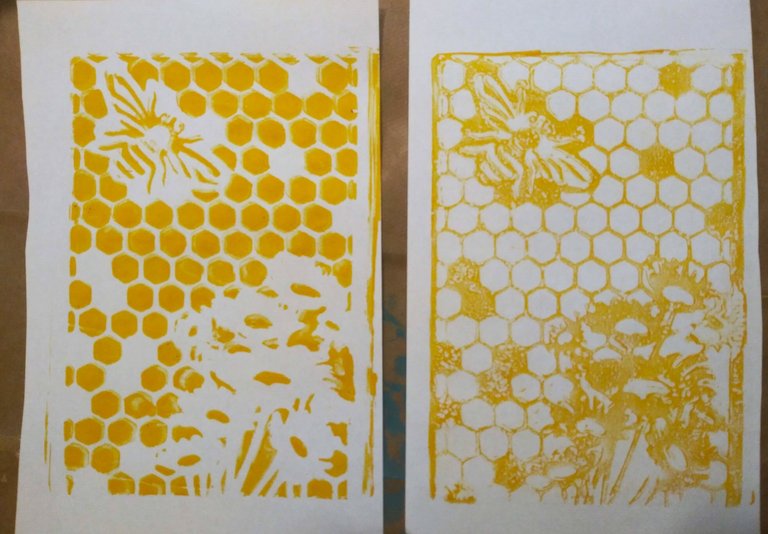
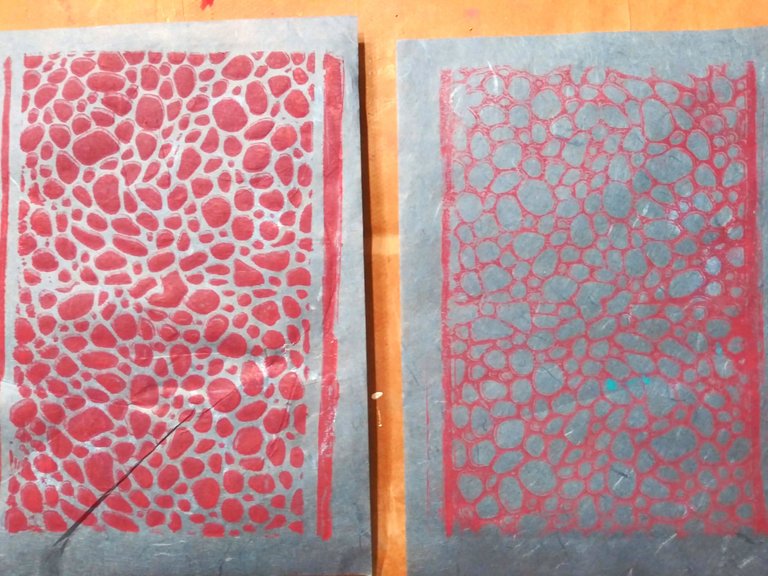
The photos that have two papers in them going forward, will have the one that printed with the stencil on top on the left and the one that I pressed after for a reverse print on the right.
Two things, first, remembering that the majority of collage papers will not be used whole and may (or may not) be used as backgrounds and not the main focus on future projects, it's ok when they don't come out perfect as a whole, as they are still usable as they are. Even if the whole paper is used, it most likely will be torn to bits first.
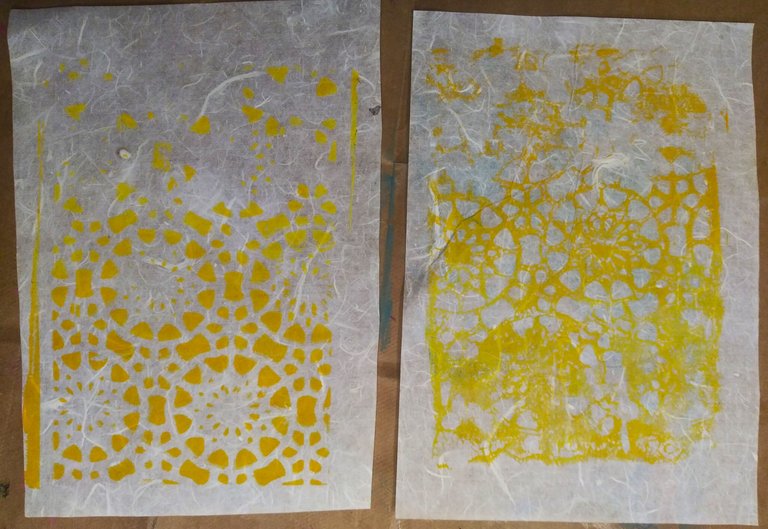
The second thing is the difference in the types of papers. Some are more obsorbent than others and will pick up the paint differently from the press. The papers I had cut to use for my first practice were different kinds of paper, so I wasn't specifically learning how it reacted to just one kind. Possibly I will got back at some point and play a bit with only one kind of paper at a time, so I can learn their quirks better. This is on rice paper, so most of the background will disappear when they are glued onto a project. The fibers and the paints will nearly be all that shows.
Following is mostly more of the same, so I will try not to be too "wordy" on them , just a quick view. That is what I think at this second that I am typing this, because if in a photo or two I think of something else to say, that could change. I always like to reserve my right as a woman to be wishy washy. LOL !!!! You know, if that's how "they" say we are, we should take advantage of it, right ?
Once again I squiggled on the open top of the press that the stencil didn't cover.
Vwa-LA !.... The first press picked up all the paint in the squiggle part at the top, so none of it was left for the reverse.
Green ! I think the reverse will show better when used, as it is also on rice paper where the white paper part should practically disappear when used.
This one I didn't use a stencil on. (on the press)
Not too impressive, but the idea is good for a better design later. (on the paper)
This one came out pretty good I thought.
The reverse on this one doesn't look so hot, but it is another that I think will show better when glued as it too is on rice paper.

Another stab at no stencil, figuring the design I swirled into it will show as if it IS a stencil.
Not too shabby as an idea of how to use it later with other designs.
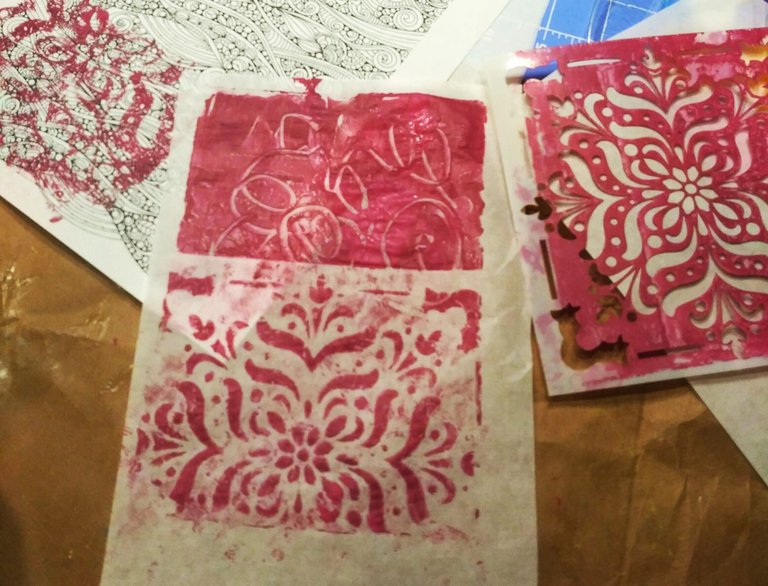
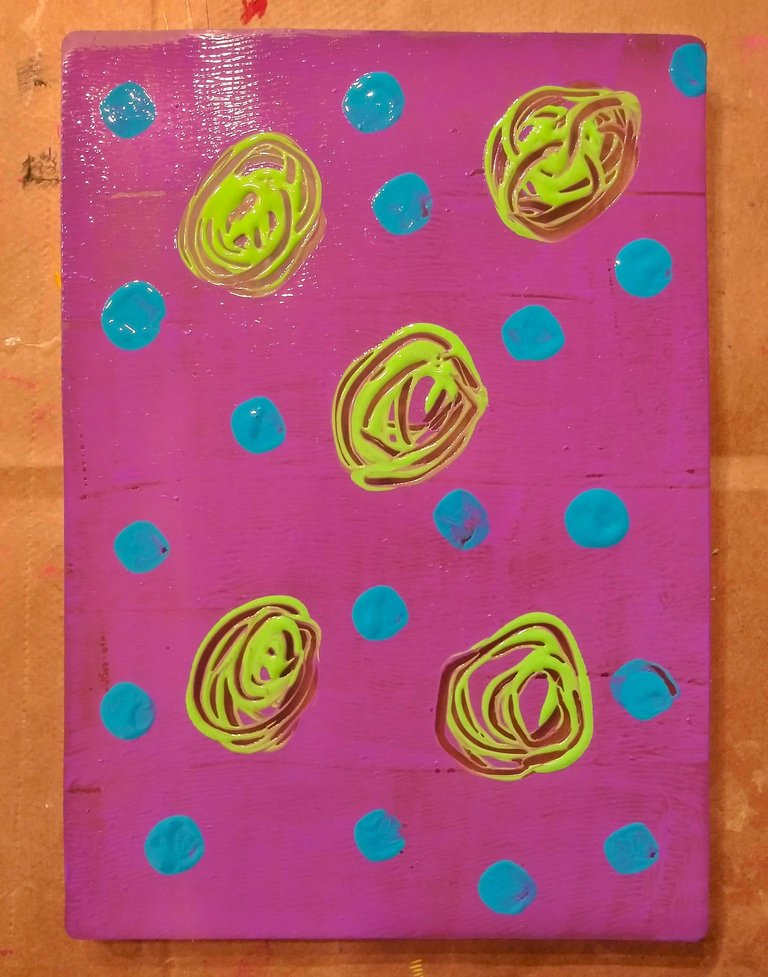
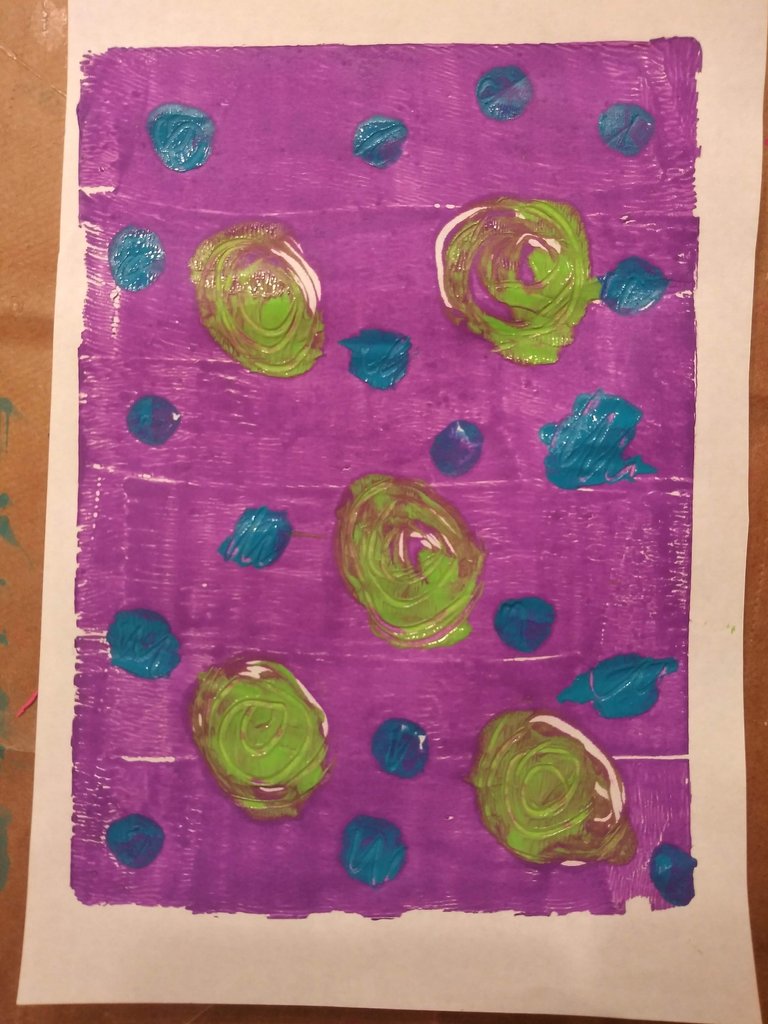
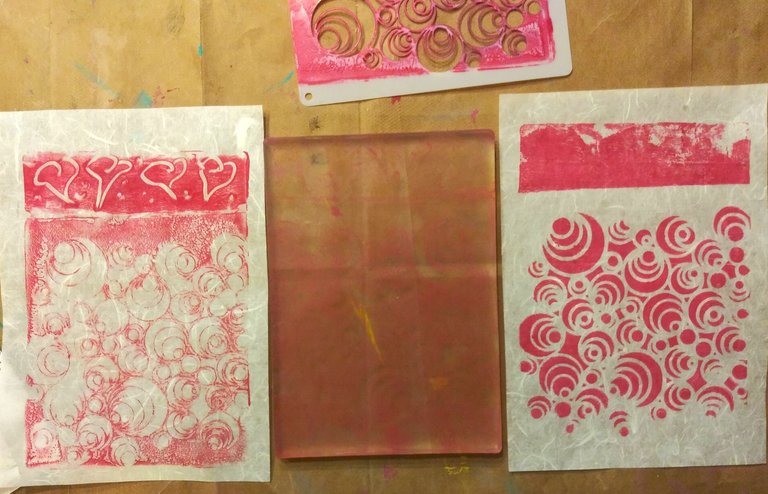
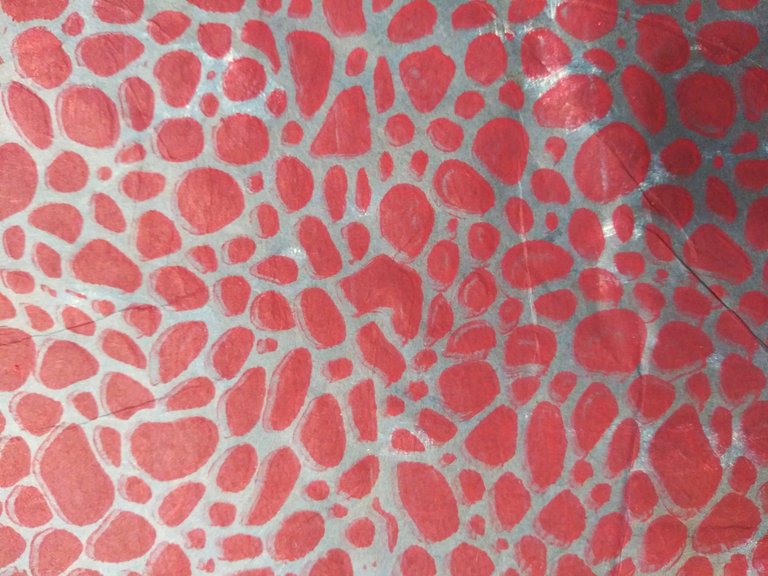
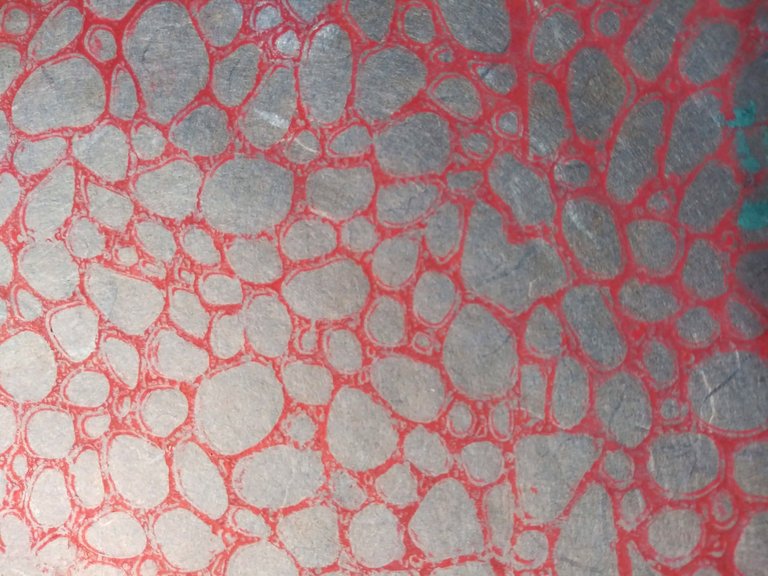
Oops, reverse on left, stencil on right. On the original stenciled one, I didn't have anything in the top area, but before I pressed for the reverse, I put more paint on that area and did the funky hearts with my chop stick. That's why it shows there when not on the original. The reverse did not pick up nearly as much paint as it should have, so I probably didn't have the paint thick enough and the back of the stencil carried away too much of the paint when I pulled it off.
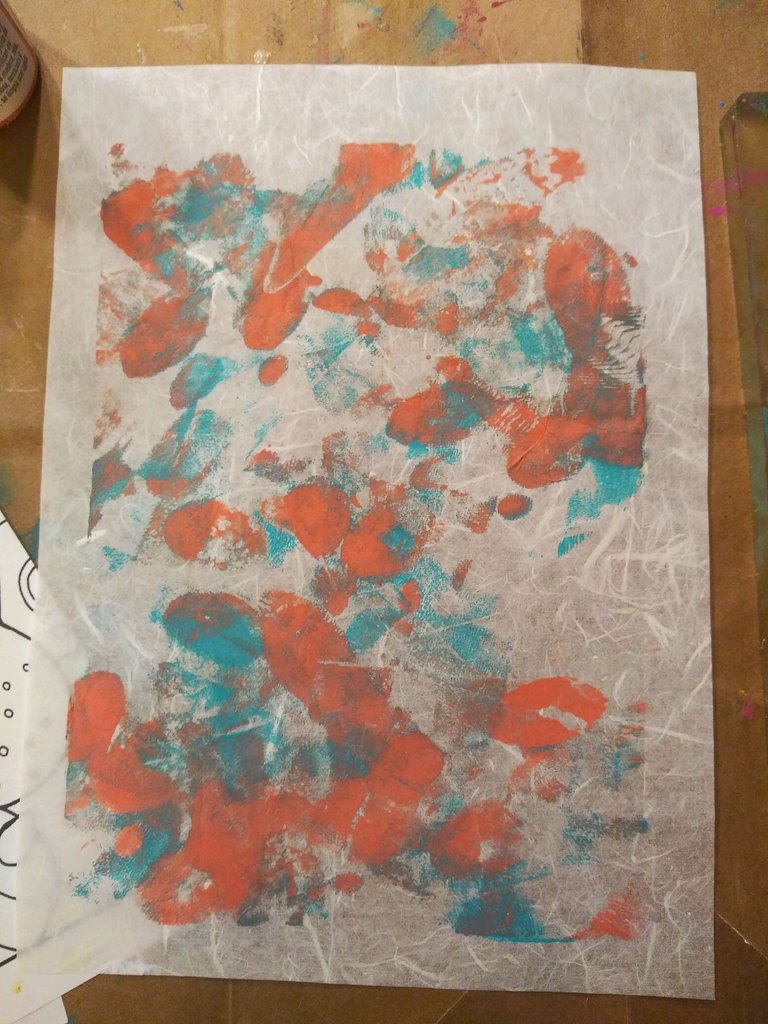
I rolled a bit of two different colors on the press just to see how that would work and it did work. Now, if only I liked it. LOL Later I used it as blotty paper for one of the other papers that had too much paint on it and that helped it.... some. Still, the idea for something better later made it good that I tried it.
Stencil laying on gel press that is covered in red paint.... cranberry is the paint color name. I kind of like it. It is not classic red, but still in that catagory.
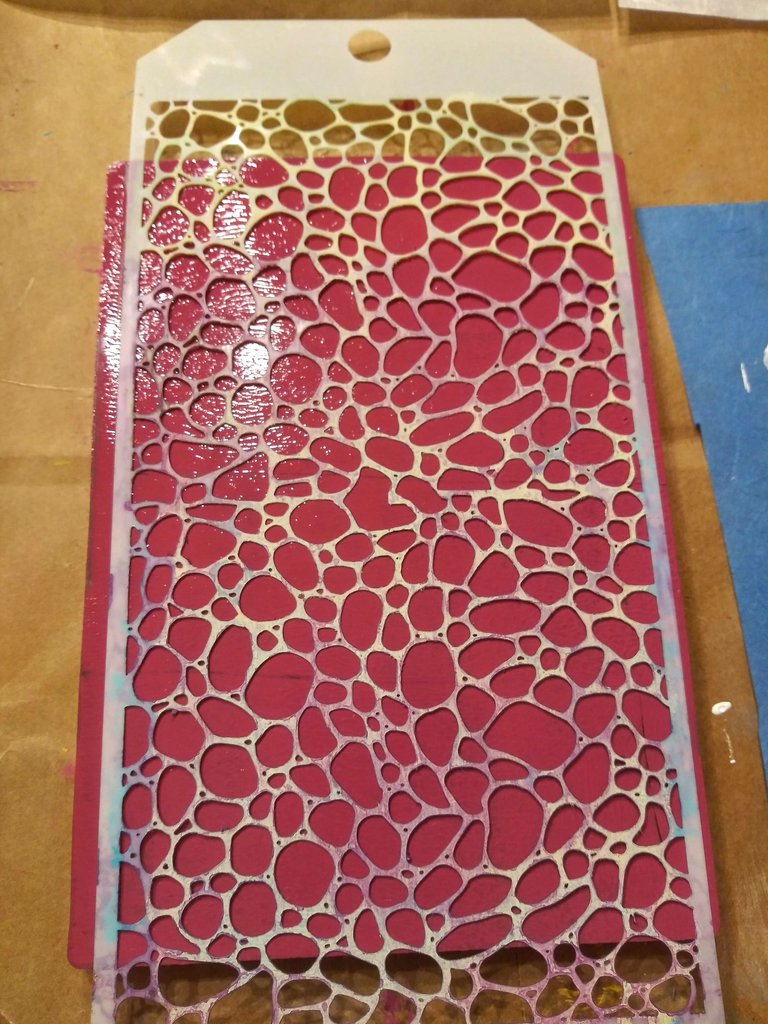
Stencil and reverse. I think I was getting better at it, but maybe it was just a fluke.
Close up stencil.....
Close up.... reverse. This was on a funky blue colored rice paper.
A gander at the table at the end of the night.. .morning... whenever it was that I ran out of places to put the papers.....
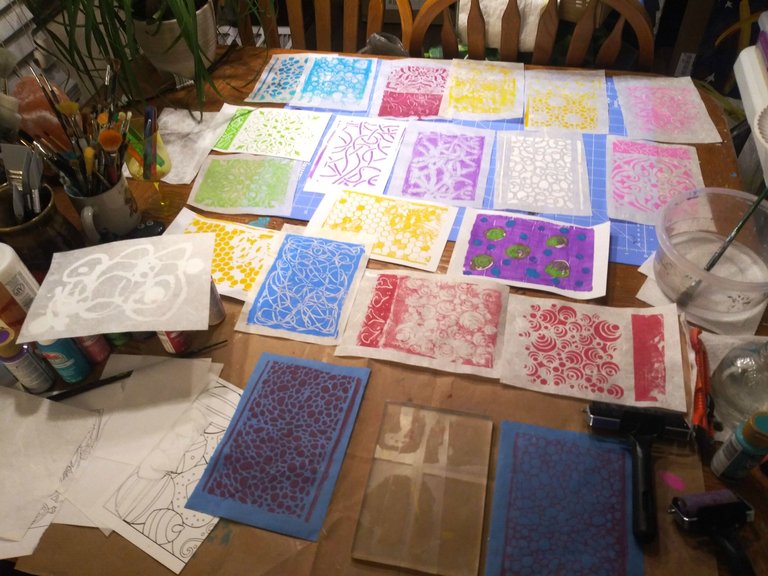
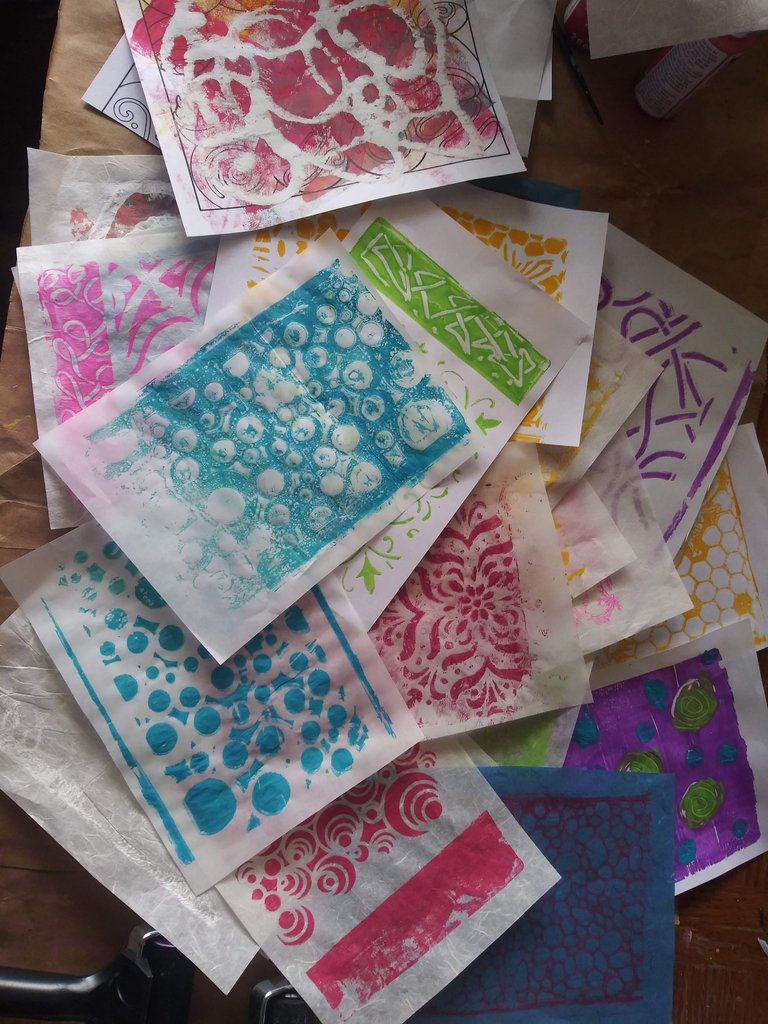
Piled up this morning when all dry. They mostly dried pretty fast last night, but I didn't want to take chances. All of this will be good "collage fodder" as the other artists like to call it. The one on the top was actually a blotting paper. I really liked how it turned out. It never touched the press, but gets added into the mix.
It's a new day. Wonder what all will happen before it is over. I have already received a grocery order part way through this post, brought it all in, checked the expiration dates and put the refrigerated/frozen things away, grabbed a cup of coffee and came back to finish telling you all about my new toy, because I knew you'd be waiting for it.
😂
I will be playing more sometime today as I need to do some papers that are more neutral on some paper bags or book pages or the such. Later I am sure I will learn how to use the press for different types of designs. I saw one artist lay some flattened real flowers on the press after it was covered in paint and putting a paper on top and rolling over it so it showed their shape on the paper. No telling what all you can use for something like that. You know I will be back to show you when I learn the next fun thing.
Hope you are having a nice day and weekend.
Love you !
Jacey
You got quite good at playing with your new toys hahaha 🤓
I especially liked those in red (cranberry) paint. You were a pro there already ;D
Considering this was my first time playing with the press, they may be more like happy accidents...LOL... and that's ok... I'll take it !
Thanks for stopping over.
Happy accidents are still happy and nice 😇🥂
They sure are ! Sometimes they look better than what I do on purpose. 😄
Thank you !
You get some really cool effects!
I thought so too ! I'm hoping to learn to get even better effects as time goes on. :)