Not All Fabrication Companies Are Created Equal
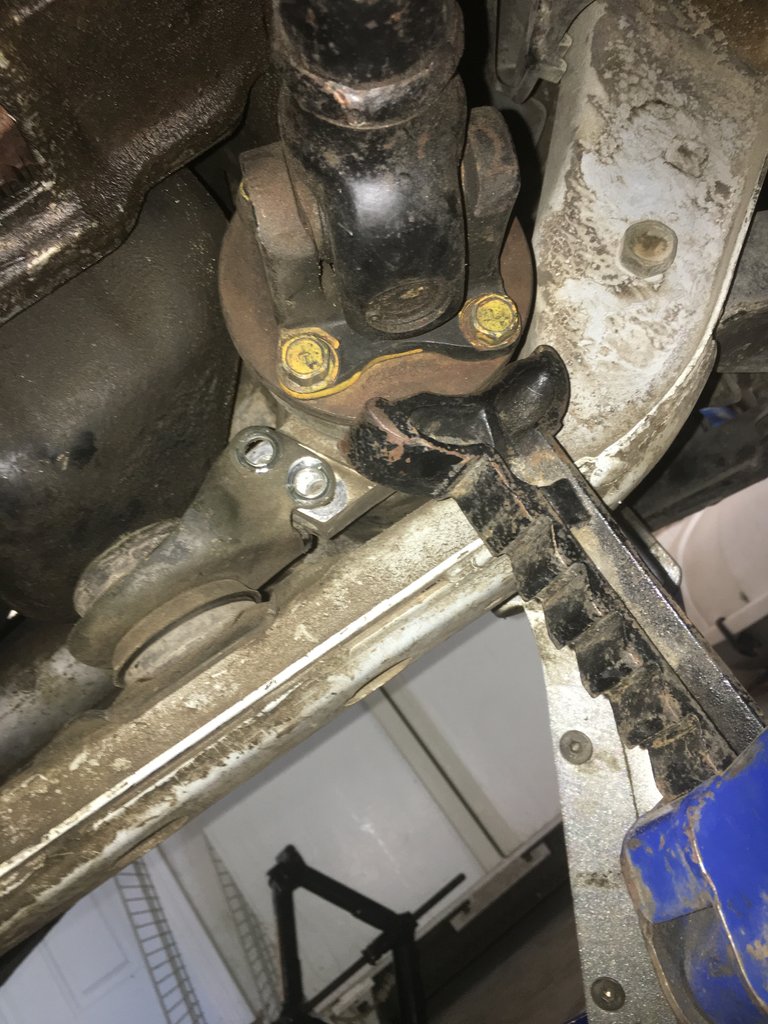
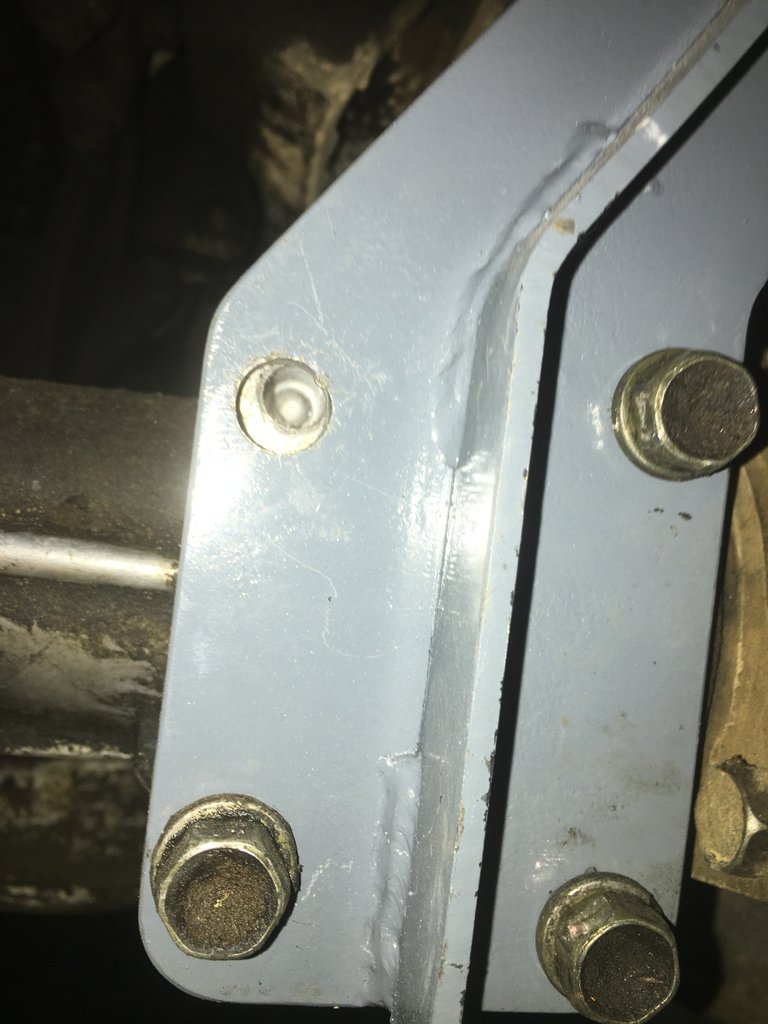
 When it comes to custom parts, often many fabrication companies exist to fill the need. The point of selling mass parts is being professional. That is not what I experienced when I attempted to fix a problem with @beckymeep's 4WD Suzuki Sidekick. A symptom of the problem was a clunk in the axle when coming to a stop. This sort of problem can be problematic as something was flexing, allowing for the entire front axle to shift enough to create a loud "thud". I went under the vehicle to make sure the mounts were fine and sure enough I was able to move the entire front axle with just my strength while the tires were on the floor. Not a good sign. The three stock brackets that hold the front axle to the frame were worn and bad.
Now I will admit that the Suzuki Sidekick is a rare vehicle in the US and parts are hard to come by. I am one to just buy a new part, swap it in and get the vehicle rolling in the fastest amount of time. The old stock part can be used as a rebuild later on down the line or sold. The point is to get the vehicle back on the road as fast as possible; my girlfriend needed it for work.
The vehicle has Independent Front Suspension and the CV axles looked to be at an extreme angle so I told her to get "drop brackets". The "drop bracket" is a little longer than stock and is recommended for vehicles with lift. While researching, she took advice from a Facebook community that we had extensive communication with and bought some brackets from a member that was in a neighboring state with a small fabrication company. The member was given extensive positive reviews by others in the community so @beckymeep purchased the brackets but had a few questions about them before doing so.
When it comes to custom parts, often many fabrication companies exist to fill the need. The point of selling mass parts is being professional. That is not what I experienced when I attempted to fix a problem with @beckymeep's 4WD Suzuki Sidekick. A symptom of the problem was a clunk in the axle when coming to a stop. This sort of problem can be problematic as something was flexing, allowing for the entire front axle to shift enough to create a loud "thud". I went under the vehicle to make sure the mounts were fine and sure enough I was able to move the entire front axle with just my strength while the tires were on the floor. Not a good sign. The three stock brackets that hold the front axle to the frame were worn and bad.
Now I will admit that the Suzuki Sidekick is a rare vehicle in the US and parts are hard to come by. I am one to just buy a new part, swap it in and get the vehicle rolling in the fastest amount of time. The old stock part can be used as a rebuild later on down the line or sold. The point is to get the vehicle back on the road as fast as possible; my girlfriend needed it for work.
The vehicle has Independent Front Suspension and the CV axles looked to be at an extreme angle so I told her to get "drop brackets". The "drop bracket" is a little longer than stock and is recommended for vehicles with lift. While researching, she took advice from a Facebook community that we had extensive communication with and bought some brackets from a member that was in a neighboring state with a small fabrication company. The member was given extensive positive reviews by others in the community so @beckymeep purchased the brackets but had a few questions about them before doing so.

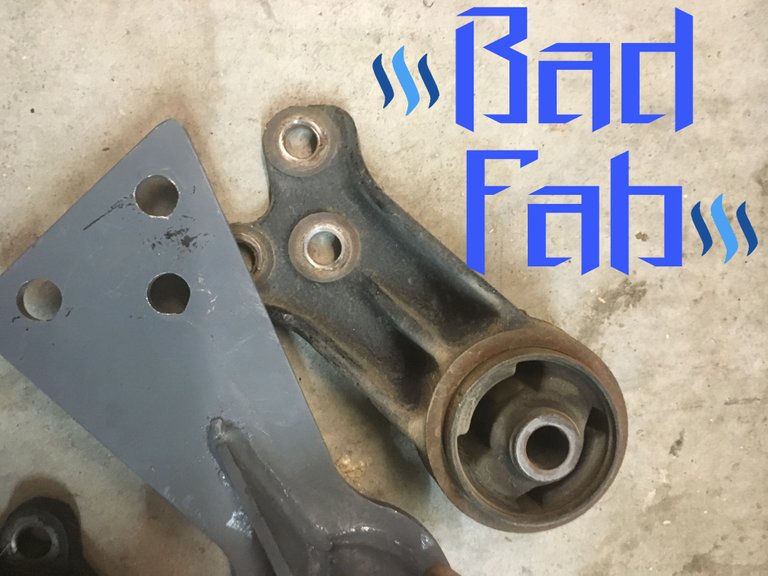
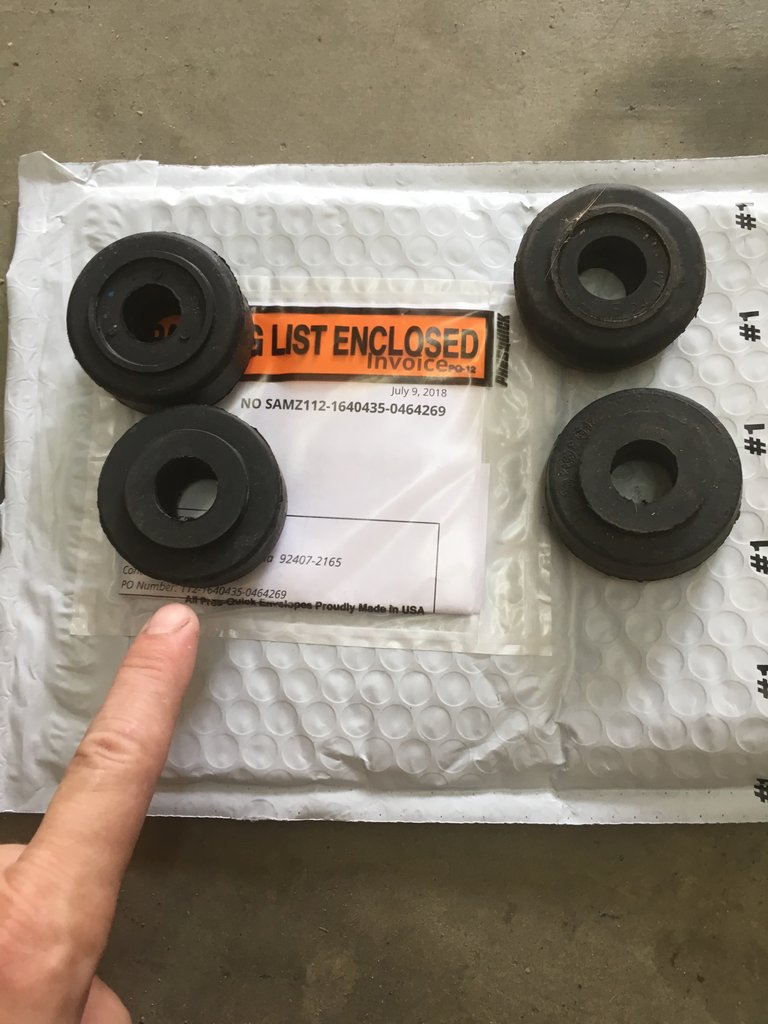
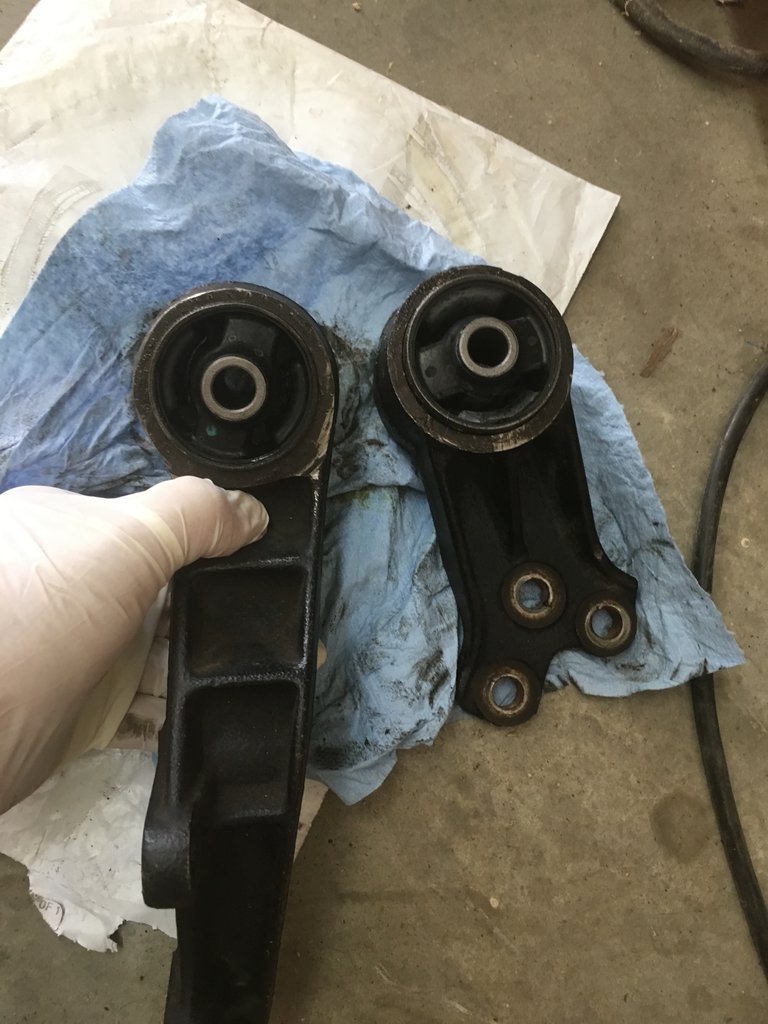
Source on ebay, Complete Drop Bracket Kit
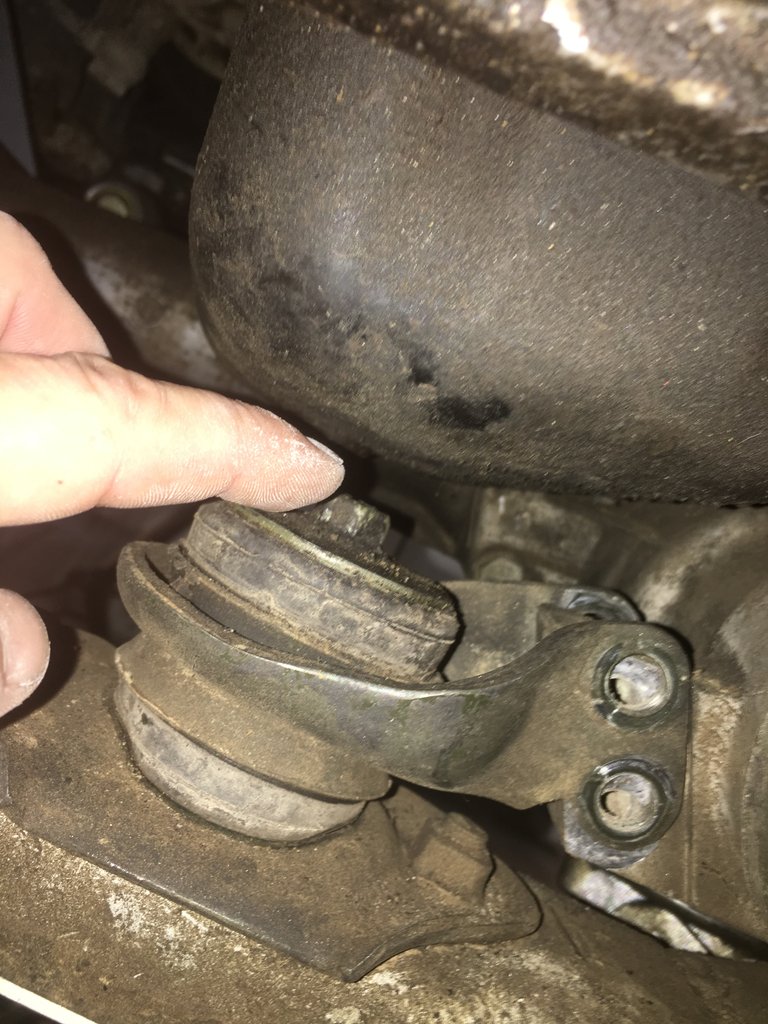
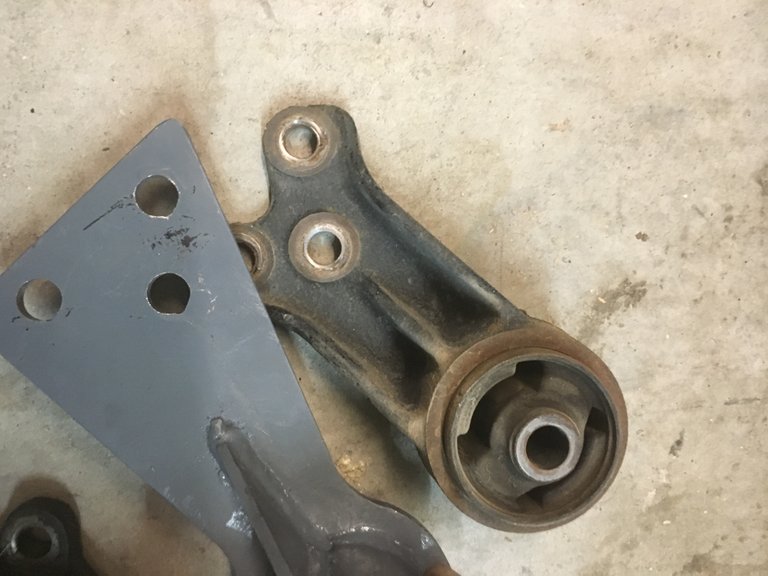
The most important question she had was if the bushings for the differential mount were included. In the picture above those are the loose rubber pieces. Replacing both the brackets was one thing but as there is a third component, I wanted to make sure she was getting the entire package. Other kits being sold online often didn't include them. Everything was assured and the kit was purchased. This is where the entire nightmare starts.....
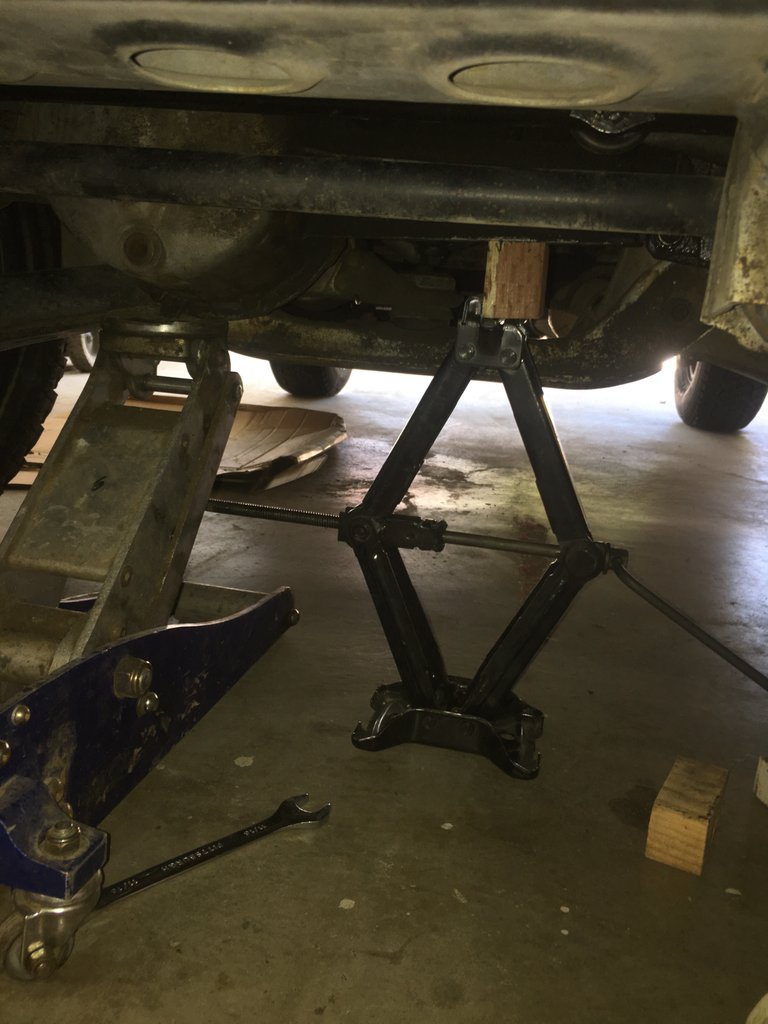
After the purchase I immediately started disassembly. The tires were to remain attached, but the front "pumpkin" or differential needed to be supported with a jack.
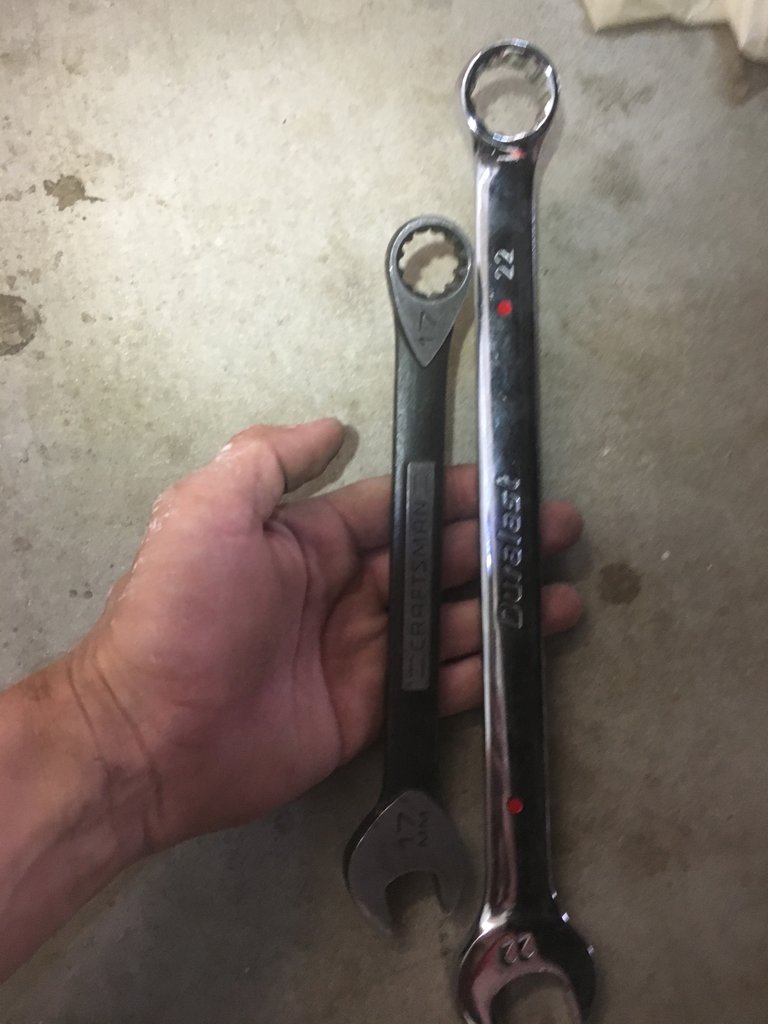
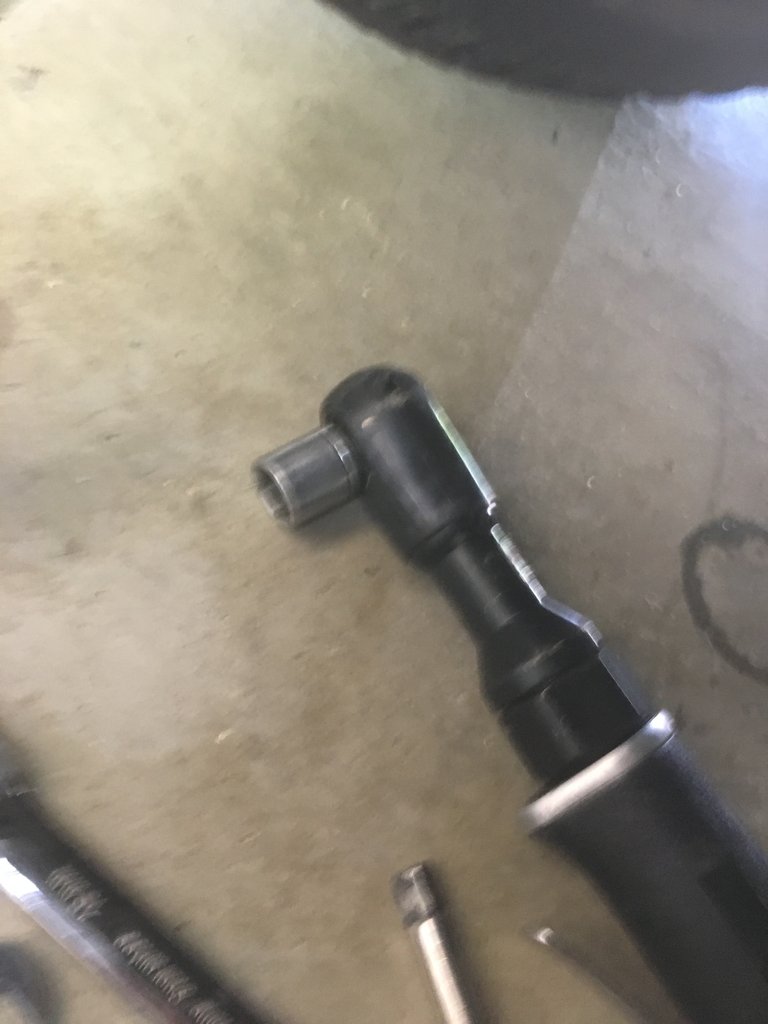
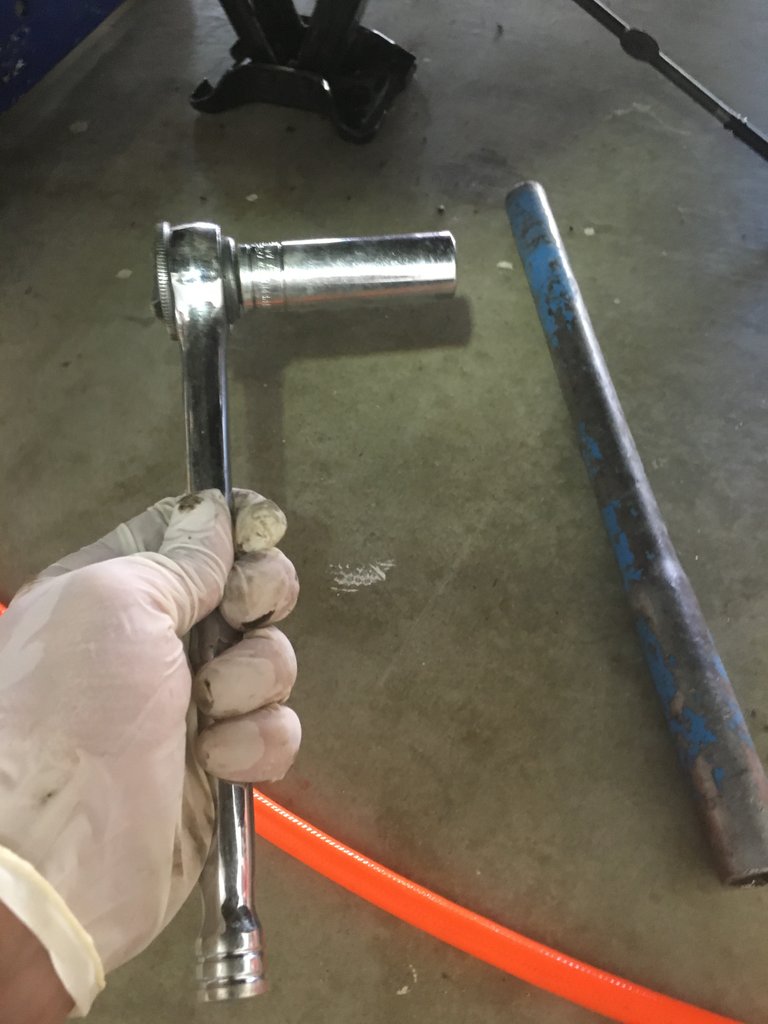
Tools used to do the job:
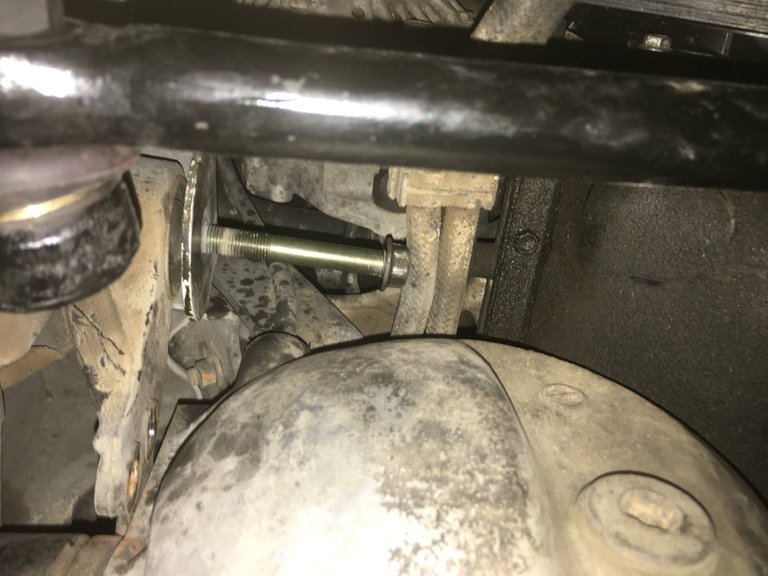
I started to unbolt the passengers side bracket first as it was closest to the pumpkin. I cracked loose the single bolt through the bushing first (but didn't remove it) then turned to the other bolts and removed them.

After all the other bolts were removed, I returned to the long bolt through the bushing and removed that next.
I moved on to the bracket on the drivers side but before unbolting it I first put another jack under that side of the axle to keep the axle strait and make it easier on myself to align everything when bolting up the new brackets.
I did the same procedure with this bracket as well. I cracked loose the single bushing bolt then removed the other bolts first, then returned to that single bolt.
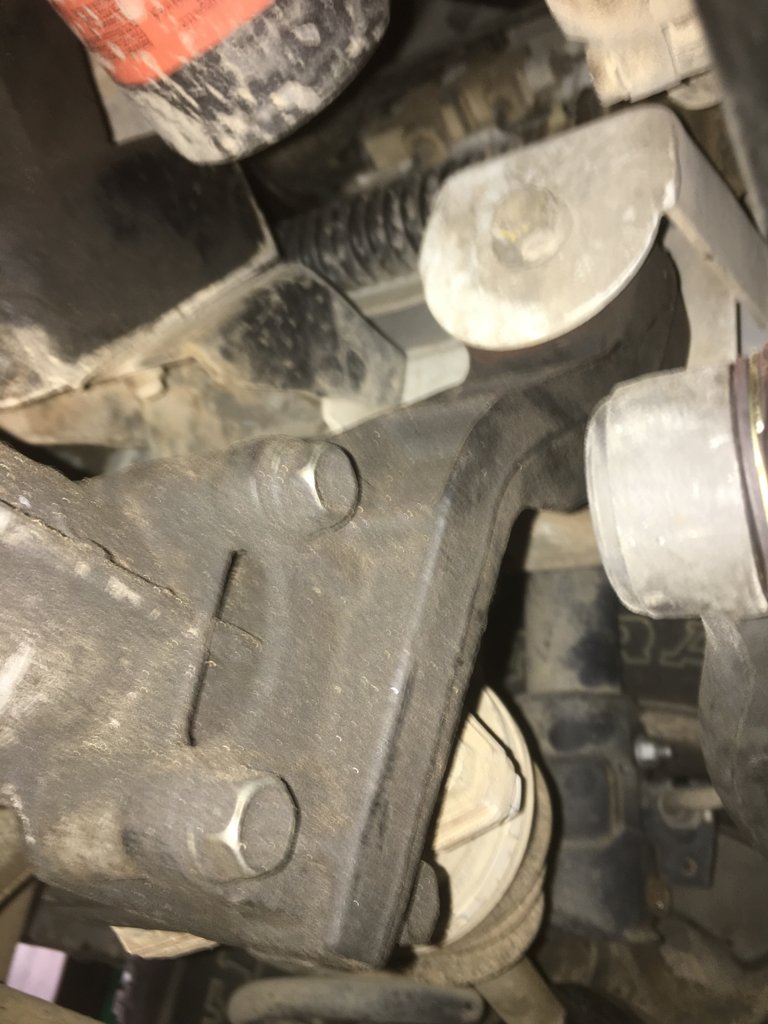
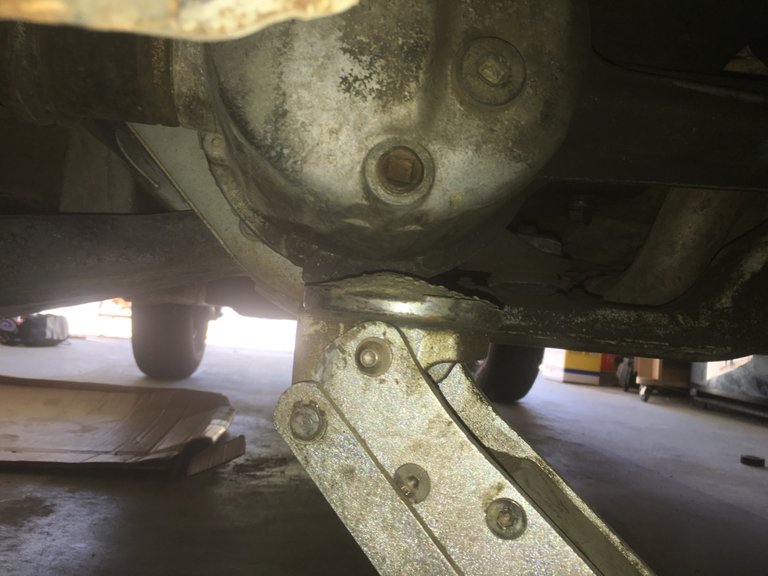
I moved on to the third bracket attached to the rear of the pumpkin. Before removing any bolts, I placed a jack stand where the pumpkin met the drive shaft. This would prevent the pumpkin from shifting and make it easier for reinstall.
As with all the others, the two bolts attached to the pumpkin were removed after cracking loose the bushing bolt, then the single bolt was finally removed. I used an open end wrench to remove the single bolt because of the close tolerance to the oil pan.
I conducted the removal within a few hours but this was minuscule compared to the time it took to actually receive the parts. Payment was issued on a Friday but it was not until a week later and a few messages with stern warnings that the products were actually shipped. The headache was starting to form....but finally we received the parts.
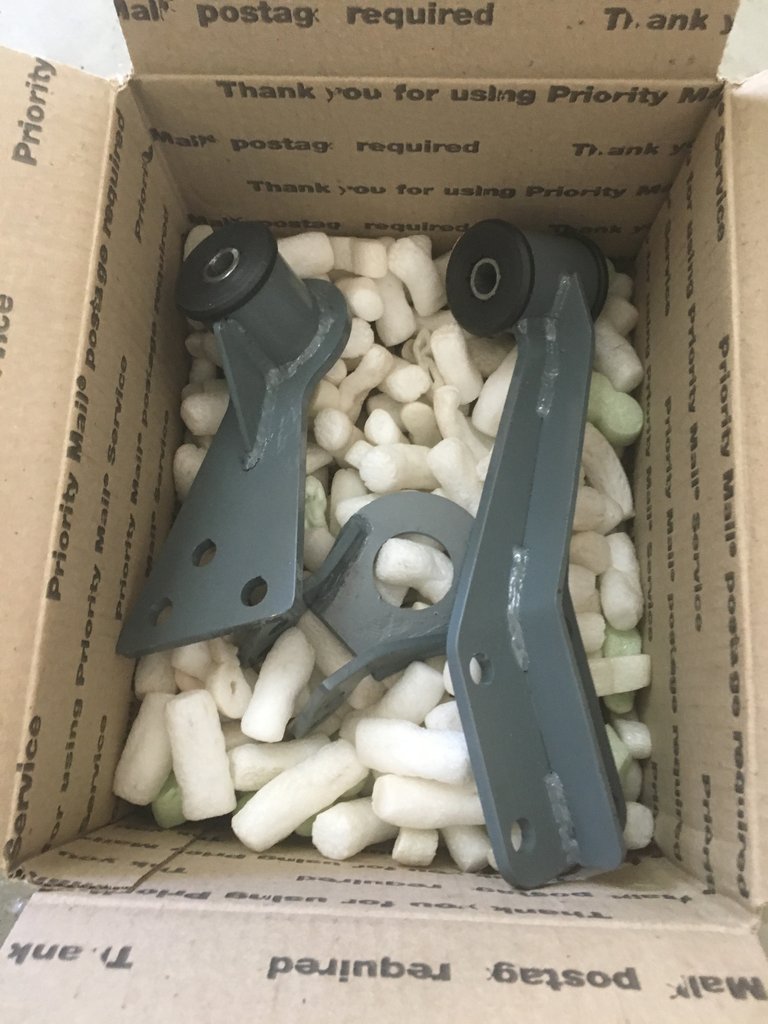
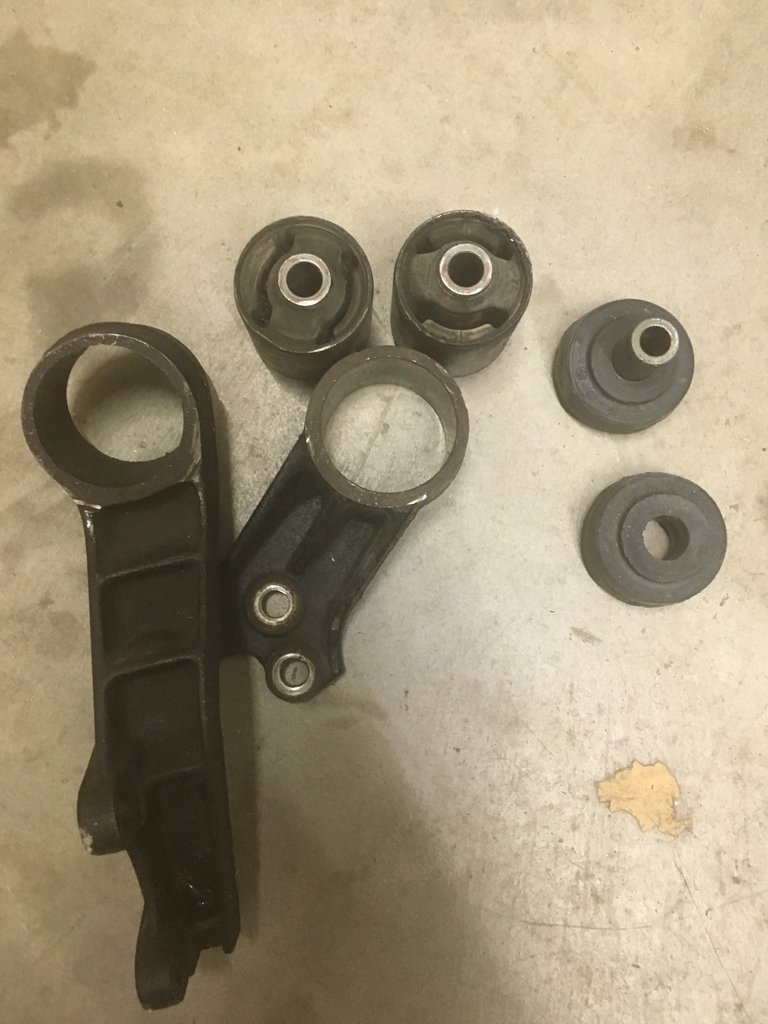
As expected the kit DID NOT come with the bushings for the differential bracket. Even though we were assured they did, so we expected either a reduction in price or a full refund. I did not want to install a kit that was not full, so if he was not going to provide them we would have to source them elsewhere. As Becca argued with the owner on the issue I continued the installation with more dismay. I tried installing the drivers side drop bracket and ran in to trouble.
One of the bolt holes did not line up, no matter how much I tried to position the bracket. I was annoyed at this point and the more that came up the more I wanted my girlfriend compensated. The bolt hole could be widened out so it was not that large of an issue but the problems did not stop there.
When I moved on to the final bracket I was livid, the bolt hole configurations were completely opposite. It was not like one was drilled slightly off, it was if the whole configuration was flipped completely. We demanded a full refund at once as this kit was completely unusable. Bringing it up to the Facebook forum was just as bad, due to the fact this person had been a member so long. We would send the parts back at his expense (due to manufacturing defects) in the same box they came in. It was not until we raised a huge stink with the admins that the whole problem was resolved but in the end we were still in the same position as when we started. We still needed the parts replaced.
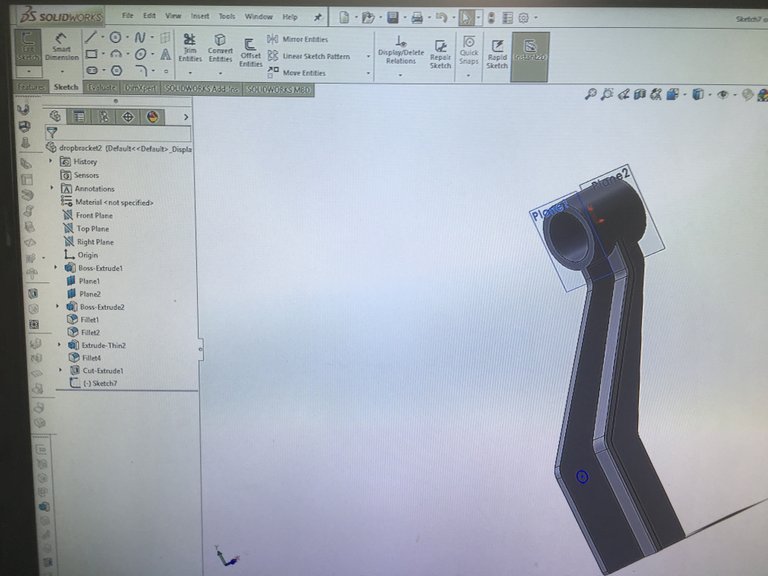
During the entire ordeal I motivated myself to construct the exact same brackets in a program called Solidworks, just to show the Facebook community as well as the Owner of the shoddy fab company that I was not inept.

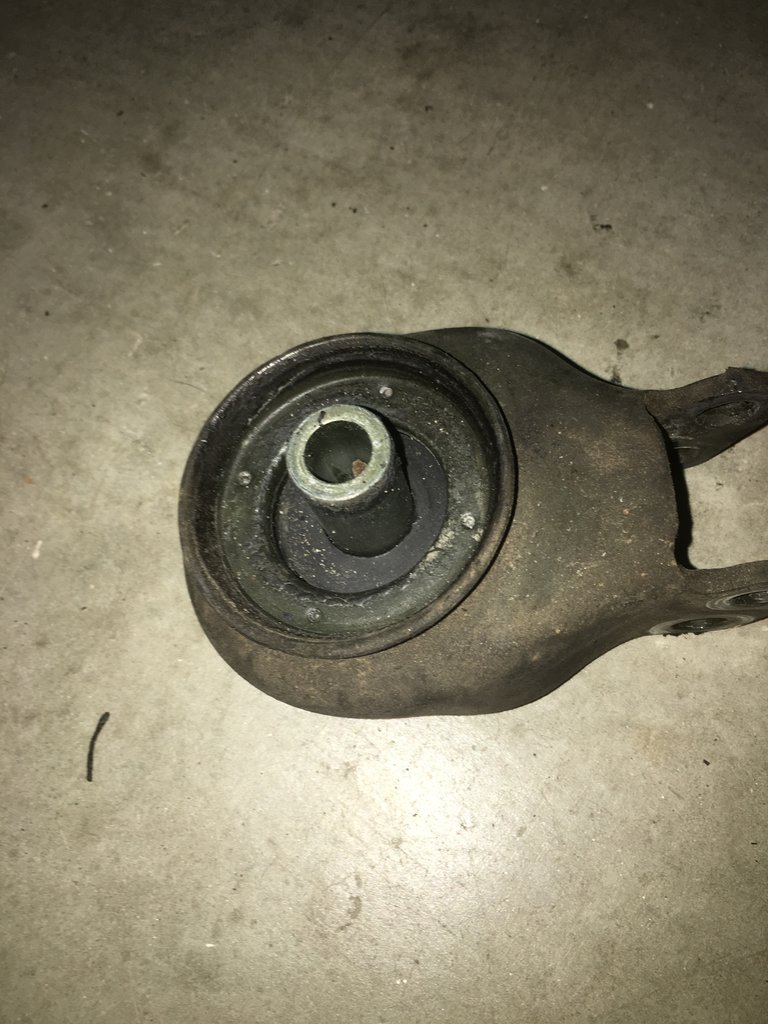
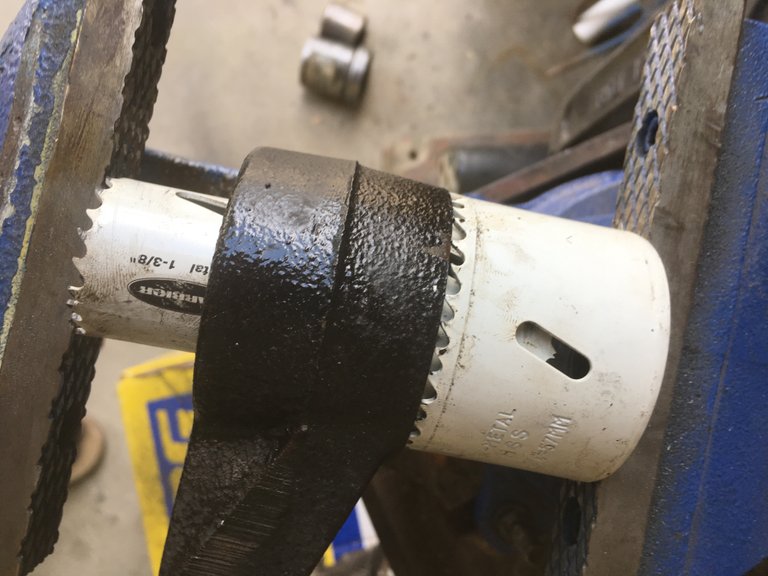
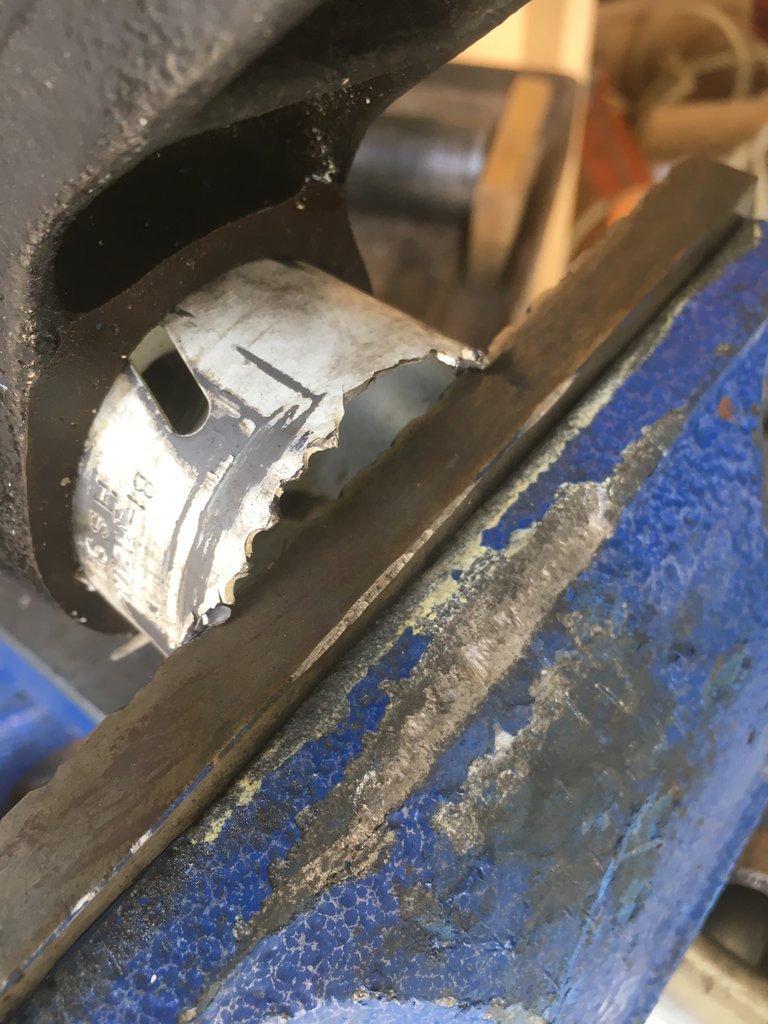
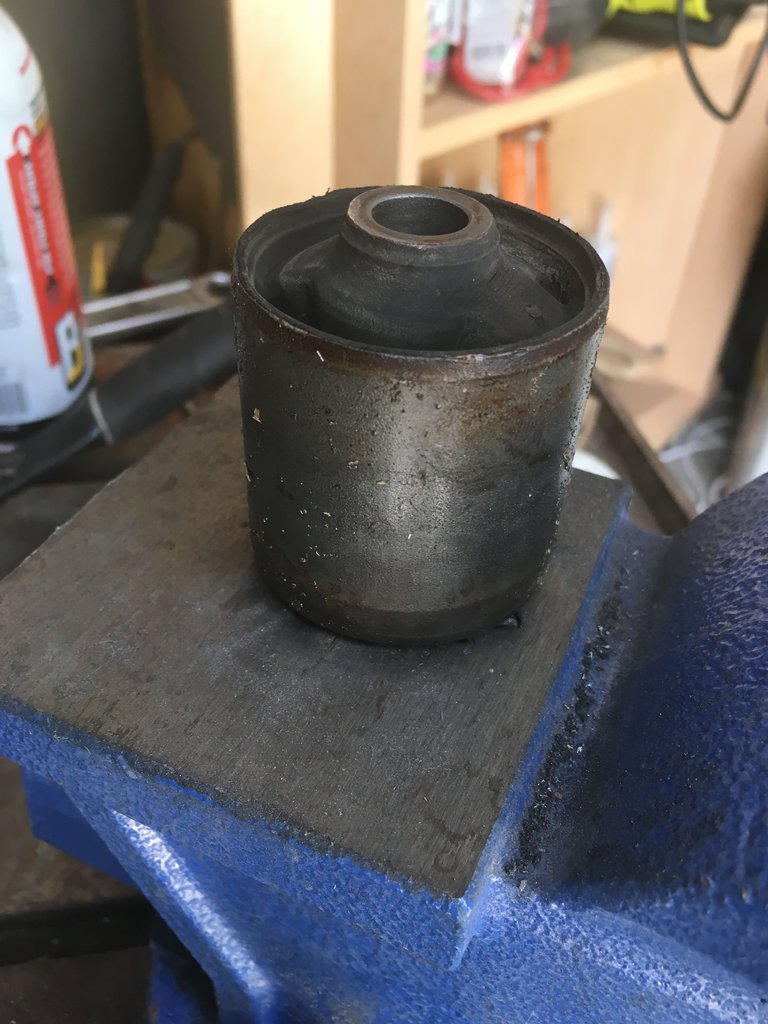
I sourced the bushings immediately and actually found a part number that would fit. Febest SZAB-010 was an identical part for the drop bracket bushings and Febest SZAB-007 was a match to the bushings that were not included in the kit. I ordered them all and started on removing the old bushings from the old brackets. I used my vice to try and press them out.
I found a hole saw bit with the exact same diameter as the bushing. The key was to press out the thin outer shell from the mount and not the center rubber portion. I used a large axle nut socket to press against the other side of the vice and allow the bushing to enter into it. A lot of penetrating oil was used to aid the bushing.

The first bracket got the hole saw bit stuck so I had to press it back out using a few others.
I totally destroyed a few of the hole saw bits when trying to press these out but as they were Harbor Freight it was well worth it.
I was happy to receive the new parts in the mail, as it meant I could finally get this project finished.

Upon receiving the parts and having the old bushings pressed out I opted to have a local shop press the new bushings in. I had destroyed the small press I had to push the old ones out and did not want to buy a hydraulic press to push the new ones in so I opted to have them done professionally. That is exactly how I received them back. I reinstalled all brackets.
After this entire ordeal I was happy to have gotten @beckymeep's vehicle rolling. The "thud" ended up not being totally from the axle mounts (although these bushings severely reduced it) but I had replaced a vital component that was wearing out and causing problems. I hope you learned that differential mounts as well as other mounts can be pressed out and replaced with ease using a simple vice. Thanks for reading this post and I hope you learned something!
 All photos, unless otherwise stated or sourced, were taken by @csusbgeochem1 and may not be reused without permission. Animations and cover photo created by @csusbgeochem1 using GIMP.
If you found this story interesting you can find more like it by following @socalsteemit and help us expand the Steemit community together
All photos, unless otherwise stated or sourced, were taken by @csusbgeochem1 and may not be reused without permission. Animations and cover photo created by @csusbgeochem1 using GIMP.
If you found this story interesting you can find more like it by following @socalsteemit and help us expand the Steemit community together

Join the SoCal Steemit Discord group today and meet others around you
Hi csusbgeochem1,
Visit curiesteem.com or join the Curie Discord community to learn more.
Thank You!! Your the best! Im so glad my content appeals to a larger audience.
I do not actually know why a fabrication company will go to the extent of making parts that do not fit well for the purposes intended. Maybe they lack attention to details or think the users will always find a way around it to make it useful just as you said...
At times, it is necessary to personally see to it that you get good value for your money by doing some things yourself like you did designing the parts needed yourself. Most times, I prefer to do electrical repairs myself. That's my area of expertise anyway, but I also do painting myself. With that, I can experiment with different mixtures or designs and techniques.
I agree, thats why i was so blown away by this instance. Im sure the person who worked the day this bracket was made was probably fired.
This was a very interesting and informative read. Thanks for sharing the lessons you learned.
I try and post topics that a larger audience can learn from. Thanks for the comment!
Congratulations @csusbgeochem1! You have completed the following achievement on the Steem blockchain and have been rewarded with new badge(s) :
Click on the badge to view your Board of Honor.
If you no longer want to receive notifications, reply to this comment with the word
STOPDo not miss the last post from @steemitboard: