
I would like to thank @weee for creating the image
Go away molds!! Working on it: you gave me a spore
Since last Thursday to this weekend.. we worked on construction of dew condensation.. We tried to have people to do it, but it is not much of a work to do, so they didn’t seem to get engaged, so we decided to do it since it was days off from last Thursday anyway
I bought materials from the internet
Materials
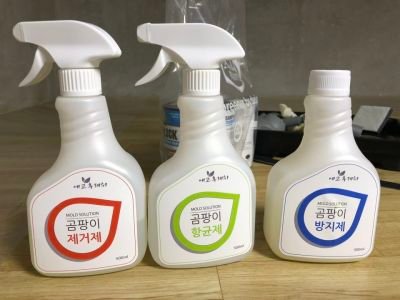
- mold removal products, antibacterial material, inhibitor | product speficiation
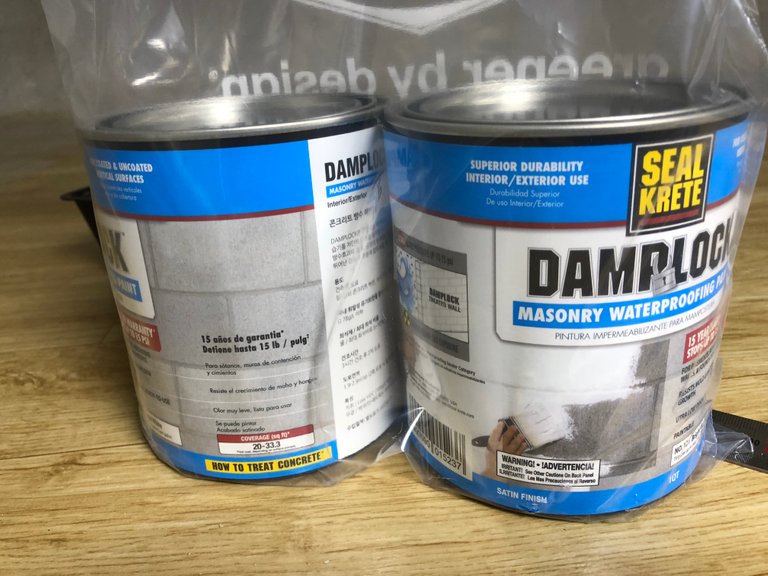
Painting for prevention of condensation l product speficiation
 ’
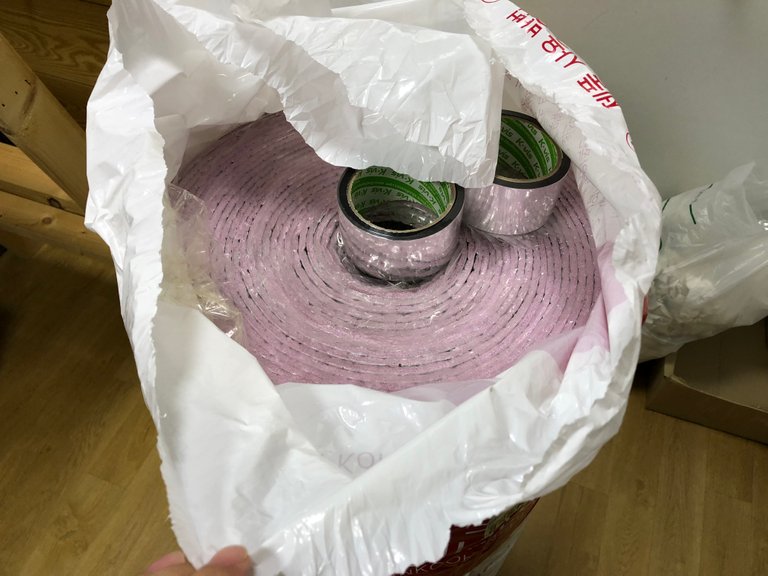
’Heat reflecting products, silver tape | product specification
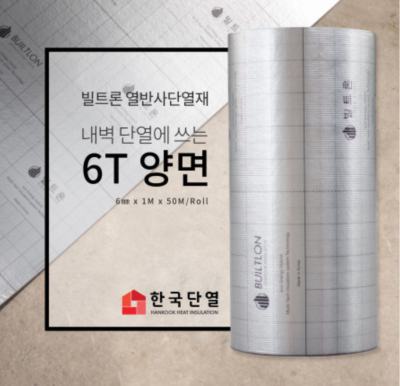
- high heat reflecting insulator, silver tape | product specification
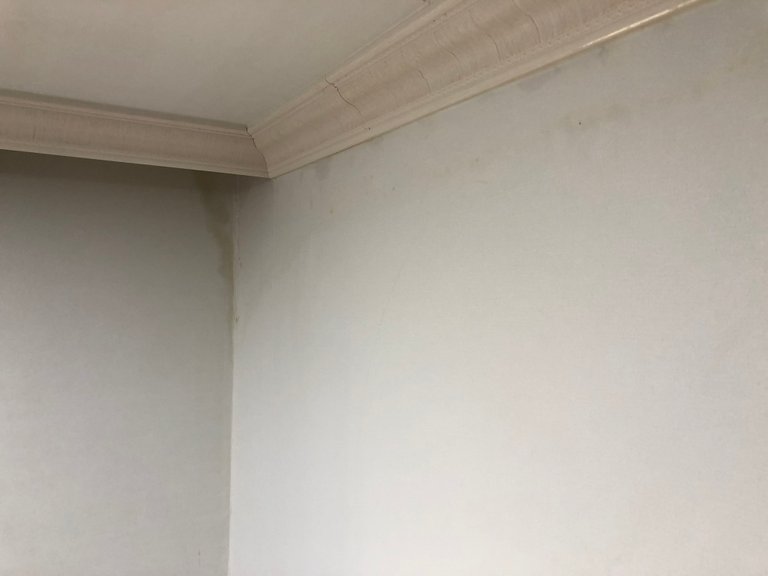
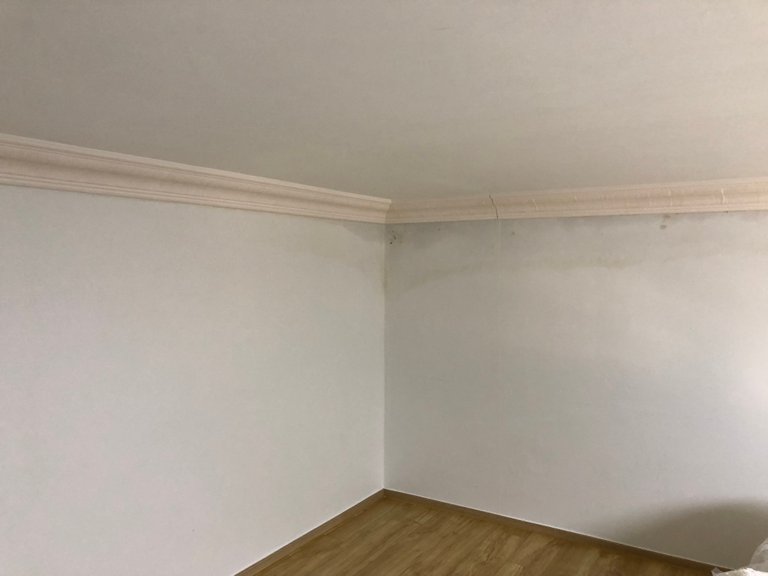
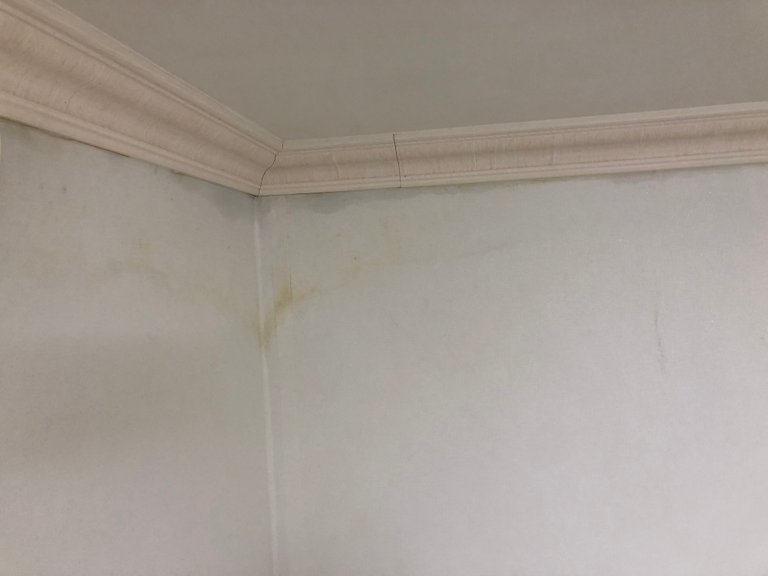
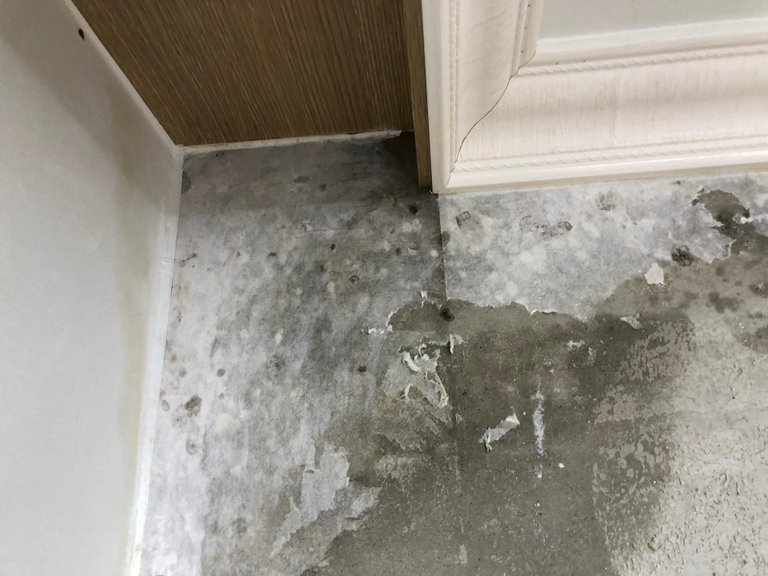
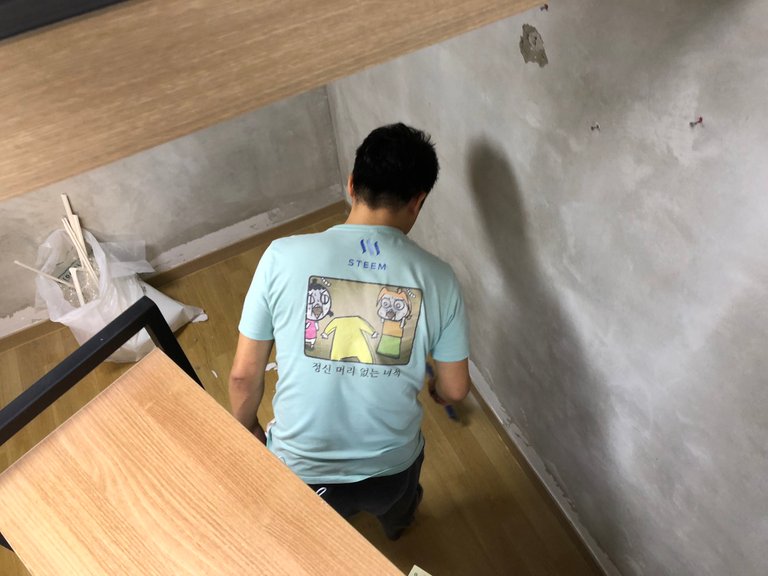
0. checking the status
You should know if it is necessary to do it.. right? You should know what’s up! I didn’t take lots of pictures…and here is a picture which includes some strains, I sprayed mold removing spray. In between, I turned on some boiler and you could see pictures of it.
I decided to work on it since it is a room with my kids, and it is something that had to be done anyway
1. removing wallpapers
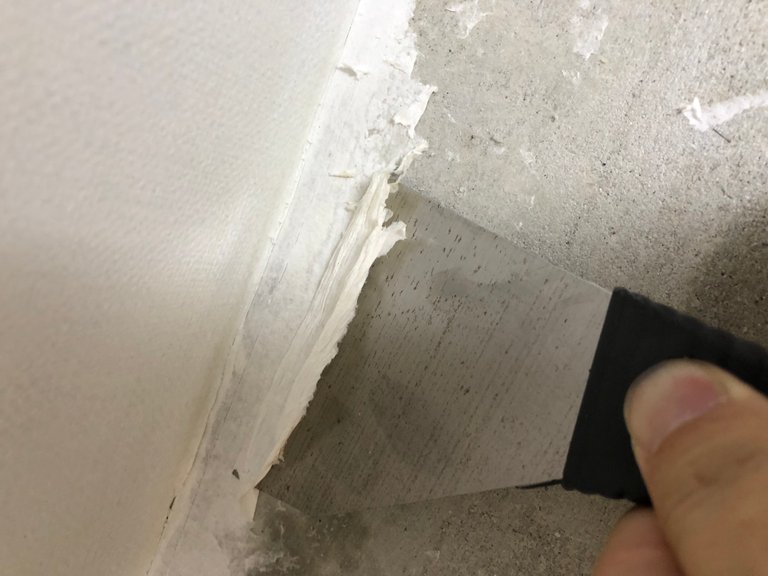
You should remove wallpapers for working on insulation work. For it to be done, you need a knife, but you need a steel ruler to remove parts of it. Cutter knife is needed, make sure you have spare blades of it.
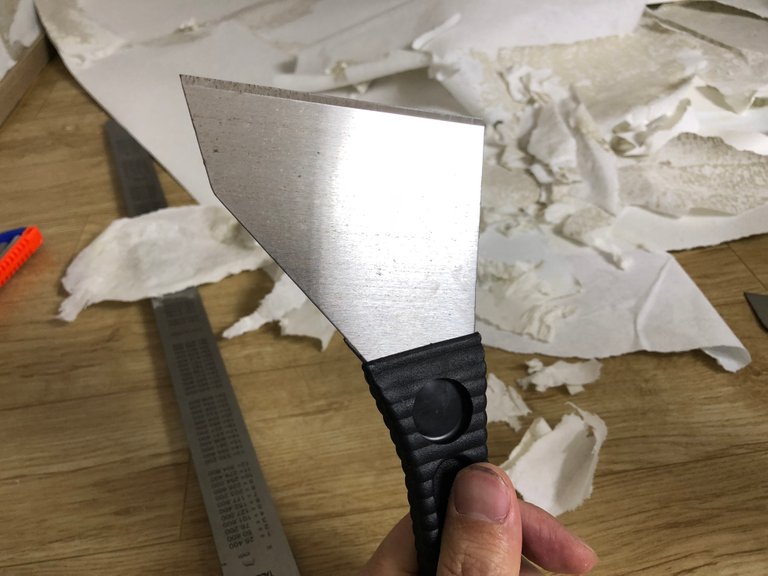
You should go to a hardware shop, and purchase it
AT first, I tried to remove only a small part of it, so I used a knife to remove upper part, but as I tried to do, I thought it would be better to do the entire part, so I put it into action
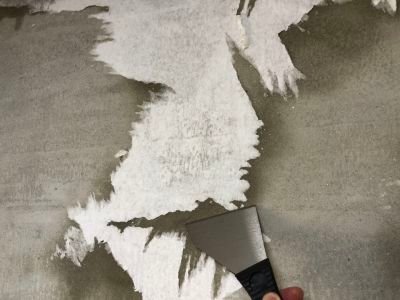
When you tear wallpaper, you will see this kind of wallpaper that is not detachable well, in this case, you should spray water into it and then carve it with a knife
A little bit of tip… you should take some time to do it cause it is better to give it time.. when it dries, you should spray even more
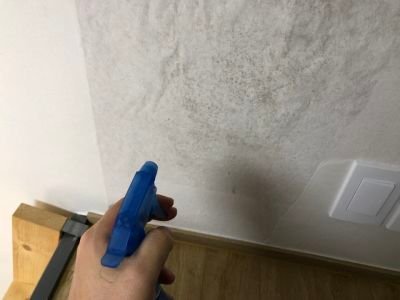
Use a drill to remove the console between a switch and a socket

When you do an electricity job, it is dangerous so I suggest you lower fuse box
And then feel free to remove wallpapers, as for me, I curved it cleanly so I can paint it.
There you go… I am done with the upper part… it took literally a day to remove it all
2. Mold removers, sterilizer, inhibitors, and working on inhibitors
Now that we finished wallpaper job, let me spray a mold removal product [ventilation is mandatory], let it dry, spray the streilizer and let it dry.. Finally you should use a brush to paint it
With the help of a remover and sterilizer, process is rather simple and painting it perfectly with the brush
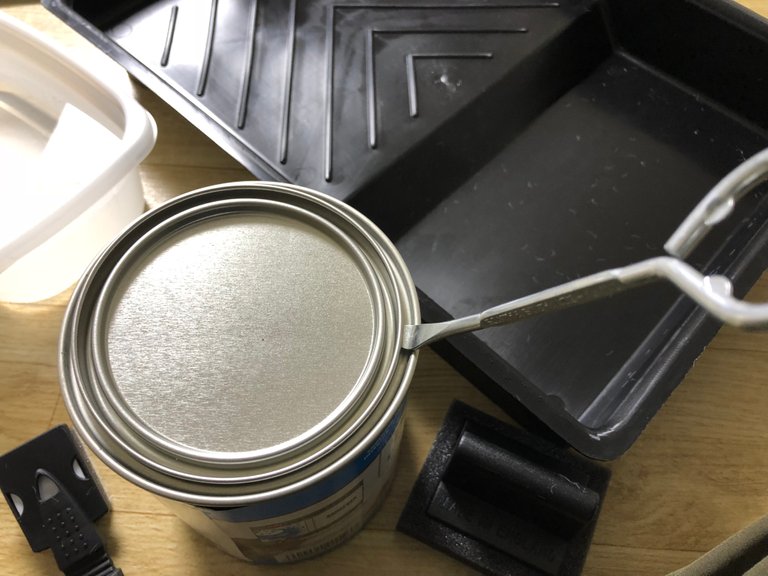
Mold removers, and sterilizer are quite simple so I didn’t get around to taking pictures… put your paint into a plastic container to make the work easier
___ ## 3. paint work for preventing condensation.
Let the wallpaper dry and work on painting for preventing condensation.


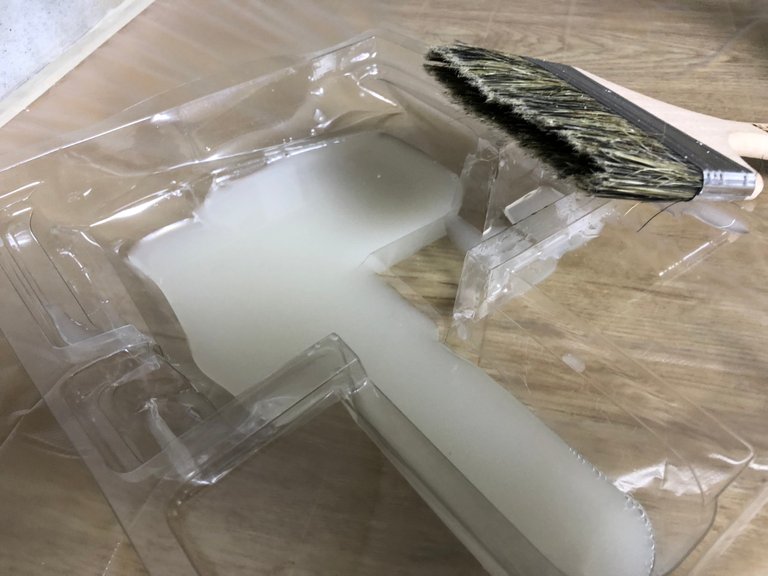
Sir painter with water in it. You should stir it well so that it won’t flow in water. For more specification, contact the seller, and they will walk you through it
With abridors, you should open the lid with a driver.
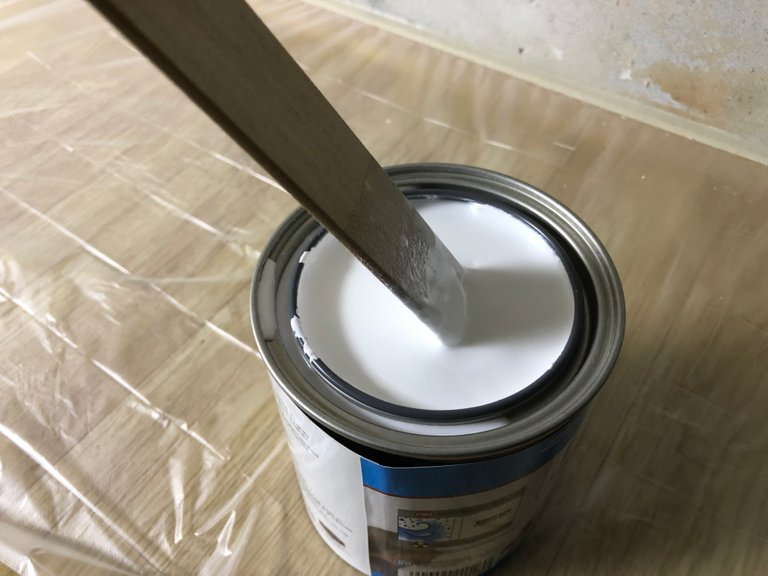
Pour enough water and stir it with the object with sine curve until it absorbs water well

Pour painter into the container, paint it well with a brush
Paint it and check if salt level is enough!
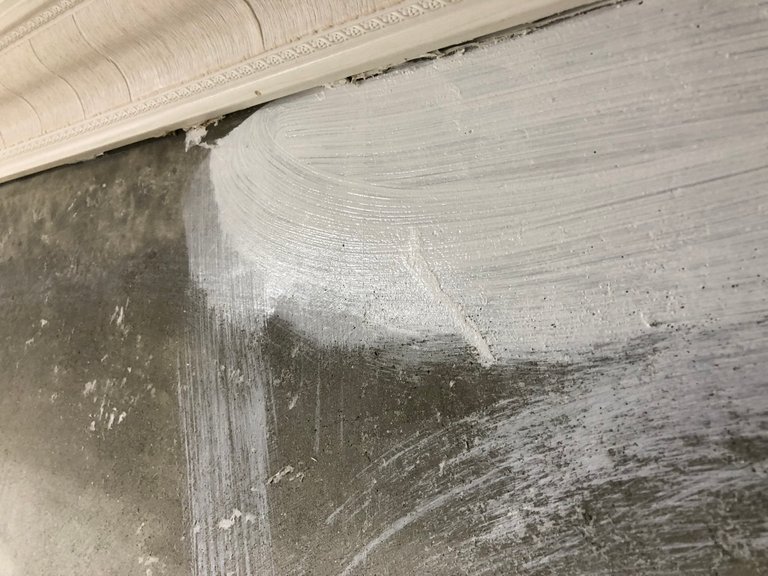
Paint outer space with a good brush at all times, right order is you should work on the inner side first
Color doesn’t look good at first, but if you do it more than twice, it turns out to be good. You know I use the insulator, after it got dried, I painted it once more. After all, I did it twice.
When you paint it twice, color turns out to be much better. First work takes most paints, for the second time, it only requires 50 percent of it. Most importantly, make sure you do it after It got dried
When it is done drying and color turns out to be perfect, you can remove the masking tape.
if you intend to do only painting job, you should do it 2~3 times at least
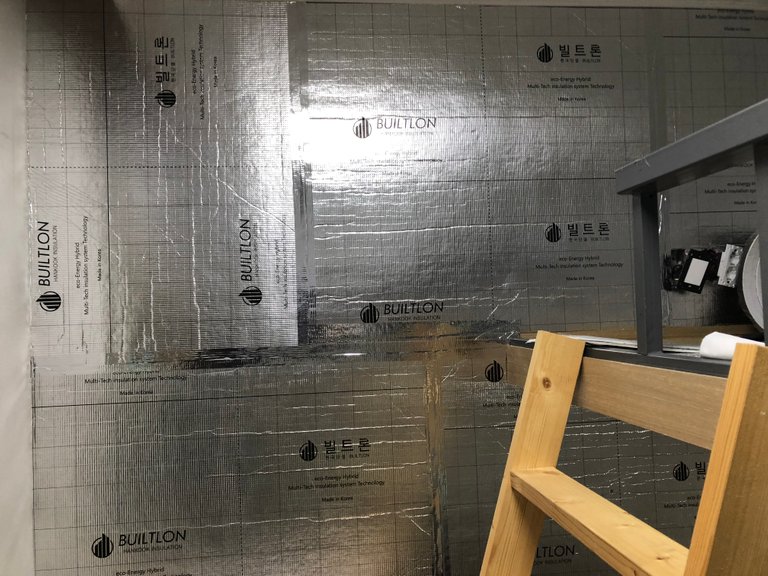
4. Adhesion insulator for preventing condensation, working on Insulation wallpapers
I ordered an insulator which doesn’t require me to work with an adhesive. Even though it was more expensive, it was totally worth it and it made me save a lot of time. I tried to do only upper part of my room, but I ordered even more to do the entire house.
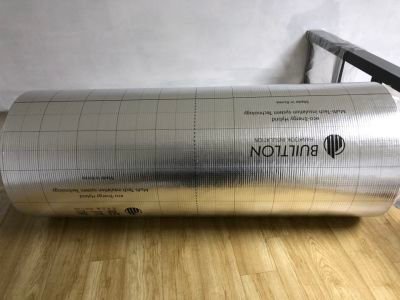
When ordering online, it provides information on price per meter, but it doesn’t necessarily mean that it comes with 10 units of 1 meter item, instead it came out with 1 unit of 10 meter item.
At this time, you will need a tape measure and a steel ruler. I suggest you have a ruler that can measure up to 1 meter. I ordered one because width of the insulator was 1 meter, and I only had a ruler with 60 cm, so I couldn’t help but use it. Cutter knives need more blades. If you don’t like it, you should get new blades. It requires lots of blades, and if you don’t replace them, it makes your work way more slow. You measurlthe height with a ruler, the back of insulator has auxiliary ruler part, you just use it!
Newbies make a mistake of trying to do it at once, don’t do that! Do it more than 2-3 times and it will make your worth more smooth
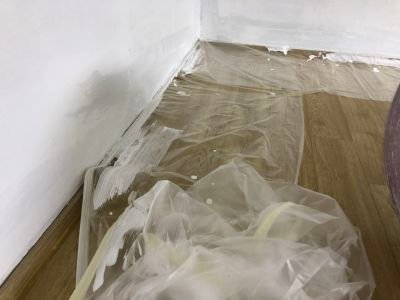
^^) And when you use the insulator and wallpaper, make sure you clean the floor. I suggest you use wide paper box or plywood. ( I didn’t have it, so I just did it without it. I didn’t leave knife scar on the pad)
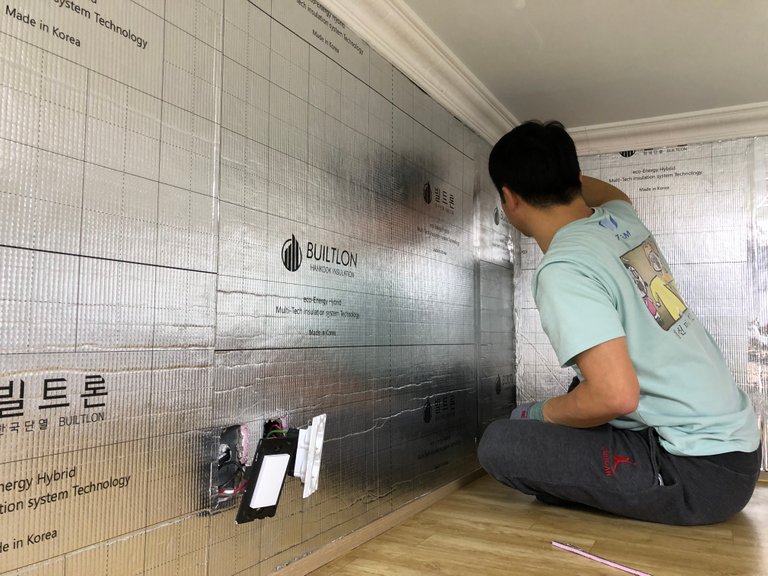
You should measure it well before using an adhesive well. It gets easier next. It is nothing different if you tried it before
Do it repeatedly. Measure, cut, and paste it
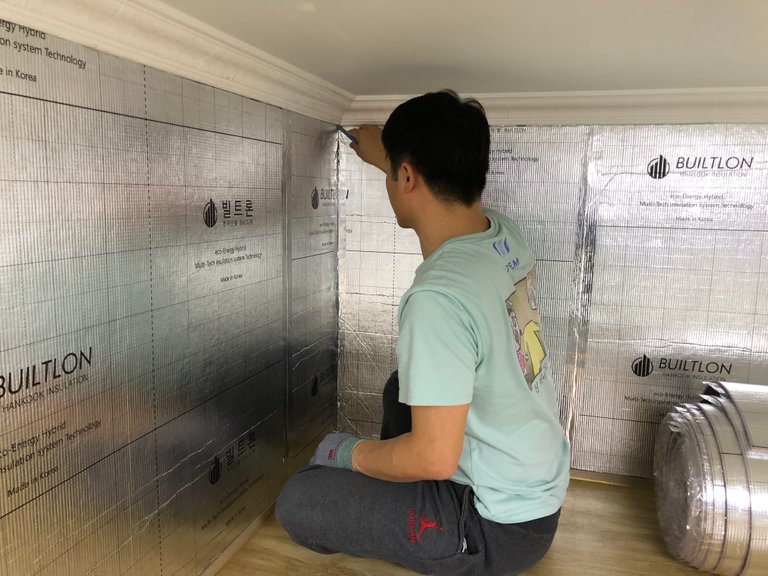
My eldest brother came to help me with it so we did the work altogether for the whole day
When there are two people working together, it gets much easier since you can do the work together. I removed the wallpaper while my brother removed the lower part of it
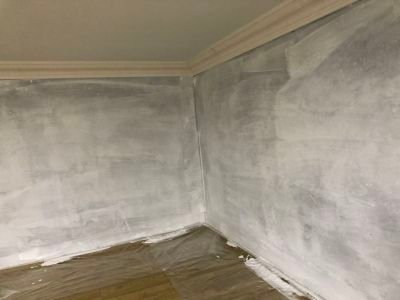
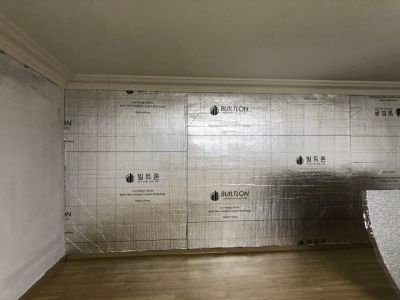
I finished the insulator job on one of those walls

One thing I would like to stress is that you should work on taping jobs even better between insulators. A lot of people ignore it, but in my experience, it is better to put more time and money into it, it could be really bad if you do not do it
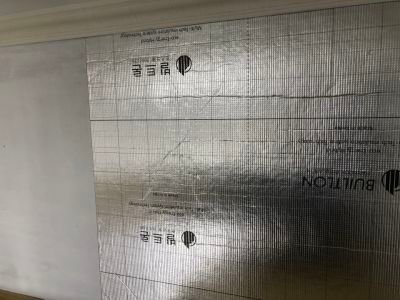
In the same process, paste the insulator wallpaper like this
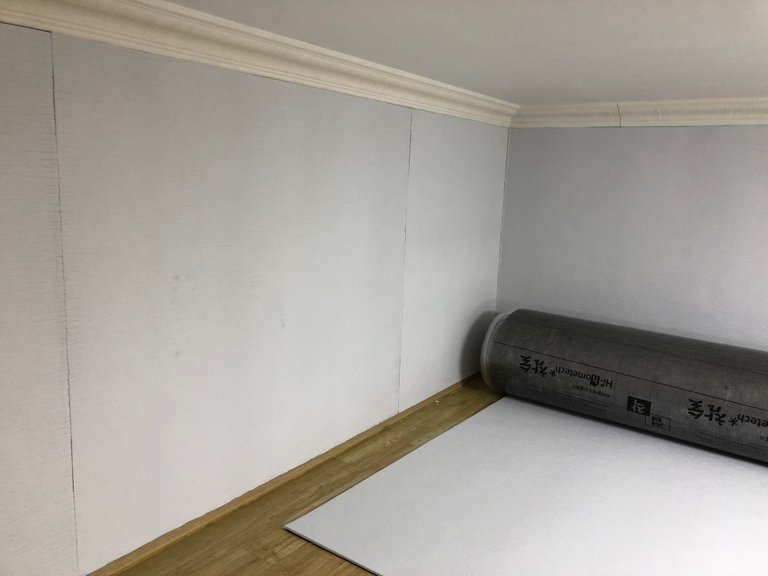
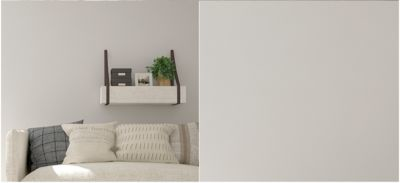
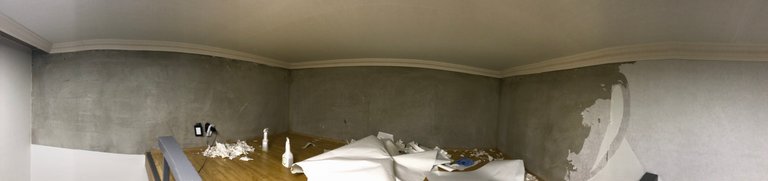
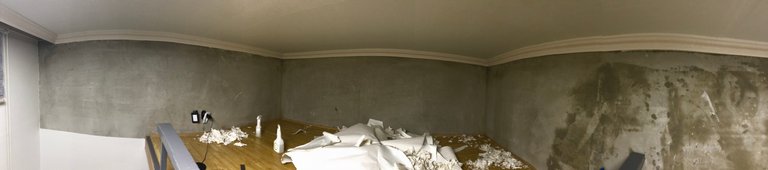
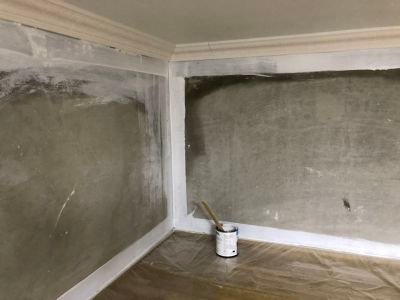
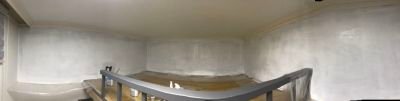
I did the work from second floor first. When lighting is dark, it looks much more messy, as a matter of fact, it is way more clean. You know disadvantage of insulator is that it shows some flaws, if you want it to be clean, you know what I am talking about…..
ones with white color is done as you can see we did insulator work on silver, and the far right is work of prevention of condensation.
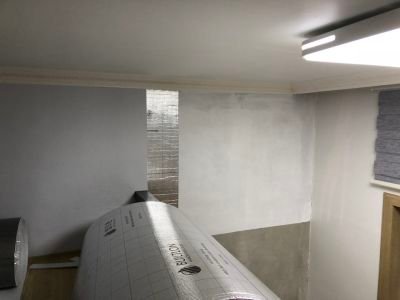
___ ## 5. finishing work not fully done
With the help of my eldest brother, I did finish 80 percent of the work… but it is noe done yet. I am going to contact the seller tomorrow, and when I get insulator wallpapers, I am gonna get it finished, of course, I will come back with updates. I am going to clean my room too
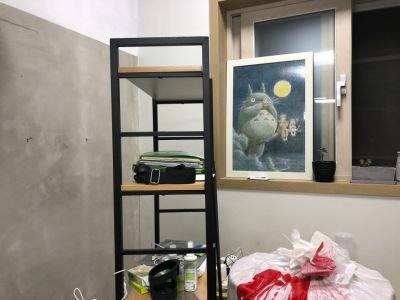
Wallpaper that isn’t done yet…….. pictures that I took before insulator job…
Wow what a long steemi post
If you resteem my post, take a screenshot of it, and send it to me, I am going to give you a $1 upvote
Thanks for reading it

very nice
This is a very difficult job for me ,,, I have reestem this post because maybe i can learn about this ..
Thank you. The upvote will allow you to charge the power.
곰팡이 없애는 작업이군요 ㅎㅎ
wow!!! good job!!!
thanks
복층 작업이 쉽지 않을텐데...수고 하셨네요.
손이 많이가서 그렇지 막 중요한 기술을 요구하는 작업은 아닙니다.
Good job. Upvotep
능력자시군요!ㅎㅎ