This is our standard go-to bread, with fairly basic timing and instructions. As we wrote about the starter, there are many factors that affect the final bread, and we can tweak many of these to make the bread how we like it. We’ll probably talk about them in more detail in later posts. For now, enjoy!
Ingredients
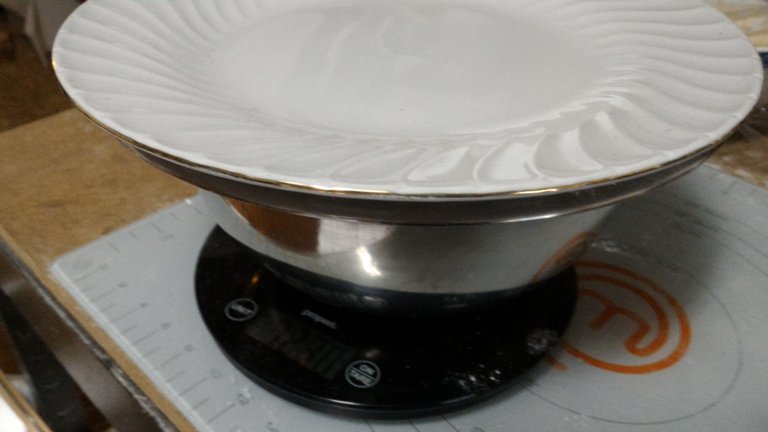
100g sourdough starter
500g flour (100g whole wheat, 400g white/baker’s flour)
375g water
10g salt
Mixing and Autolyse
First thing to do is to whack it all together and leave it alone for a while. This is the autolyse, and it is an important step. When I first started baking, this wasn’t part of my process, and when this was added it was a proper leveling up of the final bread.
So first measure out the water and then add in the starter. Measure the water first, because it’s easy to overshoot it, and you don’t want to try and correct it after you’ve put water in flour. Mixing the starter with the water first also helps the starter spread all through the dough.
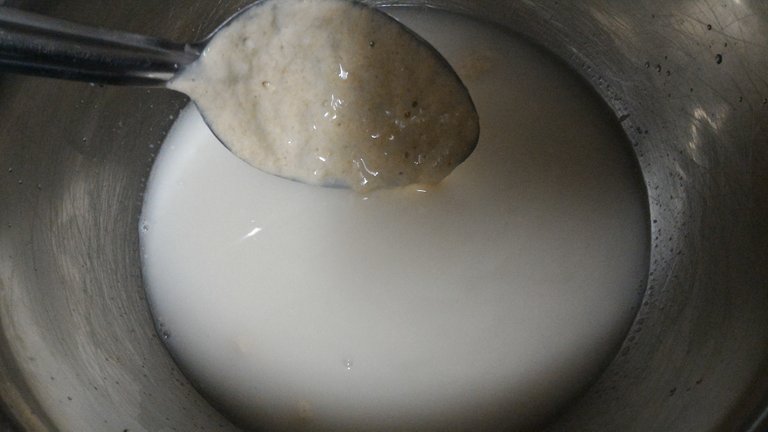
375g of water means the dough is 75% hydration. This is a reasonably wet dough if you’re just starting out baking, so feel free to drop it to 70% (350g). Any less I find quite dry. Among other things, a wetter dough also means your bread stays fresh longer…it’s a rough guess, but I’d say every 5% increase in hydration keeps your bread fresh a day longer.
Right, so plop in your flour, and mix it all up. Don’t be thorough at this stage, just as long as there are no big pockets of dry flour. After the autolyse it will all be soaked through anyway. I usually add the whole wheat flour first and give a quick stir.
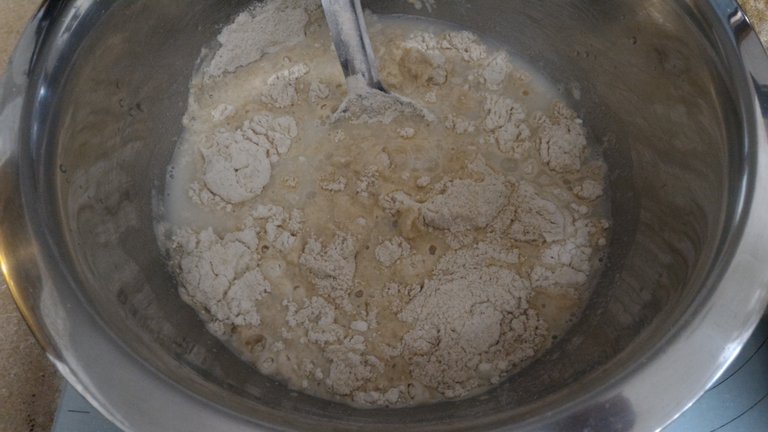
Once the flour is mixed in, sprinkle your salt on top, to help it dissolve ready for mixing. I generally mix it in as well at this stage—I’ve read that salt directly contacting yeast or starter will kill it, but in these concentrations mixed through it’s fine. (Salt in the autolyse does tighten the gluten strands, which may affect the openness of the final crumb…)
Cover it, and leave it alone for around half an hour (minimum 10 minutes). The cover doesn’t have to be airtight, just keep the air out so the dough stays moist. I just plonk a plate on it.
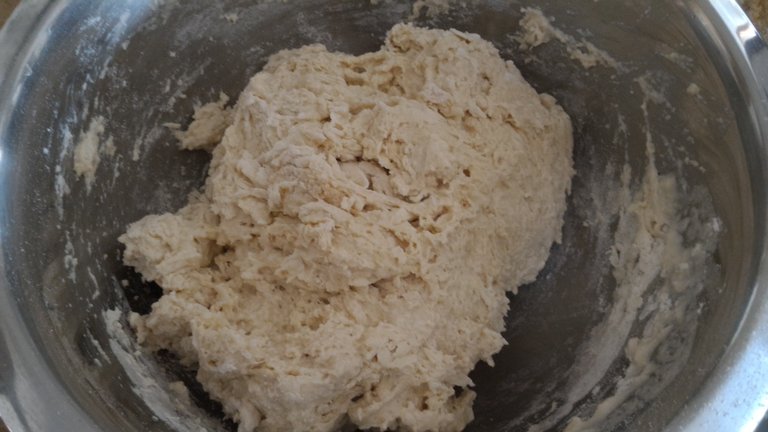
So there are a few things going on at this stage. We want to minimize the total work that goes into bread making, so using long slow rise times takes the kneading out of the equation. Much of the benefit of kneading is in creating structure in the bread. The autolyse helps that, activating the gluten, and also breaks down some of the starch in the flour to simple sugars for the yeast to digest.
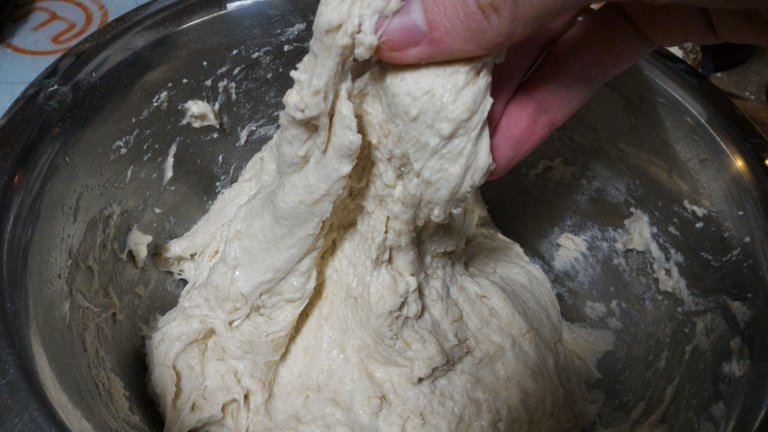
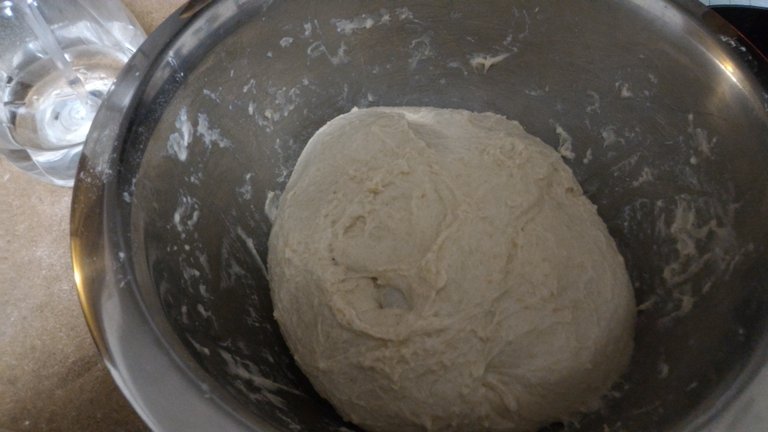
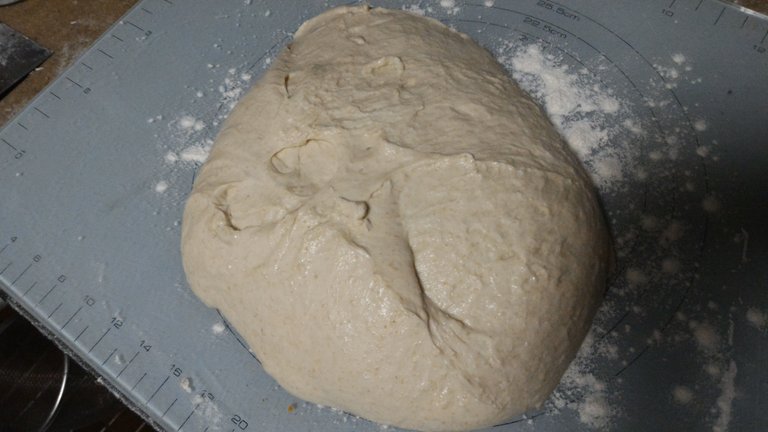
You can see here after the autolyse the dough already has nice tight structure, compared to the paste it was straight after mixing.
At this point I give it a little more mixing by hand, just get in there and mush it all up a bit, make sure the salt is dispersed, feel for any drier clumps. About a minute or so is all that’s needed.
Folding
Now is the first proofing stage, or the bulk proof. This can be anywhere from 4-8 hours, depending on temperature, the amount of starter used, and so on. I gave this dough 5 hours.
Fold the dough twice within the first hour, and three or four times in total. Basically three or four times at 20min intervals.
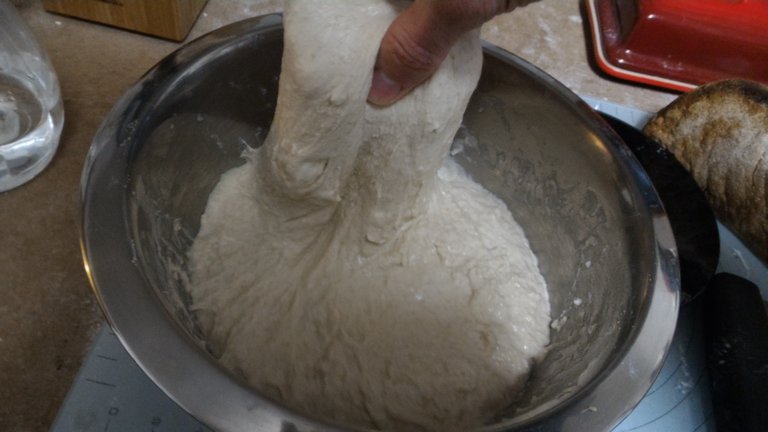
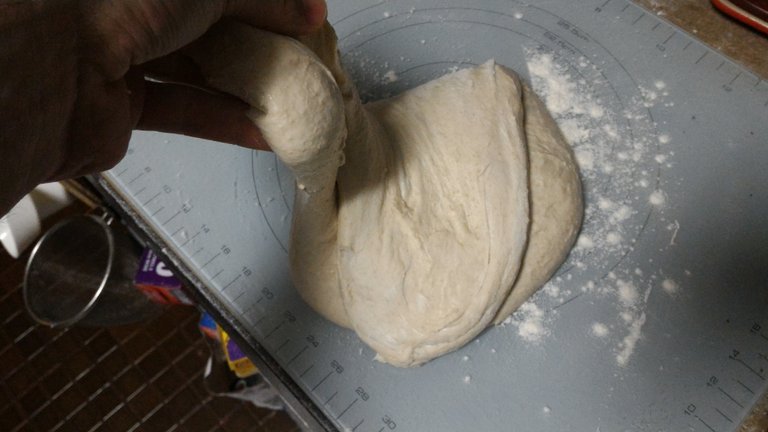
This consists of getting your hand under the dough (with the aid of a plastic pastry scraper if necessary) at each of the four corners, pulling it up to stretch it, and laying it back over the dough.
This is creating the structure of the dough over time, tightening the connections of the proteins.
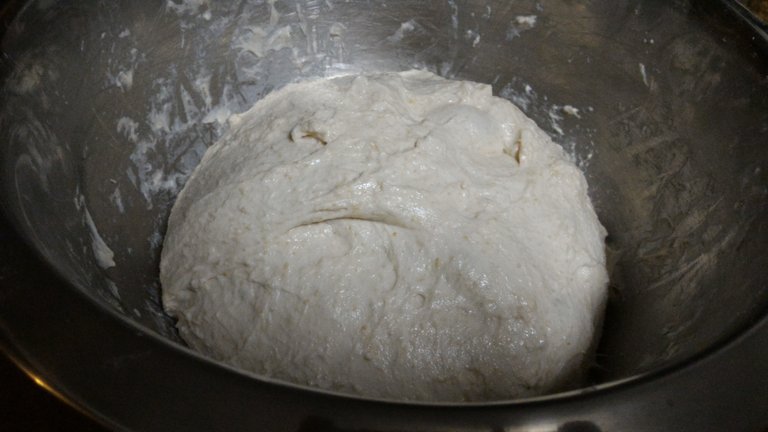
You can see above that after a few folds and just over an hour, there is already a nice roundness to the dough, telling me it’s getting good structure. Bonus little fermentation bubble in the middle, too. Instead of a sticky mass, it starts to feel nice and pillowy to the touch.
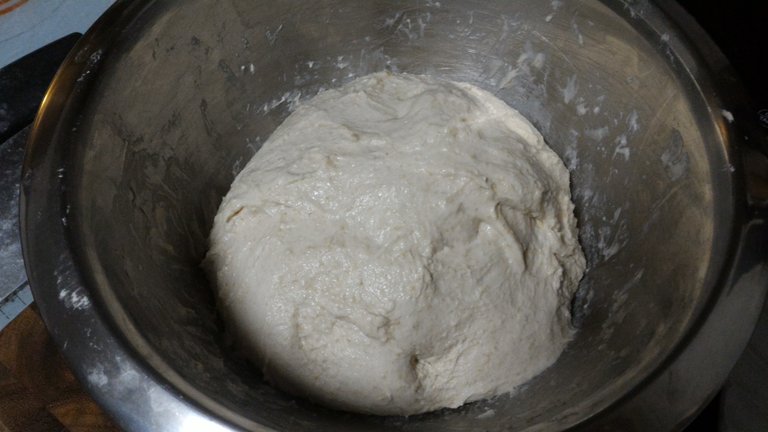

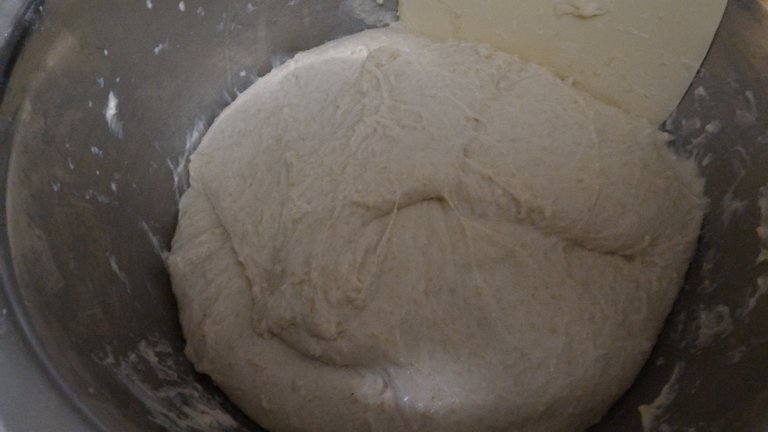
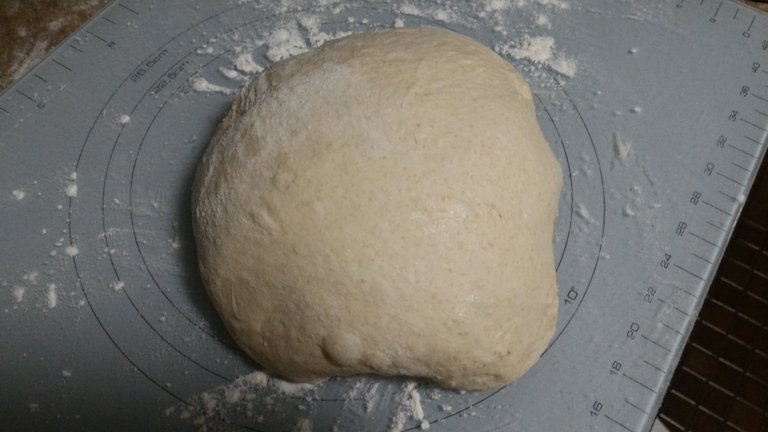
Above, after its third fold, then a couple hours later, and finally the end result. The final one you can see the edges are still rounded, even though the dough has spread, so it has maintained structure. It certainly hasn’t doubled or tripled in size (it’s not warm enough in my kitchen) but by feel I know it’s ready.
Resting and Shaping
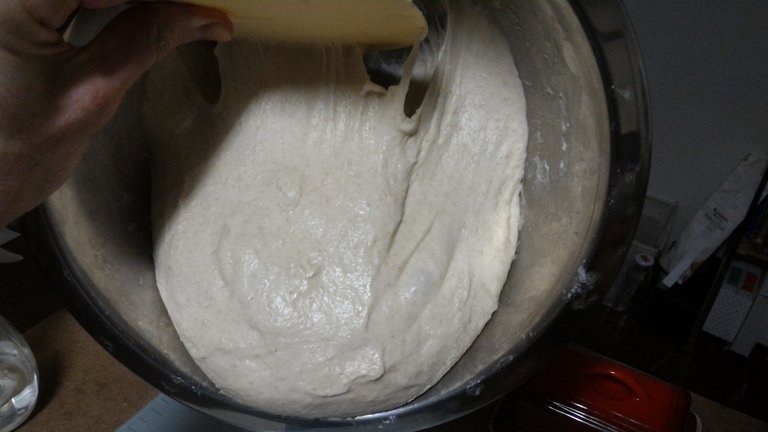
Scrape your dough out onto a lightly floured bench top.
First thing you want to do is a bench rest. This is the beginning of the shaping process. It also helps relax the dough ready for it’s final shaping.
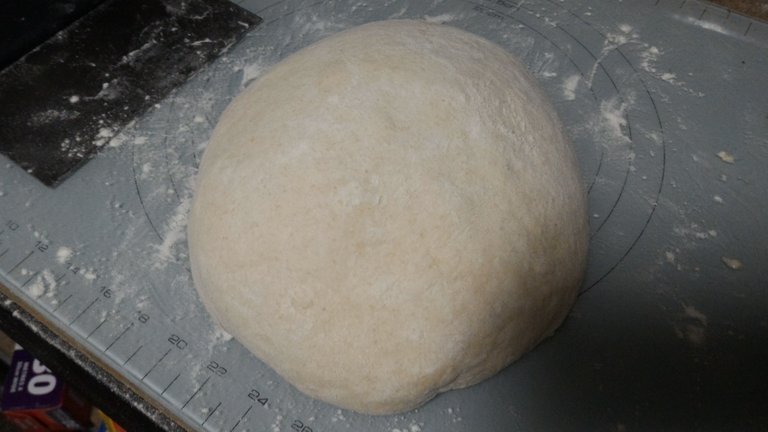
So, fold each corner over into the centre so it’s a nice round package, flip it over seam side down, and let it rest for 10-20 minutes.
You can see that it has a nice firm outer layer. Just be careful not to stretch the dough so much it tears. At this point you want to keep as much structure intact as possible.
After the rest, it’s spread out a little, and is ready for its final shaping.

Full confession at this point: Shaping and scoring the dough are the parts I found most difficult. Infuriatingly so. Watch some videos online, and bakers make it look damn easy. The key is really handling the dough lightly and swiftly. If you’re not confident, just flip it over, fold it again, and put it in the banneton seam side down – this way it’s a quick shaping, and when you turn it out to bake, it is seam up, and you don’t need to score it because it will split somewhere along the seams, haphazardly, giving a nice rustic look.
Ok, so flip the rest dough over so the fold seams are facing up. Then fold it again. It will be a little tighter now so don’t stretch too hard. Just get it into a nice firm, roundish package.
And here’s the tricky part: cup the far side of the dough and drag it a little way towards you along the bench. Your pinkies should help create friction between the dough and the bench, which pulls tight the top of the loaf (again, careful not to tear it!). Do this three or four times around the ball of dough, so it becomes a nice firm pillowy boule. (I really recommend watching some videos of dough shaping).
Then, flip it into a floured banneton, or floured bowl. Cover it and put it in the fridge. I put it in plastic bags you get from the fruit and veg markets. This way the dough doesn’t dry out and form a skin in the fridge.
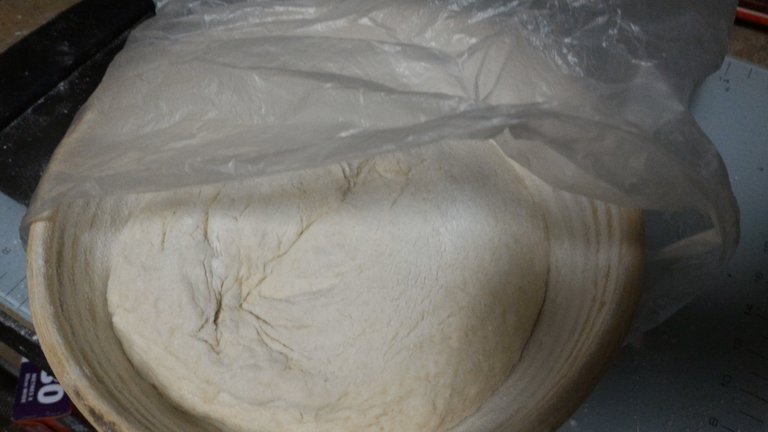
I started this loaf when I got home from work. It is about 6 hours later in total. I rest it overnight in the fridge, ready to bake in the morning or the next day after work.
This final proofing can be done at room temperature, and you test for readiness by the feel of the dough. Cold, slow final proofing has a couple of benefits, not least of which is a kind of buffer for timing error. I find the dough a little more forgiving of the timing of the initial proofing if I do a second ferment in the fridge. This is because it takes some time to get down to fridge temp, so you’re essentially getting almost another hour of warmer proofing time. Second, flavor development. The long cold ferment gives the flavour a chance to develop, but the yeasts slow down so the dough doesn’t keep rising and overproof as it would at room temp. (though too long and the acetic acid makes it overly sour and breaks gluten bonds, so it's a balance).
Baking
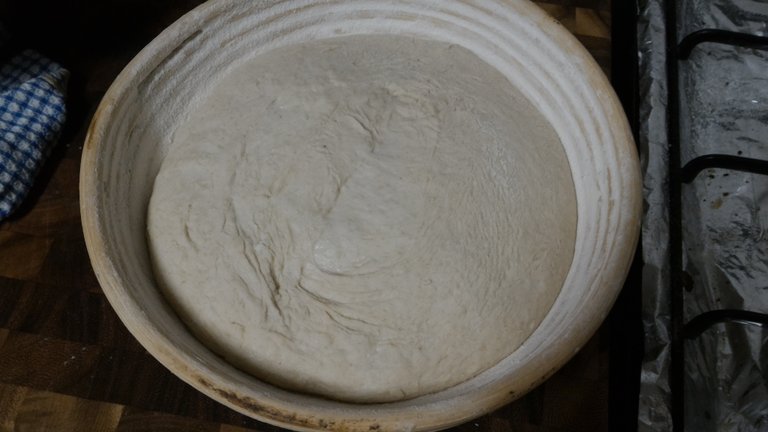
Here’s what it looks like in the morning.
Have your oven preheated to 240C, with dutch oven preheating within.
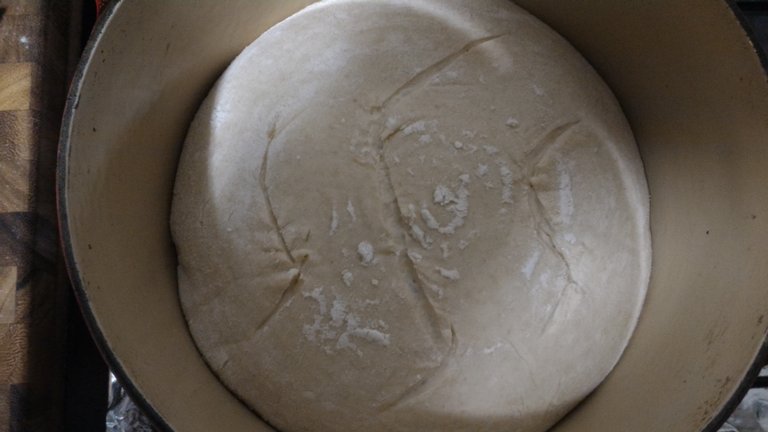
It’s tempting to just upend the banneton and dump the dough into the hot pot at this point, but you’ve made it this far and a little care is in order. I usually have to loosen the dough around its edges from the banneton, as it can end up a little sticky in the fridge. For the same reason it’s often worth sprinkling a little flour on the dough (the upper part will be the bottom of the final loaf) to prevent sticking to your dutch oven. Nothing worse. I use a little semolina.
The process is a little tricky because the dutch oven is hot. So in a few quick motions, I turn the dough into one hand, guide it with the other into the dutch oven (not dropping it) and slide my hands out avoiding touching the side of the pot.
Score your favourite pattern into the dough. I use a razor, but a sharp knife should do just as well. This is to control the expansion of the dough with the initial oven heat (the oven spring). You don’t want the bread splitting on its sides or base. A cross or a square in the top will do the job.
With a wet dough like this one, it tends to stick to the blade, so firm quick slashes are in order. Again, I had trouble with this part for a long time, and it’s still not my strong suit.
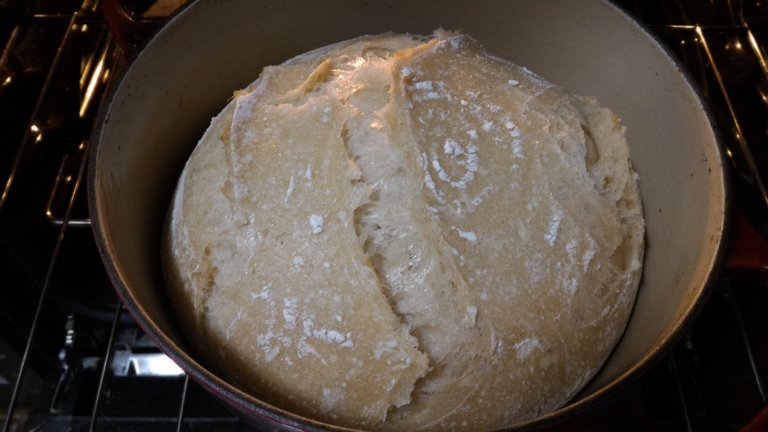
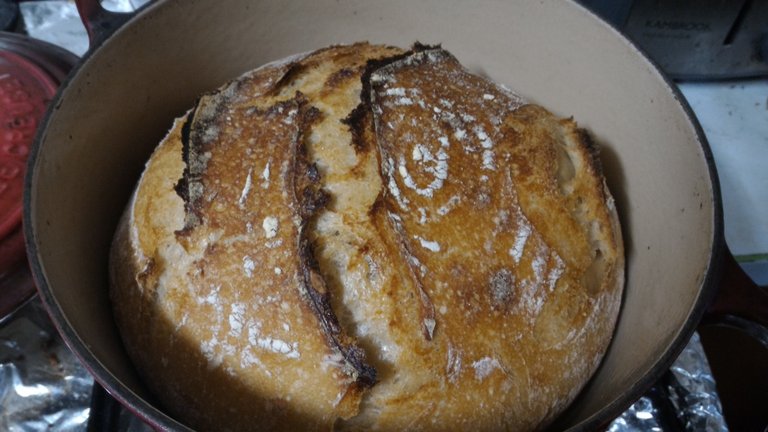
Lid back on, and into the oven. Bake it for 20-30 minutes with the lid on (I’m not exact here as I often forget, but aim for 20). Then another 20-25 with the lid off, up to about 45 minutes.
At the point the lid is removed, you can see the crust is just starting to colour, and the loaf has its shape:
Here is the look after 45 minutes.
It’s perfectly fine, but I like to bake a little darker in most cases. The aim is to get as much caramelization on the crust as possible, extracting as much flavor from the flour as you can.
Here it is after almost 55 minutes.
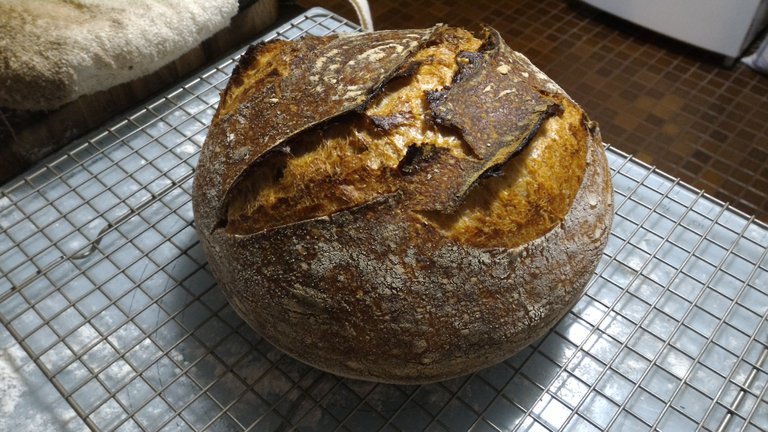
You could take this at any point from the 45 minute mark to when I finally pulled it out. It’s really a taste preference thing. To me, there is a substantial increase in the depth of flavor with the extra baking, and a nice additional crunch to the crust.
And don’t sweat it, I’ve never turned out a loaf I would consider burned. This is helped by the dutch oven---the steamy environment keeps the crust supple and stops it overcooking on the outside until the lid is removed. If you’re baking straight onto a pizza stone or similar, a shorter time would be in order, and possibly even dialing down the temperature at the halfway mark.
So there it is, let it cool for 20-30 minutes (resist temptation!), as it’s still cooking inside. You can hear the crust crackling as it hits the cooler air, which is a damn fine sound to my ears.
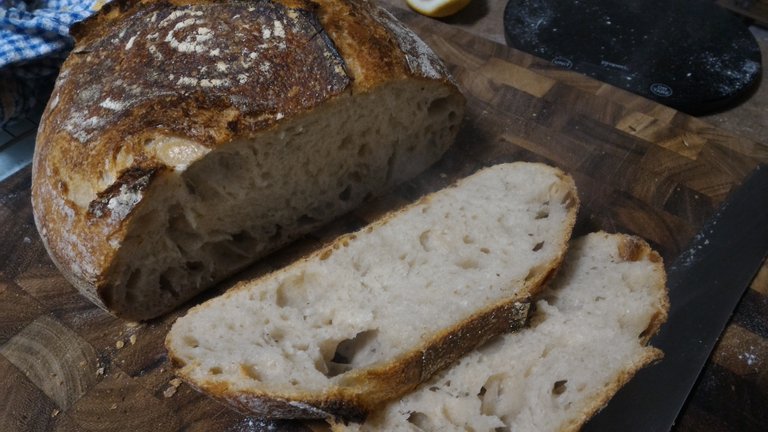
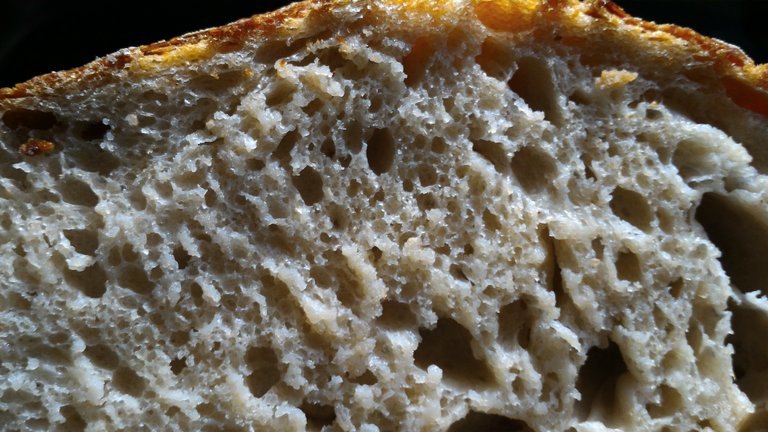
And now for the best part:
You can see the slightly irregular holes in the crumb, which is typical of a wet dough. If anything I would have given it another hour or so of the initial bulk proof (or, ideally, had a slightly warmer kitchen to begin with), but we’re not aiming for perfection here --- the variation is what keeps it interesting.
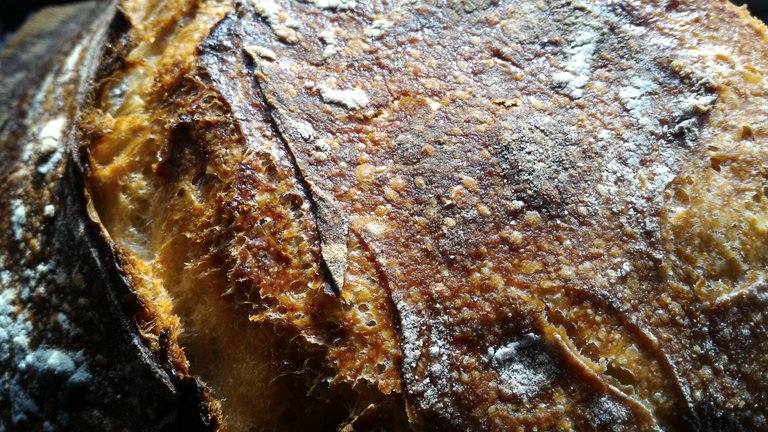
And a few closeup glamour shots of the crust and crumb. Note the fine bubbling in the crust, indicating the air-filled dough, and a nice crunch.
There it is! Do let us know how your experiments go.
If there are any steps that deserve some more attention, leave a comment. Each step really could have its own post (there's a reason there are books written about bread!) and in time we might dig a little deeper.
I love making sour dough. Great instructions. This looks about like mine. If I want it sour, I put an equal amount of flour to all the water with the starter and let it sit until the bubbles slow down, then add the rest of the flour to get the tang.