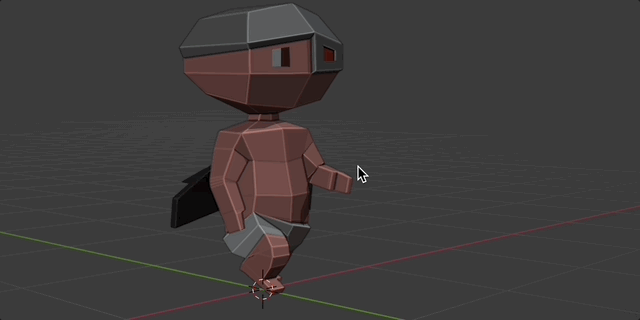
Following up on my introduction post I will show today how I created a walk animation of my character (Rocket Baby) in Blender.
Step 1 - Add the Rigify add-on to Blender
There is a very useful add-on in Blender called Rigify which improves the rigging and animation part a lot. The package is included in Blender and just needs to be enabled. To do this go to Edit -> Preferences -> Add-ons and type Rigify. Once found mark the tick box next to it. Make sure that you also mark a tick next to Save & Load -> Auto Run Python Scripts as otherwise you will see error messages in Blender since Rigify can't be loaded properly.
Step 2 - Add a basic human rig in Blender
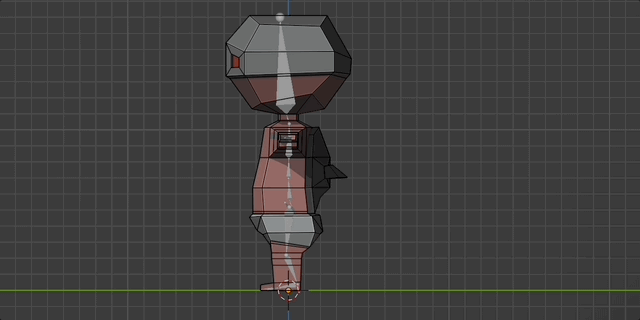
Now that the Rigify add-on is available to use you can add it to the scene by pressing SHIFT + A and then select it under Armature -> Basic -> Basic Human (meta-rig). The next step is to scale and align the rig with your character in Blender. For this the Front (Numpad 1) and Side (Numpad 3) view are very handy to use.
Step 3 - Generate Rig and attach to Character
Once the bones of the rig are aligned to the character make sure the Scale of your Character and Rig is set to 1 since you will run into issues after generating the rig. To reset the scale press Control + A and choose Scale. In Object Mode on the right properties window click the green icon that looks like a running person Object data properties -> Rigify -> Generate Rig. If all went well you should see now that a Rig with controls has been created.
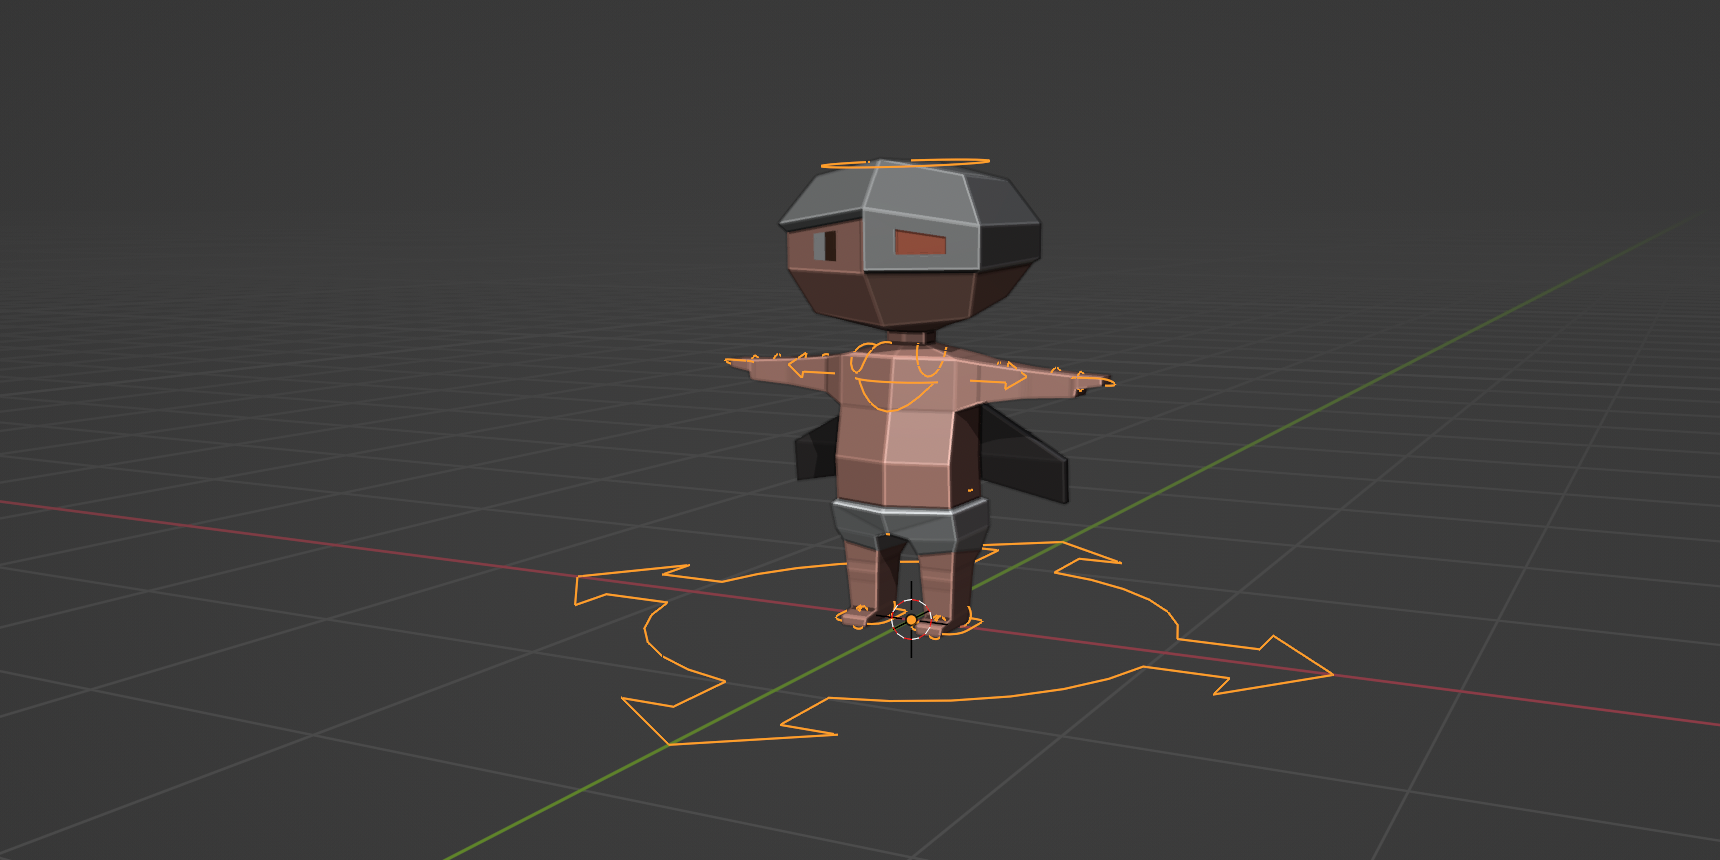
To connect the Character with the Rig first select the new rig and then the character. Then Press Control + P and choose the option with Automatic Weights. If you switch now to the Post Mode you can select the rig with G and R and the character should move!
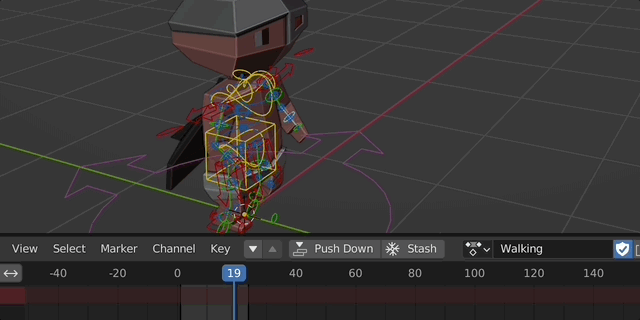
Step 4 - Make the character walk by using keyframes
Now switch to the Animation tab in Blender, select the first keyframe and move the feed, arms and body in the start position. Go to another keyframe, e.g. 5 and make further changes. You will see that with time an animation is build.
Animation in Blender is a big topic and it is difficult to explain it in detail in one post but I hope that it was at least a bit helpful.
Stay tuned for the next post where I will switch to Unity to create a simple scene.
where have you been?
glad to see you posting again.
Hi Felix, ja habe eine lange Pause genommen aber bin wieder da. Vielen Dank!