The Problem
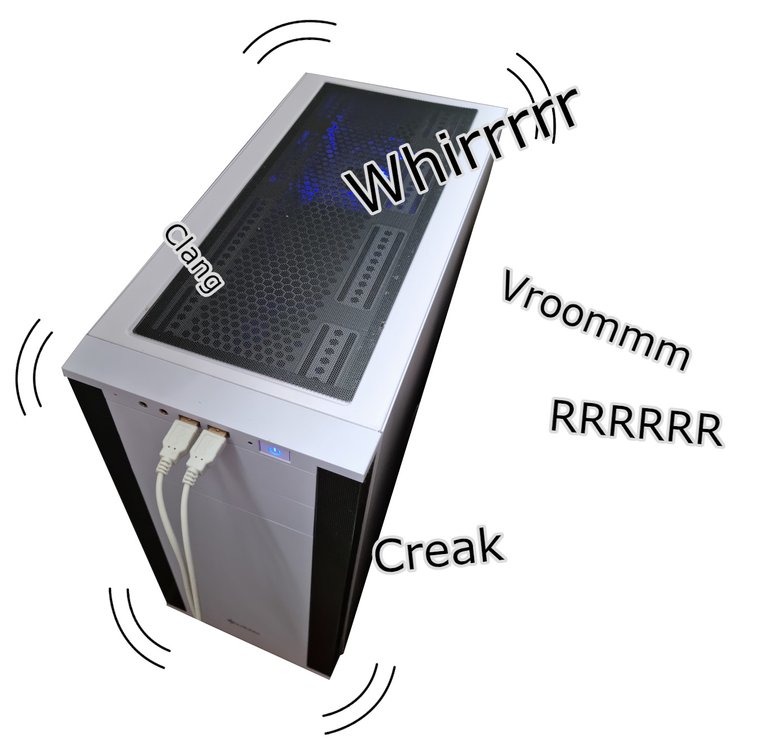
In the last few days my PC simply started to make a very, very loud intermittent noise. Unfortunately I haven't recorded the noise for you, but I would describe it as a mix of a trembling and creaking sound. The computer has never made this noise before and it was bizarre and loud enough to make it clear that something was wrong.
The Guilty
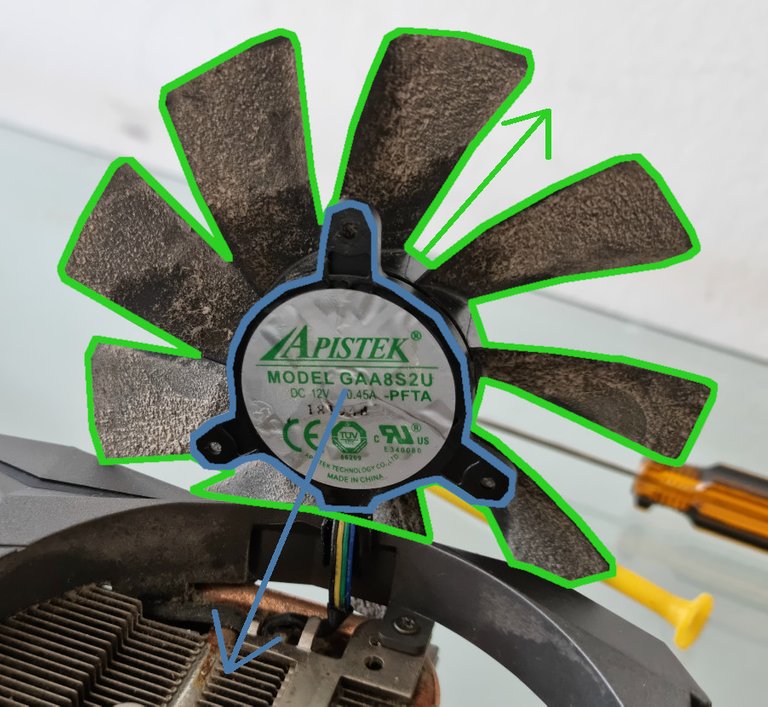
After looking all the fans in my computer for a while, I noticed that one of my GPU fans changed it's speed in perfect synchronism with the intermittent noises. It could not be a mere coincidence and I declared it Guilty...
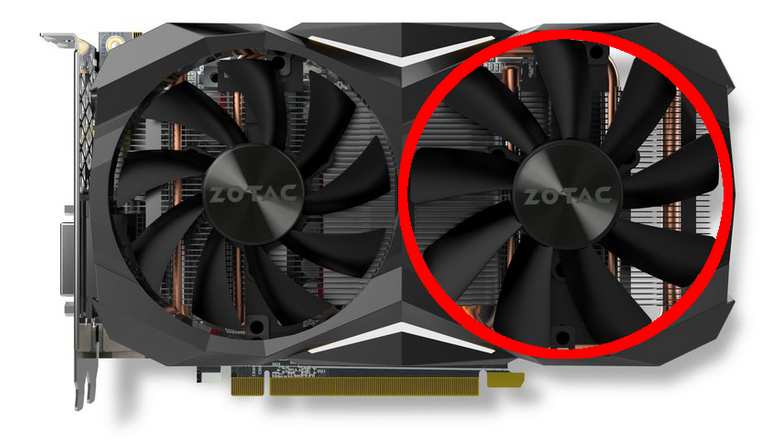
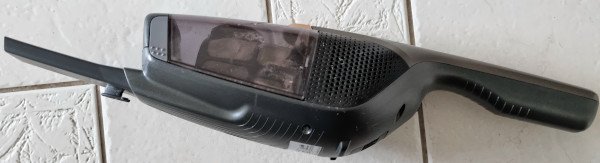
The affected GPU is a Geforce GTX 1070 Ti Mini. It has two slightly different fans and "The Guilty one" was the larger one.
The Cause
Disclaimer - Static Electricity is a real issue. Avoid touching any exposed terminals of your GPU or of any other component of your PC. Yes, I know, you might have touched them 999 times without any harm, but if there is even 0,1 % of chance of permanently damaging anything why give Murphy a chance?
Before taking any further steps, the GPU was removed from the PC (removing and reinstalling the GPU will not be discussed in details in this post). I tried to spin the affected fan with my finger. It spined a little bit and stopped. Repeating the same test with the other fan of the GPU showed a very different behavior: the fan spined softly and for much longer. This only confirms my suspicions about the faulty fan.
After a little research I found that the poor fan was actually just trying to do it's job. The true Guilty One was the dust.
As you probably know, all those fans in your beautiful computer are designed to keep it from overheating and getting damaged. Unfortunately, with all the air required to keep things cold comes the dust. And the dust goes everywhere, including not only the fan blades but also the inner parts of the fans. These internal parts are lubricated to allow the fans to spin efficiently with minimum friction. However, when too much dust mixes with the lubricant, it becomes a paste that can slow down the fan and even unbalance it. Over time even adding more lubricant to this paste can't recover it's original lubricant capabilities. Actually, the paste starts doing the opposite, harming the fan operation.
The Solution
At this point, there is a single hope for the fan. It must be completely cleaned, both outside and inside.
Useful Materials
The following materials where used in the cleaning process.
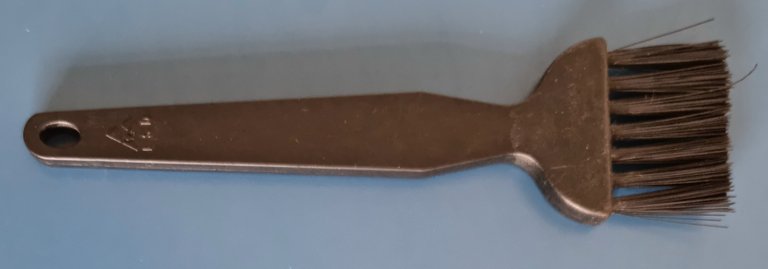
1 - Antistatic Brush
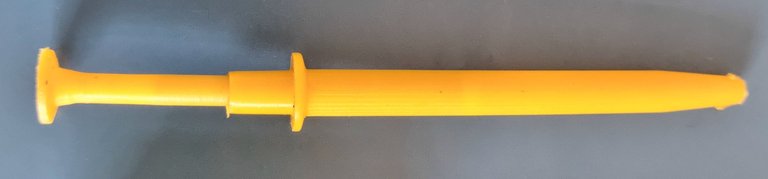
2 - Tweezers
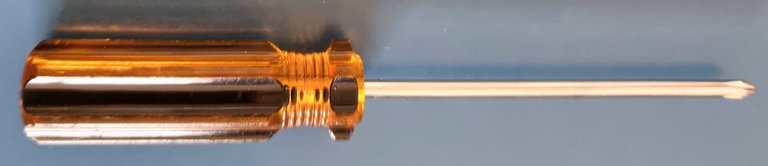
3 - Phillips screwdriver
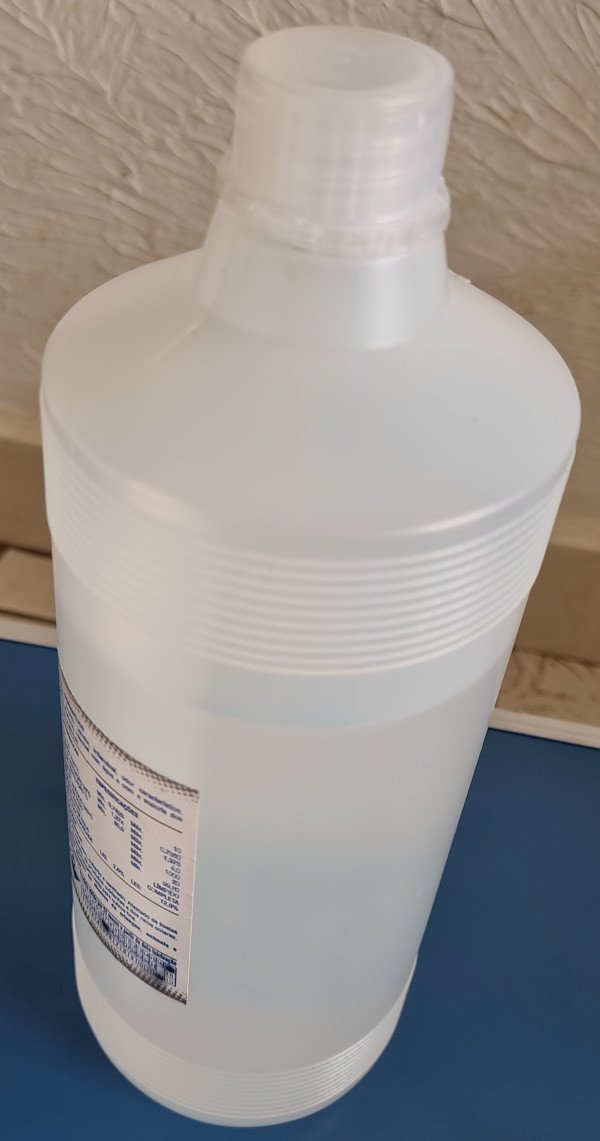
4 - Isopropyl alcohol
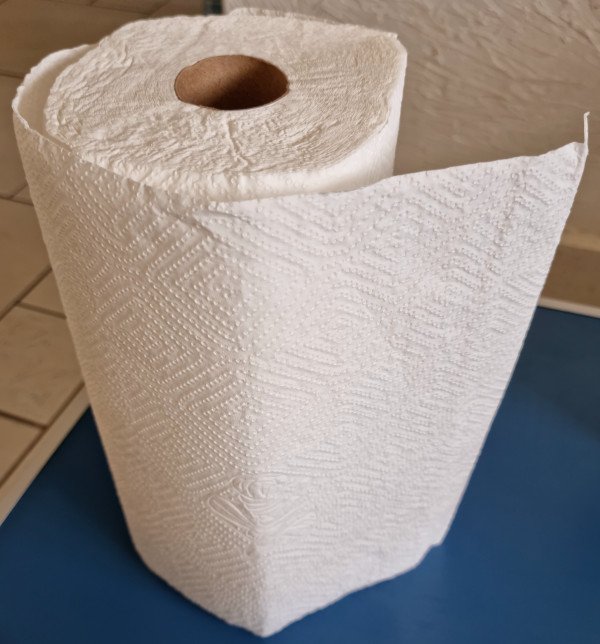
5 - Paper towel
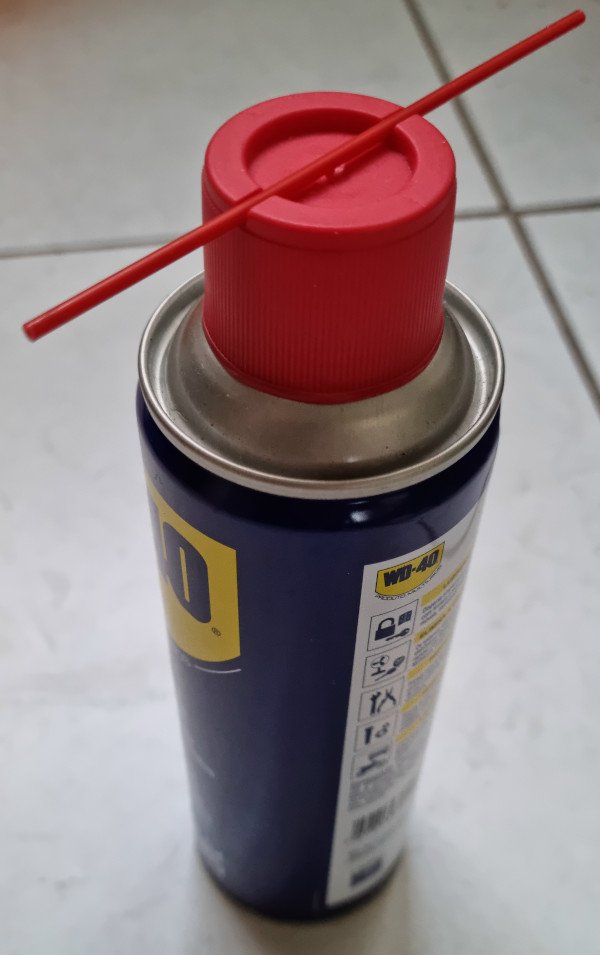
6 - lubricant
7 - Vacuum Cleaner
Disassembling the fan
Disclaimer - The described steps apply to the model of the GPU shown in this post (Geforce GTX 1070 Ti Mini). Similar steps may or may not work for your specific model, proceed with caution.
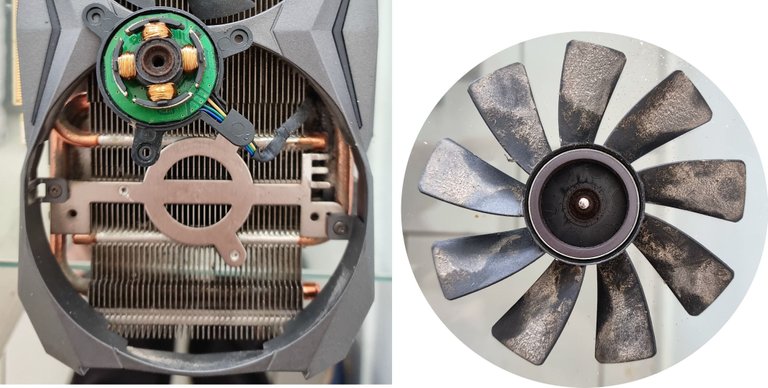
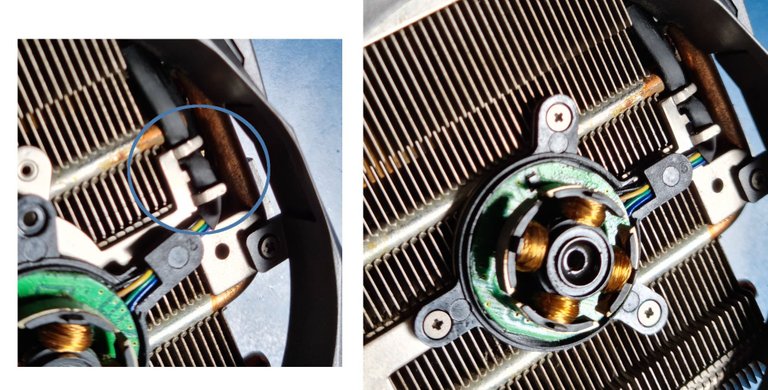
The first step is identify how the fan is fixed to the board. As you can see below, there are 3 separated structures in the board related to the cooling system.
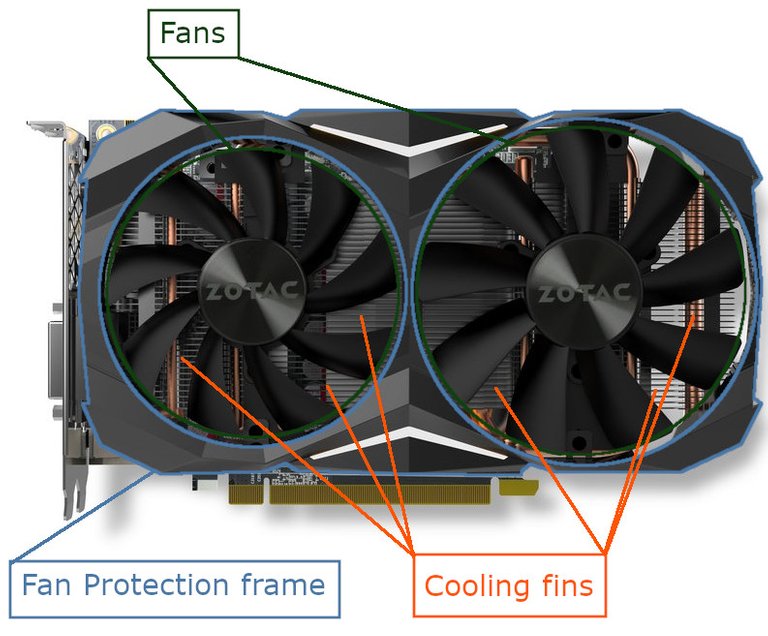
Before disassembling anything, the excessive dust from the fan blades and the cooling fins was removed using the antistatic brush and the vacuum cleaner.
Keep in mind that there is no need to disturb the fan protection frame nor the cooling fans. Only the affected fan should be removed. In order to do that, identify the 3 fixing screws beneath the fan blades.
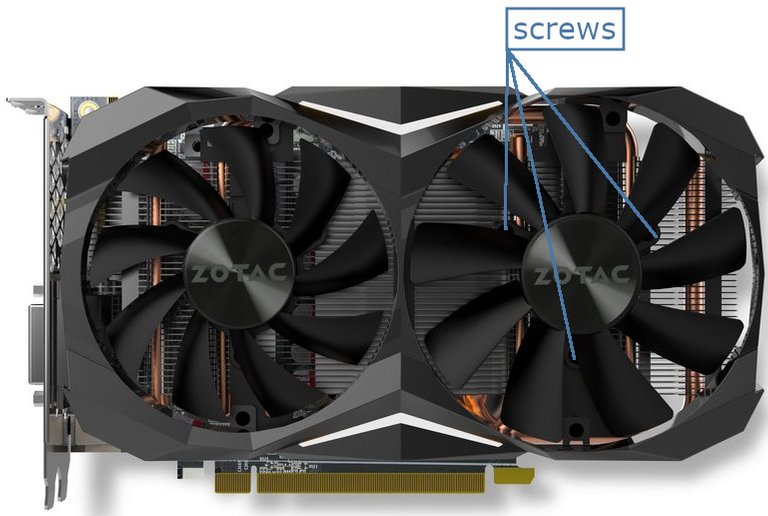
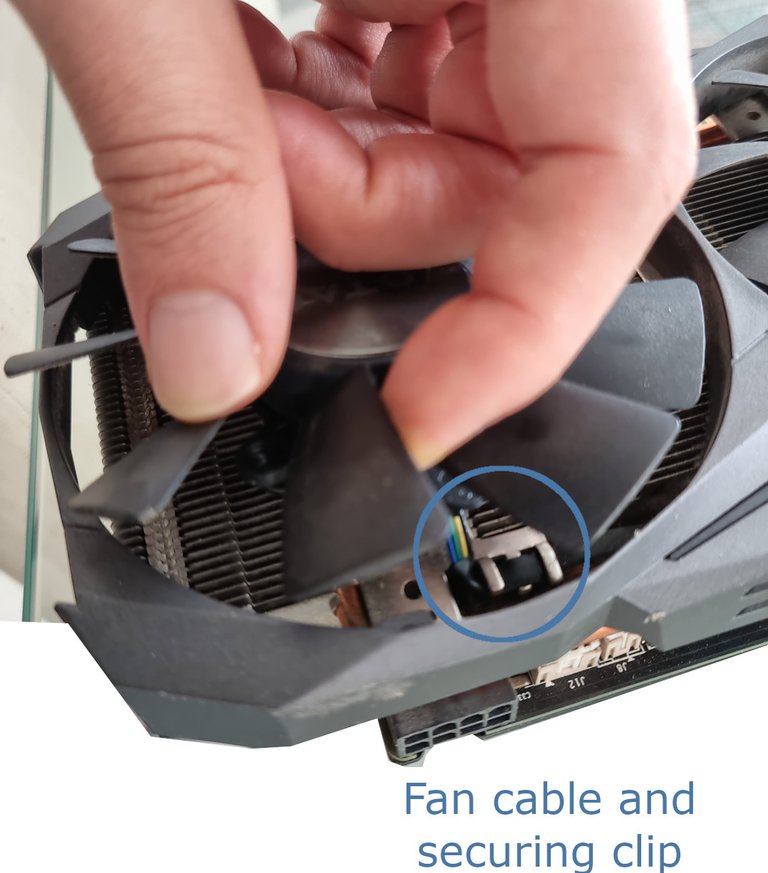
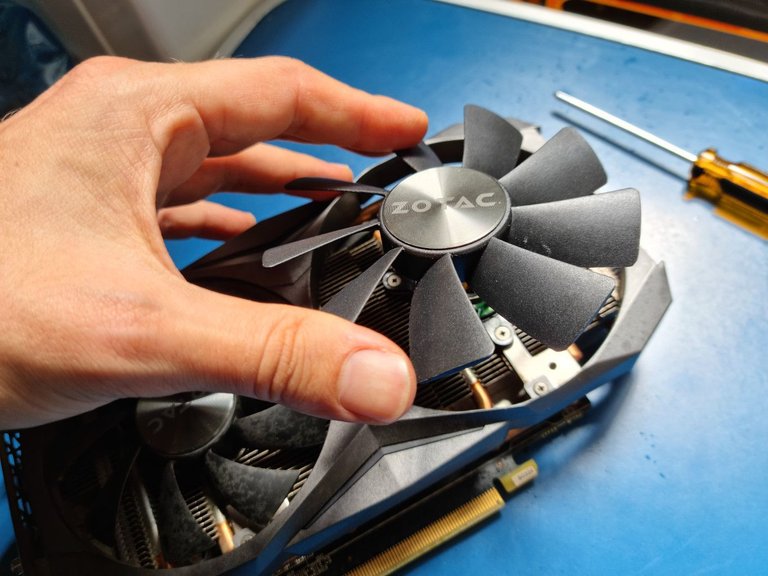
Just unscrew them and the fan will be almost free to be lifted from the board. The connection cable will probably be very tight and prevent you from handling the fan freely. It must be unhooked from the securing clips before you can move the fan out of place.
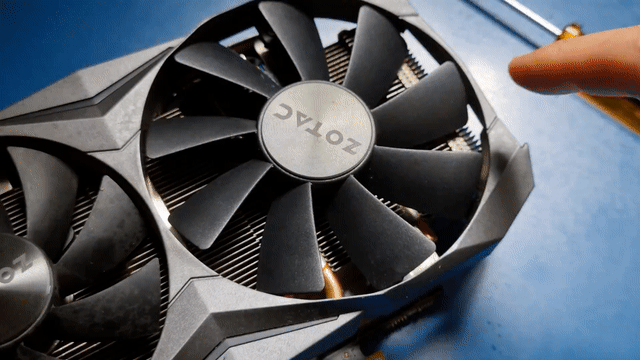
The next step is opening the fan. This is a little tricky because the fan is just snap-fitted. There is no need to remove any of the stickers from the fan. You must force the base away from the blade-holding part. In my specific case, when I thought "this is going to break and I will need to buy a new fan" I was almost using enough force to open the fan. Be aware that fan blades are not indestructible, so distribute your force properly to avoid breaking one of them.
The Cleaning
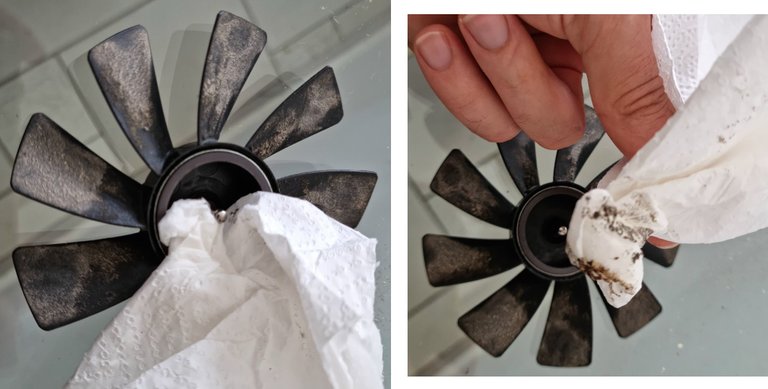
You will now have two separate parts and a lot of dust paste inside them.
See that brown granulated stuff in both sides of the fan? This should be removed. Use paper towel soaked in isopropyl alcohol to completely clean both sides of the fan. Be advised that cloth towels will most probably leave lint in the fan, so good quality paper towel is the best choice for this. You can also remove the dust from the blades. You will need to run the paper inside both parts of the fan several times in order to remove all this paste.
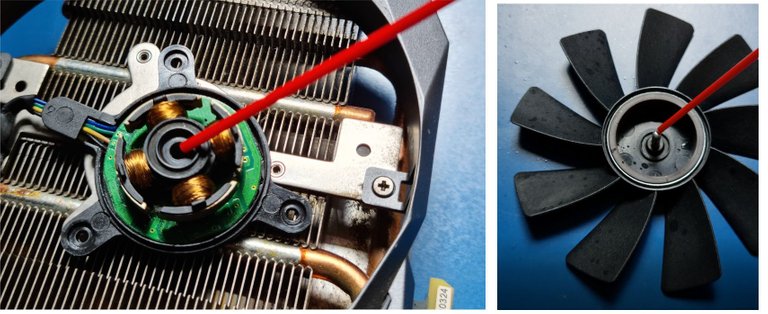
After cleaning, it is also necessary to re-lubricate the internal parts of the fan. Just spray a little lubricant inside the fan base and a drop of it on the pin inside the blade holder part.
Reassembling the fan
After everything is clean and shiny, it is time to put things back in their places. First screw the base back again in the metal frame of the board. It will be easier to reassemble everything if you do this before putting both parts of the fan together again. Remember to attach the power cord of the fan back to the securing clips, if the power cord is loose it might be hit by the fan blades.
You must now snap the top side of the fan back into place. There is no secret, just align the parts and press them together.
Just test if the fan is spinning smoothly, put the GPU back in the slot and turn on the PC. If everything went as expected, you should now have a very quiet PC.
Great DIY lifehack you've got there @digokf! We have an ongoing contest for Home Improvement articles like this, lots of $hives, $buidl, and NFTs to be won. Check out the contest for details HERE
Great post! I should clean mine too after see the amount of dust on the fan
Yeah, the kind of DIY that I like! Very instructive and detailed.
Congratulations @digokf! You have completed the following achievement on the Hive blockchain and have been rewarded with new badge(s):
Your next target is to reach 50 upvotes.
You can view your badges on your board and compare yourself to others in the Ranking
If you no longer want to receive notifications, reply to this comment with the word
STOPCheck out the last post from @hivebuzz:
Support the HiveBuzz project. Vote for our proposal!