Ingredientes
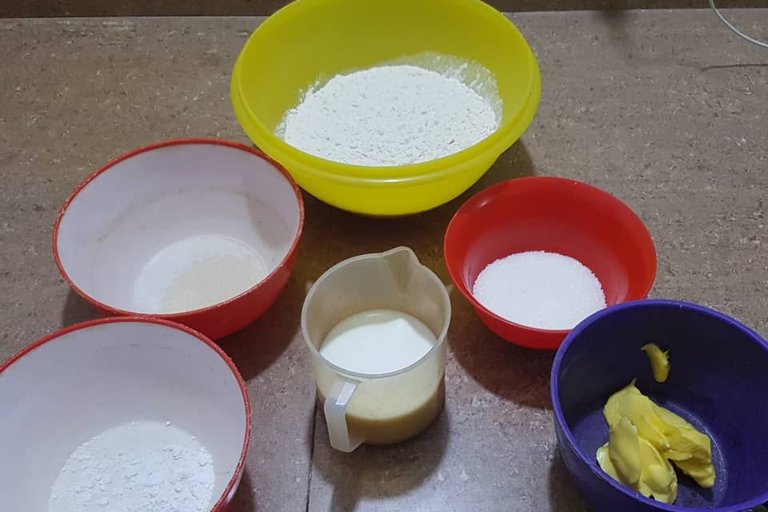
• 450 gr de harina todo uso
• 200 ml de leche tibia
• 65 gr de mantequilla
• 90 gr de azúcar blanca
• 5 gr de levadura seca
• 1 huevo
• 4 gr de sal
Para la cubierta
• 1 huevo
• azúcar
• mantequilla
Ingredients
- 450 gr all-purpose flour
- 200 ml warm milk
- 65 gr butter
- 90 gr white sugar
- 5 gr dry yeast
- 1 egg
- 4 gr salt
For the topping
- 1 egg
- sugar
- butter
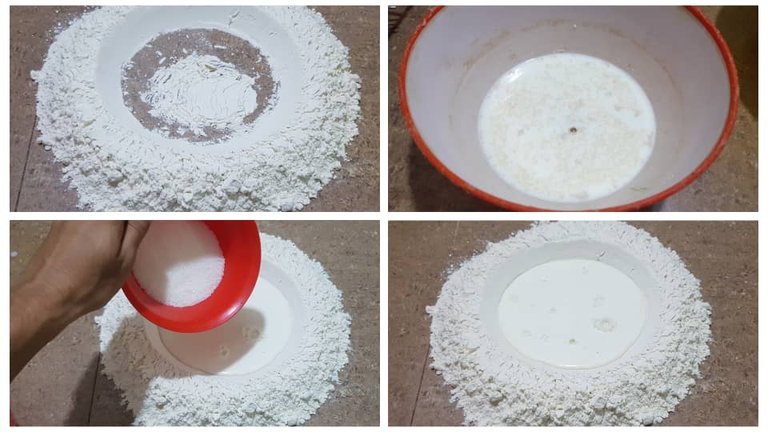
1er paso
Bueno lo primero es tomar la levadura, parte de la azúcar y la leche, mezclar para que se active la levadura. Eso lo dejamos reposar miéntras que hechamos nuestra harina en un mezon o tazón para luego proceder a hacer una especie de volcán dónde vamos a comenzar a agregar la leche con la levadura, la azúcar, la sal por la parte externa de la harina y un huevo.
1st step.
Well the first thing is to take the yeast, part of the sugar and milk, mix to activate the yeast. That we let it rest while we do our flour in a mezon or bowl and then proceed to make a kind of volcano where we will begin to add the milk with yeast, sugar, salt on the outside of the flour and an egg.
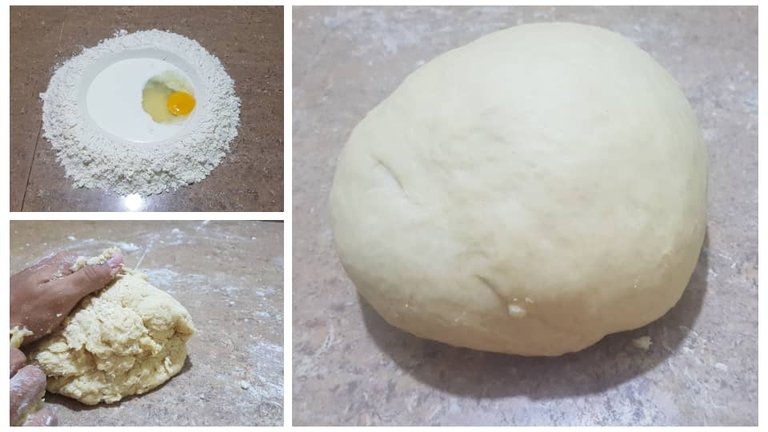
2do paso
Eso lo comenzamos a mezclar, incorporando la harina a los líquidos siempre comenzamos de adentro pues si se rompe el volcán el líquido se escapa y luego haríamos un desastre 😅, casi me pasa eso.
Debemos integrar una cuendo tenga una buena consistencia y este todo mezclado procedemos a amasar durante 5 minutos. Hasta que la masa se torne tersa y brillante.
2nd step.
That we begin to mix, incorporating the flour to the liquids always start from the inside because if the volcano breaks the liquid escapes and then we would make a mess 😅, almost happened to me that.
We must integrate a when it has a good consistency and is all mixed proceed to knead for 5 minutes. Until the dough becomes smooth and shiny.
3er paso
Este paso es donde solo los valientes llegan, tenemos que integrar a nuestra masa la mantequilla. Cosa que no es nada fácil de hacer por qué nos cambia completamente la textura y consistencia de la misma.
Bueno para empezar a integrar la mantequilla podemos estirar la masa en forma rectangular, ayudandonoa de un rodillo para darle la forma para luego ir agregando poco a poco la mantequilla.
No debemos agregarla toda pues se nos haría muy difícil, podemos hacer en tres partes para que la masa no se torne demasiado aguada y este mucho tiempo amasandola. Sabremos que la mantequilla se íntegro debidamente cuando la masa vuelva a tornarse brillante y suave.
3rd step
This step is where only the brave get to, we have to integrate the butter to our dough. Something that is not easy to do because it completely changes the texture and consistency of the dough.
Well, to start integrating the butter we can stretch the dough in a rectangular shape, using a rolling pin to give it the shape and then add the butter little by little.
We should not add it all because it would be very difficult, we can do it in three parts so that the dough does not become too watery and too much time kneading it. We will know that the butter is properly integrated when the dough becomes shiny and smooth again.
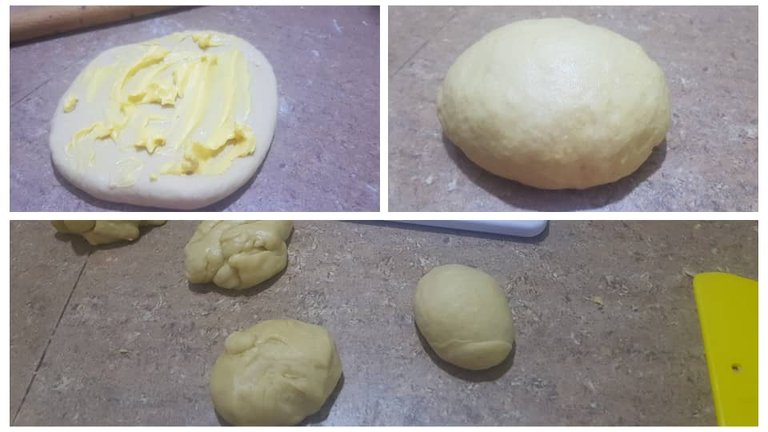
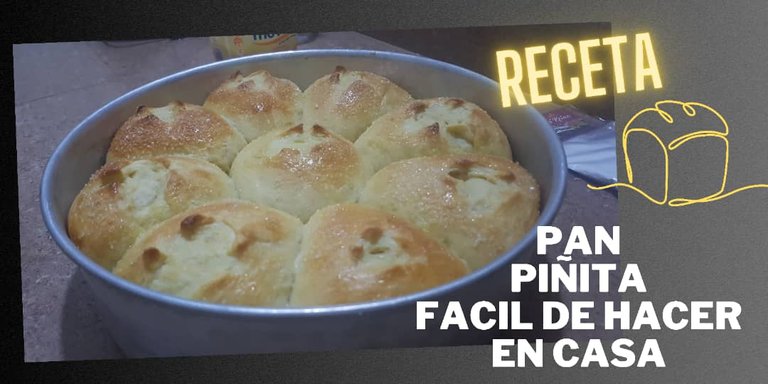
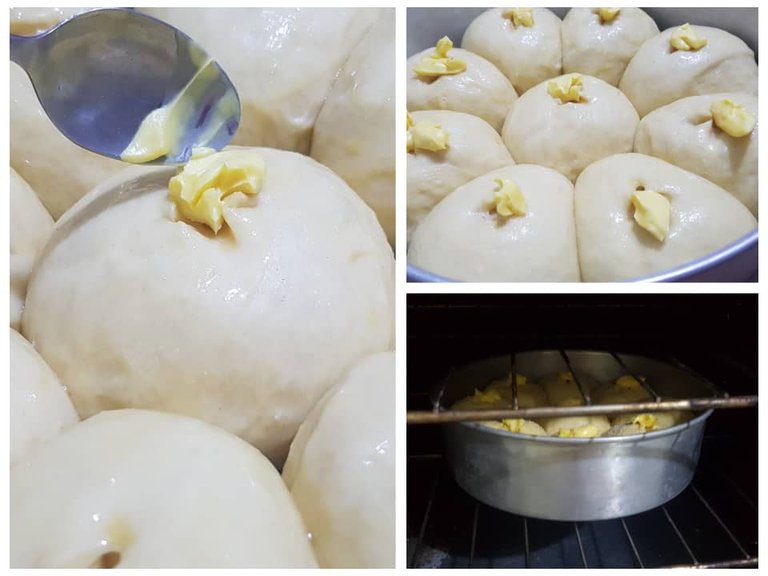
4to paso
Este paso es el más satisfactorio pues ahora dividimos la masa en tantas partes queramos, en mi caso quise hacer 9 panes para que fueron grandesitos los bolle y los acomode en un molde de torta para que tomaran altura. Pues ahora los vamos a dejar levando durante 1 hora, tiempo en el cual deberán duplicar su tamaño inicial.
Unos 30 minutos después de comenzar su levado encendemos nuestro horno a 160° para que esté se vaya calentando.
Luego de la hora de levado deben de quedar de esta forma en el molde.
4th step
This step is the most satisfactory because now we divide the dough into as many parts as we want, in my case I wanted to make 9 loaves so they were big and I put them in a cake pan to take height. Now we are going to let them rise for 1 hour, time in which they should double their initial size.
About 30 minutes after starting to rise, we turn on our oven at 160° to heat it up.
After the hour of rising they should look like this in the mold.

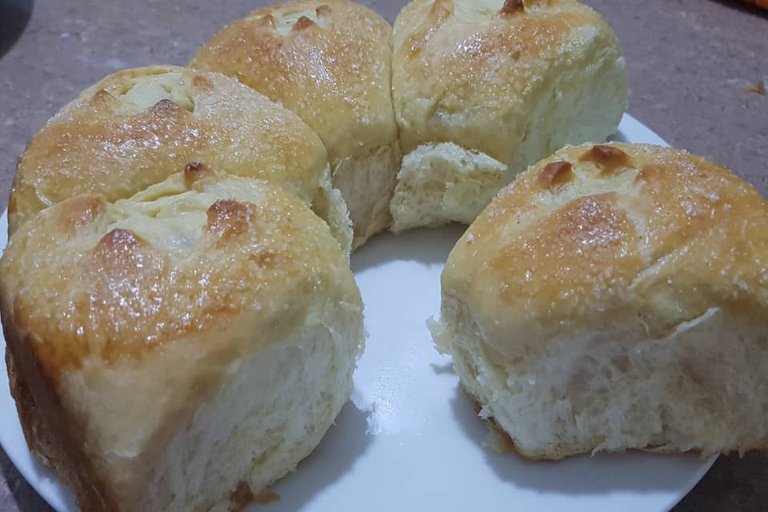
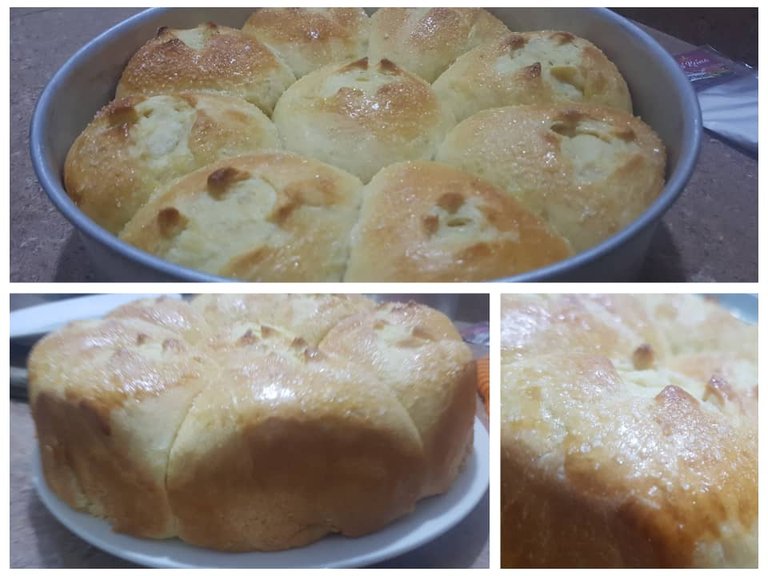
5to paso
Ahora solo nos queda el darle un toque de presentación a este pan haciendo un pequeño corte en forma de cruz en el centro y luego esparciendo un huevo con una pizca de sal por la parte superior de los panes y rociamos azúcar al gusto por encima, para luego terminarlos con un poco de mantequilla 🧈 . Luego metemos al horno por unos 20 minutos y tendremos nuestros panes dulce piñita completamente hechos y listos para comer
5th step.
Now we just have to give a touch of presentation to this bread by making a small cross-shaped cut in the center and then spreading an egg with a pinch of salt on top of the bread and sprinkle sugar to taste on top, and then finish them with a little butter 🧈 . Then we put them in the oven for about 20 minutes and we will have our sweet pineapple breads completely done and ready to eat.
Hola. amigo se ven deliciosos esos panes gracias por compartir voy a poner en practica esta receta...
❤️🫂
This looks easy to make. Was the inside part soft? normally this type of bread have soft inner layer and slightly crunch on the outside.
If this one is a little crunchy on the outside but quite moist on the inside, it's actually quite simple.