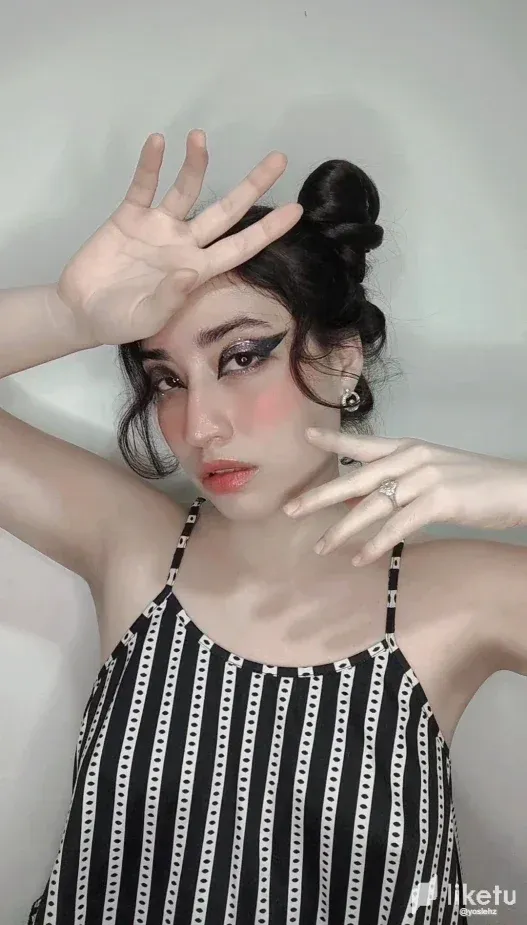
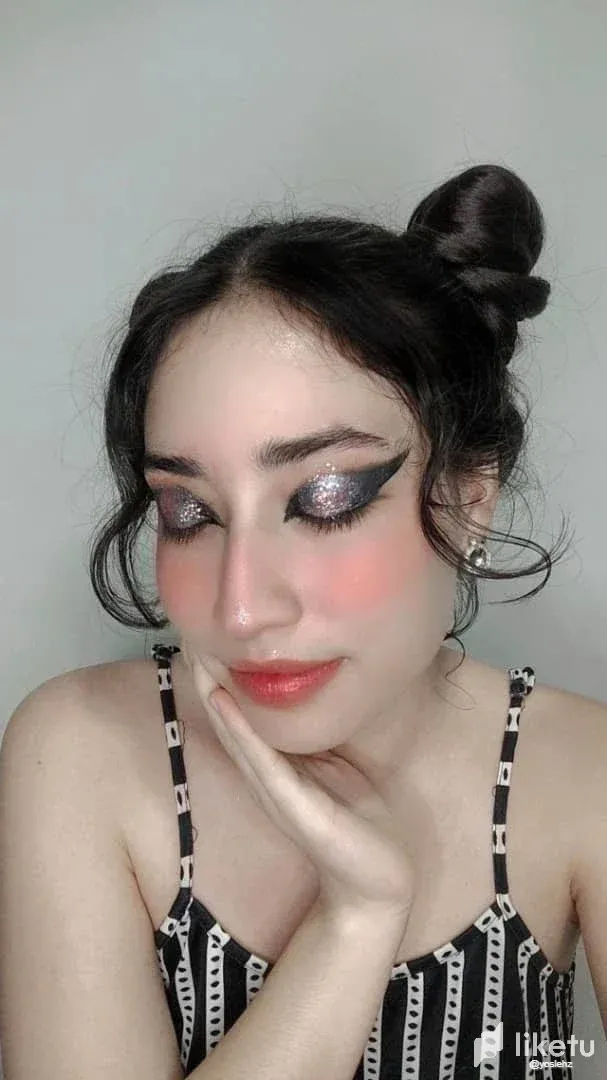
Hola a todos, buenos días hivers ♥. Me he dedicado a explorar colores este último mes y les quiero mostrar una vez más otro de mis maquillajes. Diría que se ha sumado a mi repertorio de favoritos, resulta algo llamativo y sería para ocasiones especiales de noche. Sin más les cuento como fue mi proceso creativo.
Hello everyone, good morning hivers ♥. I’ve been exploring colors this past month and I want to show you once again another one of my makeup looks. I would say that it has joined my repertoire of favorites, it is something striking and would be for special occasions at night. Without further ado, I’ll tell you how my creative process went.
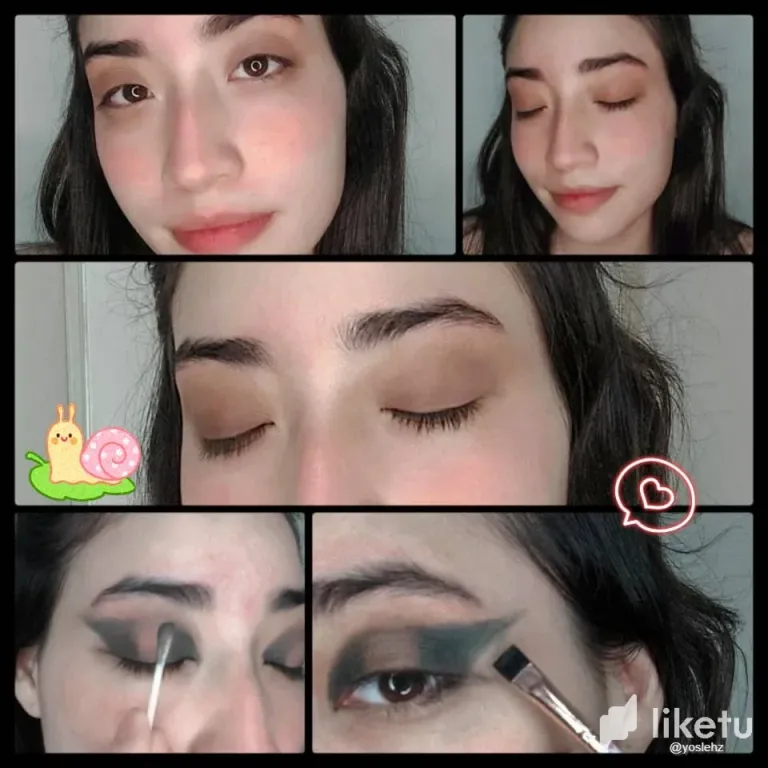
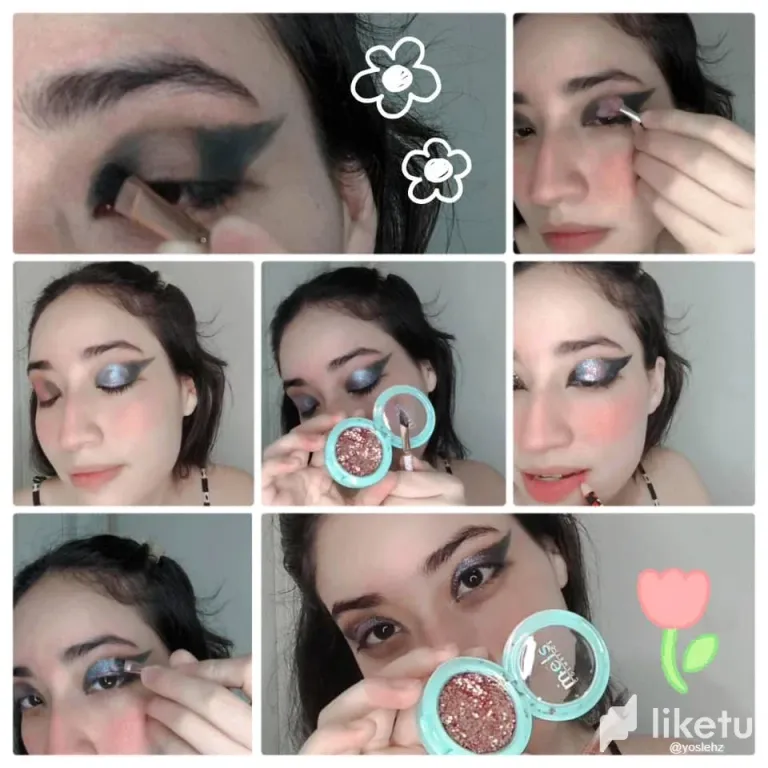
Paso 1: se debe preparar la piel hidratándola, puedes contar con un sérum de vitamina o alguna crema. Una vez hecho esto no es necesario aplicar primer. Además de la limpieza, es el único paso de preparación que realizo al no poderme aplicar base o corrector.
Step 1: prepare the skin by moisturizing it, you can count on a vitamin serum or some cream. Once this is done, it is not necessary to apply primer. Besides cleansing, this is the only preparation step I do when I can’t apply foundation or concealer.
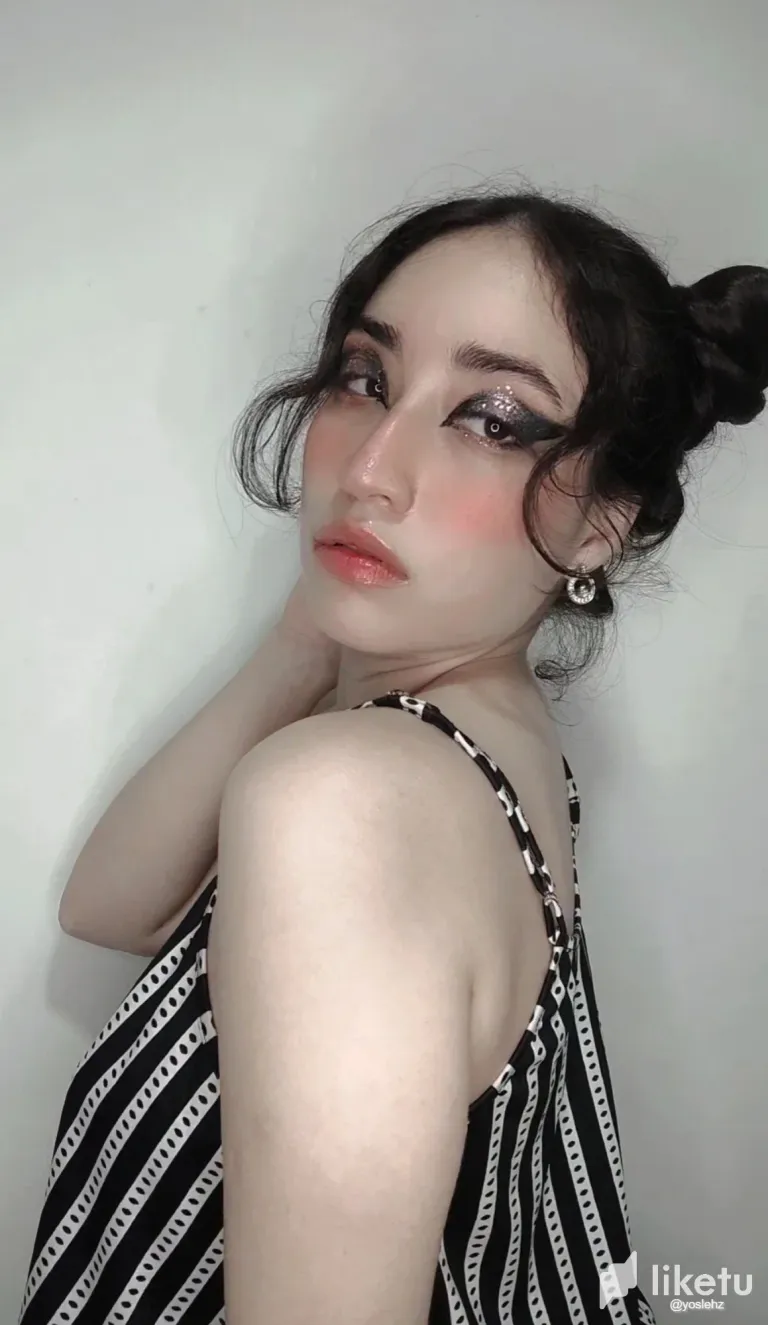
Paso 2: comenzamos creando una estructura base para el color, con el fin de que el contraste con las sombras más oscuras no sea abrupto y sirva de fondo para realzar el resto, también darle profundidad e iluminar la cuenca del párpado aplicando con una brocha redonda diferentes tonos de marrón, degradando los más naturales en los bordes y colocando los más oscuros cerca de las pestañas.
Step 2: we start by creating a base structure for the color, so that the contrast with the darker shadows is not abrupt and serves as a background to enhance the rest, also to give depth and illuminate the eyelid socket by applying with a round brush different shades of brown, degrading the most natural at the edges and placing the darkest near the lashes.
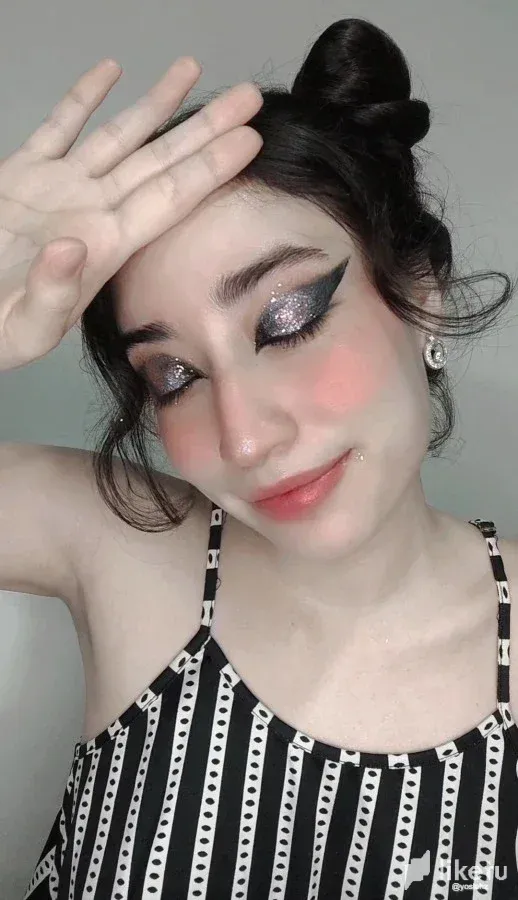
Paso3: con la ayuda de una brocha recta, humedecida con fijador, marcamos un delineado negro brillante, desde el lagrimal hacia el final del ojo dejando en medio un espacio, cubrimos arriba hasta donde nos parezca que luzcamos bien o nos sintamos cómodos.
Step 3: with the help of a straight brush, moistened with fixative, we mark a shiny black eyeliner, from the tear trough to the end of the eye leaving a space in the middle, we cover up to where we think we look good or we feel comfortable.
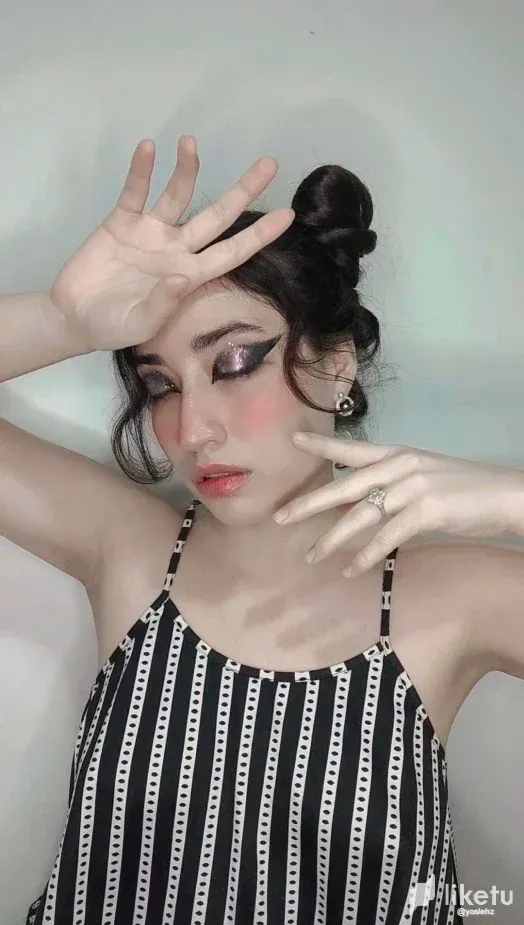
Paso 4: con una buena cantidad de sombra cubrimos el medio del párpado, lo ideal es que sirva de base para el glitter, y dependiendo del color que escojan puede cambiar ligeramente la percepción del color del glitter, en mi caso escogí sombra morada.
Step 4: with a good amount of shadow we cover the middle of the eyelid, the ideal is that it serves as a base for the glitter, and depending on the color you choose can slightly change the perception of the color of the glitter, in my case I chose purple shadow.
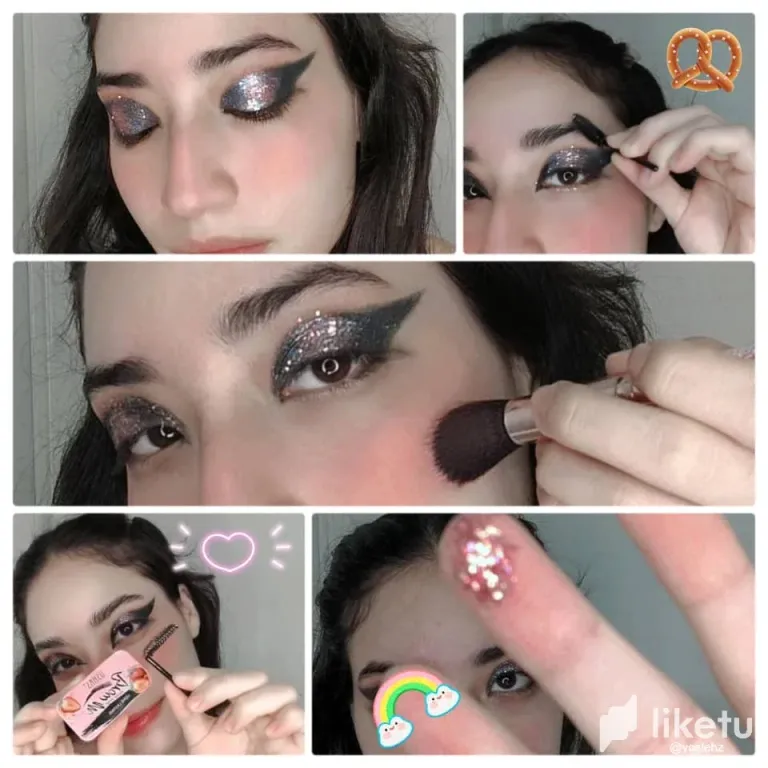
Paso 5: me coloqué el glitter con los dedos, porque no era líquido, parece más bien escarcha pegostosa o al menos lo suficiente adherirse a la sombra. Tiene un tono parecido al bronce, con destellos de varios colores, puedo percibir rosa e incluso algo de verde con morado, es bastante extraño a mi parecer. 🪄
Step 5: I applied the glitter with my fingers, because it wasn’t liquid, it looks more like sticky frost or at least enough to adhere to the shadow. It has a bronze-like tone, with glitters of various colors, I can perceive pink and even some green with purple, it’s quite strange to me.🪄
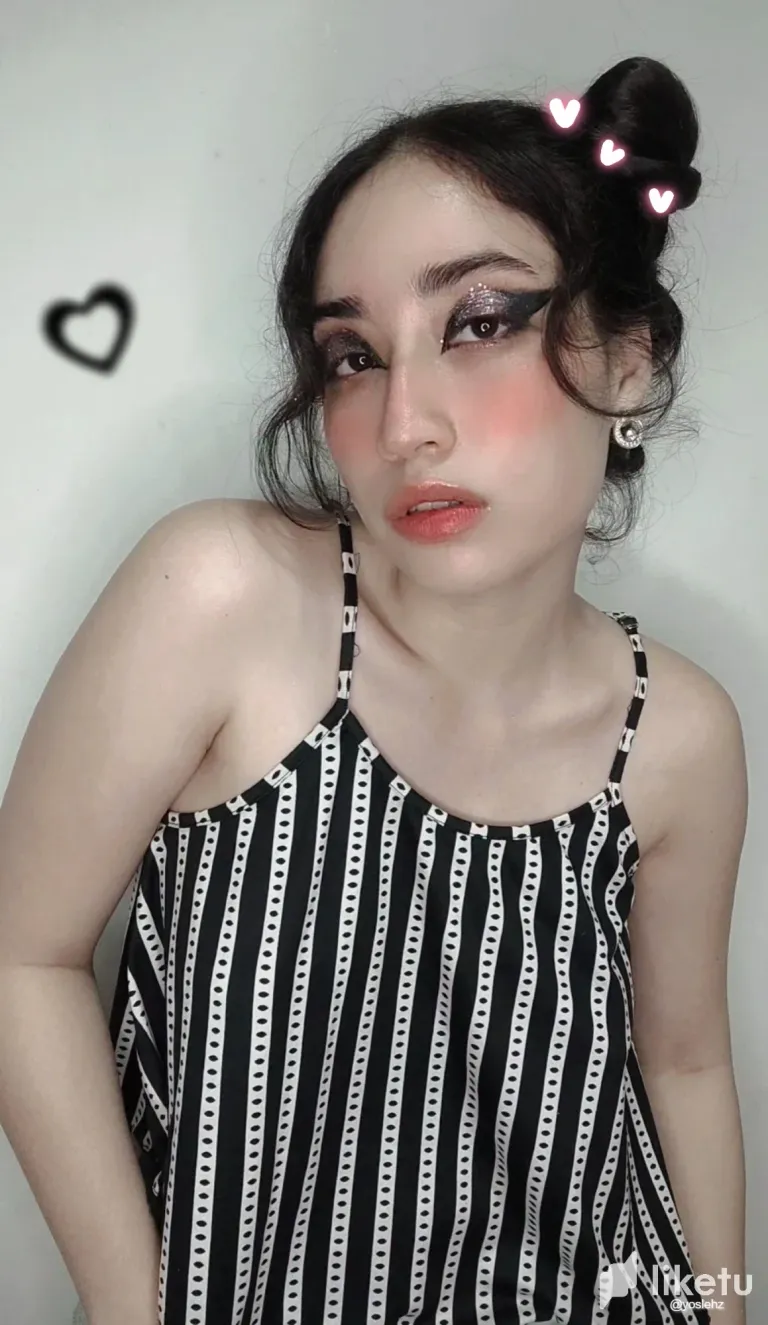
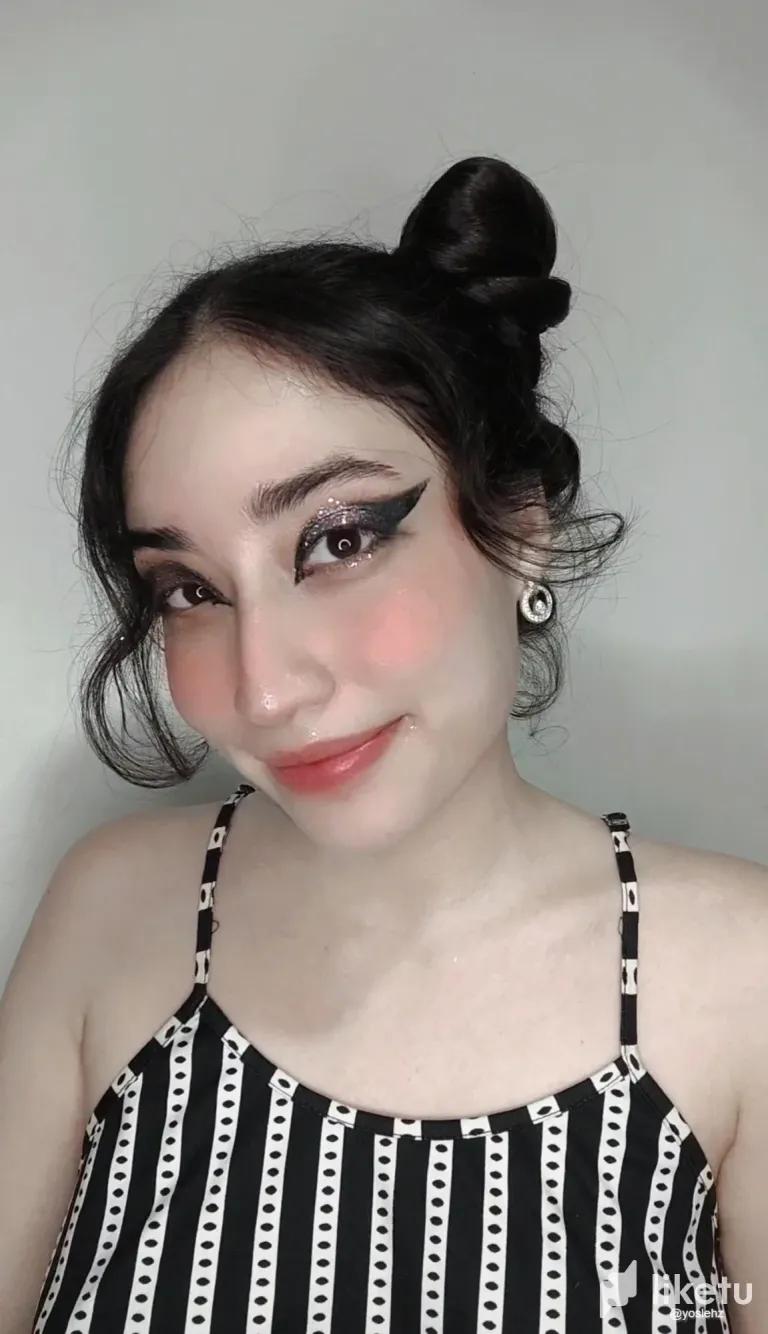
Paso 6: finalicé con un laminado de cejas, en la fotografía adjunta muestro el cepillo y el producto que usé, para poder hacerlo debe colocarse fijador de maquillaje en spray, aunque creo que hay personas que le colocan agua. Luego un poco de rubor en los pómulos y brillo labial rosado.
Step 6: I finished with an eyebrow lamination, in the attached picture I show the brush and the product I used, in order to do it you must use a makeup fixative spray, although I think there are people who use water. Then a little blush on the cheekbones and pink lip gloss.
Photographs: Poco x3🦋
Edit: Lightroom, Snow 🦋
Traductor: Deepl Translate🦋
Muchísimas gracias por leer y pasarte por mi blog ♥
Thank you so much for reading and visiting my blog ♥
For the best experience view this post on Liketu
No sé nada de maquillaje pero creo que te ha quedado genial y te luce estupendo.
Muchas gracias 😄 me esforcé mucho
Wao!! Que bien te quedan esos maquillajes!!!!
Gracias 😁
Wooo increíble tu dedicación para hacer lo que te apasiona, tienes mucho talento, te quedó hermoso!! 😊😊
lolztoken.com
A cartridge in a bare tree.
Credit: reddit
@yoslehz, I sent you an $LOLZ on behalf of hivephoto
(2/10)
ENTER @WIN.HIVE'S DAILY DRAW AND WIN HIVE!