

Very good afternoon to all Geek community, I hope you are well, today I bring you a little unboxing and review of the Fan SickleFlow 120 ARGB from Cooler Master, so without much more to add let's go straight to the Unboxing!
Muy buenas tardes a todos comunidad Geek, espero estén bien, el día de hoy les traigo un pequeño unboxing y review del Fan SickleFlow 120 ARGB de Cooler Master, así que sin mucho mas que agregar vamos directo al Unboxing!
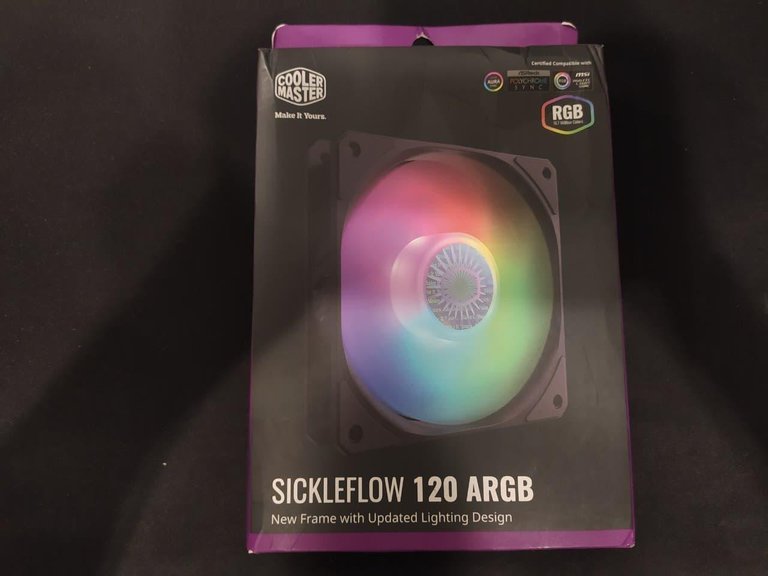
El Fan viene en una caja de cartón gris carbón con acentos en morados característicos de la marca, a primera vista vemos una foto del Fan con el nombre, logo de la marca y que el mismo cuenta con iluminación ARGB certificado para funcionar con tarjetas madre con Software MSI Mistic Light, Polychrome de ASROCK y Aura Sync de ASUS, sin embargo mi tarjeta madre es de la marca Gigabyte (RGB Fusion 2.0) y funcionó igualmente sin problemas.
The fan comes in a charcoal gray cardboard box with purple accents characteristic of the brand, at first glance we see a picture of the fan with the name, brand logo and that it has ARGB lighting certified to work with motherboards with Software **MSI Mistic Light, ASROCK Polychrome and ASUS Aura Sync **, however my motherboard is branded **Gigabyte (RGB Fusion 2.0) ** and worked equally smoothly.
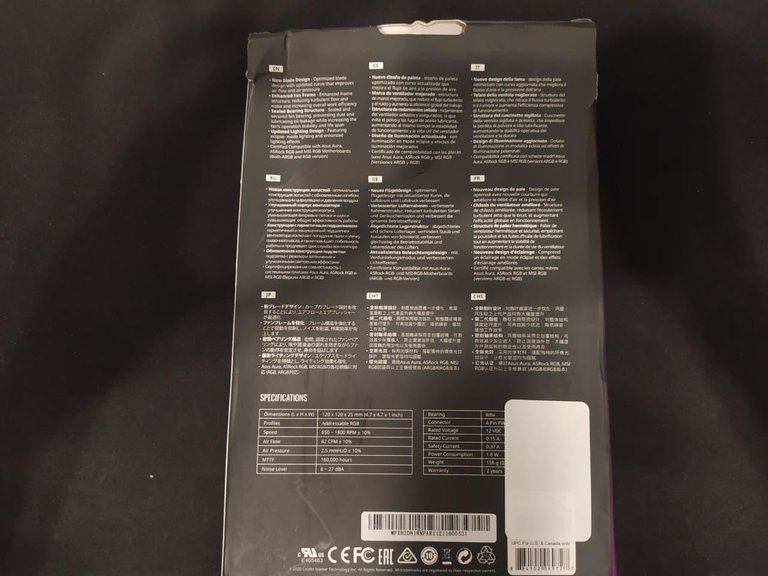
Por la parte de atrás podemos ver algunas características del Fan en diferentes idiomas y las especificaciones del Fan en cuestión, de las cuales destacamos las siguientes: Es un fan de 120mm, cuenta con iluminación ARGB, tiene una velocidad de entre 650rpm a 1800rpm, Presión de Aire de 2.5mmH2O, Air flow de 62CFM, Conector de 4 Pines PWM, Garantía de 2 años, Una esperanza de 160.000 Horas antes de posiblemente presentar fallas, entre otras.
On the back we can see some features of the fan in different languages and the specifications of the fan in question, of which we highlight the following: It is a 120mm fan, has ARGB lighting, has a speed of between 650rpm to 1800rpm, Air Pressure of 2.5mmH2O, Air flow of 62CFM, 4-Pin PWM Connector, 2-Year Warranty, A 160,000 Hours expectancy before possibly presenting failures, among others.
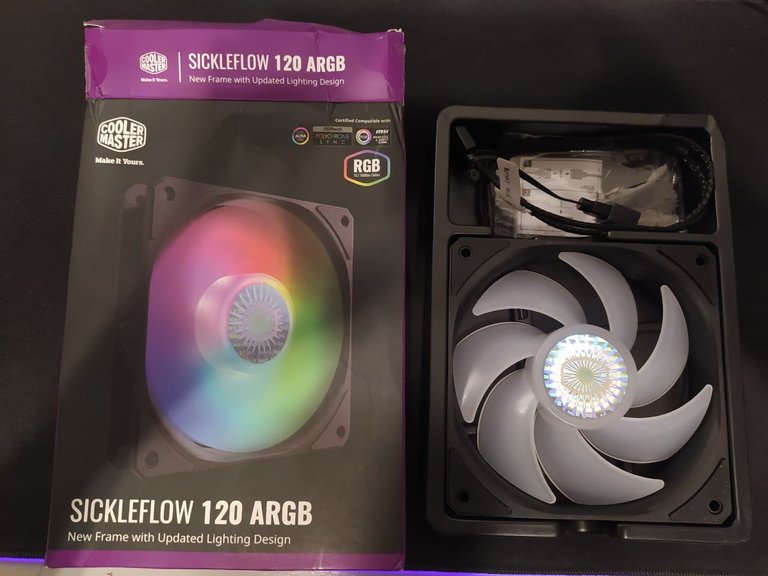
Una vez abrimos la caja nos encontramos con el fan en cuestión, mas una bolsa con tornillos (Que se agradece mucho ya que no tenía tornillos de sobra para montarlo), un sujetador para asegurar que el fan no se desconectará de otro fan o de otro conector ARGB en caso de estar conectados en cadena, unas pequeñas instrucciones y poco mas.
Once we opened the box we found the fan in question, plus a bag with screws (which is much appreciated since I had no screws to mount it), a fastener to ensure that the fan will not disconnect from another fan or another ARGB connector in case of being connected in chain, a small instructions and little else.
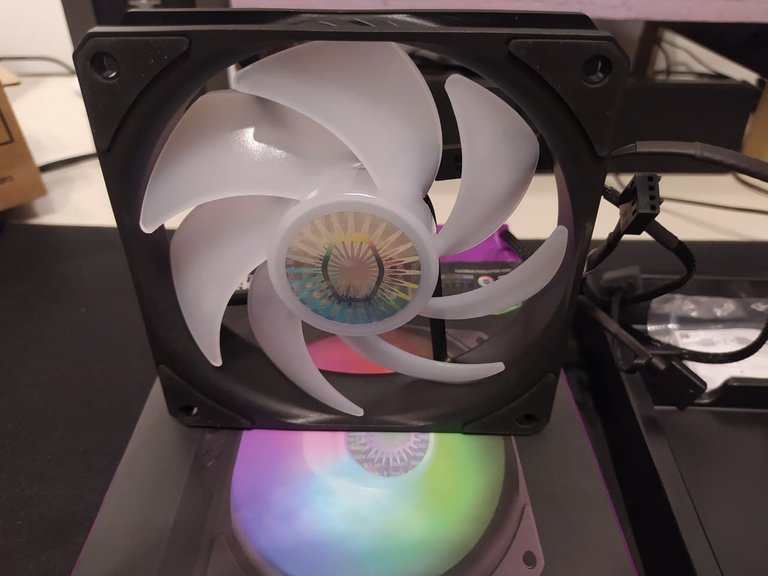
El fan cuenta con 7 aletas semitransparentes para que la luz las ilumine de forma suave y están diseñadas para el flujo de aire.
The fan has 7 semi-transparent fins for soft light illumination and is designed for airflow.

Cuenta con un Conector ARGB de 3 Pines y un Conector PWM de 4 Pines.
It has a 3-pin ARGB connector and a 4-pin PWM connector.
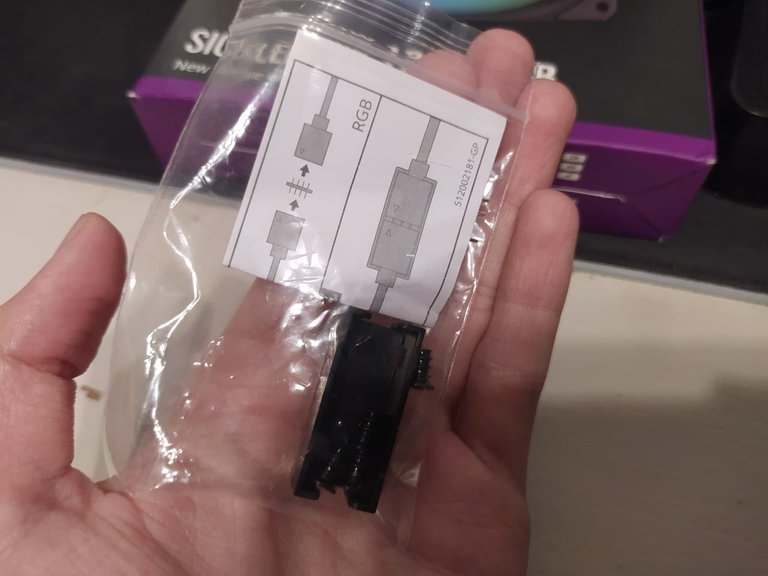
Aquí podemos ver los tornillos, el sujetador de plástico para asegurar las conexiones en cadena, las instrucciones y un adaptador macho-macho para conectar en cadena el conector ARGB de 3 Pines.
Here we can see the screws, the plastic fastener to secure the daisy-chain connections, the instructions and a male-male adapter to daisy-chain the 3-pin ARGB connector.

Aquí una pequeña comparación entre este fan y los que trae mi case, los del case tienes 9 aletas pero llegan a menos velocidad que el SickleFlow ya que estos llegan a unos 1200/1400rpm si mal no recuerdo.
Here is a small comparison between this fan and the ones in my case, the ones in the case have 9 fins but they reach a lower speed than the SickleFlow since they reach 1200/1400rpm if I remember correctly.
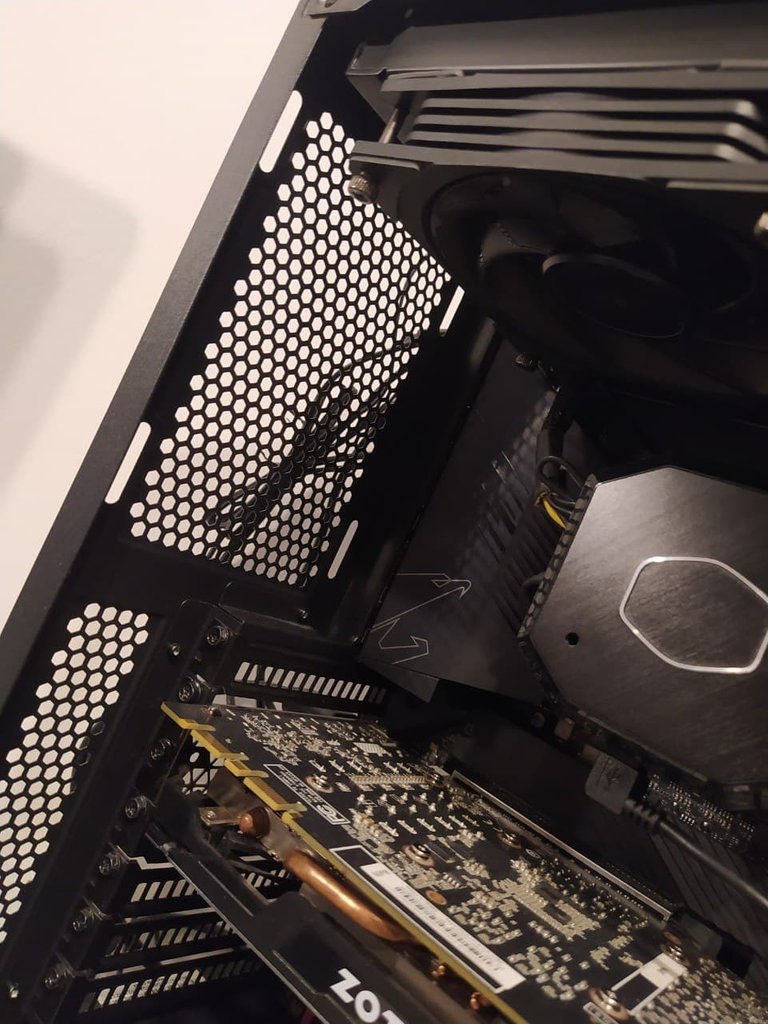
En mi caso lo instalaré en 'Exhaust' o sacando aire en la parte trasera del case, esto para que mejore un poco mas el flujo de aire en mi case ya que tengo 3 fans metiendo aire desde la parte frontal y 3 sacando aire por el radiador arriba, y a pesar de que los tubos del radiador hacen turbulencia y el cabezal de la refrigeración líquida obstaculizan un poco el paso del aire hacia atrás (Además de que agregar un fan atrás teniendo refrigeración líquida no parece óptimo), sin embargo lo agregué con la intención de ayudar a sacar aire caliente del case (Ya que el cabezal de dicha refrigeración puede calentarse bastante) y ayudar al flujo de aire y ver si así mejoraba un poco las temperaturas de las VRM en general ya que justo a un lado del fan está el disipador de aluminio que cubre las VRM de la tarjeta madre.
In my case I will install it in 'Exhaust' or removing air in the rear of the case, this to improve a little more airflow in my case as I have 3 fans putting air from the front and 3 removing air through the radiator above, and although the radiator tubes make turbulence and liquid cooling head hinder the passage of air back a little (Besides adding a fan back having liquid cooling does not seem optimal), however I added it with the intention of helping to remove hot air from the case (Since the head of such cooling can get quite hot) and help the airflow and see if it improved a little VRM temperatures in general as just to one side of the fan is the aluminum heatsink that covers the VRM of the motherboard.
Para instalar dicho fan tuve que quitar dos fans del radiador ya que obstaculizaban mucho los conectores de la tarjeta madre donde iría el conectado.
To install this fan I had to remove two fans from the radiator because they were in the way of the motherboard connectors where the fan would be connected.
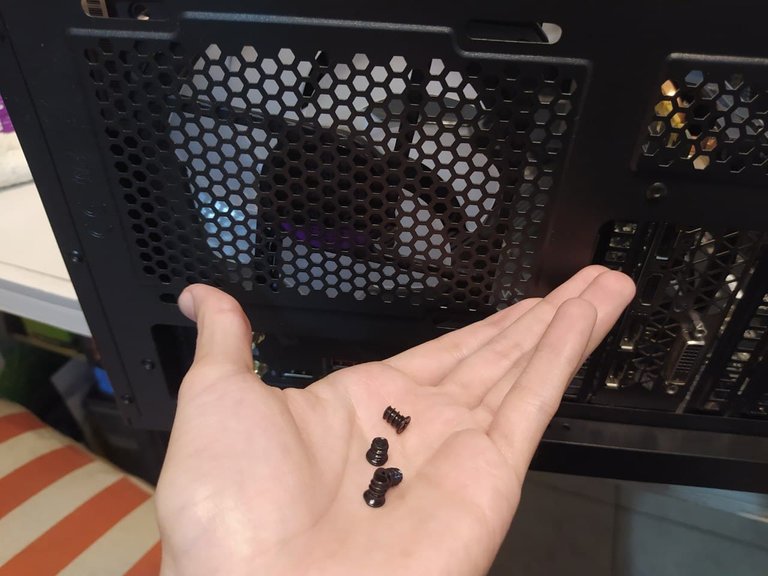
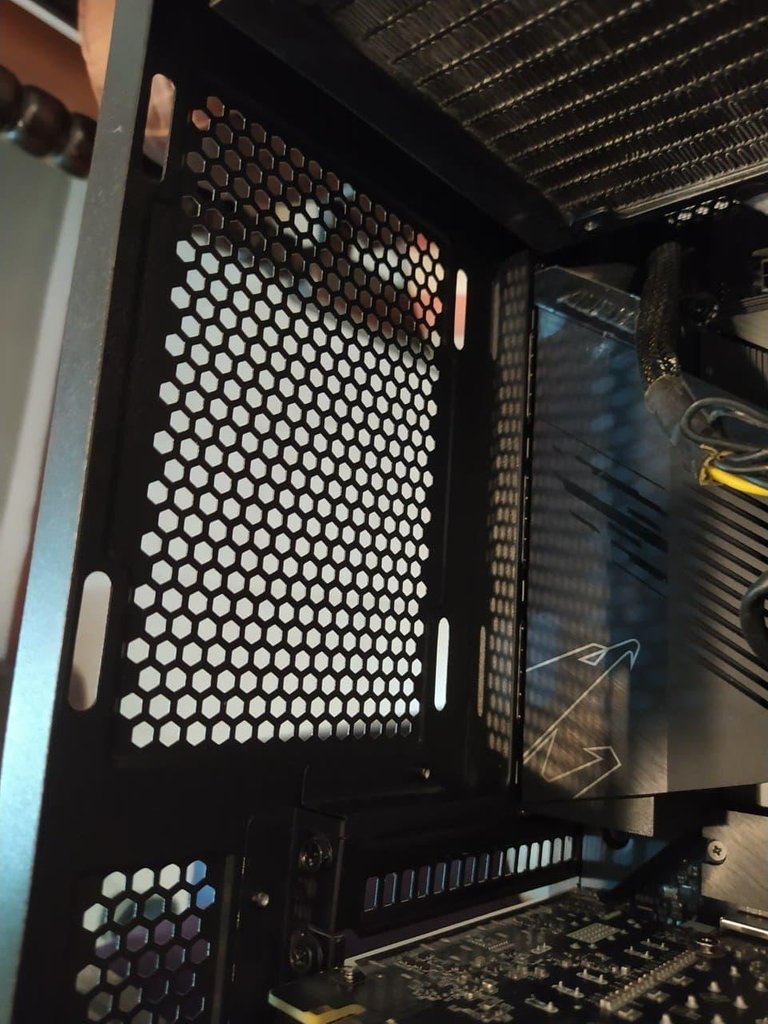
Una vez colocado en el sitio procurando que los cables queden mirando hacia la tarjeta madre y que el fan esté orientado correctamente procedemos a atornillarlo con sus 4 tornillos incluidos.
Once it is in place, making sure that the cables are facing the motherboard and that the fan is correctly oriented, we proceed to screw it with the 4 screws included.

Una vez instalado procederemos a conectarlo a la tarjeta madre (Algo que creí que no me costaría tanto pero estuve como 8 minutos intentado hacerlo sin tener que quitar el radiador por completo jeje), costó unos minutos, ¿El por qué?, porque el conector Sys_fan_1 estaba en una posición algo complicada ya que yo por flojera no quería tener que quitar el radiador por completo.
Once installed we will proceed to connect it to the motherboard (Something I thought it would not cost me so much but I was like 8 minutes trying to do it without having to remove the radiator completely hehe), it took a few minutes, why? because the Sys_fan_1 connector was in a somewhat complicated position because I did not want to have to remove the radiator completely because I was lazy.
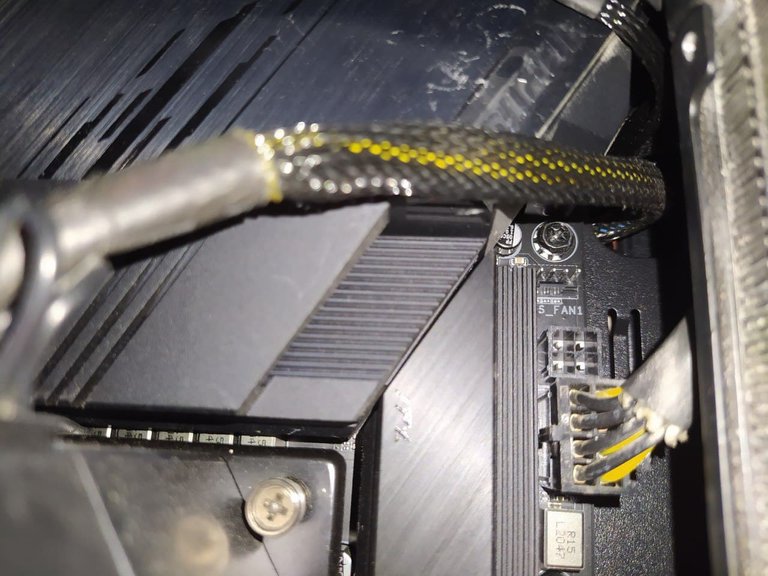
Ahí estaba ese pequeño conector y a pesar de que yo tengo dedos delgados me costó mucho, tuve que recurrir a usar unas pinzas jajaja, menos mal no tenía el conector de 4 Pines del CPU adicional o me habría costado aún más.
There was that little connector and even though I have thin fingers I had a hard time, I had to resort to using tweezers hahaha, thank goodness I didn't have the extra 4 pin CPU connector or it would have cost me even more.
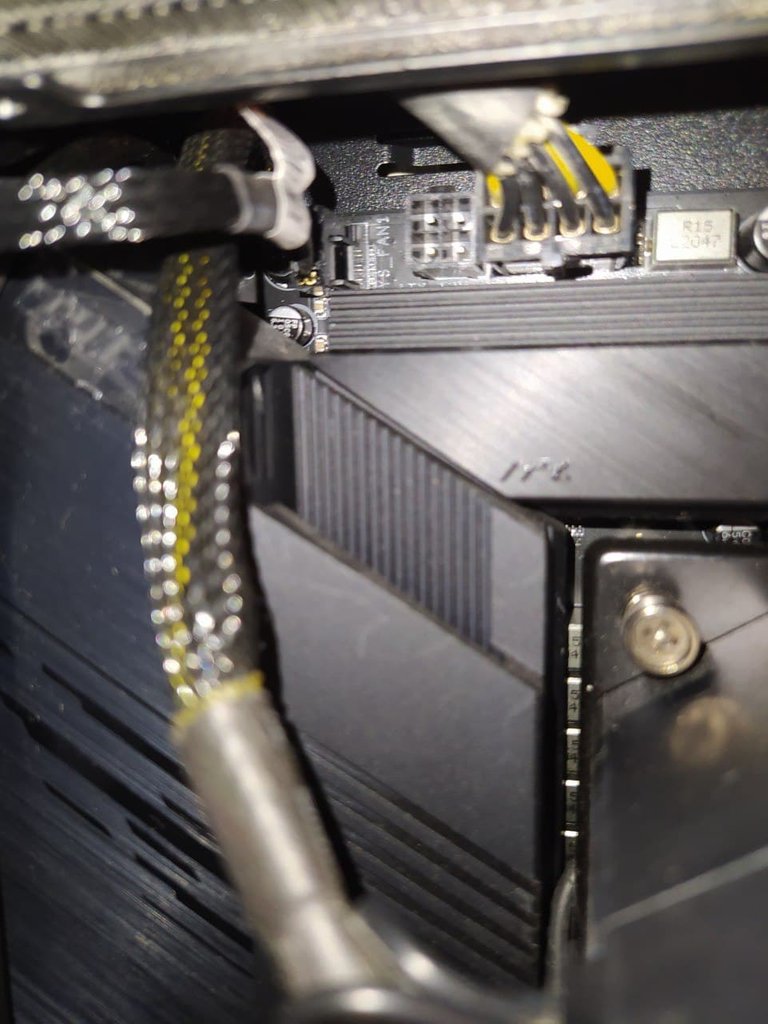
Pero al final si pudimos jeje, conector 1 de 2 listo!! / But in the end if we could hehe, connector 1 of 2 ready!!!
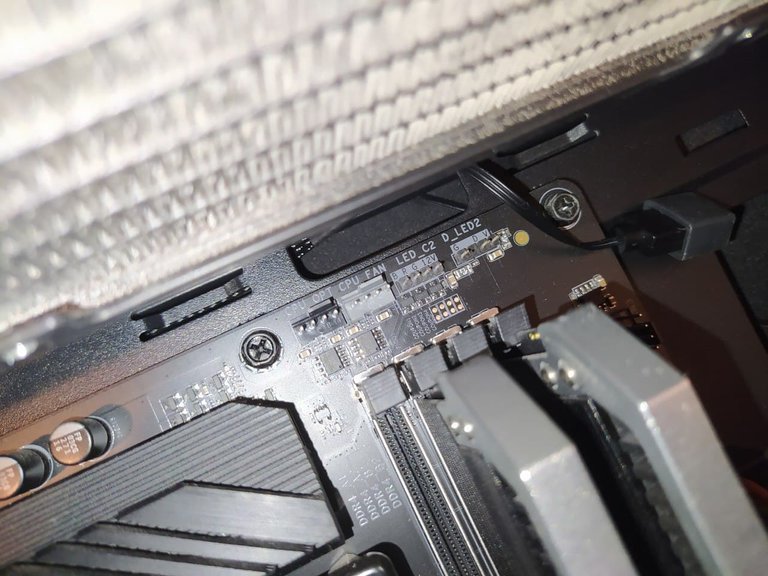
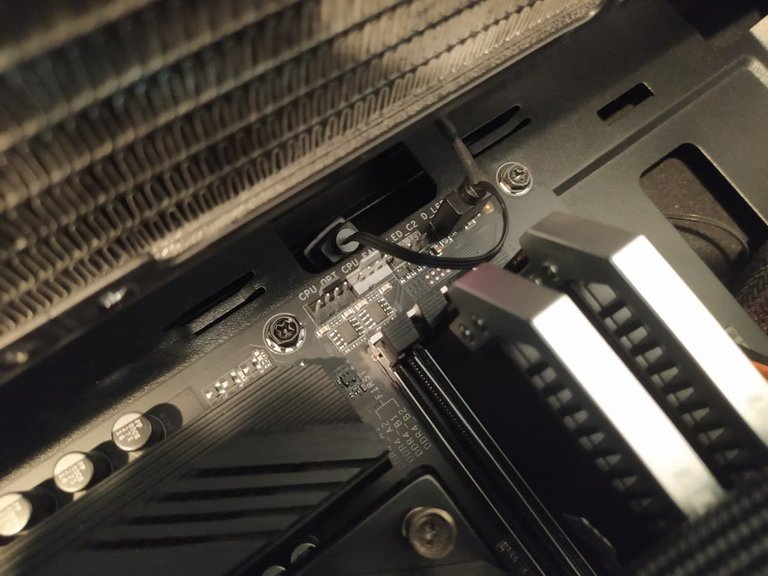
Ahora solo falta conectar el cable ARGB al puerto ARGB de la placa (D_LED2) que también está una ubicación algo complicada.
Now we just need to connect the ARGB cable to the ARGB port on the board (D_LED2) which is also in a somewhat complicated location.
Pero menos mal esté costó menos que el otro, en solo un minuto mas o menos pude conectarlo sin mayor problema, pero hay que tener mucho cuidado ya que los pines de esta clase de conector son muy delicados y podemos llegar a doblarlos o romperlos si los forzamos por colocarlos de manera errónea.
But luckily this one cost less than the other one, in just a minute or so I could connect it without any problem, but you have to be very careful because the pins of this kind of connector are very delicate and we can bend or break them if we force them by placing them wrongly.
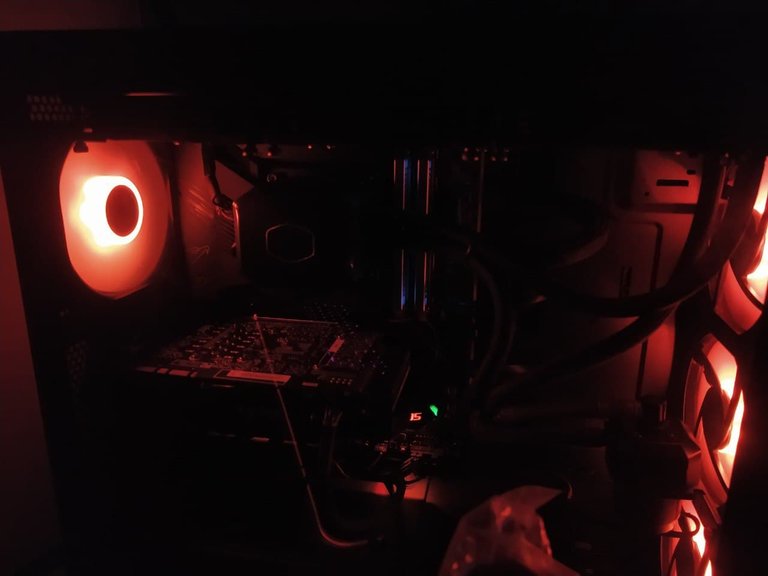
Y ahora una foto de como se ve el Fan con la PC ya encendida, la verdad es que enamora una PC que tenga buena estética y que por mas que todo esté bien cuidada y te sirva para trabajar (Y jugar también en el tiempo libre), y pues para serles sinceros si bajó al rededor de 2/3 grados centígrados la temperatura de las VRM cuando el flujo de aire es bueno, lo tengo configurado para que normalmente esté en un 40/50% de velocidad mientras está trabajando ligeramente (unos 900rpm mas o menos), y que llegue a un 80/90% bajo carga pesada al igual que los frontales para que el calor no se concentre en el interior del case y afecte las temperaturas del radiador también, este fan me ayuda a que sea un poco mas estables las temperaturas, aunque pronto le haré un cambio de pasta térmica a la PC para probar su rendimiento a ver cuanta diferencia hay, así que estén atentos.
Espero les haya gustado este pequeño unboxing, recuerden siempre cuidar de sus equipos y hacerles mantenimientos periódicos y darles el cuidado que merecen, próximamente más contenido como este, un saludo a todos!
And now a picture of how the fan looks with the PC already turned on, the truth is that a PC that has good aesthetics and that more than everything is well maintained and serves you to work (And play also in free time), and well to be honest if you lowered about 2/3 degrees Celsius the temperature of the VRM when the airflow is good, I have it set to normally be at 40/50% speed while it is working lightly (about 900rpm or so), and that it reaches 80/90% under heavy load as well as the fronts so that the heat is not concentrated inside the case and affect the temperatures of the radiator as well, this fan helps me to be a little more stable temperatures, although soon I will make a change of thermal paste to the PC to test its performance to see how much difference there is, so stay tuned.
I hope you liked this little unboxing, always remember to take care of your equipment and do periodic maintenance and give them the care they deserve, soon more content like this, greetings to all!
Tengo una pregunta que puede ser bastante tonta, pero cuál es la diferencia del RGB al ARGB?, no tengo absolutamente ningún conocimiento al respecto por lo cual de verdad que no se la razón de existir de la A, tengo curiosidad.
Hola!, No es para nada tonta la pregunta, tonto sería no preguntar y quedarse con la duda jajaja, pues la diferencia entre iluminación RGB y ARGB es que esa A es de Addresable RGB, o sea que cada led RGB puede tener su propia información, es decir su propio color independiente, por ejemplo el fan puede mostrar varios colores de luz al mismo tiempo, mientras que los RGB solo pueden mostrar un color a la vez en todos sus leds, por eso mismo los ARGB tienden a ser un poco mas costosos que los RGB, porque tienen mas efectos y mas personalización, sin embargo no afectan en el rendimiento de refrigeración del fan. Saludos!
Dios, que pro suena haha, espero te salga bueno el fan, y que se vea gamer que es lo que importa, gracias por aclarar mi duda.
Jajaja, muchas gracias, por ahora si está dando frutos, mejó unos grados de temperatura las VRM de la tarjeta madre, y pues, tal y como dices, ahora se ve mejor la PC jajaja, saludos!
Congratulations @darkcore29! You have completed the following achievement on the Hive blockchain and have been rewarded with new badge(s):
Your next target is to reach 2250 upvotes.
You can view your badges on your board and compare yourself to others in the Ranking
If you no longer want to receive notifications, reply to this comment with the word
STOPCheck out the last post from @hivebuzz: