A long time ago some people recommended me to enter this platform, at first I was very afraid that I did not understand how it worked at all, however a year later I took a risk and made the decision to start drawing again (after so long) I thought that maybe here I could share some of my art and although at the beginning I drew terrible, today I have managed to improve myself, so I want to participate in this initiative where my friend @josehany challenged me to put my first post on hive!
It cost me a lot to get to it, since my blog currently has more than 900 publications but I finally found it and it is a drawing, done in colors you can see it Here
I am very moved to remember the past since at that time I did not have many resources to draw very well, also I did not have much idea of the perspectives or proportions as I have now, I am not an expert yet but my improvement is quite large, at that time I did not I didn't know very well how to make a striking and decent post either, I did that drawing in pencil and adding color to it, but I felt that I needed more intensity so I started to practice drawing with a mouse on my computer and with that it helped me a little to see the stronger and clearer colors, I remember that it felt good to receive votes from other people and several positive comments, that made me feel very special despite being quite a novice.
I want to thank @jaynie since he had this initiative so creative and full of emotions for me, seeing all the way that I have traveled is quite shocking you can see the challenge HERE ---> My first ever HIVE BLOG POST
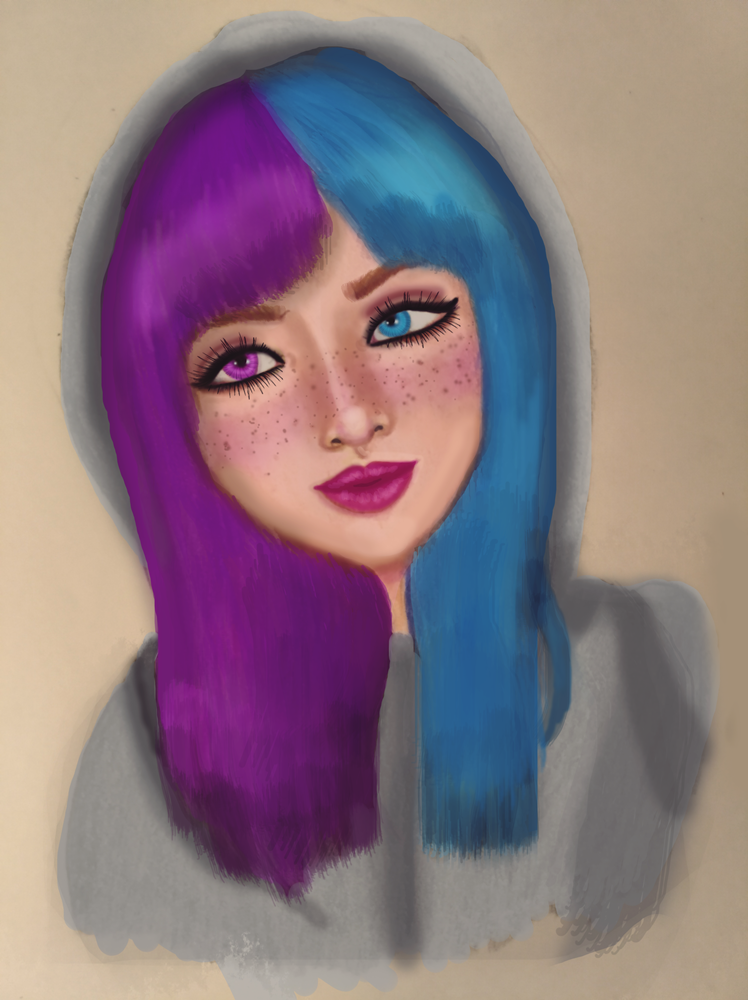
Bienvenido a mi nuevo post
La cosa es , que no tengo Tablet de dibujo pero tengo mi computadora, así que todos mis trabajos son a mano y luego lo termino con el mouse usando Photoshop! Agregándole mas detalles a los dibujos y quedando un poco mas bonitos!
En esta oportunidad traigo un dibujo de una chica (que es lo que me gusta mas dibujar)
¿Por qué? No lo sé, creo que la mujer tiene algo muy hermoso que debe ser reflejado en cada dibujo. Desde pequeña dibujaba mujeres , me gustaba diseñar ropa diferente para toda ocasión y me gustaba agregarle a cada una un toque único.
Sin mas rodeos aquí explico el proceso que aplico.

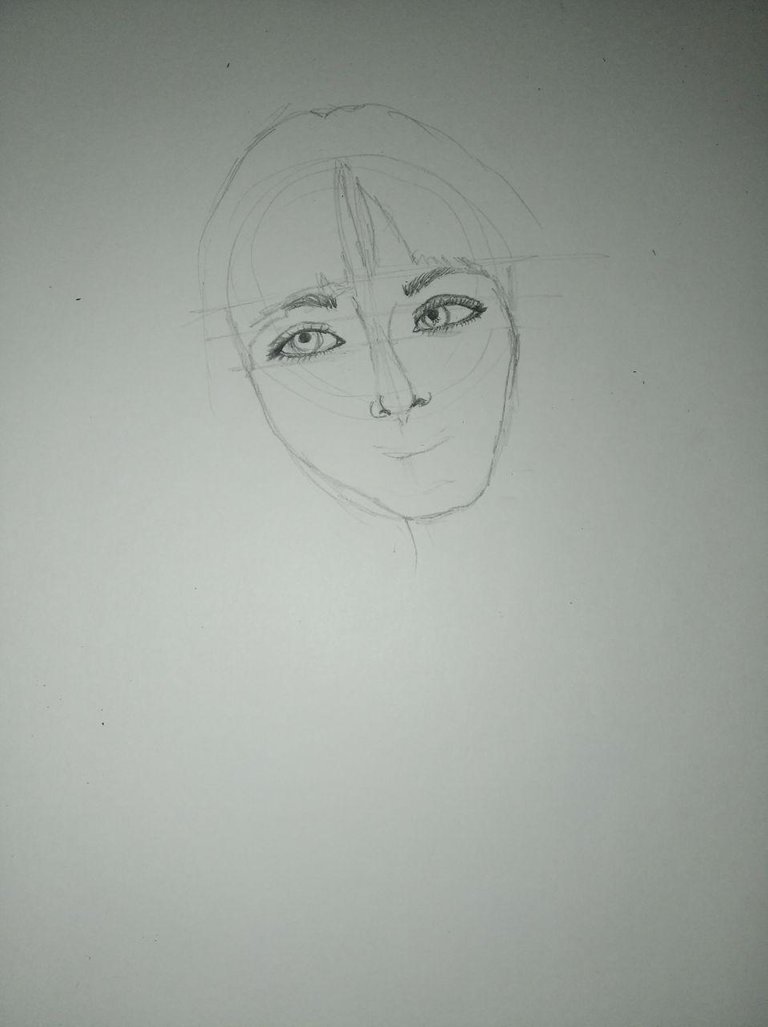
Aquí, ya le agregamos la boca y el torso a nuestra chica!
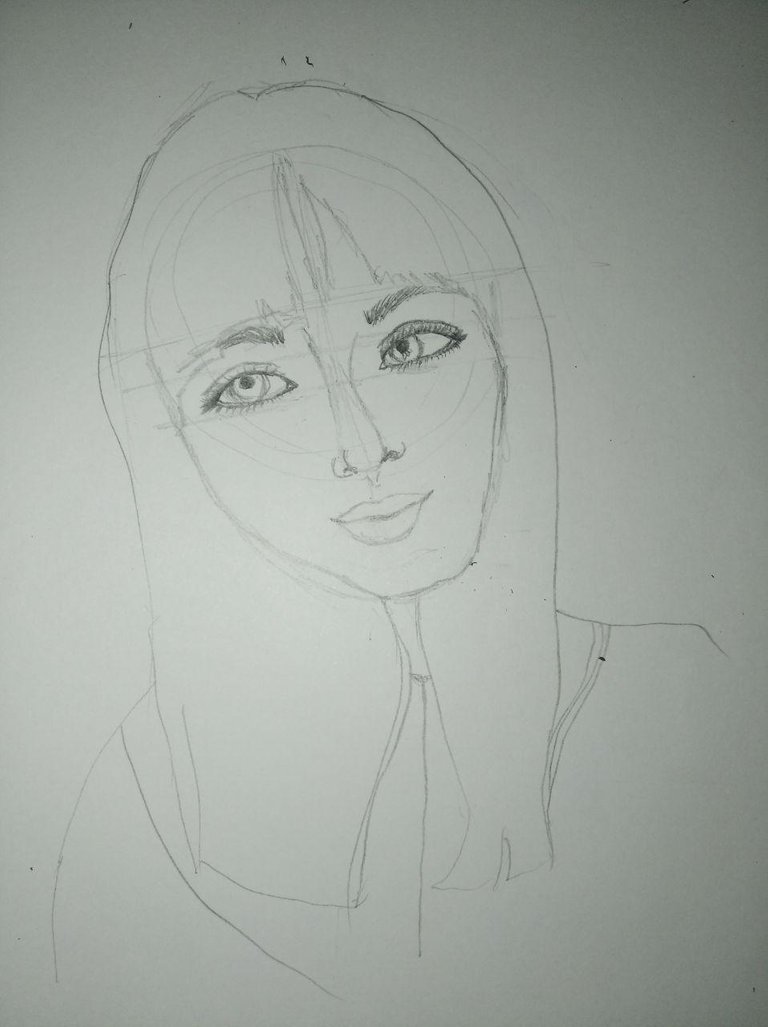
Borramos las líneas guías.
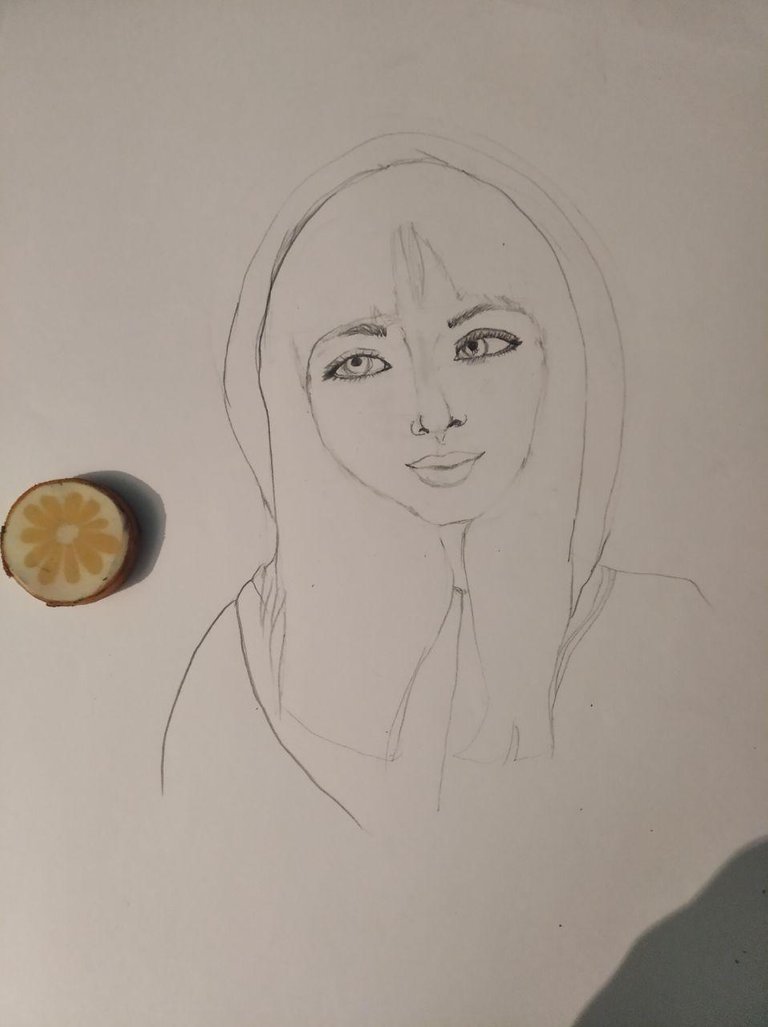
Ahora vamos a aplicarle color a nuestro dibujo.
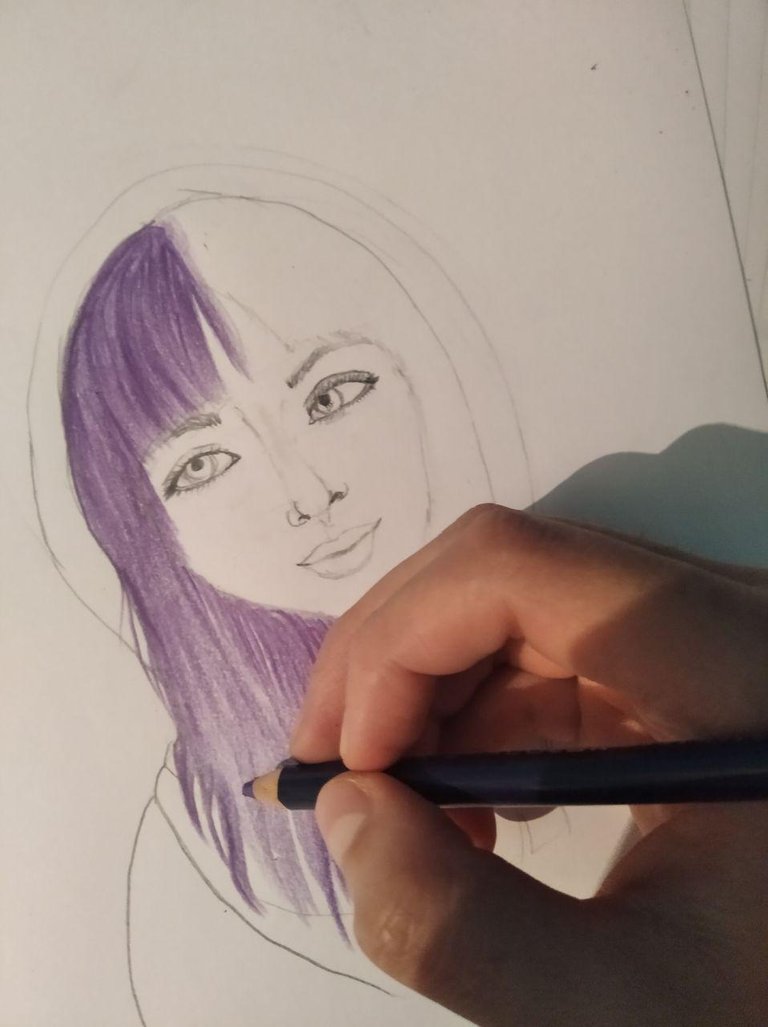
Comencé por el cabello luego vamos a el rostro!
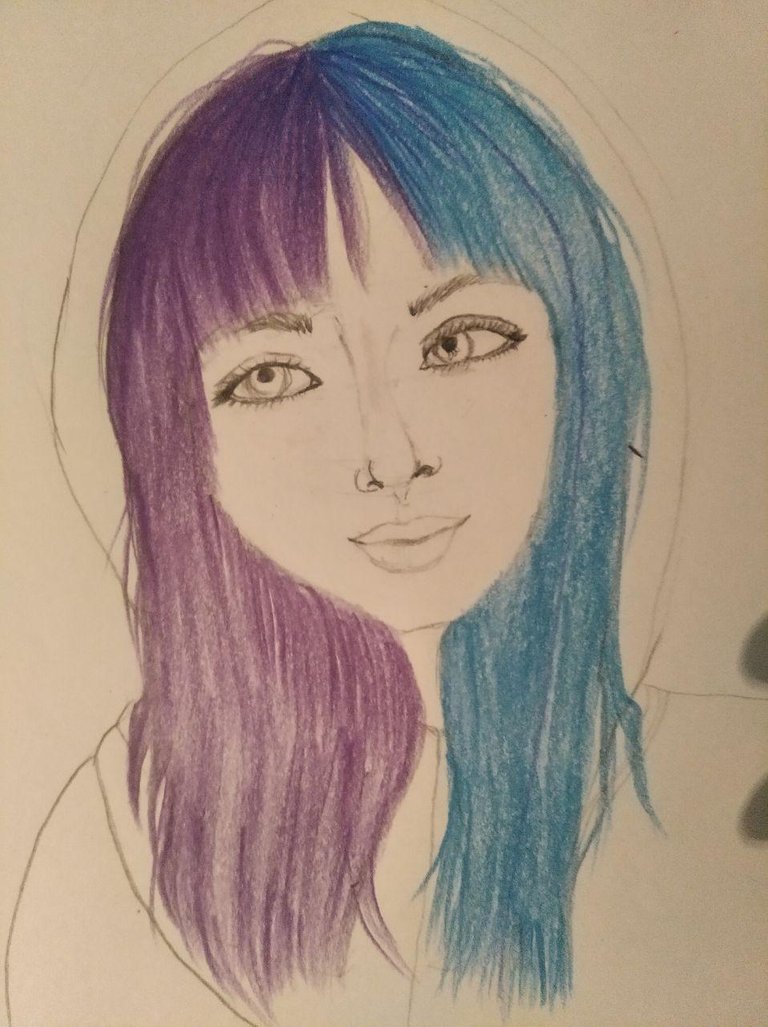
Aquí ya aplicamos color al rostro la calidad de la foto no es la mejor ya que era de noche pero realmente quedo bien jajaja.
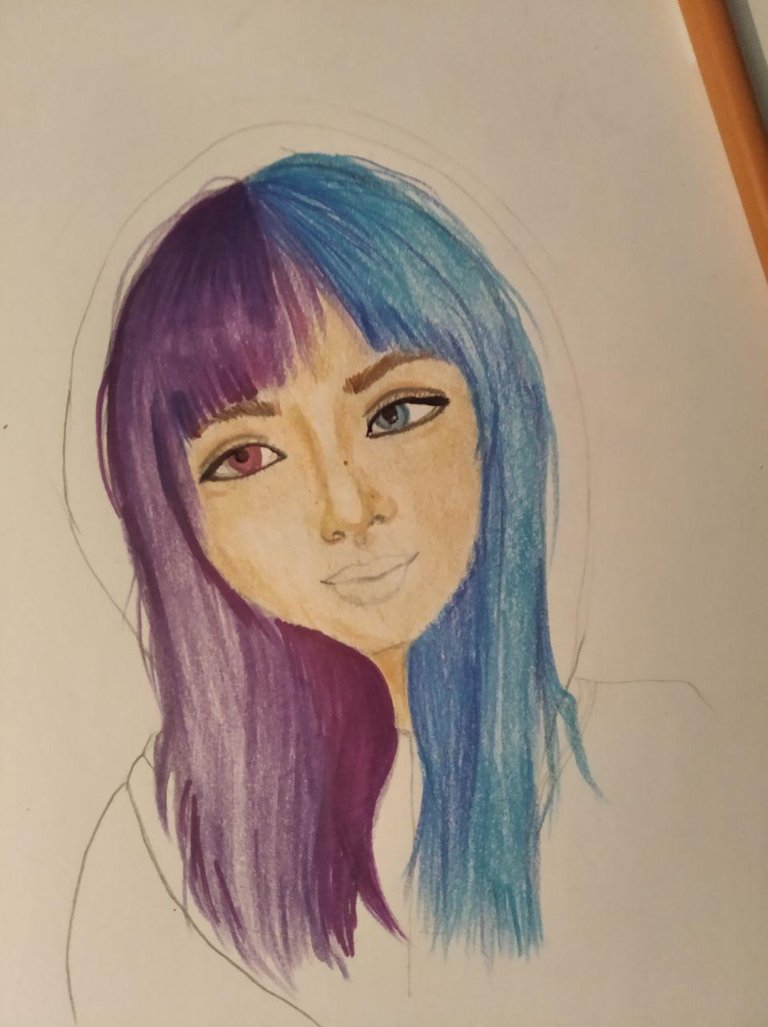
Así quedo nuestro dibujo, bien, ahora viene la parte donde yo prfiero retocar y darle mas vida con photoshop por que evidentemente la foto no le hace mucho juicio al dibujo.

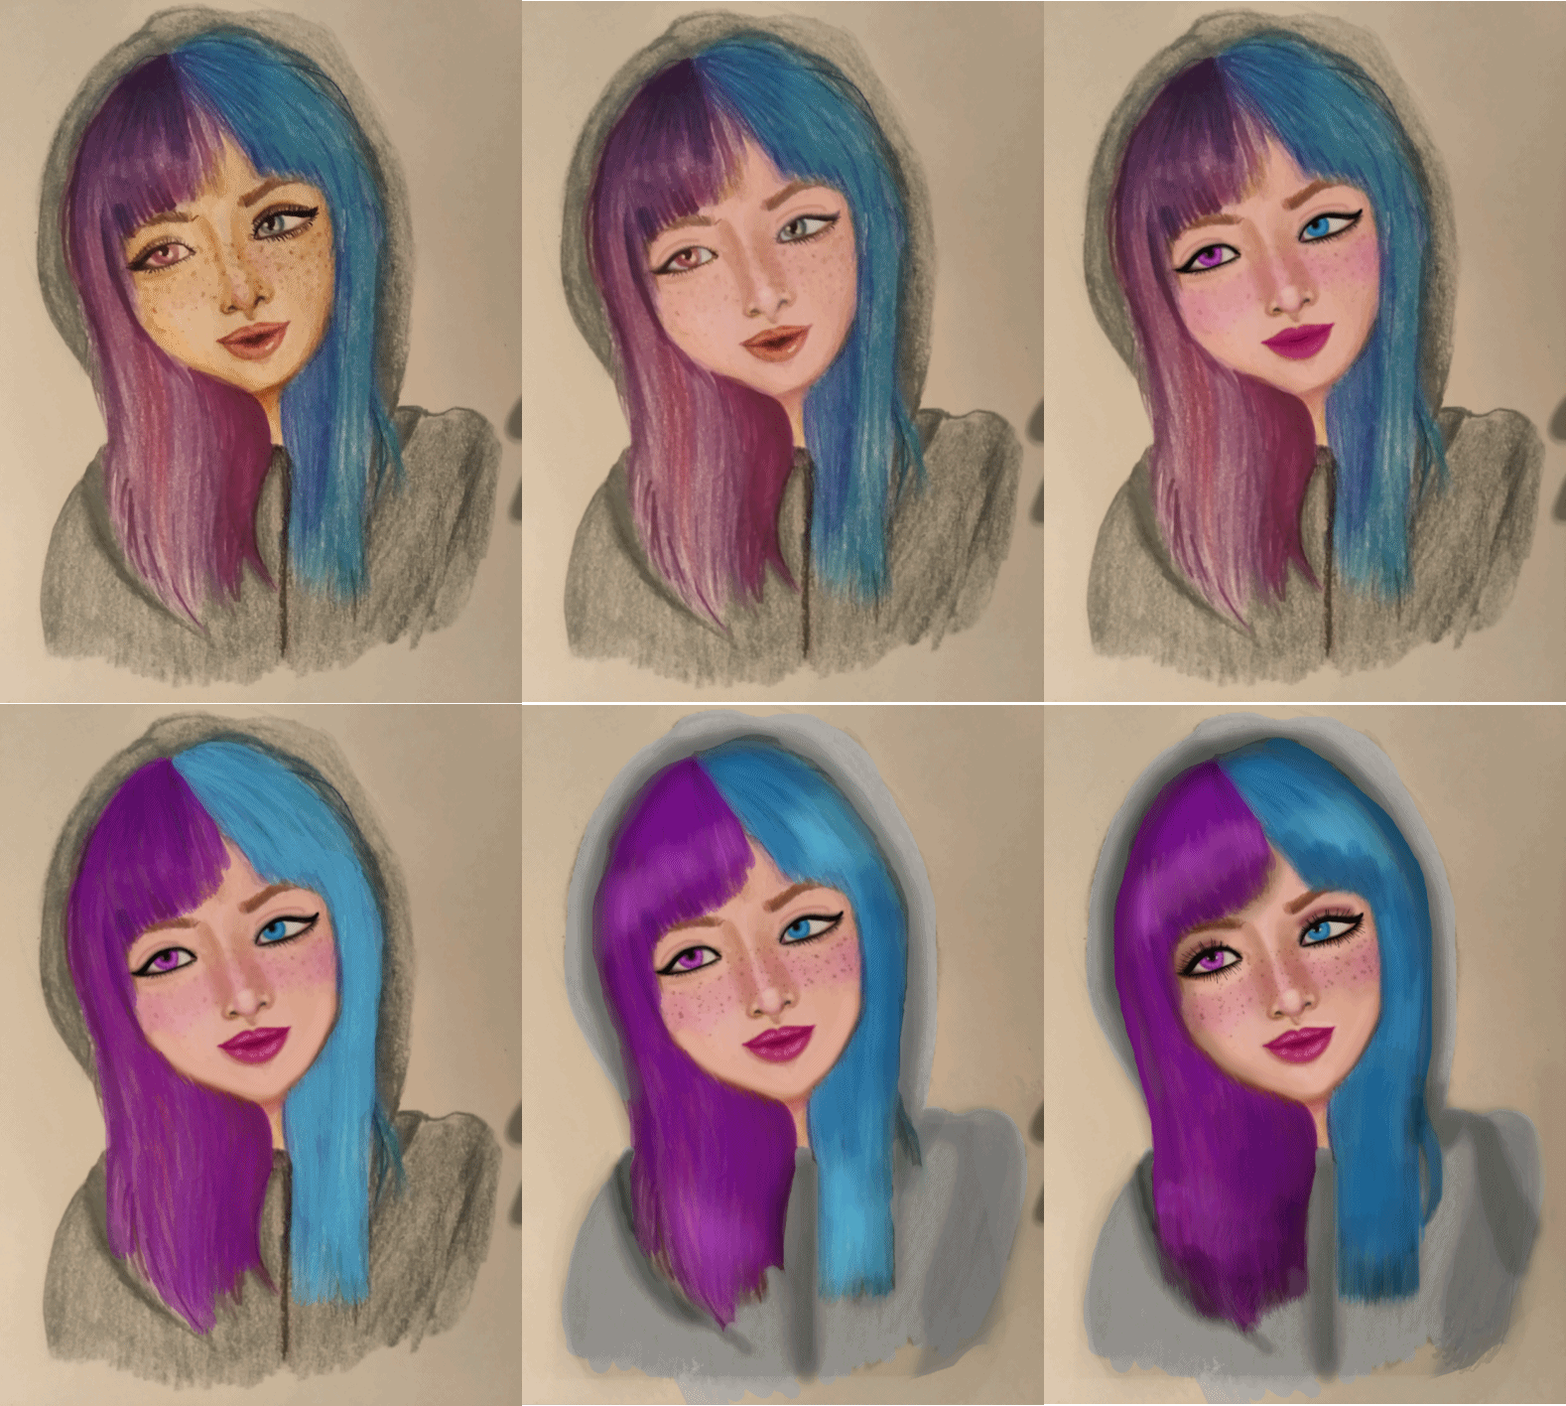
Perfecto, en este gif vamos viendo la transformación de nuestra chica, esta para mí es la parte mas difícil, por que es solo con mouse que realizo los trazos y ademas me gusta que quede mucho mejor y mas colorido que el dibujo original.
Jugando con varios estilos de pinceles y colores en Photoshop podemos obtener unos resultados increíbles.

HOW TO ENTER
First of all - you MUST have been on HIVE for AT LEAST 3 MONTHS to qualify
DON'T BE EMBARRASSED - DON'T BE SHY - JUST SHARE IT!
STEP 1:
Create a post sharing your own FIRST EVER HIVE (or Steem) POST (EXCLUDING INTRODUCTORY POSTS). You are welcome to use a format like mine - but PLEASE create your OWN HEADER DESIGN! Also - feel free to "link" it to your ACTUAL original post. (Not compulsory)
STEP 2:
Your blog post TITLE must be:
My entry to the "My first ever HIVE BLOG POST challenge"
STEP 3:
Be sure to include the DATE your post was published.
(Like I did above) - @peakd gives full date clarity on posts.
STEP 4:
Include the "How to Enter" section at the end of your post so that others know how to join in and what is required.
STEP 5:
Use the following two tags (in any order) as a part of your 8 or 10 tags: myfirsthiveblogpost and powerhousecreatives
STEP 6:
Publish your post to the PHC community feed
(https://peakd.com/c/hive-114105/created)
STEP 7:
Share a link to your post in the comments of THAT post My first ever HIVE BLOG POST
STEP 8 (optional):
ONLY IF you are on Twitter - Share your post on Twitter using the same tags mentioned above (and the usual hive tags) and add that link in the comments of this post too.
Finally, I would like my colleagues @brataka and @lachg89 to be motivated to enter this challenge!

Tantos sentimientos al leer nuestro primer post