My youngest has envied his brothers' belts for some time now. And to be honest, I always forget to pick up a belt for him when I am out shopping. A few weeks ago I ordered some really fun ombre striped cotton webbing and of course my 3 year old kept asking me to use the cotton webbing and tie it around his waist as a belt. Finally, after one of his requests, right then and there I decided to just make him a belt instead of buying one. I rummaged through my things and found 2 D-rings that fit perfectly. At first I was going to just make a simple belt, but then I thought a pop of color would be fun.
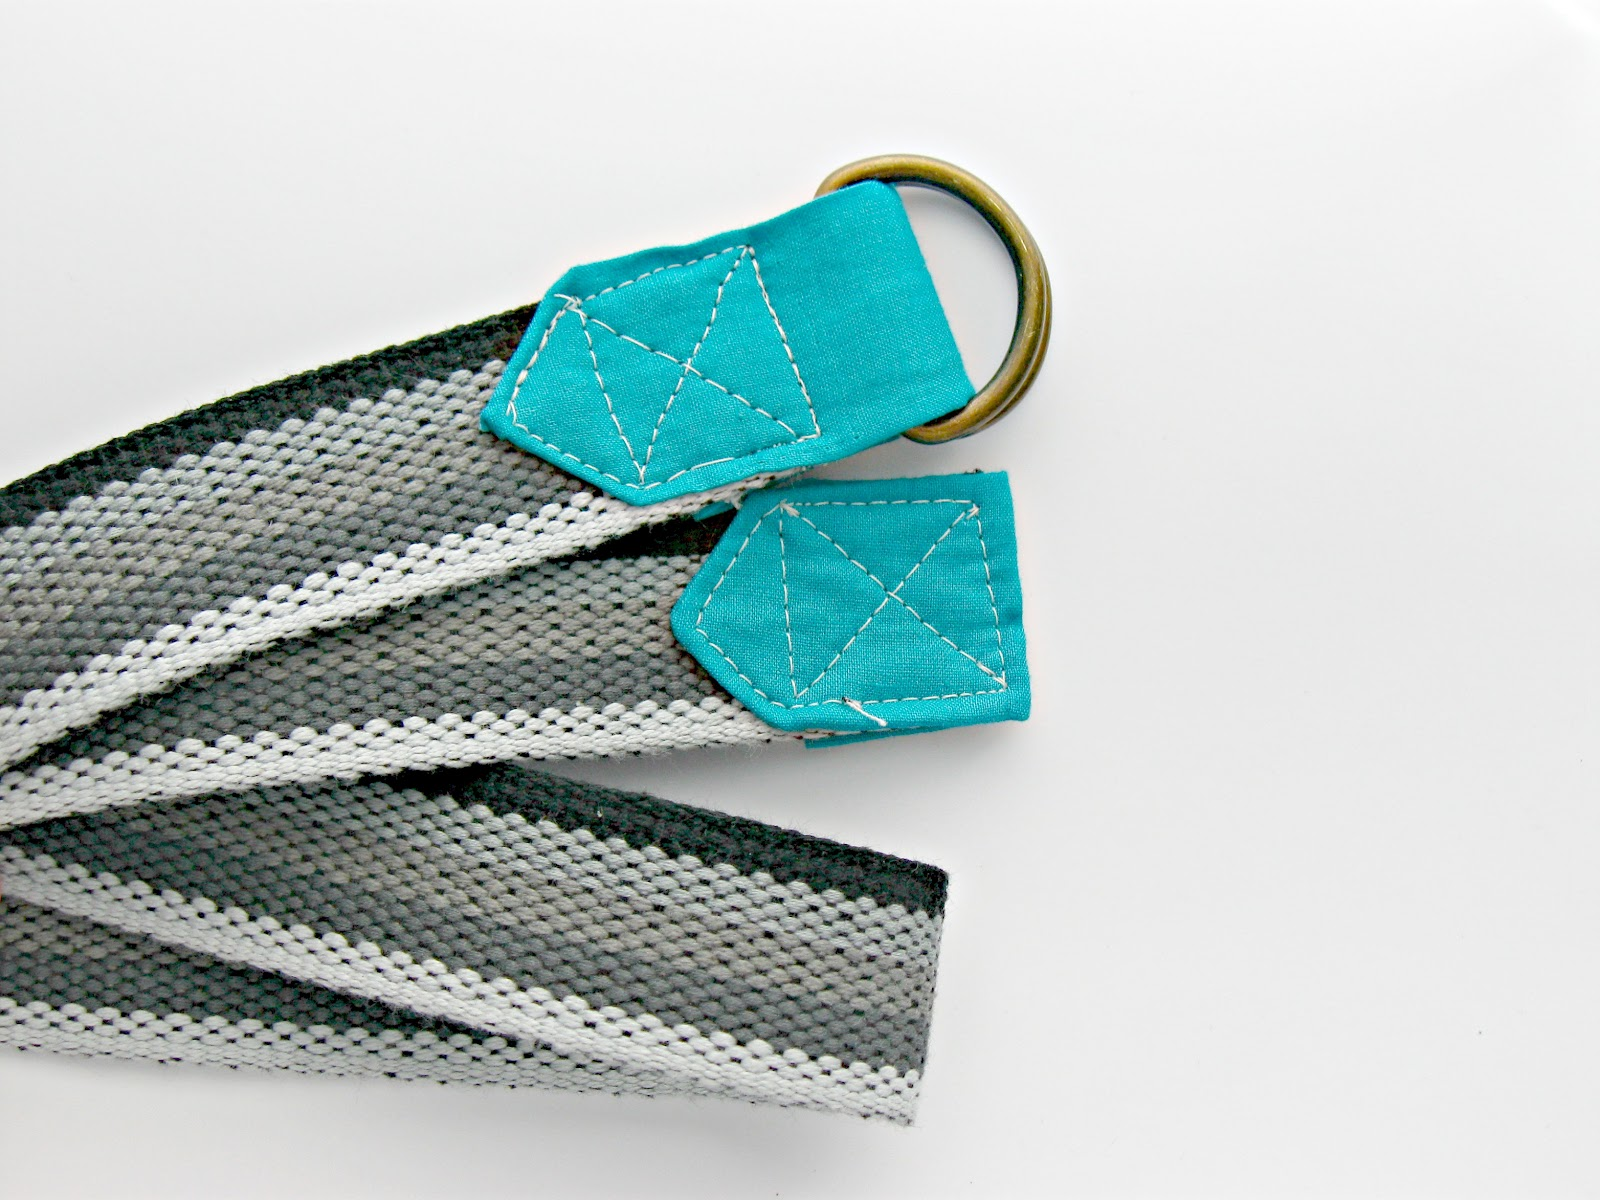
I had a hard time deciding between burnt orange, yellow and turquoise fabric scraps. I ended up with turquoise.
It is simple, although in hindsight I should have used a light stabilizer or fusible webbing. Here is the how-to:
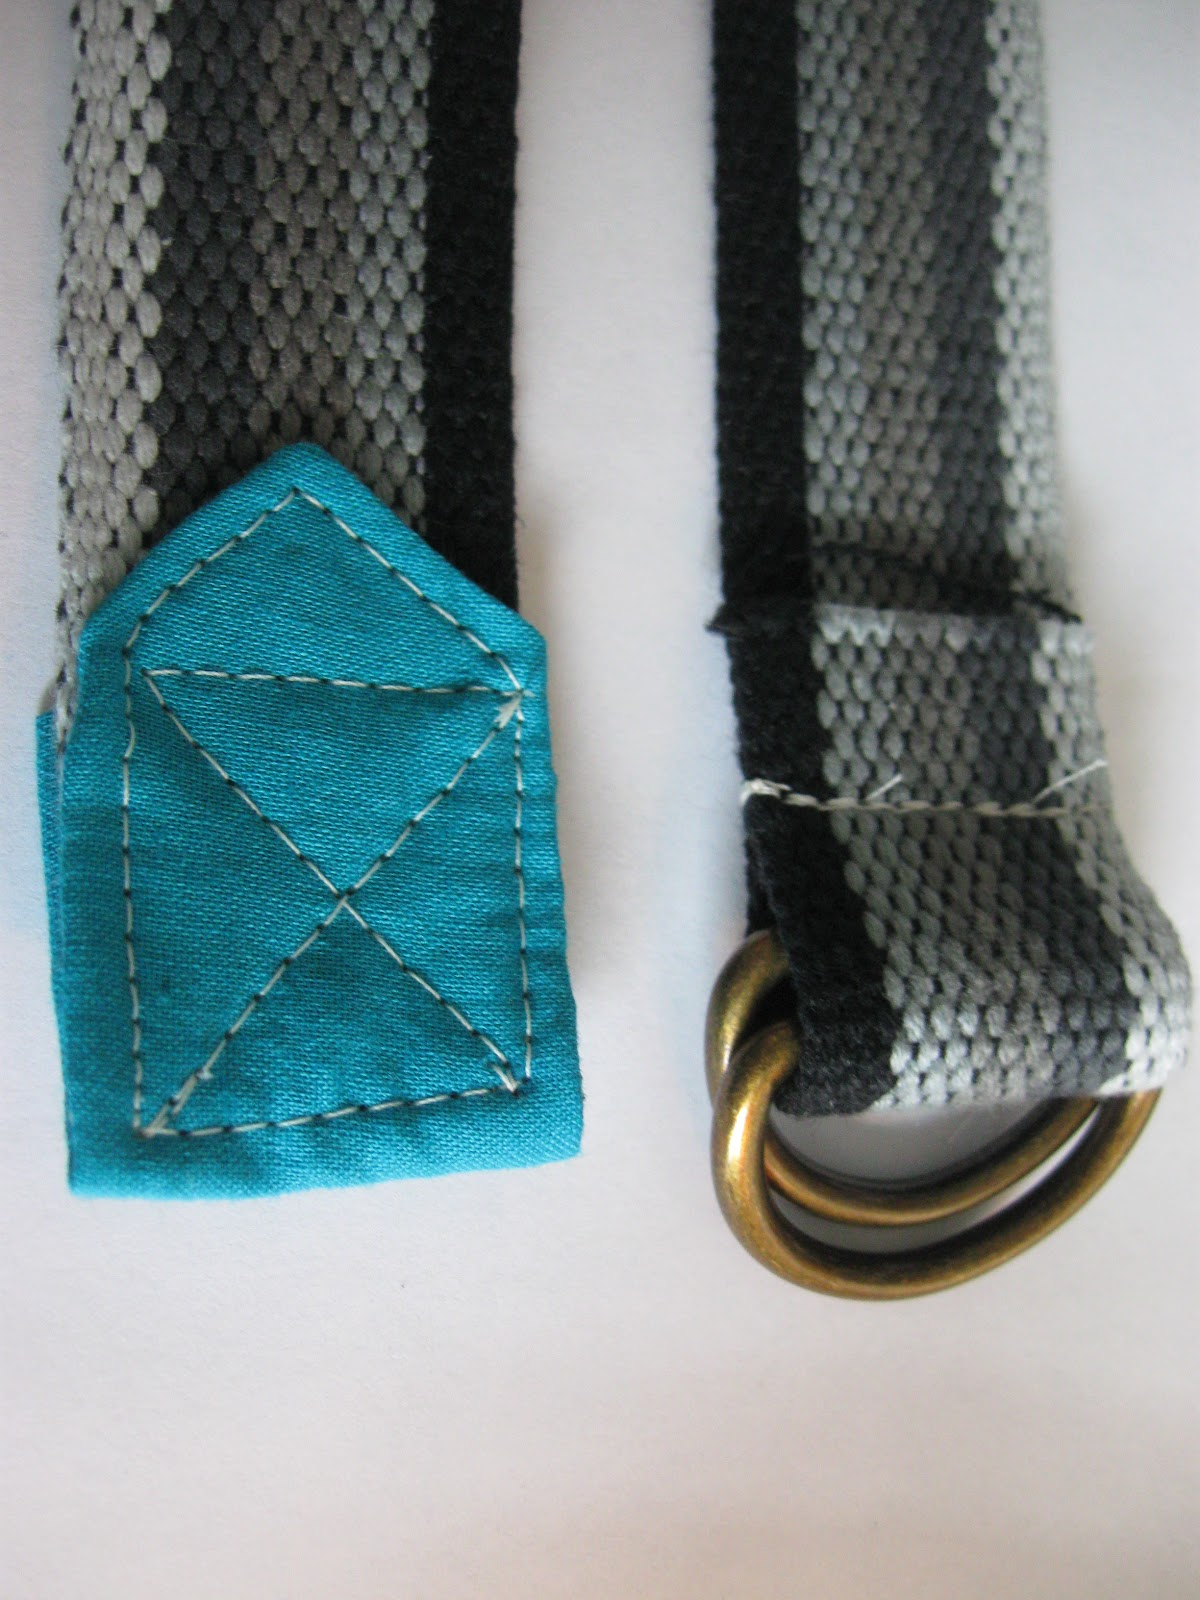
Buckle End Applique
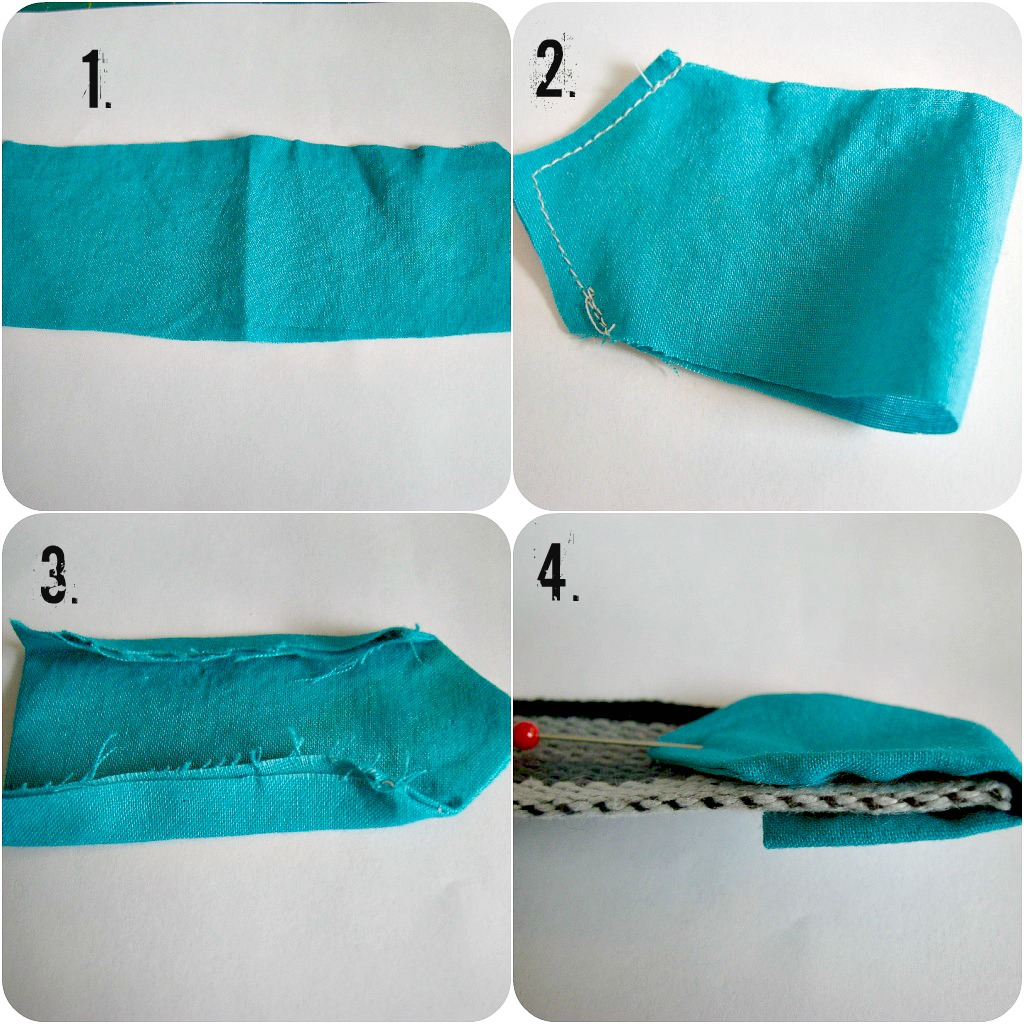
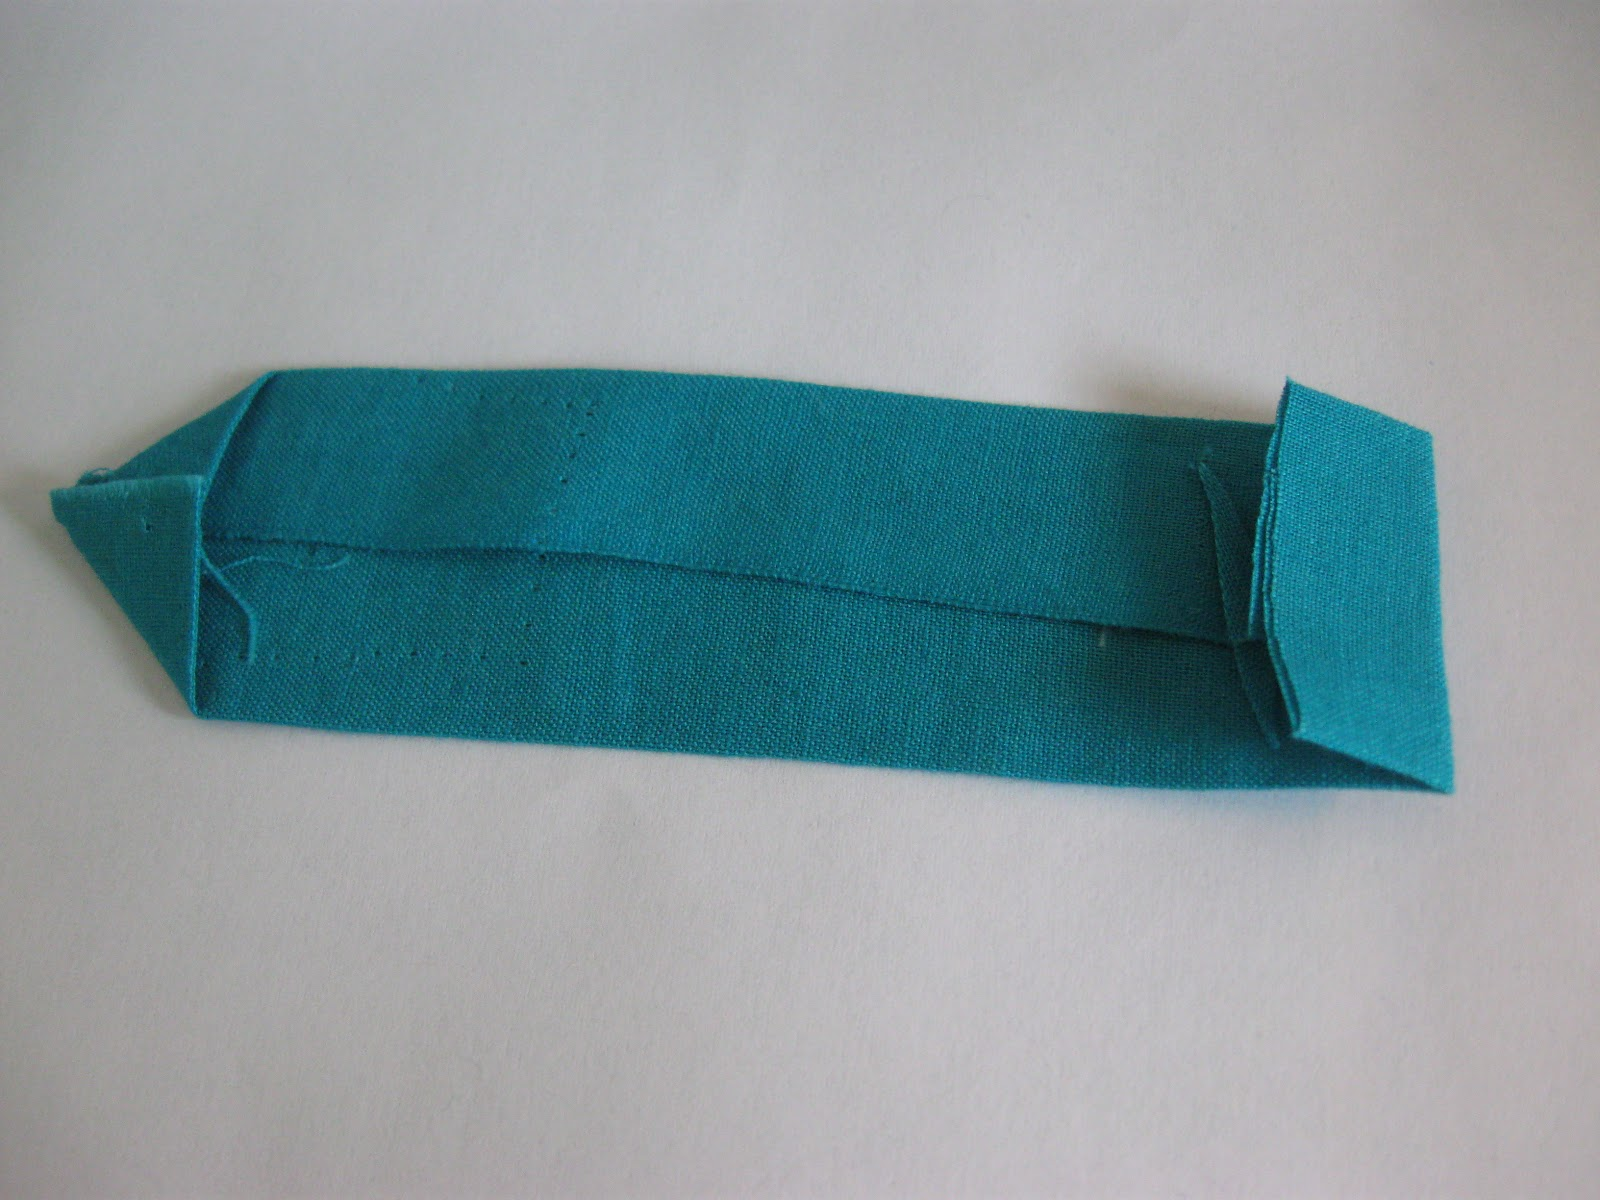
- Cut a rectangle, (width of belt + 6/8 inch) by (however long you want the applique to be x 4).
- Fold in half, cut corners to make an arrow shape, sew as shown on picture.
- Turn inside out, iron in 3/8 inch on each side.
- Fold, pin to webbing as shown.
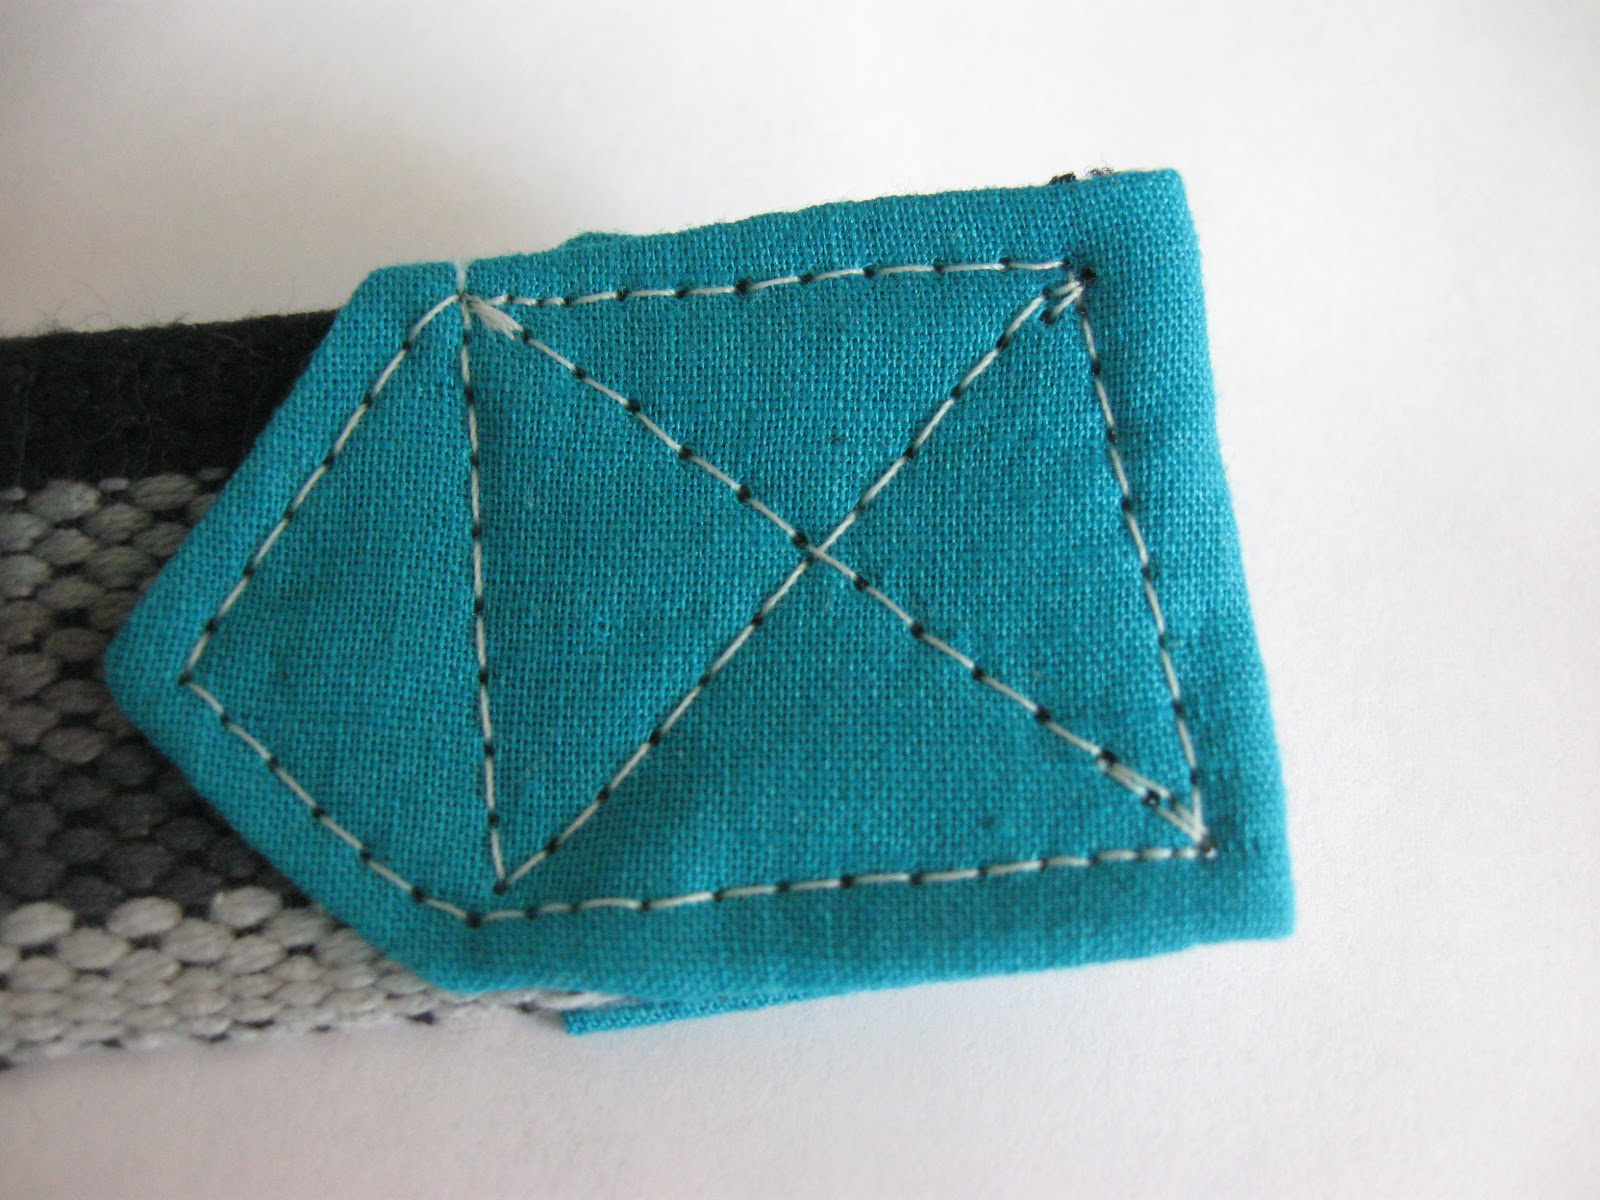
Use size 16 needles and a longer stitch length and sew around as shown. Now comes the only tricky part. Attach the D-rings, but make sure that the "right" side is on the opposite. The right side of my applique at the end of the belt is the "wrong" side of the D-ring buckle.
The D-ring buckle applique:
Got a scrap piece of rectangle, ironed in the sides to match the width of the webbing. Ironed down one end to form an arrow and just simply fold and iron the other end. Fold over the D-ring buckle, making sure that the arrow is on top.....
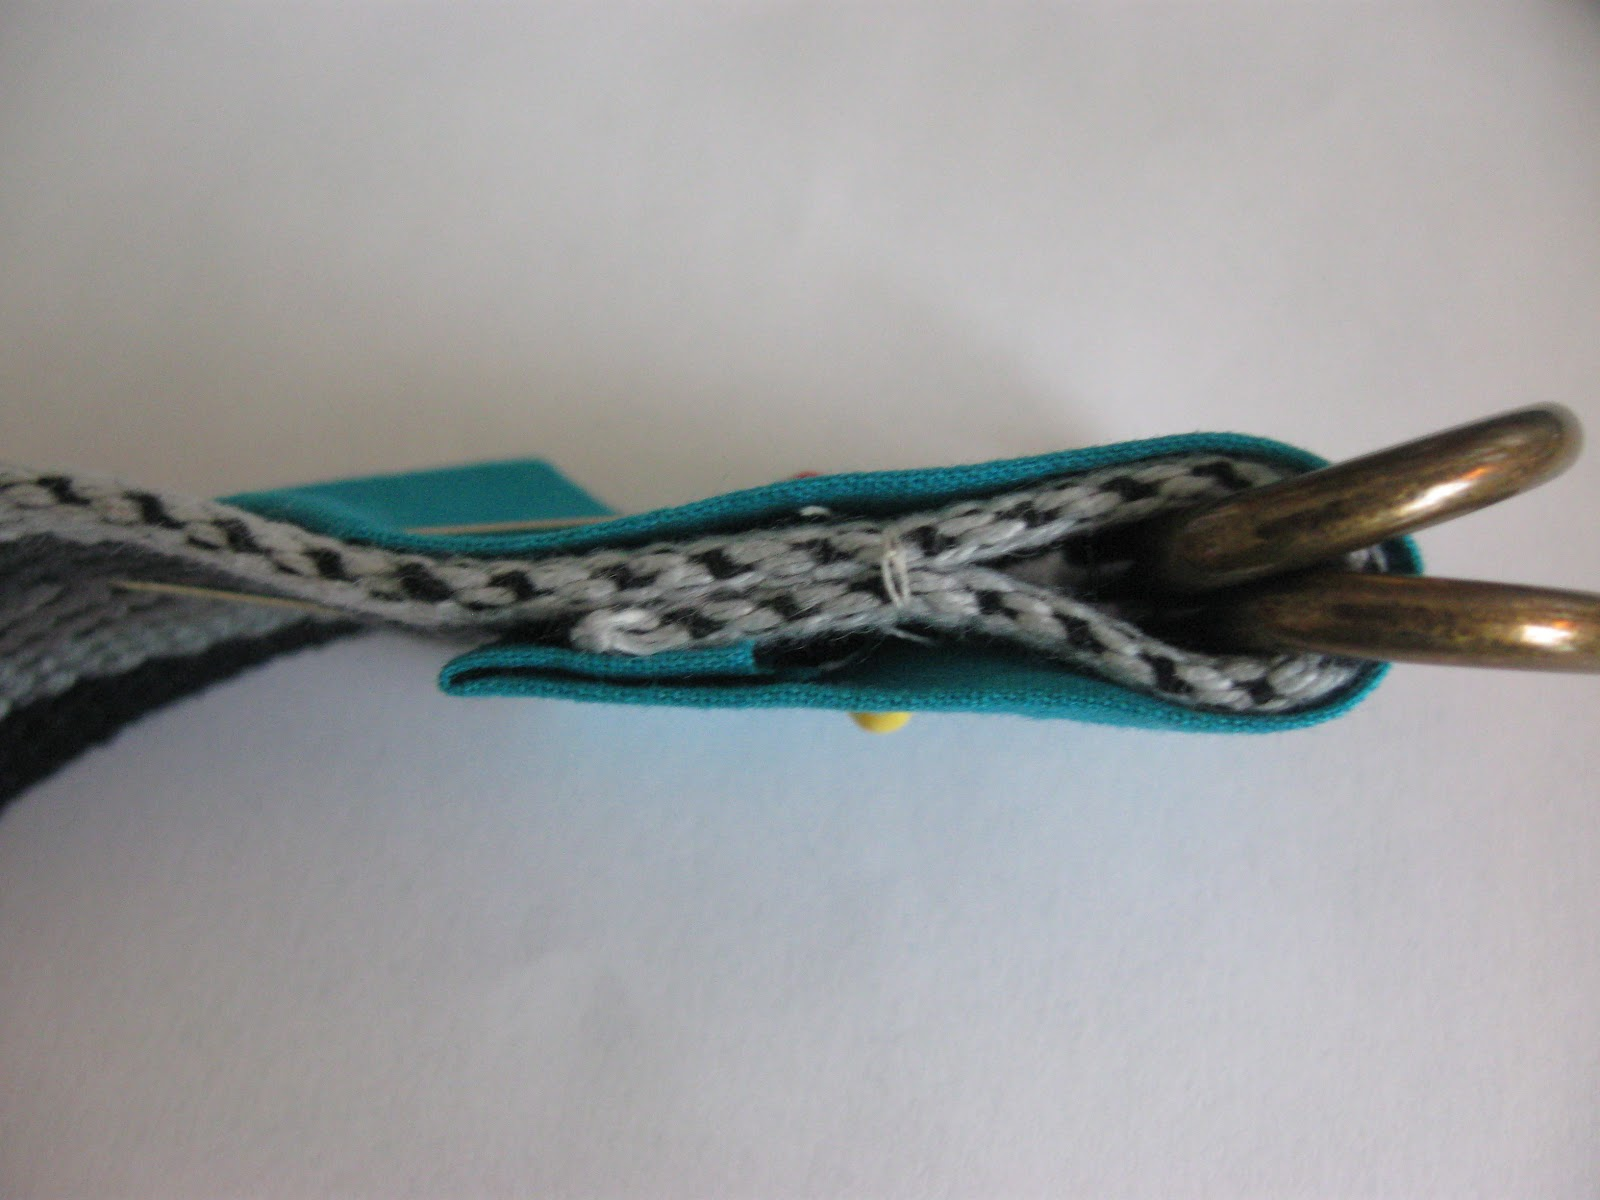
and the straight end is covering the wrong side of the webbing. (I took a bunch of pictures, in case my explanations make little or no sense. )
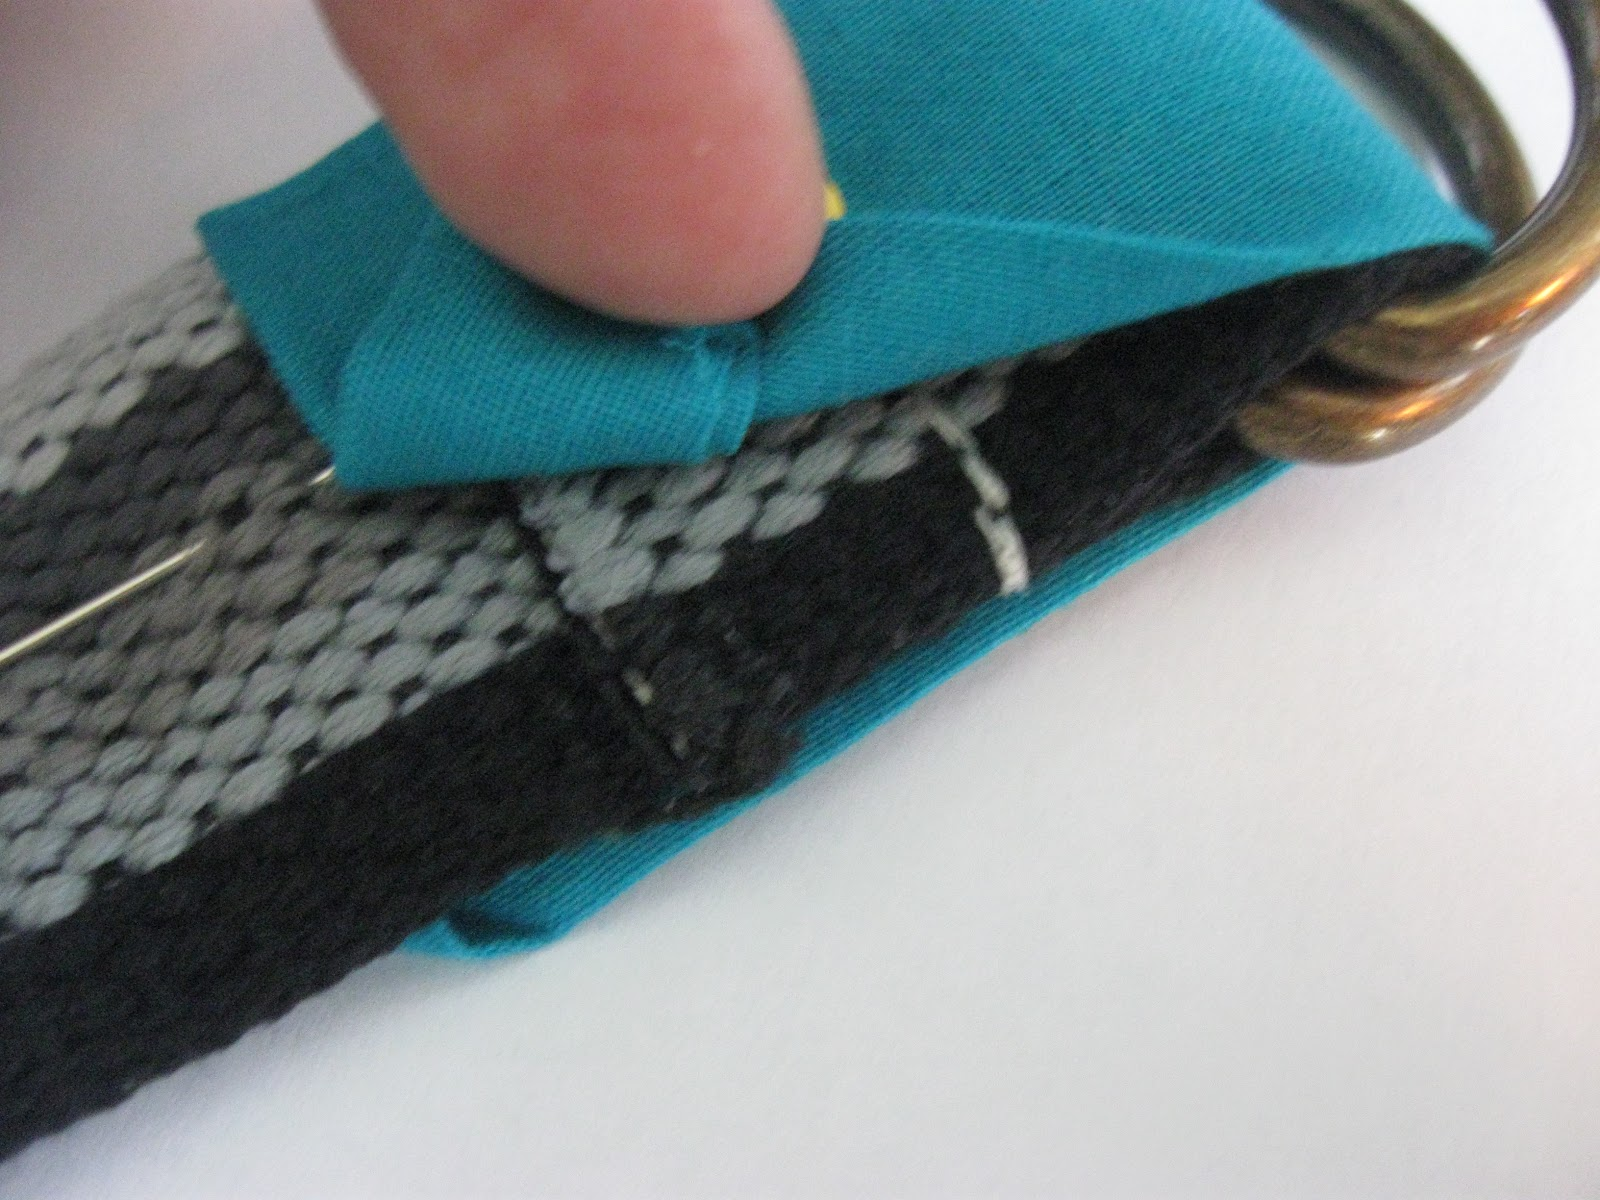
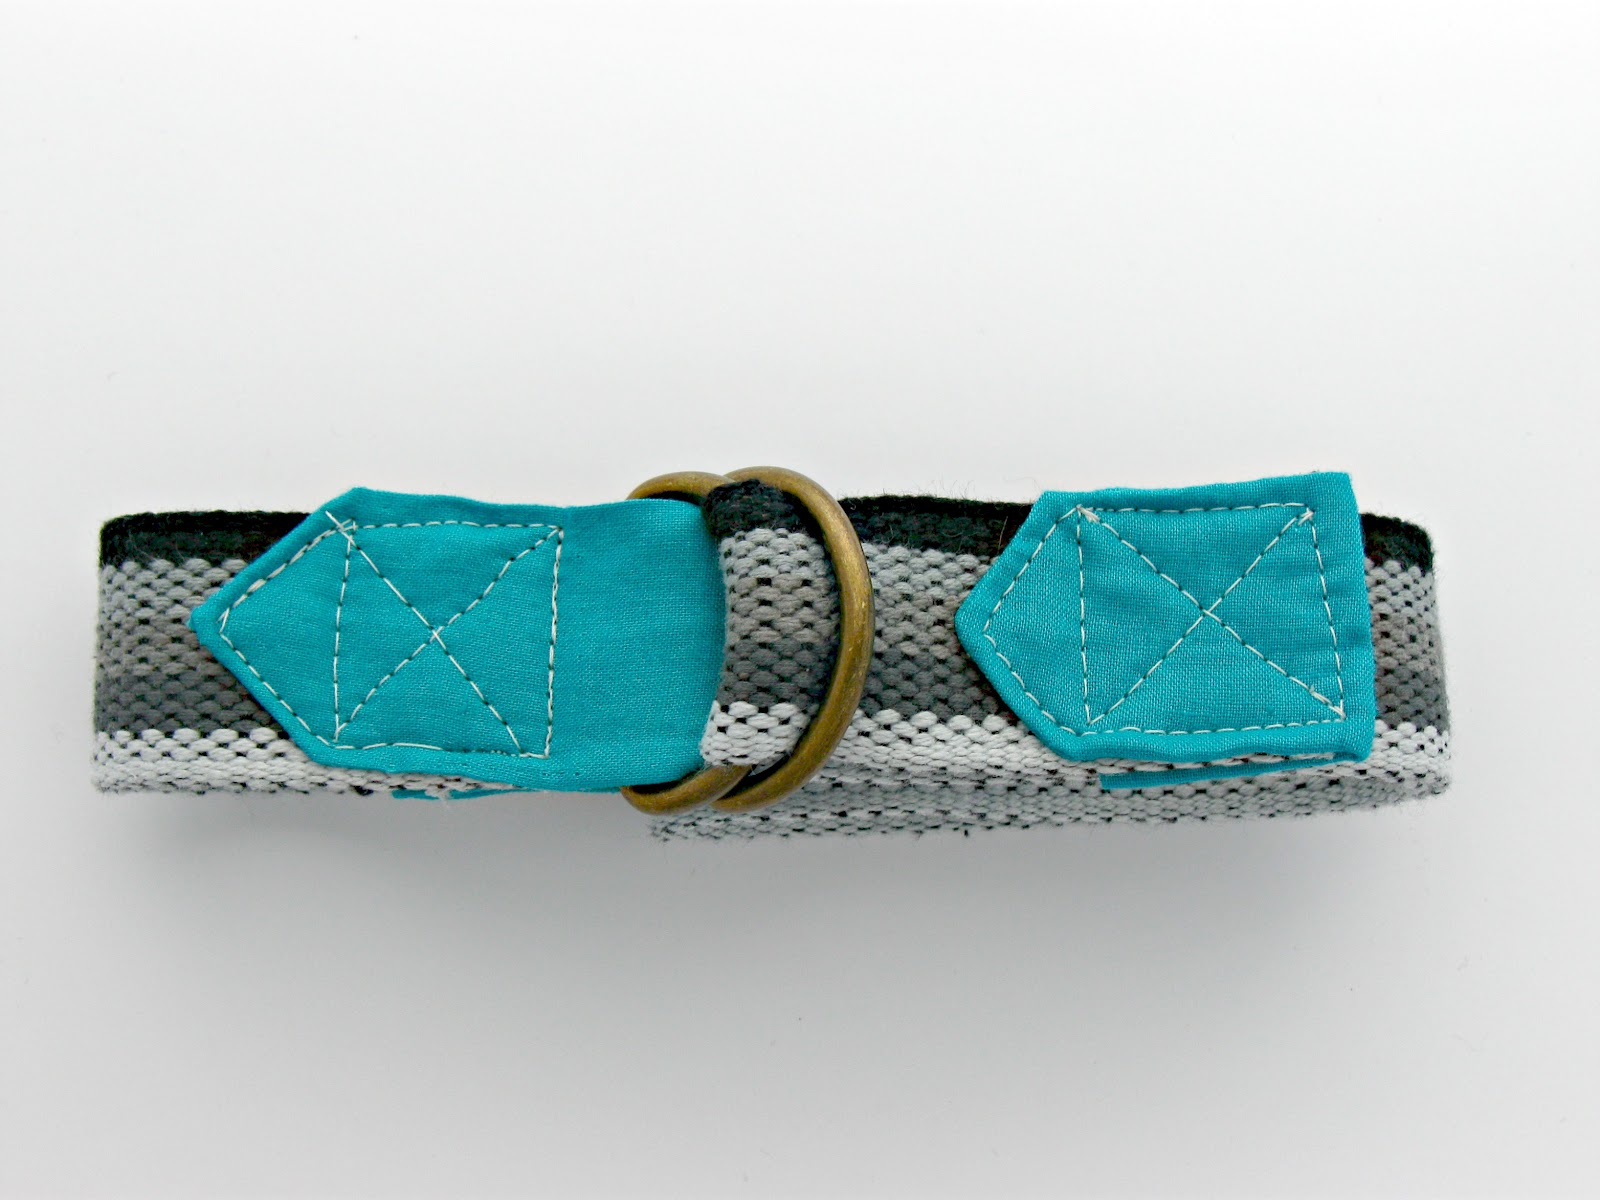
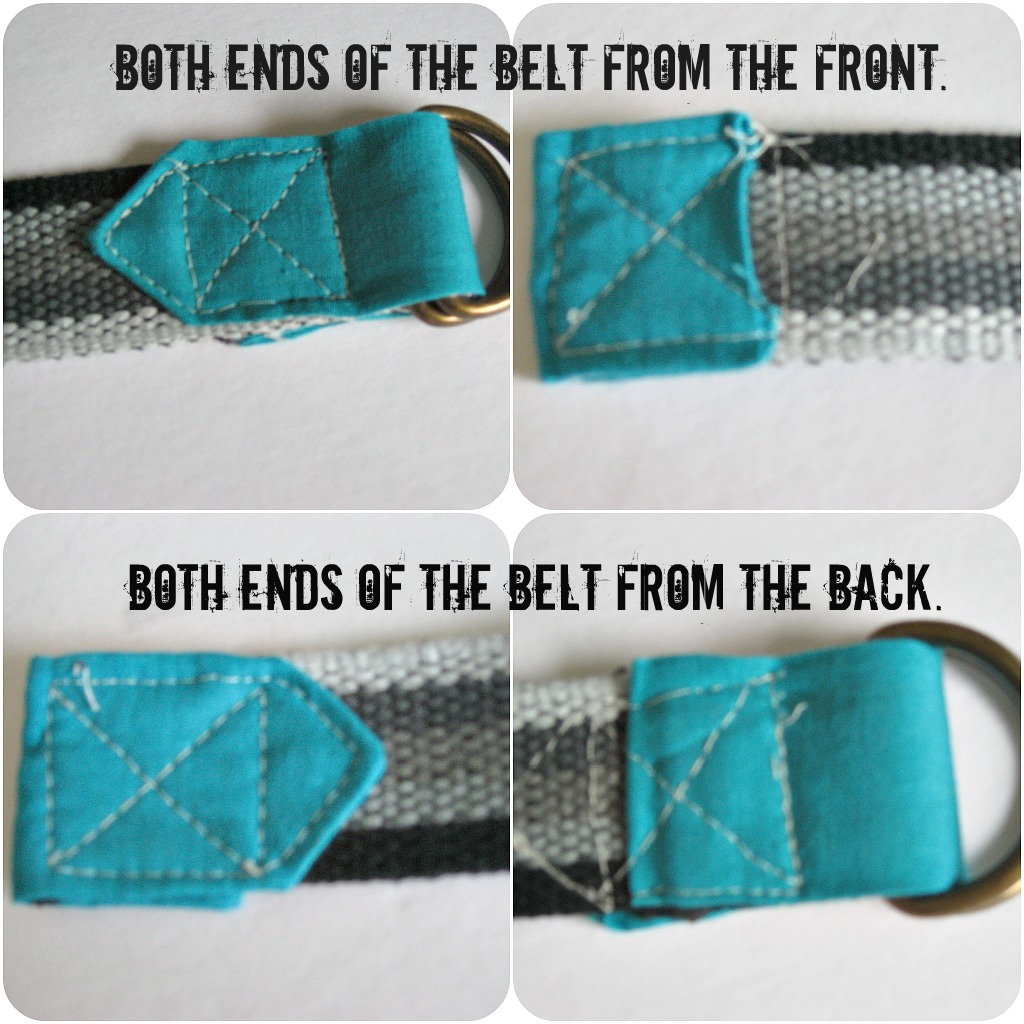
Sew it on and done. Quick picture to show how the belt ends looks like from front and back.
Thank you 😊
Hello @mari3! Your post was selected by our staff on behalf of the OCD Community Incubation Program and has received an OCD upvote! Congratulations!!! Please keep sharing these quality posts :)
Written by @crosheille for the NeedleWorkMonday Community ~
Thank you I really appreciate your support 🤗
Hi @mari3!
You make it look so easy. I love the colors you chose for the belt. It turned out really nice. Your stitching looks very professional :)
Every week needleworkers from around the globe get together to share our work, patterns, tips, ideas and shortcuts as we support one another. Our goal is to inspire the Hive blockchain to give crafting a try.
On Monday’s we use the #needleworkmonday tag and on all other days we use the #needlework tag without the word Monday attached. We share and post our work directly from the Community page.
We encourage our members to share the process of their work through photos (as you have done here). This not only validates your work but it takes us along the creative journey with you :)
For more information about what we do and for our posting guidelines please visit our FAQs.
Thank you ~
Your guidance and support is amazing! Thank you for helping me improve 🤗
Absolutely! I’ve enjoyed reading your publications. 😉