Hola amigos Amantes de la costura como estuvo su fin de semana?
Hello friends, sewing lovers, how was your weekend?
.png)
Quería mostrarles un poco de este gorro se satin que hice el fin de semana ya que me lo estaban pidiendo para un pedido y tenia que practicar.
I wanted to show you a little of this satin hat that I made over the weekend since they were asking me for it for an order and I had to practice.
Materiales:
1 Metro de tela en este caso yo compre medio de azul y medio de naranja.
1Metro de goma de aproximadamente 1 cm.
2 hilos uno para el carrete y el otro para la parte de arriba.
Materials:
1 Meter of fabric in this case I bought half of blue and half of orange.
1Meter of rubber of approximately 1 cm.
2 threads, one for the spool and the other for the top.
Pasos que realice//Steps you take:
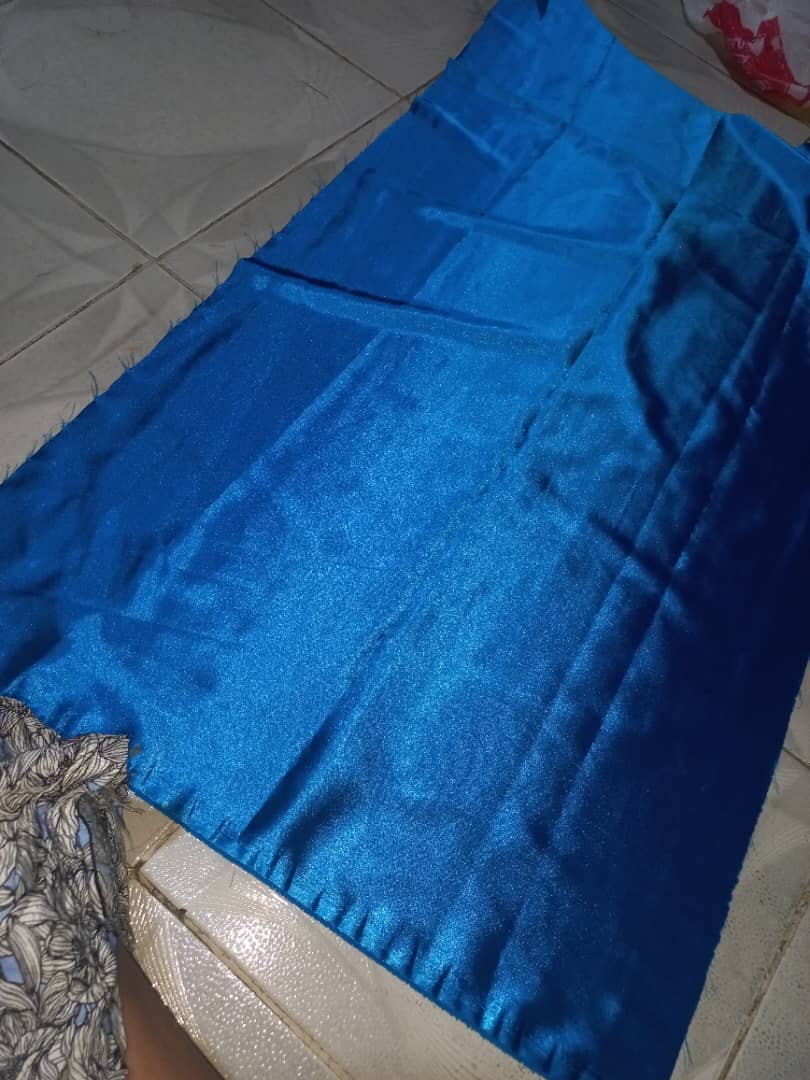
Para comenzar debemos de doblar en 4 partes iguales nuestra tela lo mas normal es usar solo la mitad de nuestra tela así:
To begin, we must fold our fabric into 4 equal parts. The most normal thing is to use only half of our fabric like this:
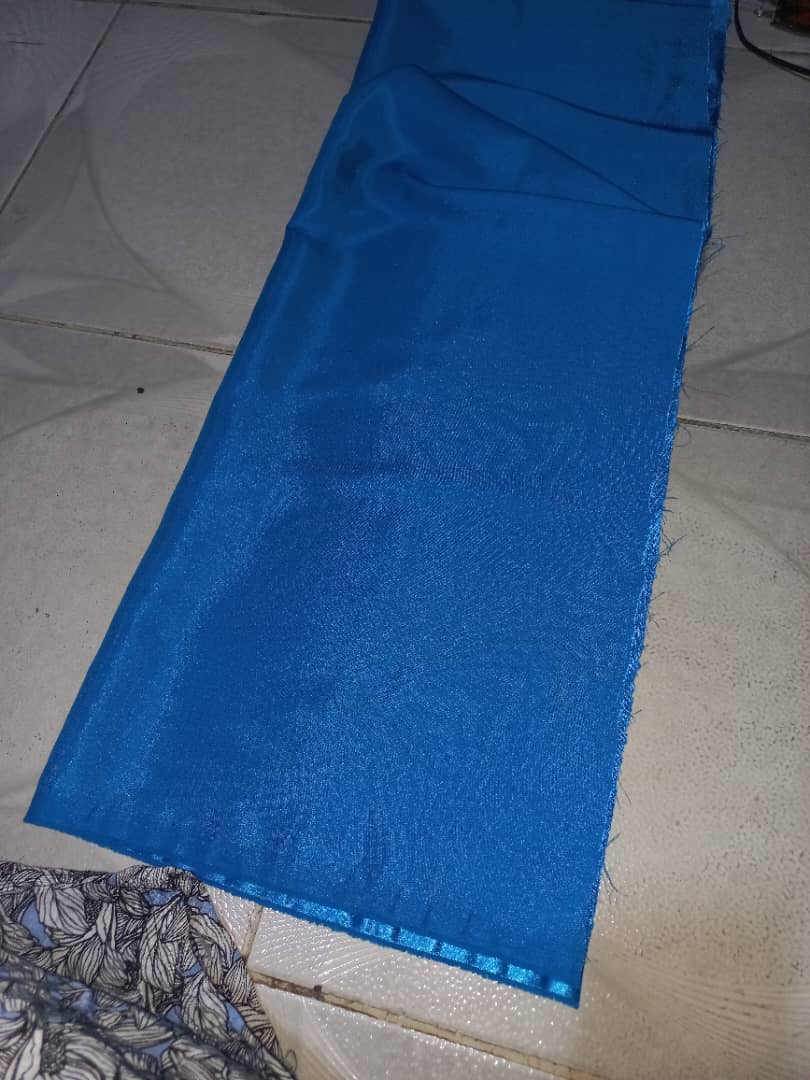
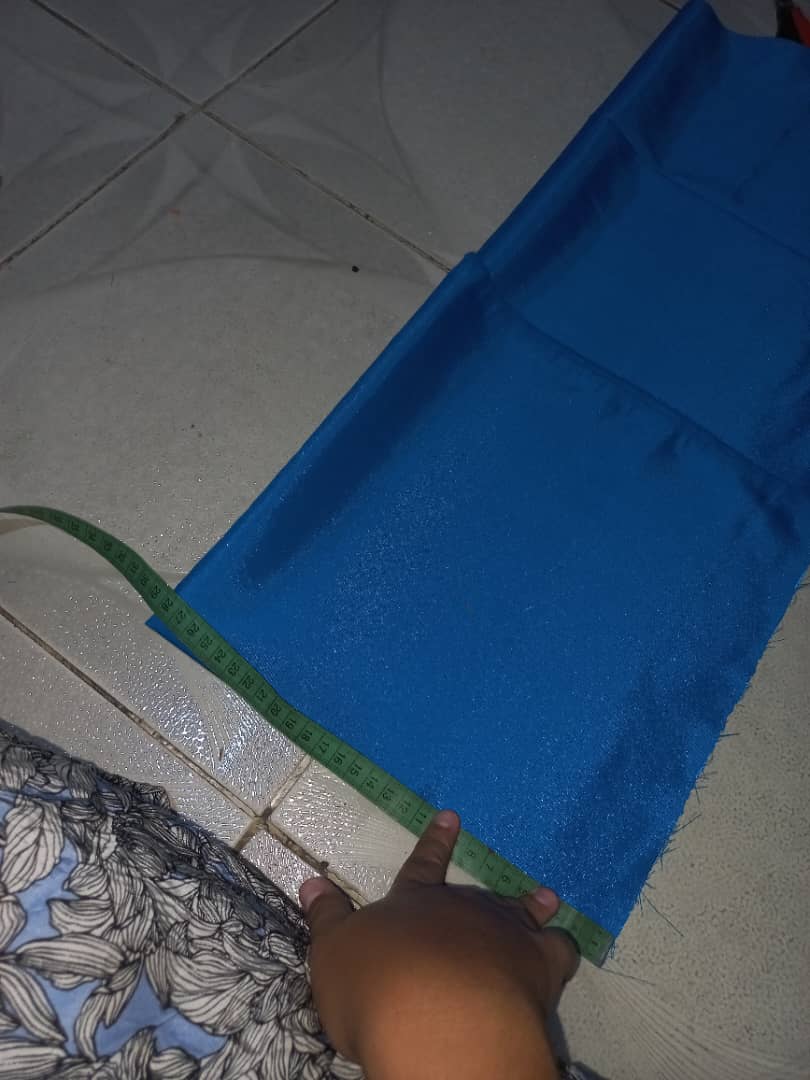
Tenemos que medir desde esta esquina hasta abajo 27 cm es algo así como hacer una falda plato, bueno medimos todo alrededor 27cm y obviamente marcamos.
We have to measure from this corner to the bottom 27 cm, it is something like making a plate skirt, well we measure everything around 27 cm and obviously mark.
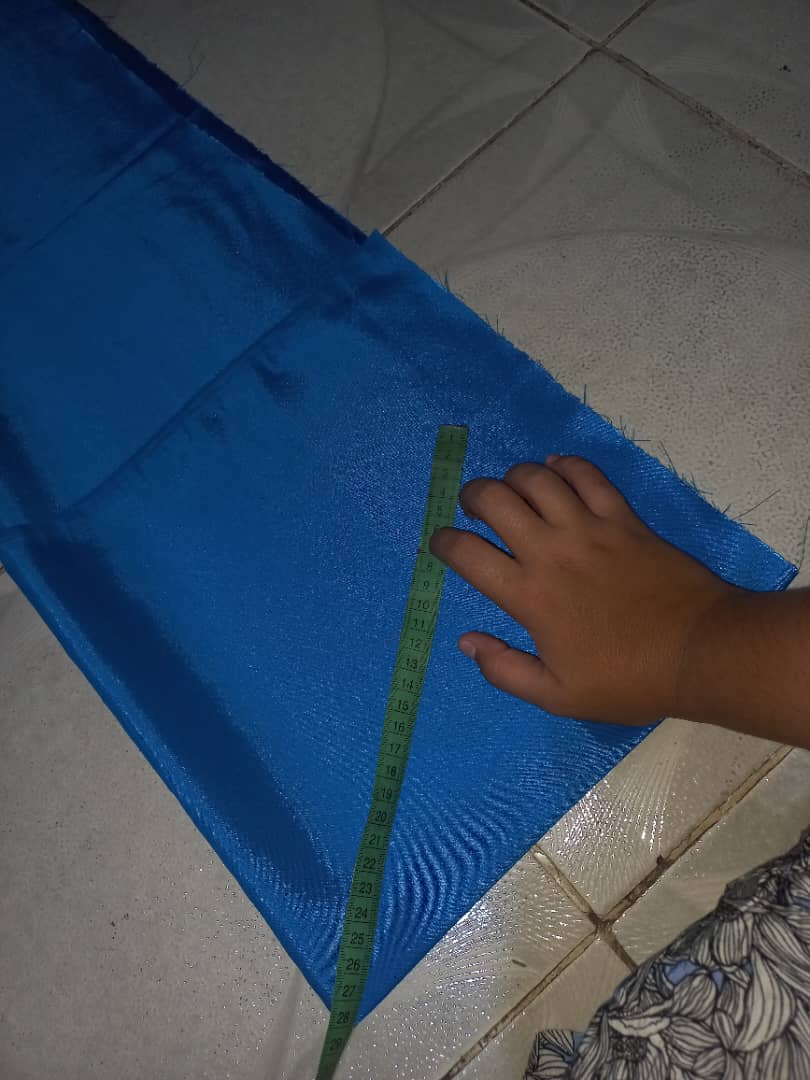
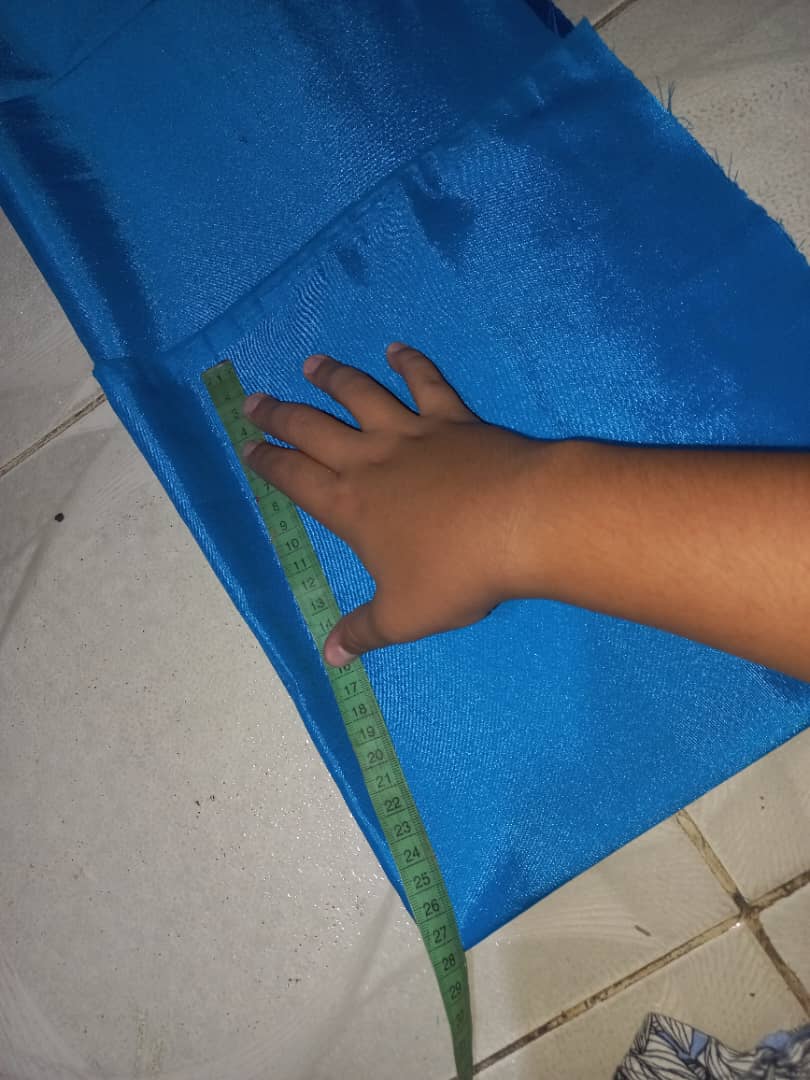
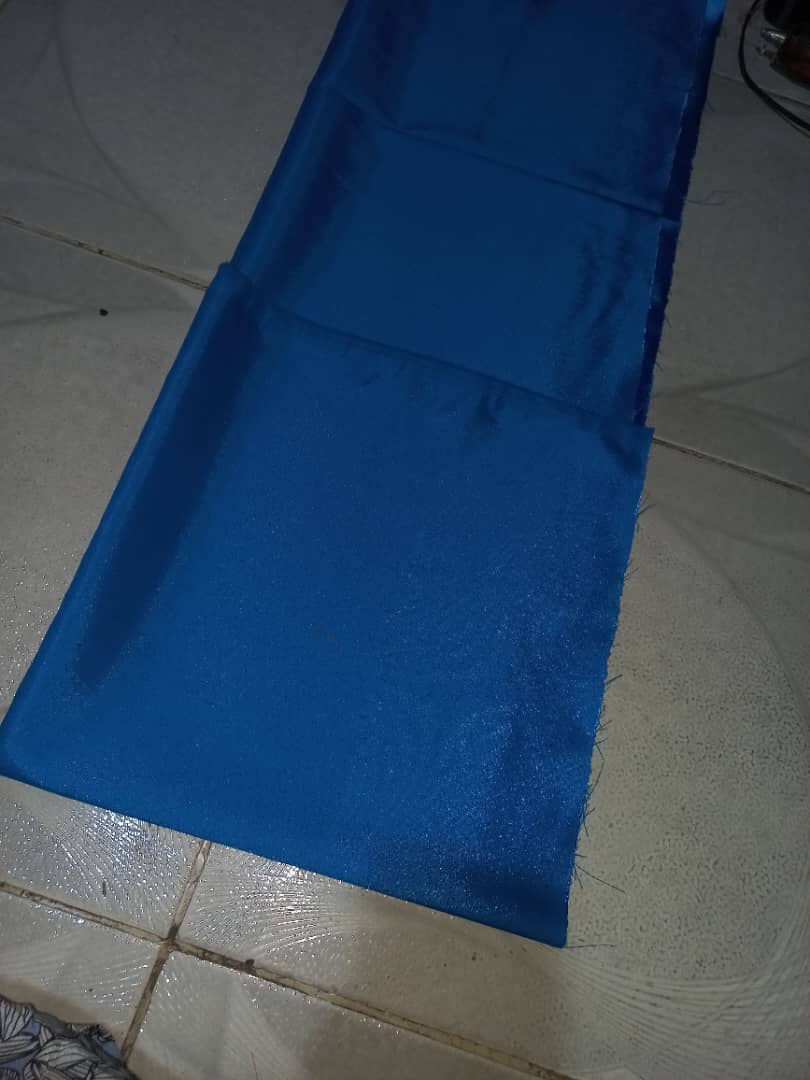
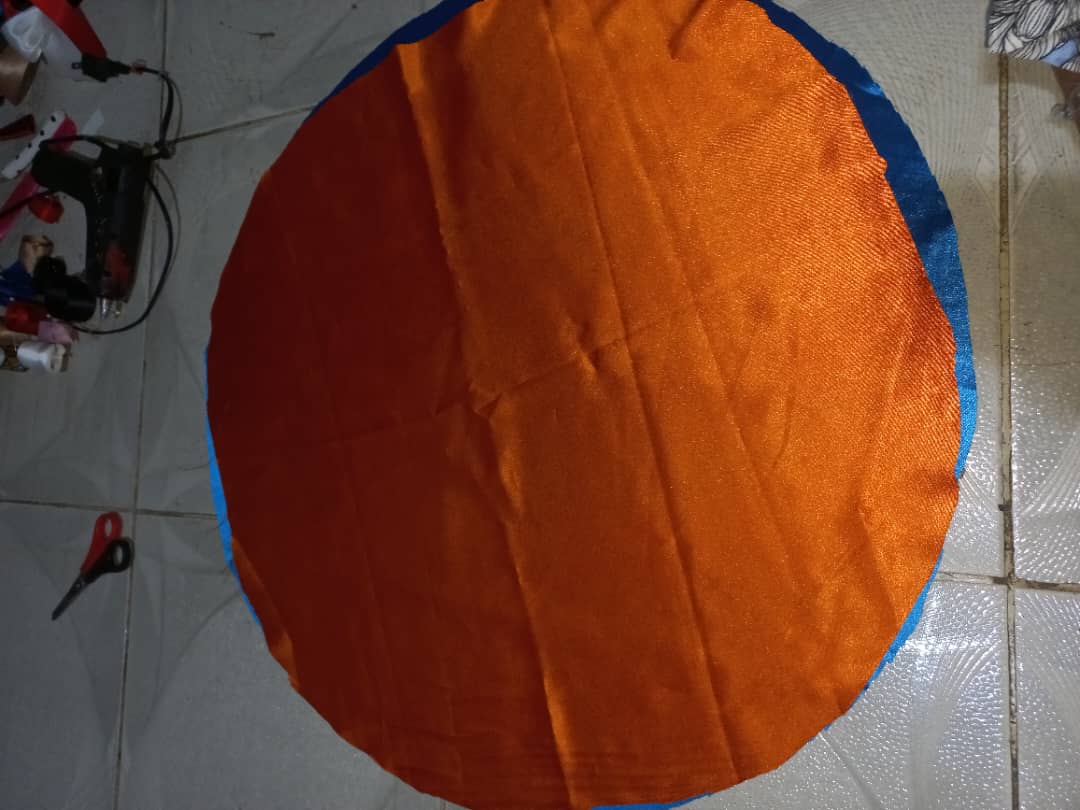
Luego cortamos y nos quedará esta circunferencia:
Then we cut and we will have this circumference:
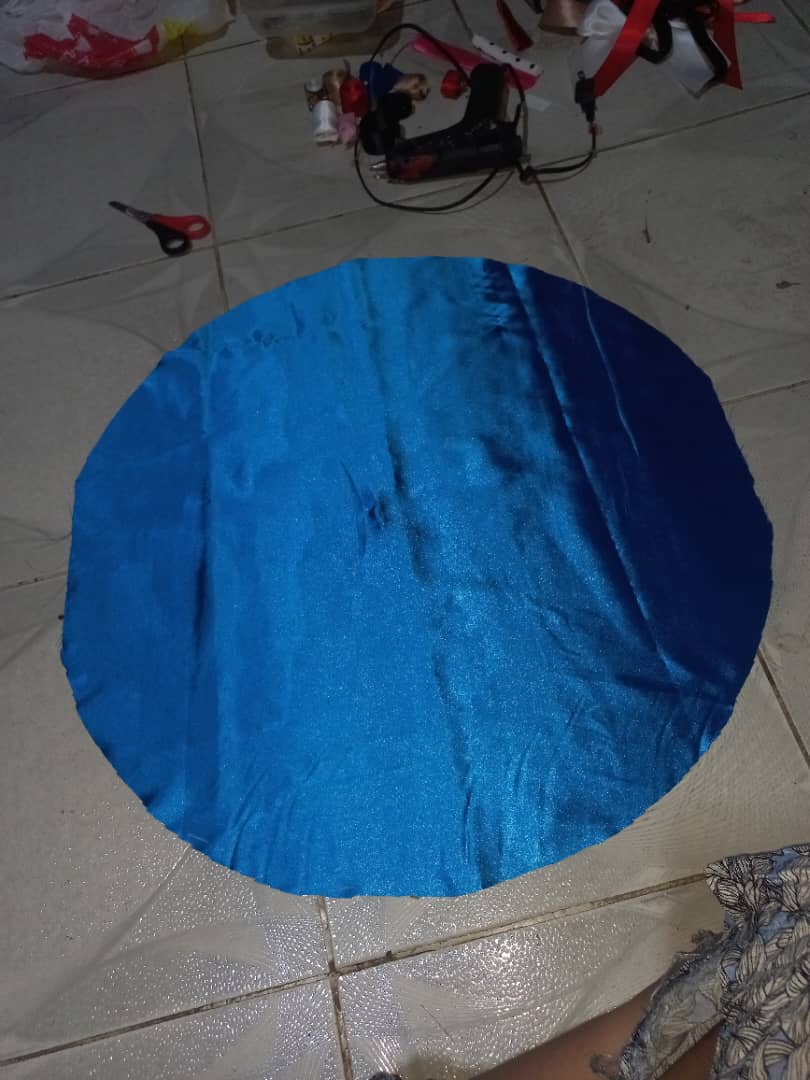
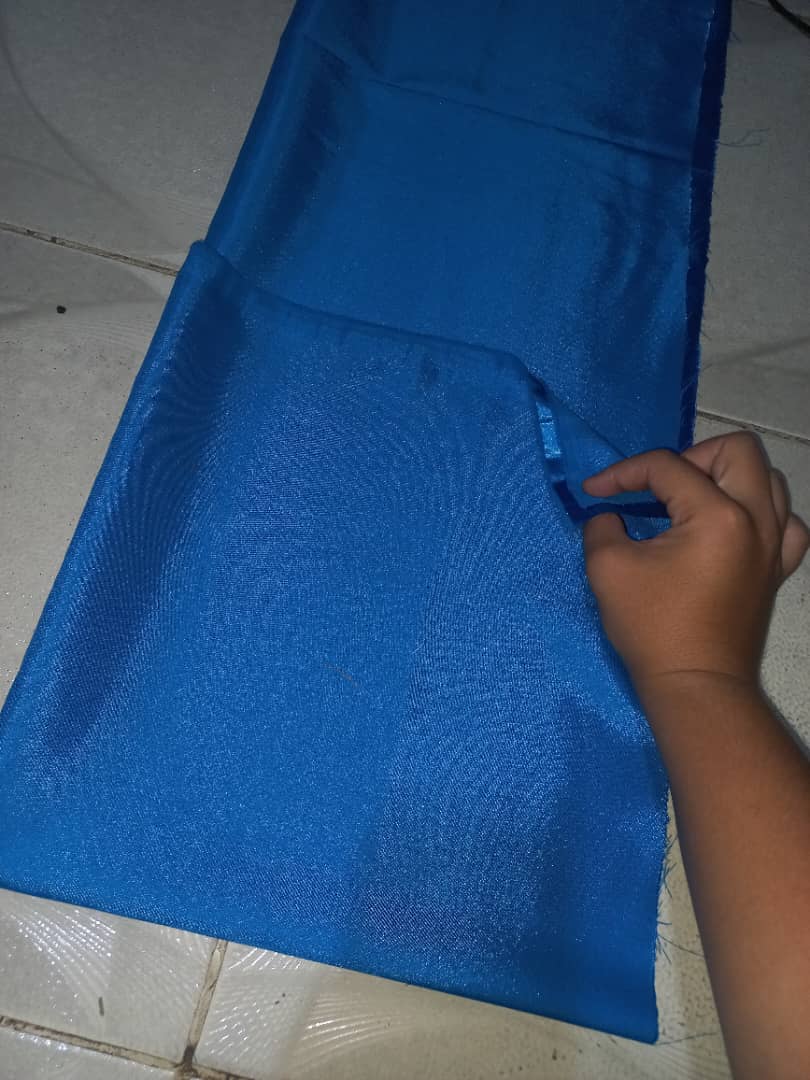
Esto mismo lo haremos nuevamente pero con la otra tela que tenemos.
We will do this again but with the other fabric we have.
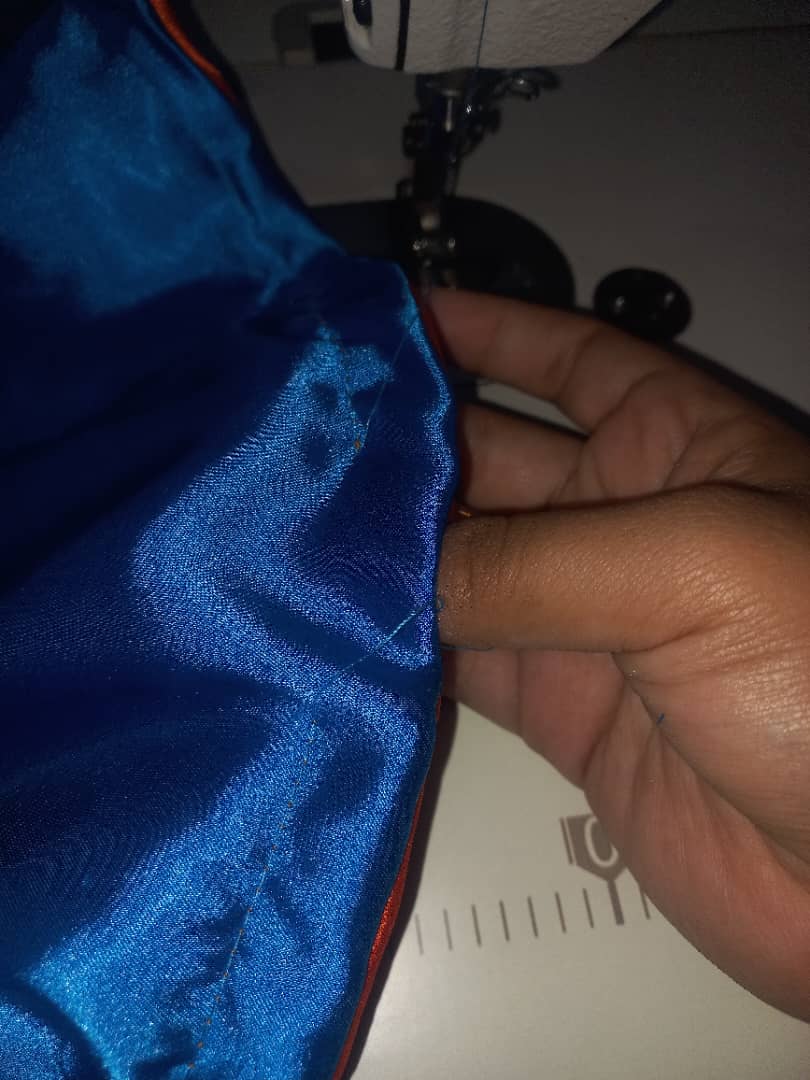
Después de obtener nuestros dos círculos juntaremos los dos y colocaremos frente con frente, y haremos una costura por toda la orilla dejando un orificio.
After obtaining our two circles, we will put them together and place them face to face, and we will make a seam along the entire edge, leaving a hole.
 )
)
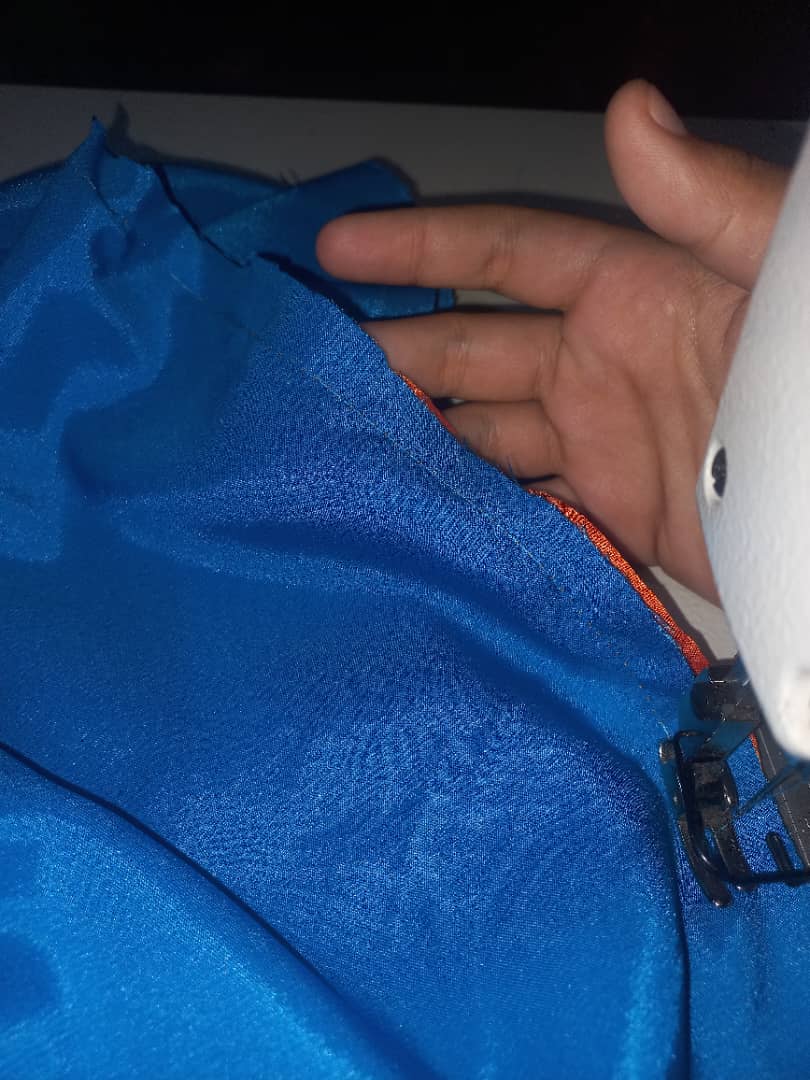
Por ese orificio vamos a sacar la parte de enfrente y plancharemos bien que queden bien todo alrededor de nuestro circulo.
Through that hole we are going to remove the front part and iron it well so that everything around our circle fits well.
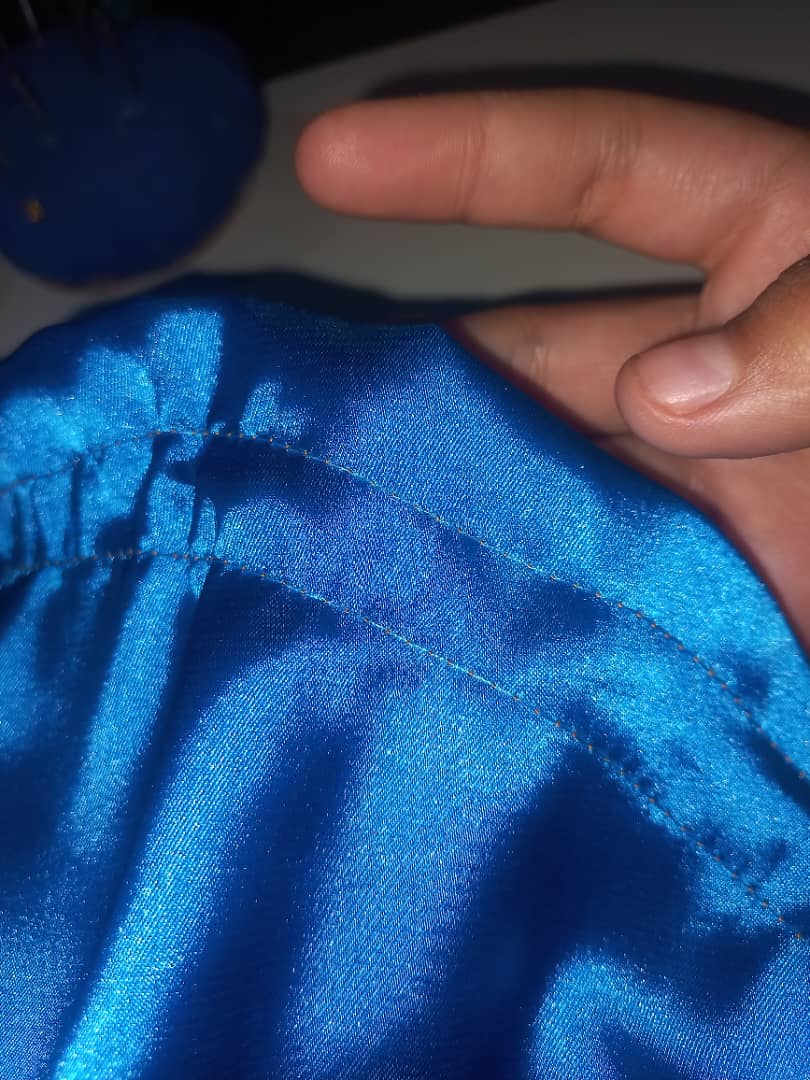
Luego pasaremos una costura dejando 1 o 2 cm y cosemos por todo alrededor de nuestro circulo dejando el mismo orificio en el mismo lugar.
Then we pass a seam leaving 1 or 2 cm and sew all around our circle leaving the same hole in the same place.
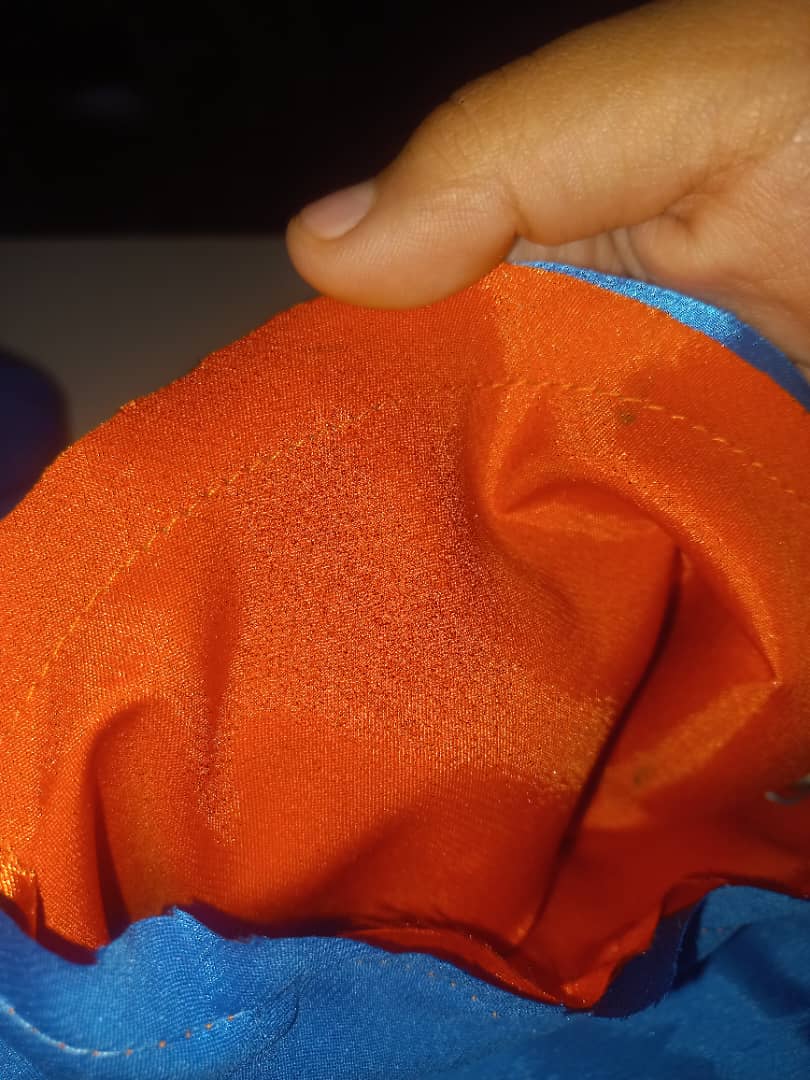
Después hacemos otra costura 1.5cm mas arriba que la otra costura y ahí coseremos sin dejar ningún orificio.
Then we make another seam 1.5cm higher than the other seam and we will sew there without leaving any holes.
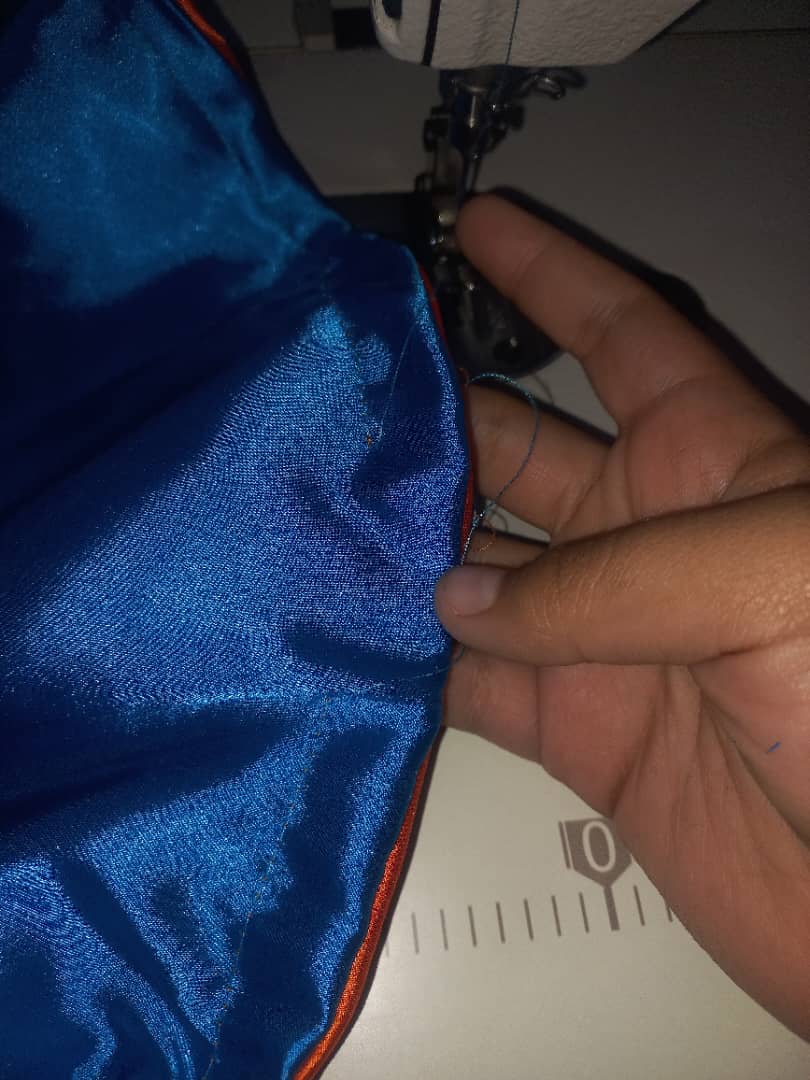
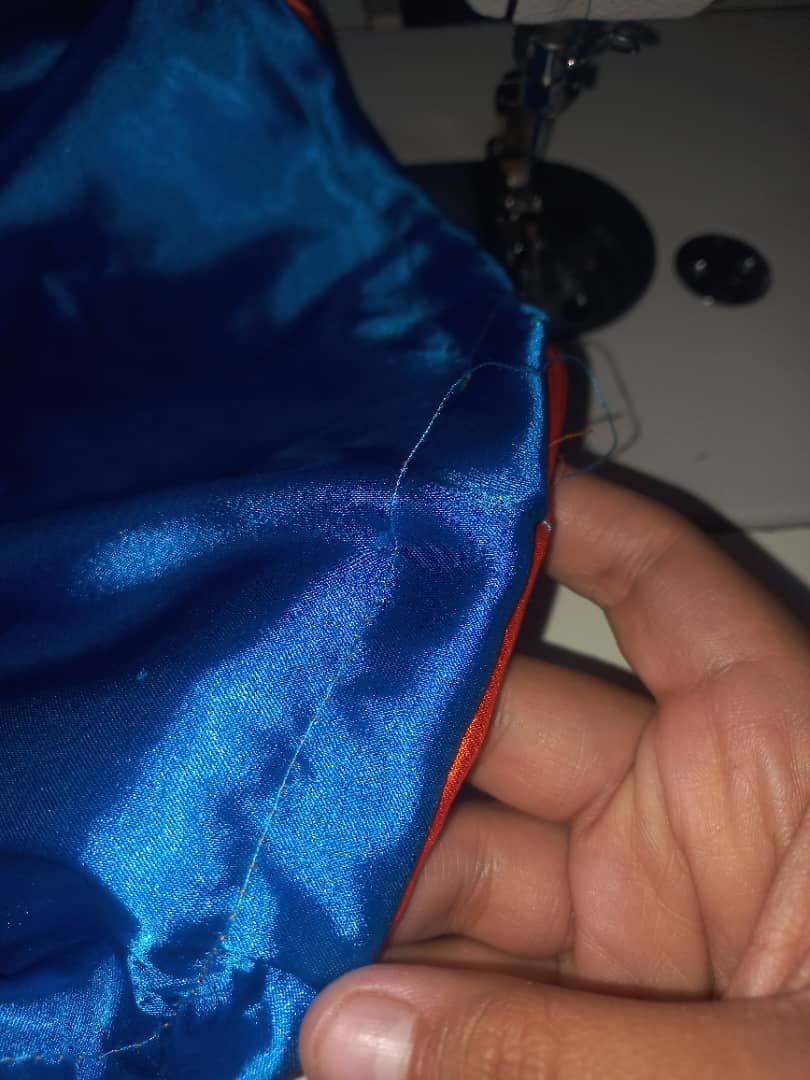
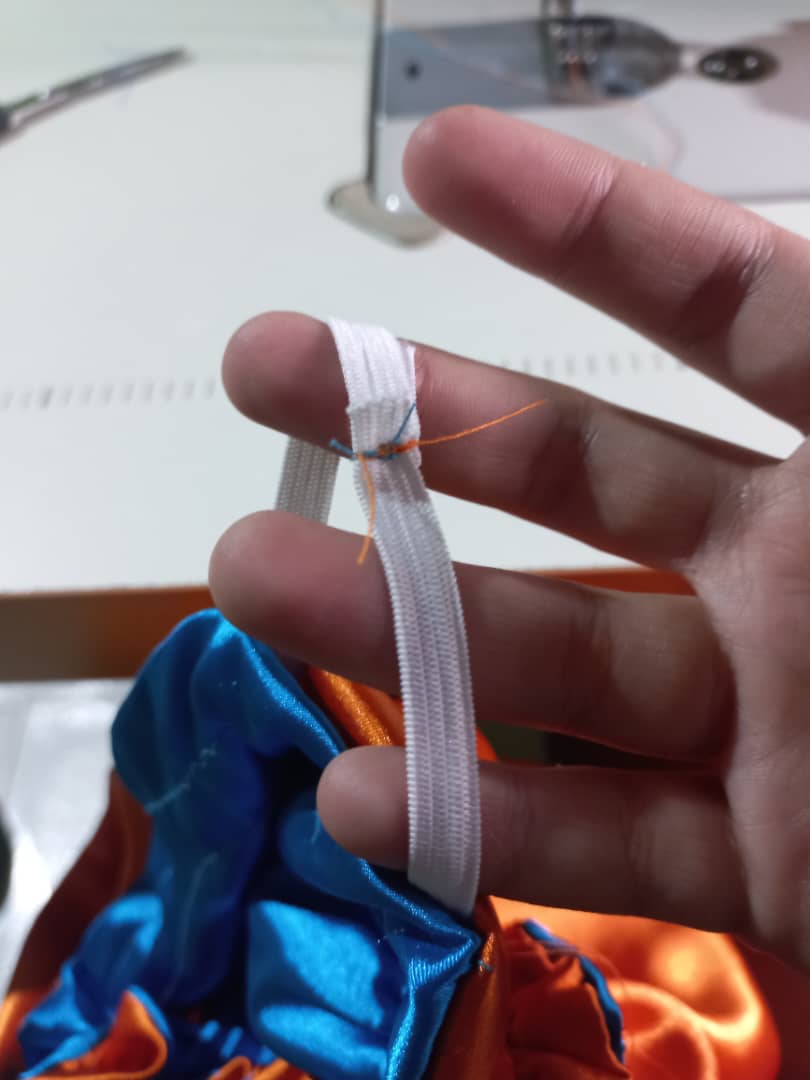
Luego de esto con la goma de 0.55 cm ya cortada con un ganchillo la pasaremos por todo alrededor de nuestra costura, esto por los dos orificio que dejamos.
Then we make another seam 1.5cm higher than the other seam and we will sew there without leaving any holes.
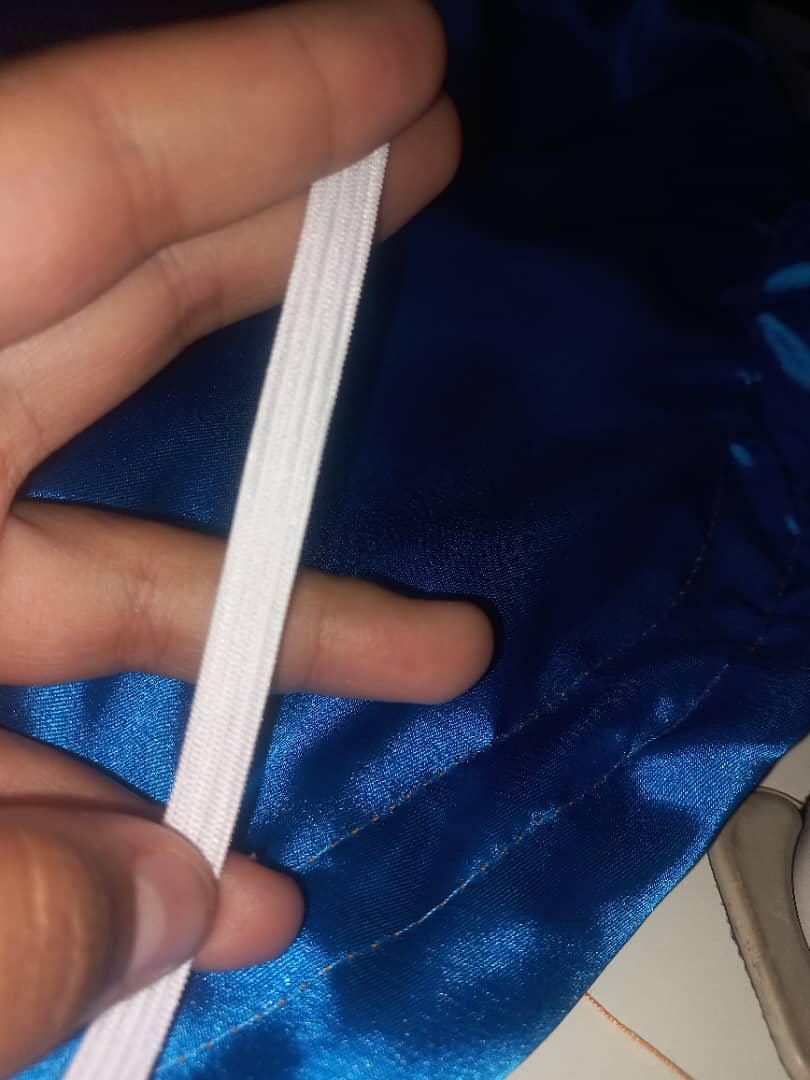
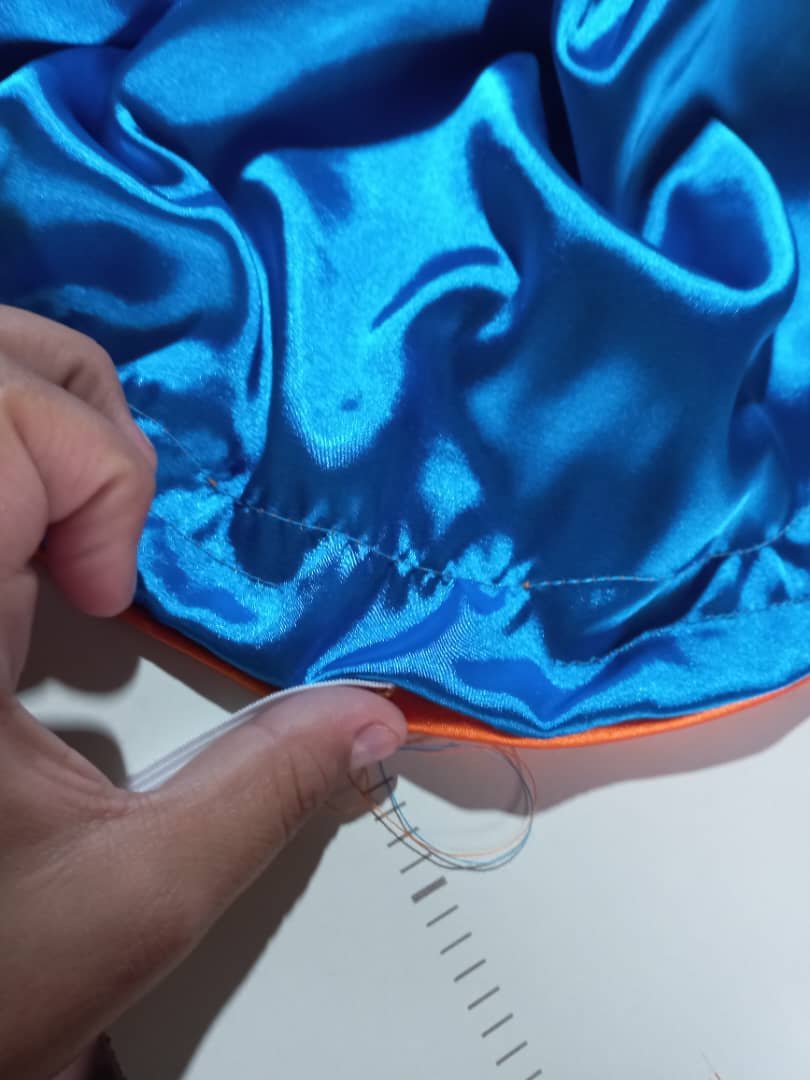
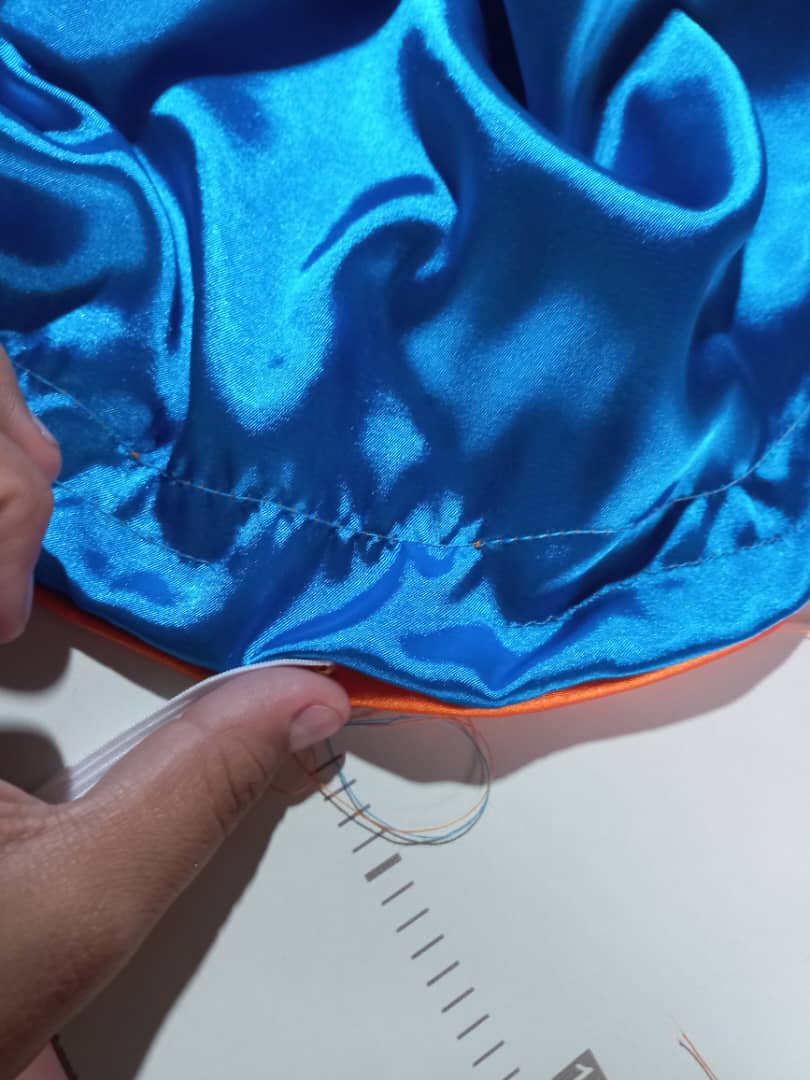
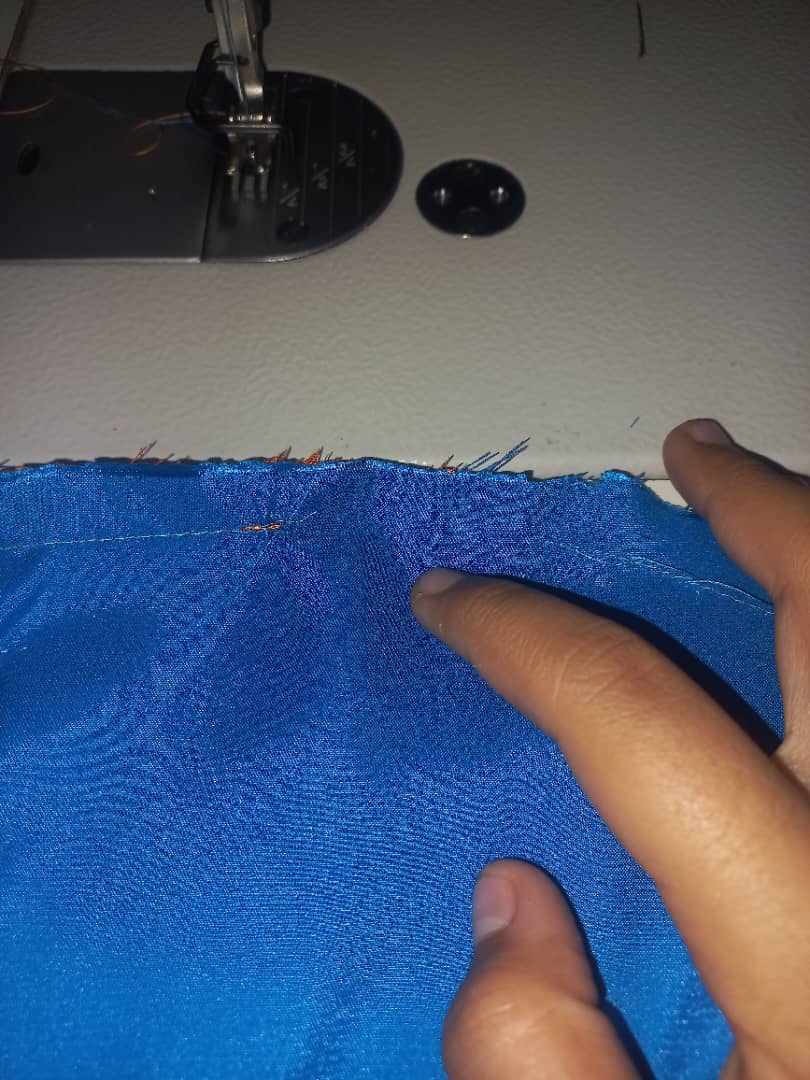
Cosemos nuestra goma y para finalizar cosemos los dos orificios que dejamos el principar y por donde metimos la goma.
We sew our rubber band and to finish we sew the two holes that we left at the beginning and where we inserted the rubber band.
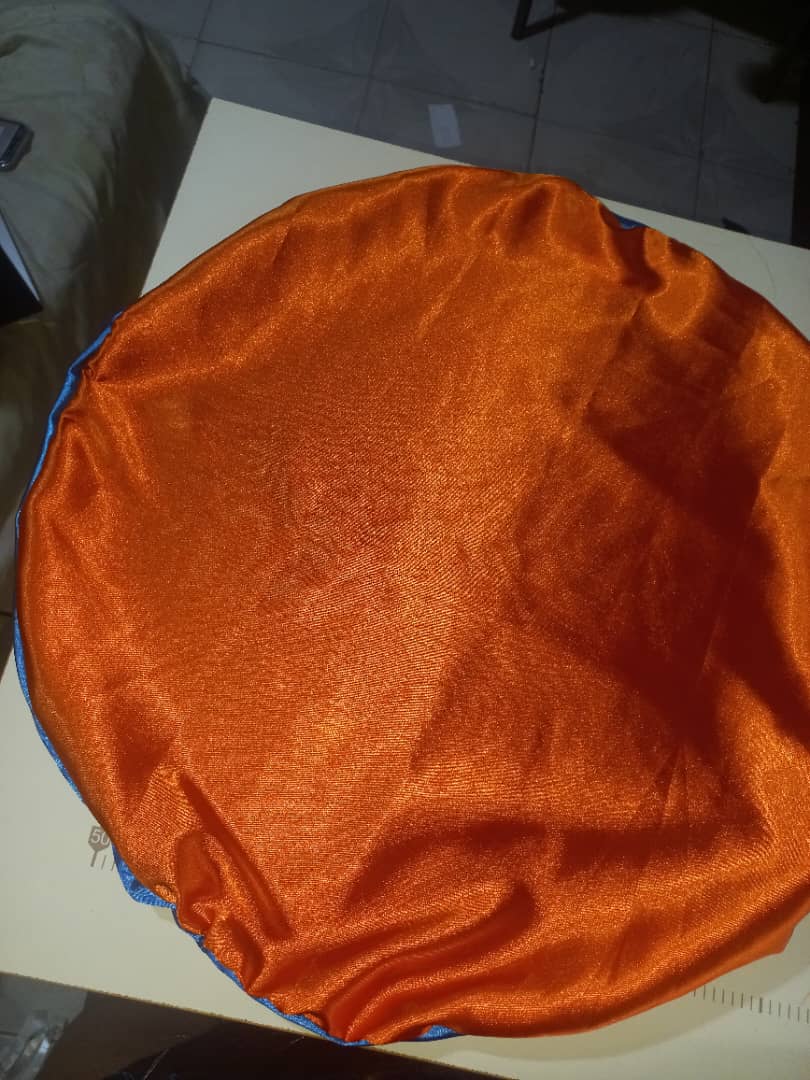
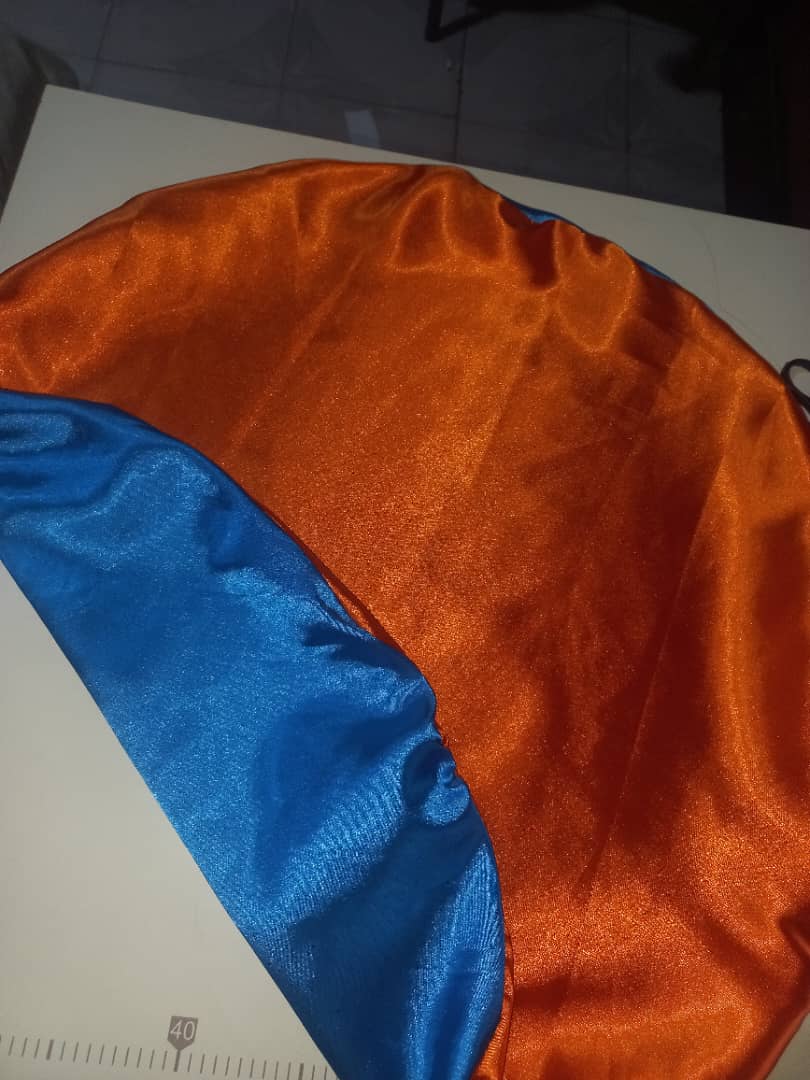
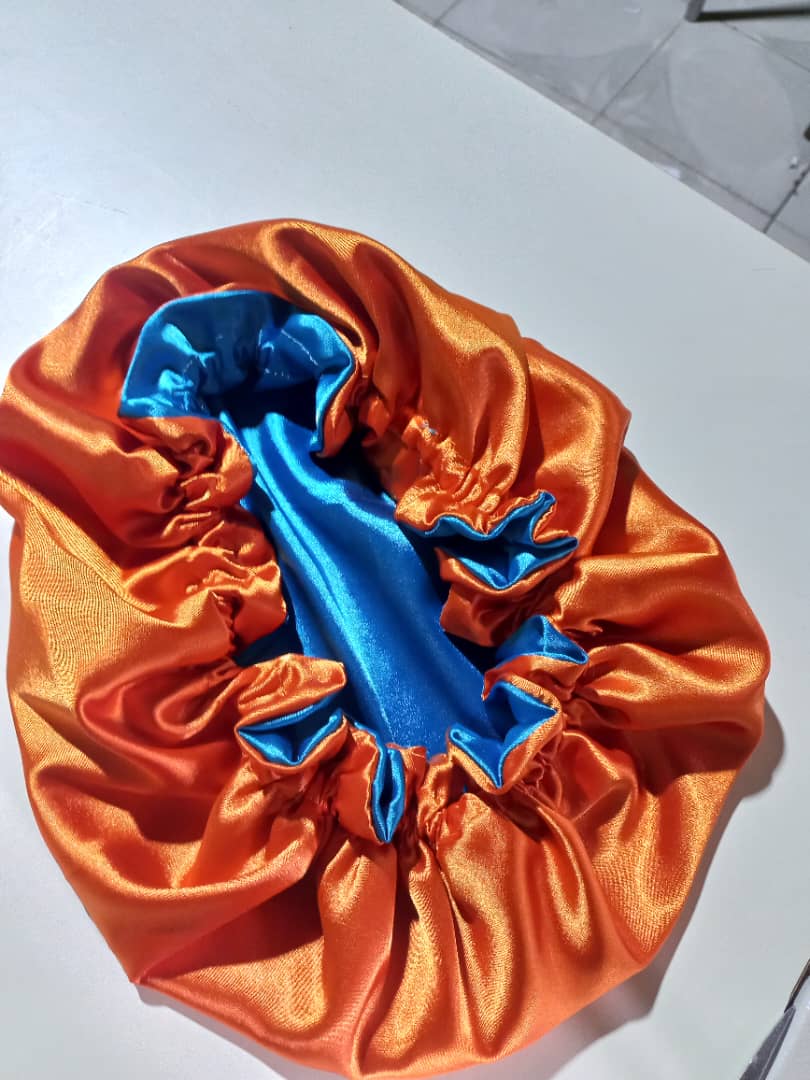
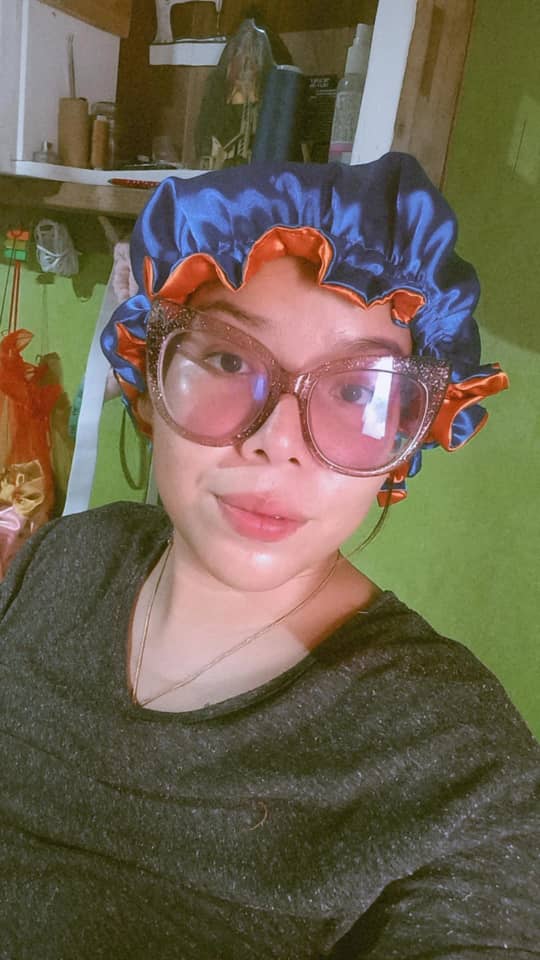
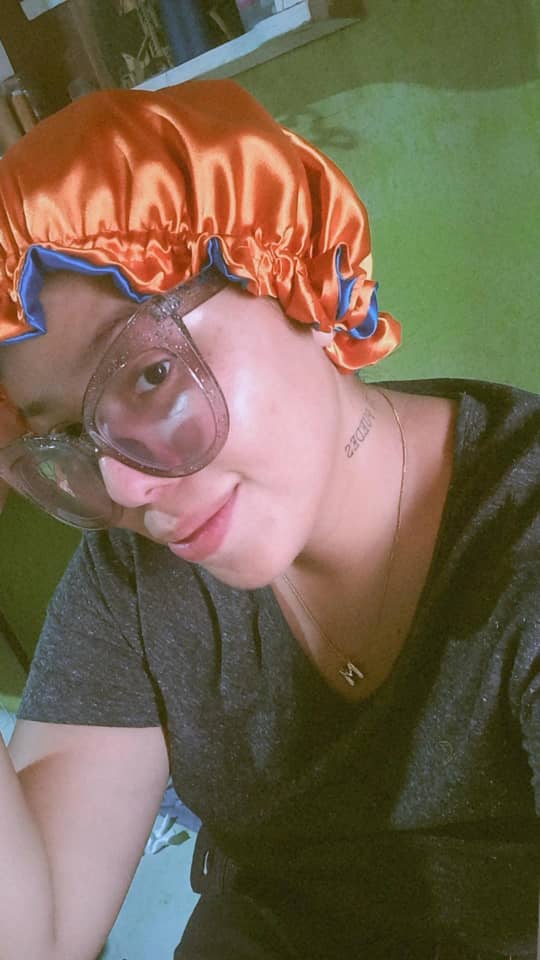
Eso es todo por acá les dejo fotos de como queda nuestro super gorro, lo chevere es que lo puedo usar de los dos colores y eso me parece una idea genial. Espero les guste y también se atrevan a realizarlo este es utilizando casi siempre para que al momento de dormir tu cabello no se ponga feo ni se te hagan nudos.
That's all, here I leave you photos of how our super hat looks, the cool thing is that I can use it in both colors and that seems like a great idea to me. I hope you like it and you also dare to do it, this is what I use almost always so that when you go to sleep your hair doesn't get ugly or get knotted.
.jpeg)
.jpeg)
Eso es todo por este post los quiero espero hayan tenido un buen inicio de semana para todos BESOS Y ABRAZOS.
Me gustó mucho ✨ Yo si me animaría a hacerlo para salir a la calle con un outfit al estilo de una muñeca con un gorro así jeje Gracias por compartir 💚
Es buena idea amiga jejeje
Oh my favorite color is orange
I love the colors and you made it pretty easy to understand the steps.
siempre intendo hacer de la manera mas sencilla para que ustedes tambien puedan hacerlo.Saludos
Un proyecto muy útil, me gustó mucho este gorro reversible. Gracias por compartir. Saludos.
gracias a ti por ver mi creacion, es demasiado comodo a mi me encanto
Me gustó mucho que el gorro sea reversible. Los colores que usaste contrastan muy bien. Buen trabajo!
Gracias por compartir.
A mi me encanta esa combinacion de colores, me parece demasiado vibrante. Saludos
Sencillo y hermoso, te felicito querida, que tengas un feliz día
gracias amiga, espero tu tambien lo hayas tenido a mi me fue muy bien.
Me alegra
Congratulations @mariangelica1980! You have completed the following achievement on the Hive blockchain And have been rewarded with New badge(s)
Your next target is to reach 400 replies.
You can view your badges on your board and compare yourself to others in the Ranking
If you no longer want to receive notifications, reply to this comment with the word
STOPCheck out our last posts: