Building a wall partition needs lots of work and planning. This is currently our project for this week. It's quite a challenge but I must say that the process of building one is enjoyable and satisfying.
The previous room is made up of a single sided marine plywood and coco lumber studs. Coco lumber is relatively cheap compared to good lumber. The downside is of course the quality. If left untreated it's easily infected by woodborers. And the cost for buying a wood guard is pricey, you wouldn't use one on this kind of wood.
So for the replacement we are torn between three options. First, a dry wall made up of good lumber as studs and fiber cement board for the wall. Second is a concrete wall made up of sand, cement, steel and some gravel. And lastly which is the option the we chose is the combination of metal studs and fiber cement board.
We chose the studs for several reasons. A concrete wall is indeed the sturdiest of the options but it's very messy to work with concrete, especially if inside the house. Concrete wall is also not versatile. When you break a wall made of concrete other than being a filling material there's no much into it. We also did not chose the wooden studs because of chemical treatment. Most wood guards are toxic and we have someone with asthma. I know we can do the treatment outside but the smell still lingers even a few days after.
We list the materials that we needed and I headed to one of the nearest hardwares to make a purchase.
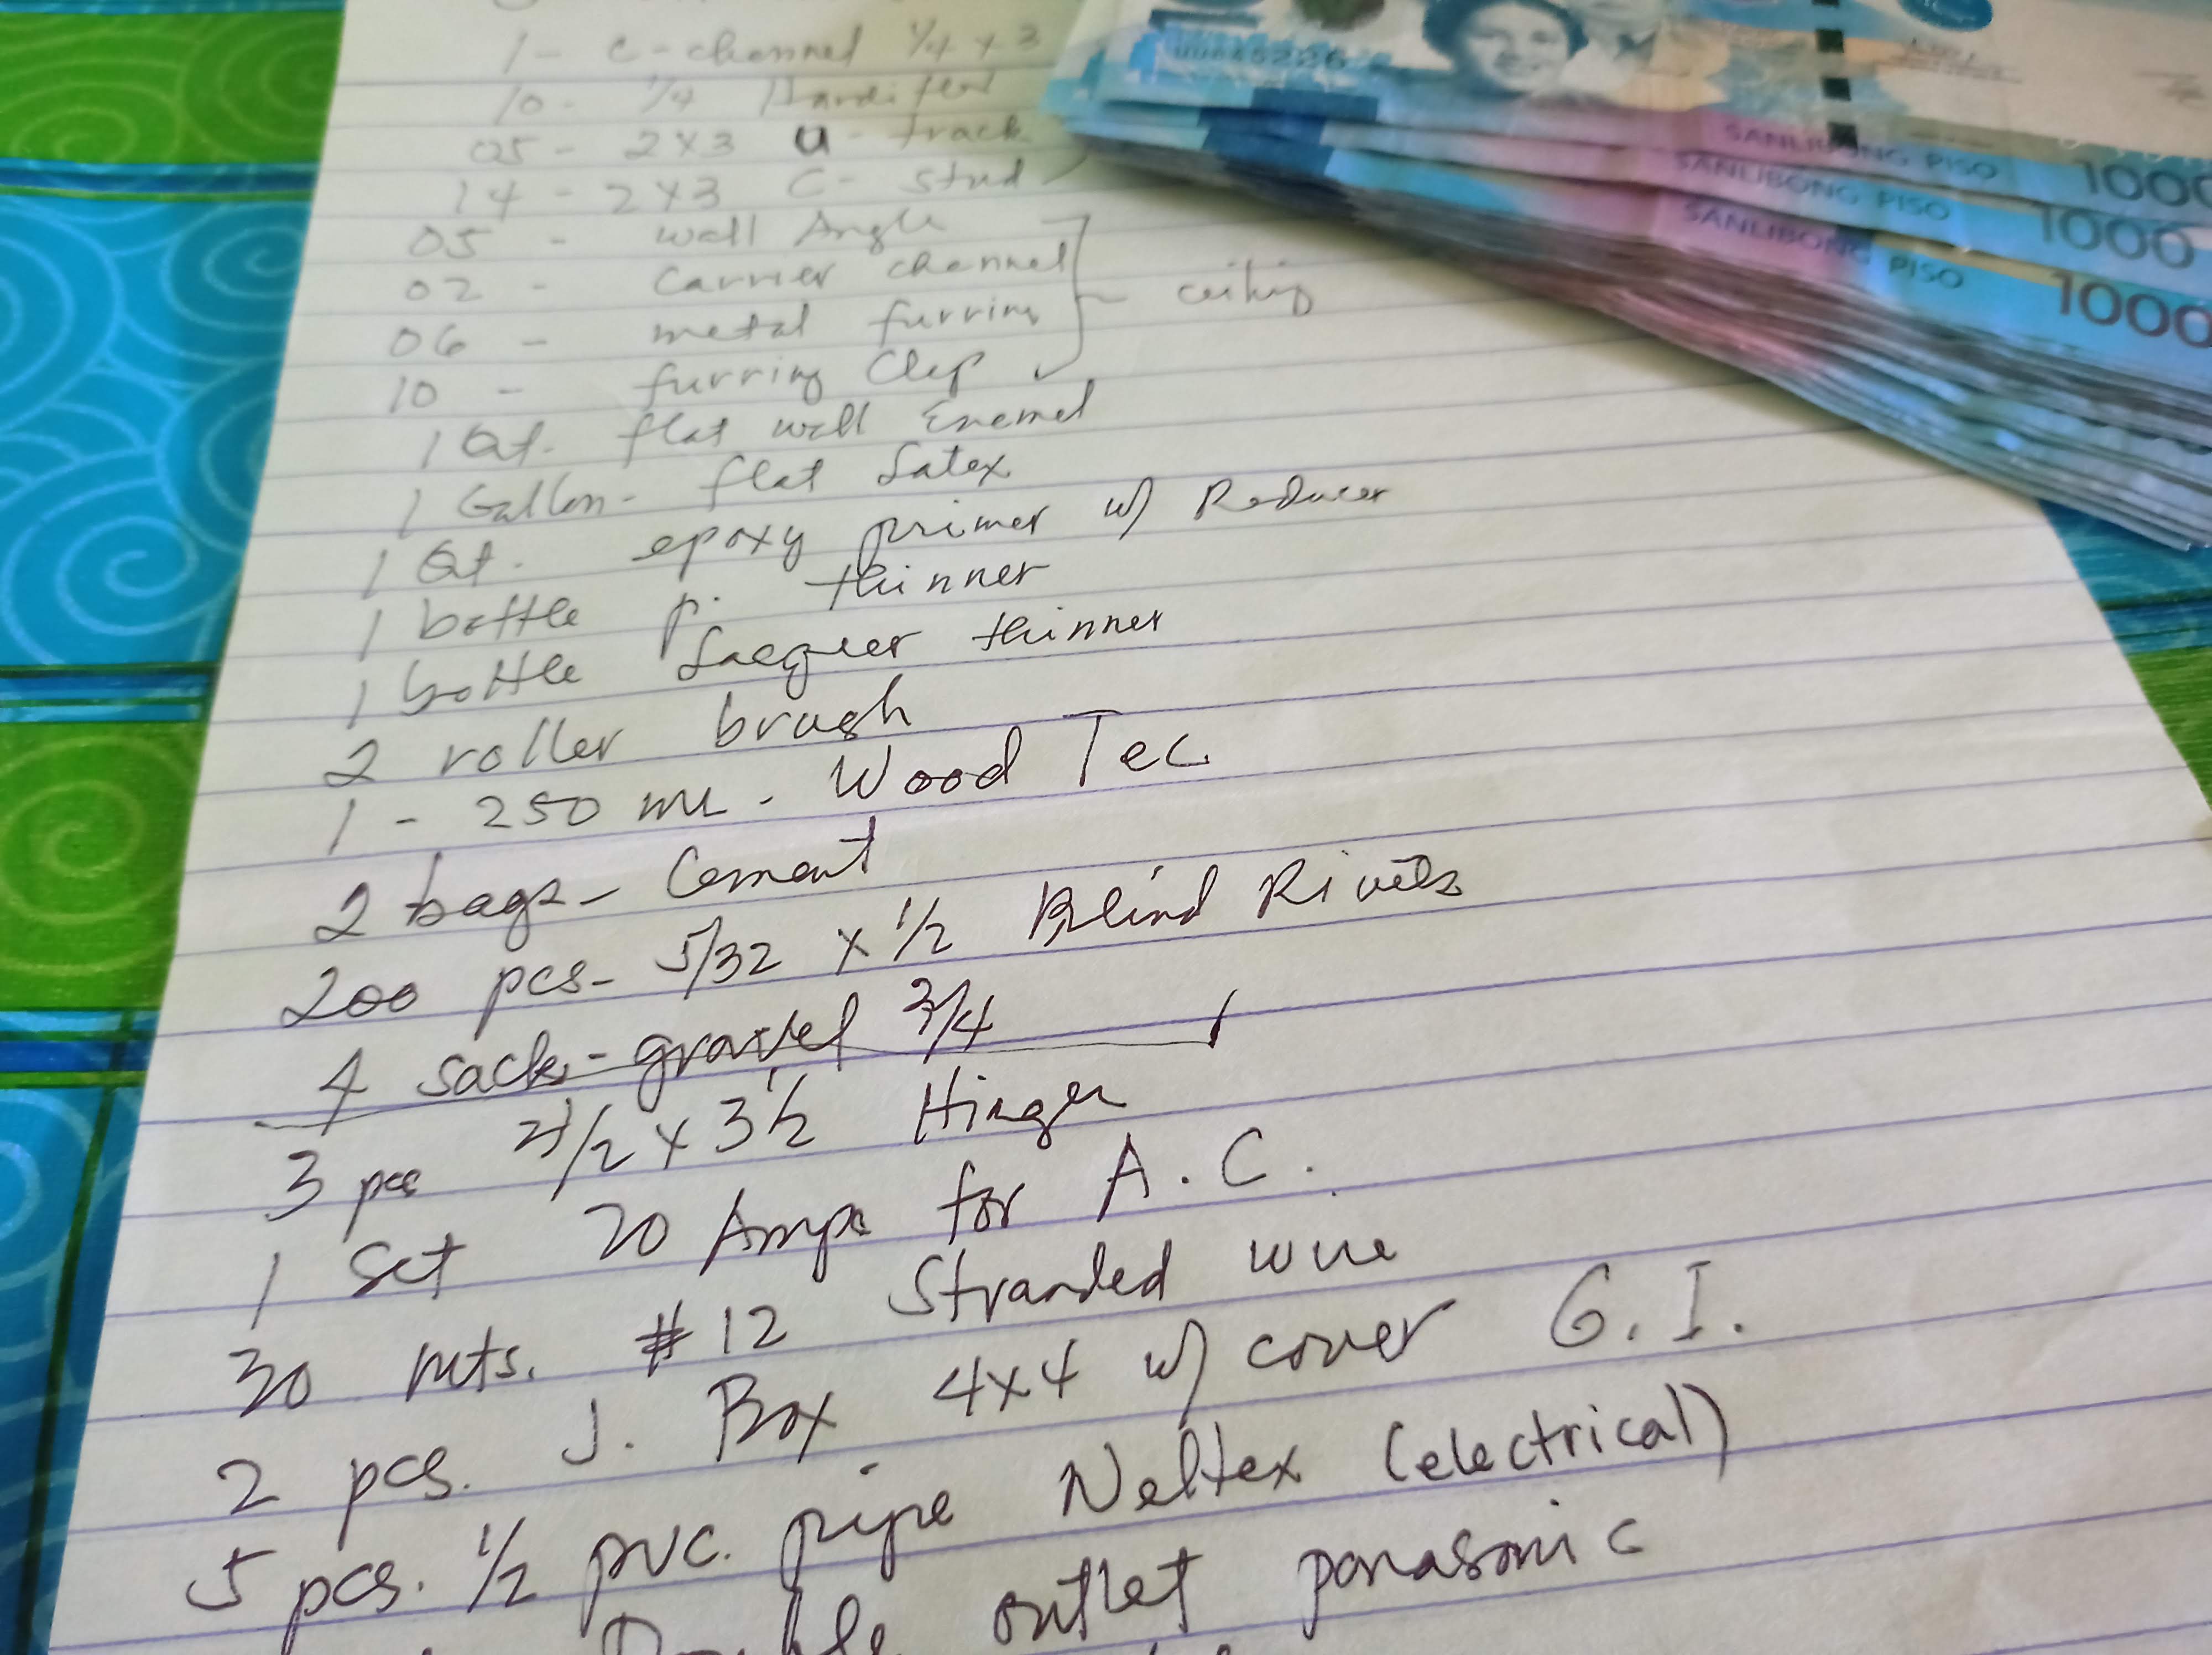
We need studs, ficem boards, electrical wires, pipes, furring for the ceiling , paints, wall putty, circuit breaker, outlet switches and a good number of screws and blind rivets. Total price is around 18k Php or 360 USD.
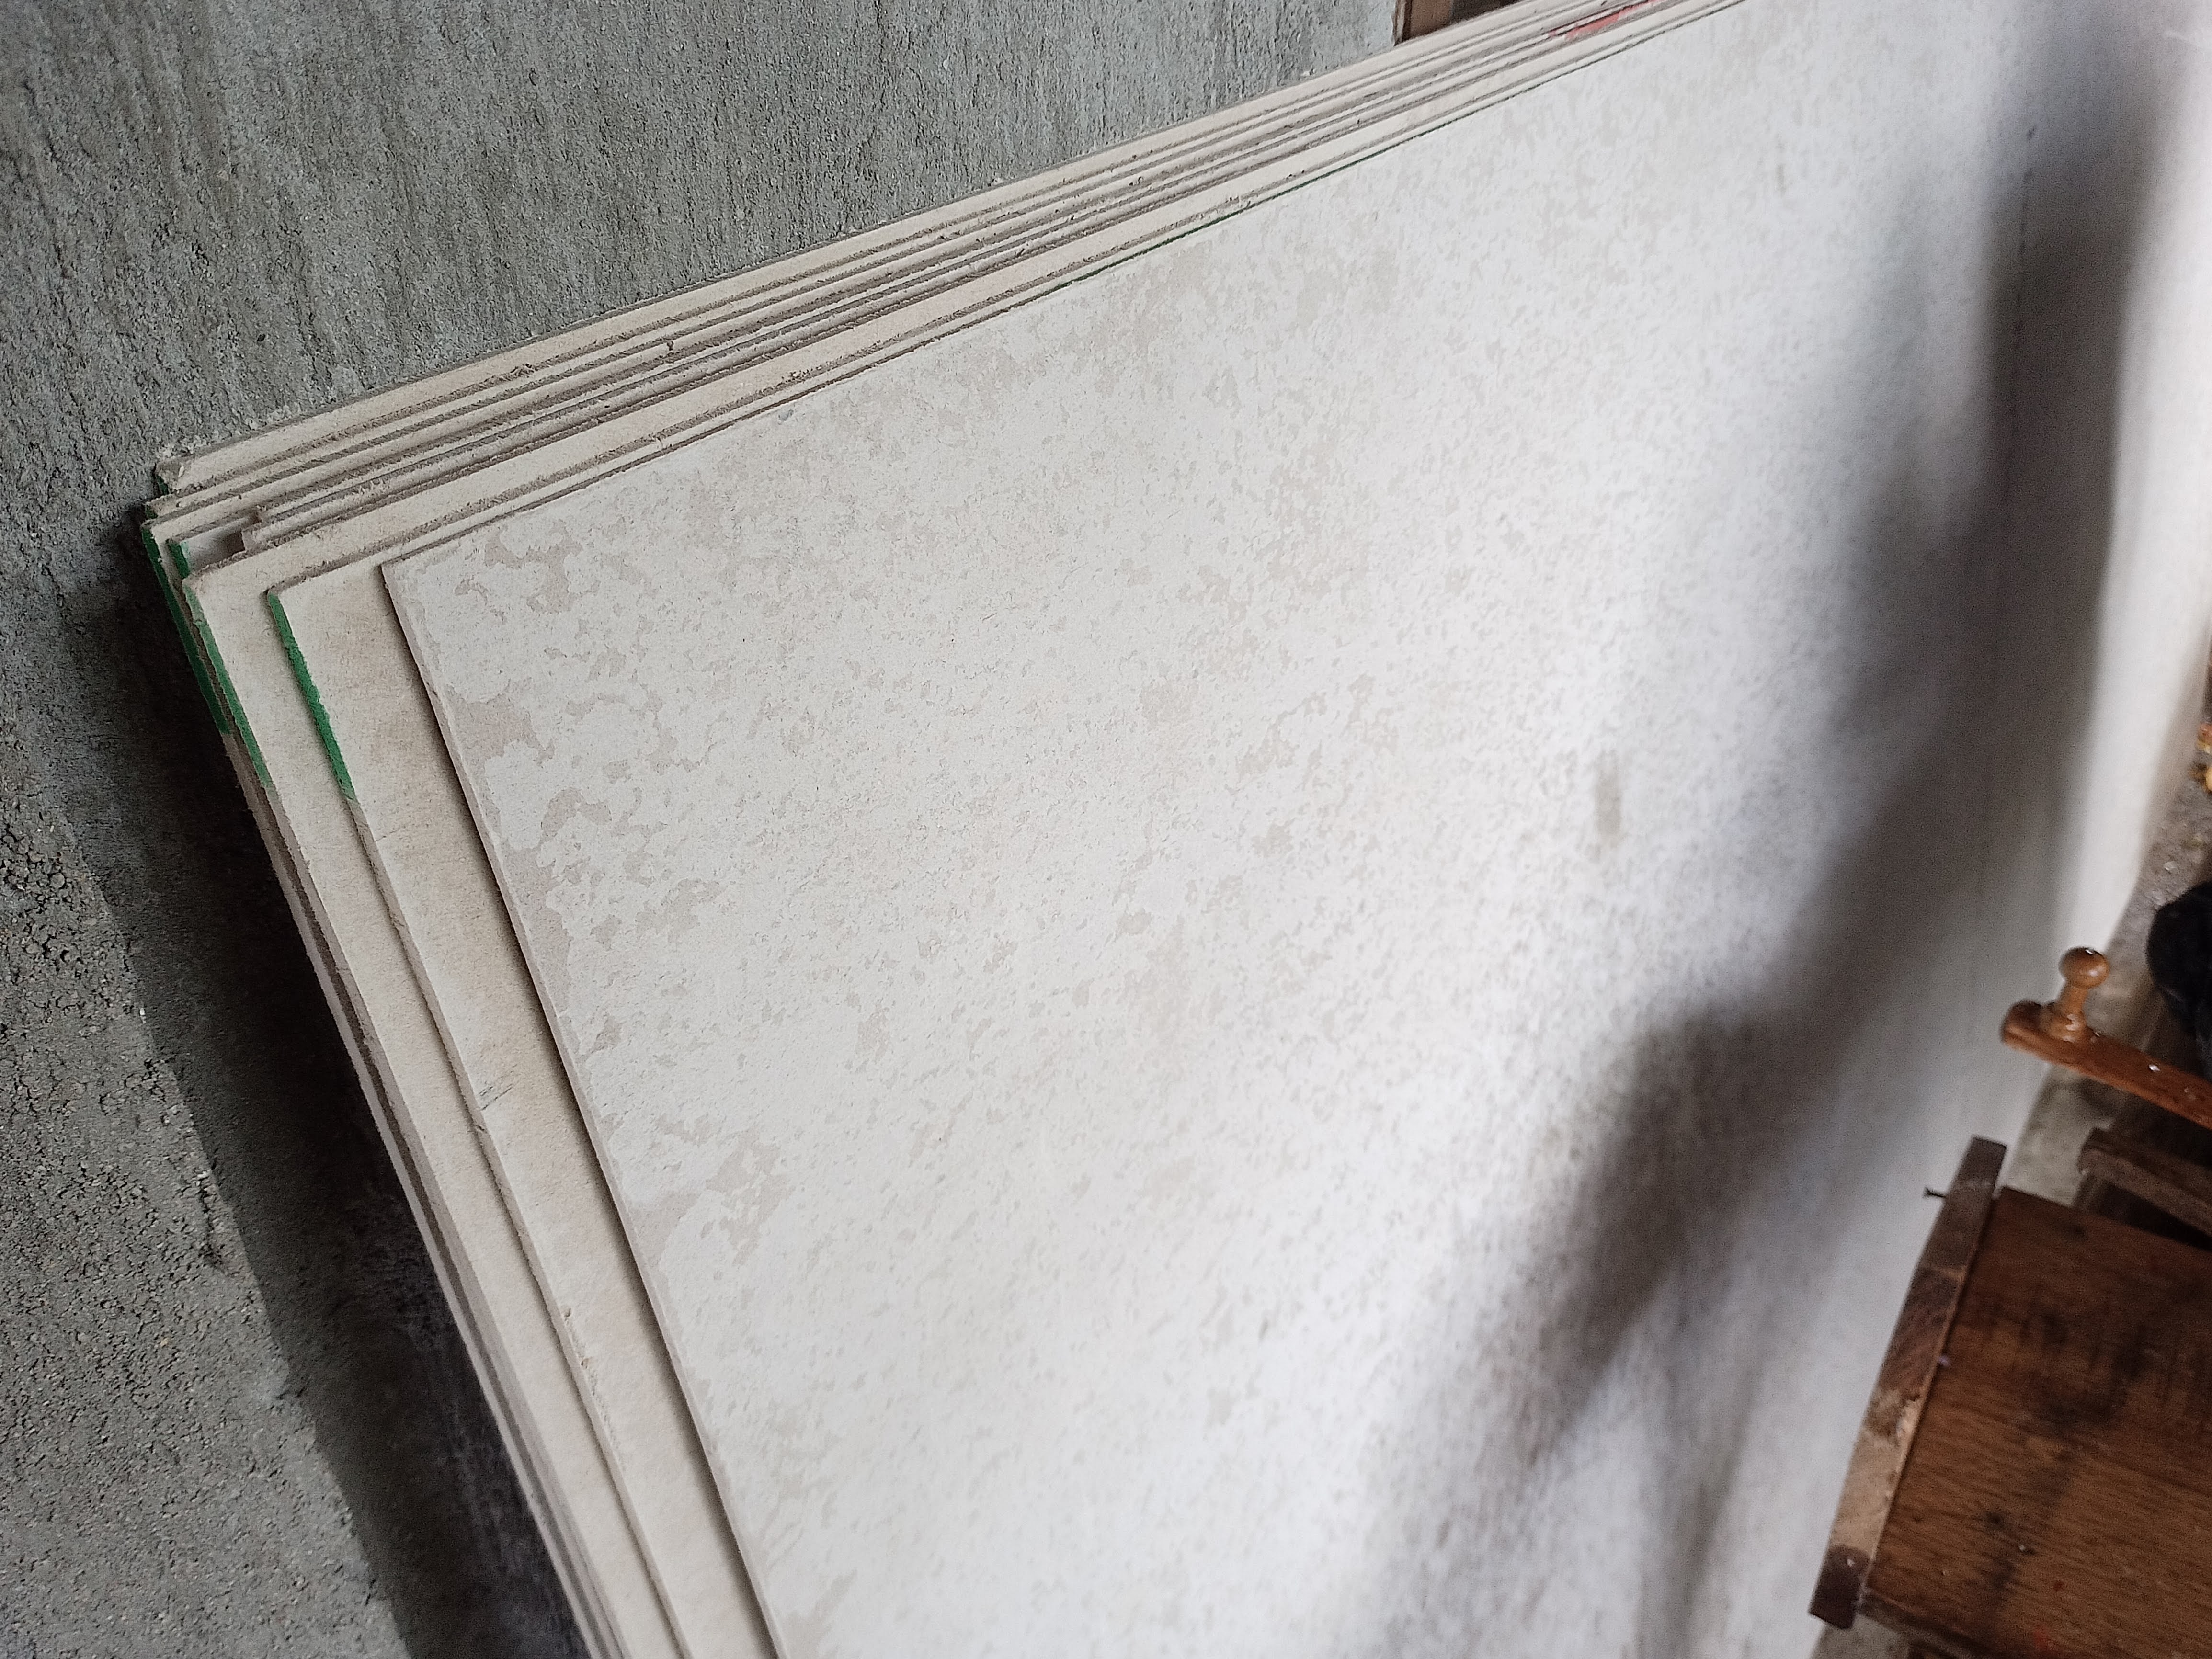
Quite a shame that I forgot to take photo of the complete materials before we used it. Here are several fiber cement boards. The brand is hardiflex, they are 25% expensive than the generic Sierra boards but are heavier and sturdier.
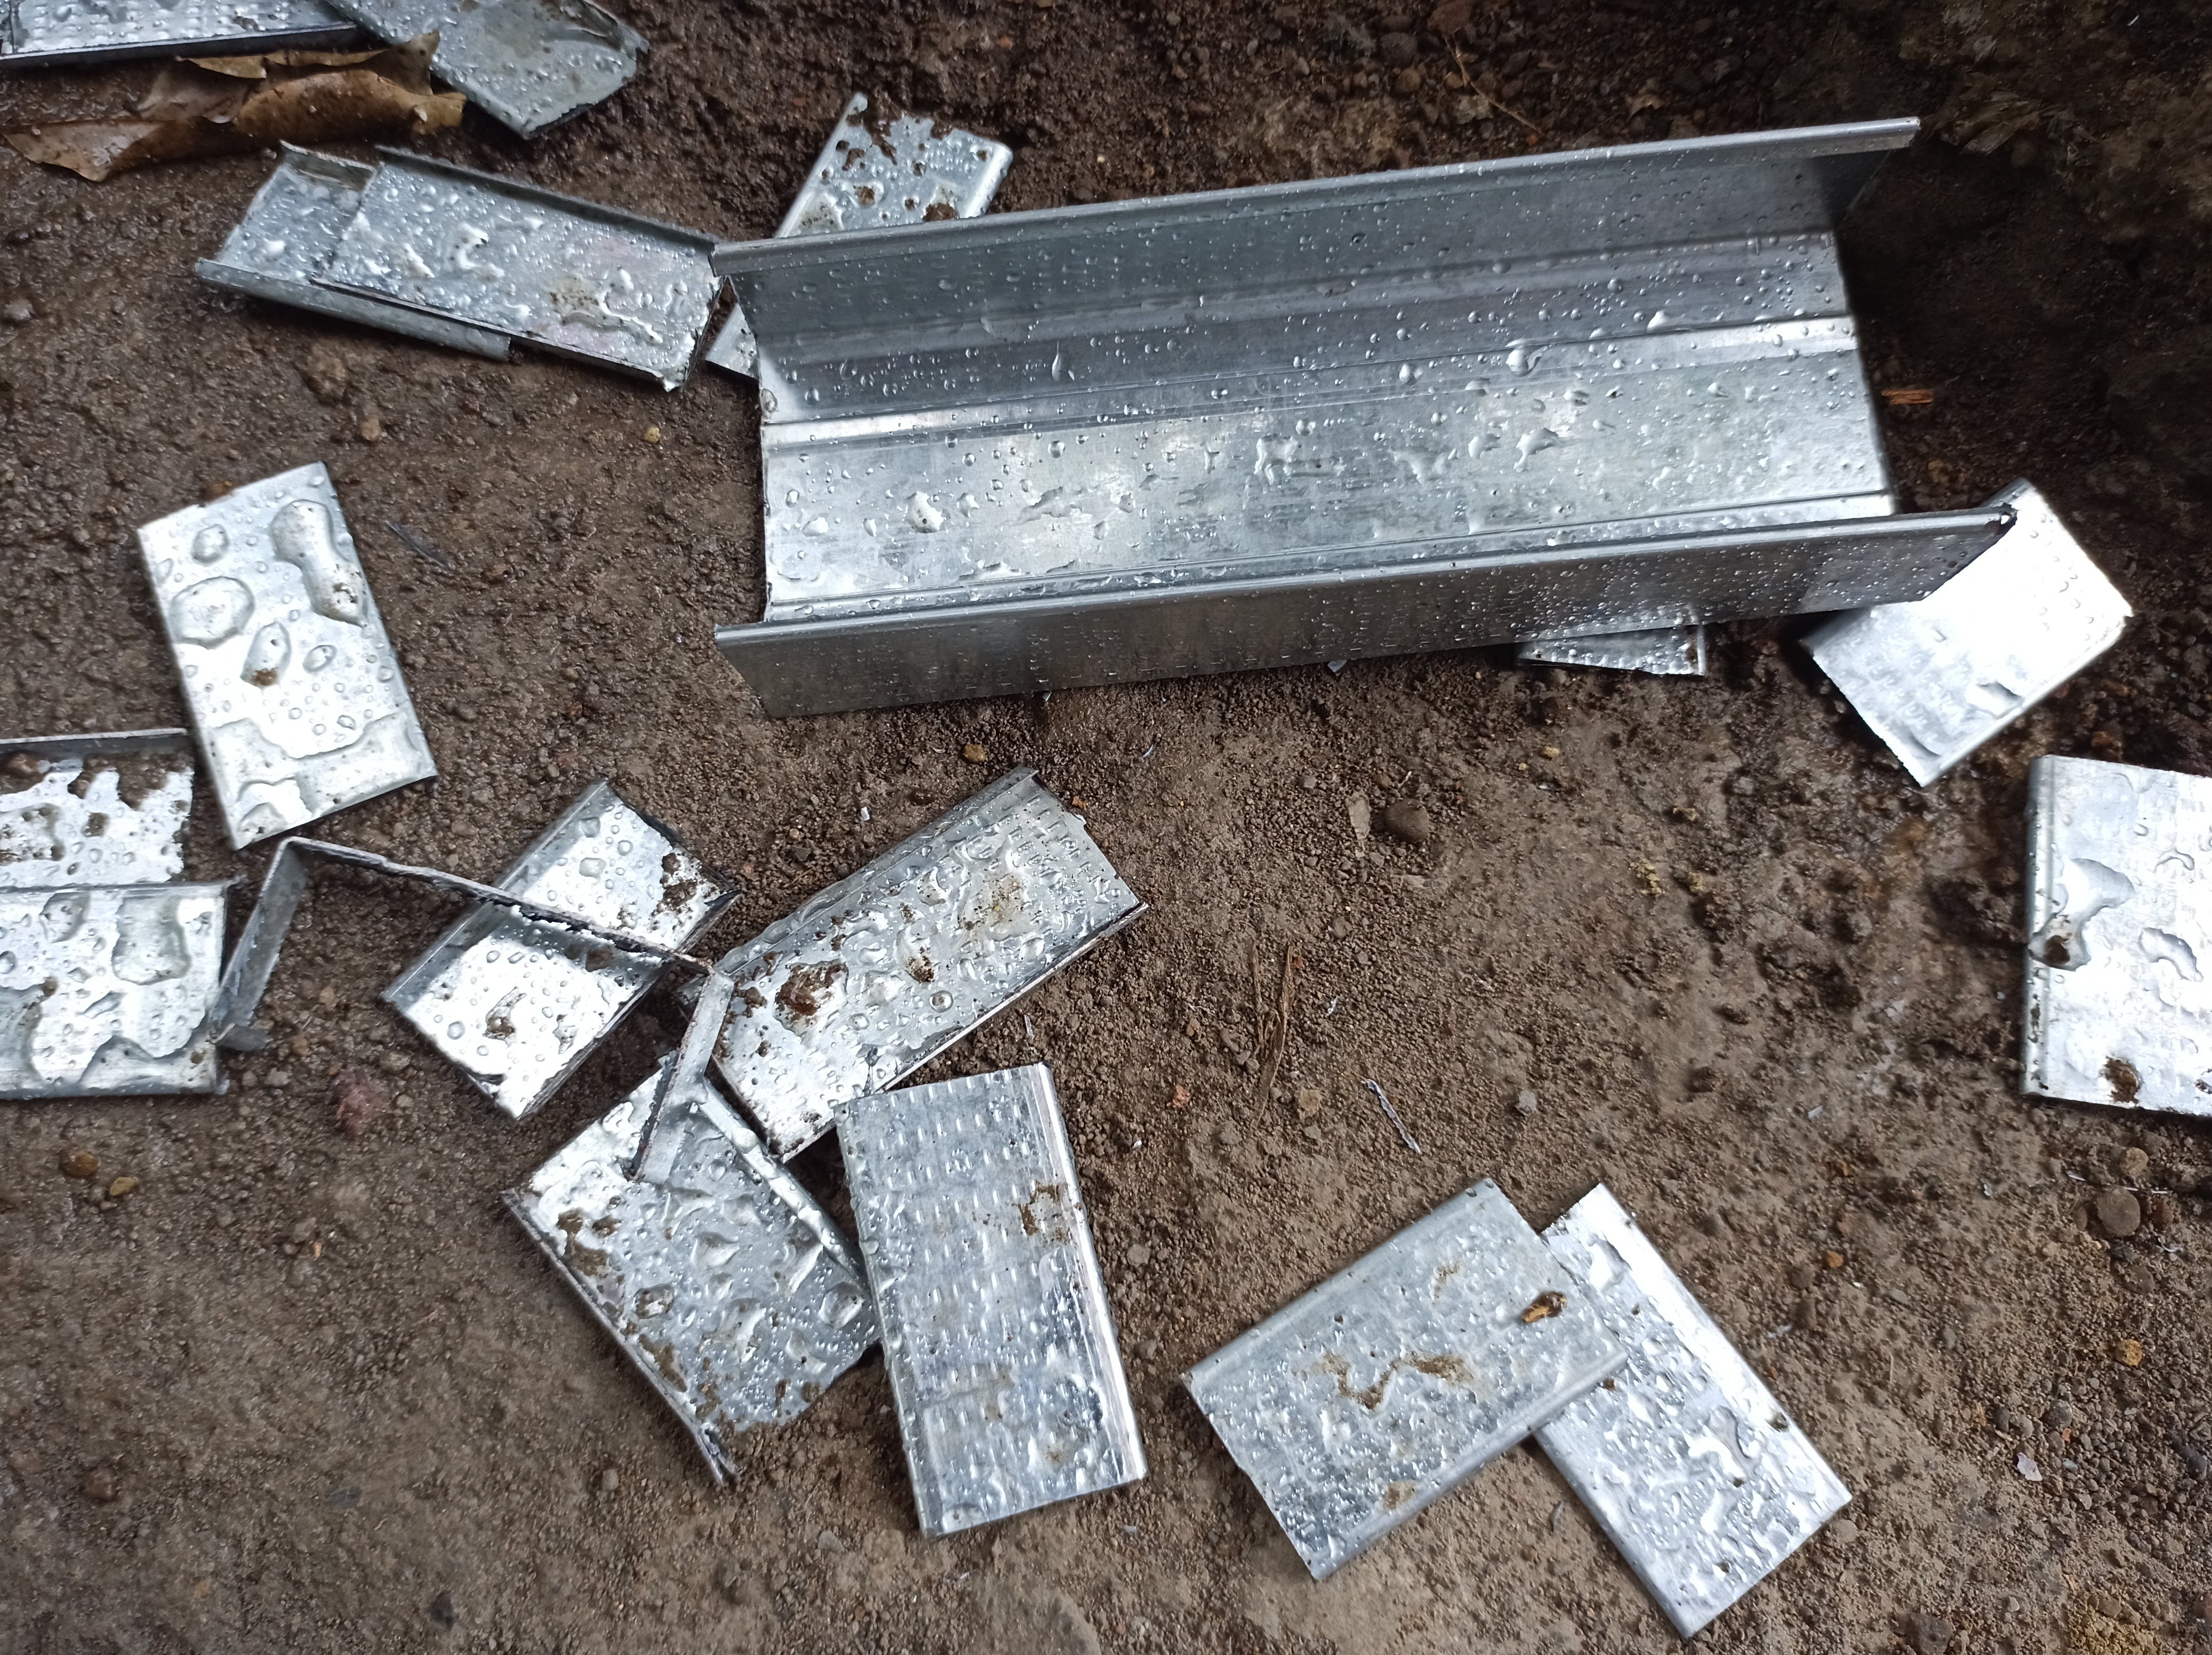
We have tin snips but majority of the cutting for the studs is performed by the handy dandy angle grinder. You can see thru the remnants that the cuts are smoother. I do not recommend the grinder especially for people with unsteady hands. What you can do is sharpen your tin snips as it can do the job efficiently albeit in longer time.
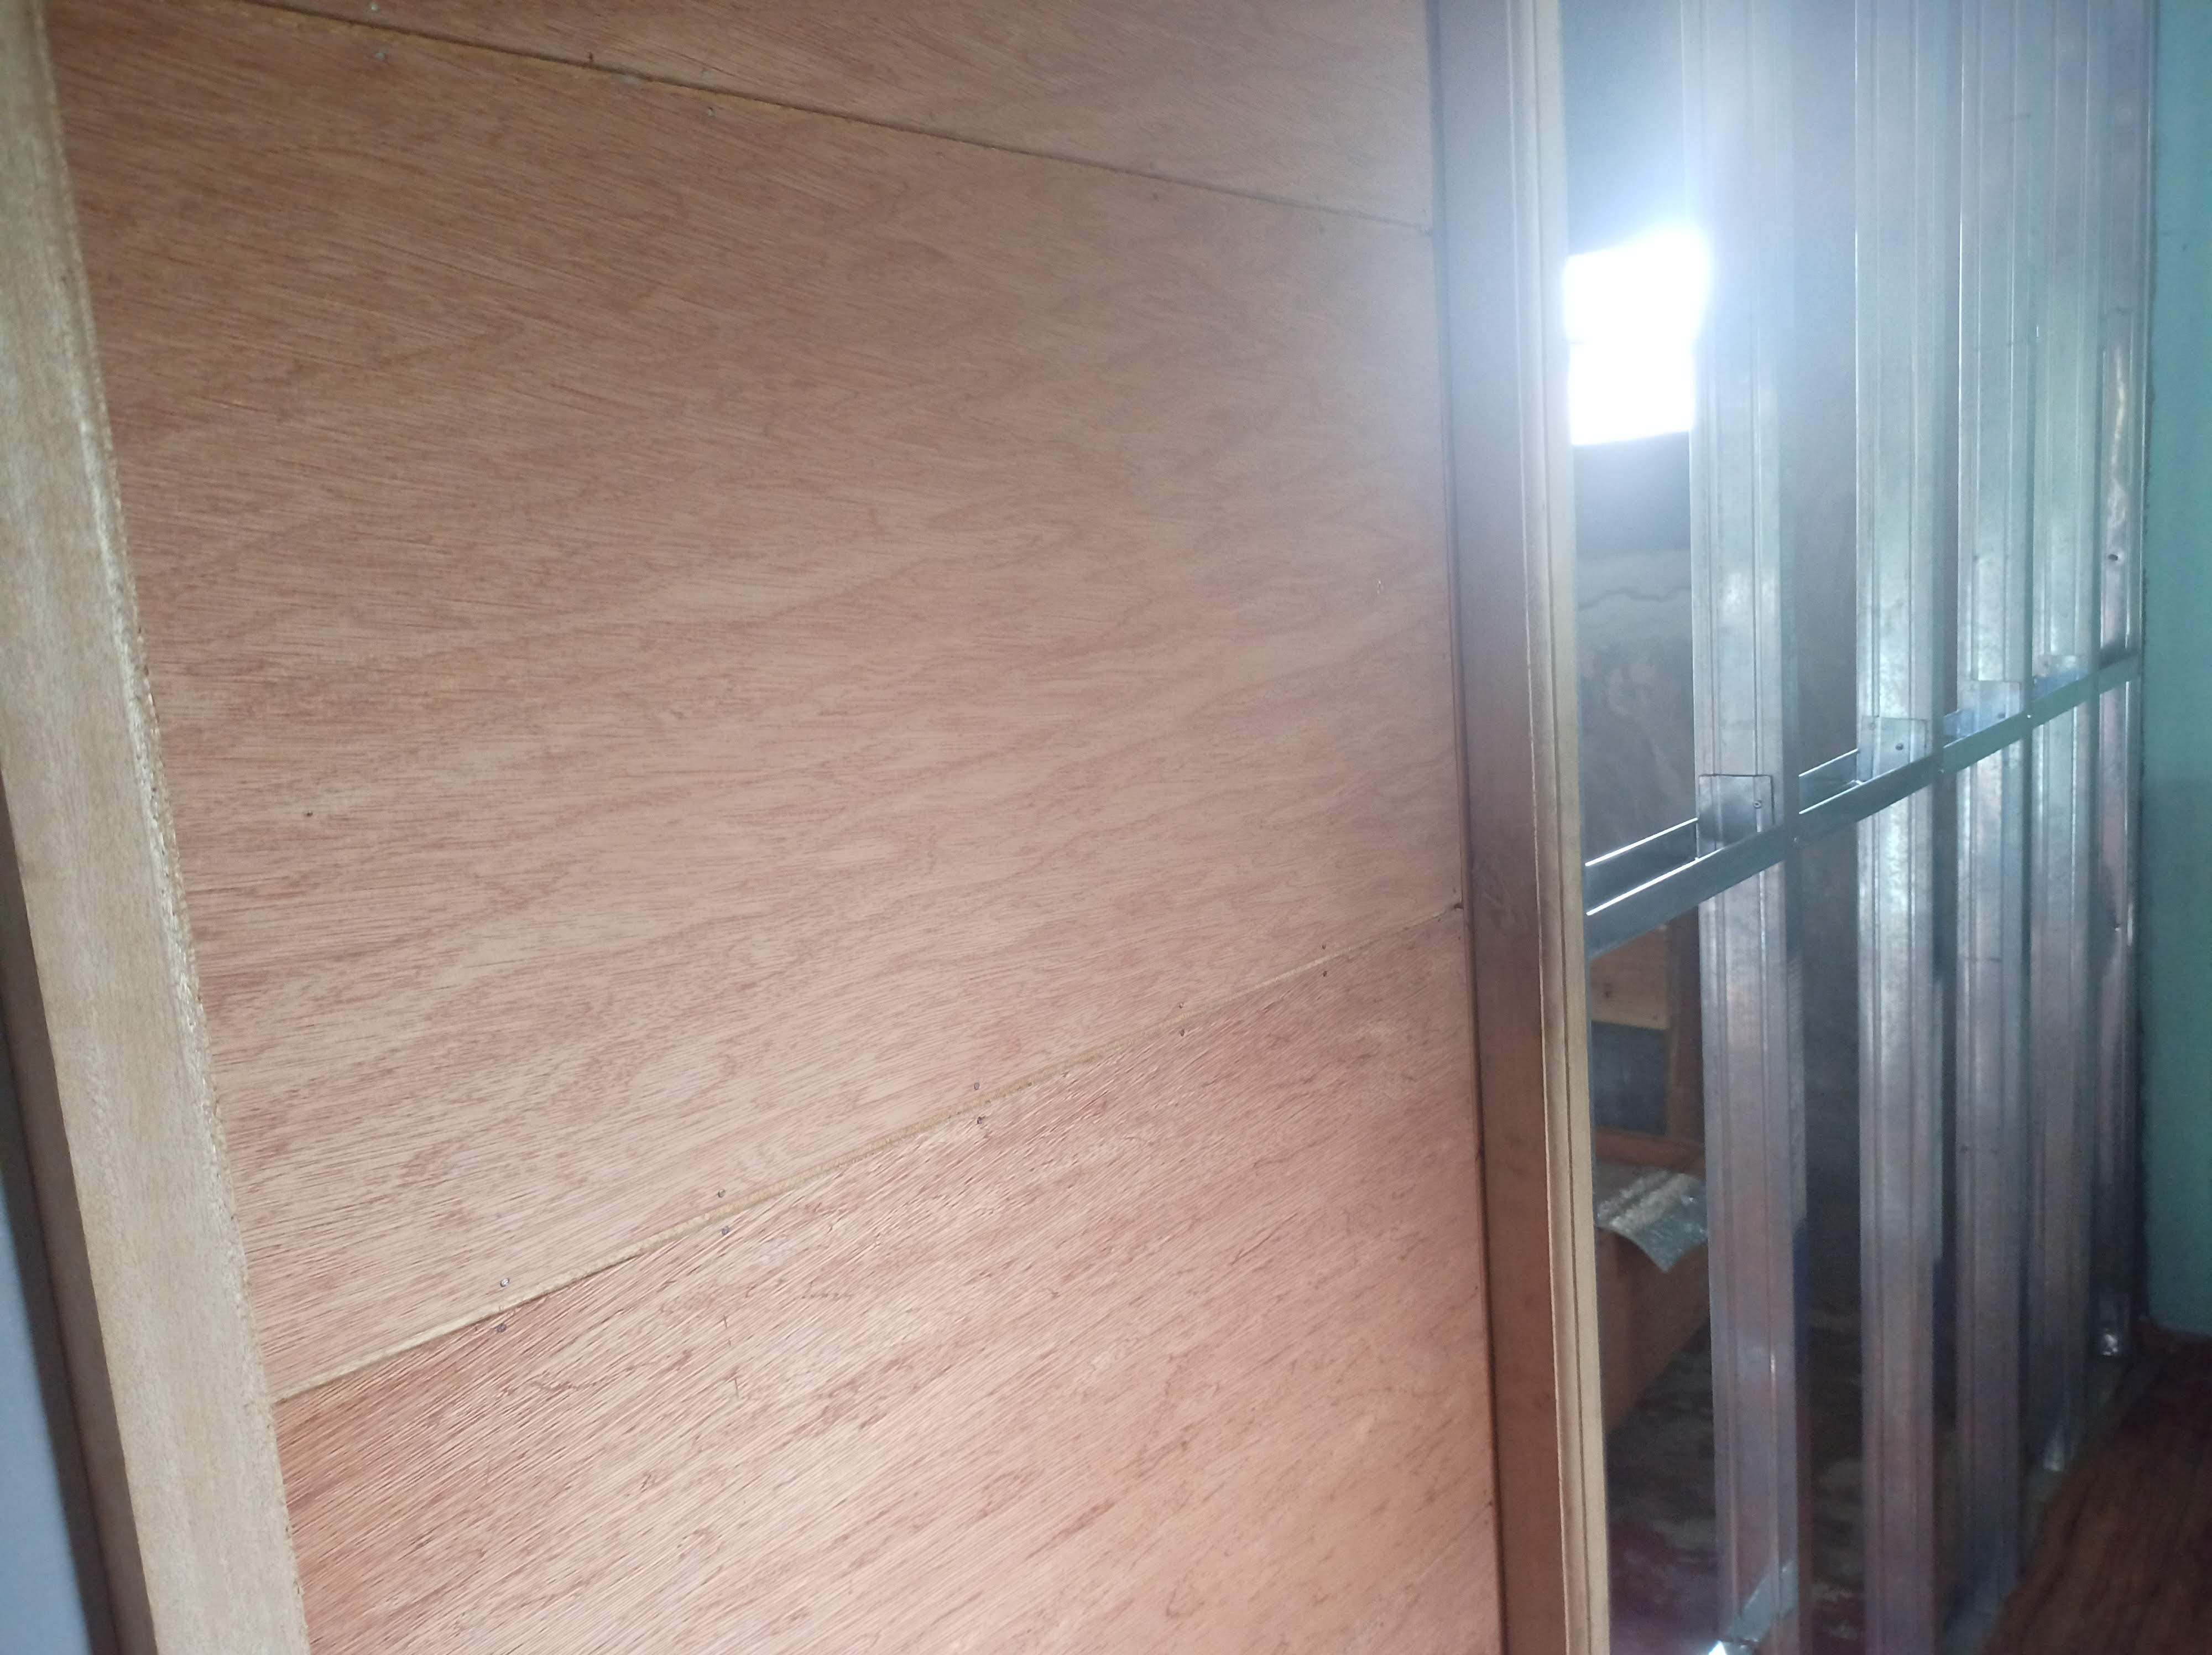
In this image we already finished installing the studs, even the door! Next is the wall partition.
We used blind rivets but you can also pan head screws. It's just we're more comfortable handling rivets.
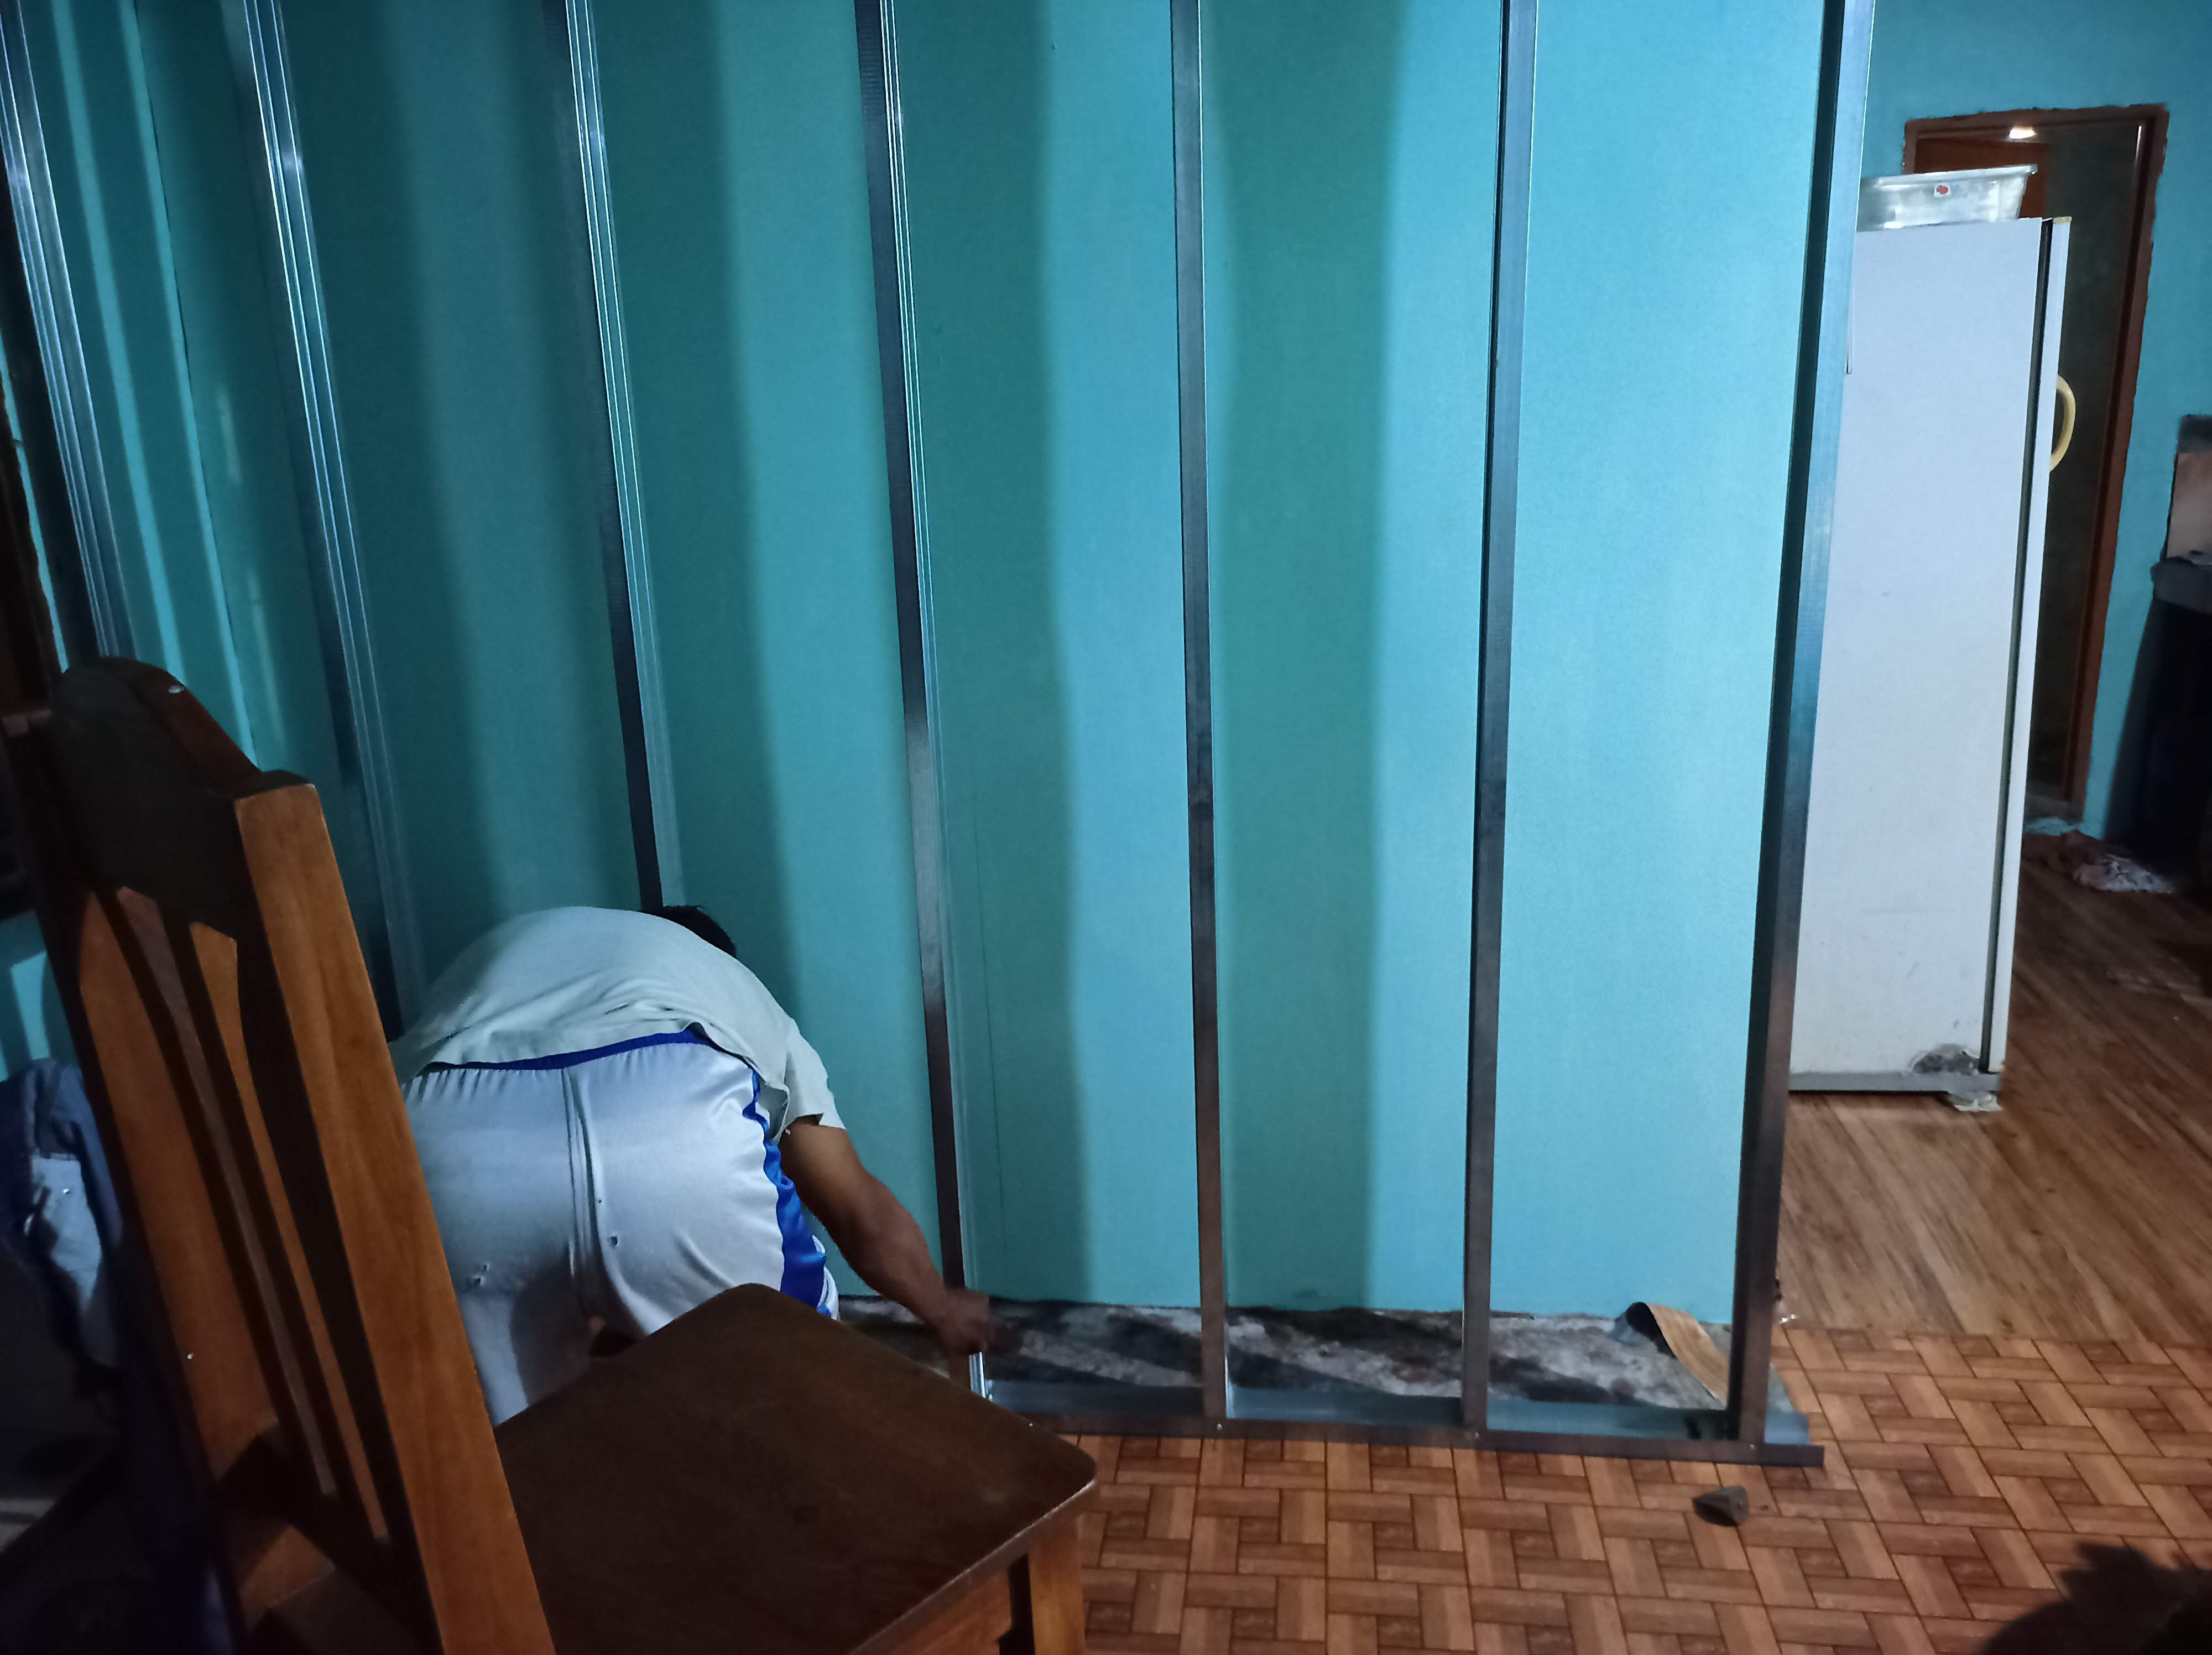
Other side of the room. Working at 8:30 p.m.
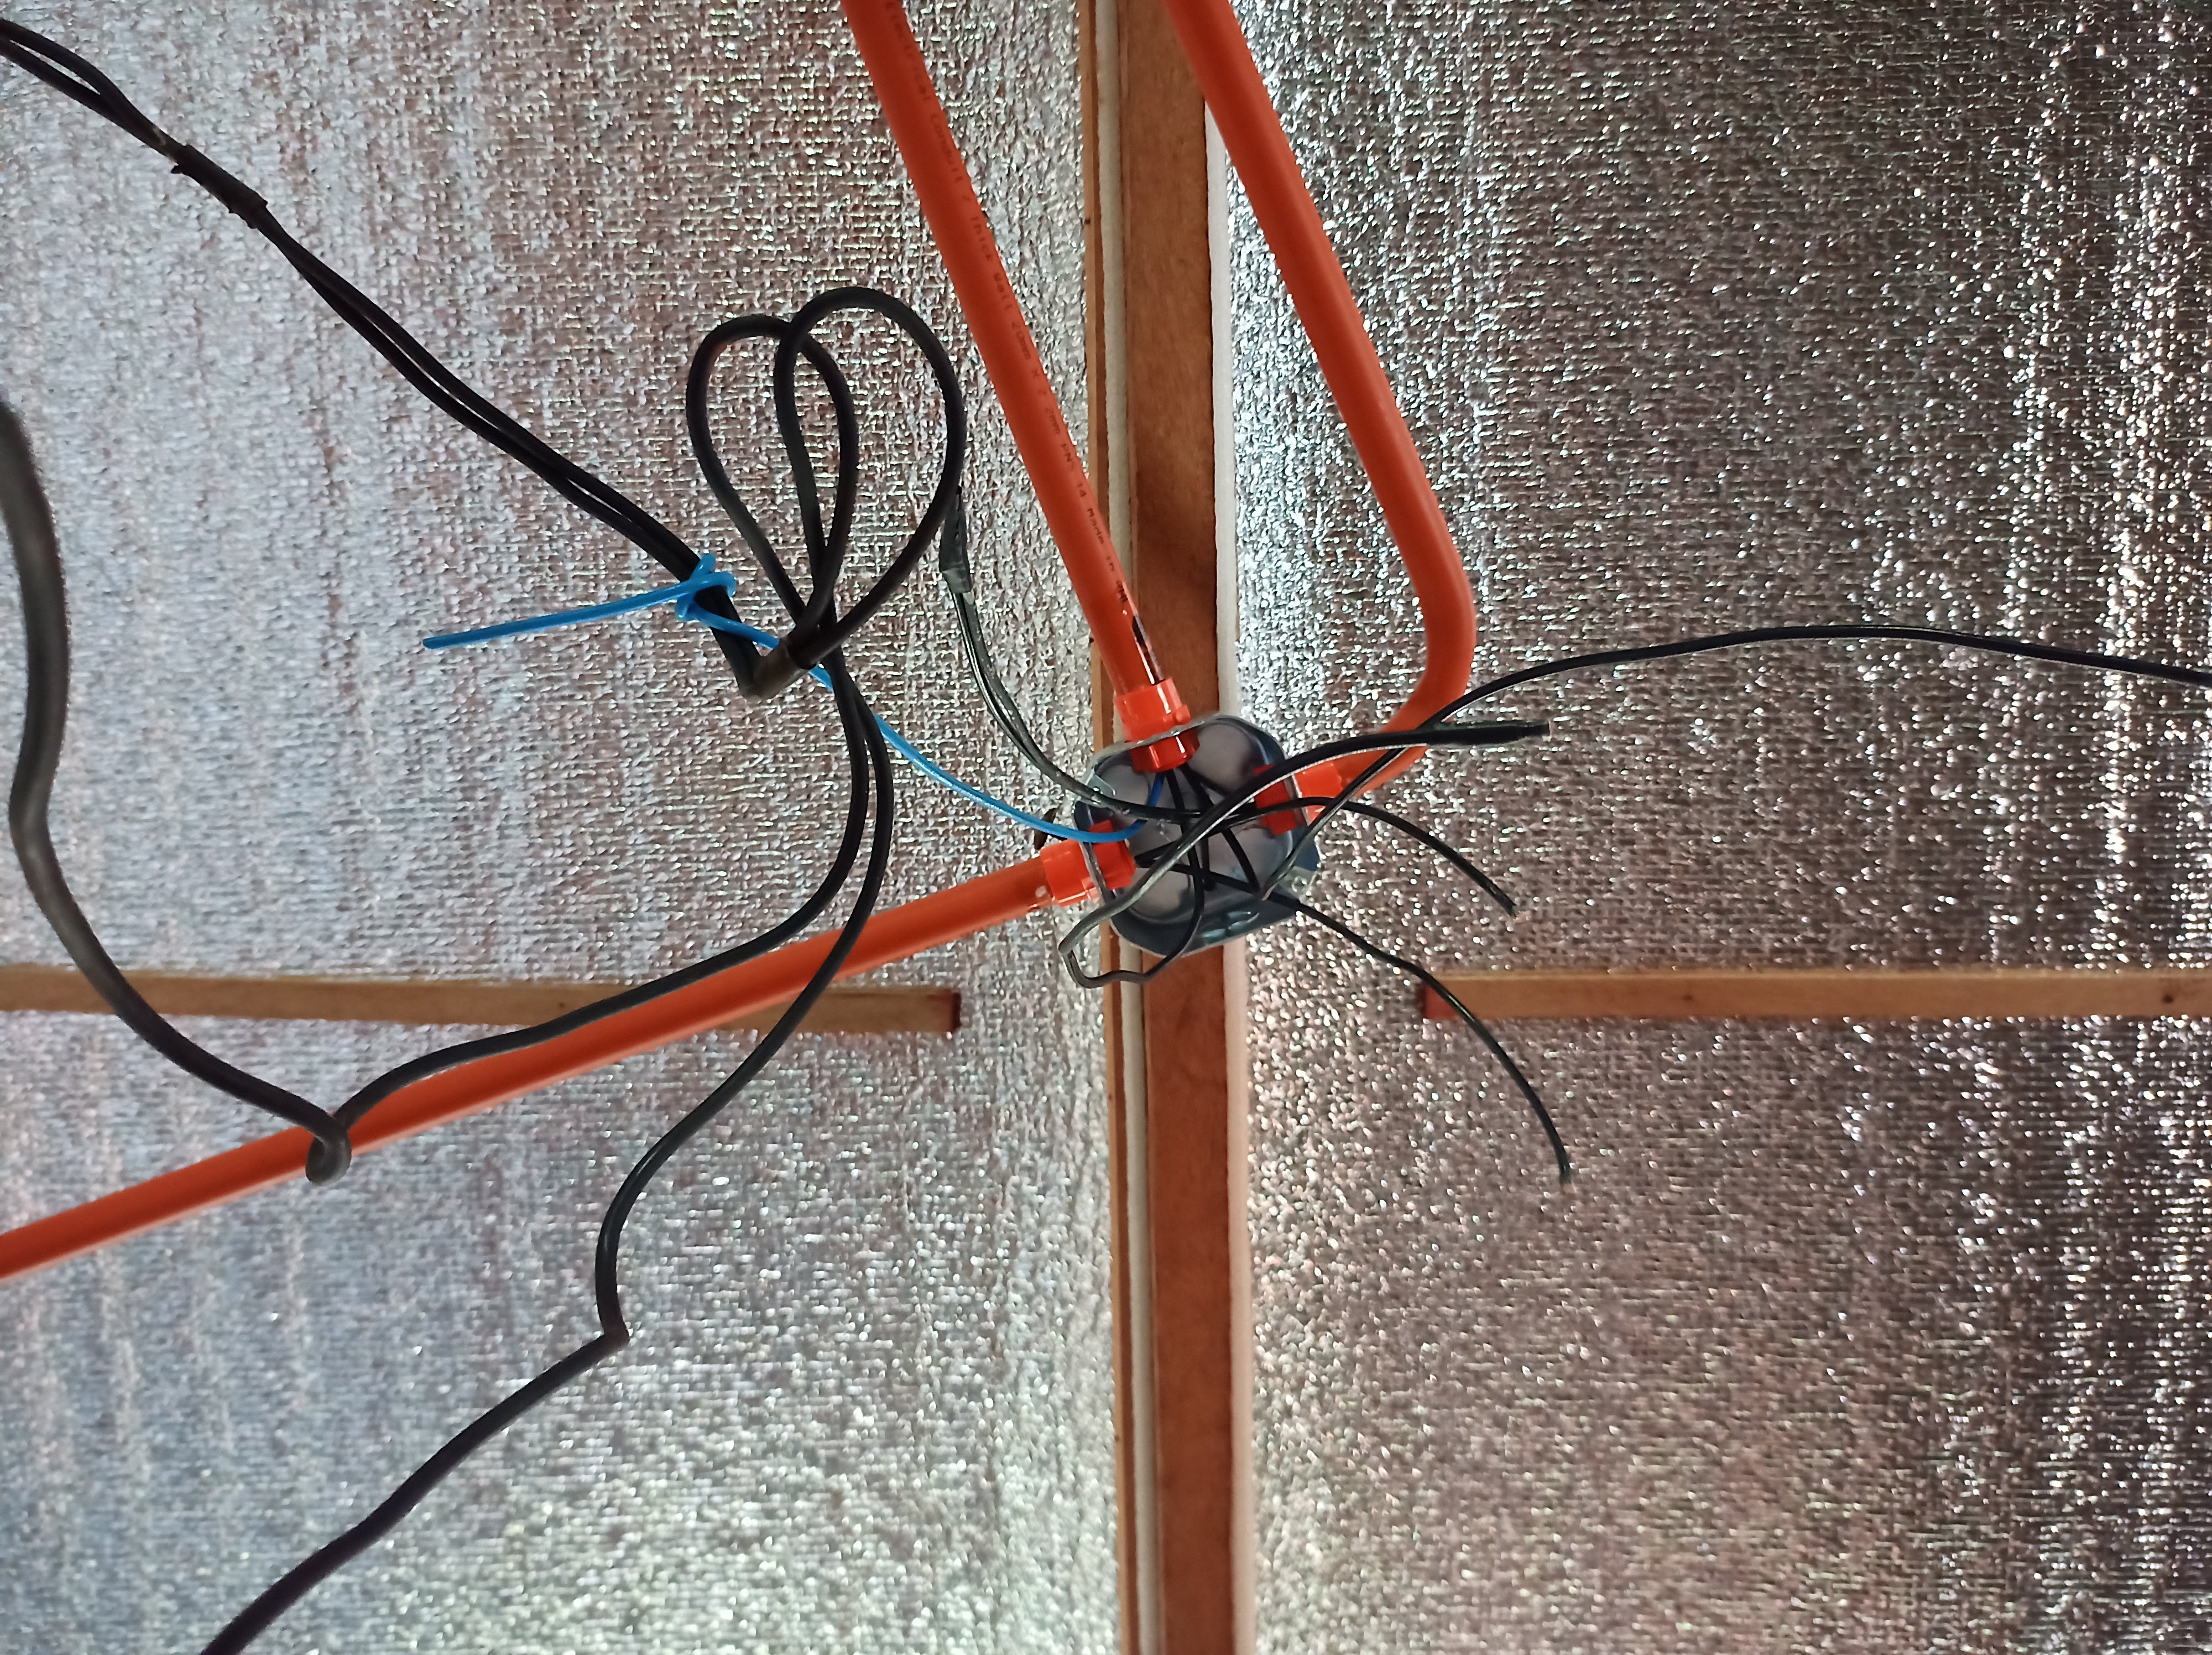
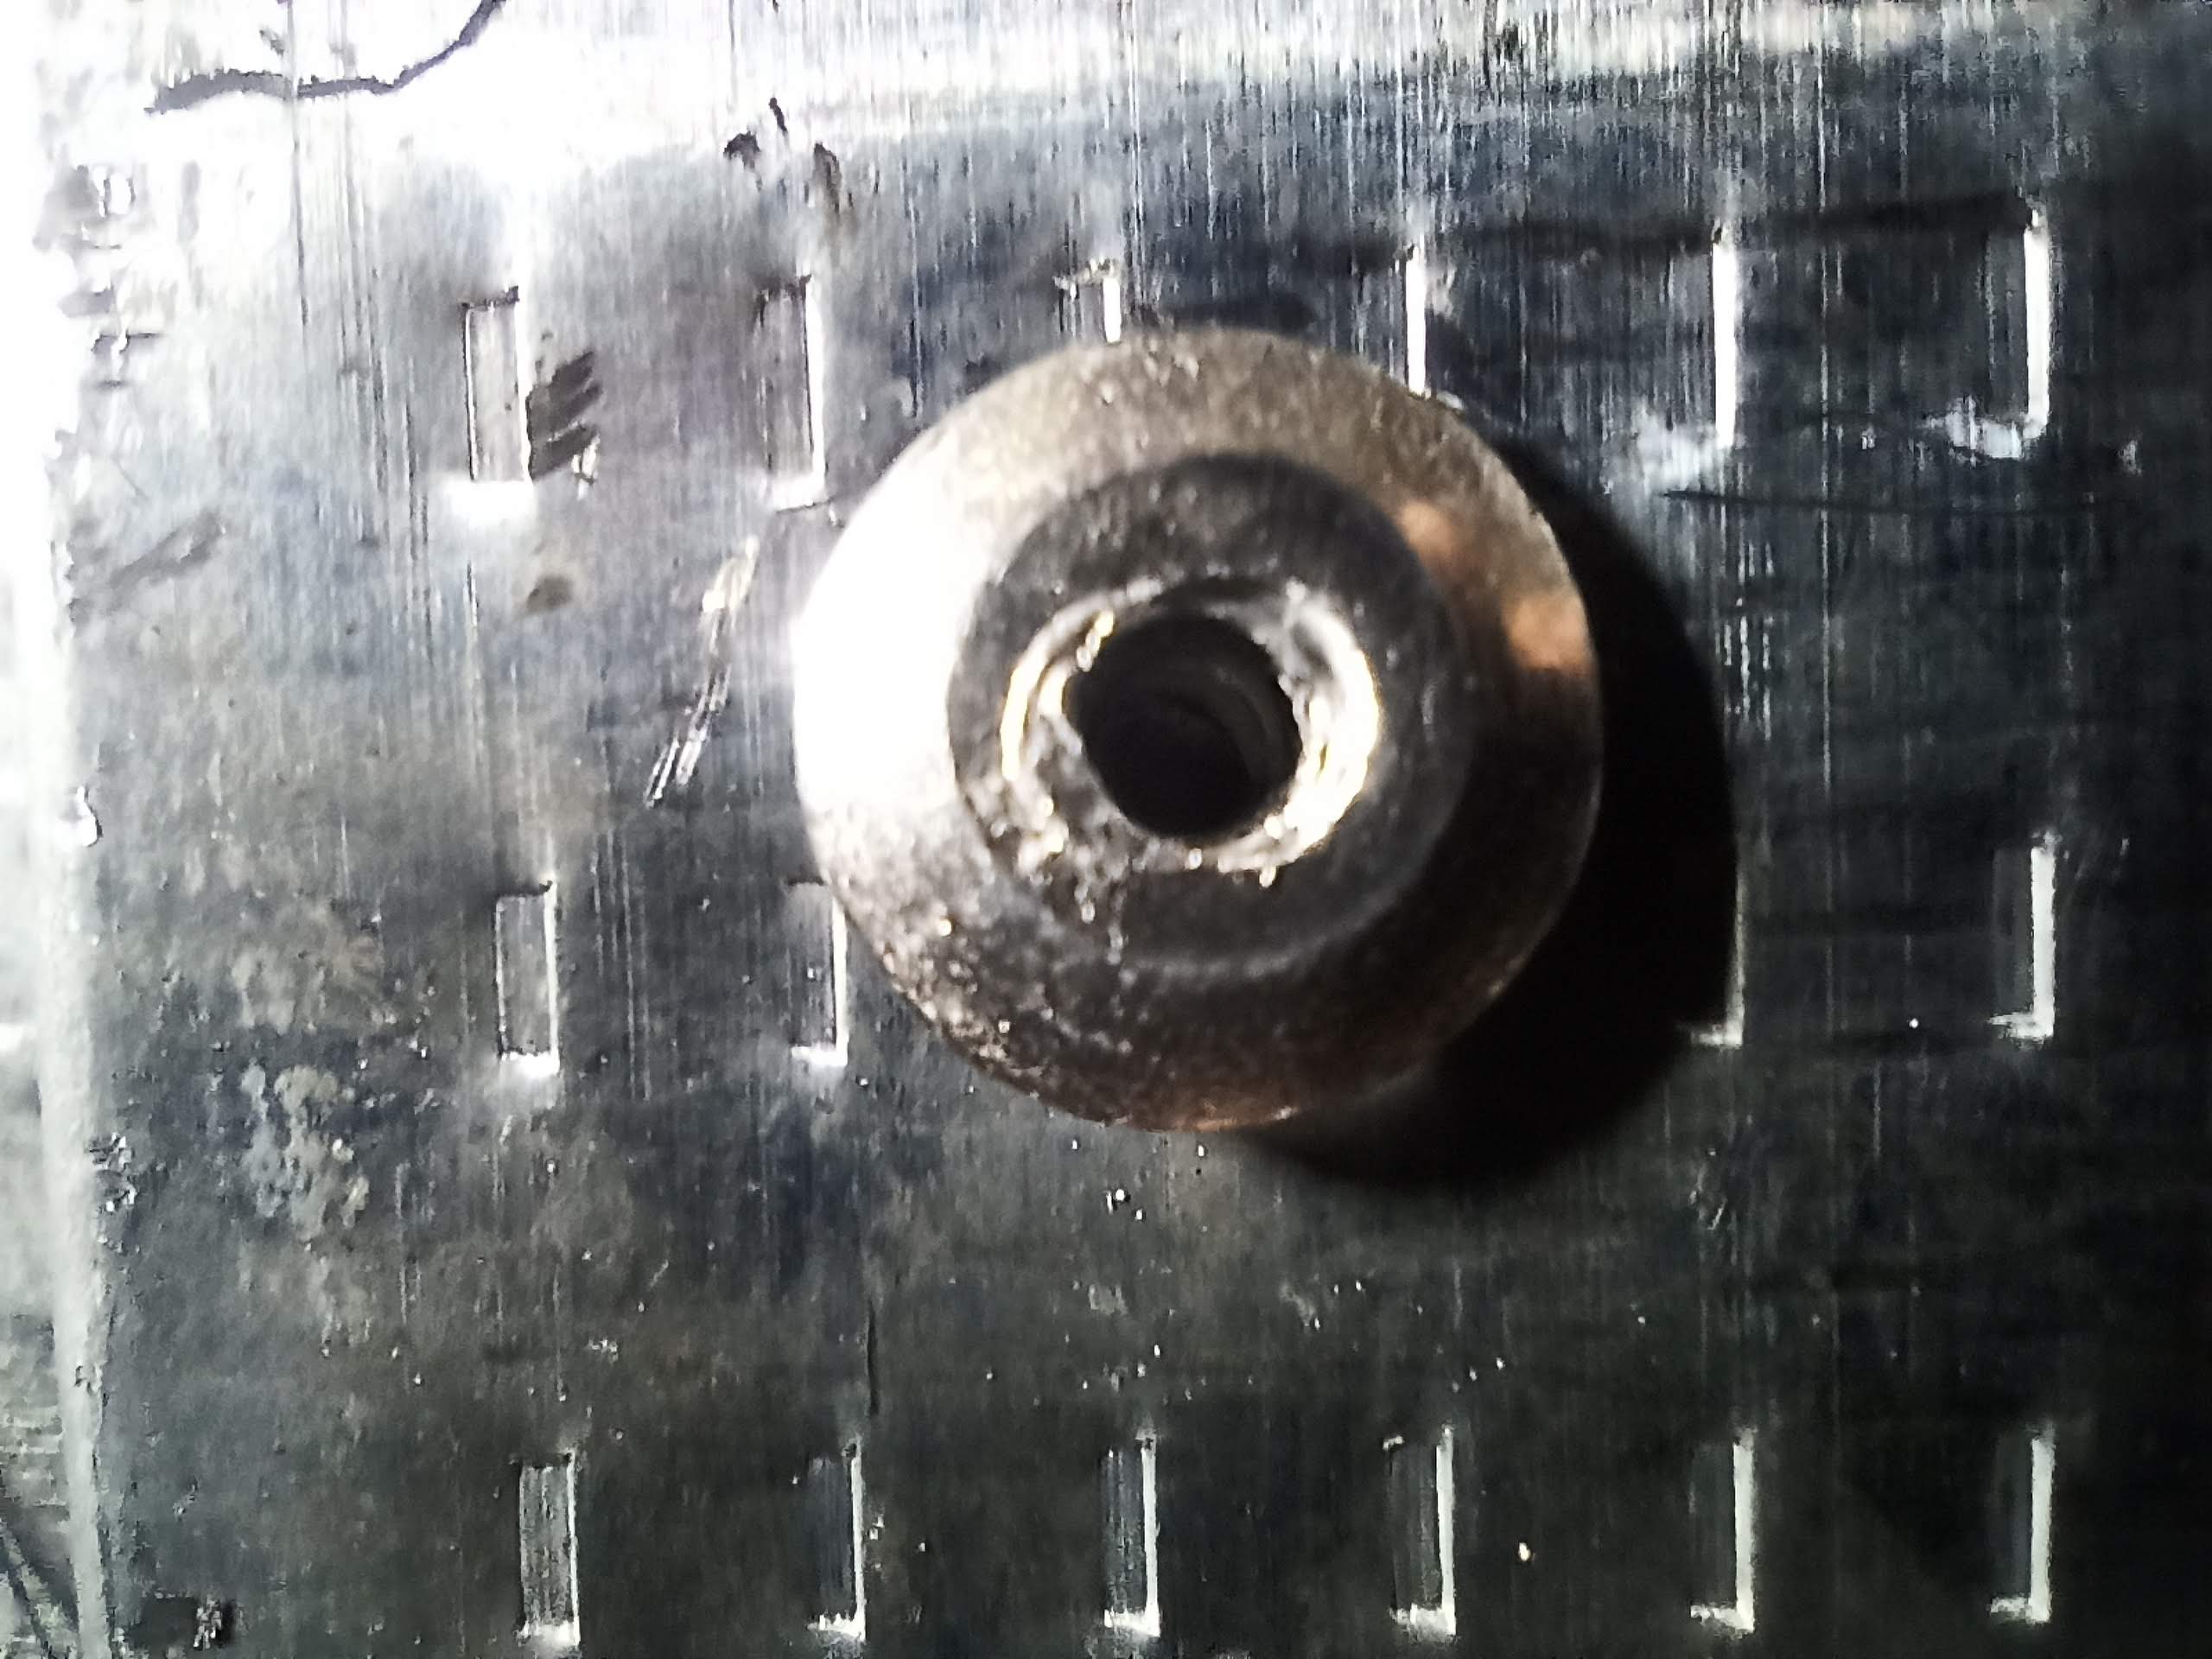
Electrical work is almost done. We had some trouble with those wires because of the angle of the pipes. Thankfully we manage to insert them to the other end.

Switch box is also ready.

Outlet is also a big check.
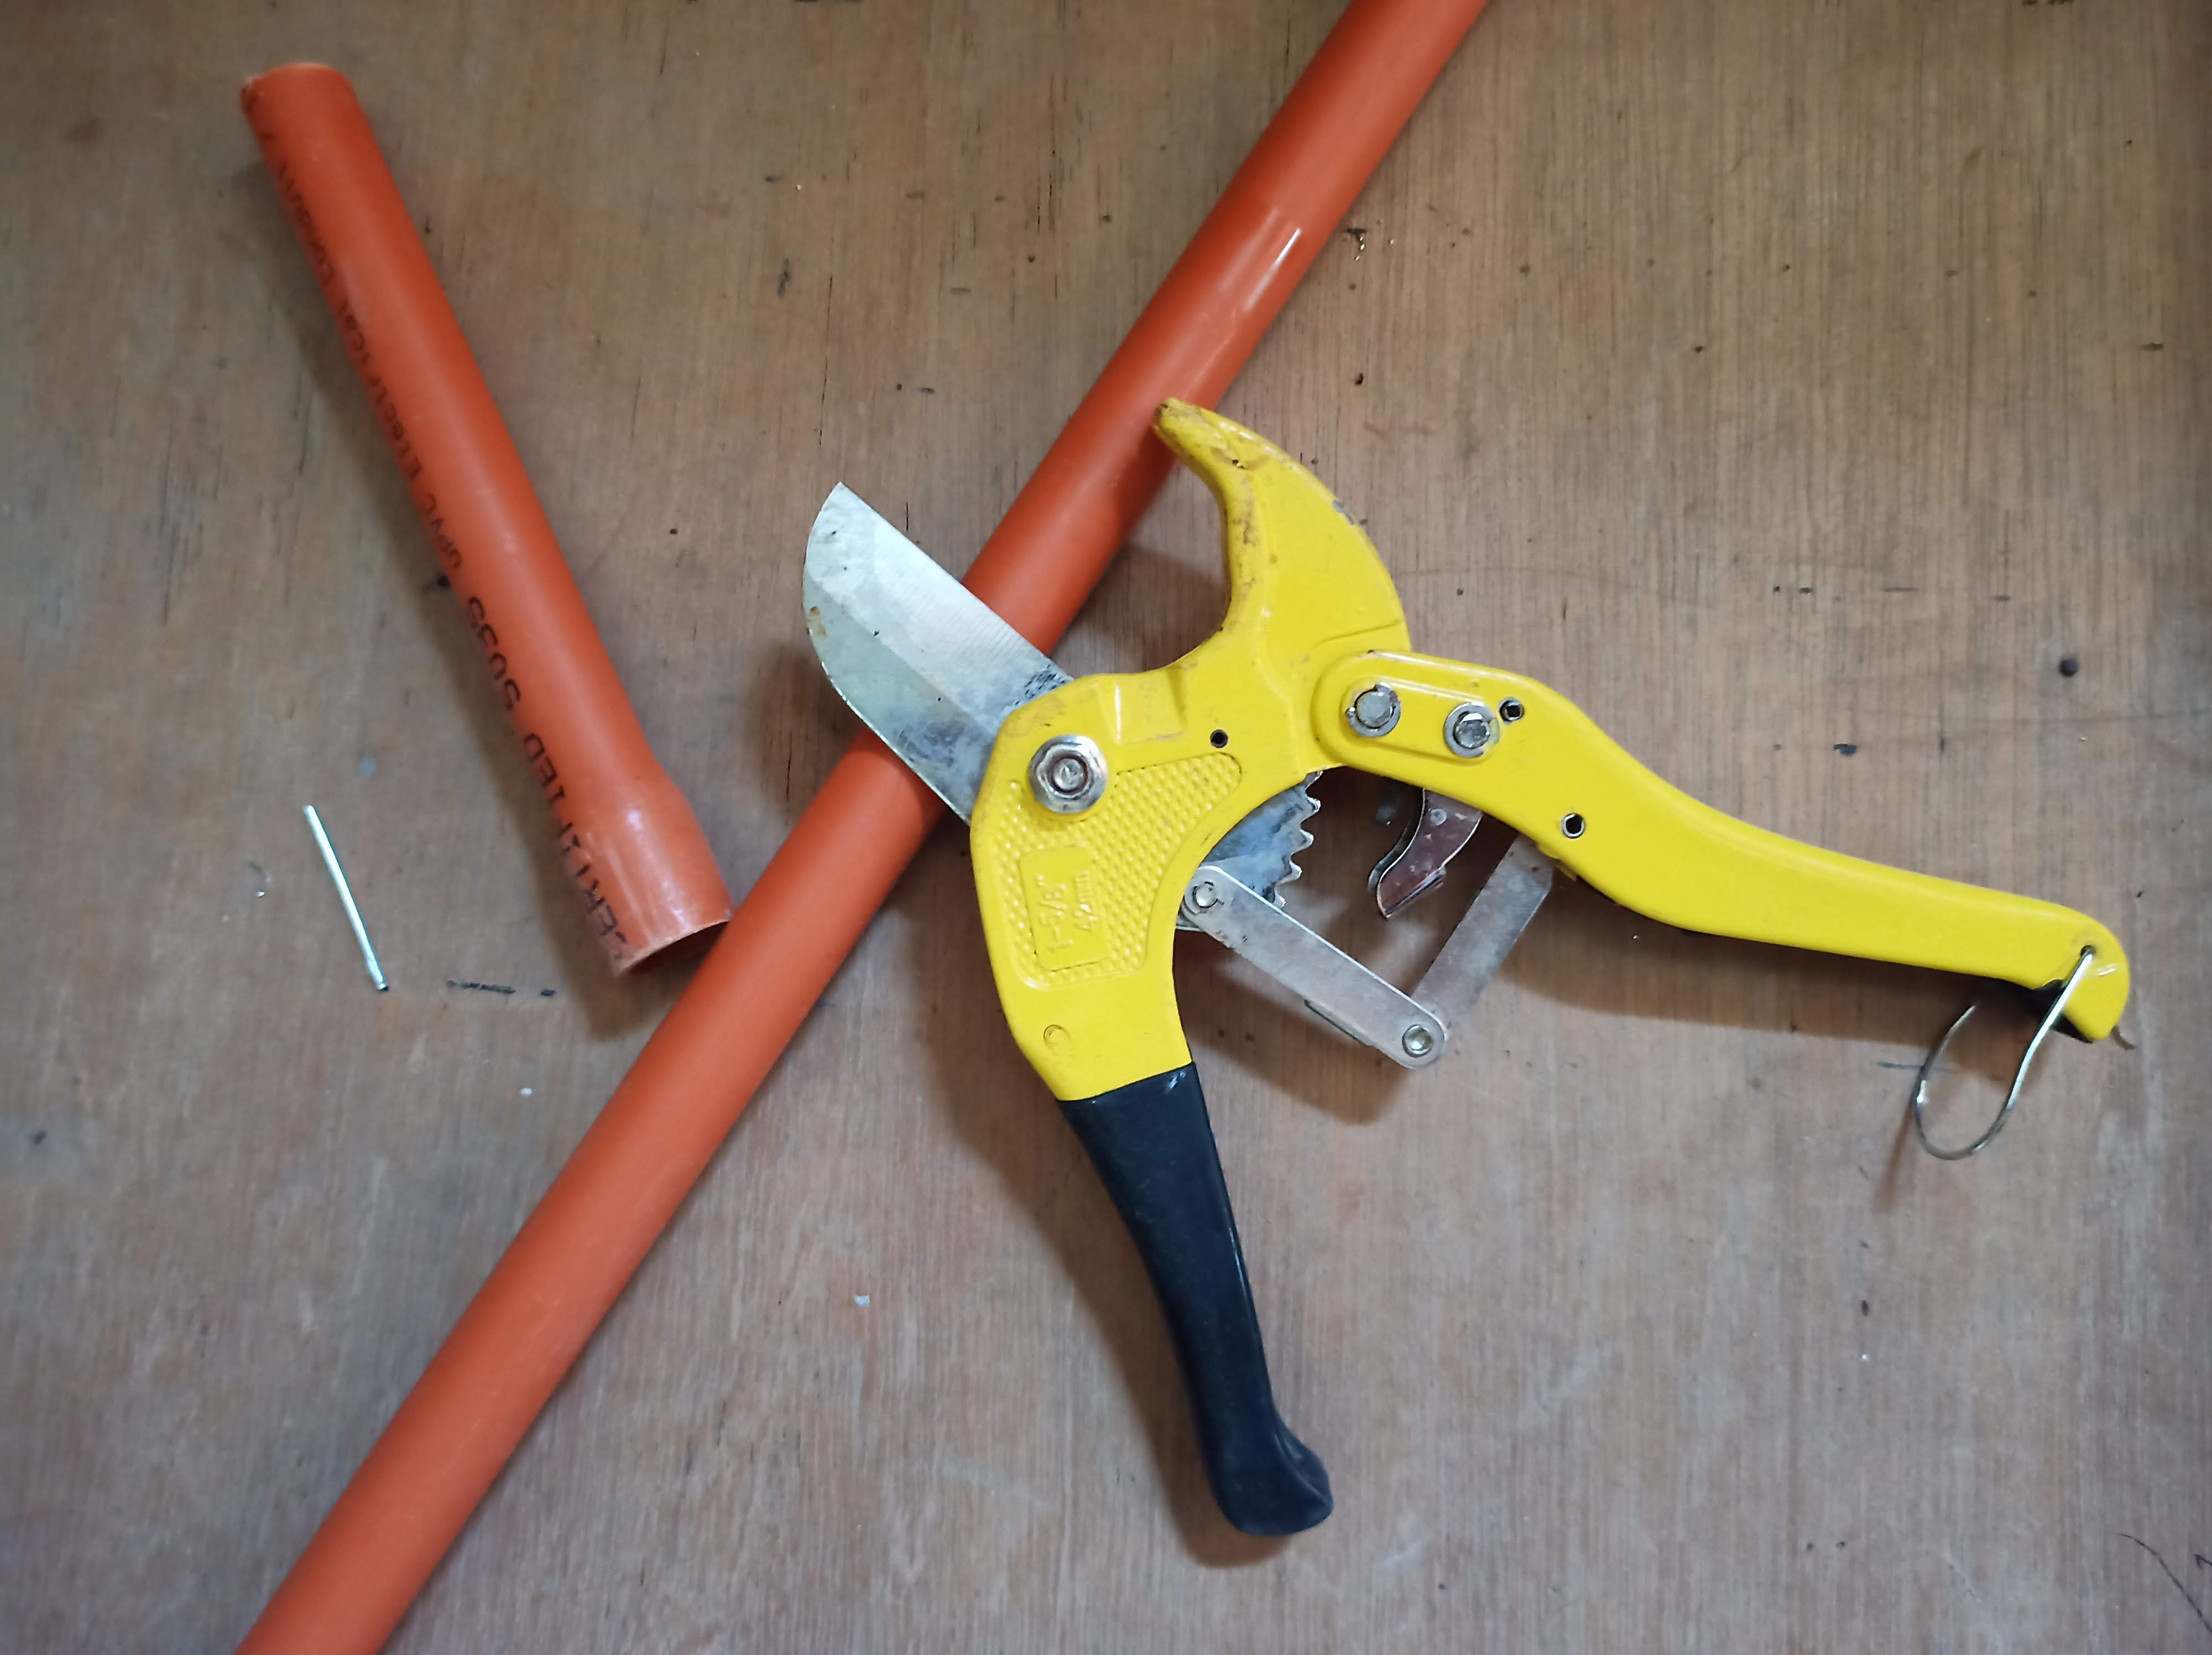
The PVC pipe cutter made job easier. In the past we used hacksaw for this one.
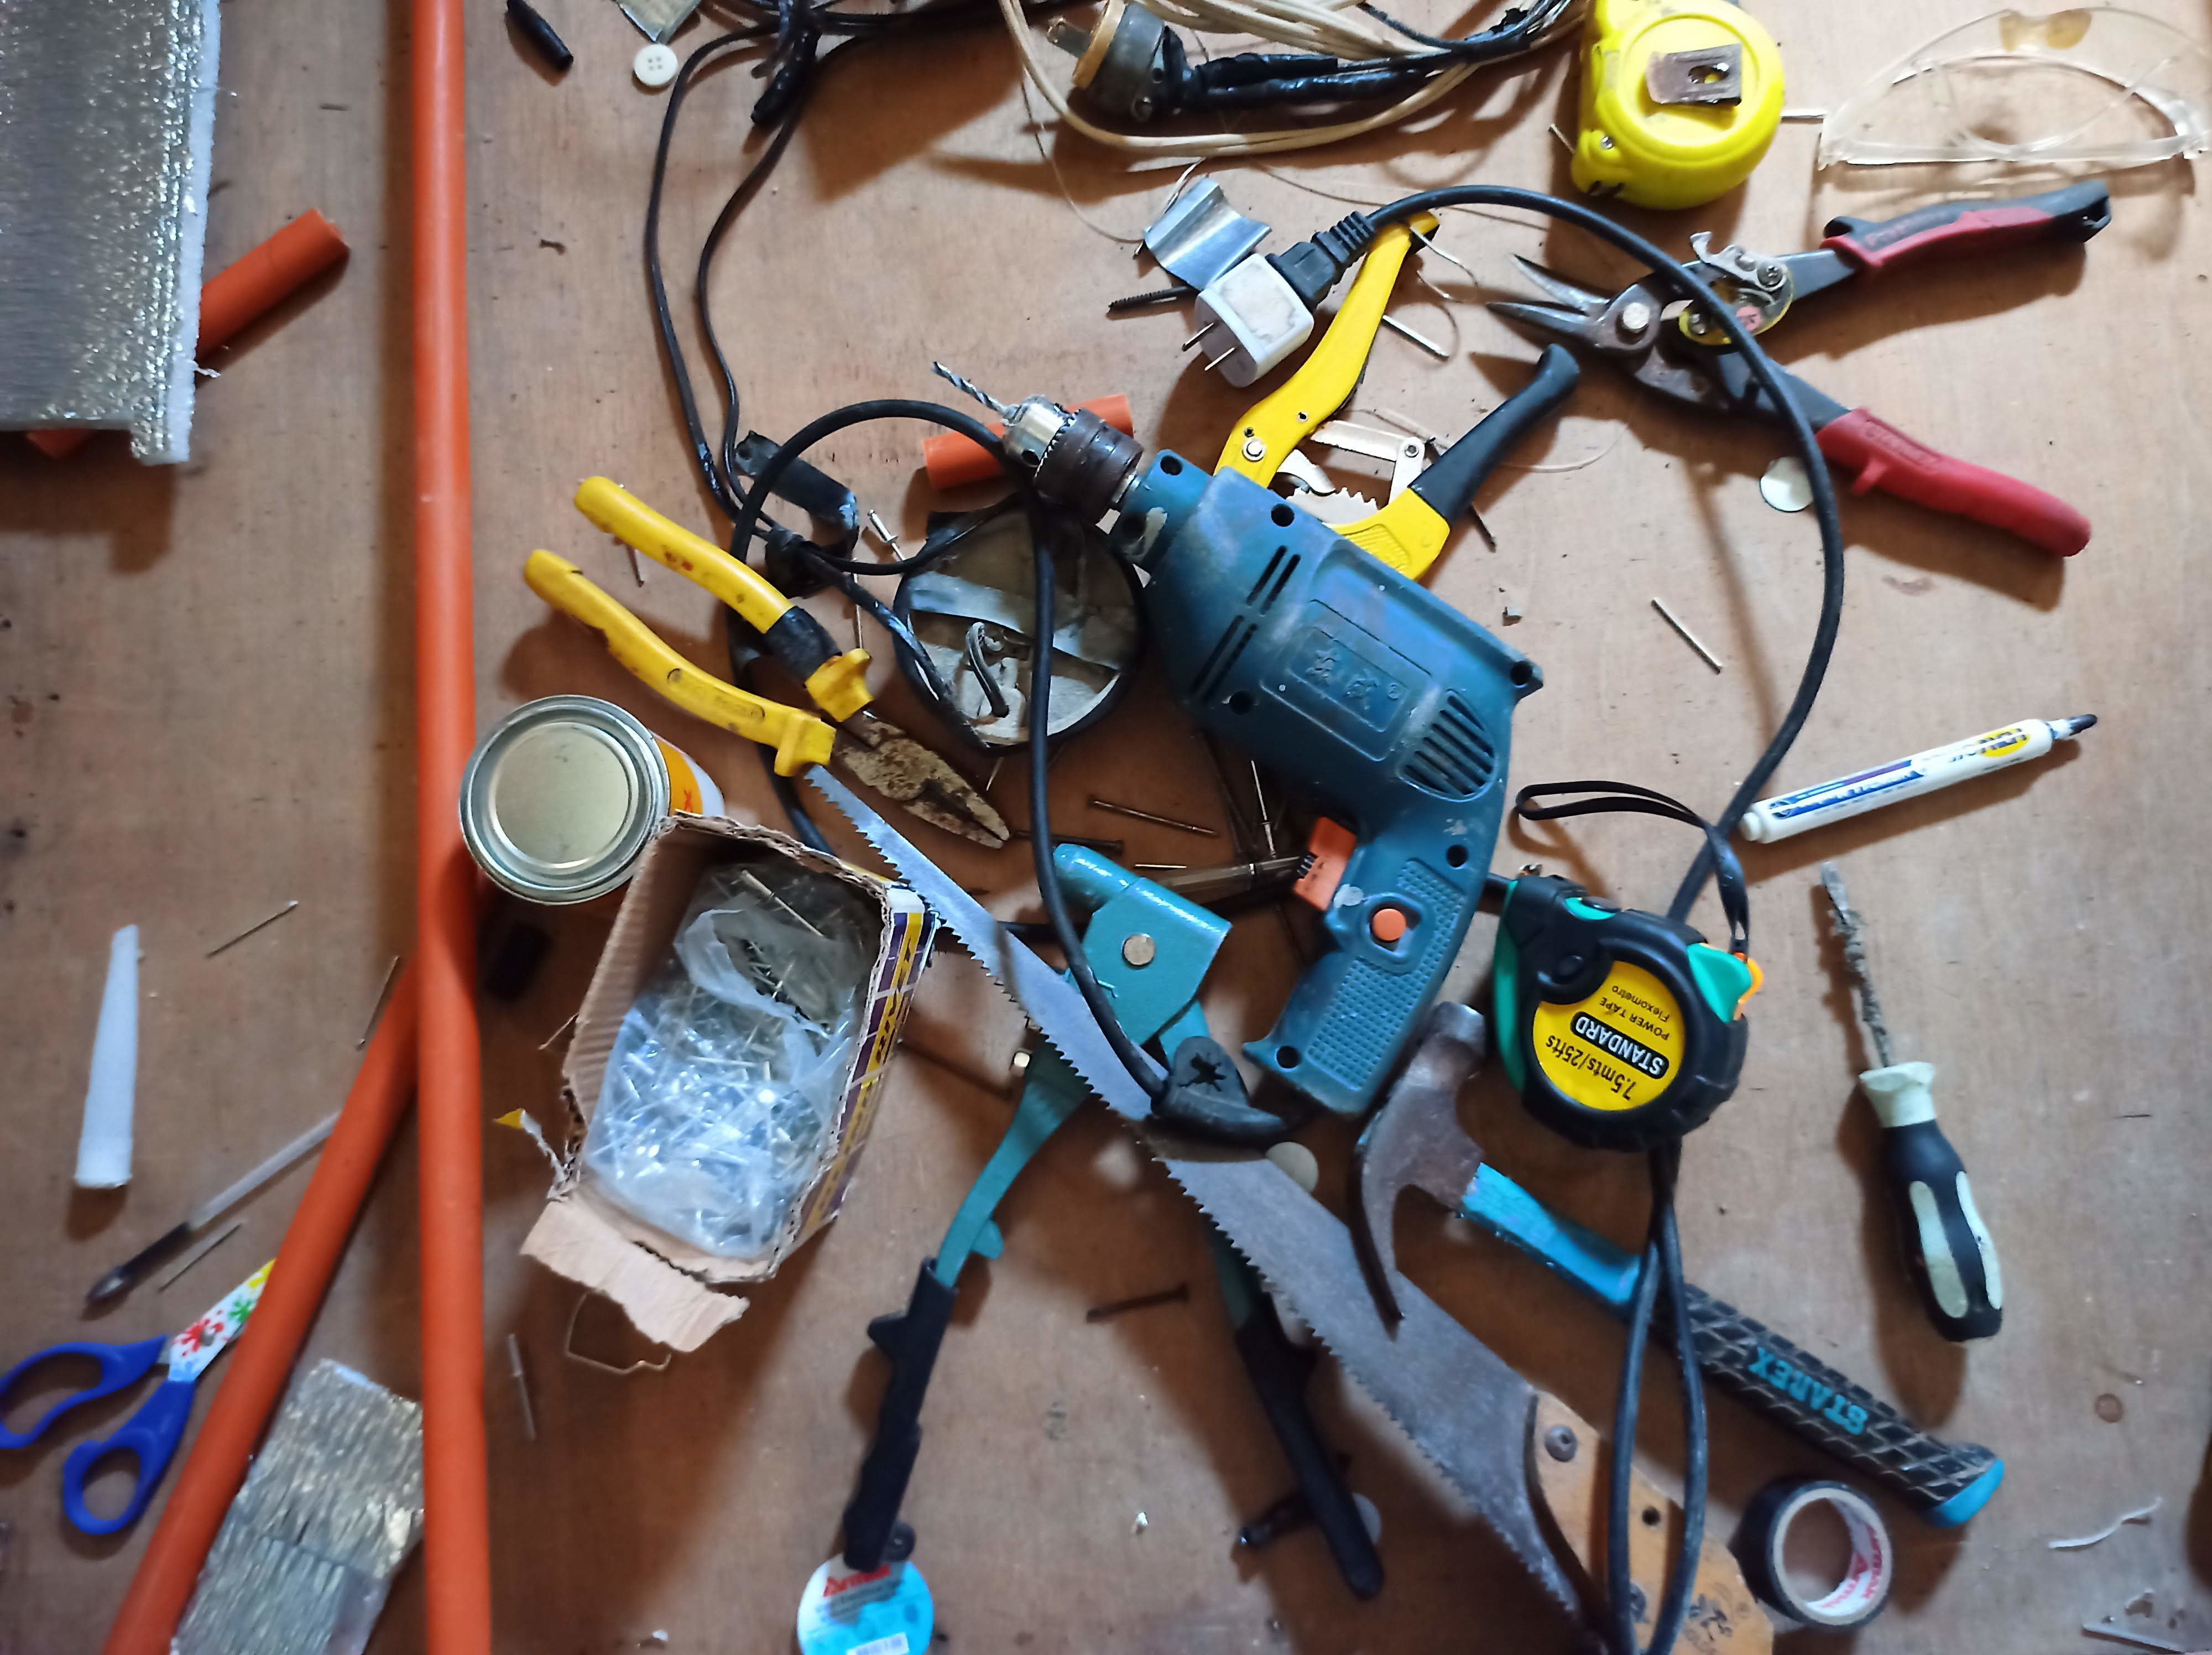
Chaotic.

Even stray cats are enjoying themselves thru the chaos. They look so comfortable lying on the pieces of aluminum insulation .
This is for part 1. I'll update you again next time.
Thank you very much for the love and support!