SALUDOS NUEVAMENTE A TODOS LOS AMIGOS DE ESTA GRAN COMUNIDAD.
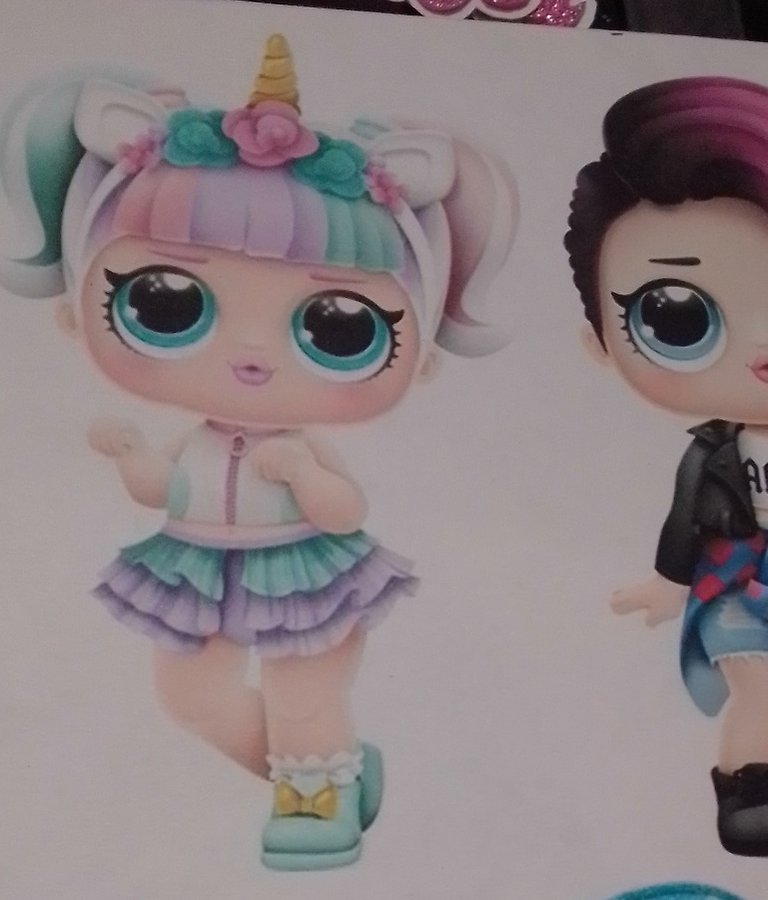
EL NUEVO TUTORIAL QUE LES TRAIGO HOY, ESTÁ HECHO CON CARTULINAS Y FOAMI, QUE SON MATERIALES MUY ECONÓMICOS Y CON LOS QUE PODEMOS REALIZAR MUCHAS COSAS, ENTRE ELLAS ESTE HERMOSO ADORNO EL CUAL PUEDES HACER PARA DECORAR UN CUADERNO, CARPETA, CAJA, TORTA, EN FÍN EL USO QUE LE QUIERAS DAR, CLARO ESTÁ, QUE MI TUTORIAL TE SERVIRÁ DE GUÍA.
Los materiales a usar son:
** GREETINGS AGAIN TO ALL THE FRIENDS OF THIS GREAT COMMUNITY. **
- THE NEW TUTORIAL THAT I BRING YOU TODAY, IS MADE WITH CARDBOARDS AND FOAMI, WHICH ARE VERY ECONOMIC MATERIALS AND WITH WHICH WE CAN DO MANY THINGS, AMONG THEM THIS BEAUTIFUL ORNAMENT WHICH YOU CAN MAKE TO DECORATE A NOTEBOOK, CASE, FOLDER FINALLY THE USE YOU WANT TO GIVE IT, OF COURSE THAT MY TUTORIAL WILL GUIDE YOU *.
The materials to use are:
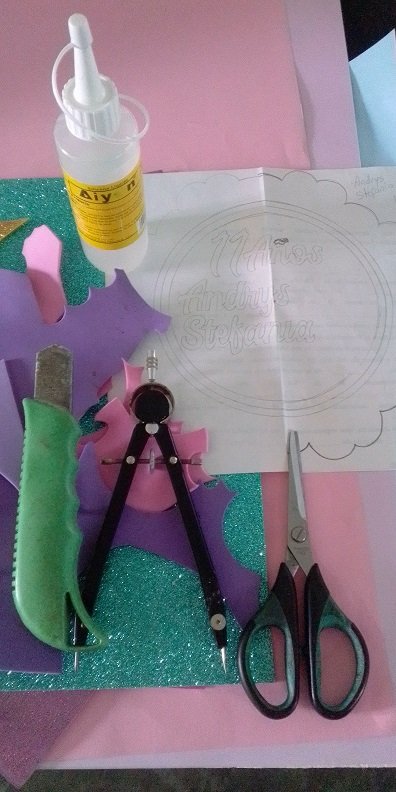
Cartulinas, foami escarchado, tijera, compás, cuchilla, silicón líquido, molde e impresión de imagen en cartulina.
Cardboards, frosted foami, scissors, compass, blade, liquid silicone, mold and image printing on cardboard.
Es hora de empezar este lindo paso a paso.
Time to start this cute step by step.
Paso 1:
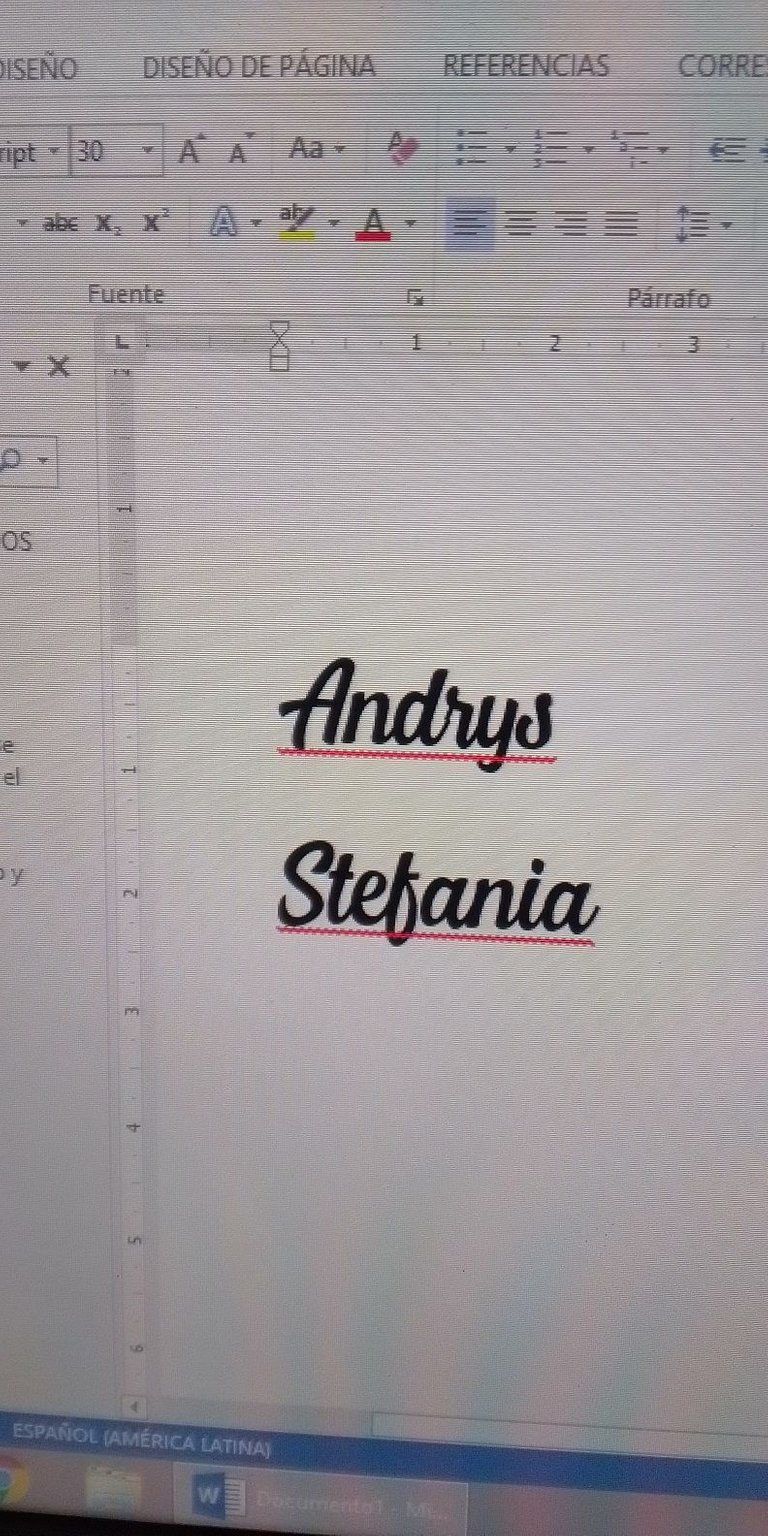
-Escoger el nombre, tamaño y forma de las letras.
-Choose the name, size and shape of the letters.
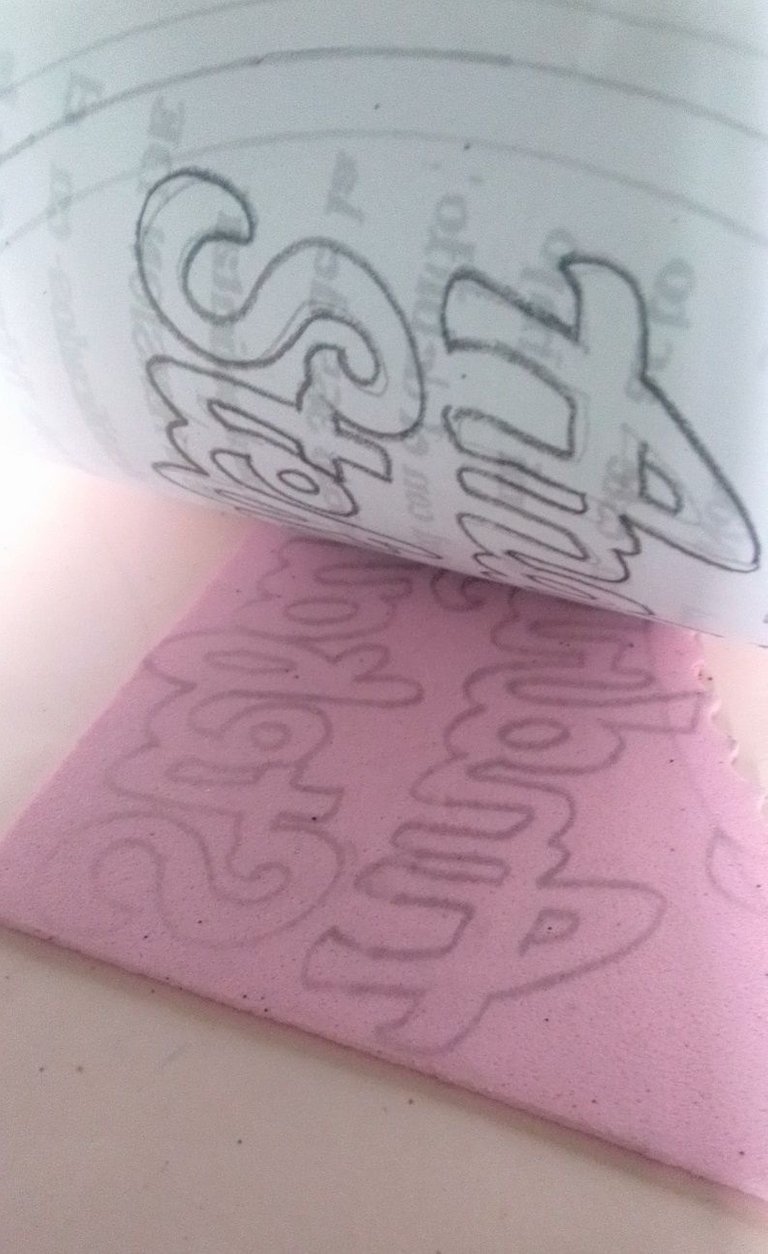
-Calcar o imprimir los nombres o palabras que deseas sacar en foami.
-Trace or print the names or words that you want to draw in foami.
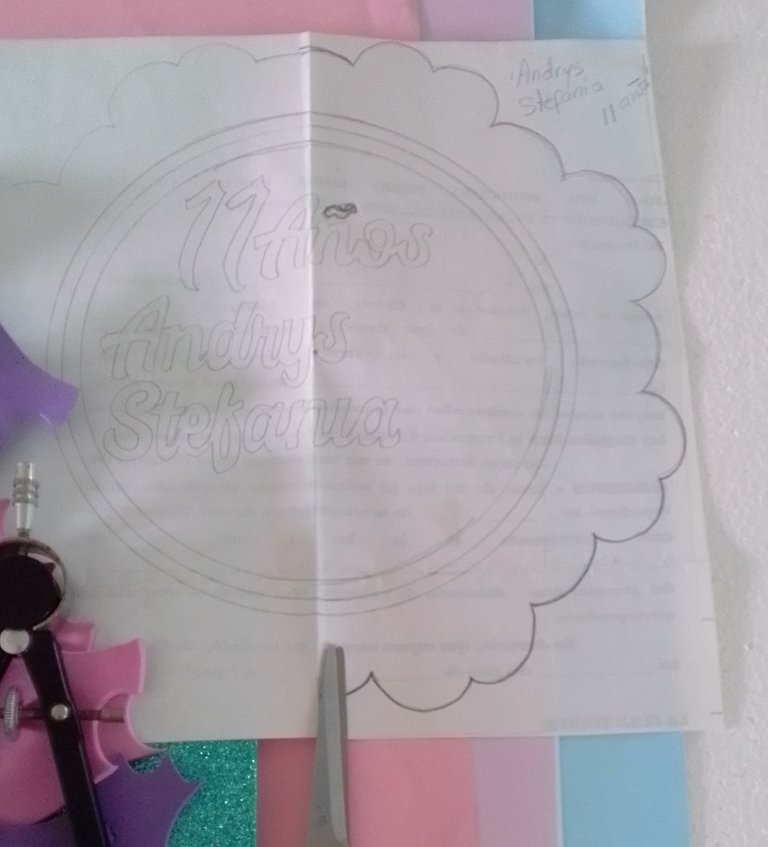
-Recortar el molde y pasarlo al foami, remarcando con un palito de madera por la orilla.
-Recortar el molde y pasarlo al foami, remarcando con un palito de madera por la orilla.
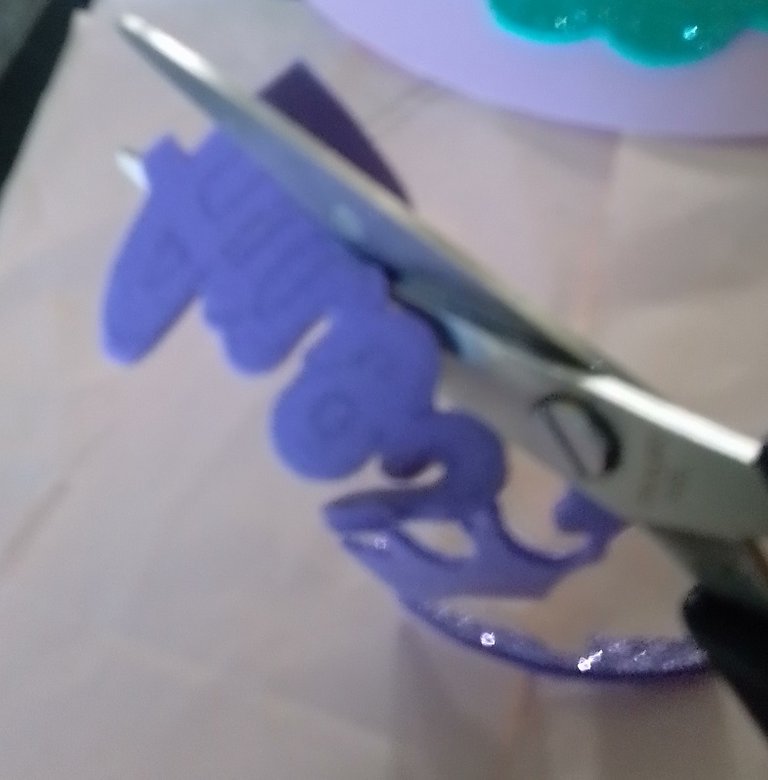
Recortar el molde en foami escarchado.
-Cut the mold into frosted foam.
PASO 2
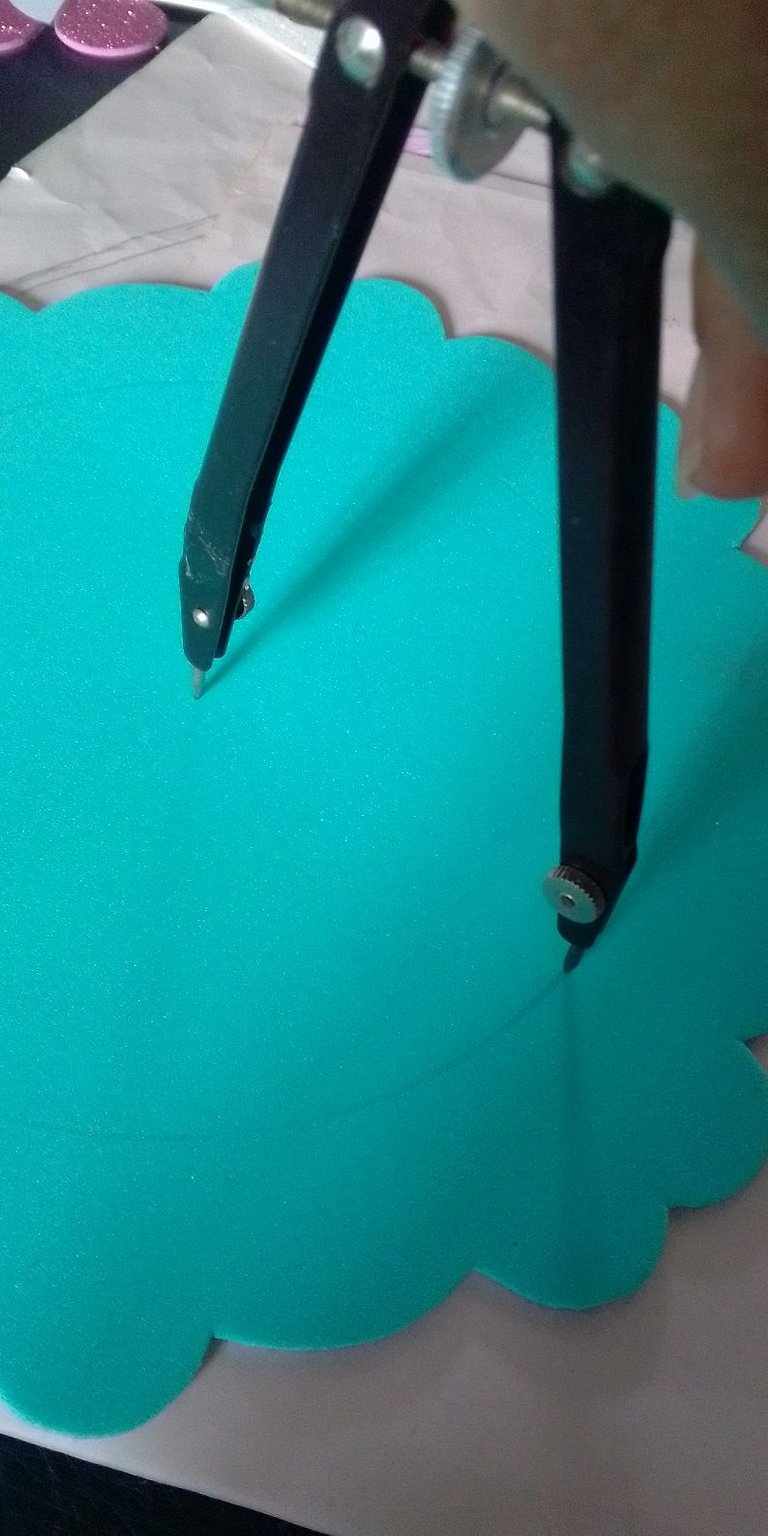
-Marcar con el compás un circulo para luego cortar con la cuchilla.
-Mark a circle with the compass and then cut with the blade.
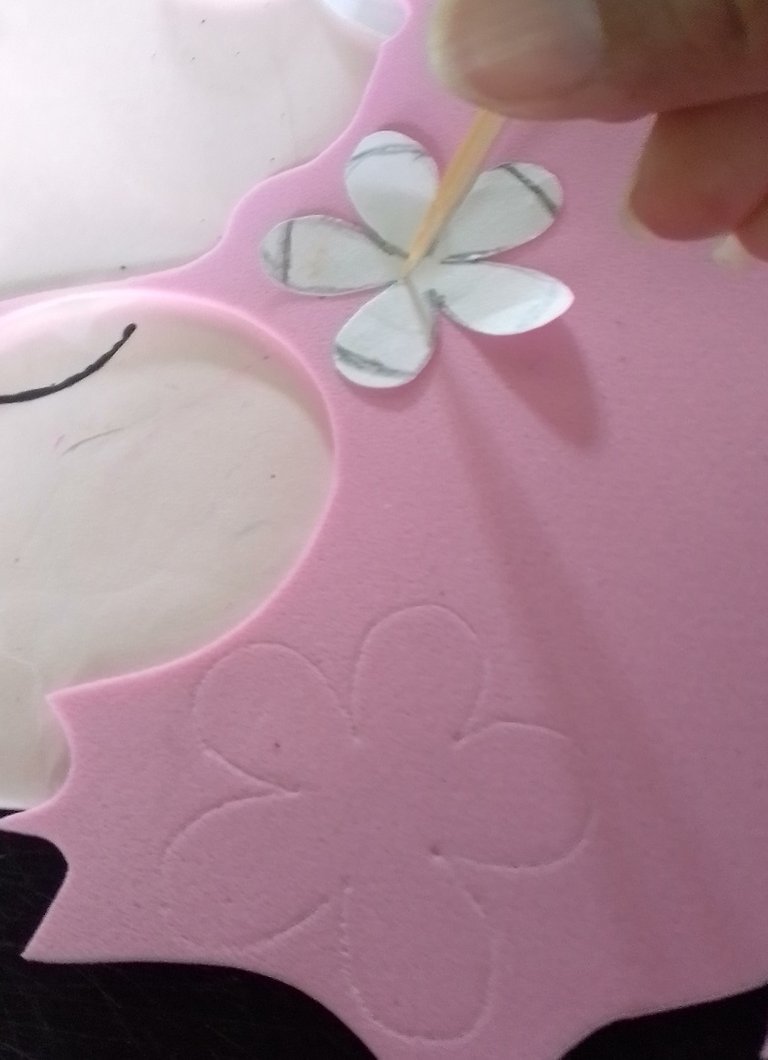
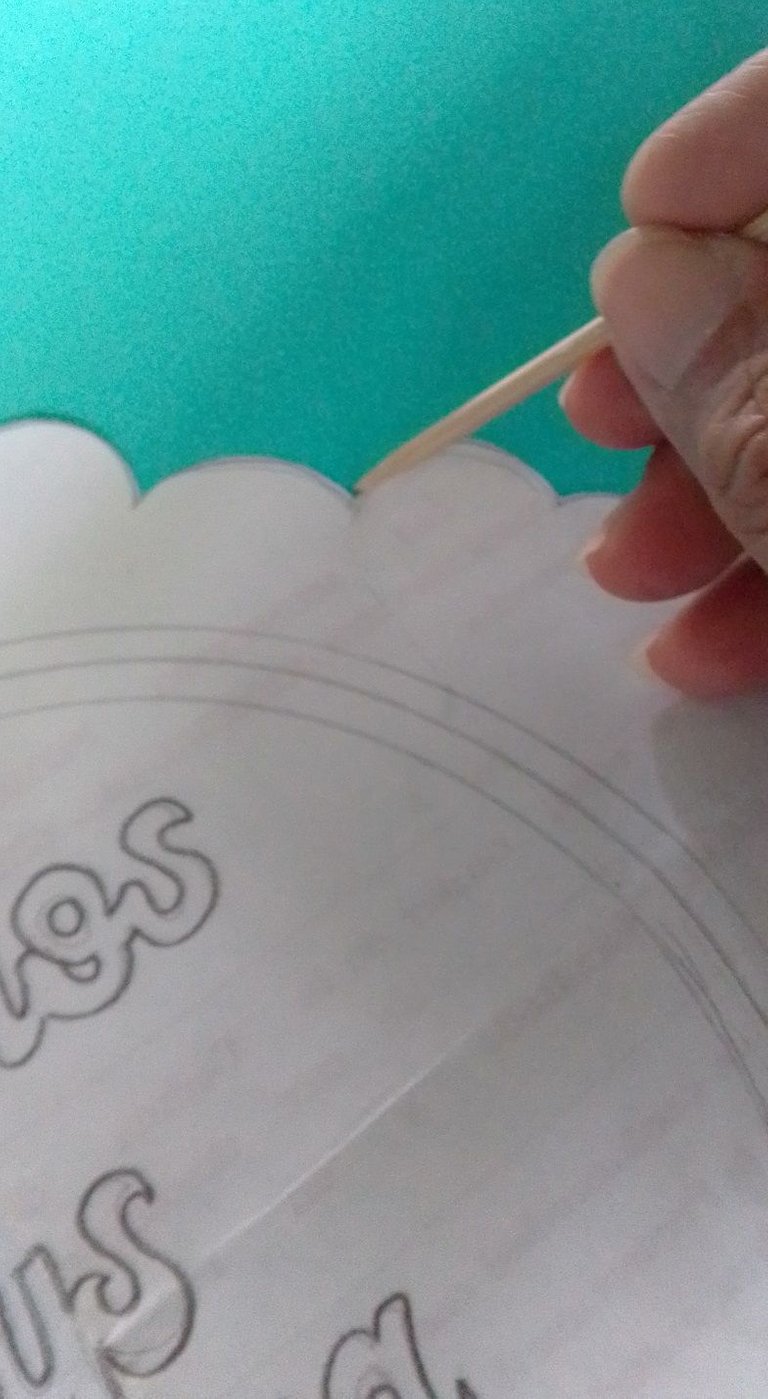
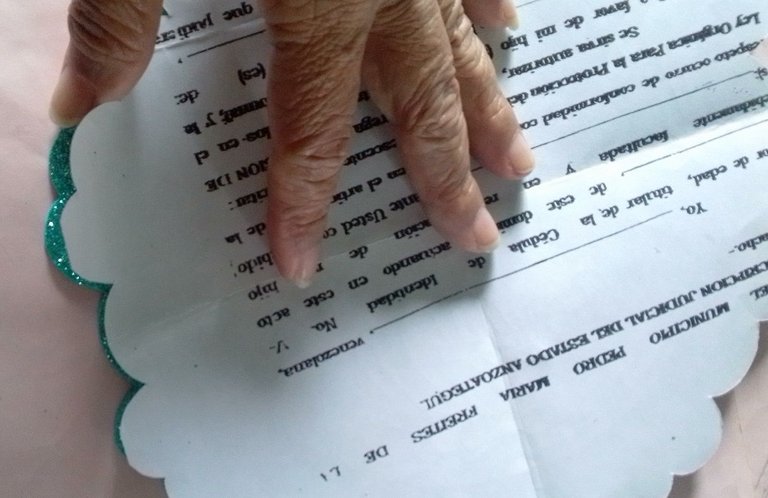
_Transferir los nombres al foami.. ¿Cómo se hace? primero repasamos las letras con un lapiz de grafito que escriba oscuro, ponemos sobre el foami y remarcamos frotando con las orejas de una tijera el papel. (ver foto)
-Con un palito de madera marcamos la forma de las flores.
_Transfer the names to the foami .. How is it done? First we go over the letters with a graphite pencil that writes dark, we put on the foami and we mark by rubbing the paper with the ears of a scissors. (view photo)
-With a wooden stick we mark the shape of the flowers.
Ya tenemos casi todo recortado.
_We already have almost everything trimmed.
PASO 3
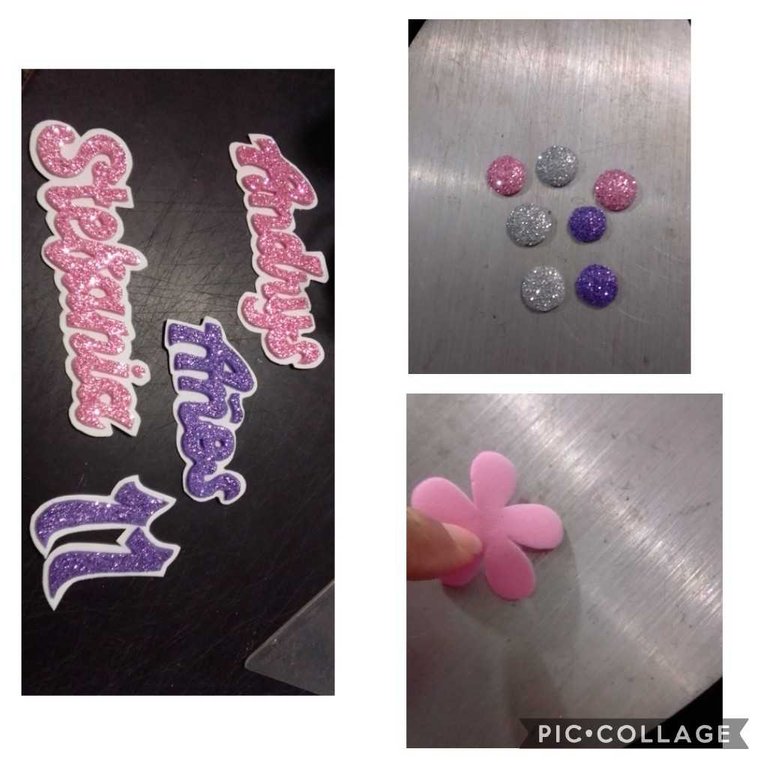
_Ya recortados los nombres, procedemos a pegar sobre cartulina blanca y vamos a recortar dejando un borde de 2 o 3mm hacia afuera.
_Already cut the names, we proceed to paste on white cardboard and we are going to cut leaving an edge of 2 or 3mm outwards.
-Y pondremos a calentar la plancha y colocamos las piezas para termoformar las flores y centros de rosas.
_Already cut the names, we proceed to paste on white cardboard and we are going to cut leaving an edge of 2 or 3mm outwards.
_Already cut the names, we proceed to paste on white cardboard and we are going to cut leaving an edge of 2 or 3mm outwards.
-And we will heat the iron and place the pieces to thermoform the flowers and rose centers._Already cut the names, we proceed to paste on white cardboard and we are going to cut leaving an edge of 2 or 3mm outwards.
PASO 4
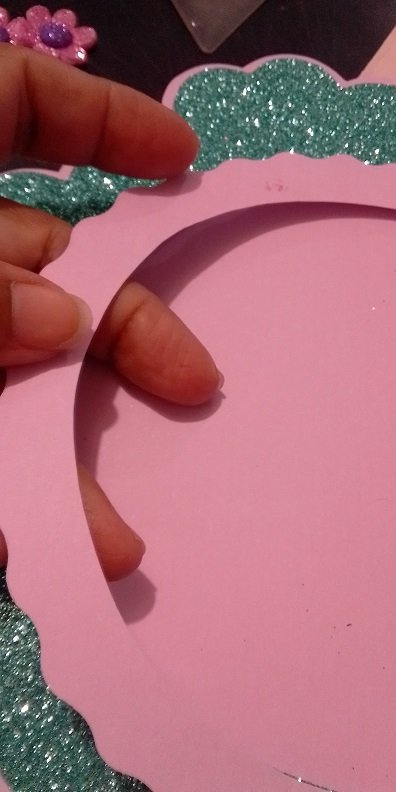
-Ahora sacaremos un círculo en cartulina o foami rosado y pegamos a la orilla de la base azul en escarchado.
-Recortamos la imagen impresa dejando 2 mm hacia afuera aproximadamente como los hicimos con los nombres.
- Crop the printed image leaving approximately 2mm out as we did with the names.
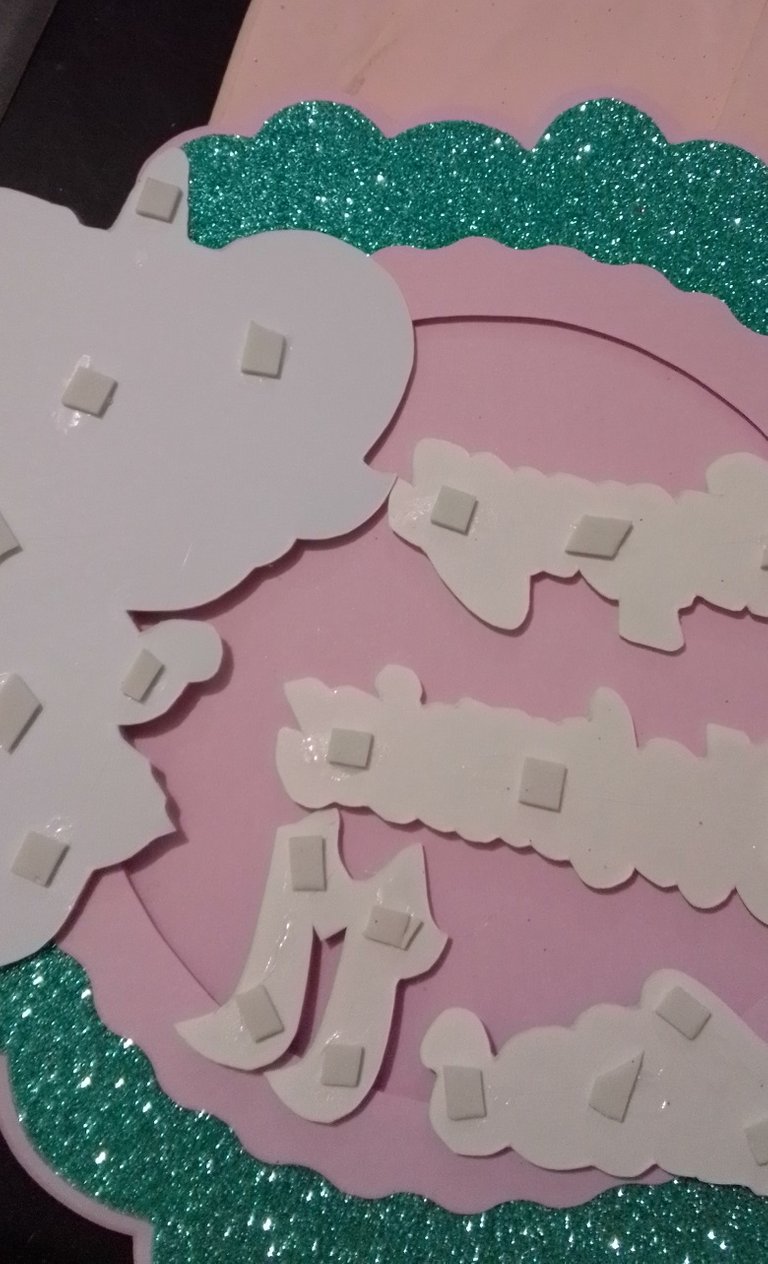
_Luego recortamos unos cuadritos y se los pegaremos a cada una de las piezas de foami (nombres, numeros e impresión.) Esto es para darle altura, que se vean con relieve.
_Then we cut out some squares and we will glue them to each of the foami pieces (names and to the print.) This is to give them height so that they are seen with relief .
PASO 5:
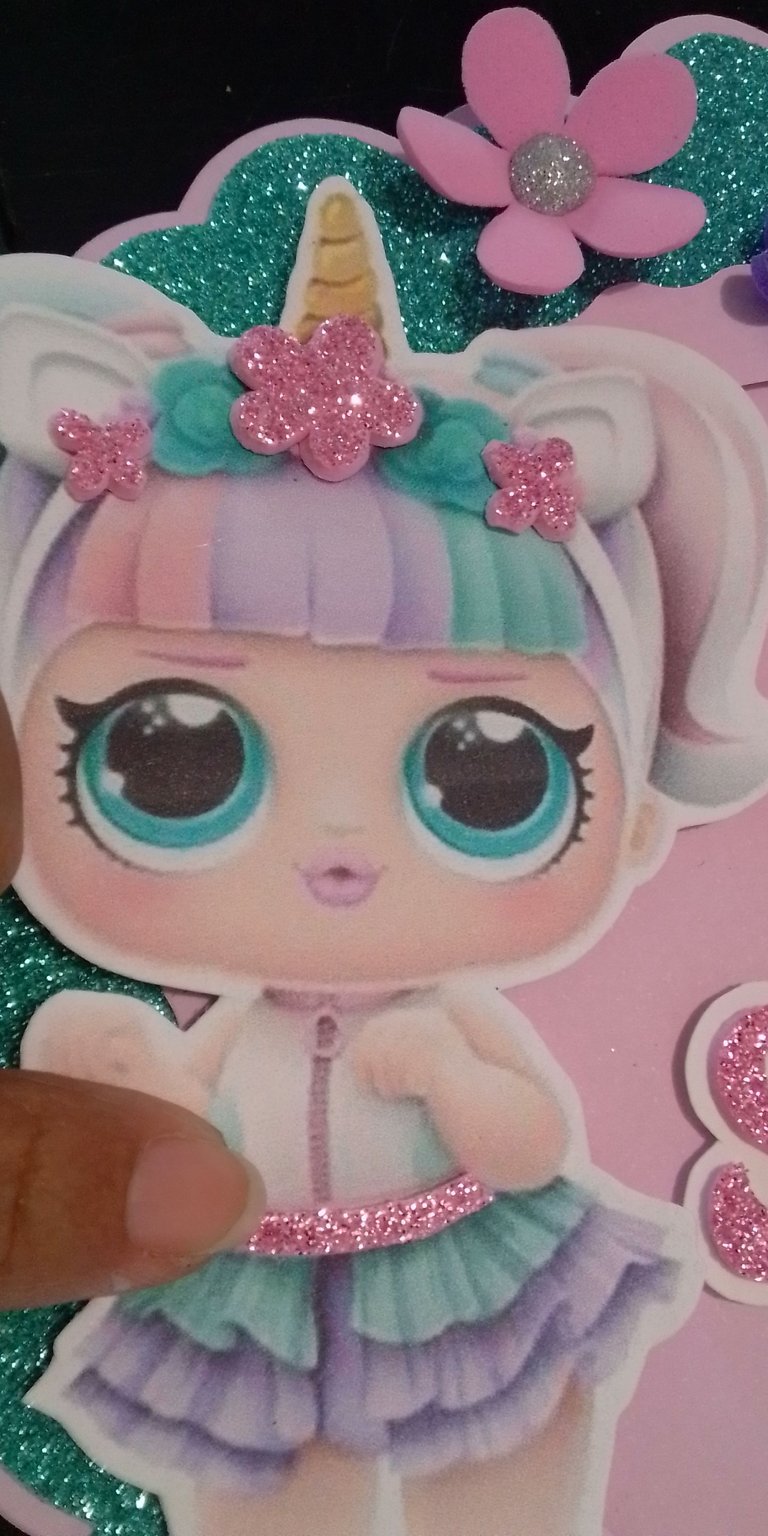
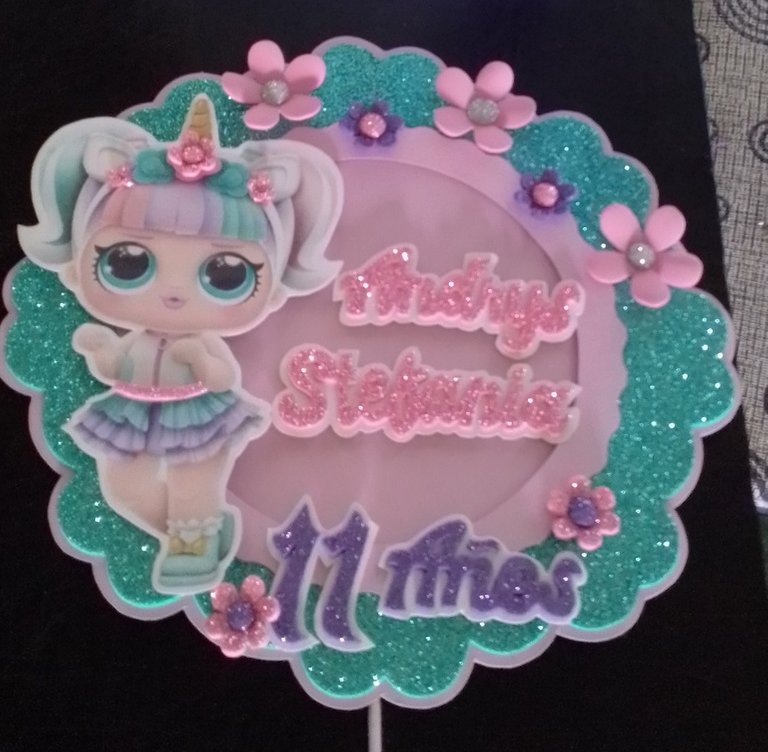
Por último aplicamos silicón a cada uno de los cuadritos de foami y pegamos en el círculo de base y si quieres puedes adornar la imagen de la impresión con detalles en foami.
Finally, apply silicone to each of the foami squares and stick on the circle or base and if you want you can decorate the image of the print with details in foami.
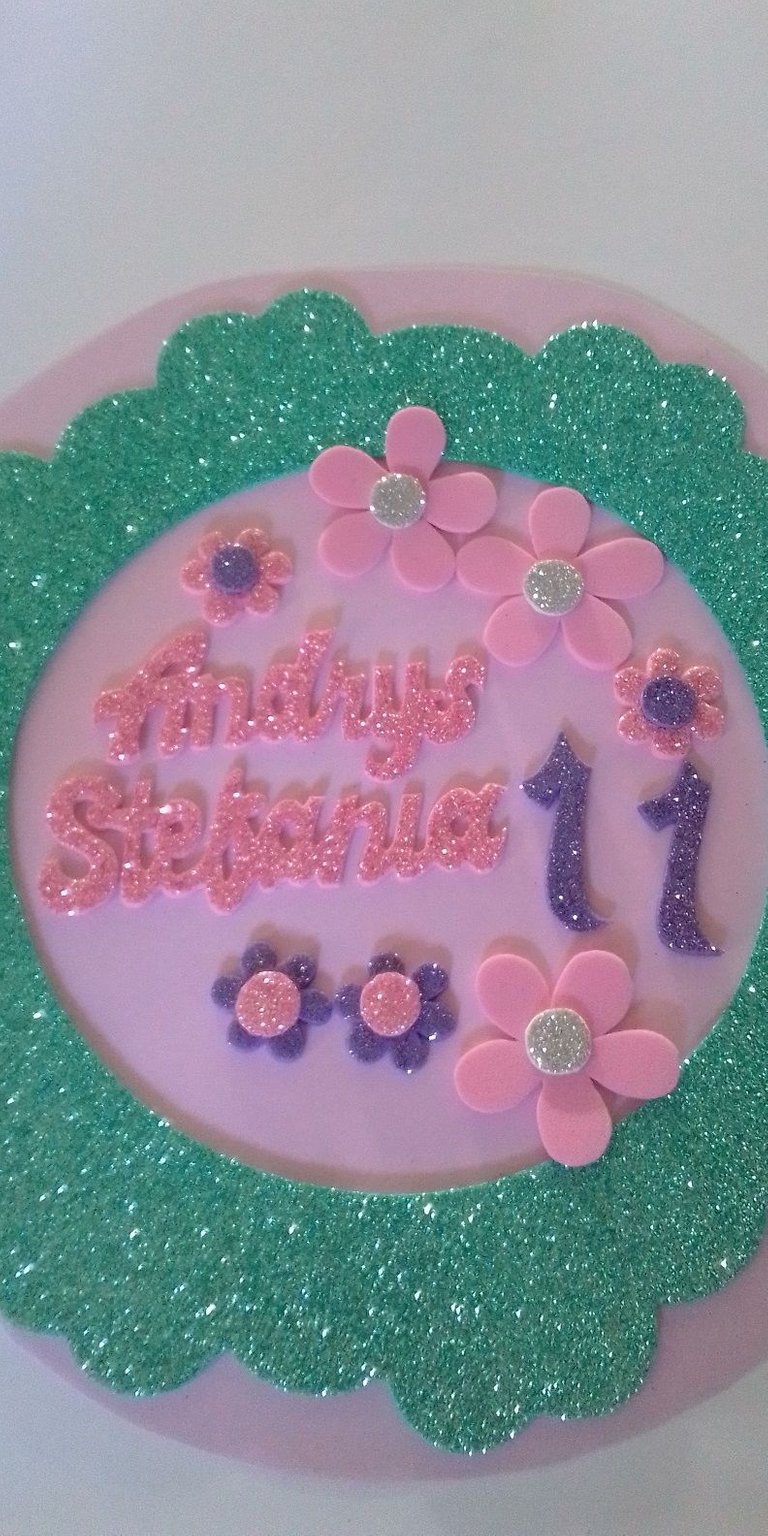
Ahora si ya está listo el adorno, lo hice para decorar una torta de cumpleaños
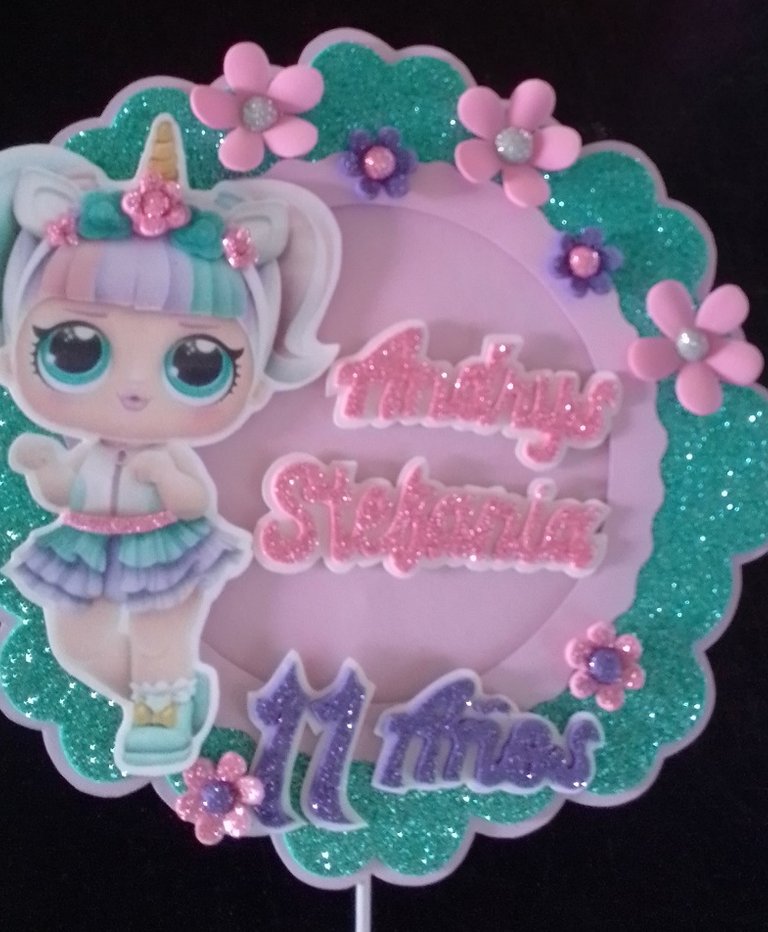
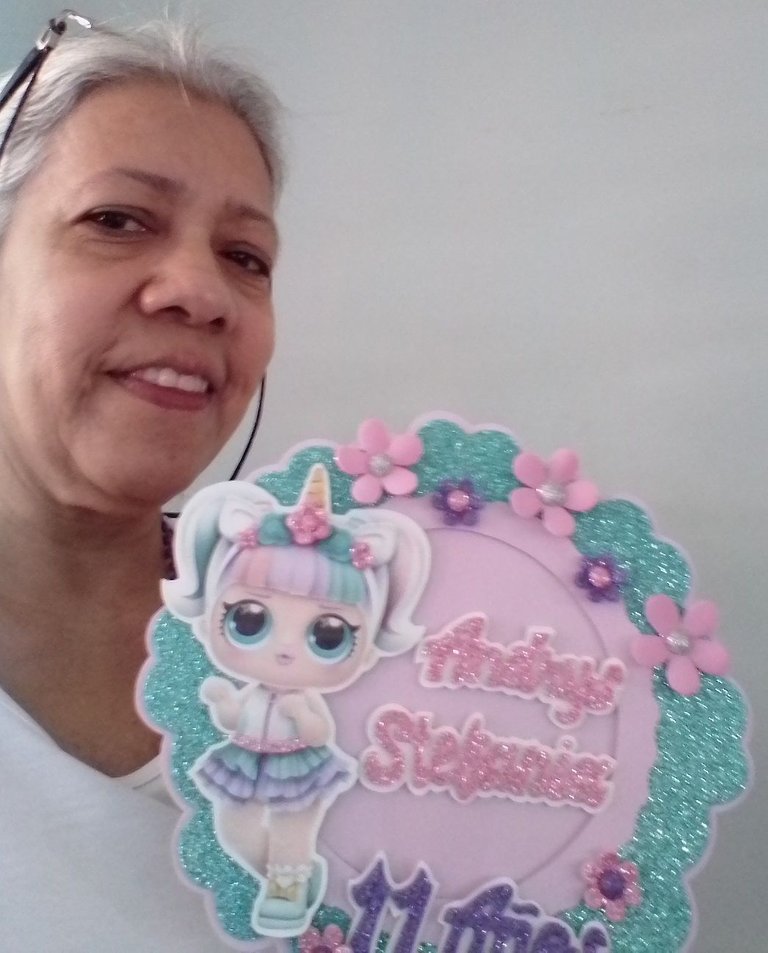
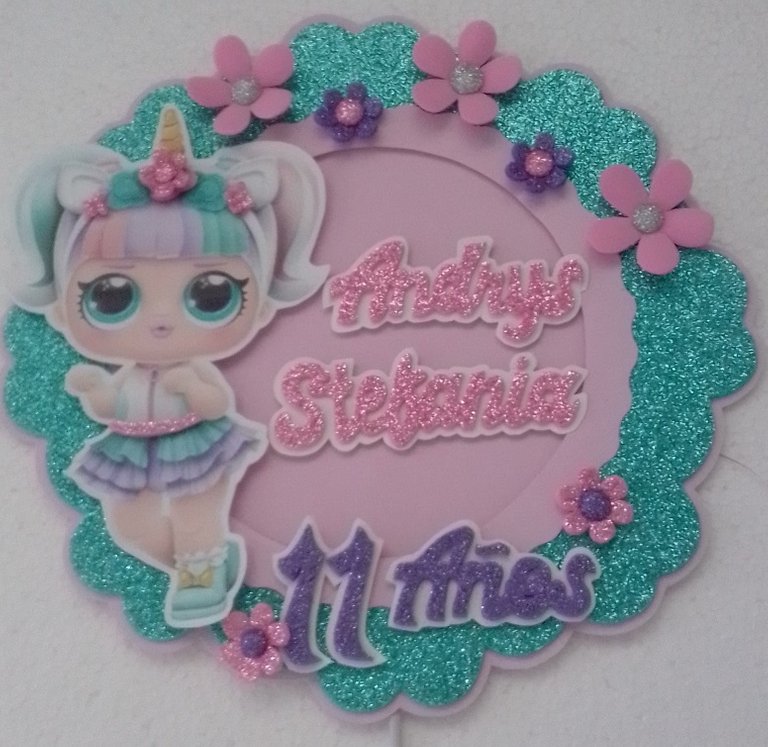
En pinterest o Google,encontrarás muchos modelos de toppers, yo tomé la idea de uno, pero le puse mis toques personales.
Las fotos de este paso a paso,las tomé con mi teléfono.
Ahora ya si me despido, esperando y confiando en que me visites y dejes tu comentario, sugerencia o pregunta.
On pinterest or Google, you will find many models of toppers, I took the idea of one, but I put my personal touches, the photos of this step by step, I took them with my phone.
Now if I say goodbye, waiting and trusting you to visit me and leave your comment, suggestion or question.
Espero como siempre que el tutorial te sirva, guste y ayude a tomar la iniciativa de hacerlo, siempre es bueno experimentar y trabajar para el bien nuestro...
I hope as always that the tutorial will serve you, like it and help you take the initiative to do it, it is always good to experiment and work for our good ...
Has sido votado por
PROYECTO ENLACE
'Conectando Ideas y Comunidades'
PROYECTO ENLACE es un proyecto de curación de habla hispana enfocado en recompensar contenido de calidad y apoyar autores en su proceso de crecimiento en HIVE.
Creemos y apostamos por el futuro de esta gran plataforma, y estamos muy emocionados de poder hacerla crecer junto a esta comunidad. Así que te invitamos a usar nuestra etiqueta ENLACE y estar atento a todas las actividades que tenemos preparadas y que estaremos publicando en breve.
¿QUIERES AUTOMATIZAR TUS GANANCIAS DE CURACIÓN? SE PARTE DEL PROYECTO ENLACE APOYANDO A NUESTRO TRAIL EN HIVE.VOTE INGRESA AQUÍ PARA CONCOCER LOS DETALLES.
¿QUIERES INVERTIR ENLACE? DESCUBRE COMO HACERLO Y GENERAR INGRESOS DE FORMA SEMANAL MEDIANTE TU DELEGACIÓN DE HP AQUÍ TE EXPLICAMOS COMO.
Te invitamos a participar en nuestro servidor de Discord: https://discord.gg/3S9y7BbWfS
Atentamente
EQUIPO ENLACE 2021
¡Felicitaciones!
1. Invierte en el PROYECTO ENTROPÍA y recibe ganancias semanalmente. Entra aquí para más información.
3. Suscríbete a nuestra COMUNIDAD, apoya al trail de @Entropia y así podrás ganar recompensas de curación de forma automática. Entra aquí para más información sobre nuestro trail.
4. Creación de cuentas nuevas de Hive aquí.
5. Visita nuestro canal de Youtube.
Atentamente
El equipo de curación del PROYECTO ENTROPÍA
Congratulations @elmundodebetty! You have completed the following achievement on the Hive blockchain and have been rewarded with new badge(s) :
Your next target is to reach 400 upvotes.
You can view your badges on your board and compare yourself to others in the Ranking
If you no longer want to receive notifications, reply to this comment with the word
STOPCheck out the last post from @hivebuzz: