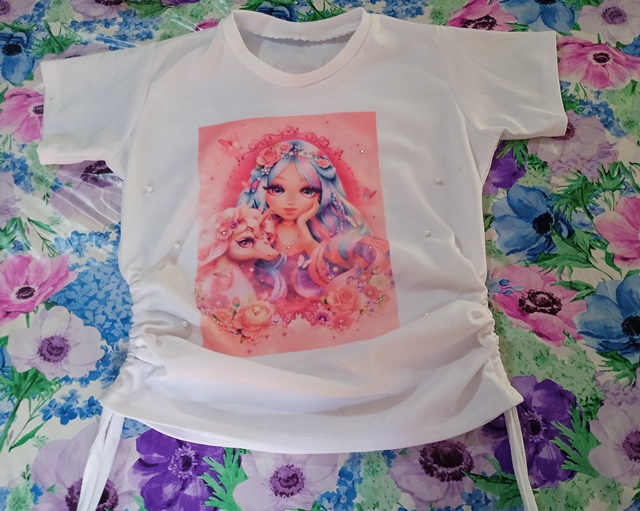
Holaaaaaa y bienvenidos a una nueva publicación, espero que se encuentren muy bien :D, yo me siento feliz de publicar un nuevo diy. El día de hoy les quiero compartir la realización de una franela decorada❤️. Les cuento que la costura es mi trabajo, mi hobbie y mi terapia jejej (sé que es el caso de muchas personas). Por experiencia sé que si no practicamos las técnicas se olvidan; Este proyecto al igual que muchoos otros lo puedes realizar sin importar si apenas estas empezando o si aún no tienes máquina de coser, lo principal que necesitamos es nuestra constancia, disciplina para mejorar, y mucho amor por lo que hacemos. ¡Comencemos!
Hellooooo and welcome to a new publication, I hope you are very well :D, I am happy to publish a new diy. Today I want to share the making of a decorated flannel❤️. I tell you that sewing is my job, my hobby and my therapy hehe (I know that is the case for many people). From experience I know that if we don't practice the techniques they are forgotten; This project, like many others, can be done regardless of whether you are just starting or if you do not have a sewing machine yet, the main thing we need is our perseverance, discipline to improve, and a lot of love for what we do. Let's get started!
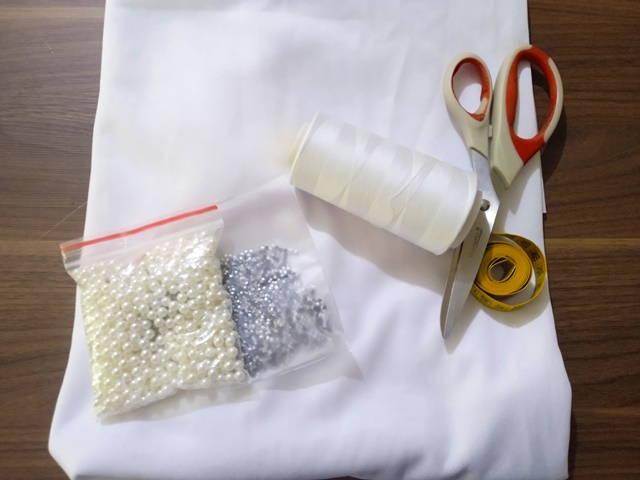
• Tela Atlética
• Hilo de coser
• Cinta métrica
• Tijera
• Perlas blancas 6 mm
• Pedrería hotfix 3 mm
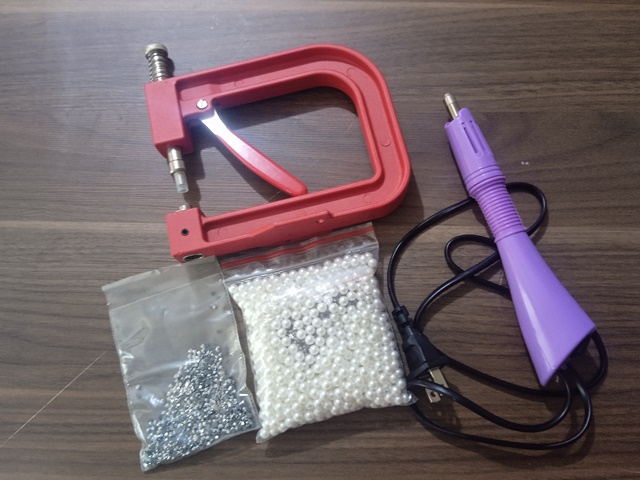
• Remachadora de perlas
• Plancha de pedrería
• Athletic fabric
• Sewing thread
• Measuring tape
• Scissors
• White pearls 6 mm
• 3 mm hotfix rhinestones
• Pearl riveter
• Plate of rhinestones
Procedimiento
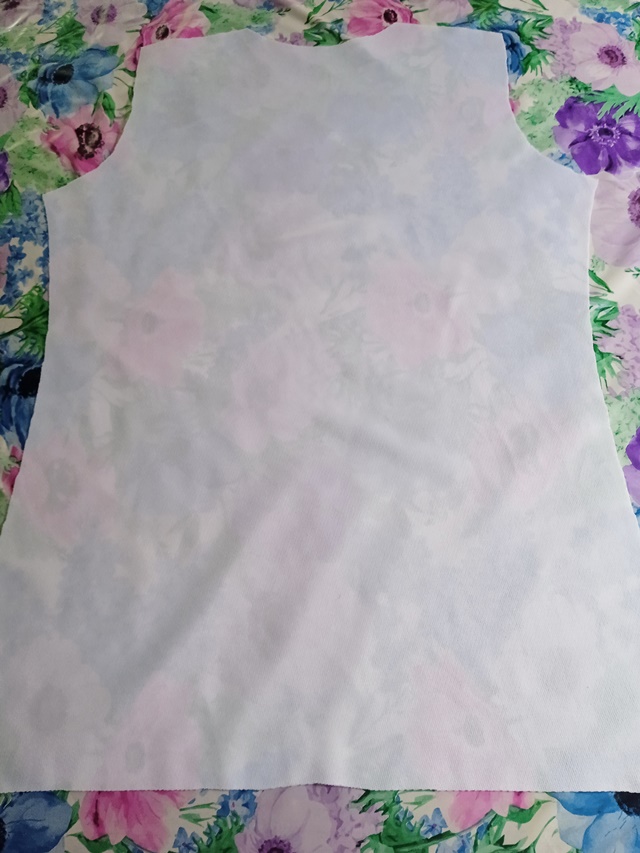
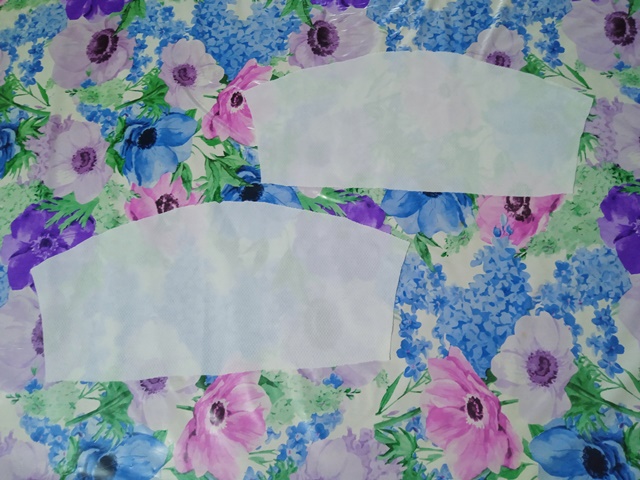
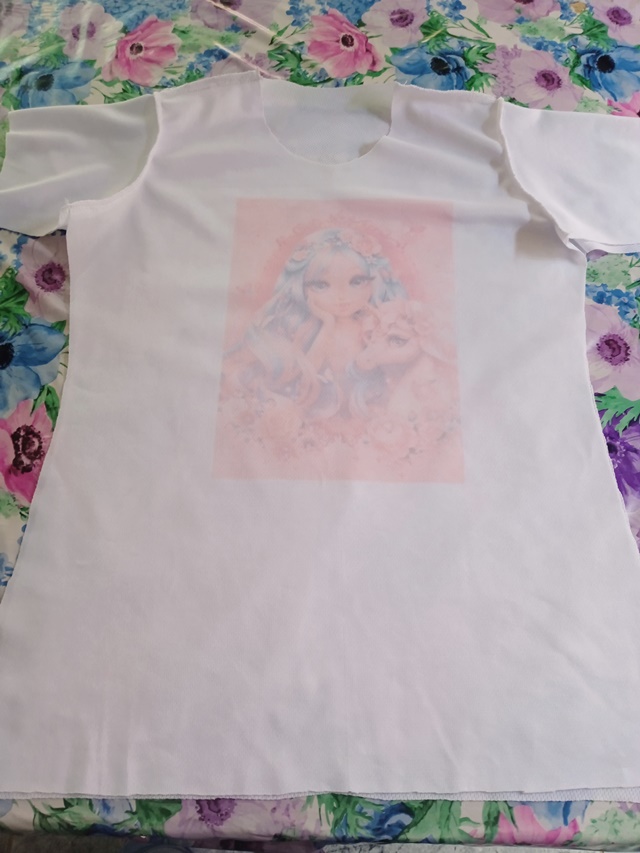
Paso 1. Lo primero que tenemos que hacer es cortar las piezas de la franela: la pieza delantera, pieza de espalda y mangas. En este caso como utilicé una tela blanca quise agregarle color y le sublimé un diseño que compré
Step 1. The first thing we have to do is cut the flannel pieces: the front piece, back piece and sleeves. In this case, since I used a white fabric, I wanted to add color and I sublimated a design that I bought.
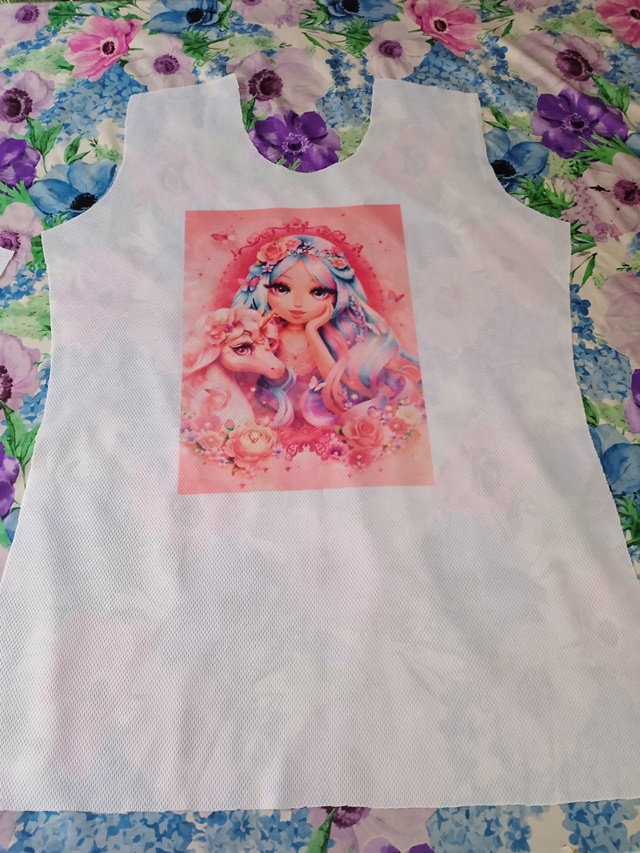
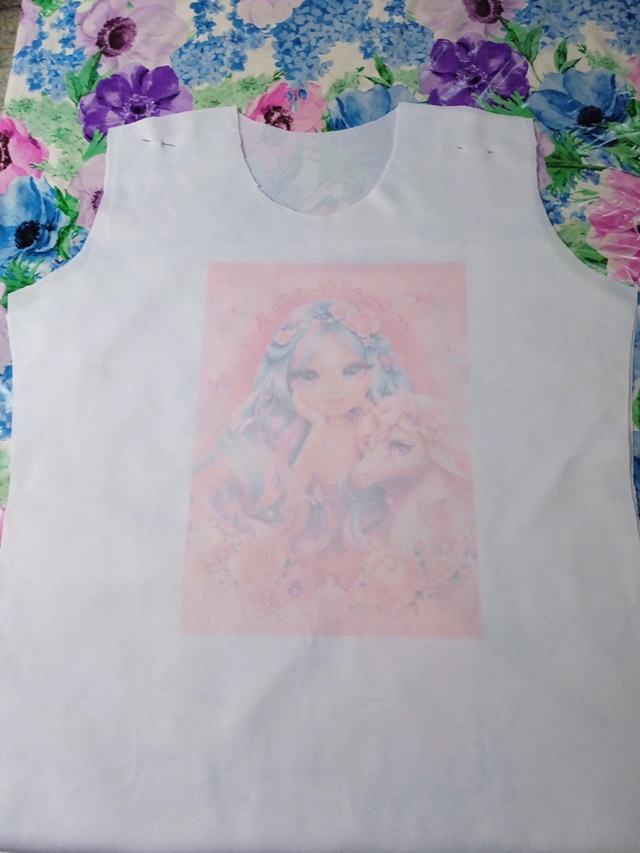
El proceso de sublimar de forma casera es muy sencillo, solo necesitas el diseño impreso en hoja para sublimar (obviamente), una plancha sin vapor o sin esa opcion encendida porque el agua daña la hoja y por ende el diseño, y por ultimo perooo no menos importante tambien necesitarás un papel blanco mas grande que el tamaño de la hoja donde esta el diseño la cual irá encima para evitar que la hoja de sublimacion se queme
The sublimation process at home is very simple, you only need the design printed on the sheet to sublimate (obviously), an iron without steam or without that option turned on because the water damages the sheet and therefore the design, and last but not Less important, you will also need a white paper larger than the size of the sheet where the design is, which will go on top to prevent the sublimation sheet from burning.
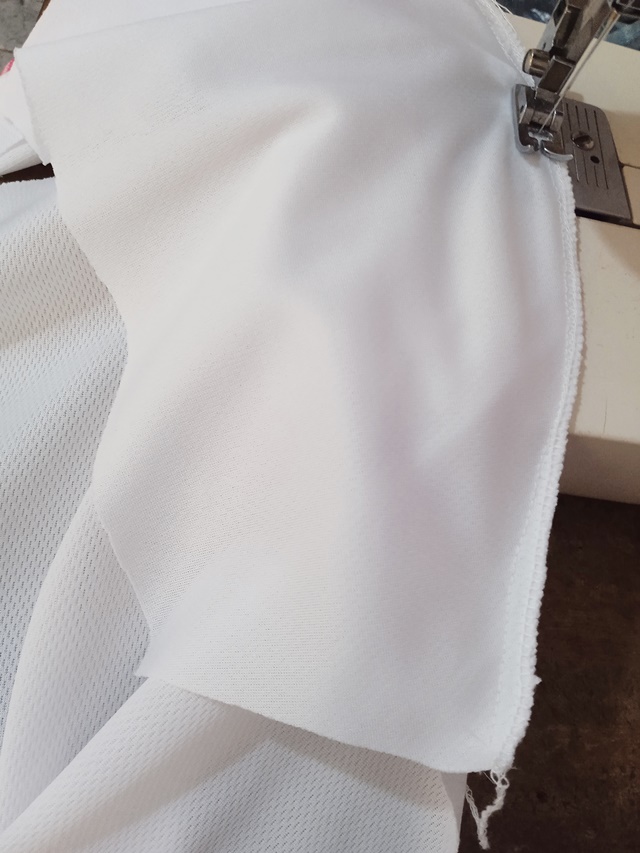
Paso 2. Ess hora de coseer, recuerda que puedes utilizar una máquina de coser o también puedes coser a mano con "punto atrás", las dos opciones son válidas lo importante es esforzarnos para que nuestro trabajo quede lo más limpio posible y con la practica y constancia siempre se puede mejorar. Empezamos cosiendo los hombros y luego las mangas
It is time to sew, remember that you can use a sewing machine or you can also sew by hand with "backstitch", both options are valid, the important thing is to strive so that our work is as clean as possible and always with practice and perseverance It can improve. We start by sewing the shoulders and then the sleeves.
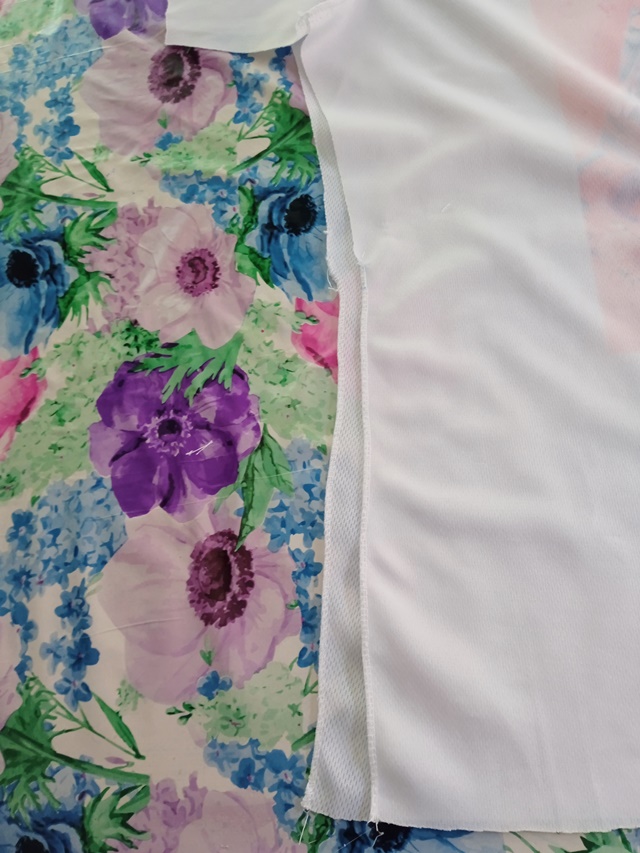
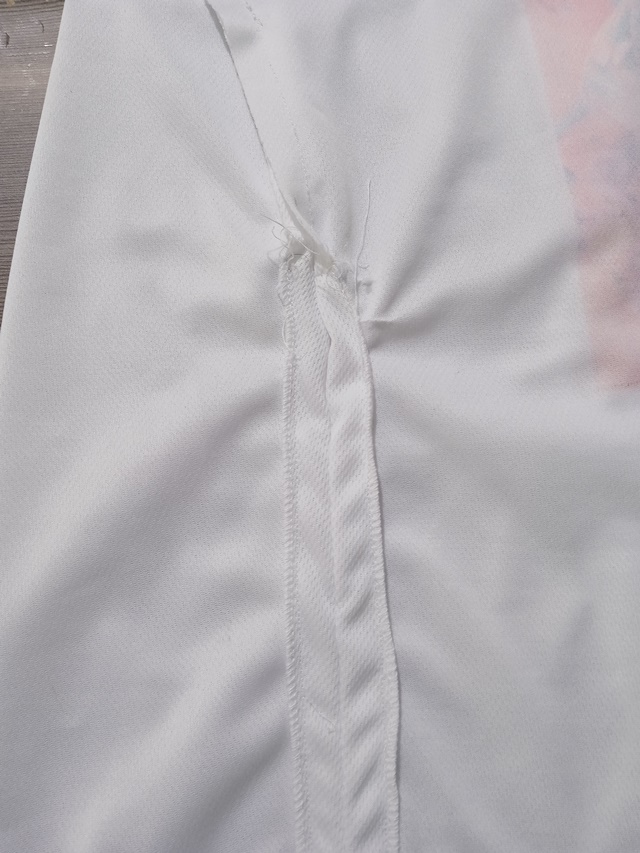
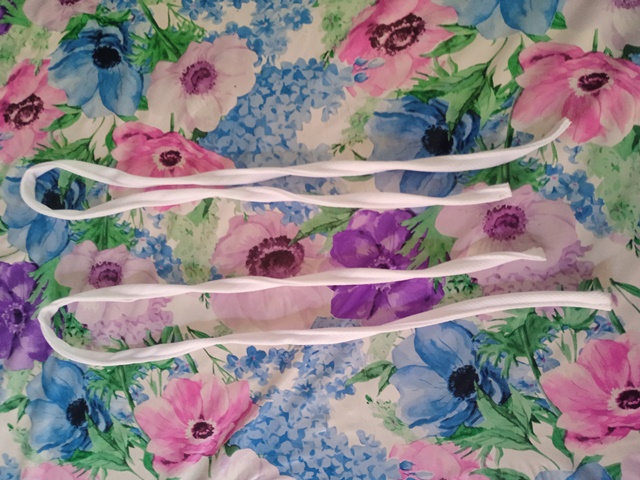
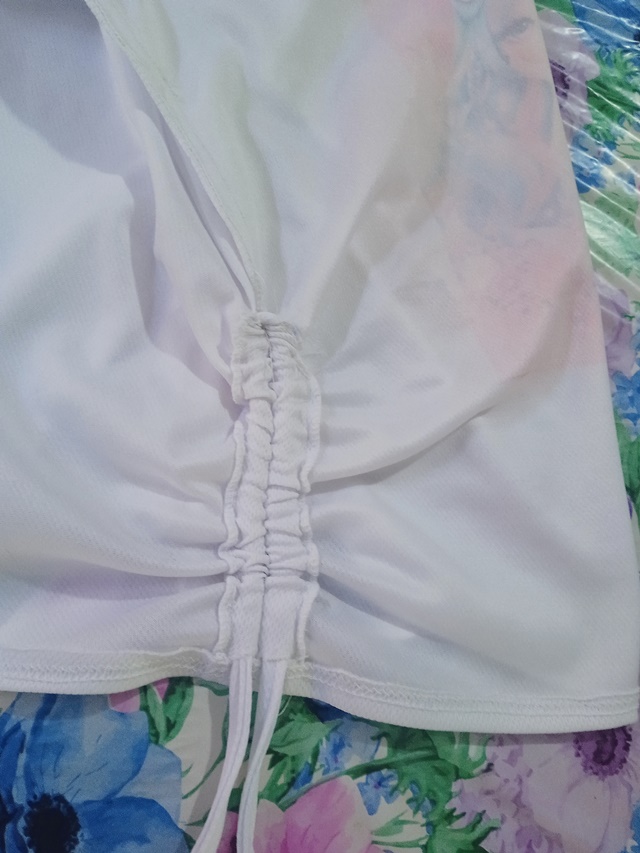
Paso 3. Les cuento que me medí la franela y supe que me quedaría un poquito ancha y yo quería que me quedara ajustada, entonces lo que se me ocurrió fue realizarle a la franela unos ruches por los lados🤔, realmente es primera vez que lo hago y se que existen muchas maneras para realizar esta técnica, yo les voy a enseñar la que mejor se me ocurrió. Okey lo primero que debemos hacer es medir a los lados que tan largo queremos que sea el fruncido, luego a esa medida le pasamos una costura, puede ser utilizando costura zig zag o utilizando la máquina overlok. Despues cosemos ese fragmento con puntada recta dejando aprox. 2cm de costura y luegoo para crear los canales por donde irá la tira vamos a asentar hacia los lados el margen de 2cm que dejamos y lo vamos a coser por la orilla. Les prometo que es mas sencillo de lo que parecee
I tell you that I measured the flannel and I knew that it would be a little wide and I wanted it to fit tight, so what occurred to me was to make the flannel some ruches on the sides🤔, it really is the first time that I do it and I know that There are many ways to perform this technique, I am going to teach you the one that best occurred to me. Ok, the first thing we must do is measure on the sides how long we want the ruching to be, then we sew a seam to that measurement, it can be using zig zag sewing or using the overlok machine. Then we sew that fragment with a straight stitch leaving approx. 2cm of seam and then to create the channels where the strip will go, we are going to settle the 2cm margin that we left towards the sides and we are going to sew it along the edge. I promise you that it is easier than it seems
Es momento de decorar - It's time to decorate 😊
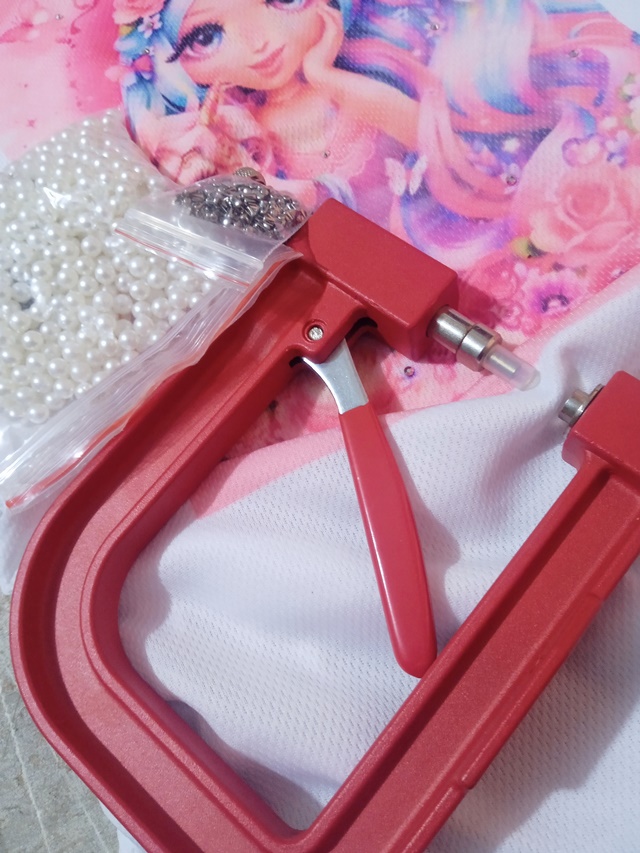
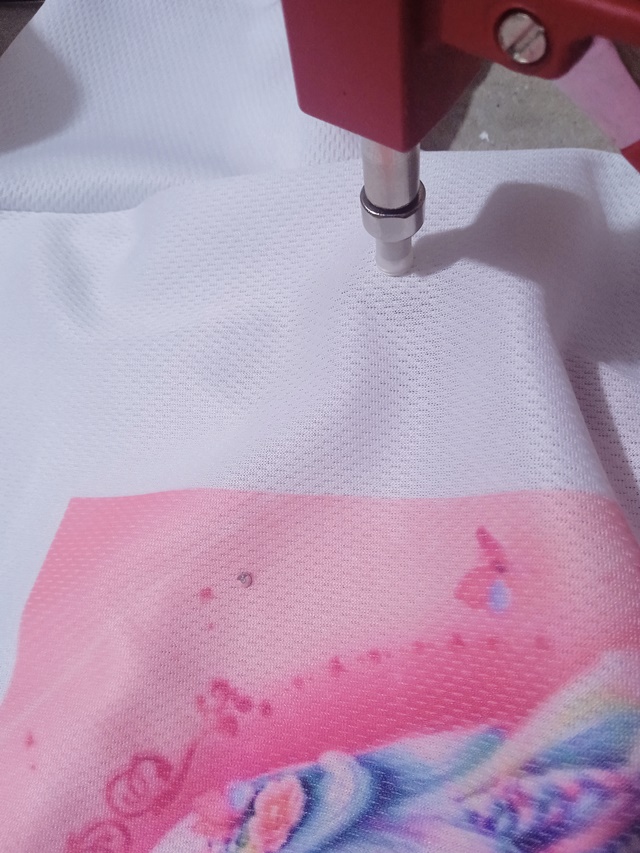
Paso 4.Este es mi momento favoritooo😍. Bien amigos, la decoración es a nuestro gusto, para decorar yo utilice perlas con remache y pedrería termoadhesiva, para su aplicación utilice dos herramientas que facilitan el trabajo: Remachadora y aplicador hotfix, sin embargo si no las tienes no pasa nada, solo debes procurar comprar perlas con orificios para aplicarlas con costura a mano, y la pedrería hotfix o termoadhesiva las puedes aplicar con una plancha de ropa sin vapor tomando las precausiones necesarias
Step 4.This is my favorite moment😍. Well friends, the decoration is to our liking, to decorate I used pearls with rivets and thermo-adhesive rhinestones, for its application I used two tools that facilitate the work: Riveter and hotfix applicator, however if you do not have them, nothing happens, you just have to try buy pearls with holes to apply them by hand sewing, and you can apply hotfix or iron-on rhinestones with a clothes iron without steam, taking the necessary precautions
.jpg)
🌺🌺🌺
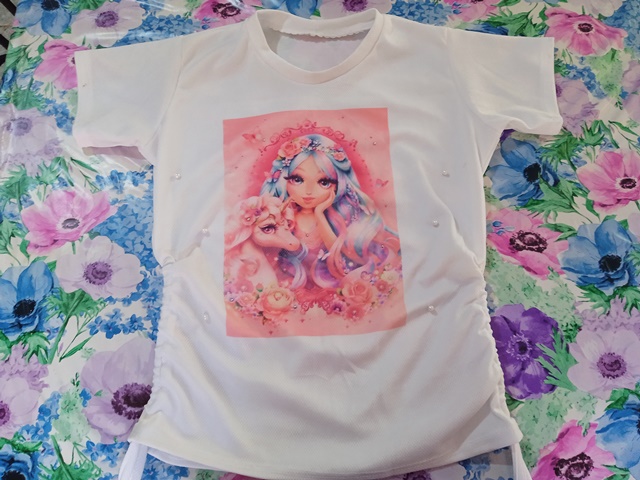
Graaaacias por visitar mi publicación, espero que te haya gustado y sobretodo que te sea de utilidad, bendiciones y hasta la proximaaa💖
Thank you for visiting my publication, I hope you liked it and above all that it is useful to you, blessings and until next time💖
Las imágenes fueron tomadas por mí con Redmi 10 :). La traducción es gracias a traductor google
The images were taken by me with Redmi 10 :). The translation is thanks to google translator
This dress looks so classic and beautiful, you did an amazing job.
I must say it's looks so neat like a factory job.
Kudos.
This post has been selected by the Newbies Initiative team and may possibly receive support from the Hive Learners Community. Kindly click on the banner to visit our community and check out our Discord channel here.
Thank you very much friend ✨🌻
Congratulations @beidacarolina! You have completed the following achievement on the Hive blockchain And have been rewarded with New badge(s)
Your next target is to reach 100 upvotes.
You can view your badges on your board and compare yourself to others in the Ranking
If you no longer want to receive notifications, reply to this comment with the word
STOPTo support your work, I also upvoted your post!
Check out our last posts:
Thank you :D 😊
You're welcome @beidacarolina, it's well deserved! Congrats on your constant involvement on Hive 😊👍
Hermoso trabajo, con la paciencia la organización y el amor que se requiere.
Así es amiga✨, hay que tener amor y paciencia por lo que hacemos♥️, muchas gracias por tu visita😊🌺
Congratulations @beidacarolina! You received a personal badge!
You can view your badges on your board and compare yourself to others in the Ranking