Hello friends from all over the community! I hope you are very well ✌
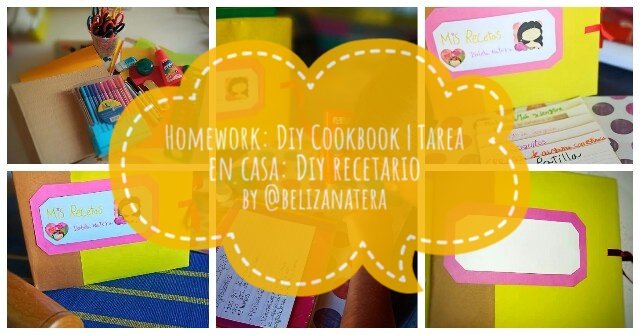
Today I bring you a craft that I did with my daughter Isabela as part of her school project, the school garden. The title of his project is: "With my garden I learn and feed myself".
One of the tasks as part of its project closure is to make a cookbook and should be recipes elaborated with fruits, vegetables or medicinal plants that you have in your home or harvested in your community.
We love this school project because it encourages a love of plants and how important they are to us, since they provide us with a lot of food.
To make this recipe book we use the scrabbok technique. This technique consists of using pieces of cardboard, stickers and different types of cutouts.
The materials we used were the following.

📌Materials:
⚫Recycled cardboard
⚫Cardboard of different colors
⚫Magazine clippings
⚫Decals
⚫White glue
⚫Silicone
⚫Tokens
⚫Red ribbon
⚫Bookmarks
⚫Pickaxe scissors
⚫Scissor
⚫Rule
📌Steps
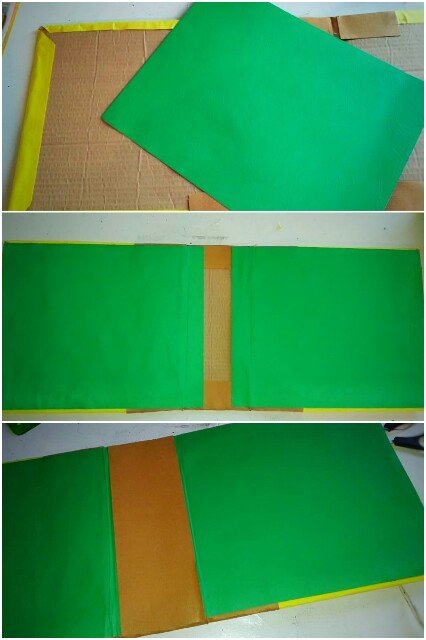
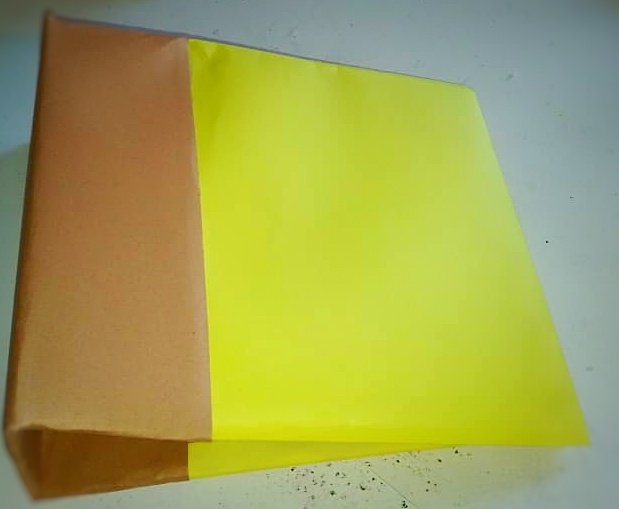
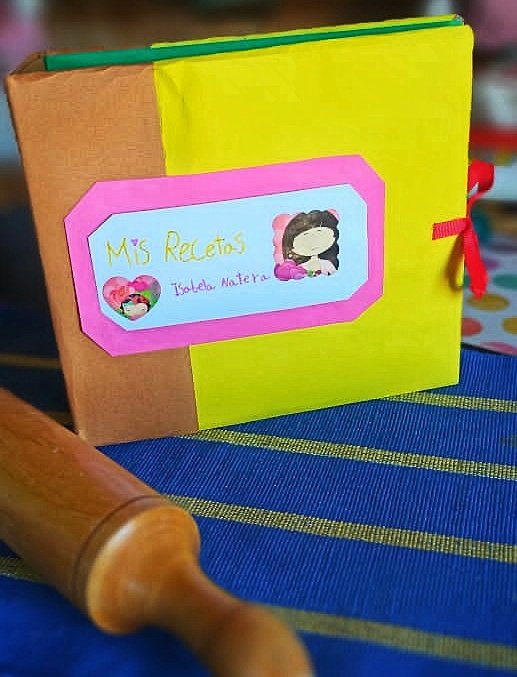
1- To begin, we line the recycled cardboard base with cardboard of different colors (yellow and brown), that would be the front and back cover, and we glue it with white glue. For the inside we glue a printed green cardboard on each side to give a better finish and a rectangle of brown cardboard for the union between both sides.
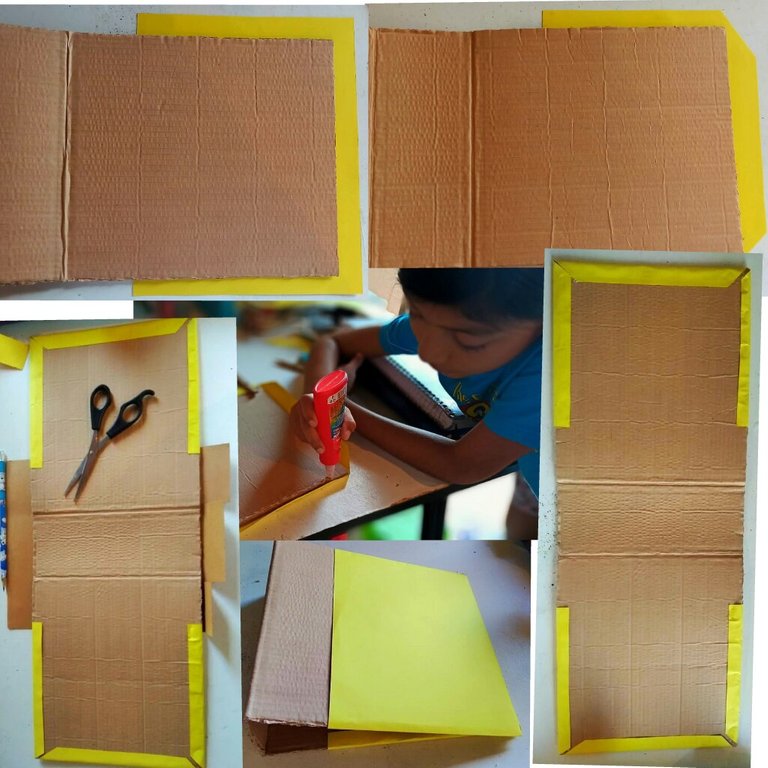
📌 Note:
It is important to leave some tabs when cutting the cardboard to line the outside (front and back cover), and fold them inwards so that they stick better, as well as letting the glue dry well.
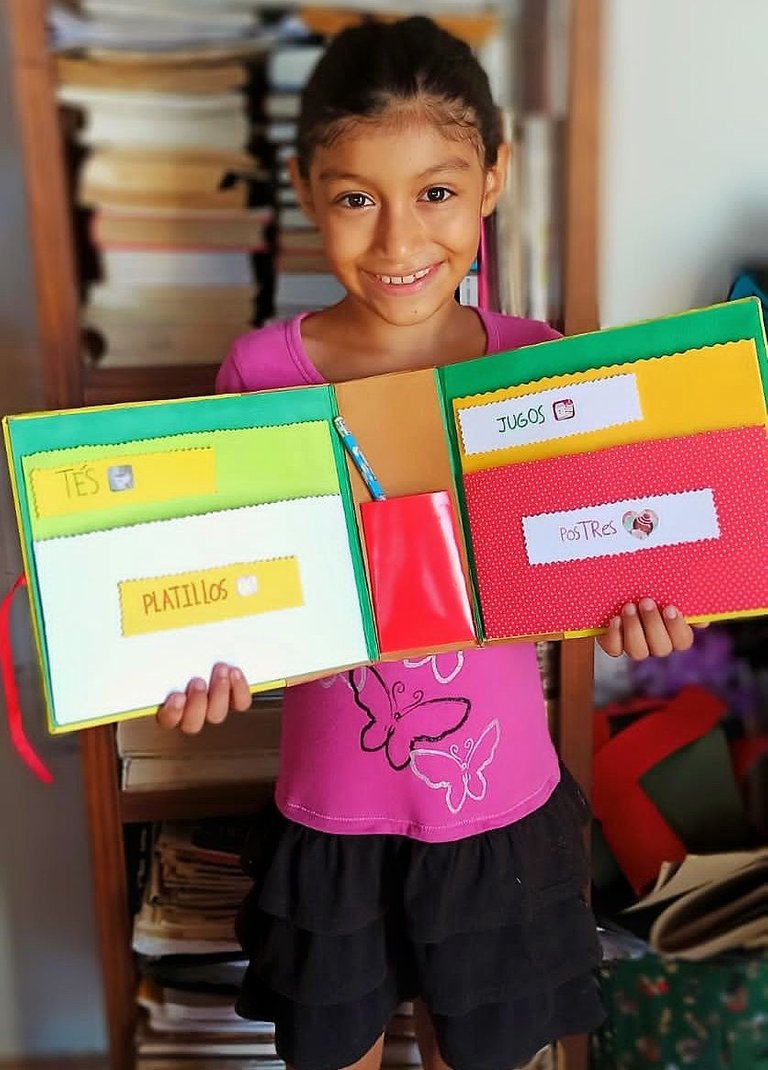
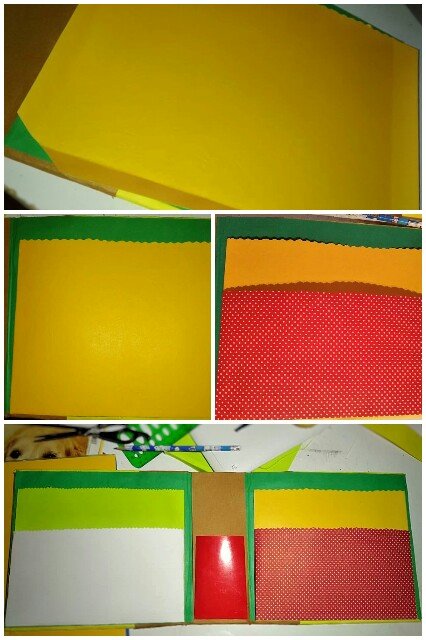
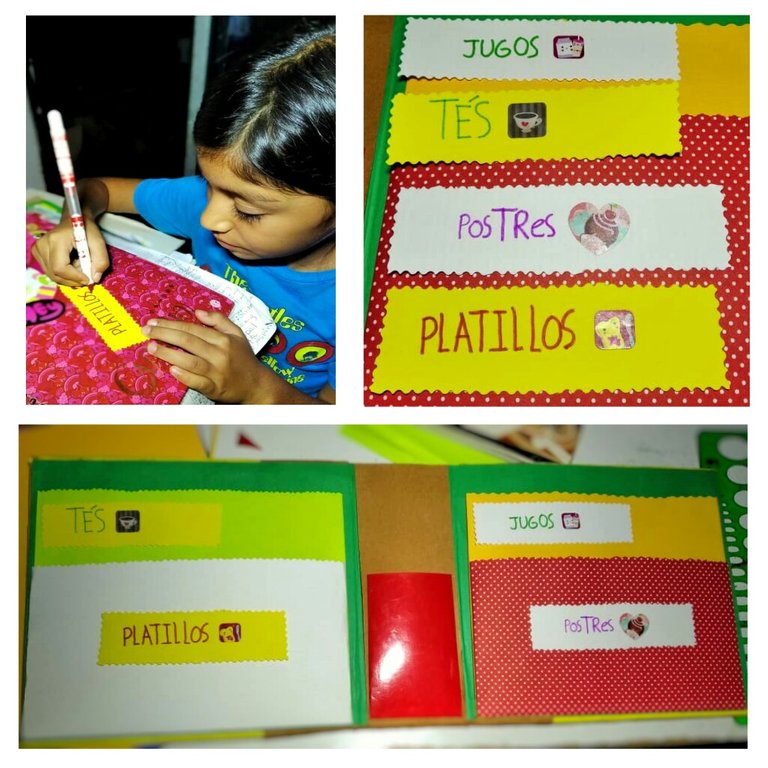
2 - Then we made some pockets with colored cardboard, where the recipes would later be arranged and we glued them with silicone. We cut cardboard of different sizes taking into account that one pocket would go over another and therefore the bottom one should be larger. We also put a pocket in the middle part to put pencils and pens.
📌 Note:
So that the pockets have more space and it is more comfortable to place the recipes, we leave some tabs to fold and glue them and thus obtain more space.
3 - We make some labels with cardboard strips and cut the edges with pickaxe scissors to add details. Isabela identified them and put stickers on them according to their distribution. Then we glue them with silicone in each of the pockets to identify him.
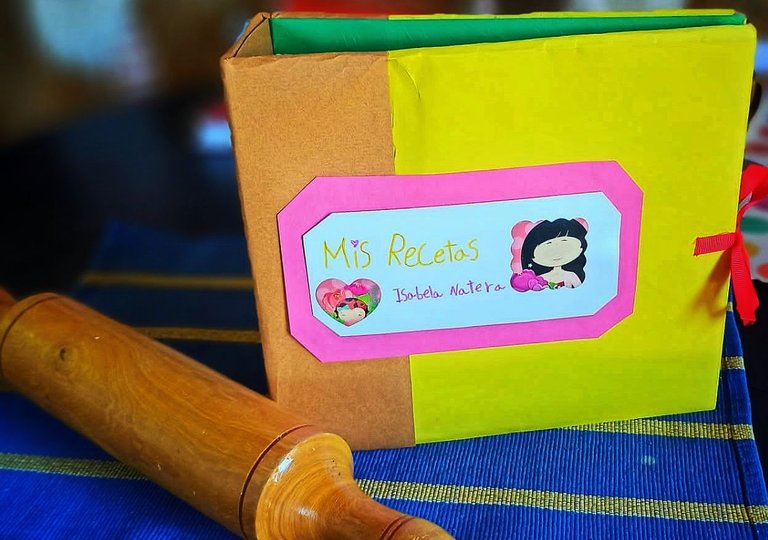
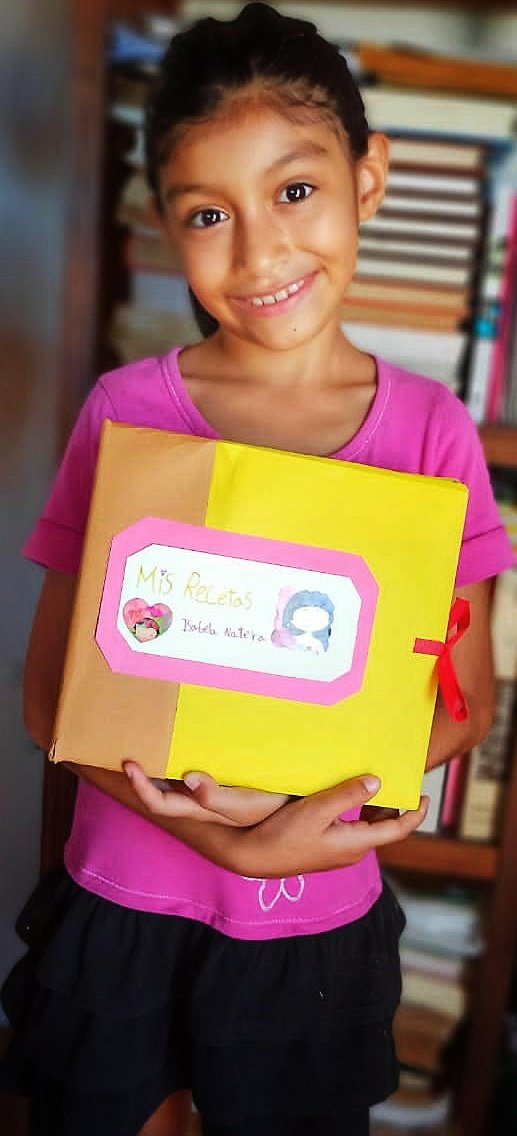
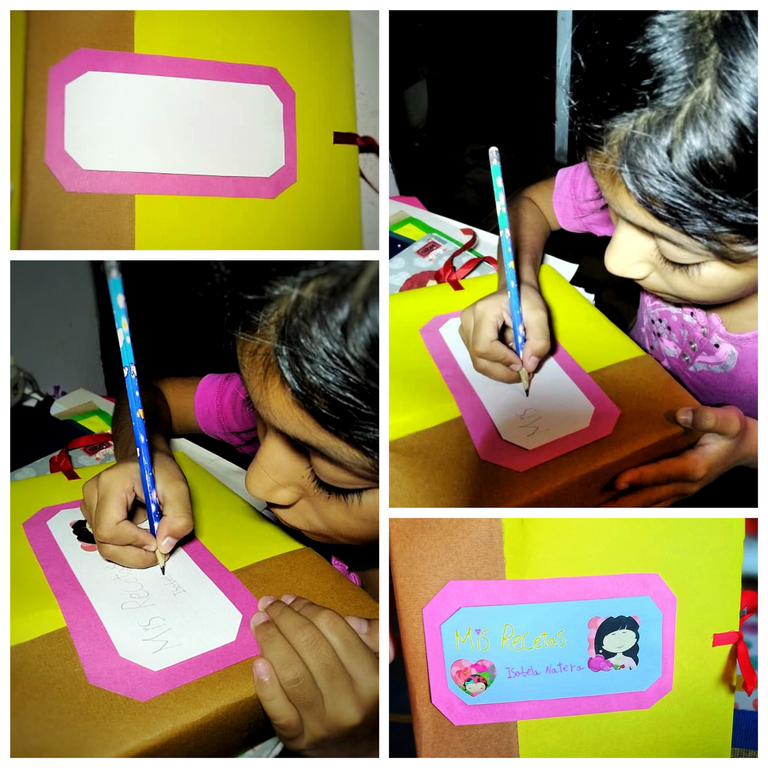
4 - On the cover we place the name on a label made with pink bond paper and white cardboard, cut the ends of both and add some stickers.
5 - To close the recipe book, glue two strips of red tape with silicone, one on the front and one on the back.
6 - Isabela wrote the recipes on index cards and pasted magazine clippings to illustrate. And she ordere them inside the recipe book.
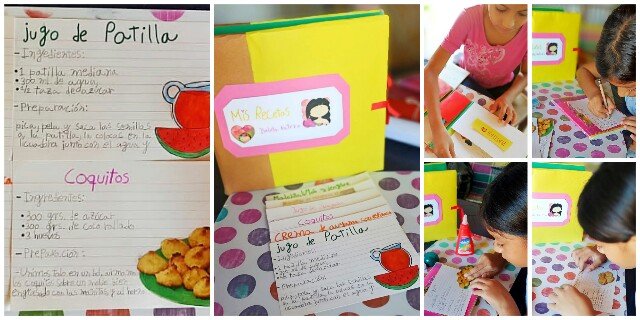
We are happy with the final result, it was very beautiful. Little by little we will fill the recipe book with recipes and clippings . I hope you like it!

Thanks for reading me! Until a new post 😊
¡Hola amigos de toda la comunidad! Espero se encuentren muy bien ✌
Hoy les traigo una manualidad que hice junto a mi hija Isabela como parte de su proyecto de la escuela, el huerto escolar. El título de su proyecto es: "Con mi huerto aprendo y me alimento".
Una de las tareas como parte de su cierre de proyecto consiste en realizar un recetario de cocina y deben ser recetas elaboradas con frutos, vegetales o plantas medicinales que tenga en su hogar o que se cosechen en su comunidad.
Este proyecto escolar nos encanta porque fomenta el amor a las plantas y lo importantes que son para nosotros, ya que nos proporcionan muchos alimentos.
Para la realización de este recetario utilizamos la técnica del scrabbok. Esta técnica consiste en utilizar retazos de cartulinas, calcomanías y diferentes tipos de recortes.
Los materiales que usamos fueron los siguientes.
📌Materiales:
⚫Cartón reciclado
⚫Cartulinas de diferentes colores
⚫Recortes de revistas
⚫Calcomanías
⚫Pega blanca
⚫Silicona
⚫Fichas
⚫Cinta roja
⚫Marcadores
⚫Tijera de picos
⚫Tijera
⚫Regla
📌Pasos
1- Para comenzar forramos la base de cartón reciclado, con cartulinas de diferentes colores (amarillo y marrón), eso seria la portada y contraportada, y lo pegamos con pega blanca. Para la parte de adentro pegamos una cartulina verde estampada en cada cara para dar un mejor acabado y un rectángulo de cartulina marrón para la unión entre ambas caras.
📌 Nota:
Es importante dejar unas pestañas al momento de cortar las cartulinas para forrar la parte de afuera (portada y contraportada), y las doblas hacia adentro para que se pegue mejor, al igual que dejar secar bien la pega.
2 - Luego hicimos con cartulinas de colores unos bolsillos, donde posteriormente irían ordenadas las recetas y los pegamos con silicona. Cortamos cartulinas de diferentes tamaños tomando en cuenta que un bolsillo iría sobre otro y por ende el de abajo debe ser más grande. También colocamos un bolsillo en la parte del medio para colocar lapices y bolígrafos.
📌 Nota:
Para que los bolsillos queden con más espacio y sea más cómodo colocar las recetas, dejamos unas pestañas para doblarlas y pegarlas y así obtener más espacio.
3 - Realizamos unas etiquetas con tiras de cartulinas y cortamos los bordes con tijeras de picos para agregar detalles. Isabela las identificó y les coloco calcomanías de acuerdo a la distribución. Luego las pegamos con silicona en cada uno de los bolsillos para identificarlos.
4 - En la portada colocamos el nombre en una etiqueta hecha con papel bond rosado y cartulina blanca, cortamos las puntas de ambas y agregamos unas calcomanías.
5 - Para cerrar el recetario pegamos con silicona dos tiras de cinta roja una en la parte de adelante y otra en la parte de atrás.
6 - En fichas Isabela escribió las recetas y pegó recortes de revistas para ilustrar. Y las ordenó dentro del recetario.
Estamos contentas con el resultado final, quedó muy hermoso. Poco a poco iremos llenando de recetas y recortes el recetario. ¡Espero les guste!
¡Gracias por leerme! Hasta una nueva publicación 😊
Has sido votado por
PROYECTO ENLACE
'Conectando Ideas y Comunidades'
PROYECTO ENLACE es un proyecto de curación de habla hispana enfocado en recompensar contenido de calidad y apoyar autores en su proceso de crecimiento en HIVE.
Creemos y apostamos por el futuro de esta gran plataforma, y estamos muy emocionados de poder hacerla crecer junto a esta comunidad. Así que te invitamos a usar nuestra etiqueta ENLACE y estar atento a todas las actividades que tenemos preparadas y que estaremos publicando en breve.
¿QUIERES AUTOMATIZAR TUS GANANCIAS DE CURACIÓN? SE PARTE DEL PROYECTO ENLACE APOYANDO A NUESTRO TRAIL EN HIVE.VOTE INGRESA AQUÍ PARA CONOCER LOS DETALLES.
¿QUIERES INVERTIR ENLACE? DESCUBRE COMO HACERLO Y GENERAR INGRESOS DE FORMA SEMANAL MEDIANTE TU DELEGACIÓN DE HP AQUÍ TE EXPLICAMOS COMO.
Te invitamos a participar en nuestro servidor de Discord: https://discord.gg/3S9y7BbWfS
Atentamente
EQUIPO ENLACE 2021
Muchas gracias 😊
Congratulations @belizanaterah! You have completed the following achievement on the Hive blockchain and have been rewarded with new badge(s):
Your next target is to reach 3750 upvotes.
You can view your badges on your board and compare yourself to others in the Ranking
If you no longer want to receive notifications, reply to this comment with the word
STOPCheck out the last post from @hivebuzz:
Support the HiveBuzz project. Vote for our proposal!
que linda idea! te quedó hermoso..😊
Muchísimas gracias 😊
Me alegra que Isa vaya aprendiendo a hacer sus propios proyectos ☺️✨.