Hello to the entire hive community! I hope you are well ✌
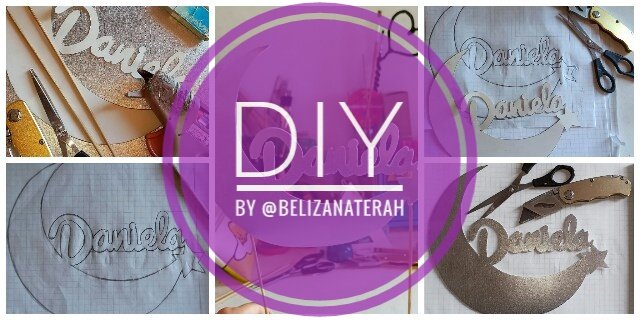
You already know that I love crafts, this time I want to show you how I made this simple but beautiful cake topper.
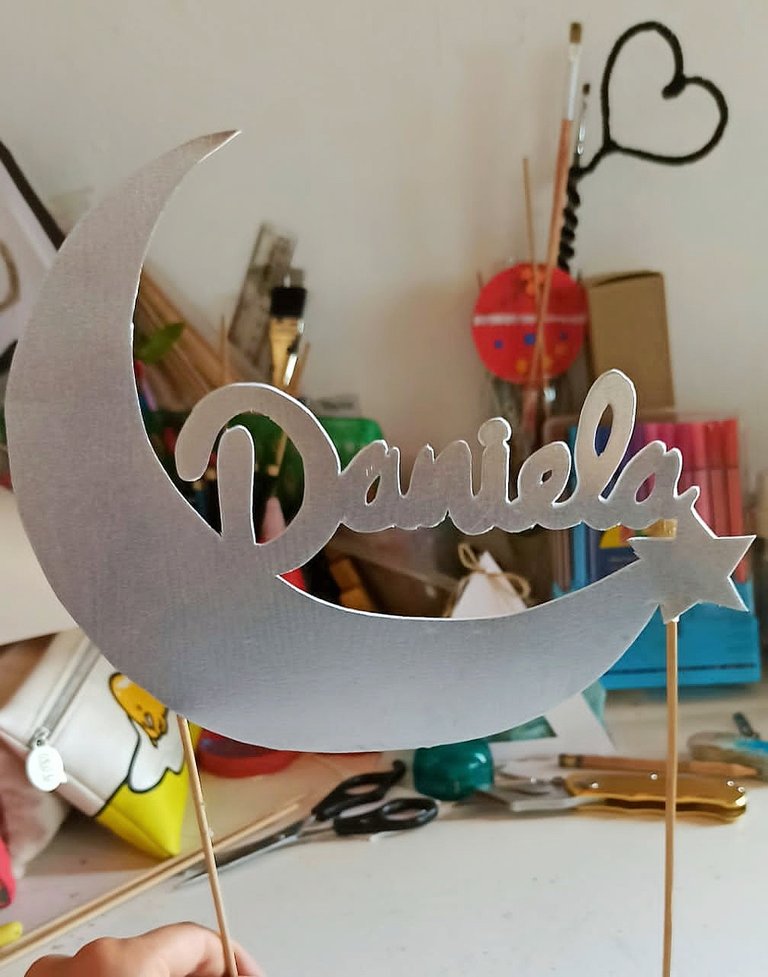
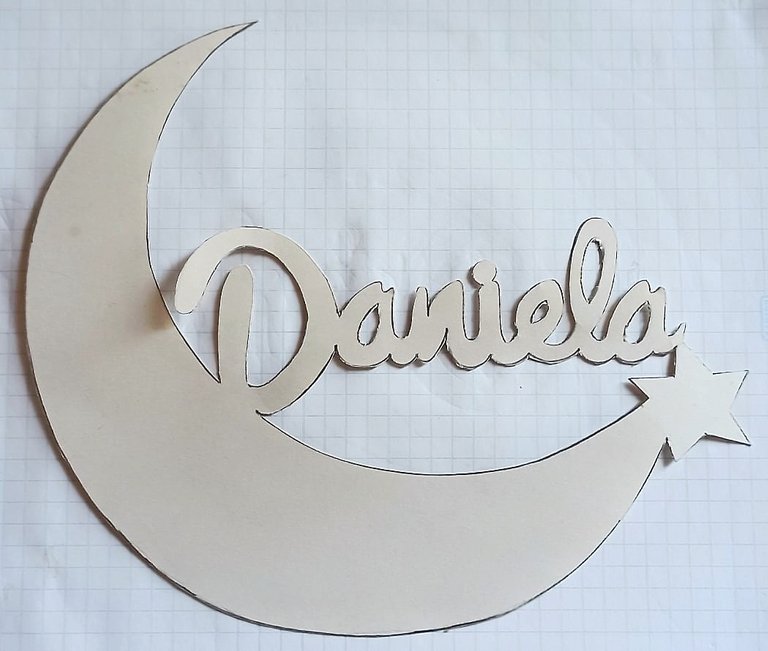
It is a very simple design that consists of a half moon with a star and in the center the name of the birthday girl, (a cousin who turns 10).
And you will also see another thing that I really like to work on and that I didn't know I could do, until I studied graphic design and saw a subject called typography.
Typography, in summary, is the art and technique of writing or creating different types of letters and calligraphies. I don't practice it every day and I'm not an expert, but when I do I really like it, it's something I love.
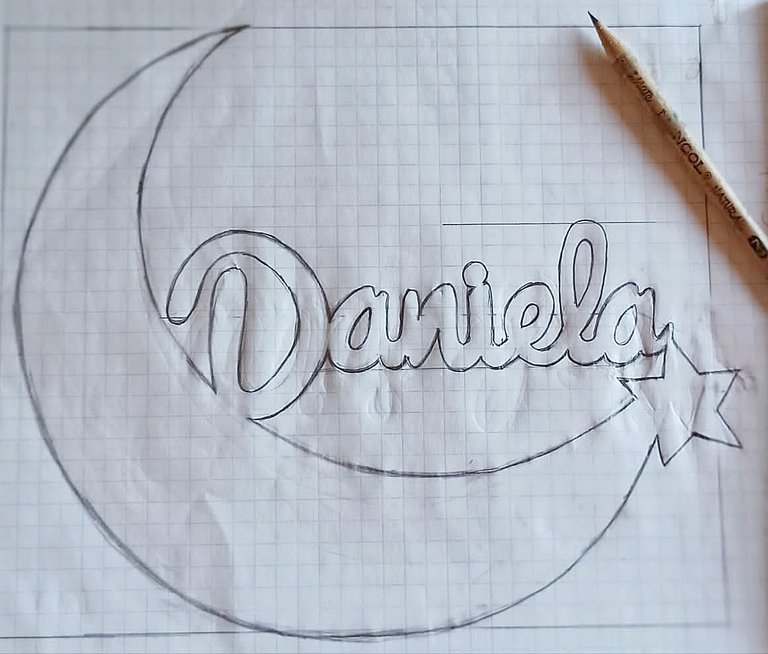
To start, I made the design on a squared notebook of what the art would be, I did it in pencil and freehand. From there he would later get the mold.
I know that now there is a lot of technology to print and make things easier when it comes to obtaining a mold but, as in my case, we do not always have it at hand. So I share with you something very simple and that results when transferring a design from one surface to another (paper, cardboard, etc) and you need to solve.
All you need is a pencil and with it you make lines on the back of the sheet where you have the design you want to transfer. When you have the entire design covered, turn it over and place it on the surface where you are going to transfer it, and with the pencil, mark the entire design, taking care that the sheet does not move. The graphite of the pencil works like ink and when you pass the pencil over the design, it is marked on the surface where you are going to transfer it, the only thing you have to do then is to mark it again and it would be ready.
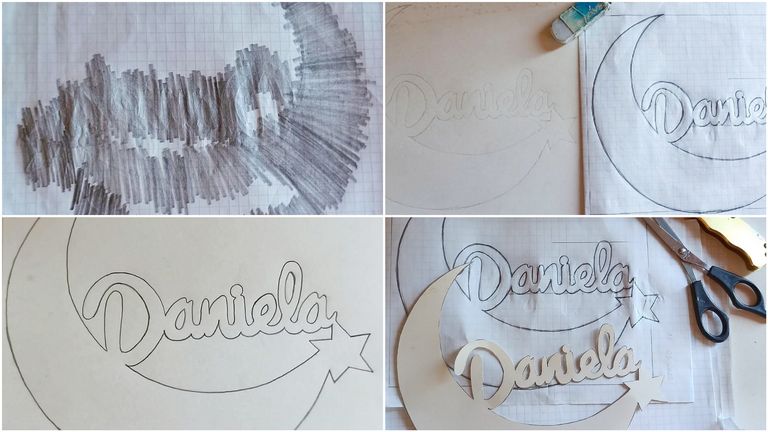
In my case, I marked it on cardboard to later cut it out and thus obtain the mold. Sometimes they tell me that because so many molds and so many procedures to make a mold and the truth is that I like to work that way, I feel that the work is better and I can reuse the mold. I really like manual work.
The materials I used were the following.
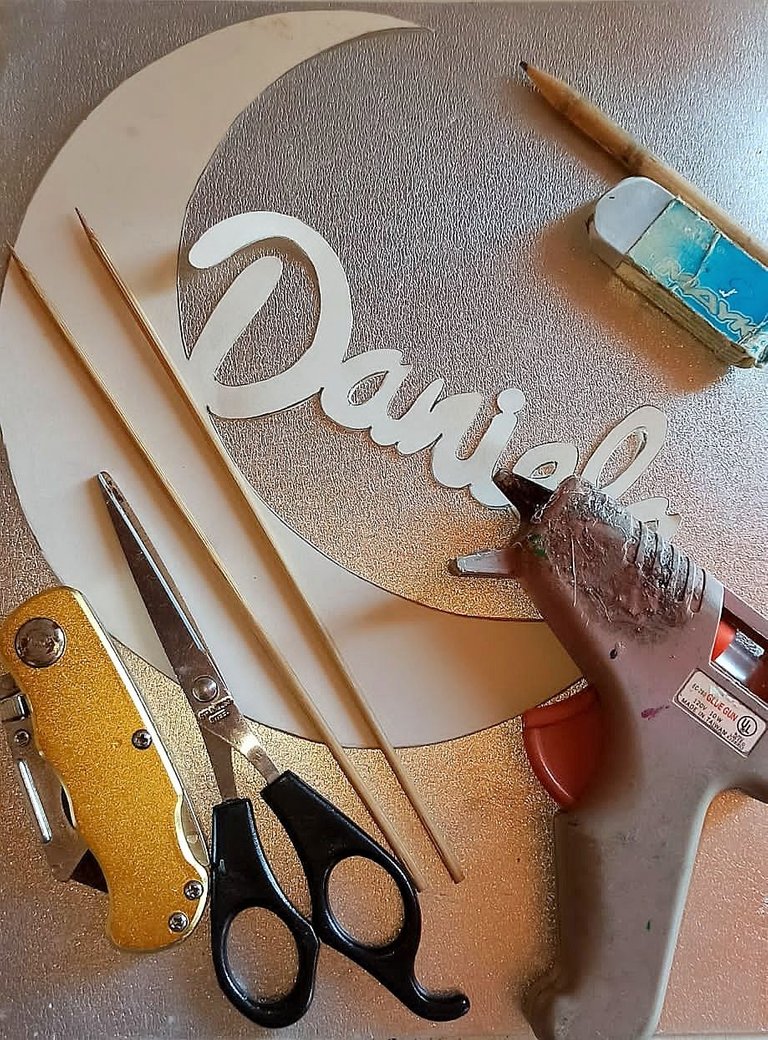
📌Materials:
⚫Mold
⚫Silver foami (eva rubber)
⚫Cuter
⚫Scissor
⚫Height chopsticks
⚫Silicone
📌Steps:
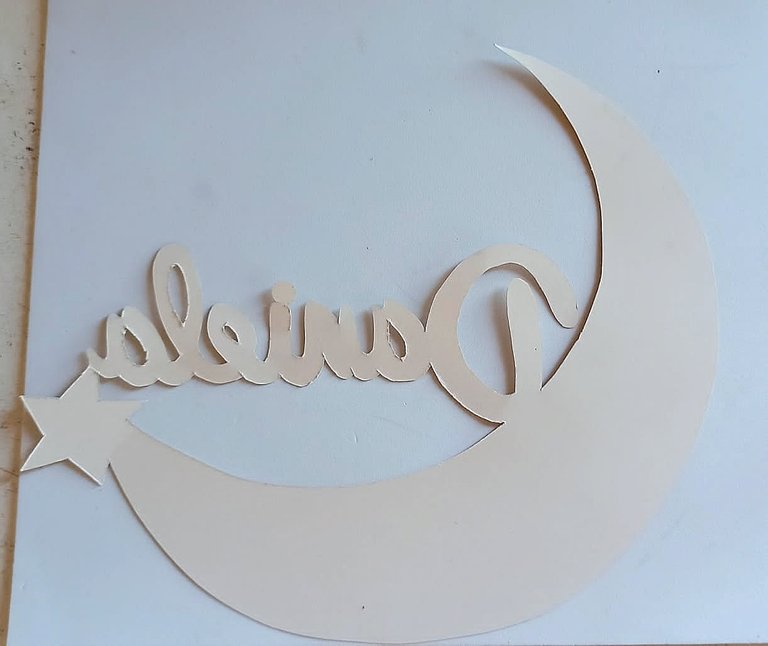
1- I marked the mold on the foami (eva rubber), carefully so that it would not roll (help me with some hooks).
📝Note: You have to take into account that you have to turn the foami (rubber eva), to mark the mold on the back and therefore the mold must go upside down too so that when you turn it over it is correct.
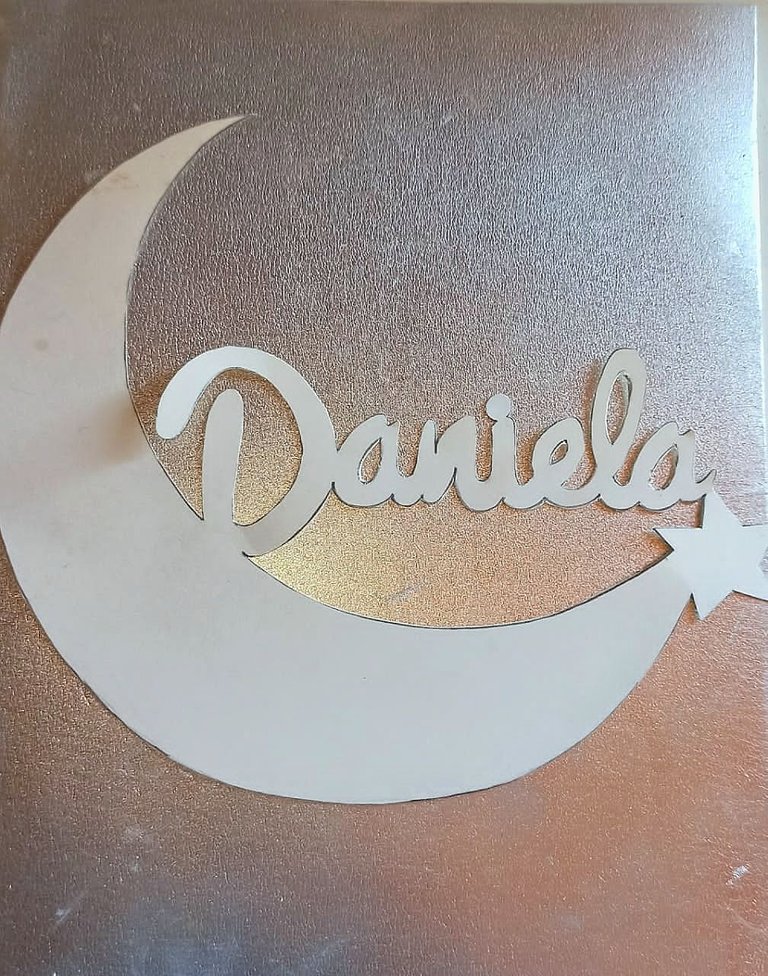
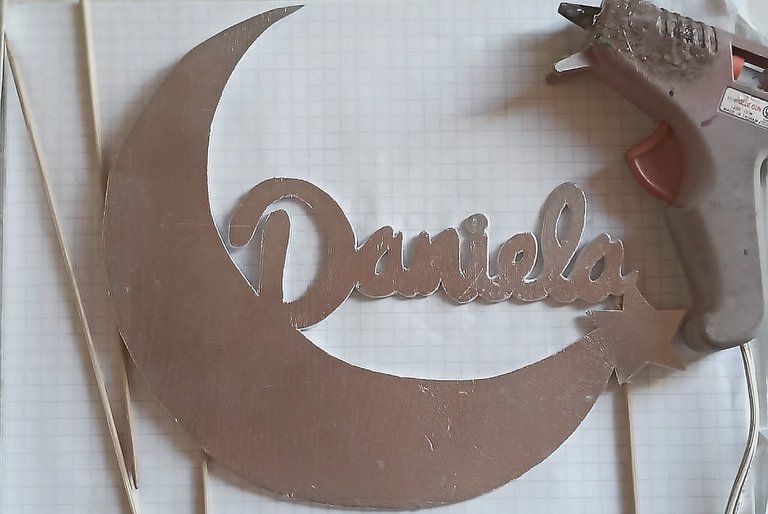
2- Then I cut with scissors except for the internal parts that must be done with the cutter.

3- To finish I paste the Height chopsticks at the ends with silicone. With this will be fixed on the cake.
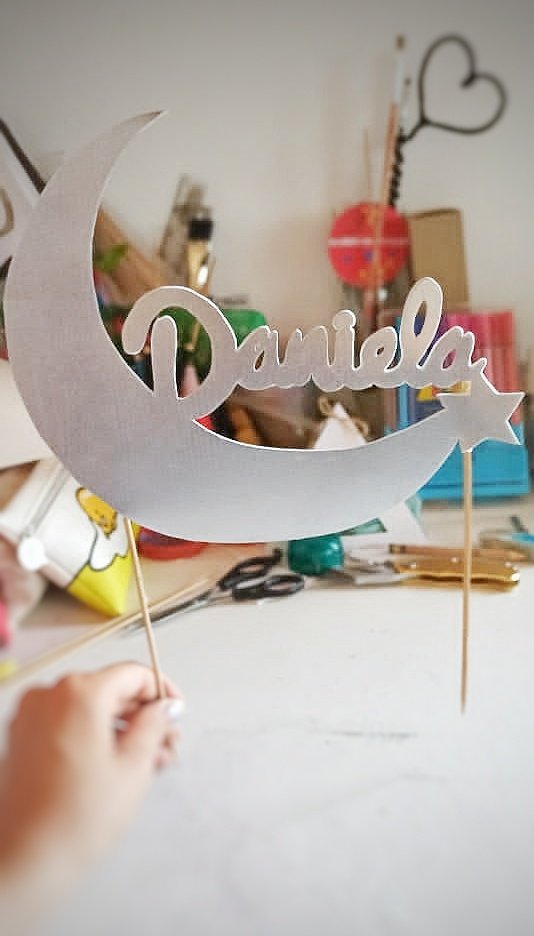
And so the cake topper was finished, I hope you liked my craft and it inspires you.
Thanks for reading me! Until a new post😊
¡Hola a toda la comunidad de hive! Espero se encuentren bien ✌
Ya saben que me encantan las manualidades, en esta oportunidad quiero mostrarles como hice este sencillo pero, hermoso toper para torta.
Es un diseño muy simple que consta de una media luna con una estrella y en el centro el nombre de la cumpleañera, (una prima que cumple sus 10 años).
Y también verán otra cosa en la que me gusta mucho trabajar y que no sabia que podía hacer, hasta que estudié diseño gráfico y vi una materia que se llama tipografía.
La tipografía, en resumen es el arte y la técnica de escribir o crear diferentes tipos de letra y caligrafías. Yo no lo practico a diario y no soy una experta pero, cuando lo hago me gusta muchísimo, es algo que me encanta.
Para comenzar, realicé el diseño en un block cuadriculado de lo que sería el arte, lo hice a lápiz y a mano alzada. De allí sacaría el molde posteriormente.
Se que ahora hay mucha tecnología para imprimir y facilitar las cosas a la hora de obtener un molde pero, como es en mi caso no siempre lo tenemos a mano. Entonces les comparto algo muy simple y que resulta a la hora de transferir un diseño de una superficie a otra (papel, cartulinas, etc) y necesites resolver.
Lo único que necesitas es un lápiz y con él haces trazos en la parte de atrás de la hoja donde tienes el diseño que quieres transferir. Cuando tengas todo el diseño cubierto lo volteas y lo colocas sobre la superficie donde vas a tranferirlo, y con el lápiz remarca todo el diseño teniendo cuidado en que la hoja no se mueva. El grafito del lápiz funciona como tinta y al pasar el lápiz por encima del diseño, este queda marcado en la superficie donde lo vas a transferir, lo único que debes hacer luego es volverlo a marcar y quedaría listo.
En mi caso yo lo marqué en una cartulina para luego recortarlo y así obtener el molde. Aveces me dicen que porque hago tantos moldes y tantos procedimientos para realizar un molde y la verdad es que así me gusta trabajar, siento que queda mejor el trabajo y puedo reutilizar el molde. Realmente el trabajo manual me gusta mucho.
Los materiales que usé fueron los siguientes.
📌Materiales:
⚫Molde
⚫Foami plateado (goma eva)
⚫Cuter
⚫Tijera
⚫Palillos de altura
⚫Silicona
📌Pasos:
1- Marqué el molde en el foami (goma eva), cuidadosamente para que no se rodara (me ayude con unos ganchos).
📝Nota: Hay que tomar en cuenta que hay que voltear el foami para marcar el molde por la parte de atrás y por ende el molde debe ir al revés también para que cuando lo voltees quede de forma correcta.
2- Luego corté con la tijera a excepción de las partes internas que se debe realizar con el cúter.
3- Para finalizar pegué los palillos de altura en los extremos con silicona. Así se fijará en la torta.
Y así quedó el toper de la torta terminado, espero les haya gustado mi manualidad y los inspire.
¡Gracias por leerme! Hasta una nueva publicación😊
Congratulations @belizanaterah! You have completed the following achievement on the Hive blockchain and have been rewarded with new badge(s):
Your next target is to reach 3500 upvotes.
You can view your badges on your board and compare yourself to others in the Ranking
If you no longer want to receive notifications, reply to this comment with the word
STOPCheck out the last post from @hivebuzz:
Support the HiveBuzz project. Vote for our proposal!
Es un topper hermoso y elegante!
El paso a paso esta bien explicado!
Saludos!
Gracias. Que bueno que te gustó😊 saludos