🇺🇸
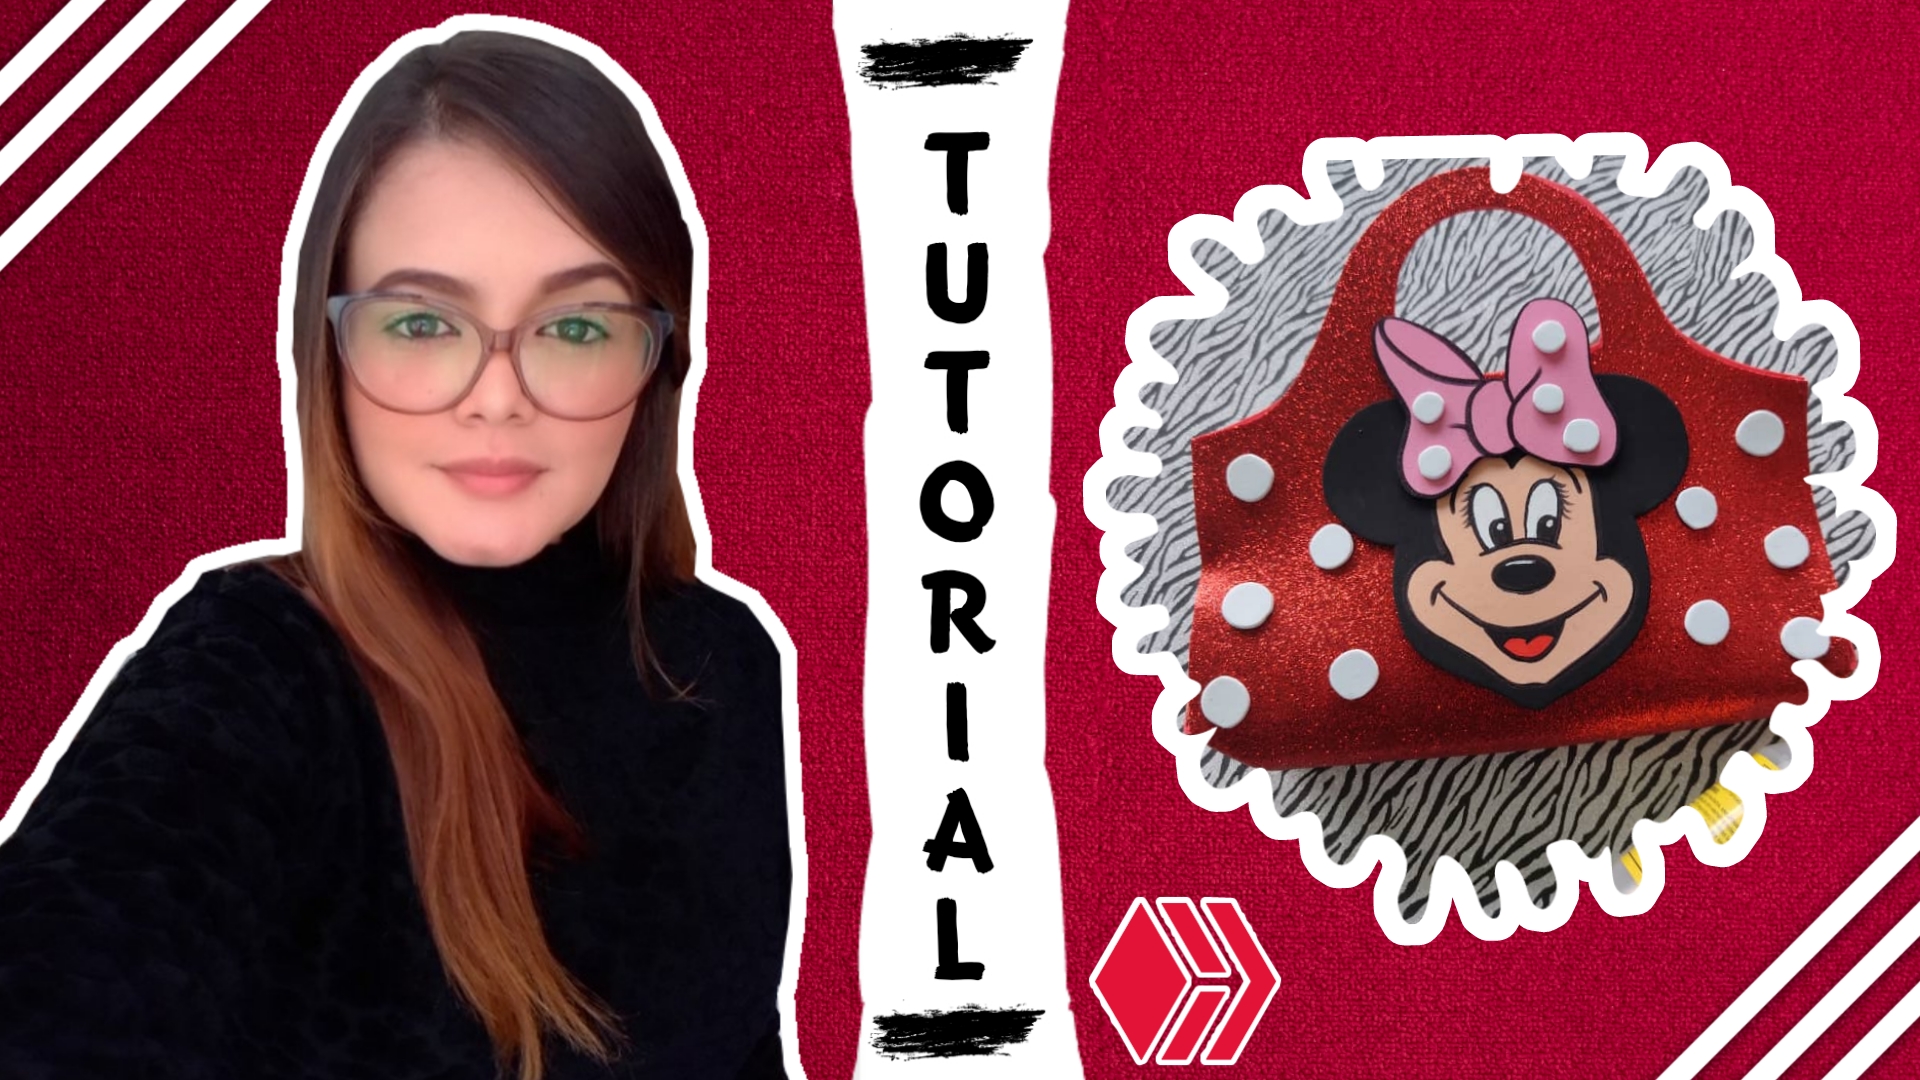
Hello dear HIVE community, for this opportunity and as the third publication I decided to share a very cool foamy purse or bag, decorated with the face of the iconic Minnie Mouse that all princesses love. We can use this bag to fill them with goodies and give them as a gift on a special date. I hope you can join me and enjoy my content of the day.
🇪🇸
Hola querida comunidad de HIVE, para esta oportunidad y como tercera publicación decidí compartir una cartera o bolsa de foamy muy cool, decorada con la cara de la emblemática Minnie Mouse que a todas las princesas le gustan. Podemos utilizar esta bolsa para llenarlas de golosinas y obsequiarlas en una fecha especial. Espero que puedan acompañarme y disfrutar de mi contenido del día.
-- Materials --
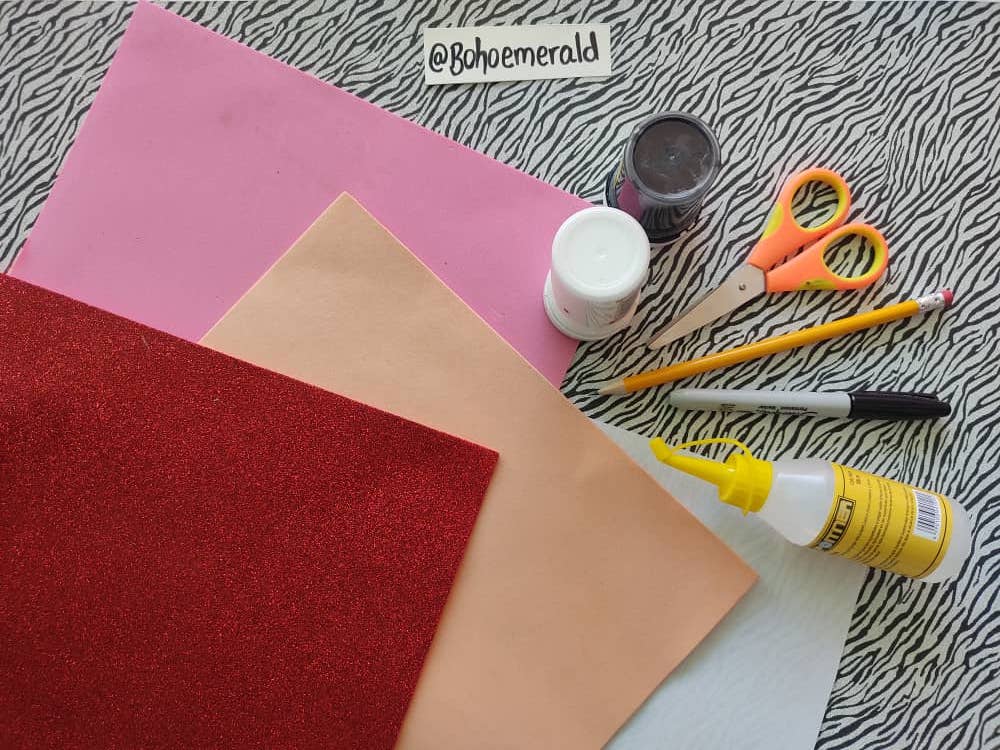
To make this original and creative Minnie bag, I only used a graphite pencil, foamy sheets of different colors, scissors, glue or cold silicone, paints, and black marker.
-- Materiales --
Para realizar esta original y creativa bolsa de Minnie, tan solo usé un lápiz de grafito, láminas de foamy de diferentes colores, tijera, pegamento o silicon frío, pinturas, y marcador negro.
-- Step by step --
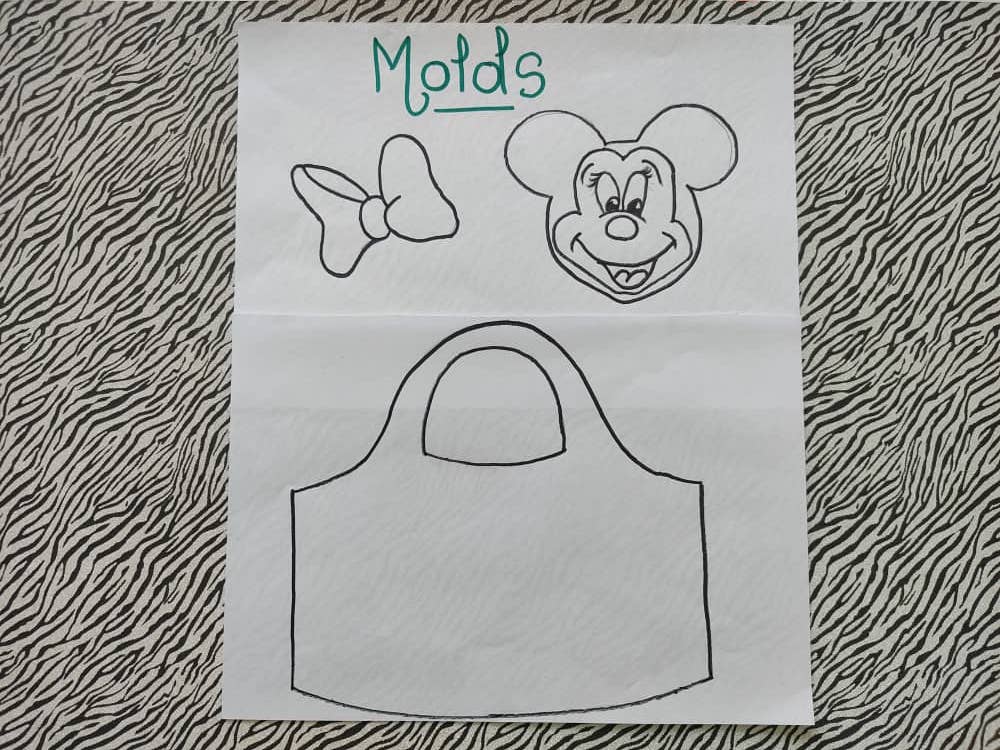
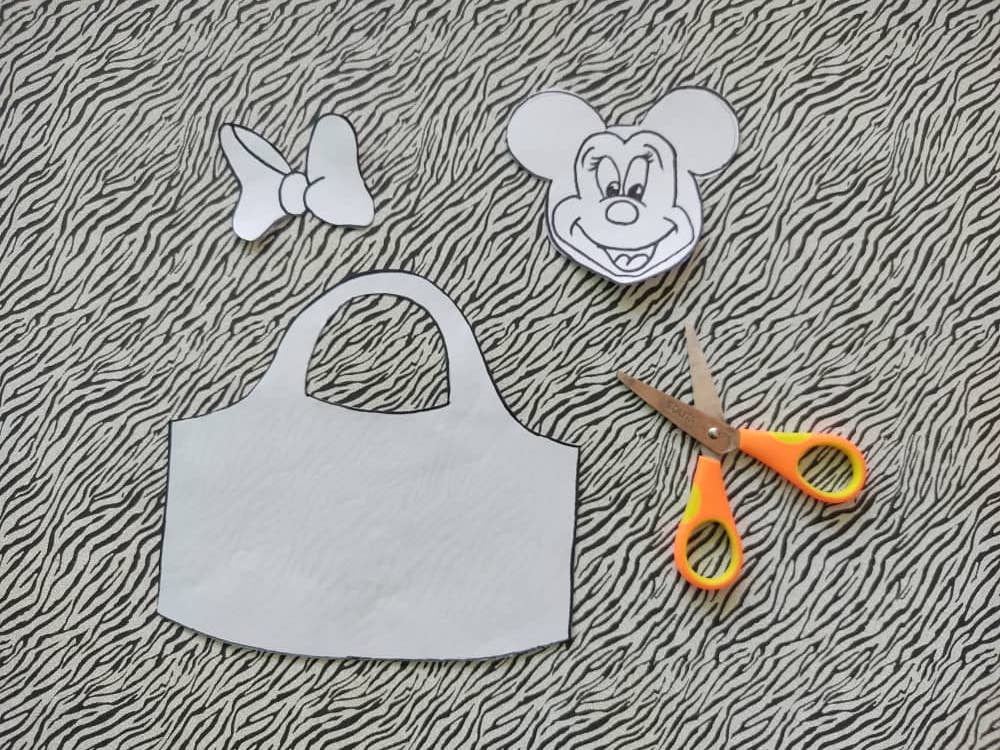
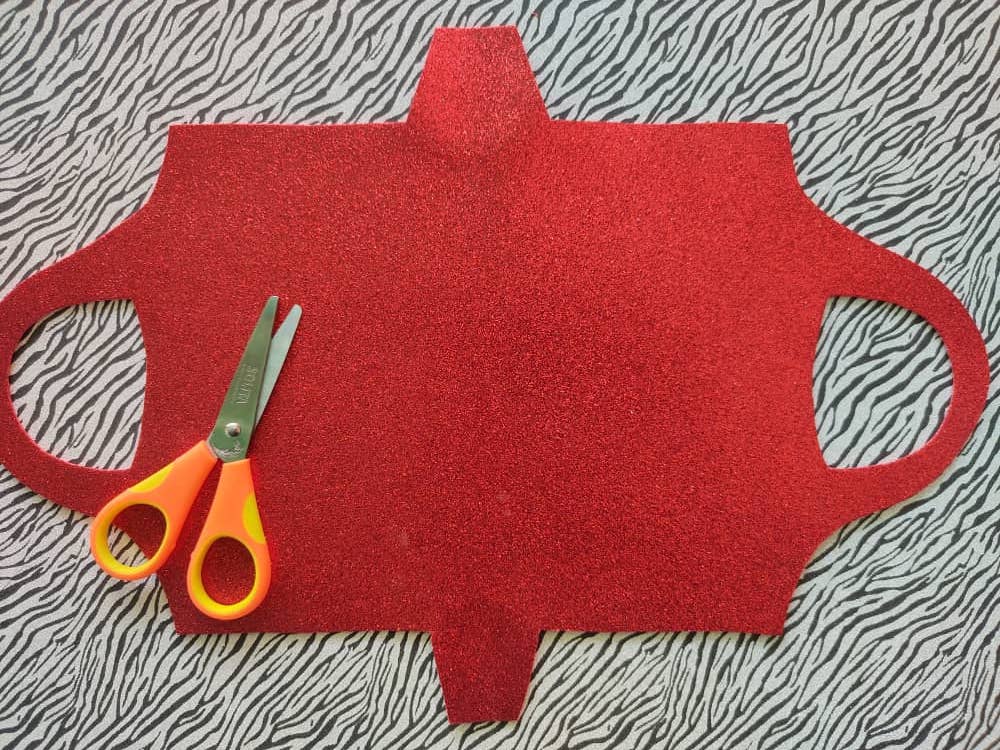
We draw a mold with the shape we want for our bag or purse, in this case we designed a very basic and very well defined, we also drew a cute Minnie mouse that little girls love, and a bow. The measurements can be the size we want and can be adjusted. After finishing drawing the mold on the sheet, we cut out each piece separately to make it easier to work with.
-- Paso a paso --
Dibujamos un molde con la forma que deseamos para nuestra bolsa o cartera, en este caso diseñamos una muy básica y muy bien definida, también dibujamos a una linda Minnie mouse que las niñas aman, y un lazo. Las medidas pueden ser del tamaño que queramos y se puede ajustar. Después de terminar de dibujar el molde en la hoja, recortamos para tener por separado cada pieza y se nos haga mucho mas fácil a la hora de trabajar.
We transfer the mold of the body of the bag to the shiny foamy or any color we have at home, remembering to do this procedure twice on the same sheet and in the opposite direction, in addition to leaving a space of 3 centimeters. The idea is to have both sides of the bag and its base. Then we cut out the pattern obtained and see the result.
Transferimos el molde del cuerpo de la bolsa al foamy brillante o cualquier color que tengamos en casa, recordando hacer este procedimiento dos veces en una misma hoja y en sentido contrario, además de dejar un espacio de 3 centímetros. La idea es que nos quede las dos caras de la bolsa y su base. Después recortamos el patrón obtenido y veamos el resultado.
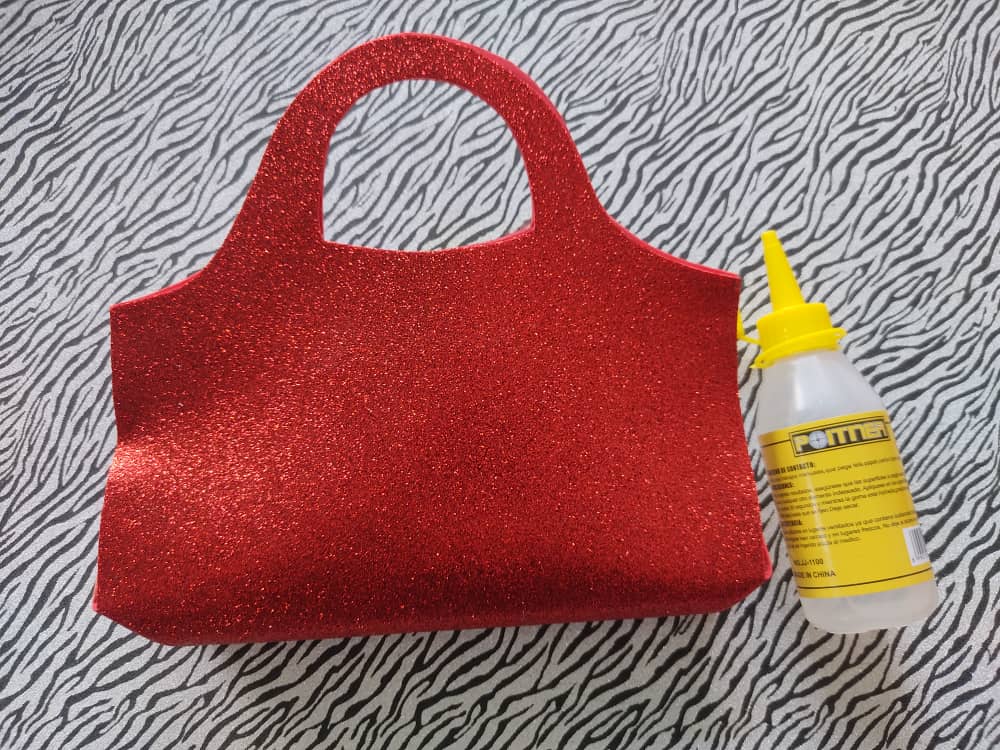
We assemble the bag or wallet with the help of glue, cold or hot silicone "any". We just have to make sure that everything is always well glued, lest they come unstuck later.
Armamos la bolsa o cartera con ayuda de pegamento, silicon frio o caliente “cualquiera” Solo debemos asegurarnos que todo quede bien pegado siempre, no vaya a ser que se despeguen luego luego.
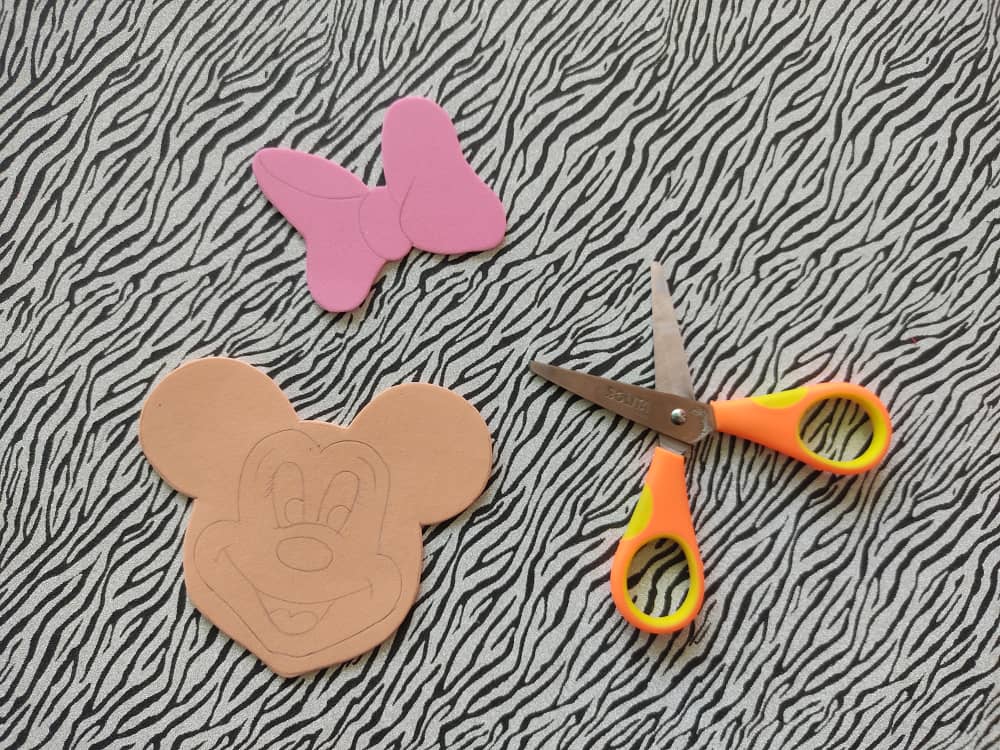
We transfer the molds of Minnie Mouse's face and the decorative bow to a sheet of foamy or pieces according to the size, and above all with colors that match our bag or just paint the color we want.
Realizamos la transferencia de los moldes de la cara de Minnie Mouse y el lazo decorativo a una lámina de foamy o a trozos acordes al tamaño, y sobre todo con colores que combinen con nuestra bolsa o simplemente pintamos al color que deseamos.
We apply color and paint to Minie's face and bow so that it looks very similar to the real Minnie. Then we assemble it and glue it with cold silicone.
Aplicamos color y pintura a la cara de Minie y su lazo de tal manera que luzca bien parecido a la Minnie real. Después la armamos y pegamos con silicon frio.
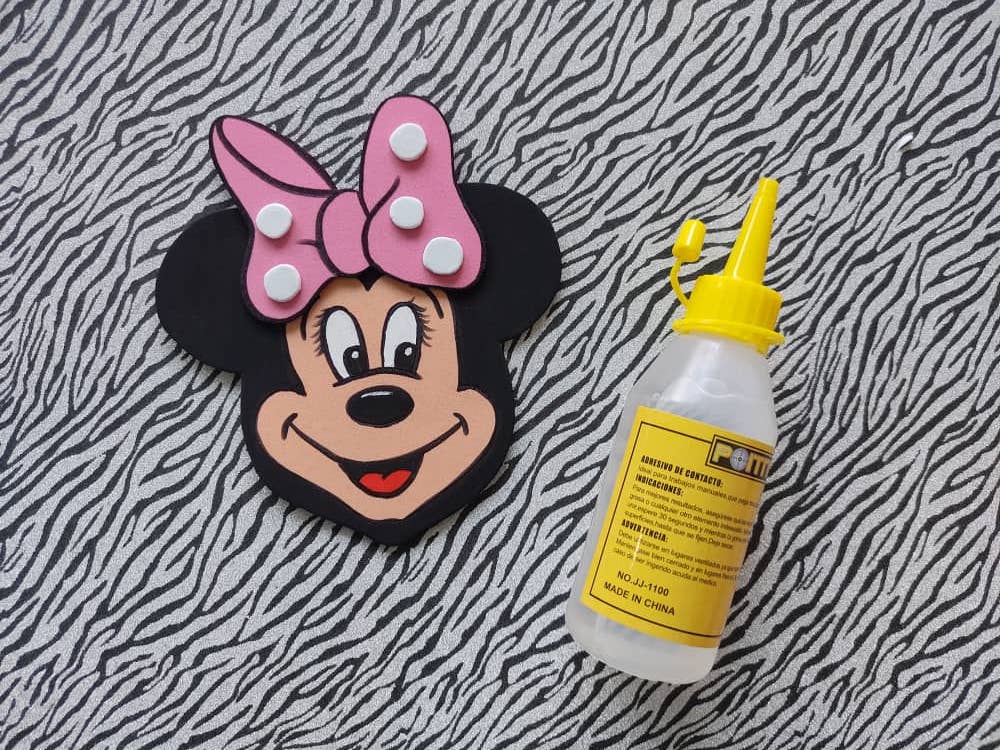
To finish, we glued Minnie's face in the center, and we also designed and cut out some small white dots to decorate our purse and glued them all over the front of the bag. How about it? Did you like it?
Para terminar, pegamos la cara de Minnie ubicándola en el centro, y también diseñamos y recortamos unos pequeños puntos blancos para decorar nuestra cartera y los pegamos por toda la parte frontal de la bolsa. ¿Y qué tal? ¿Le gusto?
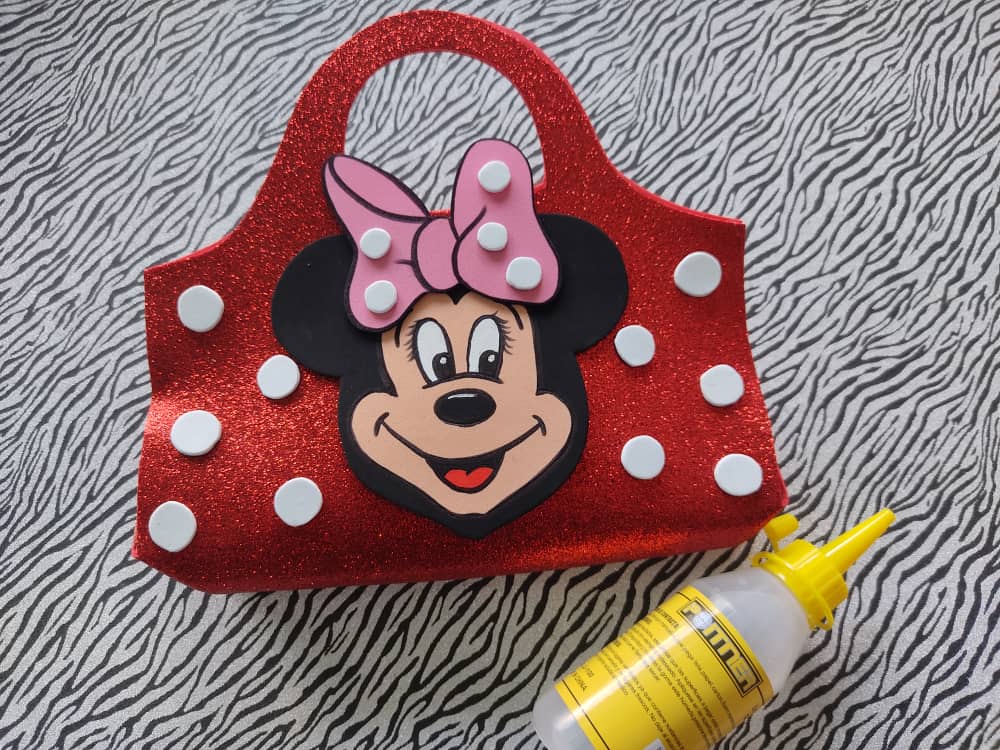
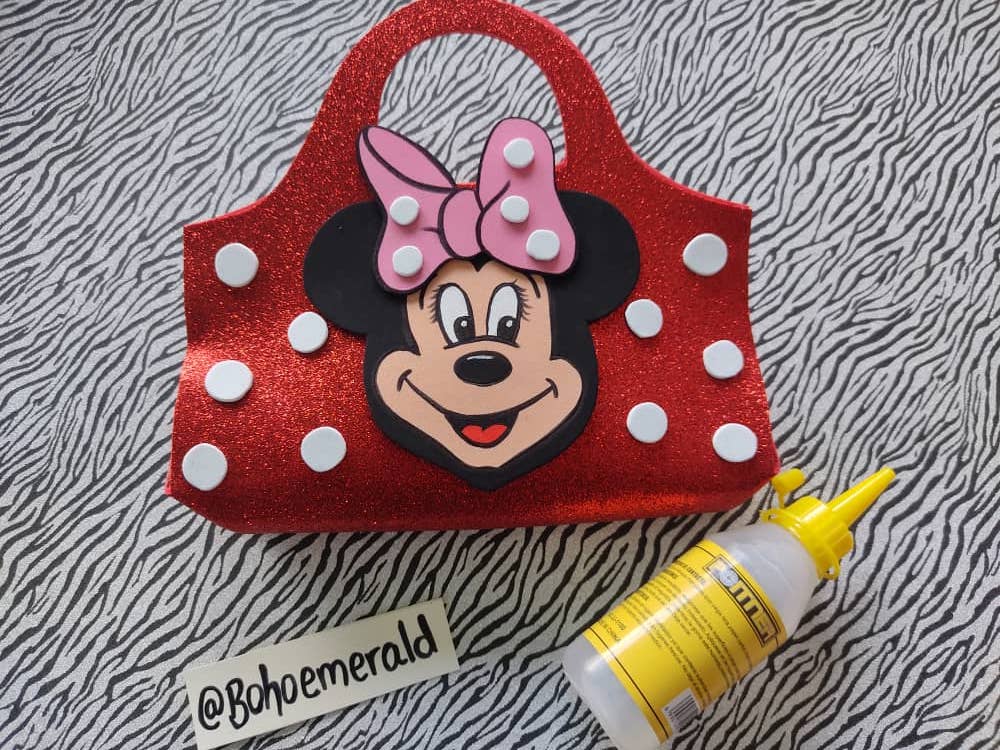
Making crafts like this is a lot of fun, especially to see the final result of what we put so much effort and love into. And even better if they are done in the company of the little ones of the house and even in pairs. I hope you have enjoyed this Fashion Minnie Foamy Pouch.
Hacer manualidades como esta es algo muy divertido, sobre todo ver el resultado final de aquello a que le pusimos tanto esfuerzo y amor. Y mejor aun si se hacen en compañía de los mas pequeños de la casa e incluso en parejas. Espero que les haya gustado esta Cartarita Fashion de Minnie en Foamy.
Thank you very much for coming to join me in this new adventure, I hope you can get to know me a little more, and that you invite me to be part of your groups of friends.
Muchas gracias por venir a acompañarme en esta nueva aventura, espero que puedan conocerme un poco mas, y que me inviten a formar parte de sus grupos de amigos.
The rewards earned on this comment will go directly to the person sharing the post on Twitter as long as they are registered with @poshtoken. Sign up at https://hiveposh.com.
Excelente amiga, te quedo muy bonita, gracias por compartir.
Gracias por la visita y el apoyo quederia!
Recibe una calurosa bienvenida de parte de nuestra gran comunidad craftera. Nos ha encantado tu proyecto y la forma ordenada de presentarlo.
Te dejo abierta la invitación a nuestro Discord, alli puedes solicitar un rol si es de tu agrado: https://discord.gg/tYENgKmTHA
Gracias por la invitacion, ya me he unido!
Congratulations @bohoemerald! You have completed the following achievement on the Hive blockchain and have been rewarded with new badge(s):
Your next target is to reach 600 upvotes.
Your next target is to reach 50 comments.
You can view your badges on your board and compare yourself to others in the Ranking
If you no longer want to receive notifications, reply to this comment with the word
STOPTo support your work, I also upvoted your post!
Check out the last post from @hivebuzz:
Support the HiveBuzz project. Vote for our proposal!
Qué genial te quedó, te felicito, poco a poco tu contenido será más visible ya verás 👍😉... que sigan los éxitos 🙌😀🔥🎨❤️🌟🥂💥💫💯
Thank you for sharing this amazing post on HIVE!
Your content got selected by our fellow curator @rezoanulvibes & you just received a little thank you via an upvote from our non-profit curation initiative!
You will be featured in one of our recurring curation compilations and on our pinterest boards! Both are aiming to offer you a stage to widen your audience within and outside of the DIY scene of hive.
Join the official DIYHub community on HIVE and show us more of your amazing work and feel free to connect with us and other DIYers via our discord server: https://discord.gg/mY5uCfQ !
If you want to support our goal to motivate other DIY/art/music/homesteading/... creators just delegate to us and earn 100% of your curation rewards!
Stay creative & hive on!
Que hermosa quedo tu bolsa fashion las niñas estarían felices de recibir una!
Saludos!
Hola,muy lindo podría usarse como cotillón muy buena y bonita idea.😍☺️😊✨