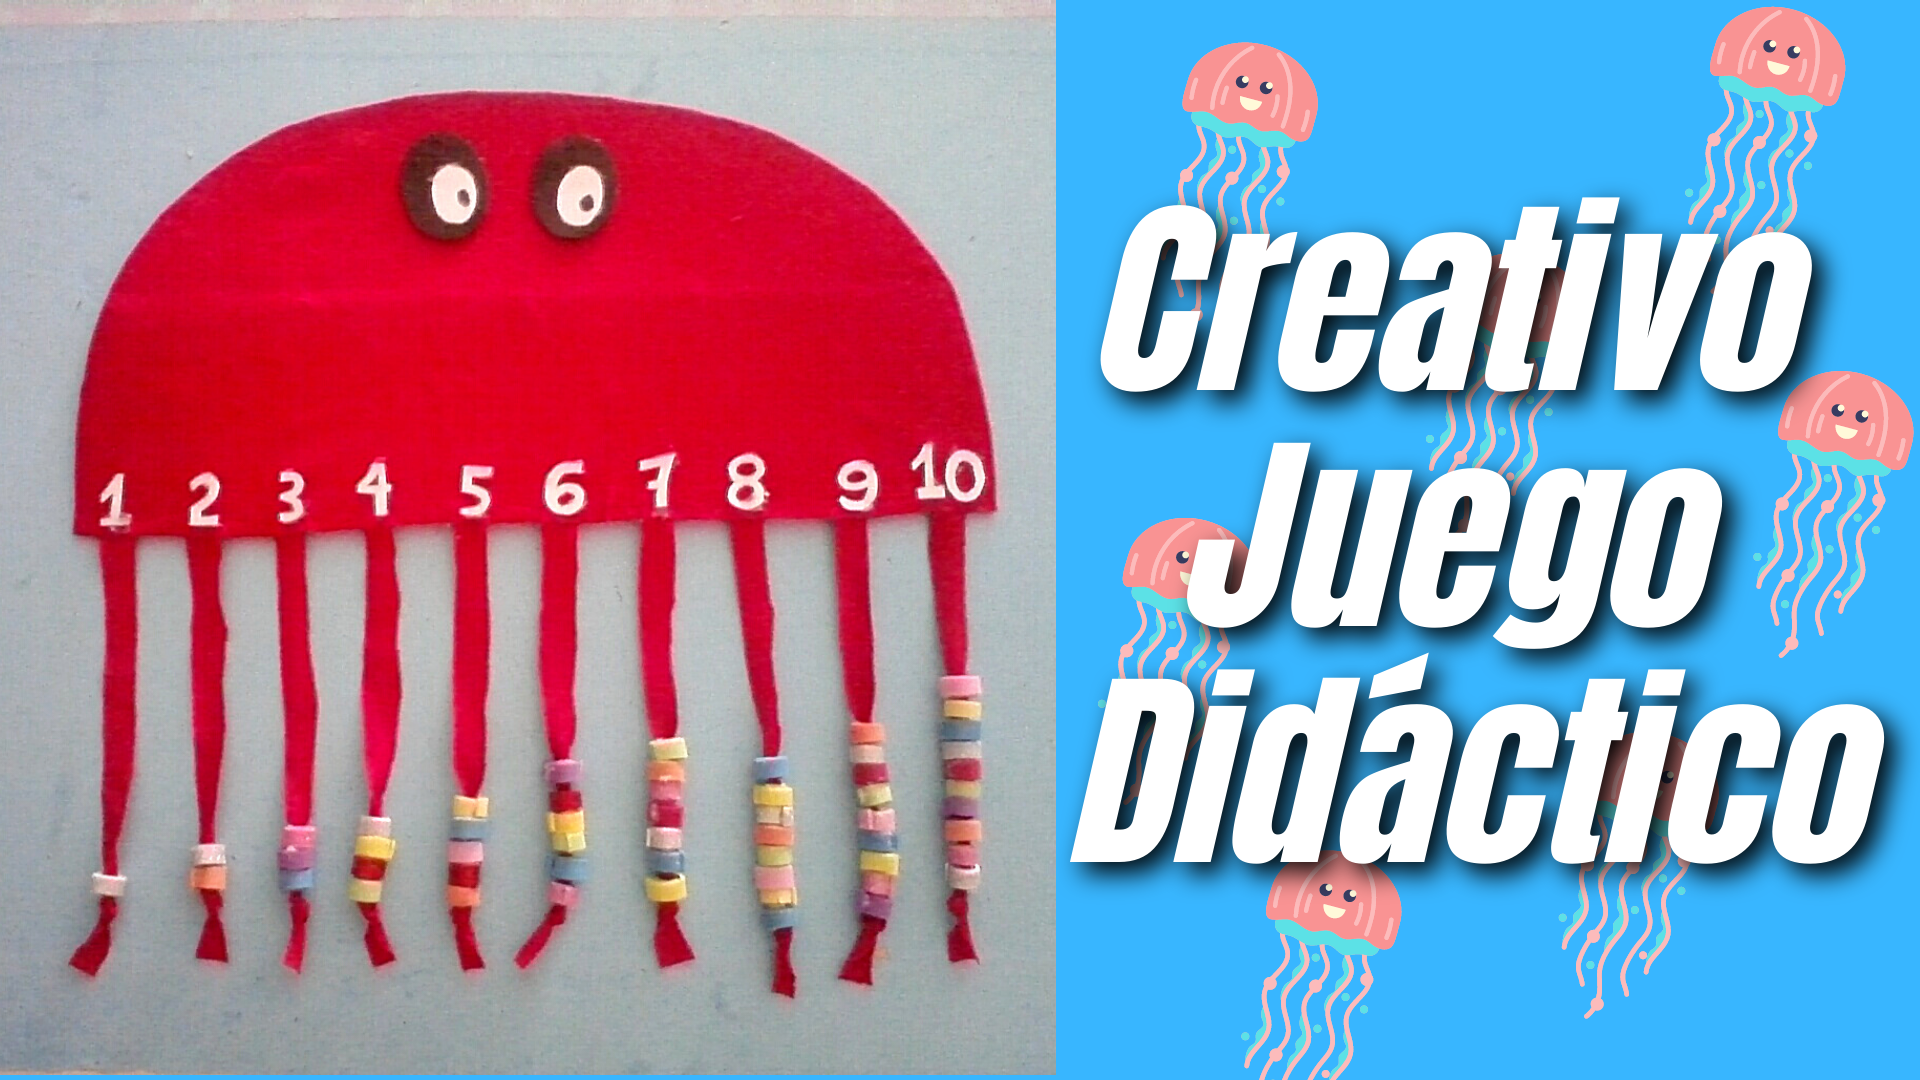
Hello creative friends of Hive Diy, many blessings to this beautiful community, I am with you again to show you how to make a nice didactic game in the shape of a jellyfish, very useful for children's learning, it is very easy to make and with little material, let's see.
Español:
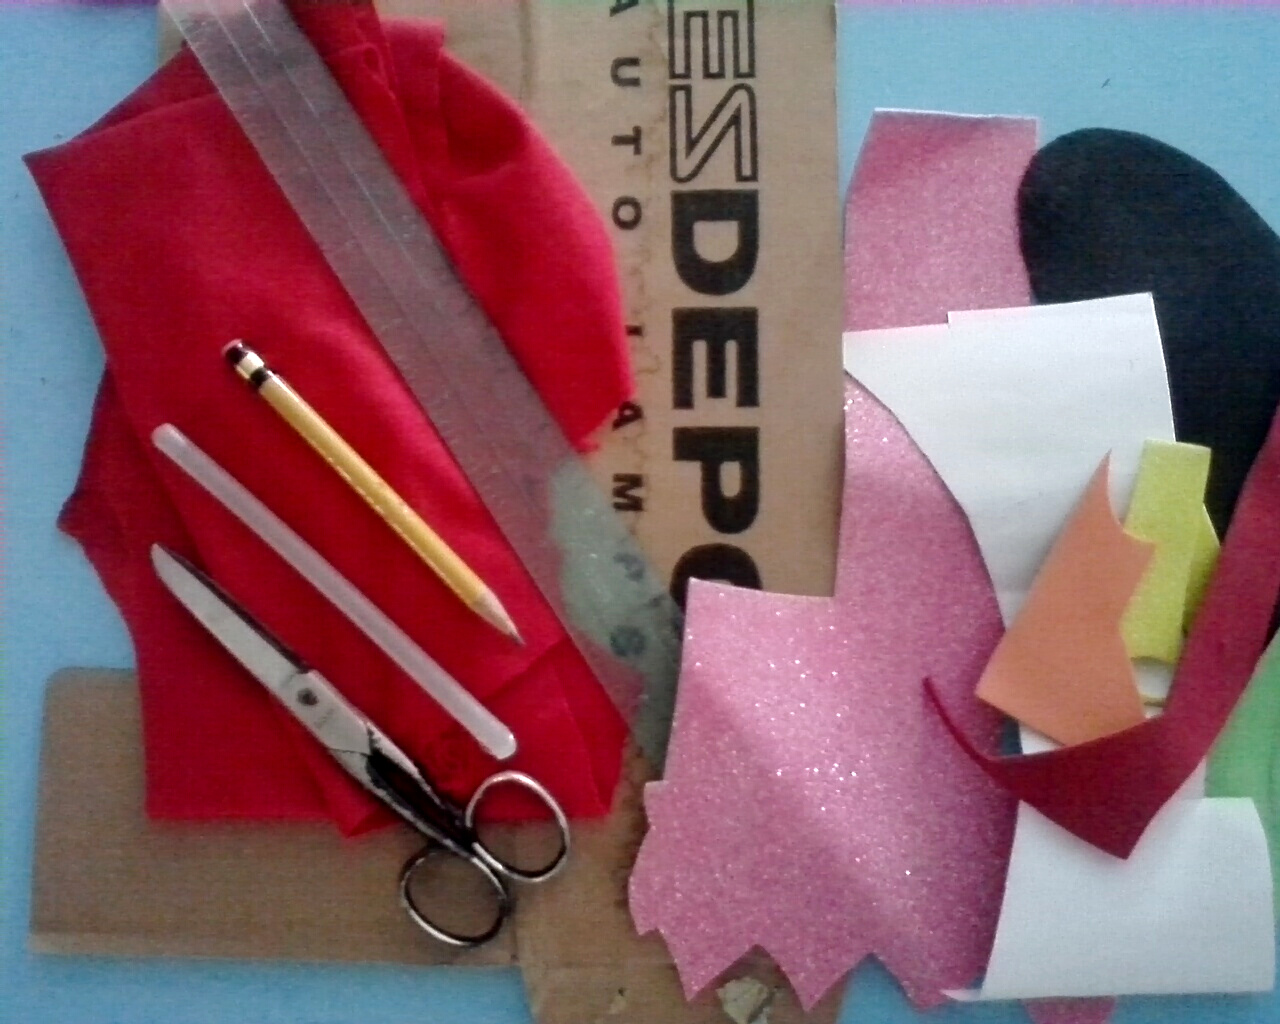
Materiales:
- Cartón.
- Retazo de tela roja.
- Foami de varios colores.
- Silicon en barra.
- Lápiz.
- Regla.
- Tijera.
- Cartulina blanca.
English:
Materials:
- Cardboard.
- Piece of red cloth.
- Foami of various colors.
- Silicon stick.
- Pencil.
- Ruler.
- Scissors.
- White cardboard.

Español:
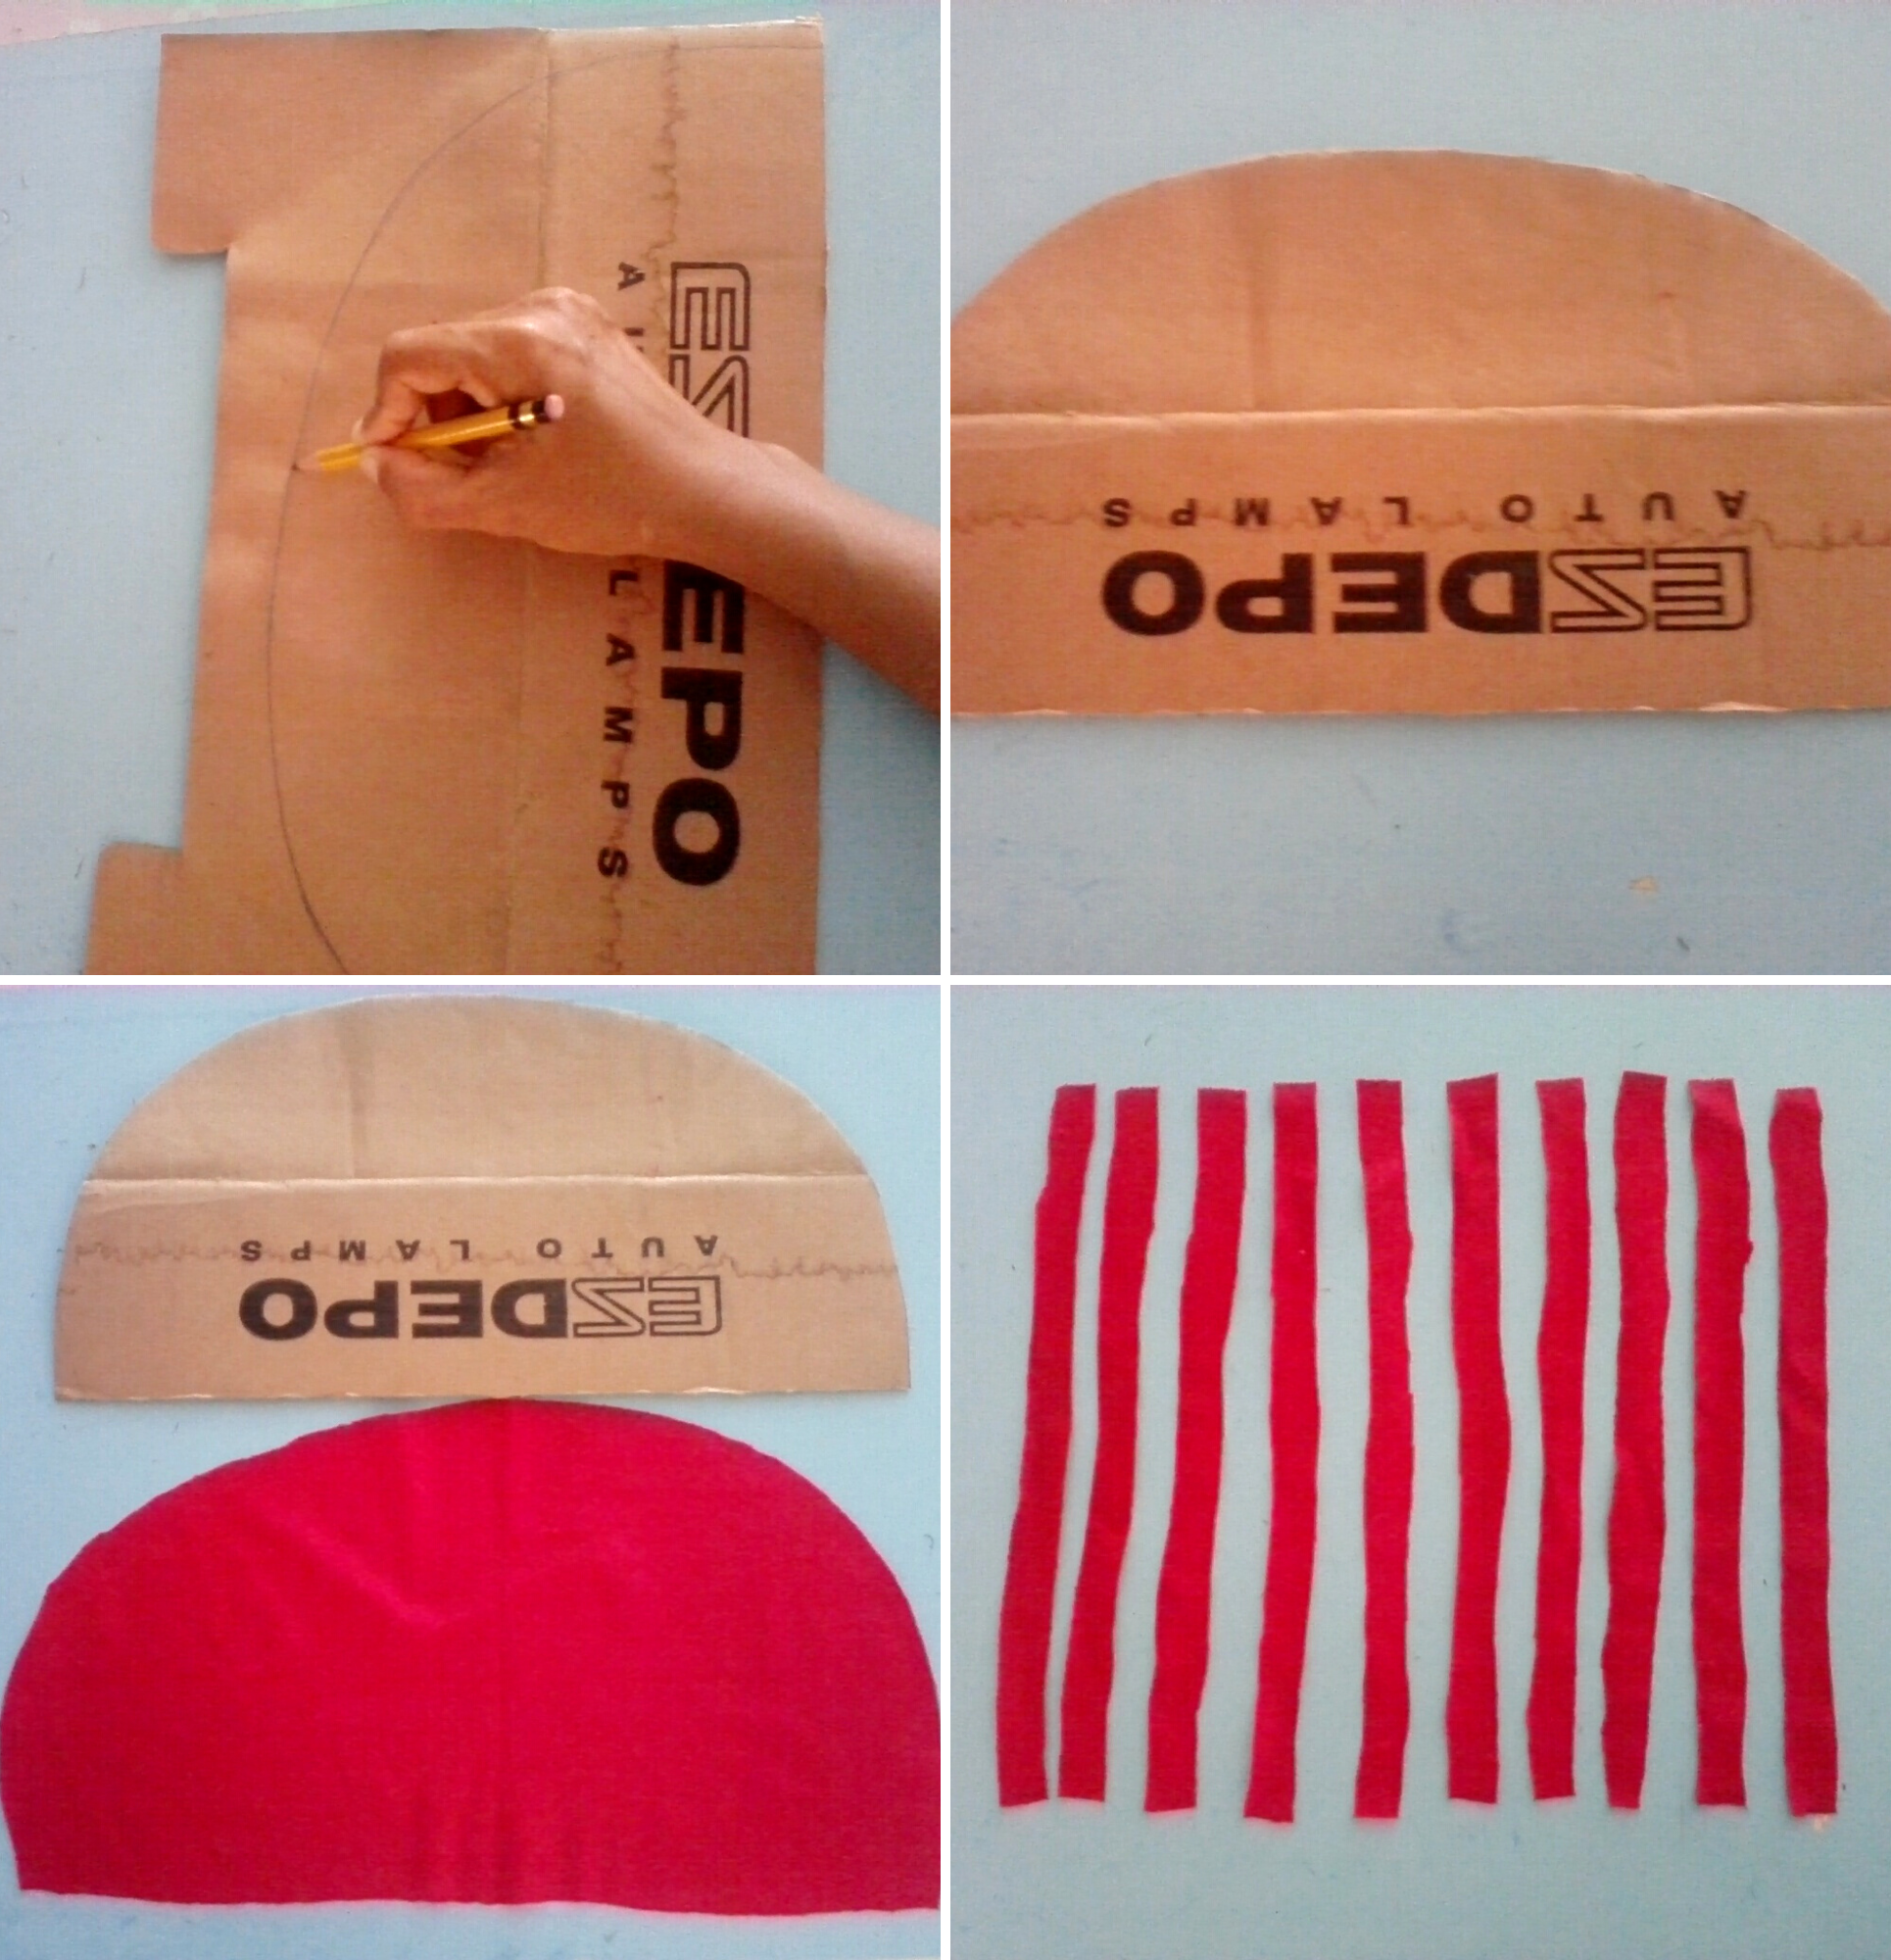
Paso 1:
- Marcamos y recortamos en el cartón, la figura de la mitad de un circulo con un diámetro de 35 cm, luego lo marcamos en la tela roja dejando 1 cm fuera del cartón, después cortamos 10 tiras de 20 cm de largo por 1 cm de ancho.
English:
Step 1:
- We mark and cut in the cardboard, the figure of half of a circle with a diameter of 35 cm, then we mark it on the red fabric leaving 1 cm outside the cardboard, then we cut 10 strips of 20 cm long by 1 cm wide.

Español:
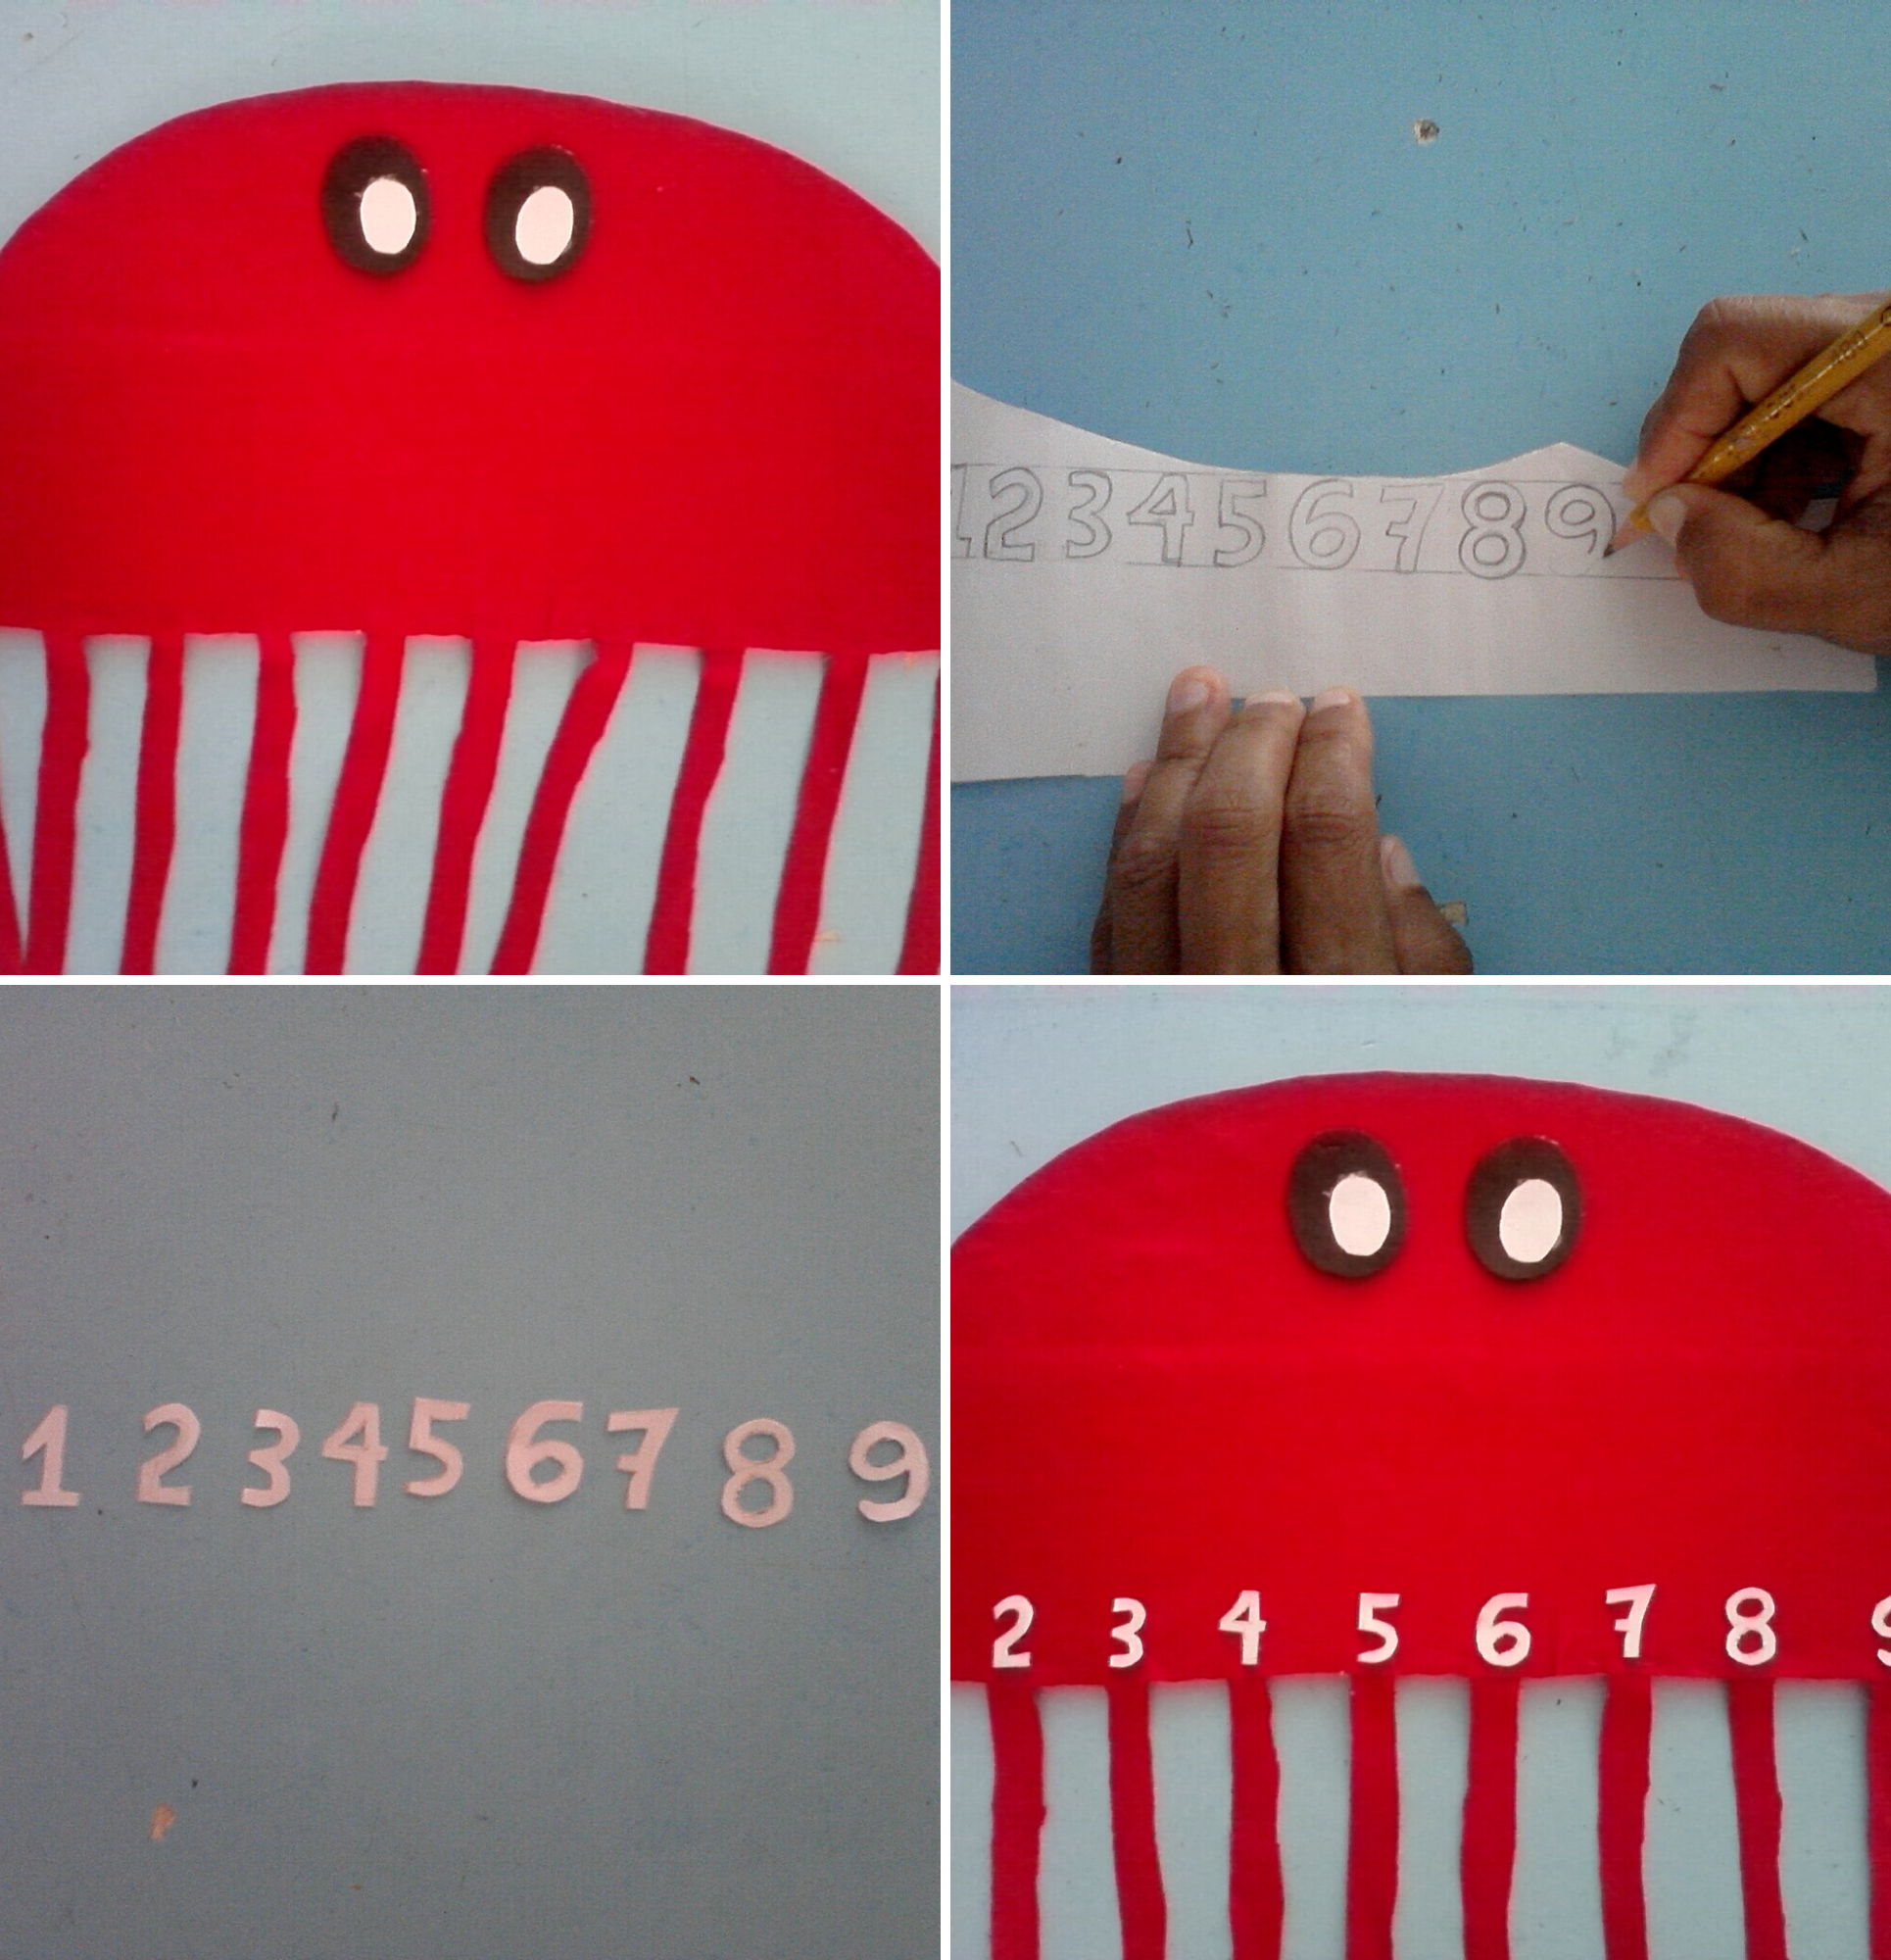
Paso 2:
- Teniendo ya las tiras cortadas, dibujamos y recortamos en el foami 2 círculos negro y 2 blanco mas pequeño, para los ojos, luego trazamos una linea de 1 cm por todo el borde de la parte de abajo del cartón, donde pegamos las tiras con silicon caliente, y procedemos a pegar la tela semi circular, encima del cartón, volteamos el cartón hacia atrás para pegar la tela sobrante por todo el borde.
English:
Step 2:
- Having the strips already cut, we draw and cut in the foami 2 black circles and 2 smaller white circles, for the eyes, then we draw a line of 1 cm along the edge of the bottom of the cardboard, where we glue the strips with hot silicone, and proceed to paste the semi-circular fabric, on top of the cardboard, we turn the cardboard backwards to paste the excess fabric around the edge.
Español:
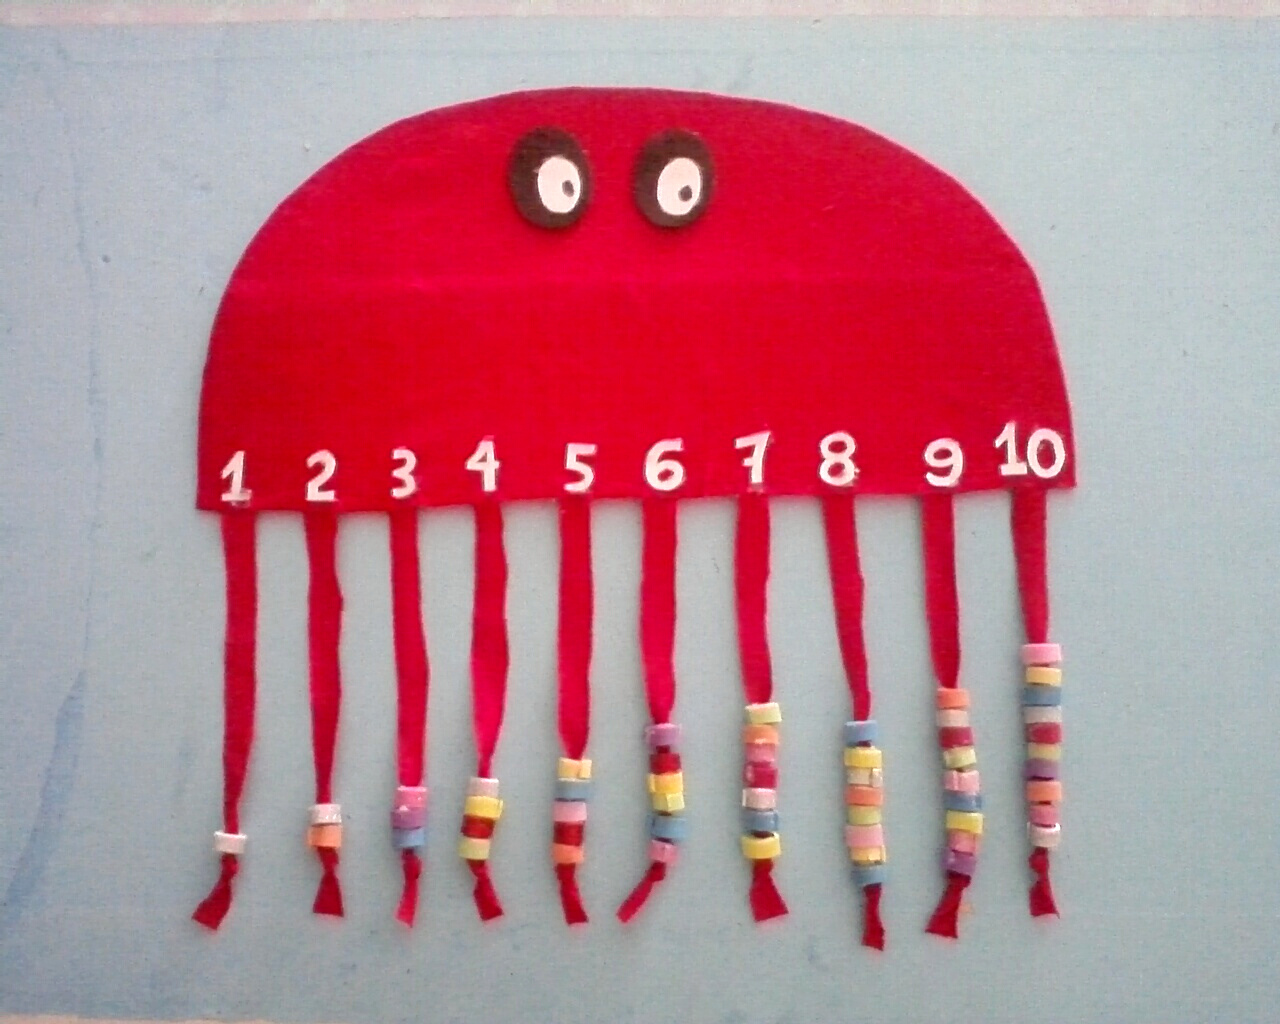
Paso 3:
- Ahora le pegamos los ojos a la medusa, y procedemos a dibujar y recortar los números del 1 al 10 en cartulina, para luego pegarlos a nivel de cada tira.
English:
Step 3:
- Now we glue the eyes to the jellyfish, and proceed to draw and cut out the numbers from 1 to 10 on cardboard, and then glue them at the level of each strip.

Español:
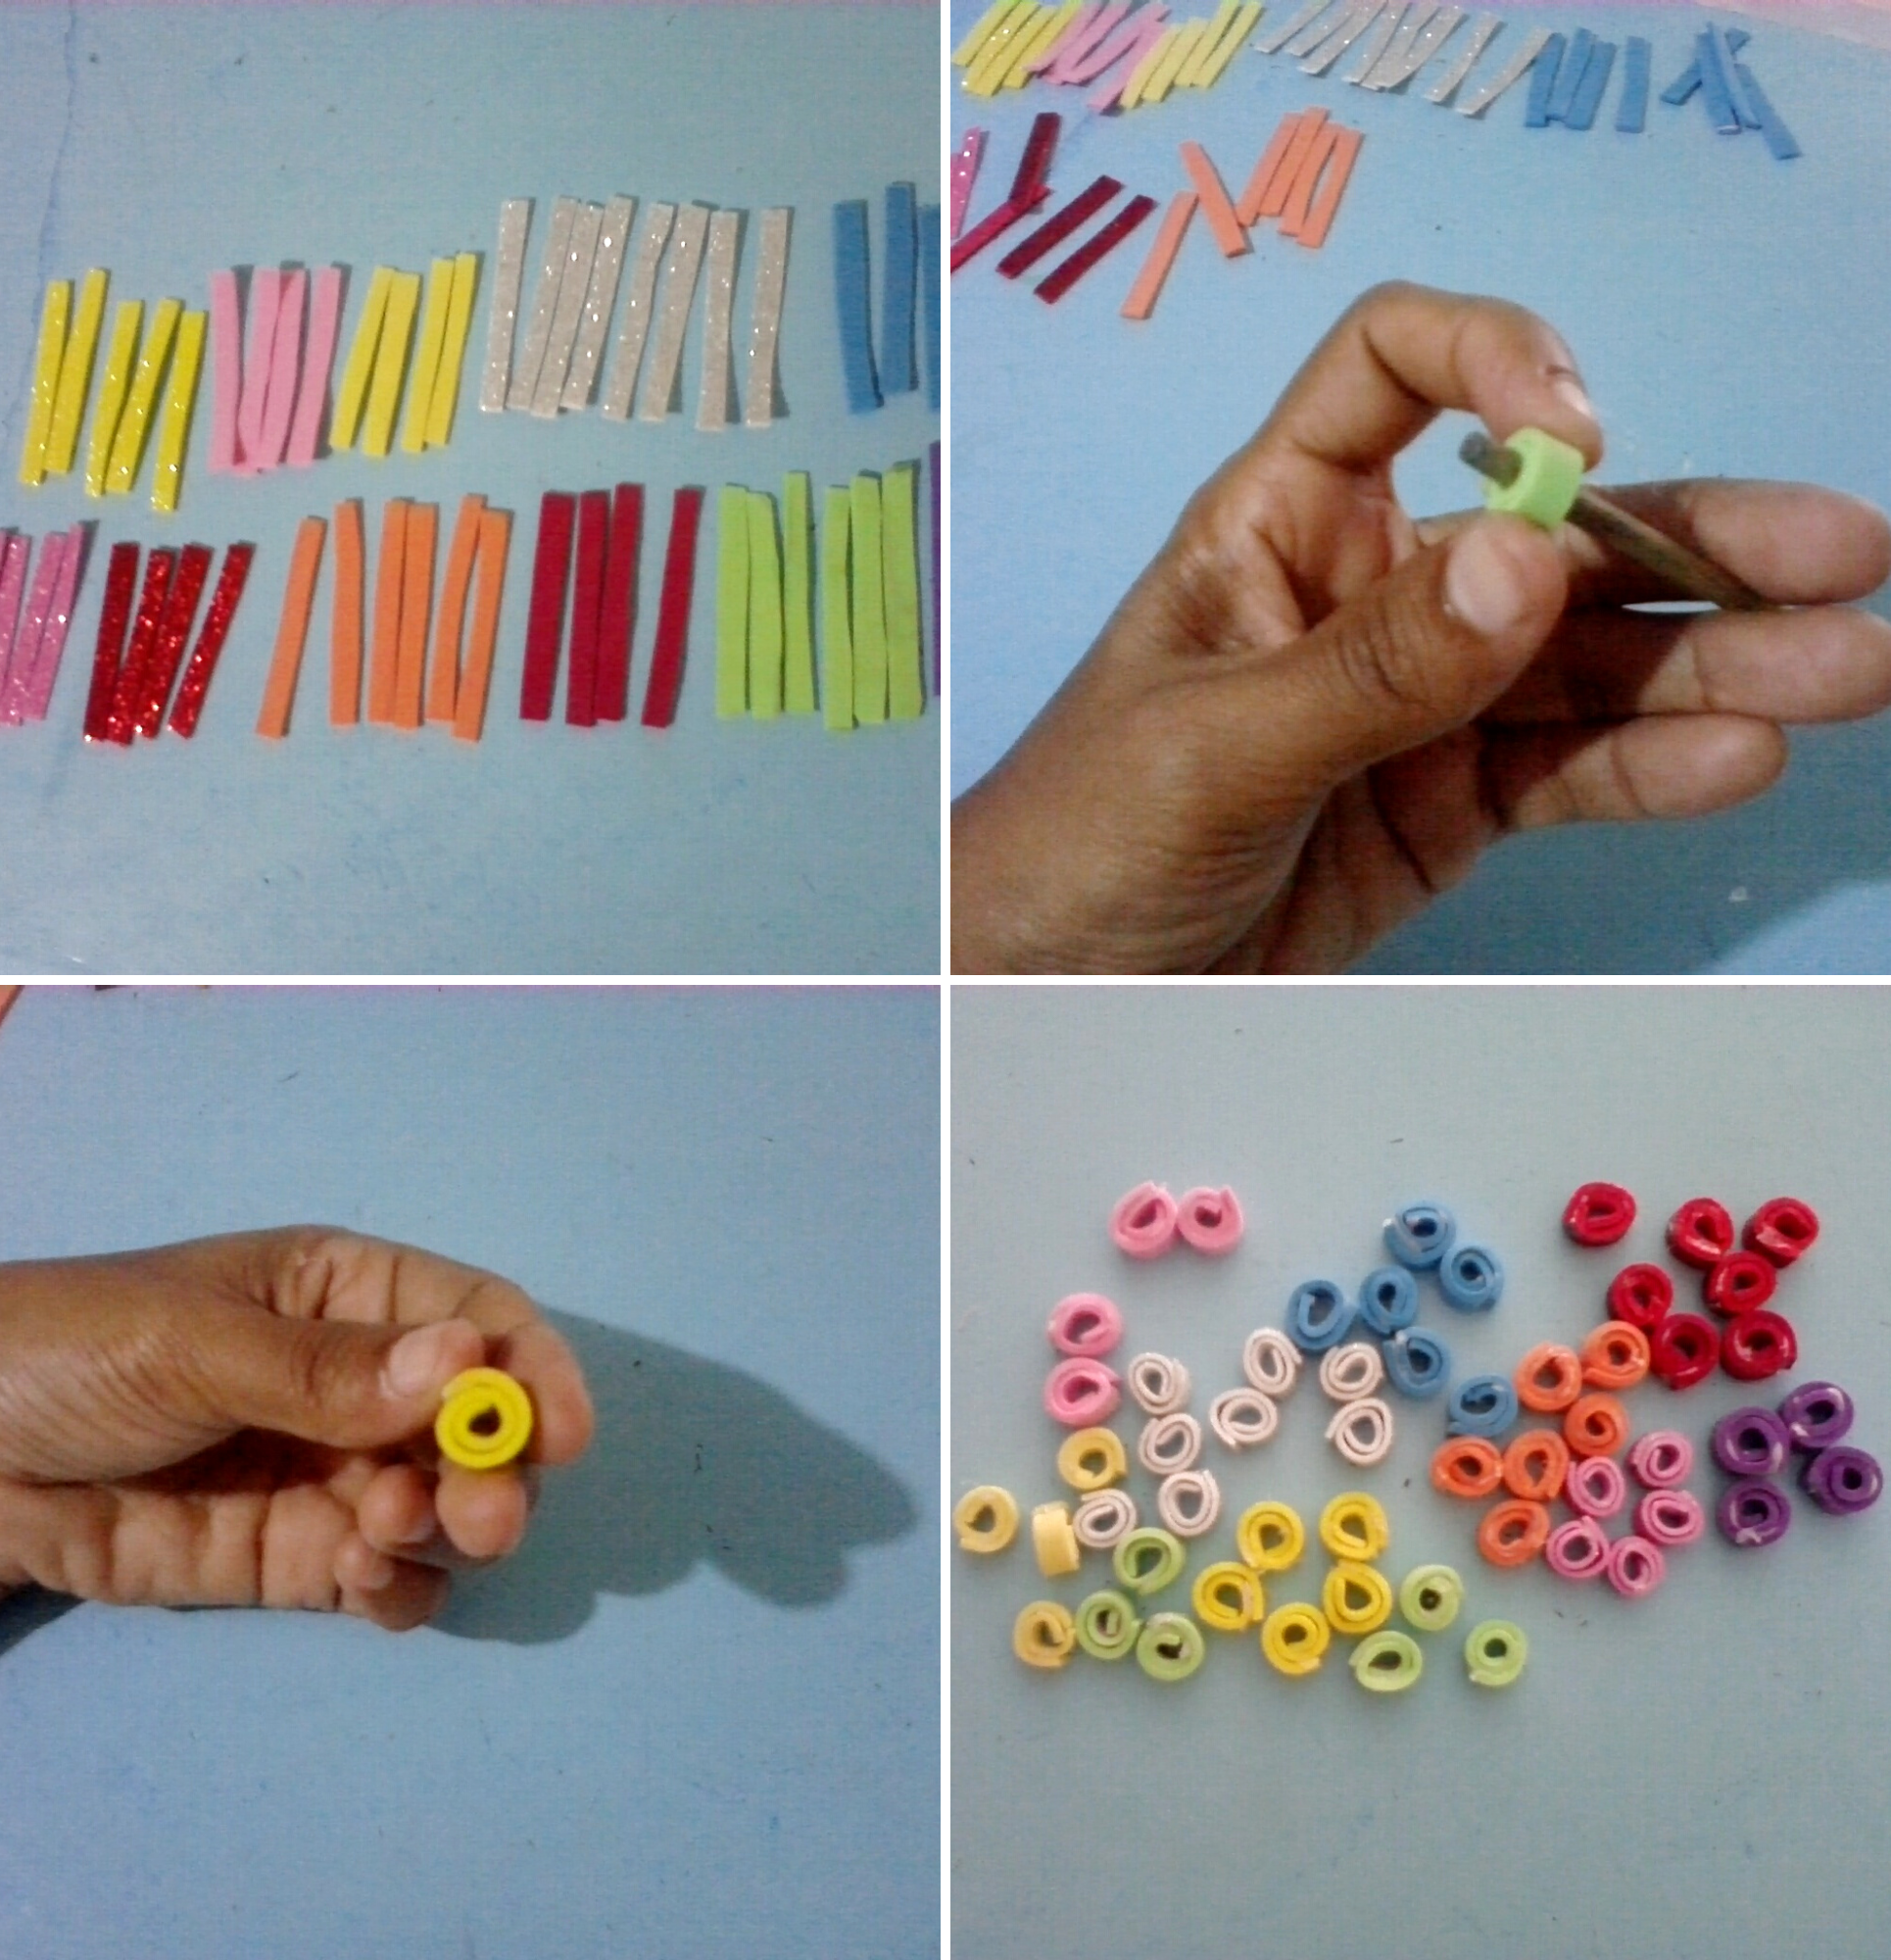
Paso 4:
- Seguimos marcando y recortando, en el foami de varios colores 55 tiras de 6 cm de largo por 1/2 cm de ancho, luego tomamos la tira de foami y con la ayuda de un palillo enrollamos y pegamos con silicon caliente a medida que se va enrollando, y así obtendremos los 55 circulitos de colores. Luego introducimos la tira de tela en el agujero de los círculos de foami la cantidad de cada numero que tenga la tira.
English:
Step 4:
- We continue marking and cutting, in the foami of various colors 55 strips of 6 cm long by 1/2 cm wide, then we take the strip of foami and with the help of a toothpick we roll and glue with hot silicone as it is rolling, and so we will get the 55 colored circles. Then we introduce the strip of fabric in the hole of the foami circles the amount of each number that has the strip.
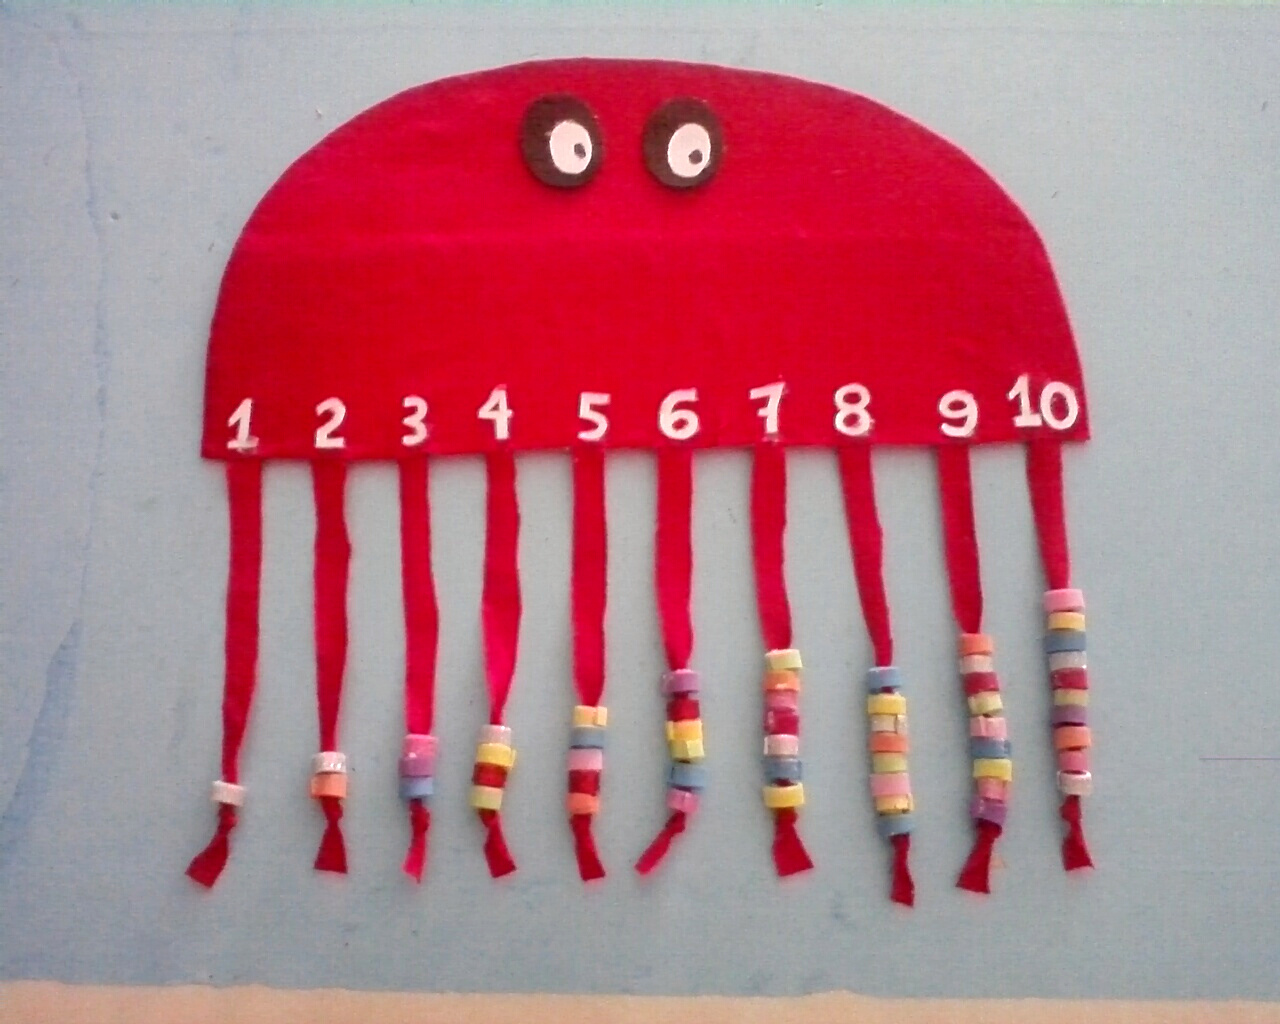
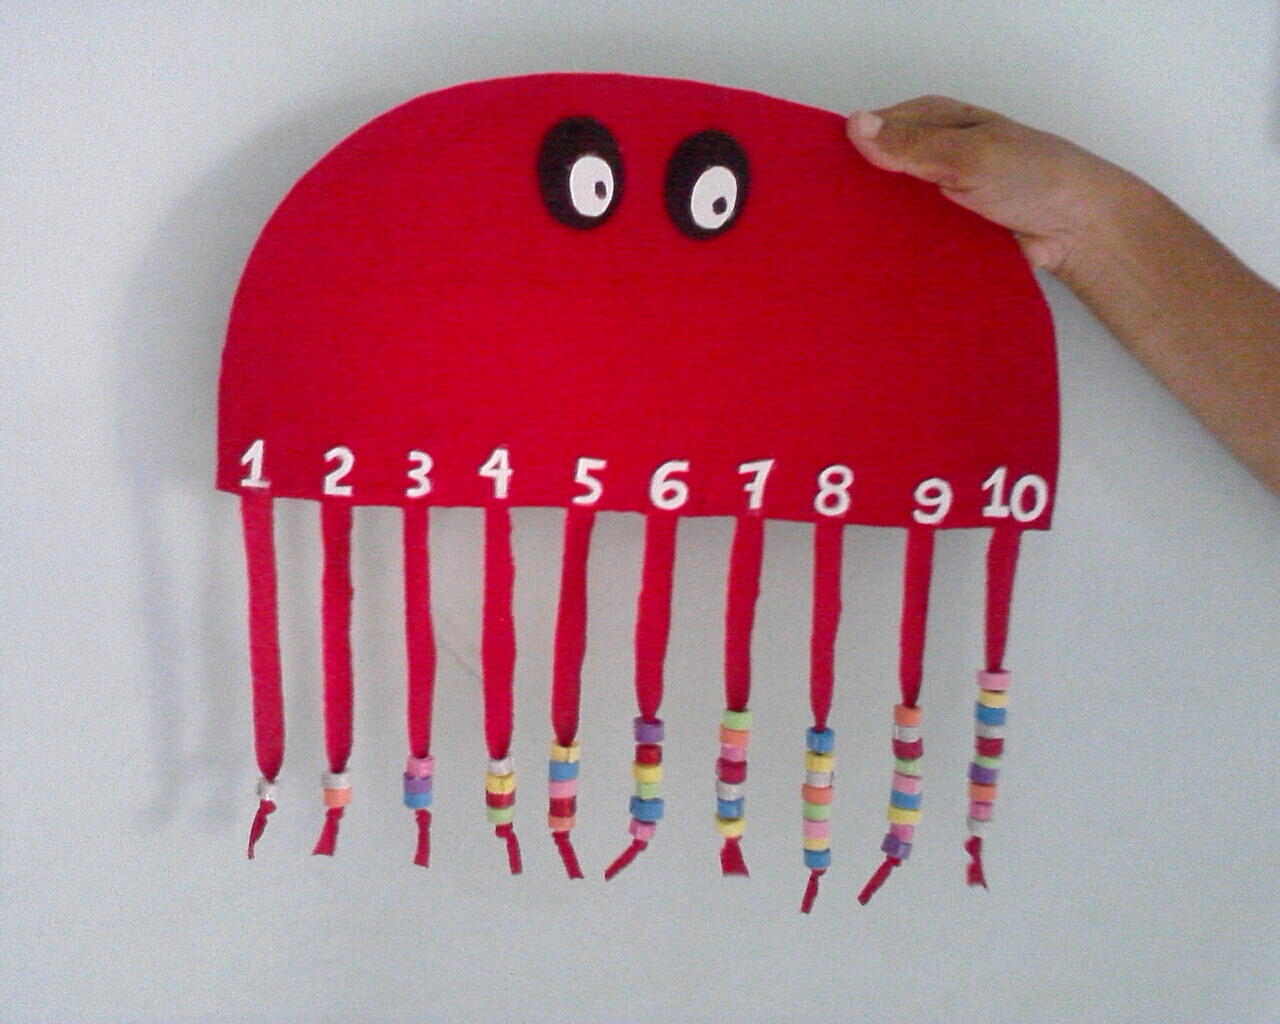
Mi resultado final, saludos y bendiciones para todos.
My final result, greetings and blessings to all.
.png)
.png)
Todas las fotos son de mi autoria y editadas con Canva. Traductor: DeepL Translate.
All photos are my own and edited with Canva. Translator: DeepL Translate.

Congratulations @coromoto20! You have completed the following achievement on the Hive blockchain and have been rewarded with new badge(s):
Your next target is to reach 3750 upvotes.
You can view your badges on your board and compare yourself to others in the Ranking
If you no longer want to receive notifications, reply to this comment with the word
STOPCheck out the last post from @hivebuzz:
Support the HiveBuzz project. Vote for our proposal!