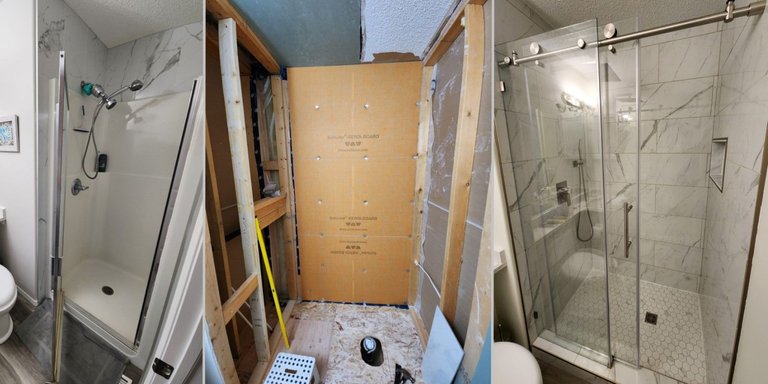
We didn't like our existing ensuite shower, it was too small, dated and cheap looking. So, we decided to take matters into our own hands, literally. In a previous post we Demolished the Shower and Moved the Wall. Then we Waterproofed the Shower In this post we finish the job.
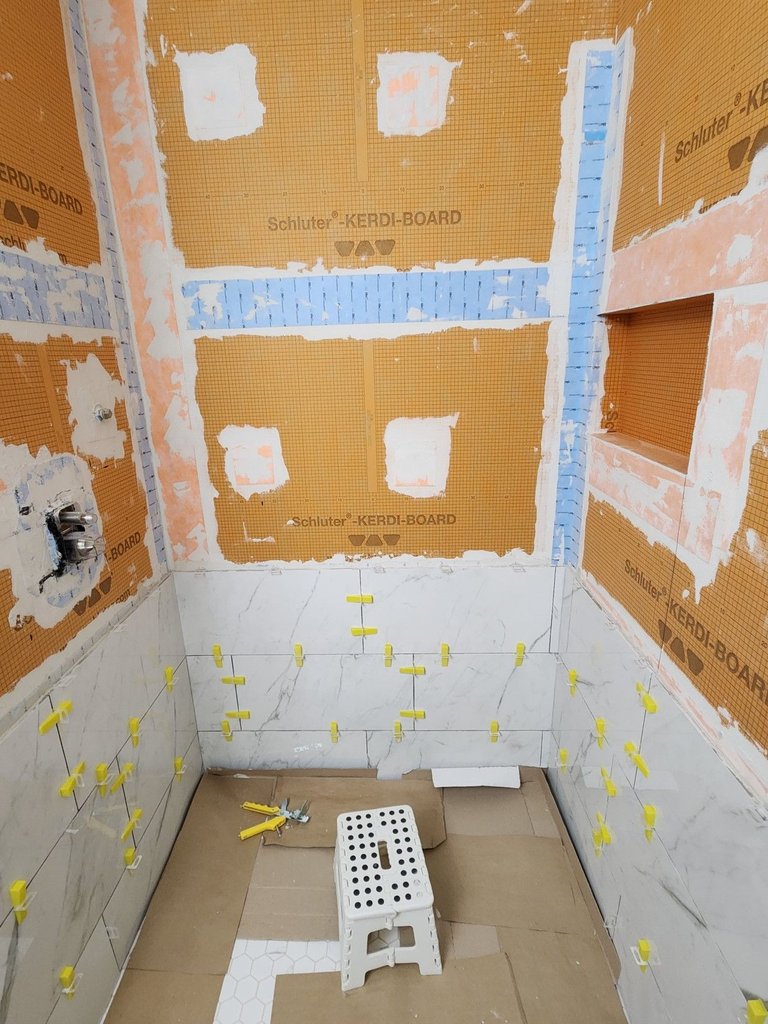
We tiled the floor first then started with the walls. This is the best way to make your project look seamless. The wall tiles will cover the space between the floor tiles and the wall. Some people argue that the water will seep up into the drywall or cement backer board. This isn't true with Kerdi-Board or other waterproof backerboard.
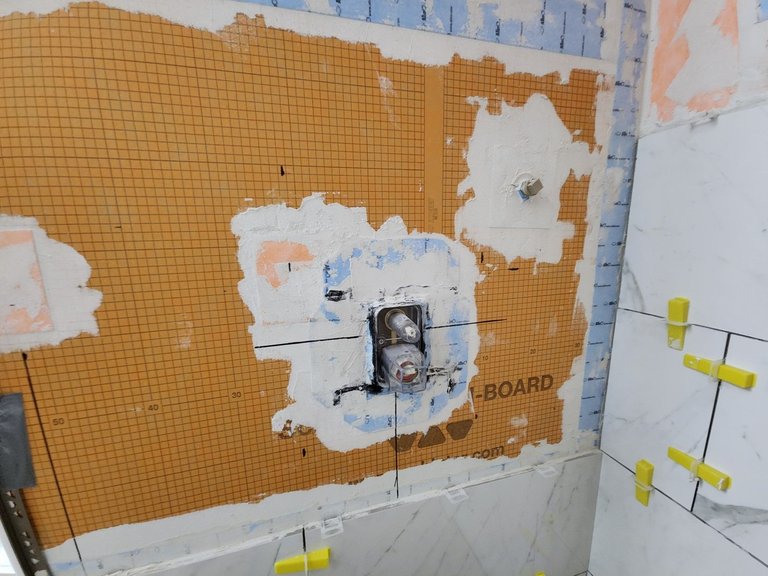
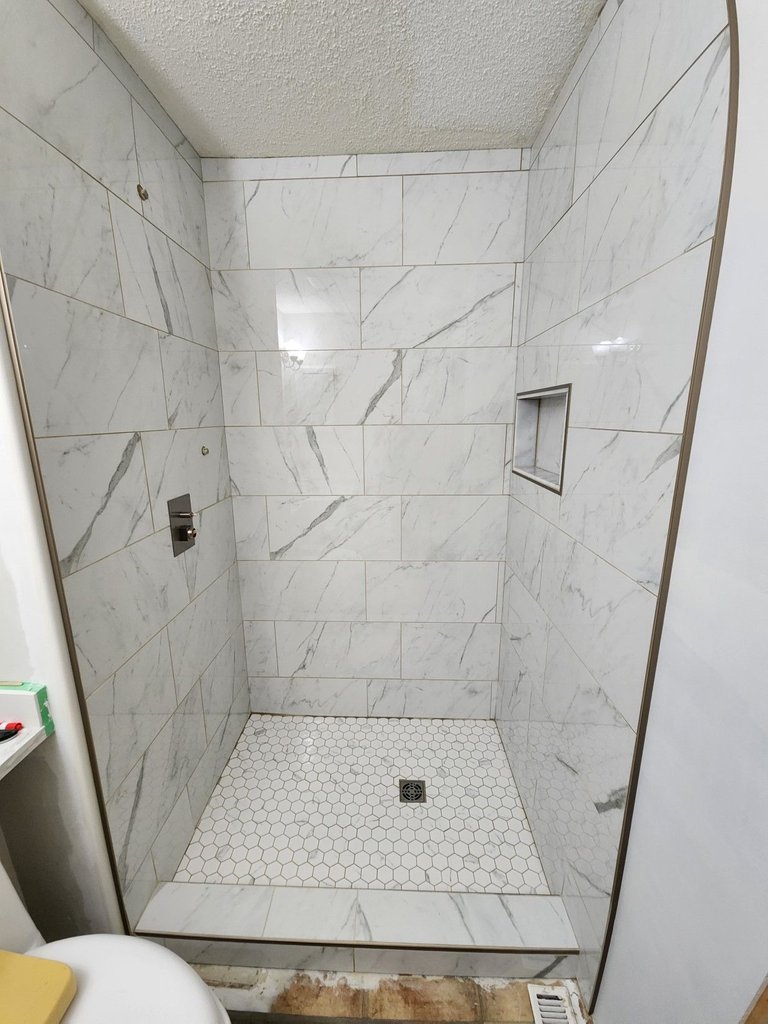
When thinking about tiling the wall there are a few things to consider. The most important is aesthetics. If your tiles are all in a row and not staggered minor differences in the distance between the tiles can look horrible, by staggering them, it becomes less noticeable. We wanted the joints to meet up at the mixer, cutting a large square hole in the middle of a tile is very difficult. You would also want the first row of tiles to be level on the top, ie. cut the bottom of them as your shower floor is probably not level. Every other row is quick and simple. The first row, is the base and supports the rest.
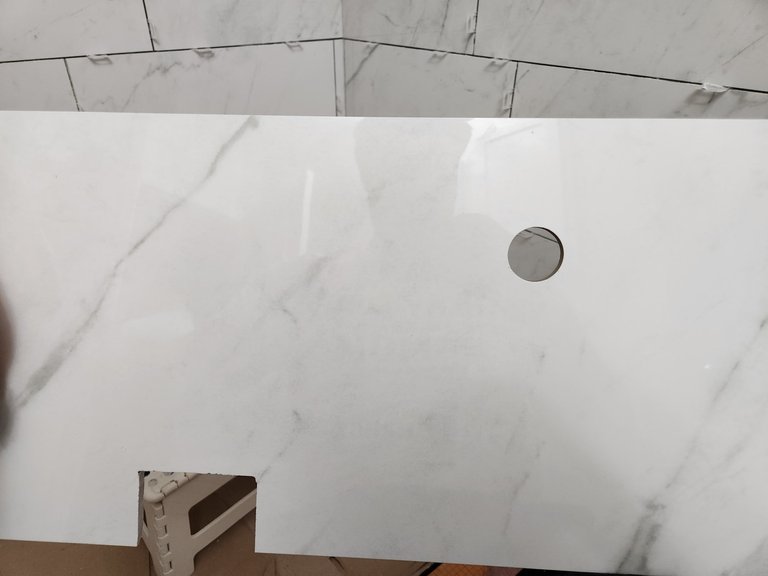
I'm proud of this tile, not only did we drill a hole for the shower wand, we also did a C cut. A C Cut involves lowering the tile onto a water saw. While the cut isn't flawless, the hardware will hide it. You could cut out a square in the middle of the tile but taking the safety guard off a tile saw and dropping a tile onto it is something you want to avoid. One such cut was enough.
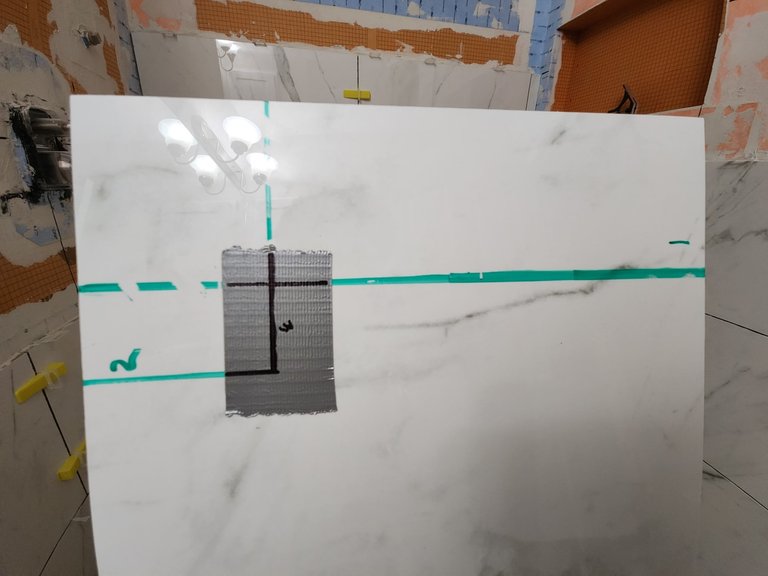
When cutting tiles, you have to plan in advanced. I use tape to limit the chipping, having an extremely sharp saw blade also helps. Next time we will buy different tile, this stuff chips like crazy. White board marker is perfect for drawing your cutting lines, although the water saw will erase it. There's a guide anyways. Straight cuts are simple, L cuts are more of a challenge so limit them.
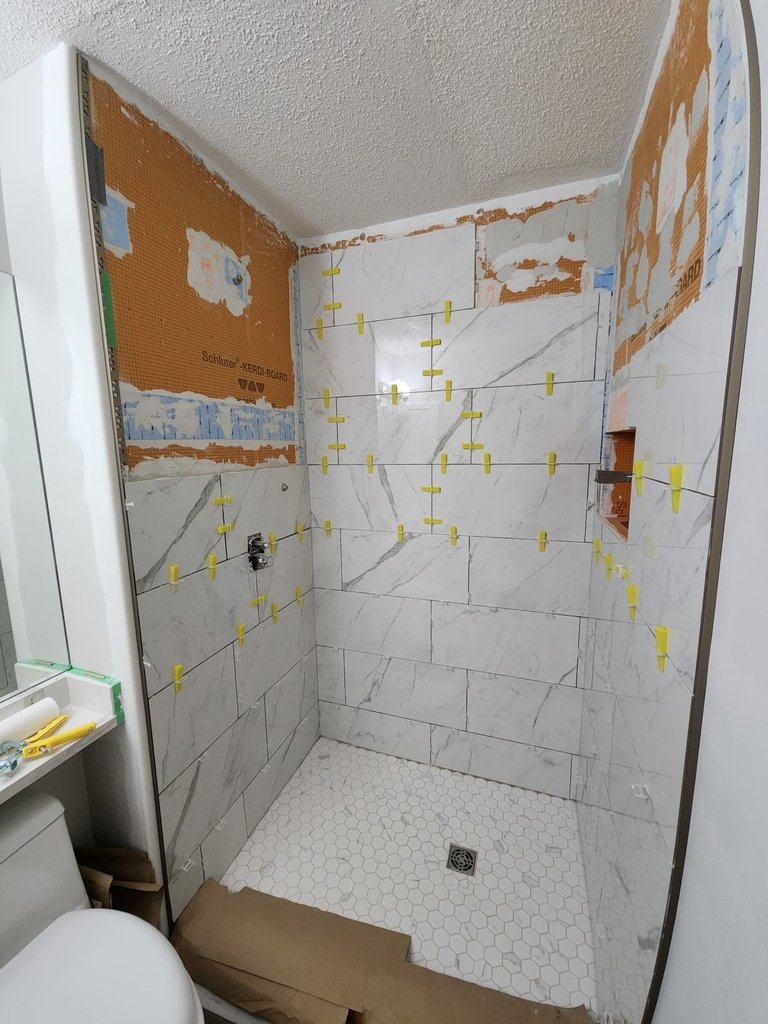
We used a tiling levelling system, something strongly recommended. These are the yellow wedges you see to make sure the tiles are relatively level with each other. It won't always be perfect but if your using large tiles and only spacers the tiles will be protruding all over. These tiles are 30 x 60 cm or 1 x 2 feet.
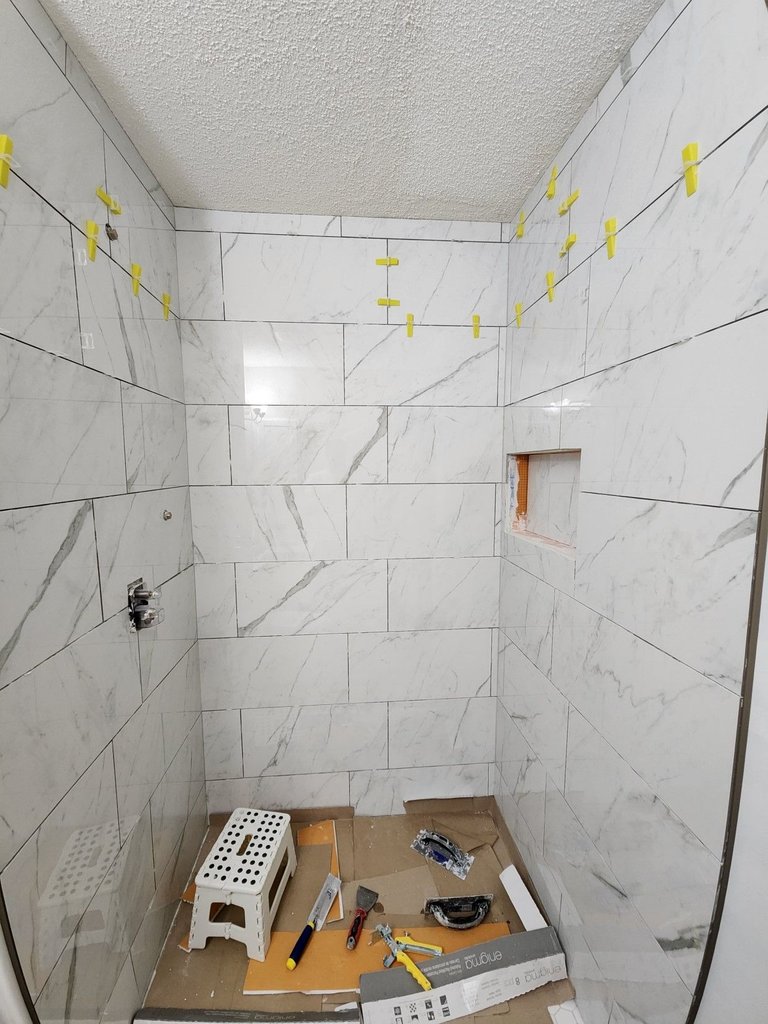
Almost done, to be honest tiling isn't easy. Especially when your doing it by yourself. You have to mix the quick set mortar and cut the tiles and put them up all on your own. Since the mortar dries quickly, it's best to dry fit what you are going to be working with before you mix your mortar.
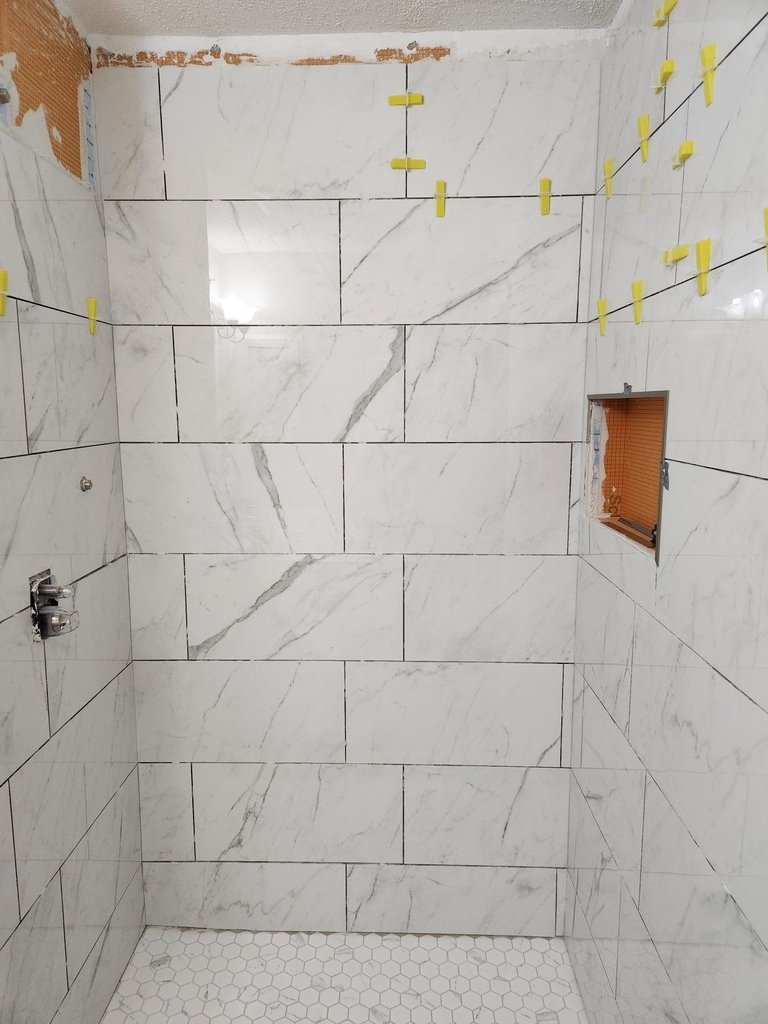
We are almost there. The niche was problematic because the tiles weren't cut perfectly so I decided to buy an edge and use a marble tile to line the niche.
All done. Now it's time to paint, caulk and hang the door.

The door involved a big delay, I was waiting to get a glazier to help and custom glass but that didn't work out. Lucky for us, we saved over $1000 on just the door by doing it ourselves. We found a thick, tall and highly rated shower door. You want 10mm, the 6mm glass is horribly cheap and we wanted one with a wide opening. Anything under 22 inches might not be to code. The swing doors drip water onto the floor so we wanted a sliding one. It's standard to put the sliding part on the same side of your fixture, but this would cause leaks and the toilet is right there.
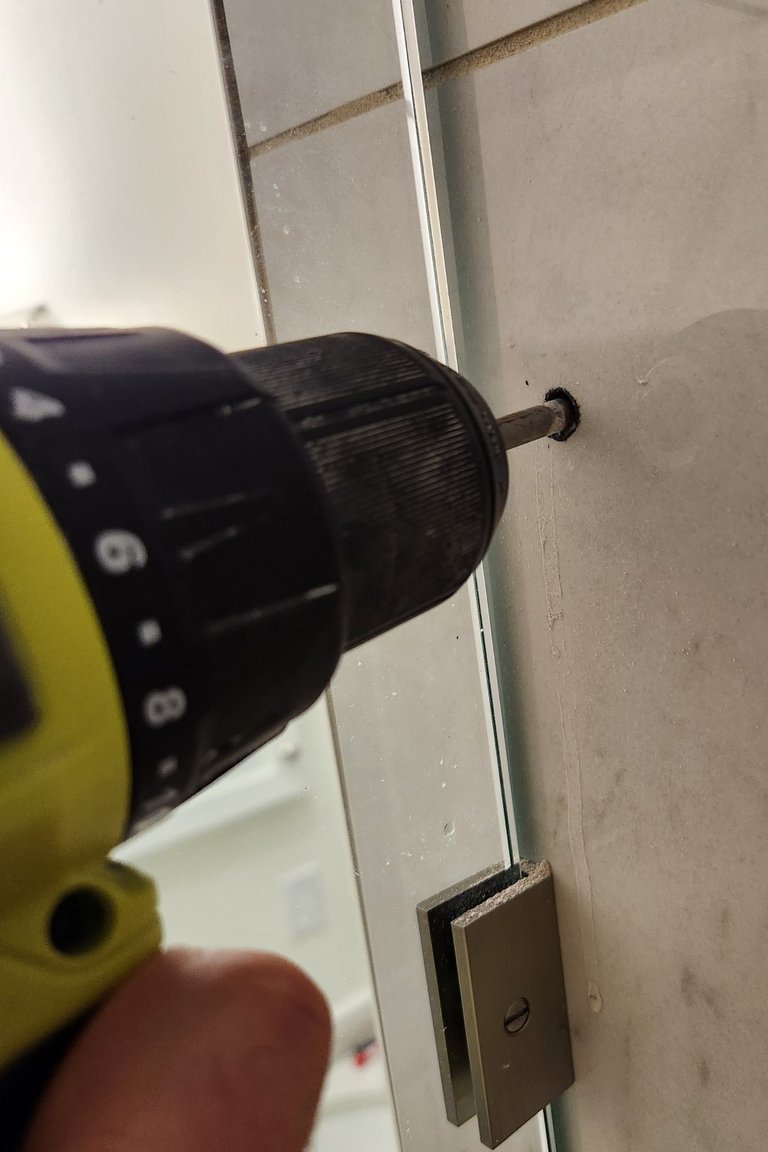
Drilling the holes into the tile is a real challenge. Carbide drills bits aren't that great, it took 4 batteries to drill 5 holes. Should have went with the diamond tipped drill bits, like we did with the hole saw and wet saw.
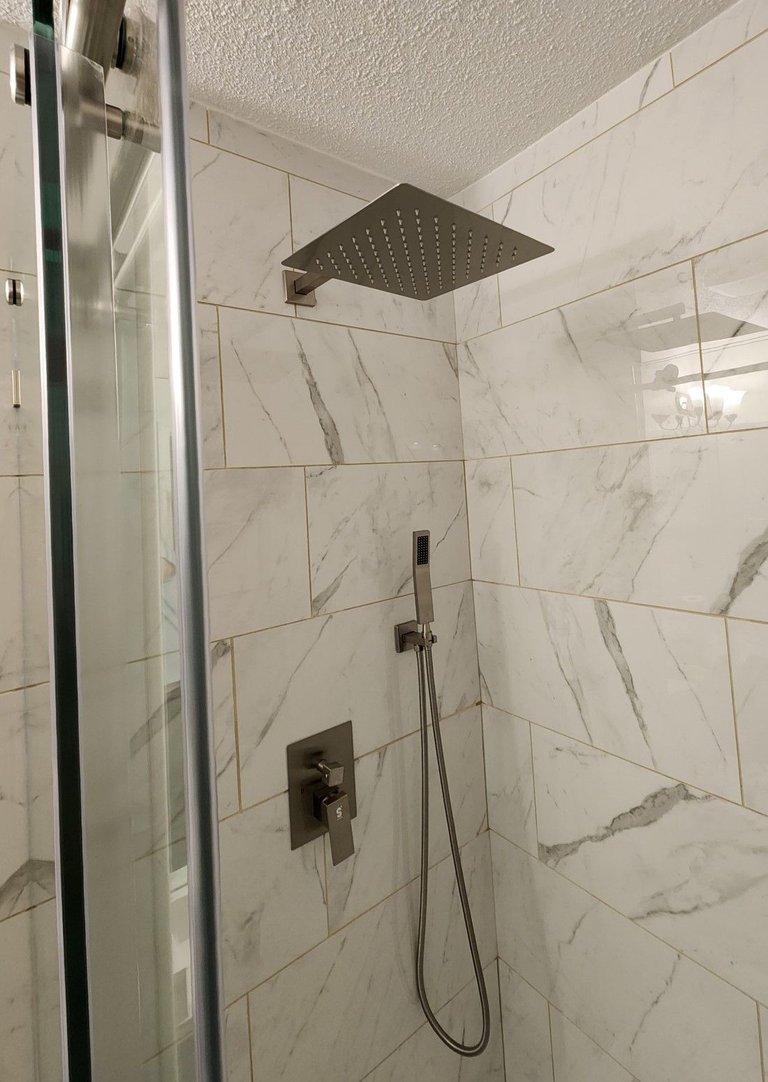
Installing the hardware is basic. Turn off the water supply, remove the plugs, and follow the instructions. If you didn't measure right when starting the shower this could end with tears. We accounted for the width of the backerboard, the grout and the tiles when installing the roughed in plumbing.
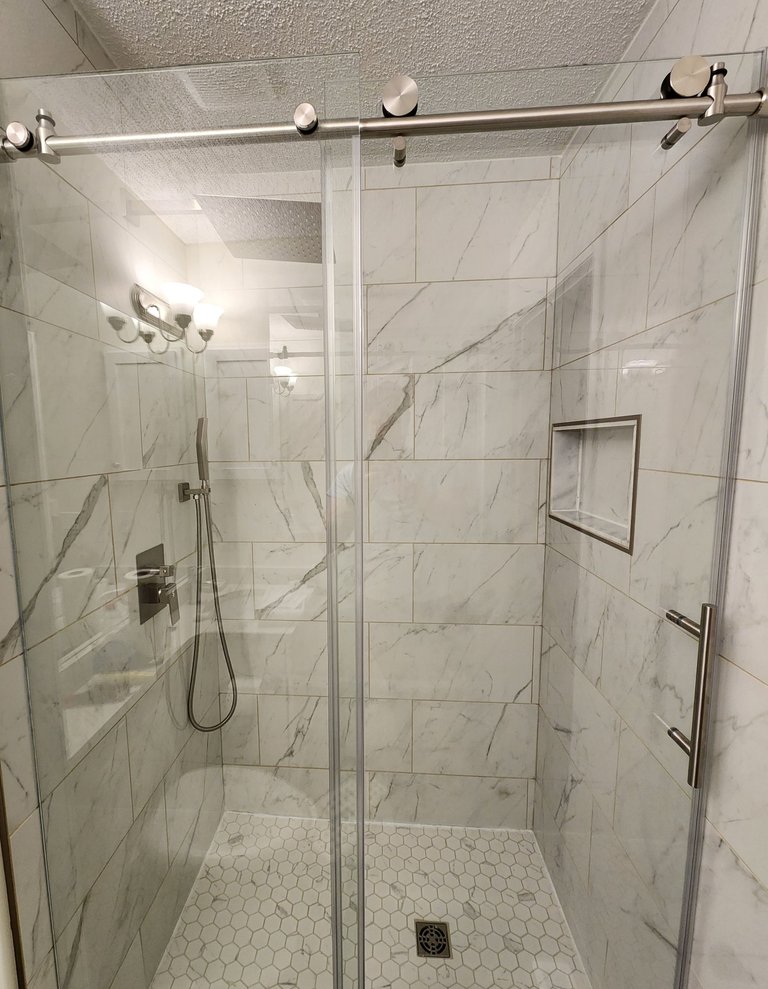
Hanging the door is simple, rest it on carboard and be careful not to chip or break the glass. It is heavy but manageable. We saved at least $4000 on this shower build and I had the joy of doing it myself.

Cost
$206 Permit to move the wall
$2717 Materials
$1071 Shower Door
$235 Mixer and Fixtures
$0 Labour
$4229 Total (Prices in $CAD)
An arduous task with an incredible result.
Arduous task is an excellent way of describing the work. Thanks!
Nice job, excelent, there is no price like the feeling of comfort
Thanks
Congratulations @crypticat! You have completed the following achievement on the Hive blockchain And have been rewarded with New badge(s)
Your next target is to reach 93000 upvotes.
You can view your badges on your board and compare yourself to others in the Ranking
If you no longer want to receive notifications, reply to this comment with the word
STOPTo support your work, I also upvoted your post!
Check out our last posts:
This work is not easy, it takes a lot of work and whenever the walls are damaged in this way, they are repaired with the same work and it takes a lot of energy and money on top of them.