
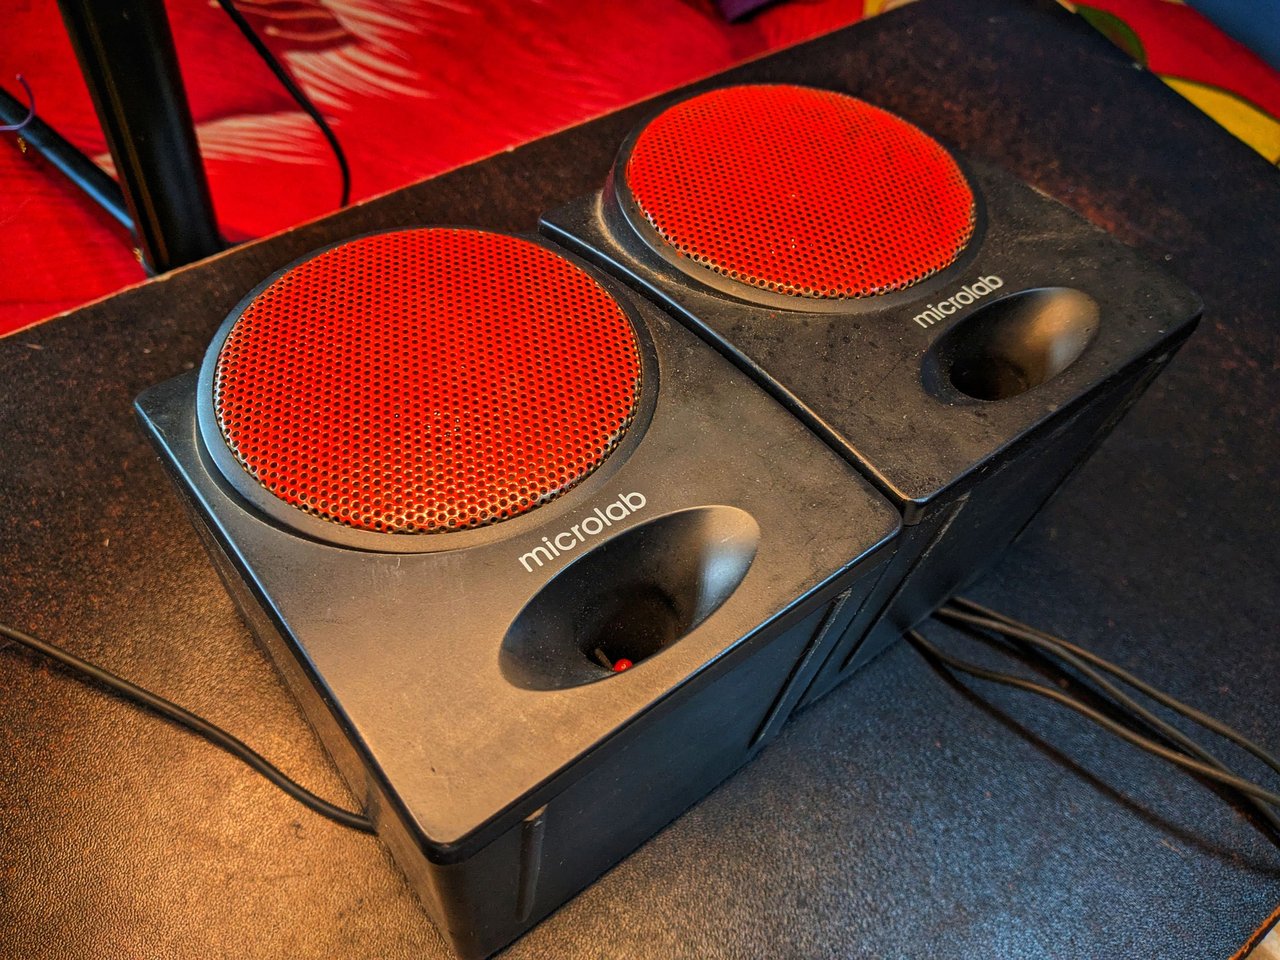
Hola gente linda. Hoy no traigo manualidades, hoy quiero mostrarles el paso a paso de como intenté reparar unas bocinas y de paso les hice unas mejoras por así decirlo. Las bocinas en cuestión eran las que estaba usando hasta hace poco, pero desde hace tiempo venían presentando problemas en el control de volumen y cada vez que las quería usar tenía que estar subiendo y bajando el volumen como si de un radio se tratase.
Pero por cuestiones del destino hace unos días un amigo técnico me dijo que él había reparado bocinas con ese mismo problema. Según él, todo lo que había que hacer era re-soldar el control de volumen y con una pinza apretar la parte trasera del potenciómetro porque se afloja con el tiempo. Y pues como que no quiero hacer espóileres así que ya veremos si tuvo arreglo 😏.
Hello beautiful people. Today I do not bring crafts, today I want to show you the step-by-step process of how I tried to repair some speakers and incidentally, I made some improvements so to speak. The speakers in question were the ones I was using until recently, but for some time they had been presenting problems with the volume control and every time I wanted to use them I had to raise and lower the volume as if it were a radio.
But as fate would have it, a few days ago a technician friend told me that he had repaired speakers with the same problem. According to him, all that had to be done was to re-solder the volume control and with a pliers tighten the back part of the potentiometer because it loosens with time. And I don't want to make pins so we'll see if it had a fix 😏.

Materiales // Materials
1- Pistola de silicona
2- Voltímetro
3- Cables finos
4- Leds de colores (de bajo consumo)
5- Desarmadores
6- Estaño y Fundente
7- Cautín
8- Pintura de aceite
- Silicone gun
- Voltmeter
- Fine wires
- Colored LEDs (low power consumption)
- Screwdrivers
- Tin and flux
- Soldering iron
- Oil paint

Paso a paso // Step by step
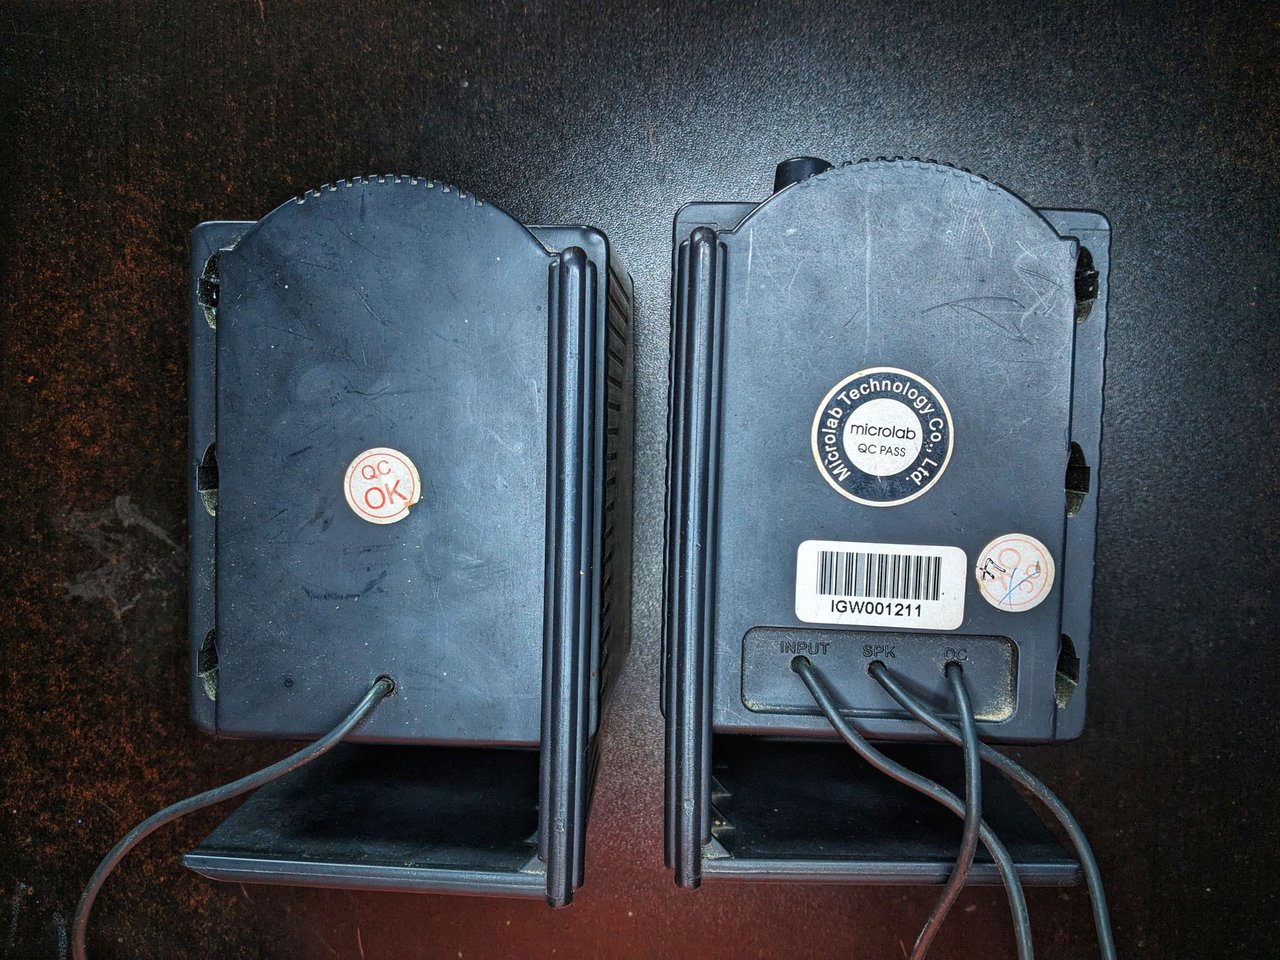
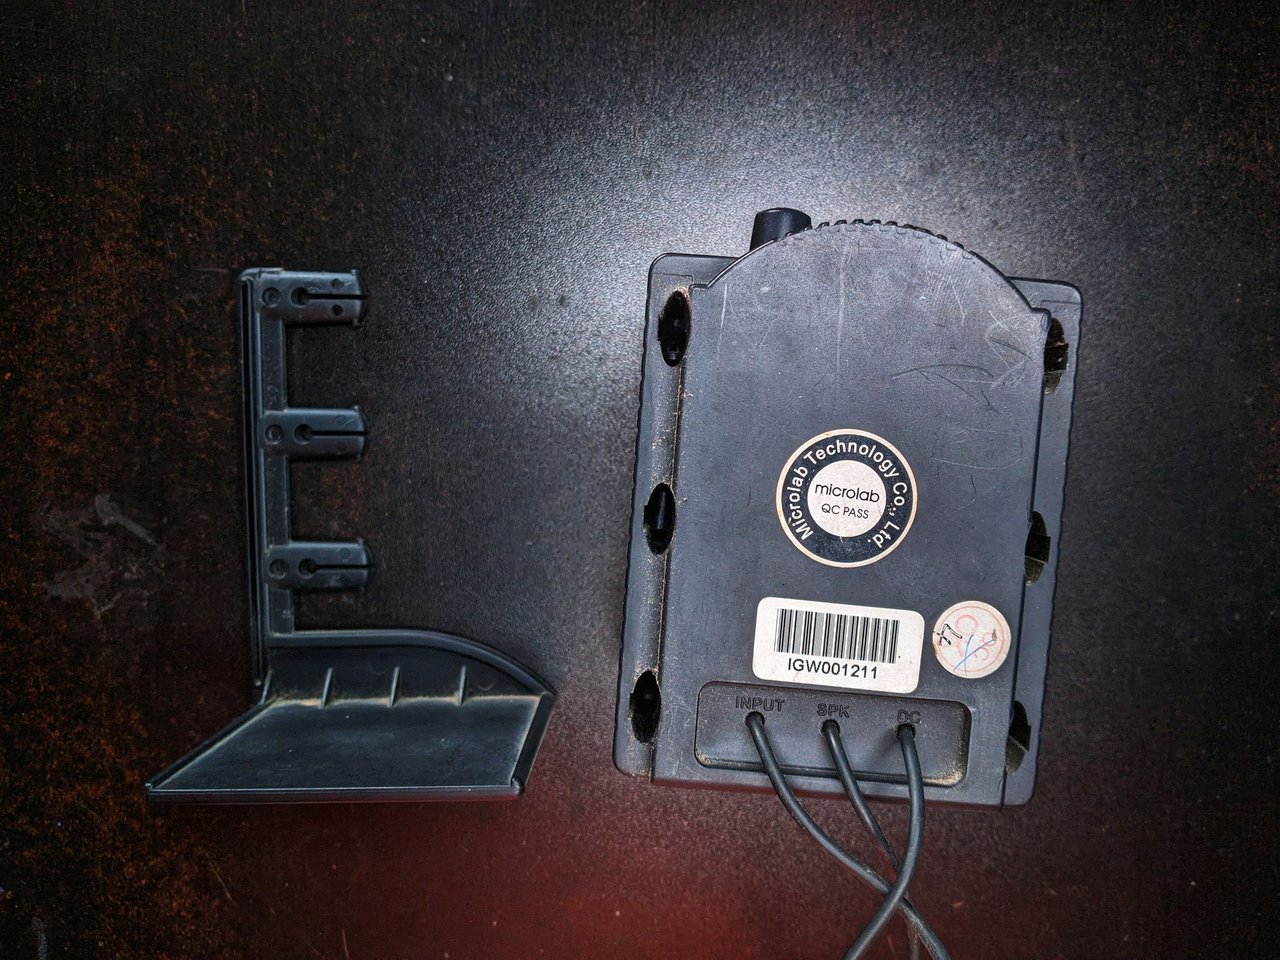
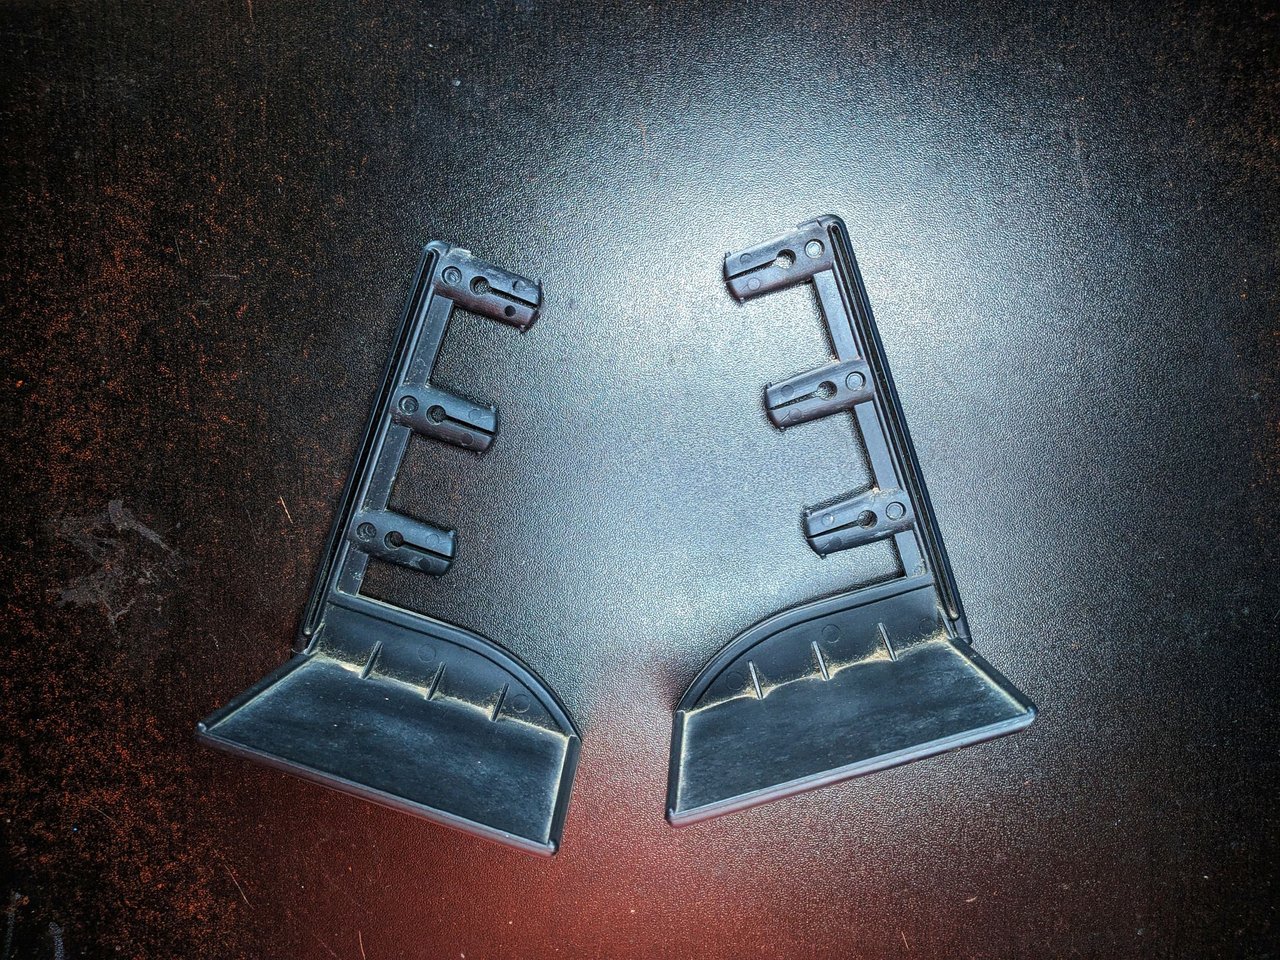
Lo primero que hice fue desarmar las bocinas y para eso tuve que retirar los soportes que tienen en la parte trasera, ya que debajo se encuentran 2 de los 4 tornillos que hay que retirar en cada bocina.
The first thing I did was to disassemble the horns and for that I had to remove the brackets on the back, as underneath are 2 of the 4 screws that need to be removed on each horn.
 |  |
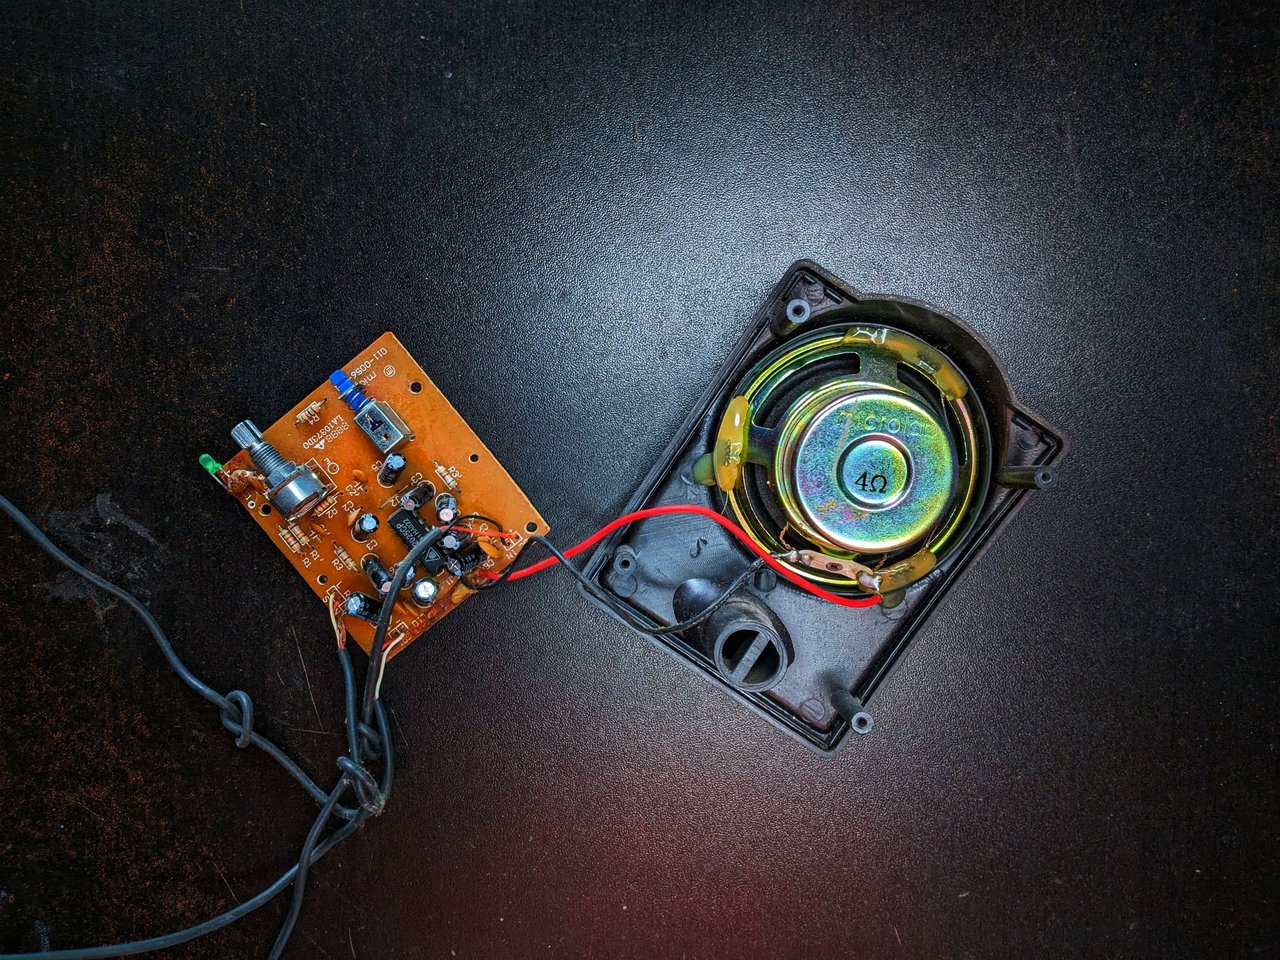
Con los dos soportes retirados extraje los tornillos y separé la parte delantera de la bocina que posee el controlador de audio, pues allí era donde se encontraba el problems.
With the two brackets removed I removed the screws and separated the front part of the speaker that has the audio driver, as that was where the problem was.
 | 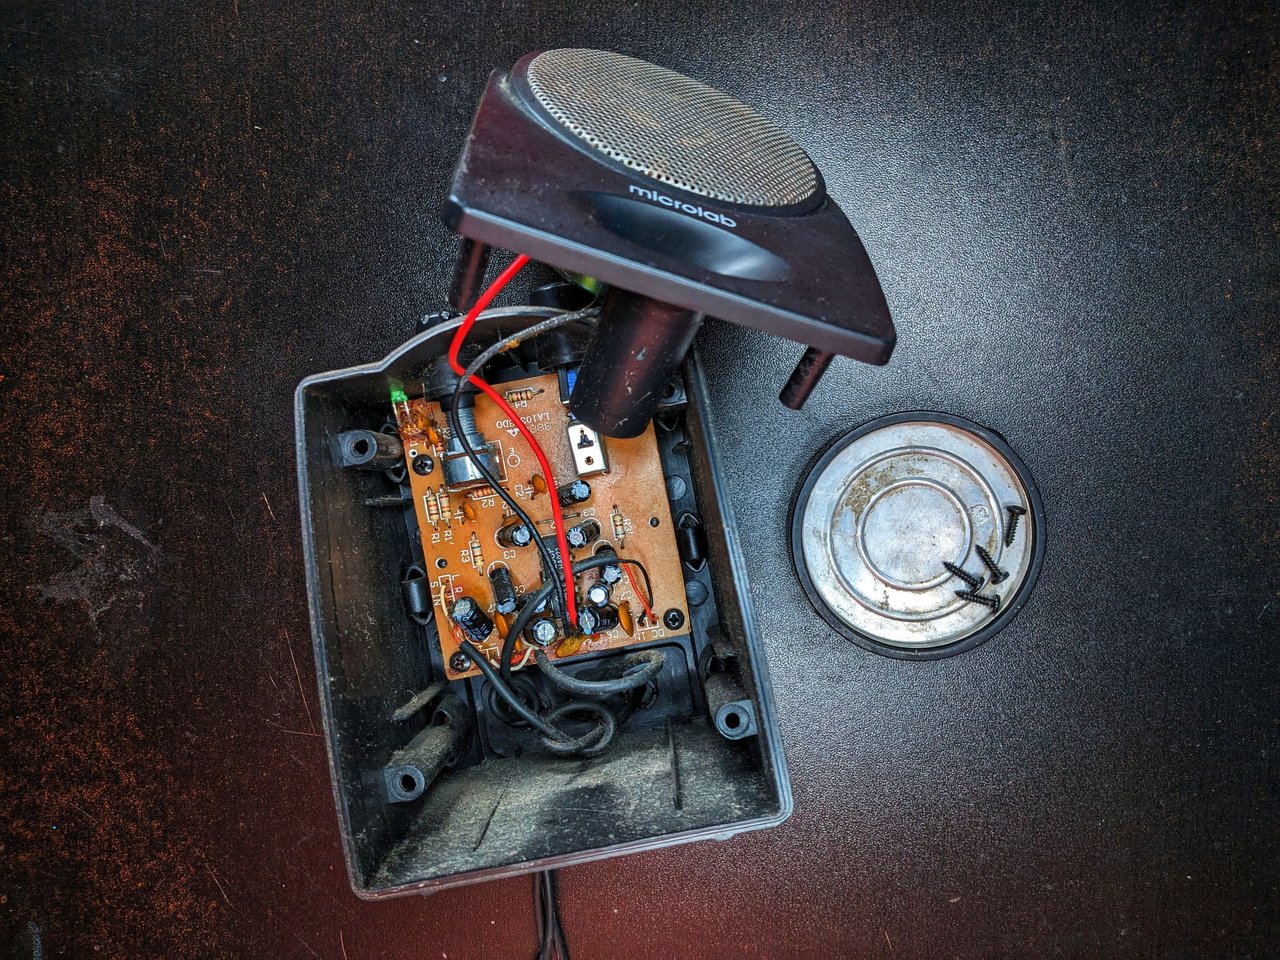 |
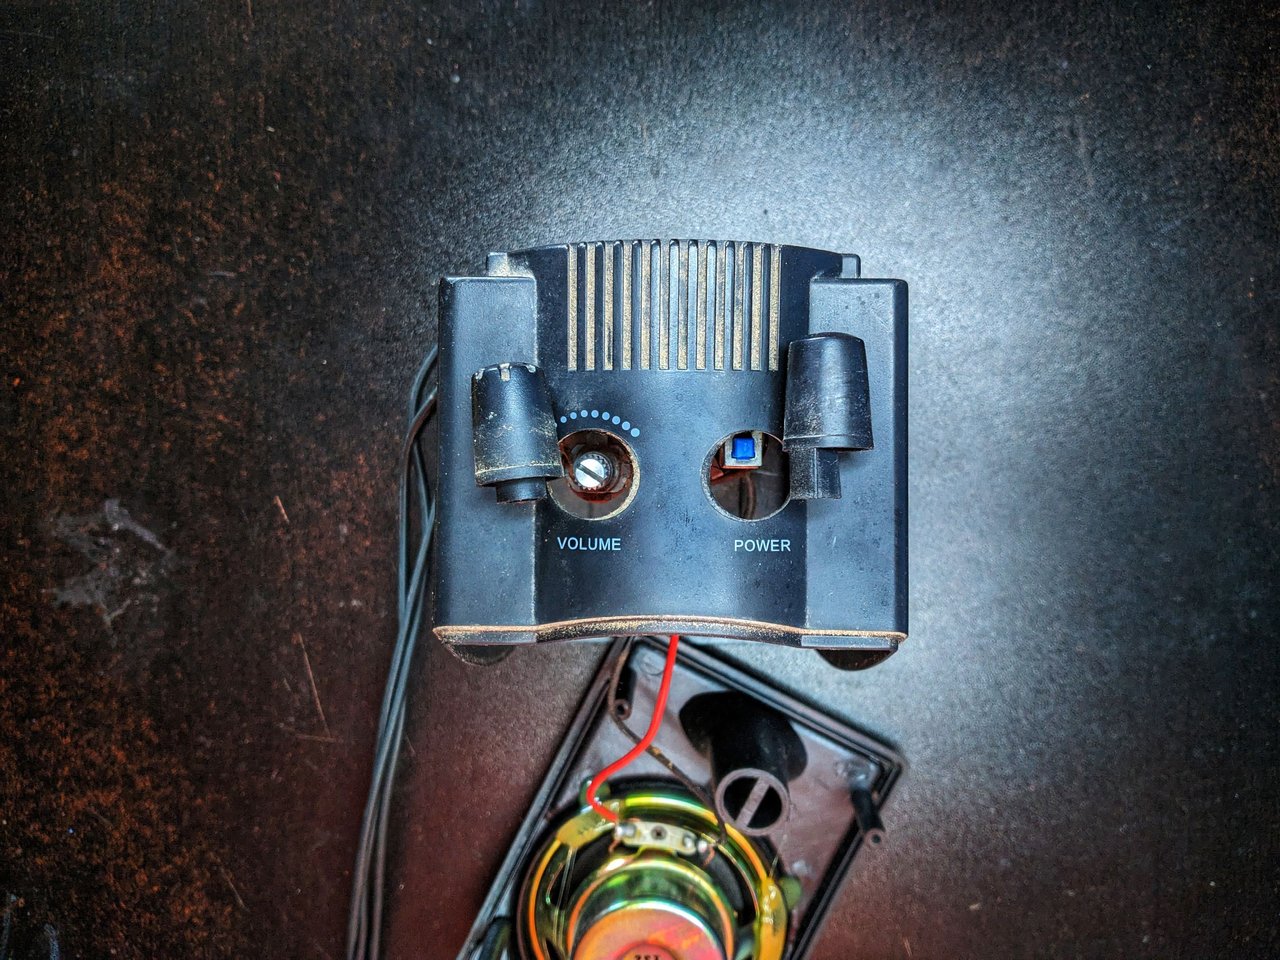
Seguidamente, retiro los botones de encender y apagar para luego extraer la placa de los componentes fuera de la carcaza de la bocina.
Next, I remove the on and off buttons and then pull the component board out of the speaker housing.
 |  |
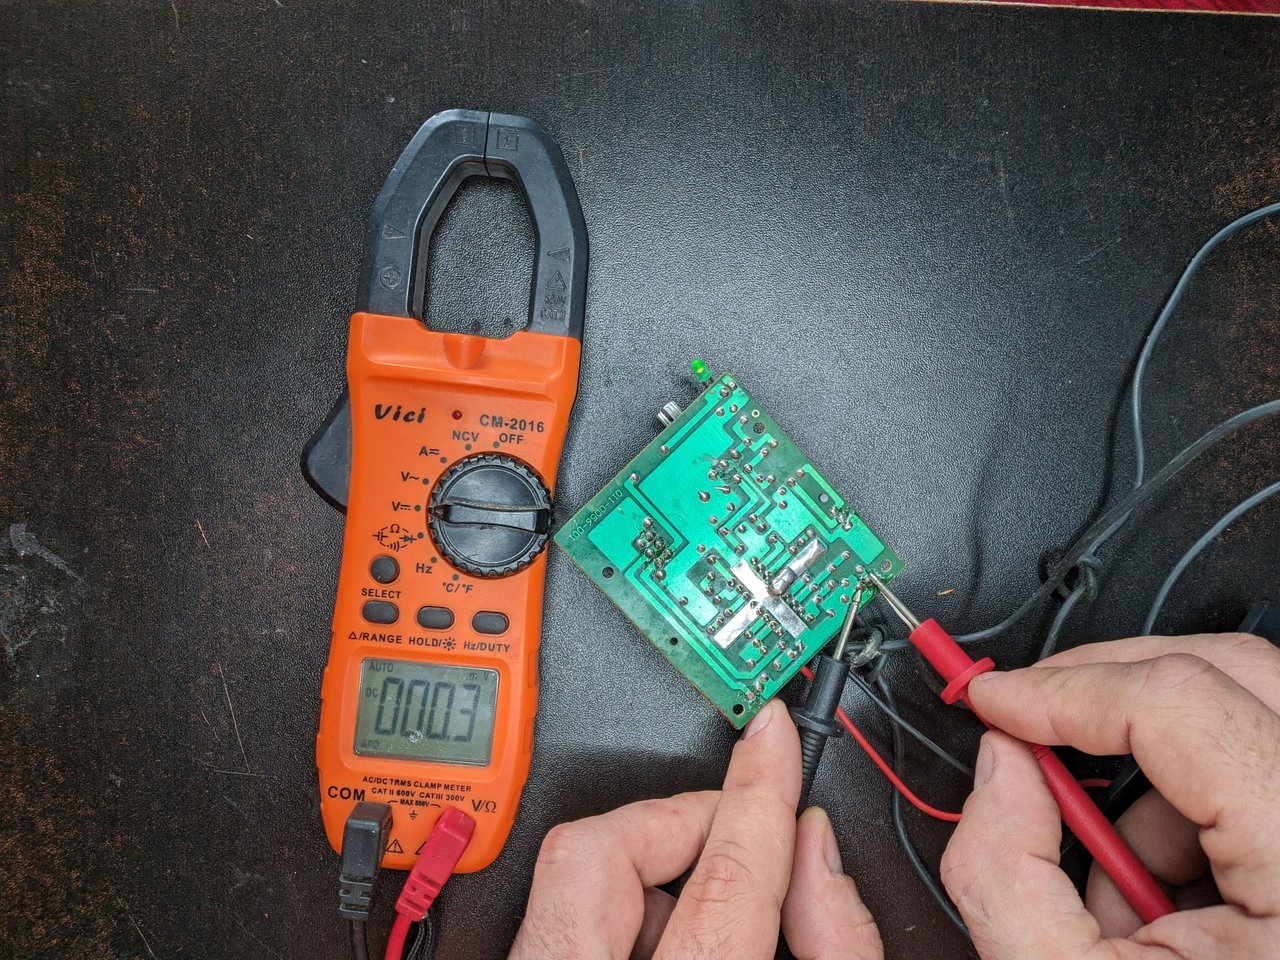
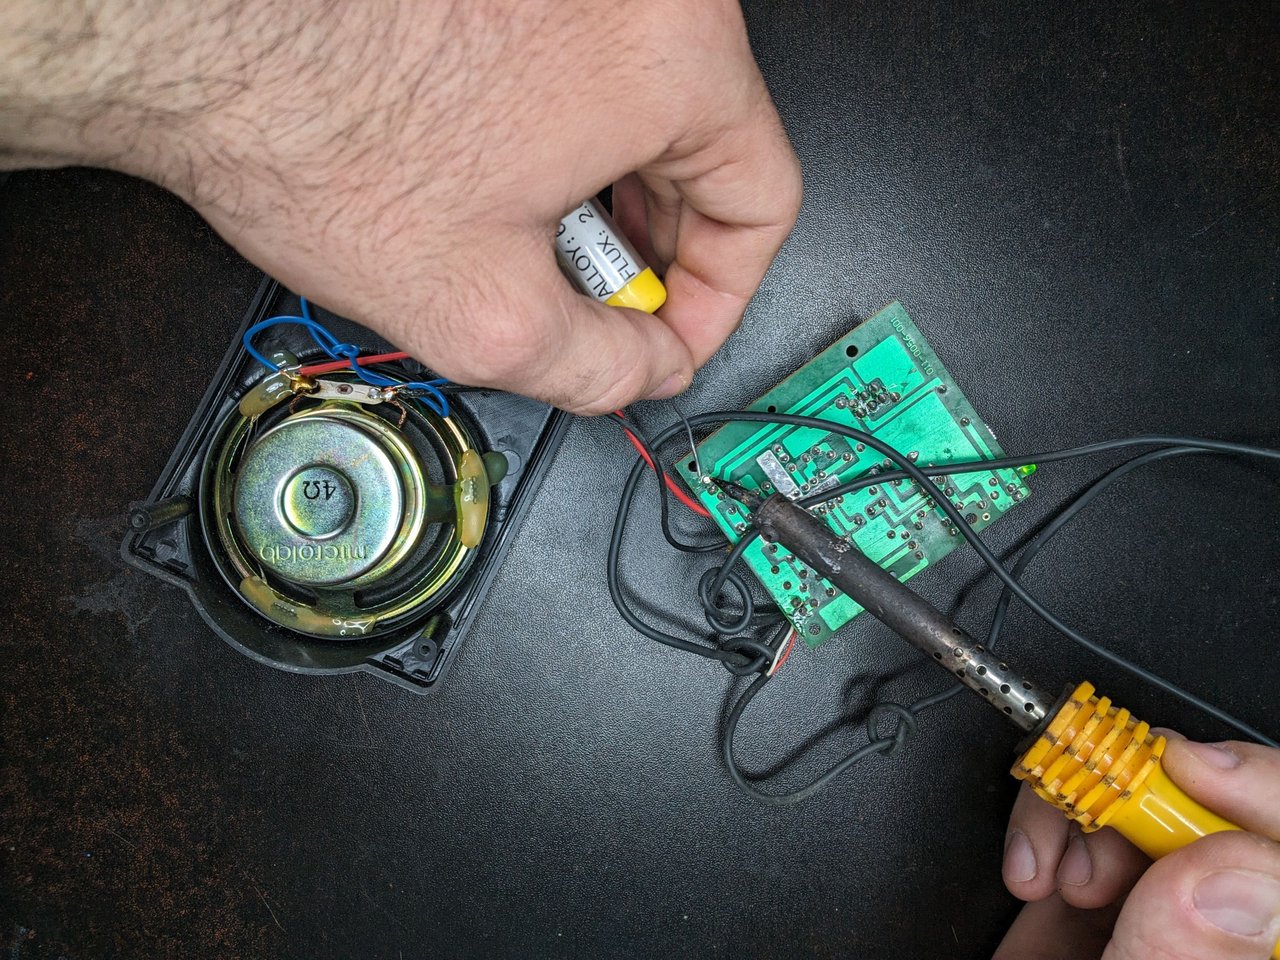
Ya con la placa afuera proceso a hacer algunas mediciones de voltaje, pues aún no estaba convencido de que la solución fuese algo tan simple como apretar el potenciómetro del control de volume.
With the board out, I started to make some voltage measurements, as I was still not convinced that the solution was something as simple as pressing the potentiometer of the volume control.
 |  |
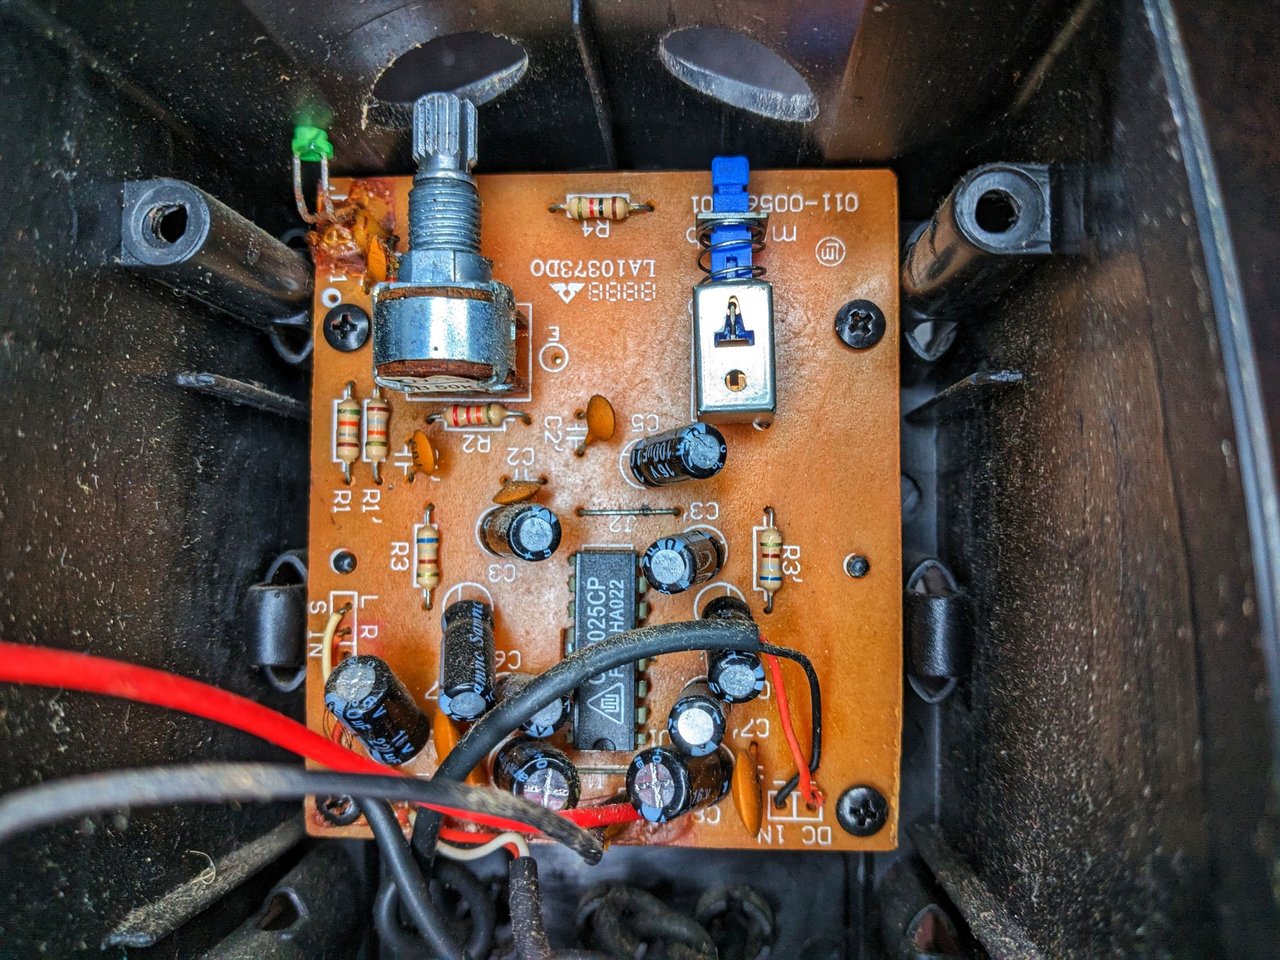
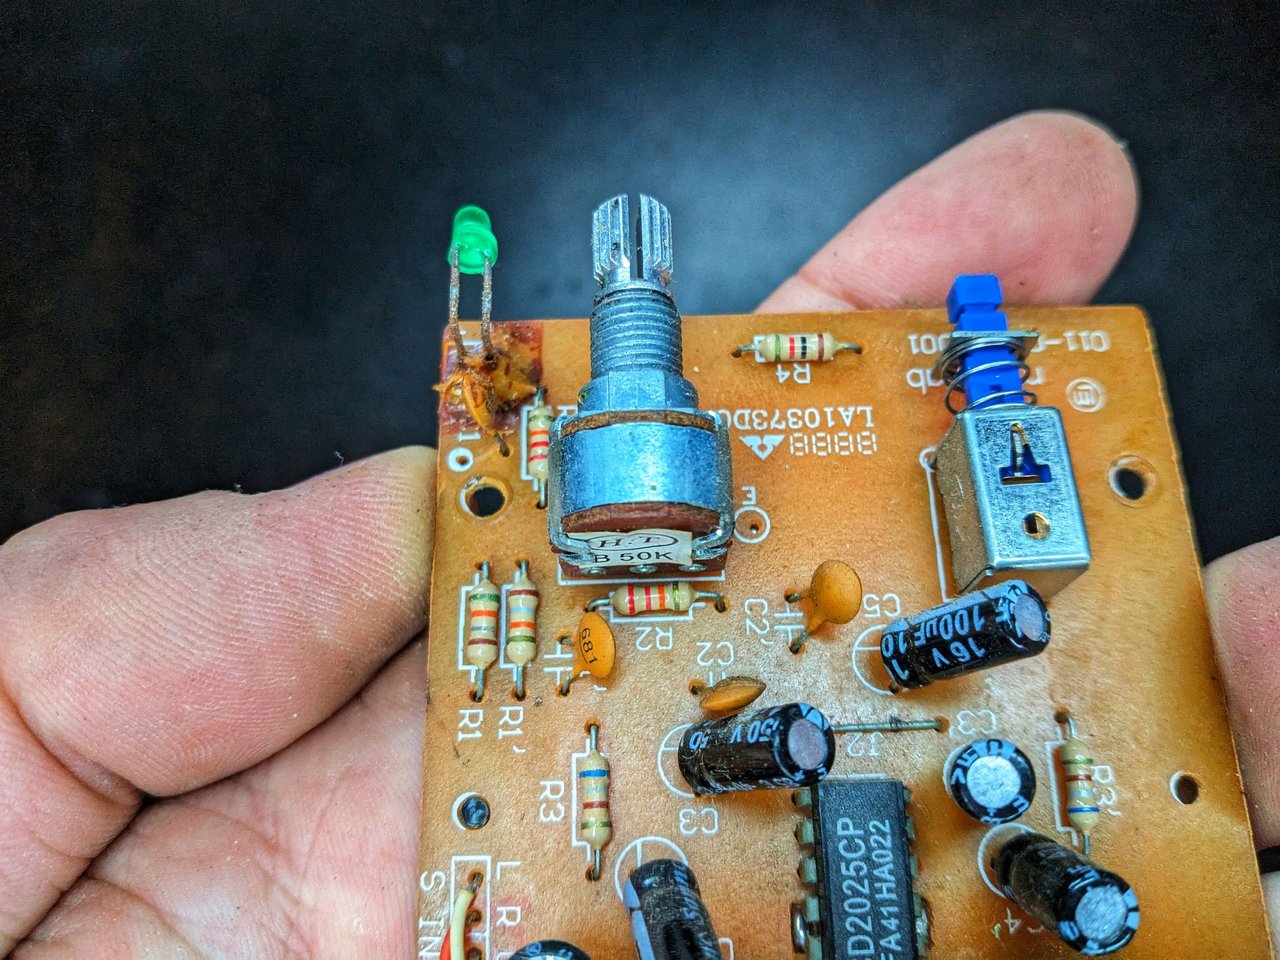
Para mi sorpresa todo estaba aparentemente bien y los componentes funcionaban correctamente a excepción del dichoso control de volumen. Aun así decidí rectificar algunas soldaduras para darles más fuerza.
To my surprise everything was apparently fine and the components were working properly except for the volume control. Even so, I decided to rectify some solder joints to give them more strength.
 | 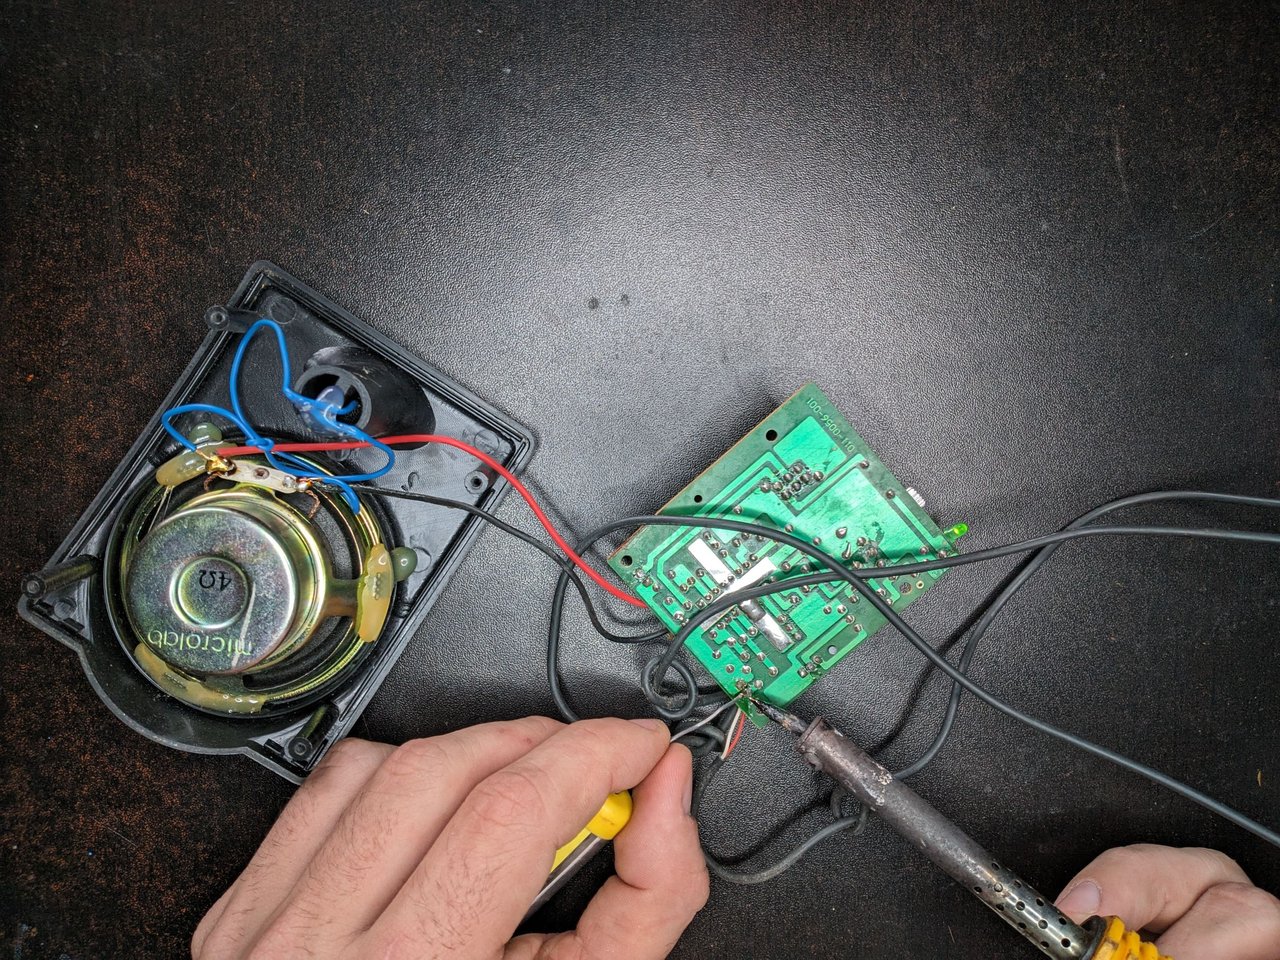 |
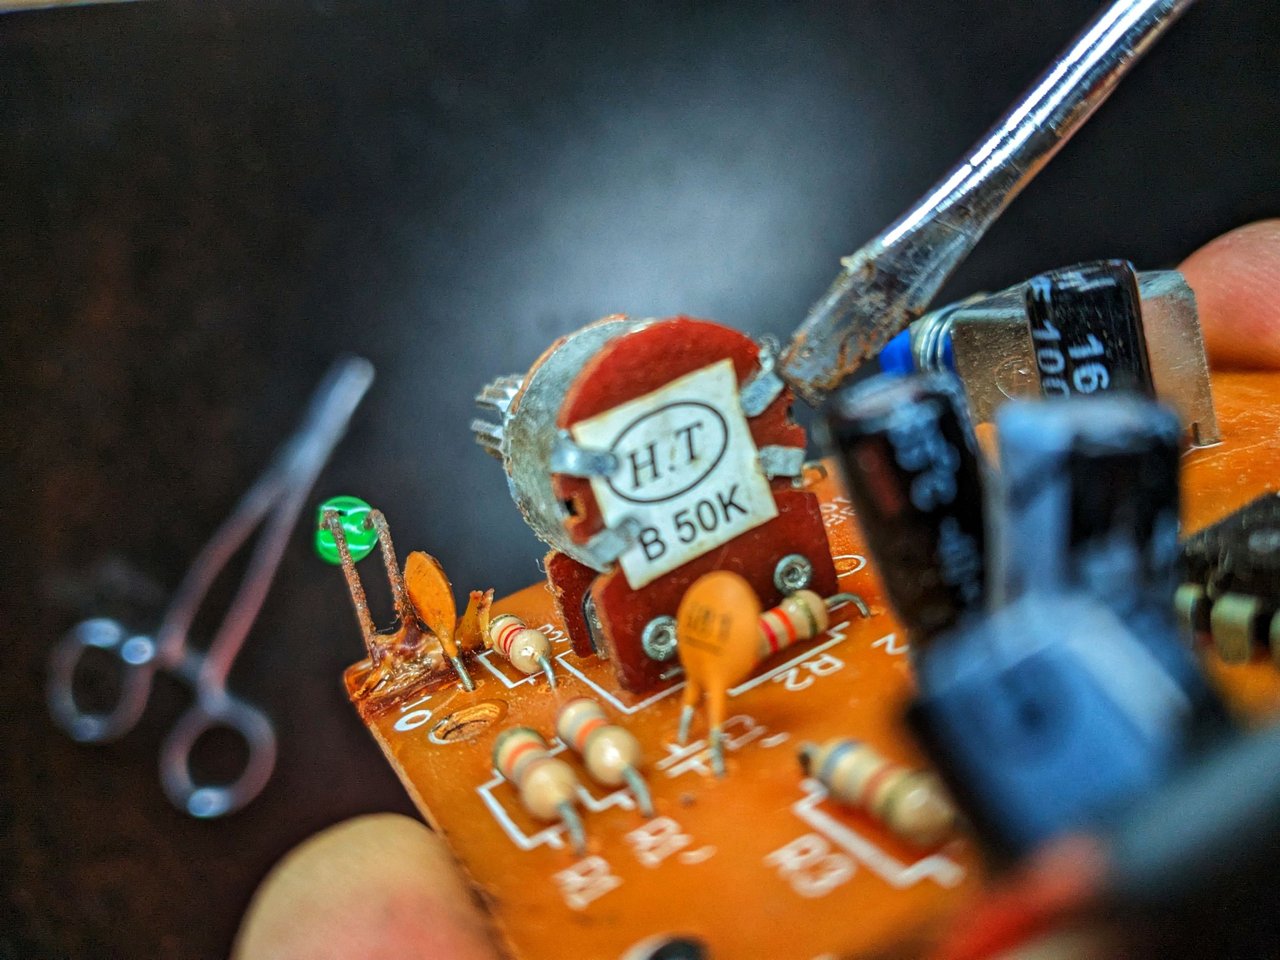
Cuando terminé de soldar solo me quedaba seguir el consejo de mi amigo y apretar la parte trasera del control de volumen con una pinza y para mi sorpresa luego de hacerlo empezaron a sonar las dos bocinas al unísono. Subí y baje el volumen para comprobar y todo parecía funcionar a la perfección.
When I finished soldering I just had to follow my friend's advice and tighten the back of the volume control with a clamp and to my surprise after doing so the two speakers started to sound in unison. I turned the volume up and down to check and everything seemed to work perfectly.
 |  |
 |  |
Sinceramente, no lo podía creer. Tenía cara de 😲, como es posible que funcionara, como es posible que fuera algo tan simple. Más de dos meses estuvieron acumulando polvo en una esquina.
Pero aquí no termina la aventura porque si leyeron bien el título dice reparación y modificación de las bocinas. Ya la reparación estaba hecha, así que ahora pasaremos a la parte de la modificación.
La modificación como tal será algo simple, pero tendrán que darse cuenta poco a poco que es lo que voy a hacer para crear misterio.
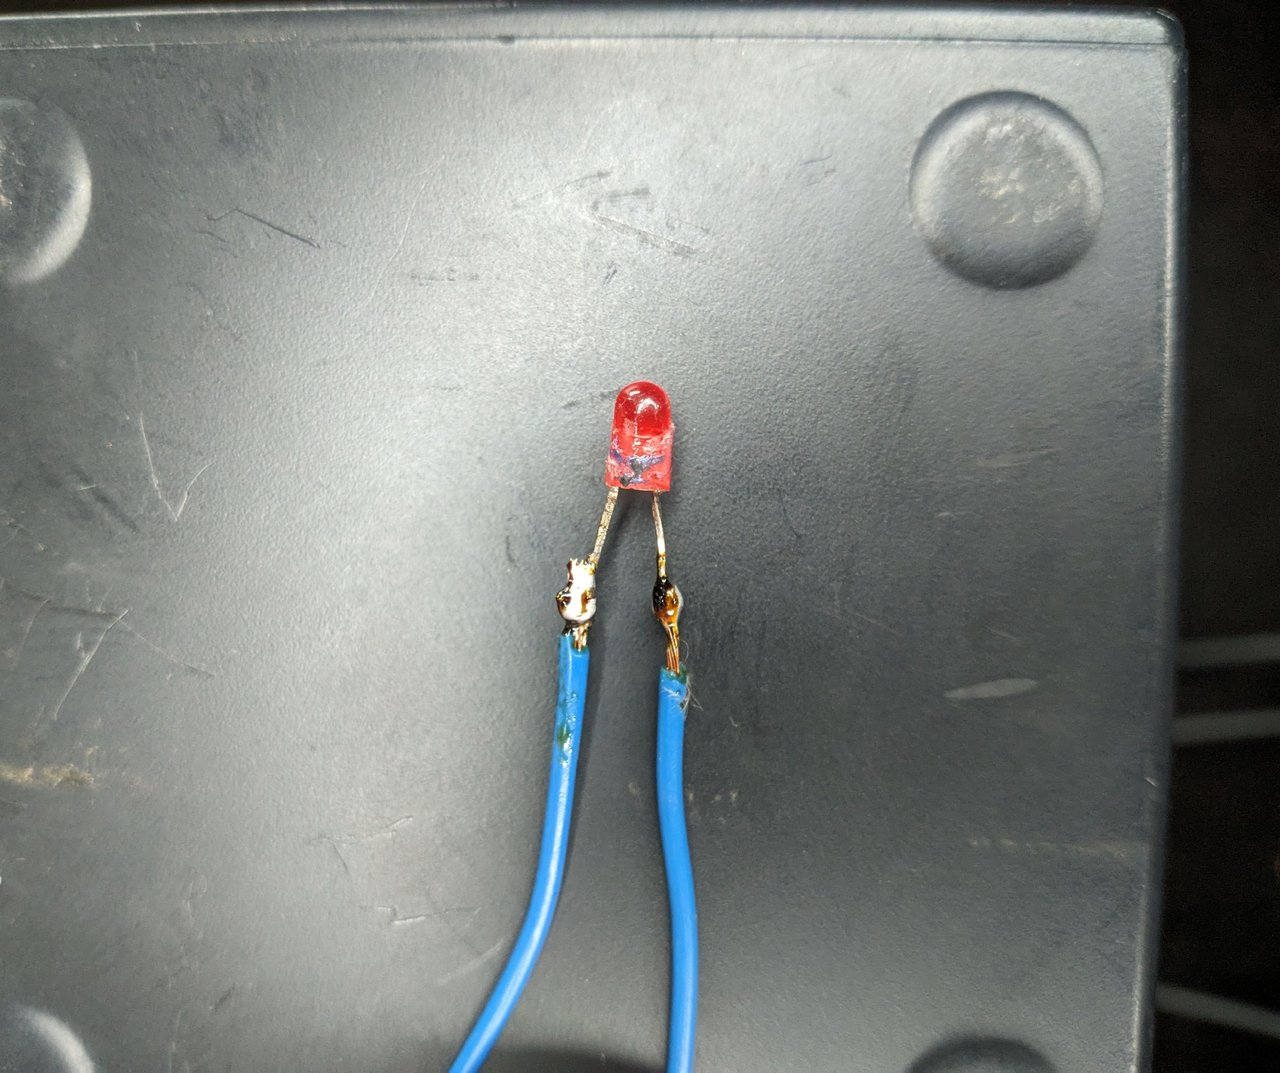
Para empezar corte dos cables, pelé y estañé las puntas para luego soldarle un pequeño led rojo en uno de sus extremos. Luego el cable con el led lo introduje por el agujero inferior que tiene la bocina en la parte frontal. Al llegar hasta el final pegue los extremos de los dos cables para que el led quede fijo y no se mueva. Para finalizar soldé los extremos positivos y negativos a las conexiones de alimentación de las bocinas.
Honestly, I couldn't believe it. I had a look on my face 😲 how could it possibly work, how could it be something so simple? More than two months were gathering dust in a corner.
But this is not the end of the adventure because if you read well the title says repair and modification of the horns. The repair was already done, so now we will move on to the modification part.
The modification as such will be something simple, but you will have to realize little by little what I am going to do to create mystery.
To begin with, I cut two wires, stripped and tinned the ends, and then soldered a small red LED at one end. Then wire with the LED I introduced it through the lower hole that has the horn in the front part. When arriving at the end I glued the ends of the two cables so that the LED remains fixed and does not move. Finally, I soldered the positive and negative ends to the power connections of the speakers.
 |  |
 | 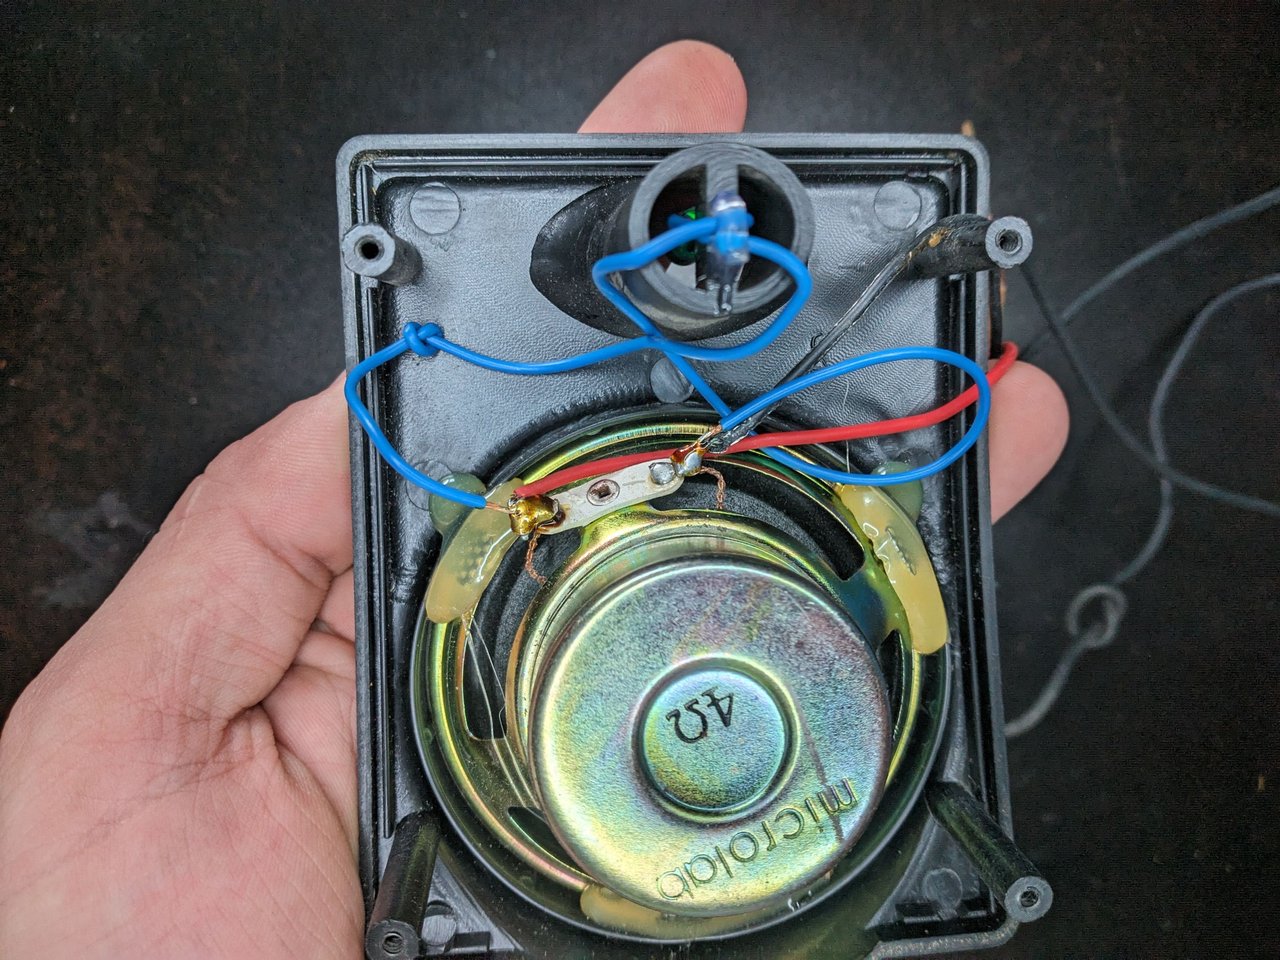 |
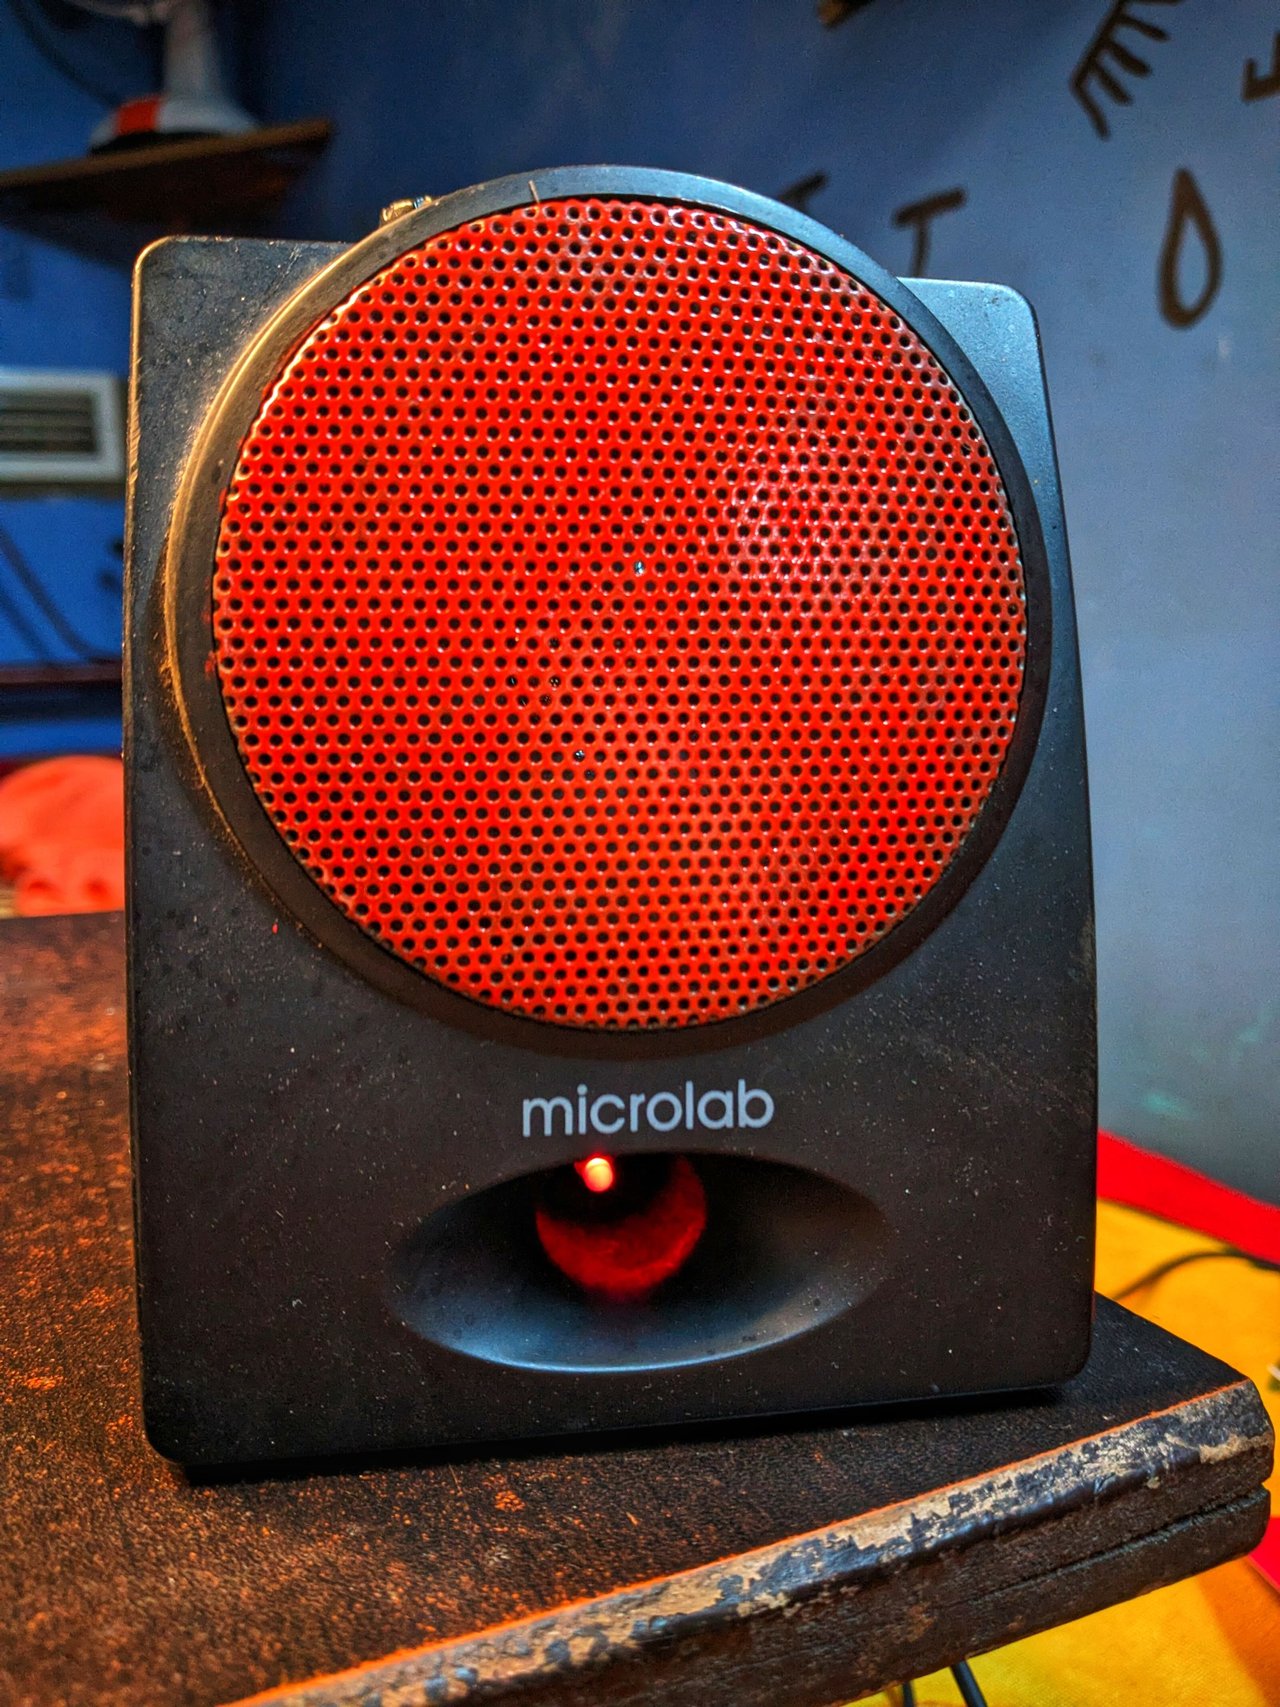
Para los que todavía no lo han adivinado, el objetivo de hacer lo anterior no es otro que lograr que esos leds rojos parpadeen al ritmo del bajo de las canciones. Pero para mostrarle como funciona hay que armar de nuevo las bocinas y pues así va quedando la cosa por ahora.
For those who have not guessed it yet, the purpose of doing the above is none other than to make those red LEDs blink to the rhythm of the bass of the songs. But to show you how it works we have to put the speakers back together again and that's the way it's going to be for now.
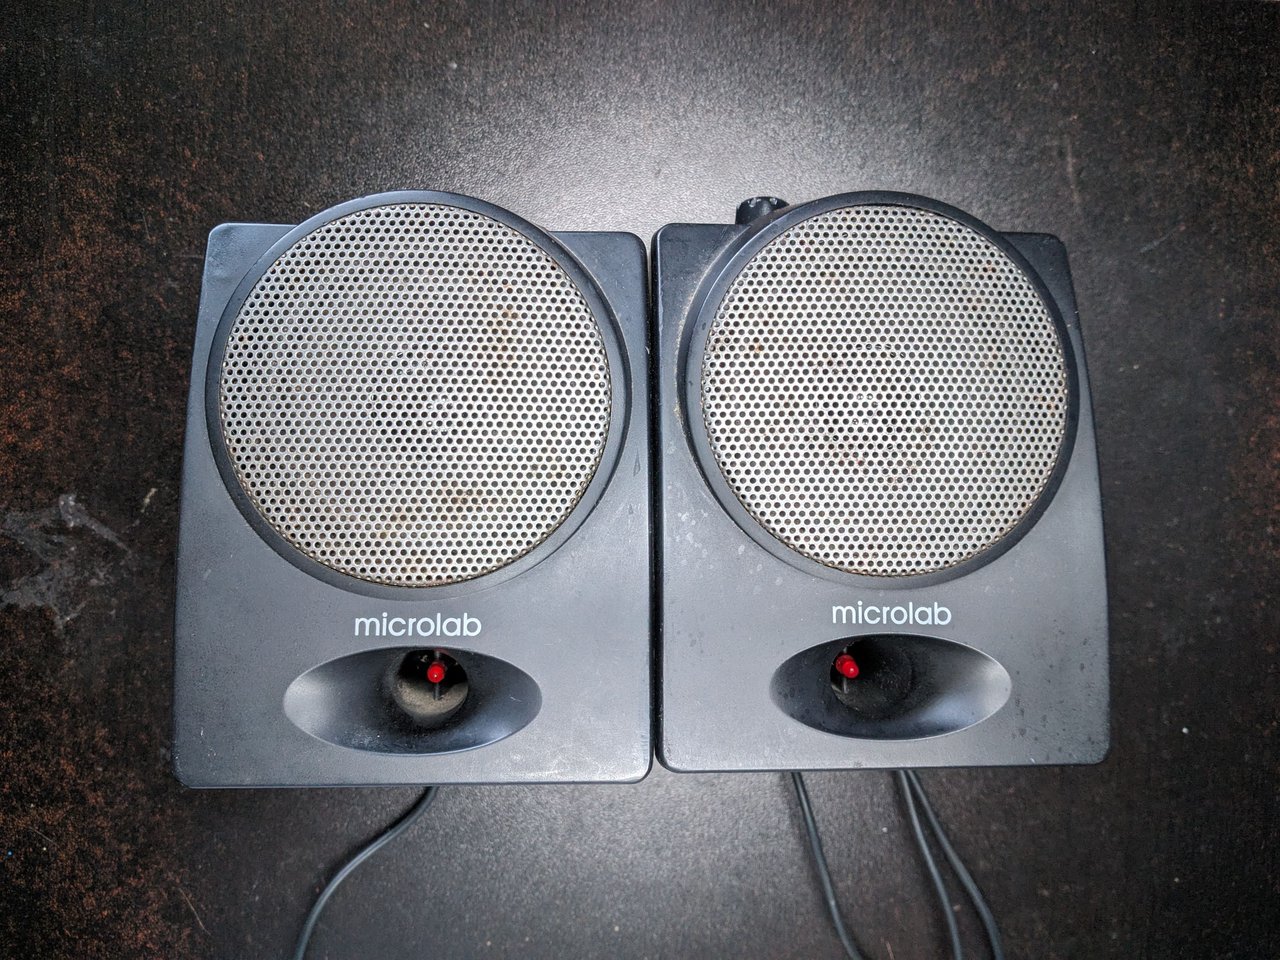
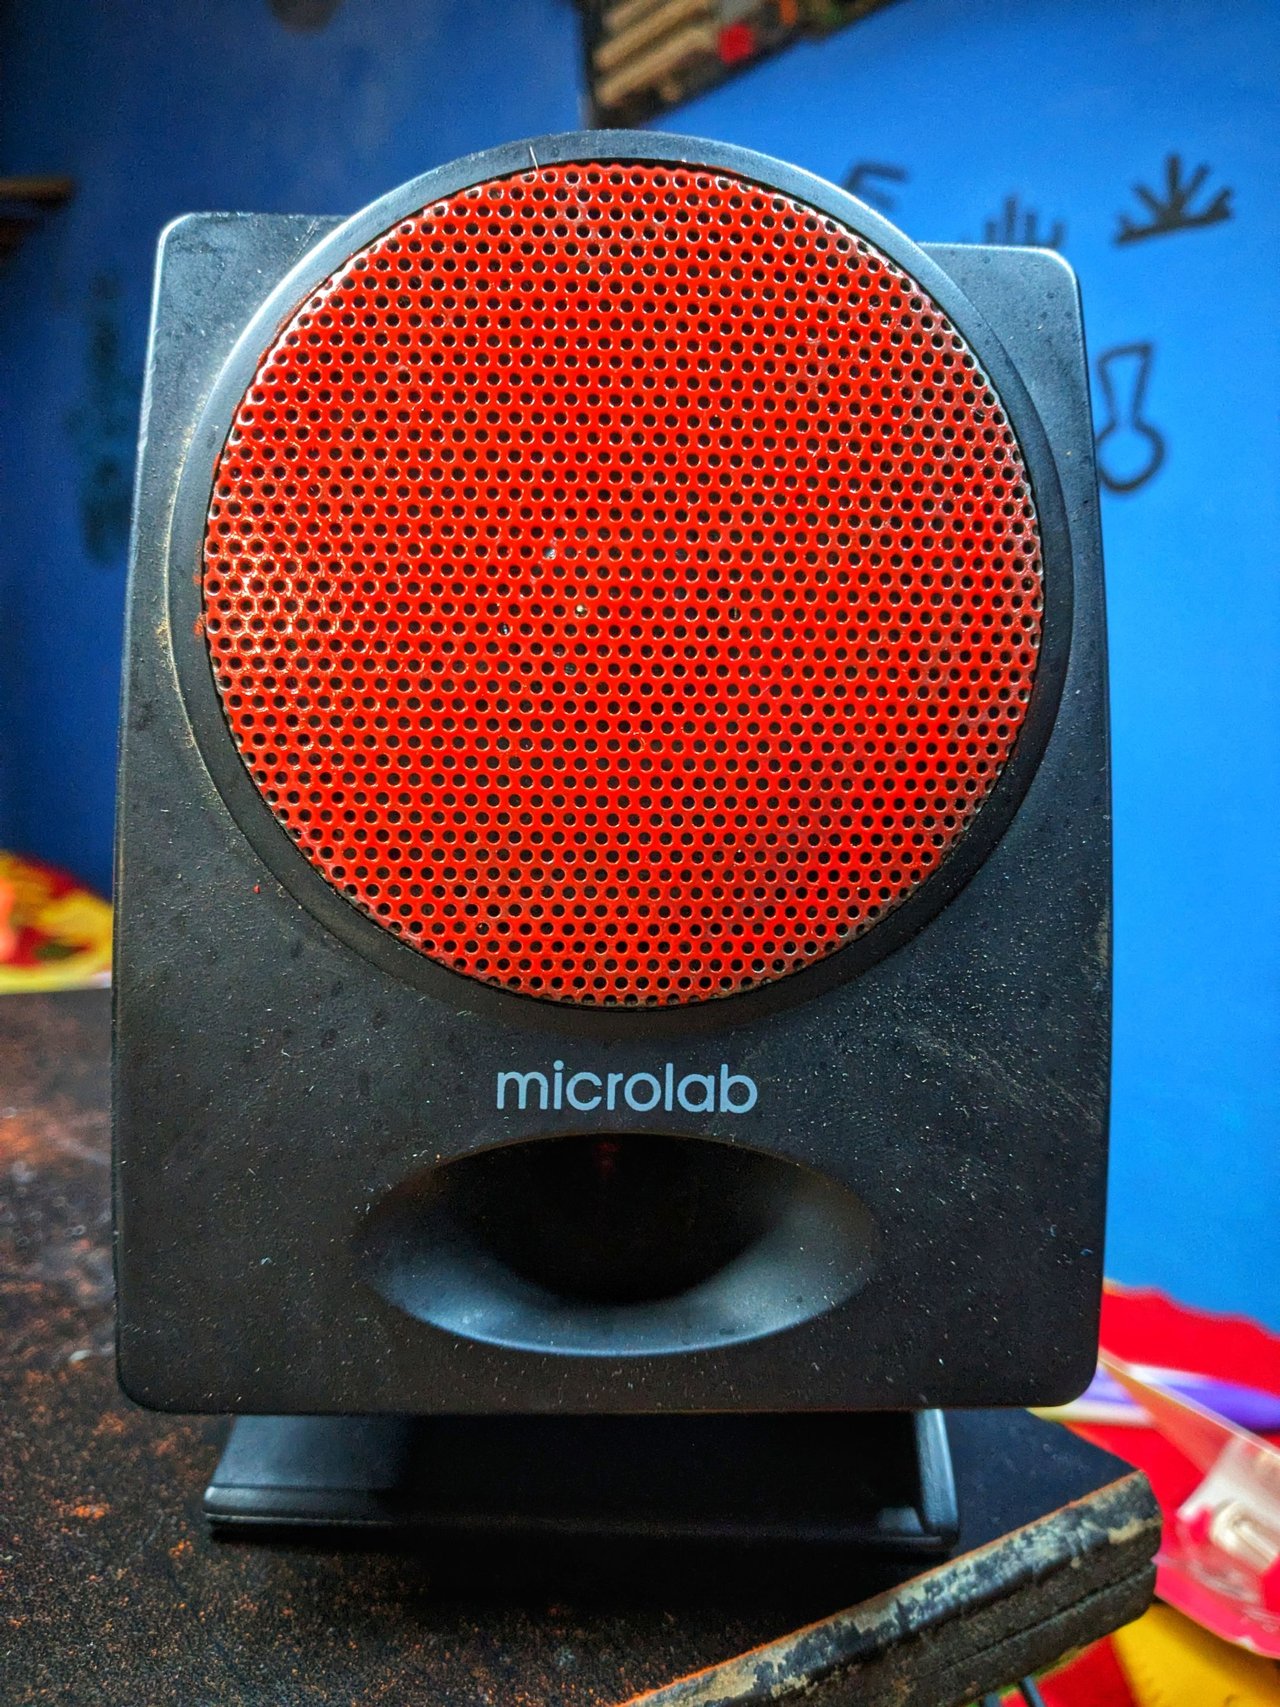
Como tal ya la modificación debería funcionar, pero antes de mostrárselos decidí pintar las rejillas metálicas, pues al parecer la humedad ha empezado a hacer de las suyas.
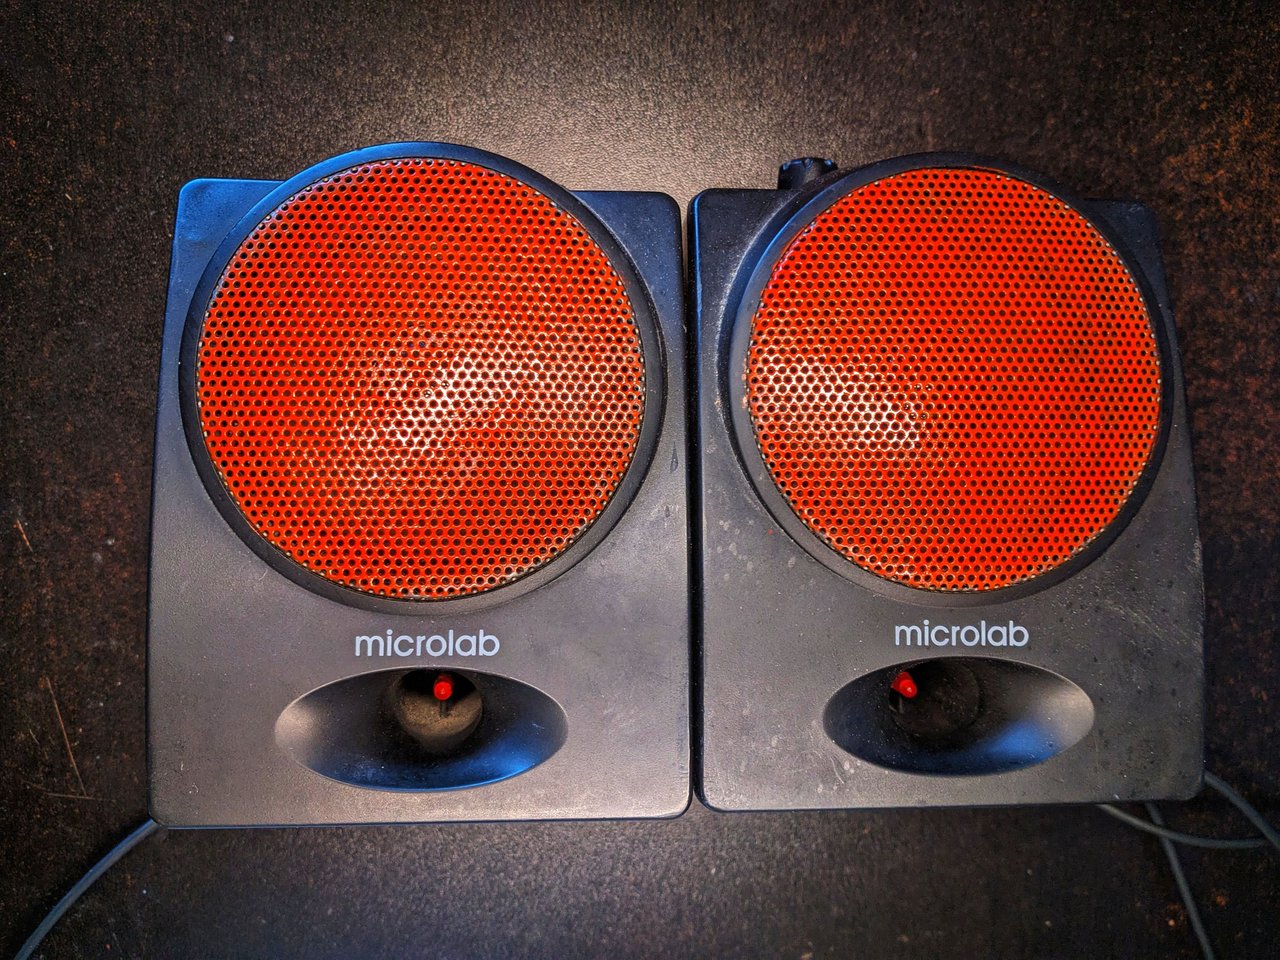
Luego de unas capas de pintura roja en un día totalmente nublado y sin la posibilidad de usar mi pistola de pintar, el resultado sería este.
As such the modification should already work, but before showing them to you I decided to paint the metal grilles, as apparently the humidity has started to do its thing.
After a few coats of red paint on a cloudy day and without the possibility of using my paint gun, the result would be this.
 |  |
 |  |
Y pues como lo prometido es deuda, aquí les muestro como es que funcionan los leds que parpadean al ritmo de las canciones. Pero no quiero despedirme sin antes decirles que espero que les guste este tipo de publicaciones y me divertí muchísimo haciendo esta publicación, ya que durante el proceso de reparación de las bocinas estuve escuchando música.
And as promised, here I show you how the LEDs that flash to the rhythm of the songs work. But I don't want to say goodbye without first telling you that I hope you like this kind of publication and I had a lot of fun making this publication since during the process of repairing the speakers I was listening to music.


Muchas gracias por leer mi post. Si te gustó, por favor deja un comentario y considera seguirme para no perderte mis próximas publicaciones. Me encantaría saber tu opinión y tus ideas sobre el tema que traté en este post. ¡Nos vemos en el próximo!
Thank you very much for reading my post. If you liked it, please leave a comment and consider following me so you don't miss my next posts. I'd love to know your opinion and your thoughts about the topic I discussed in this post, see you in the next one!
Cover page created in Canva
Logo and banner property of @hive-130560 and Hive Diy Community
Translated by DeepL


Ya el hecho que manejes el téster y la soldadora, para mí, eres todo un ingeniero amigo 😃. Me encanto la publicación y más aún, el hecho de poder realizar el mantenimiento nosotros de nuestros equipos de trabajo. ¡Genial!
Me llamo la atención el título de tu post amigo. Digo, lo colocaste en inglés, pero el cuerpo de la publicación está en español como idioma principal. ¡Deberías corregirlo!
Un abrazo y sigamos interactuando.
Saludos.
Valla no me había dado cuenta. Y eso me pasa más de lo que me gustaría admitir. El problema es que la publicación está en los dos idiomas y olvidé hacer lo mismo con el título.
Pero ya está corregido. Muchísimas gracias por avisarme del error. Un saludo.
Un abrazo.
Saludos.
Qué bueno que pudiste reparar las cornetas. La modificación con las luces led está genial y ese nuevo color rojo le sienta mejor, más vivo.
La verdad es que me alegró muchísimo arreglar esas bocinas. No son de las mejores pero se oyen muy bien.
Yay! 🤗
Your content has been boosted with Ecency Points, by @edeyglezsosa.
Use Ecency daily to boost your growth on platform!
Support Ecency
Vote for new Proposal
Delegate HP and earn more
Thank you for approving the Boost.
Ho Ho Ho! @edeyglezsosa, one of your Hive friends wishes you a Merry Christmas and asked us to give you a new badge!
The HiveBuzz team wish you a Merry Christmas!
May you have good health, abundance and everlasting joy in your life.
To find out who wanted you to receive this special gift, click here!
You can view your badges on your board and compare yourself to others in the Ranking
Check out our last posts:
Que bueno hermano que resolviste el problema, he tenido estás bocinas con ese mismo fallo, es común que el potenciómetro se desajuste y sumado a la suciedad o soldaduras frías dan como resultado ese desagradable efecto que a veces se escuchan, otras no , o simplemente se escuchan mal, es muy molesto, la adaptación del LED audiorítmico quedó muy bien, felicidades. Saludos
Una suerte que descubrí la solución del potenciómetro y no se malograron más las bocinas. Hay veces que guardarlas empeora el estado en el que se encuentran.
Exactamente hermano, saludos.