

Hola queridos amigos, feliz inicio de semana, sean todos bienvenidos a mi Blog.
Y bueno después que se celebró con el esqueleto, decidí pegar y hacerle una lámina a mi sobrinita para que aprenda y vea como es el esqueleto humano y el nombre de algunos de los huesos que lo forman, creo que siempre es bueno darle utilidad a las cosas y mucho más cuando se puede enseñar algo.
Ahora quiero que me acompañes y busques:
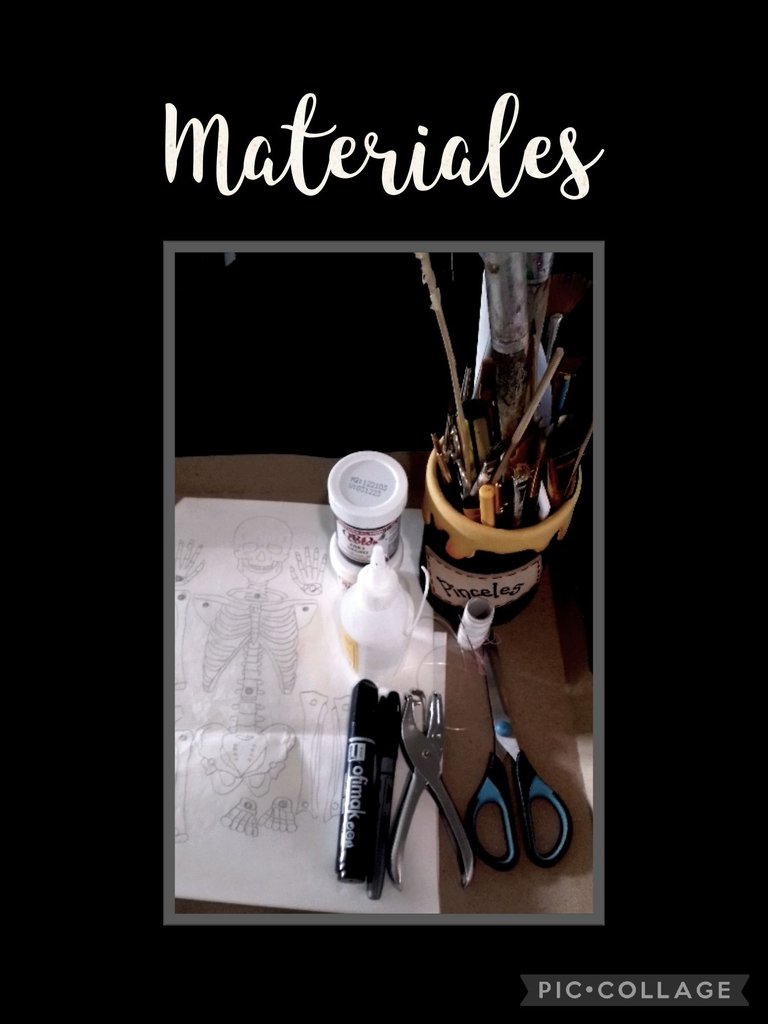
| Cartón de cajas | Pinturas y pinceles |
|---|---|
| Marcadores y lápiz | Papel carbón |
| saca bocados y tijera | Nylon y mostacillas |
| Silicón | molde |
Comencemos:
Paso 1:

Transferir las piezas.
- Coloca sobre el cartón el papel carbón, el dibujo y comienza a remarcar cada una de las piezas.
- Después de marcadas las piezas, comienza a pintarlas con pintura blanca, deja secar y vuelve a dar otra mano de pintura para que cubra bien el cartón.
- Secas las figuras comienza a rellenar y pasar por todo el borde con el marcador negro.
- Luego coloca la parte de la cabeza y remarca con el lápiz, las partes que te hagan falta.
Paso 2:

- Continúa marcando el contorno de todas las piezas con el marcador negro (grueso) y las divisiones con el fino y recorta ahora si todas las piezas.
- Ahora con una aguja gruesa perfora los puntos en donde unirás las piezas, luego enhebra una aguja con hilo nylon y haz un pequeño nudo y pasa esta otra aguja desde la parte de atrás hacia adelante, inserta una mostacilla y vuelve a meter la aguja por el mismo orificio hacia atrás.
- Hala por la parte trasera para que las piezas no queden tan flojas, aplica silicón y pega el nylon colocando sobre un pedacito de papel o cartulina para que no haya riesgo de que se suelte.
Paso 3:

- Repite este procedimiento en todas las piezas a unir y asegúrate de que las piezas queden con movimiento y presionar bien hasta que se pegue bien por detrás.
Parte 4:
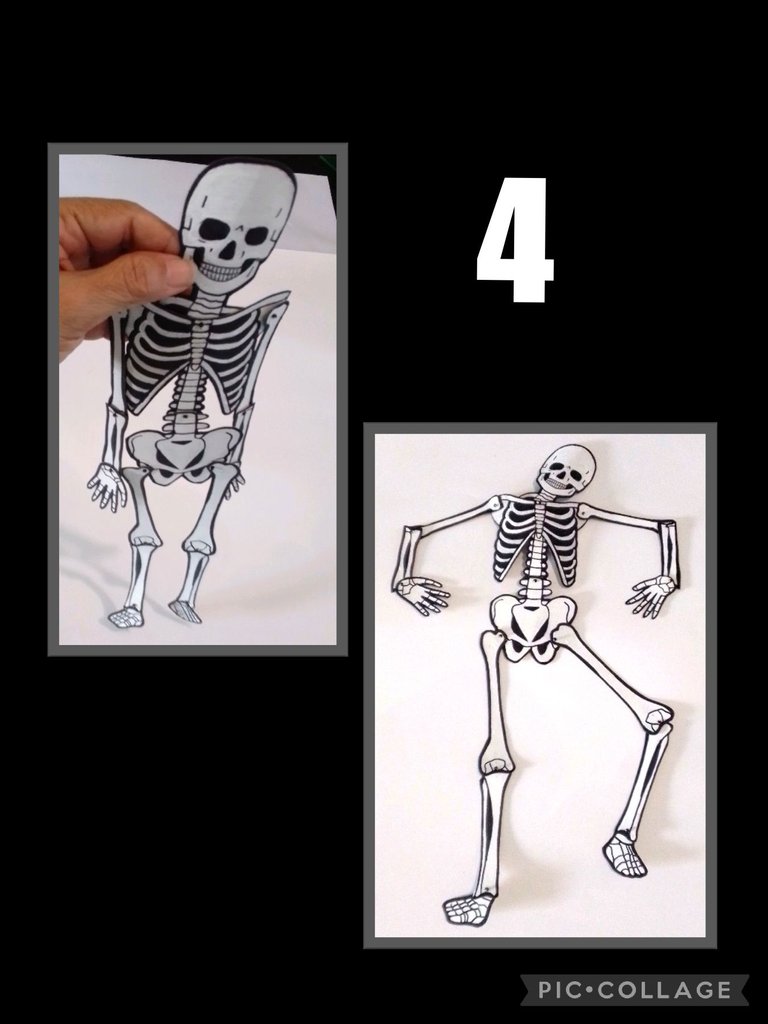
- Y así quedó listo nuestro simpático esqueleto, jajajaja.
Como puedes ver puede doblar en todas sus articulaciones...
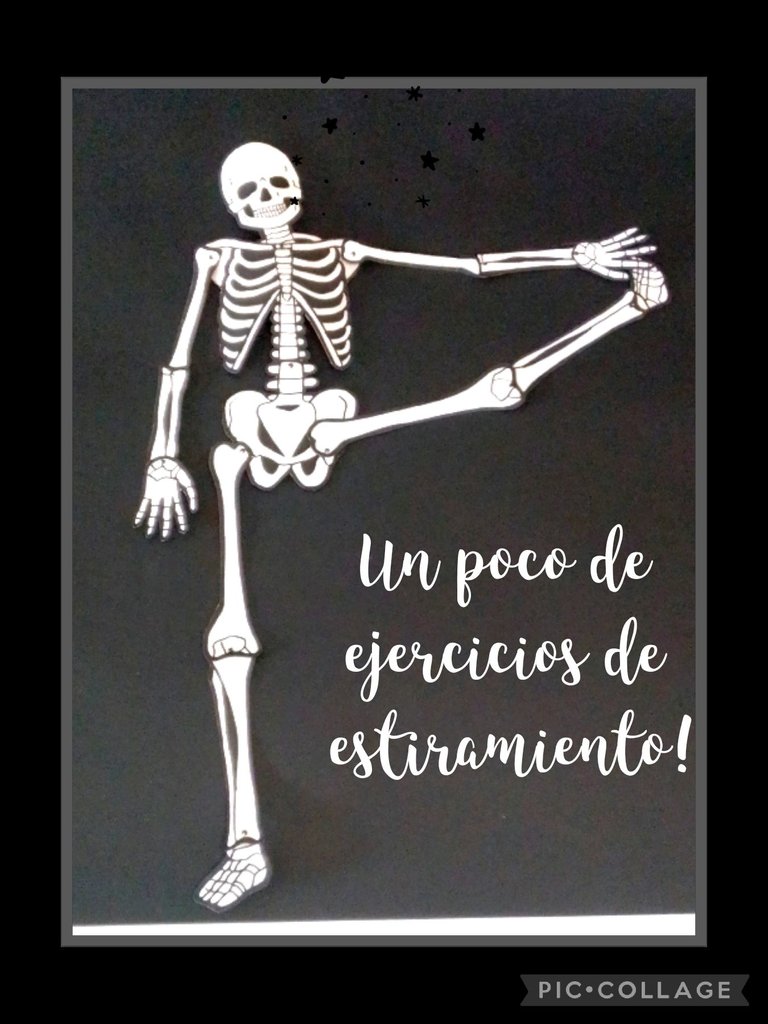
Ahora te muestro unas fotos con un poco de humor, jajajaja.!
y aunque no lo creas el baile es muy bueno para ejercitar nuestro cuerpo y a la vez ayuda a fortalecer los huesos...
También un poco de estiramiento no está demás!

Ahora me toca despedirme pero no sin antes comentarles que mi publicación la traduje con DeepL, la edite con Etiquetas HTML y las fotos las capturé con mi BLU G5 y las edité con Pic Collage.
La fuente: https://www.imagui.com/a/imagem-de-esqueleto-humano-para-imprimir-ceKaodkrg
Espero sea de tu agrado mi publicación.
Muchas gracias por tu visita y apoyo.
Saludos y muy buenas noches.
English:
Hello dear friends, happy beginning of the week, welcome to my Blog.
And well after she celebrated with the skeleton, I decided to paste and make a sheet for my niece to learn and see how is the human skeleton and the name of some of the bones that form it, I think it is always good to give utility to things and much more when you can teach something.
Now I want you to join me and look:
| Carton boxes | Paints and brushes |
|---|---|
| markers and pencil | charcoal paper |
| Nylon and beads | Nylon and beads |
| Silicone | mold |
Let's get started:
Step 1:
Transfer the pieces.
- Place on the cardboard the carbon paper, the drawing and begin to mark each of the pieces.
- After marking the pieces, begin to paint them with white paint, let dry and give another coat of paint to cover the cardboard well.
- Once the figures are dry, start to fill in and go all around the edge with the black marker.
- Then place the part of the head and mark the missing parts with the pencil.
Step 2:
- Continue marking the outline of all the pieces with the black marker (thick) and the divisions with the thin one and cut out all the pieces.
- Now with a thick needle pierce the points where you will join the pieces, then thread a needle with nylon thread and make a small knot and pass this other needle from the back to the front, insert a bead and put the needle back through the same hole to the back.
- Pull on the back so that the pieces are not so loose, apply silicone and glue the nylon on a piece of paper or cardboard so that there is no risk of it coming loose.
Step 3:
- Repeat this procedure on all the pieces to be joined and make sure that the pieces have movement and press well until it sticks well on the back.
Part 4:
- And that's how our nice skeleton is ready, hahahaha.
As you can see it can bend in all its joints...
Now I show you some pictures with a little humor, hahahaha!
and believe it or not dancing is very good for exercising our body and at the same time helps to strengthen our bones....
Also a little stretching is not a bad thing!
Now it's my turn to say goodbye but not before telling you that I translated my publication with DeepL, I edited it with HTML Tags and I captured the photos with my BLU G5 and edited them with Pic Collage.
The source: https://www.imagui.com/a/imagem-de-esqueleto-humano-para-imprimir-ceKaodkrg
I hope you like my publication.
Thank you very much for your visit and support.
Greetings and good night.
Congratulations @elmundodebetty! You have completed the following achievement on the Hive blockchain and have been rewarded with new badge(s):
Your next target is to reach 250 posts.
You can view your badges on your board and compare yourself to others in the Ranking
If you no longer want to receive notifications, reply to this comment with the word
STOPTo support your work, I also upvoted your post!
Check out the last post from @hivebuzz:
Hi @elmundodebetty
Do you know you could have used #diy tag for this post to earn some BUIDL tokens?
In case you are not aware, read this post to know the kinds of content you could post using #diy tag.
Because most people are not aware of the potential of BUIDL token, it can still be bought at very cheap price now.
Hola @iworld muchas gracias muchas gracias por la recomendación.
Saludos.