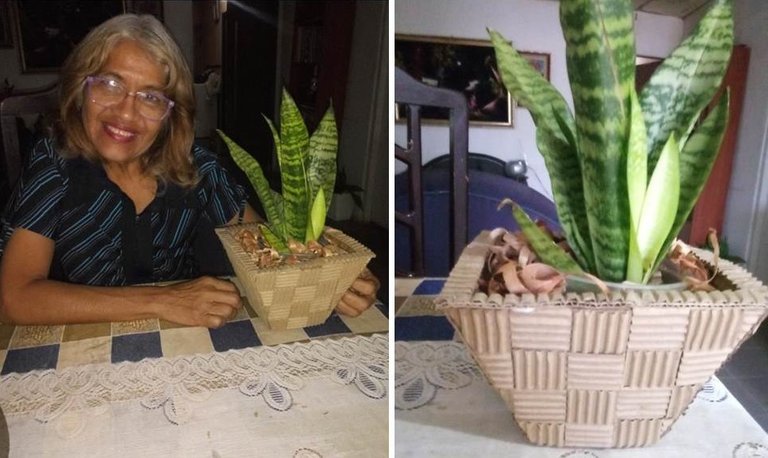
Hola hermosa comunidad de amantes al bricolaje. En esta oportunidad les comparto esta hermosa y linda maceta. Elaborada en pocos minutos y con materiales que creías que ya no servían. En ella puedes colocar una linda planta y darle un toque de naturaleza a tu bella casa. ¡vamos Atrevete!
Hello beautiful community of DIY lovers. This time I share with you this beautiful and cute flower pot. Made in a few minutes and with materials that you thought were no longer useful. In it you can place a nice plant and give a touch of nature to your beautiful home. Let's create it!
Materiales:
- Cartón de caja.
- Cartón corrugado.
- Pega.
- Pistola con silicón.
- Cartulina u hojas de reclaje.
- Regla.
- Lapíz o bolígrafo.
- Tijeras.
Materials:
- Boxboard.
- Corrugated cardboard.
- Glue.
- Gun with silicone.
- Cardboard or sheets of paper.
- Ruler.
- Pencil or pen.
- Scissors.
Paso a paso | Step by Step
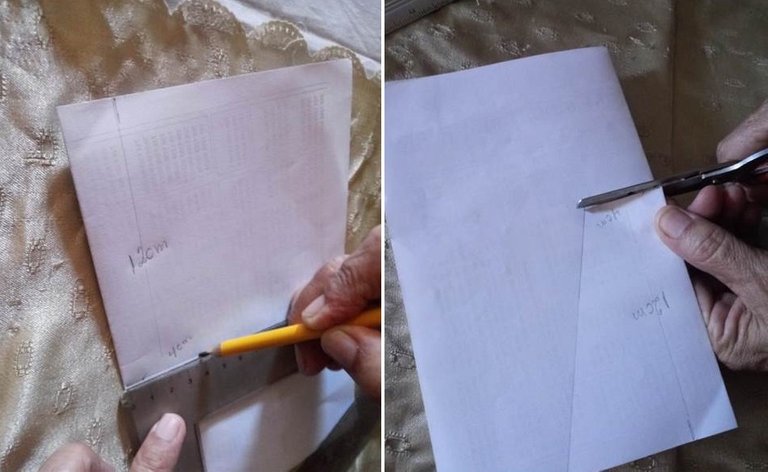
Paso 1
Para hacer el molde de la maceta dobla una hoja de papel en dos partes iguales y traza una línea vertical de 12 cm, y en la parte inferior traza una línea horizontal de 4 cm, en la parte superior traza otra horizontal de 8cm, ahora traza una línea donde se una con la de 4cm y con la linea de 8cm. Recorta y listo, ya tienes el molde y puedes pasarlo a cartulina para más facilidad.
Step 1
To make the mold of the flowerpot fold a sheet of paper in two equal parts and draw a vertical line of 12 cm, and at the bottom draw a horizontal line of 4 cm, at the top draw another horizontal line of 8 cm, now draw a line where it joins with the 4 cm line and the 8 cm line. Cut and ready, you have the mold and you can transfer it to cardboard for more ease.
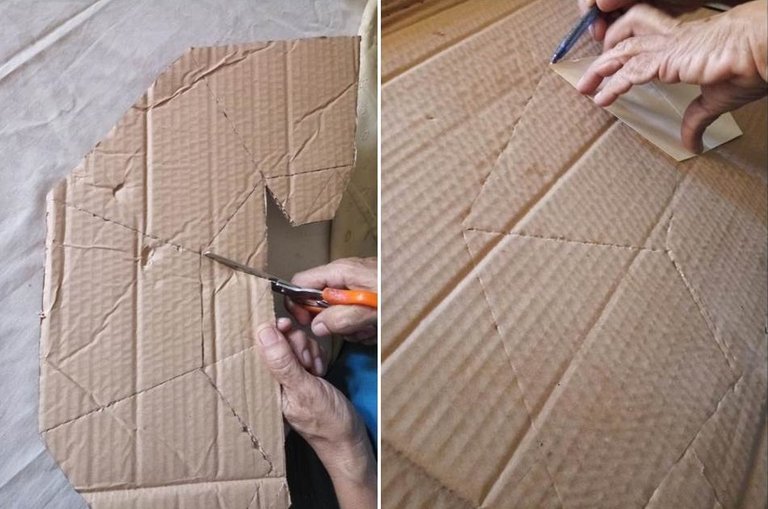
Paso 2
Dibuja el molde en el cartón y recorta, pero en la parte inferior de cada lado recorta una pestaña en forma de triangulo para que te sirva como fondo de la maceta, también recorta una pestaña que te sirva para unir los lados y asi poder formar la maceta.
Step 2
Draw the mold on the cardboard and cut out, but at the bottom of each side cut out a triangle-shaped tab to serve as the bottom of the pot, also cut out a tab that will serve to join the sides and thus be able to form the pot.
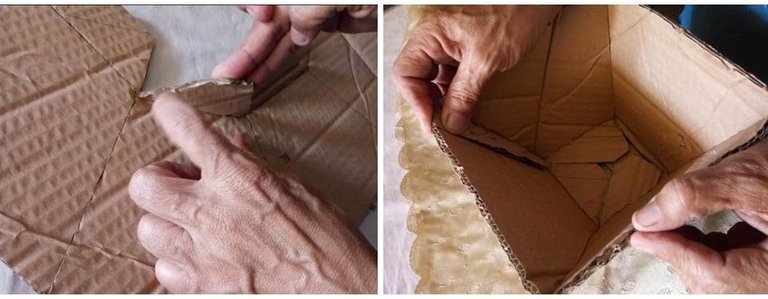
Paso 3
Dobla con cuidado las pentañas y cada lado y asi unir con pega o silicon.
Step 3
Carefully bend the tabs and each side and attach with glue or silicone.
Paso 4
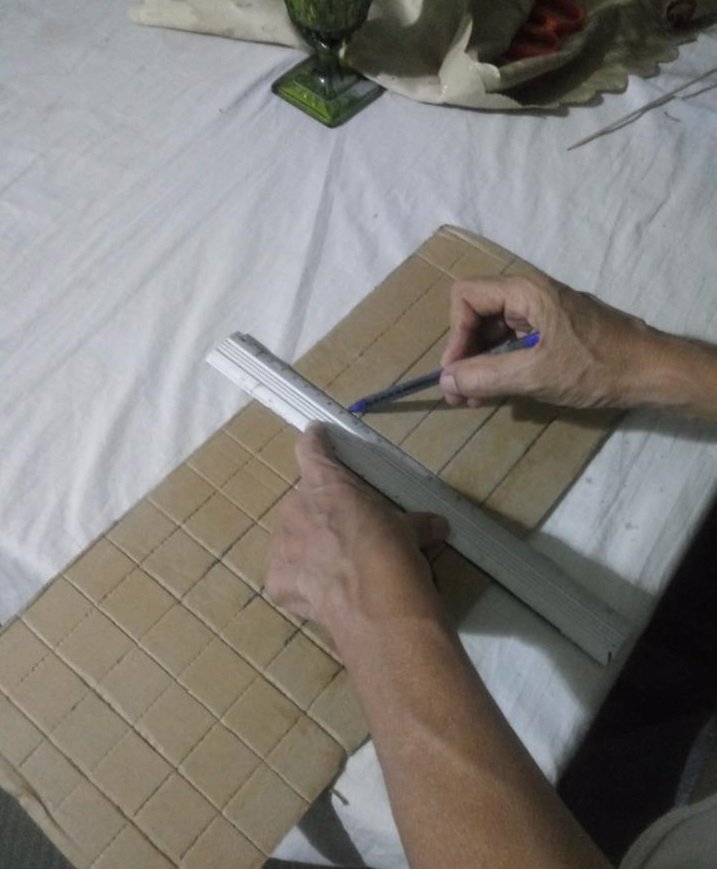
Traza y recorta pequeños cuadrados de carton corrugado
Step 4
Trace and cut out small squares of corrugated cardboard.
Paso 5
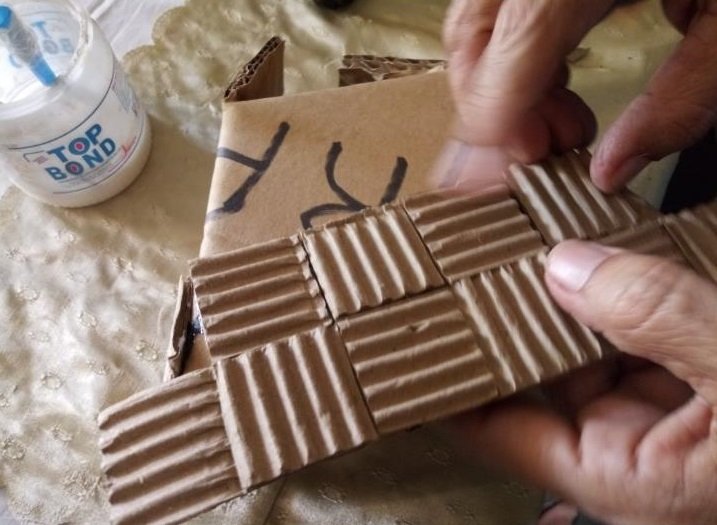
Pega los cuadrados de cartón alternando uno con los canales de forna horizontal y otro en forma vertical. Repite la operacion en todos los lados.
Step 5
Glue the cardboard squares alternating one with the channels horizontally and the other vertically. Repeat on all sides.
Paso 6
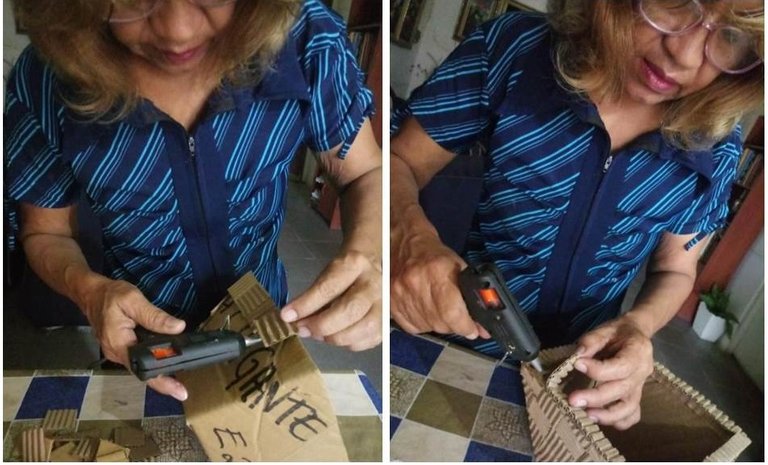
En los bordes pega una cinta de cartón corrugado y listo ya tienes una linda maceta.
Step 6
Glue some corrugated cardboard tape around the edges and you have a nice flower pot.
¡Listo! solo Decora según lo prefieras.
Esta bella, sencilla y muy compacta maceta también te puede servir para decorar diferentes sitios en tu hogar.
Done! just decorate as you prefer.
This beautiful, simple and very compact pot can also be used to decorate different places in your home.
.jpeg)
Tu creatividad es impresionante, tienes una habilidad de armado muy buena, felicidades.
Congratulations @elsismmillano! You have completed the following achievement on the Hive blockchain and have been rewarded with new badge(s) :
Your next target is to reach 100 replies.
You can view your badges on your board and compare yourself to others in the Ranking
If you no longer want to receive notifications, reply to this comment with the word
STOPCheck out the last post from @hivebuzz:
Me encanto lo que realizaste,quedo hermoso