
[Esp]
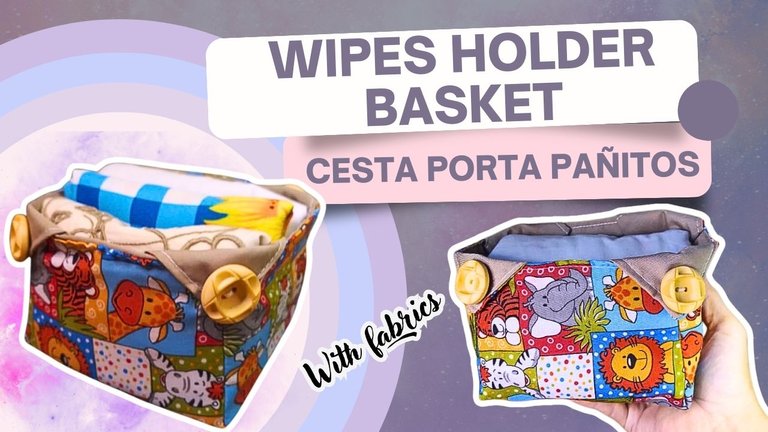
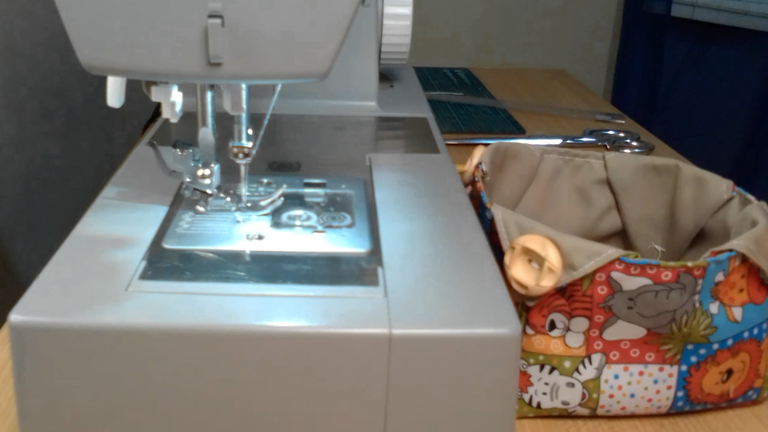
¡Saludos comunidad! Os traigo una linda manualidad hecha con tela, una linda cesta muy curiosa, parece complicada de hacer pero te demostraré que no es.
Realmente es una cesta multiusos, pero a mí me va bien como porta toallitas, pañitos, servilletas, pañales, pañuelos, hasta paños de cocina. Se me hizo divertido recrearla a mi estilo.
Te invito a mi paso a paso, mientras aporto unas recomendaciones.
English version
Greetings community! I bring you a nice craft made with fabric, a nice basket very curious, it seems complicated to make but I'll show you that it is not.
It really is a multipurpose basket, but it works well for me as a holder for wipes, napkins, napkins, diapers, handkerchiefs, even kitchen towels. It was fun to recreate it in my own style.
I invite you to my step by step, while I provide some recommendations.

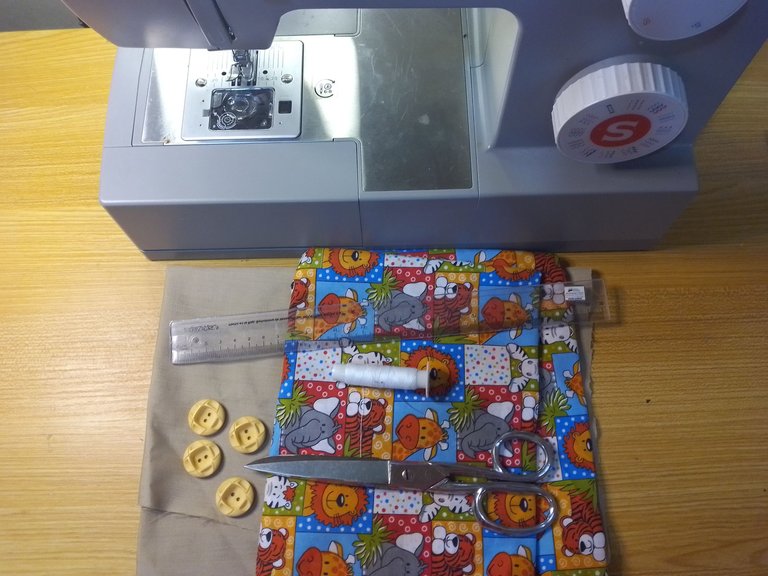
Materiales / materials
| Spanish | English |
|---|---|
| Maquina de coser | Sewing machine |
| Tijera, aguja, hilo | Scissors, needle, thread |
| Tela unicolor, tela estampada | One-color fabric, printed fabric |
| 4 botones grandes | 4 large buttons |
| Regla o cinta métrica, lápiz | Ruler or tape measure, pencil |
Paso a paso / Step by Step
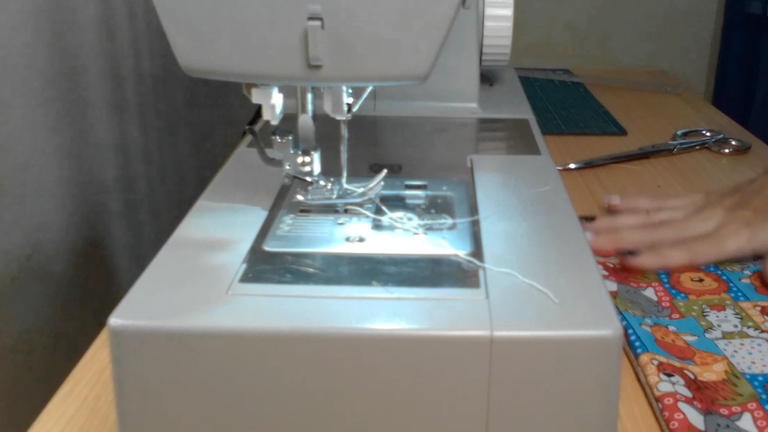
Step 1️⃣/ Paso 1️⃣
 |  | |
 |  |
[Esp]
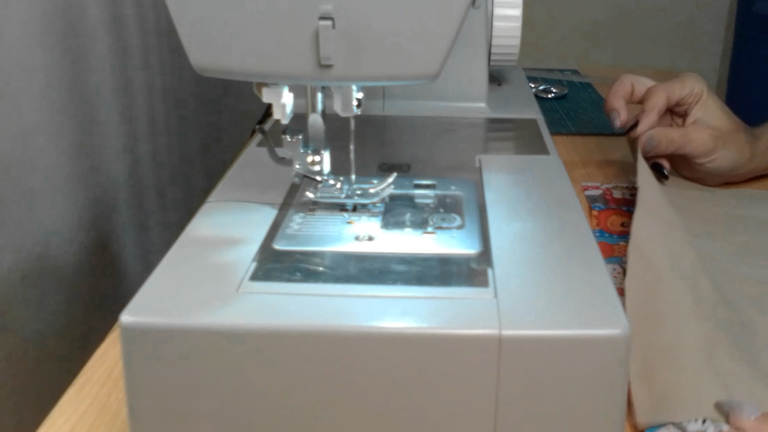
Recorta dos piezas de tela, un cuadrado perfecto de 33 centímetros de cada lado. Para la tela estampada y la tela unicolor.
coloca ambas telas frente a frente, por el lado del derecho y cose por los 4 lados en la orilla de aproximadamente 0.5 centímetros dejando un espacio sin coser de 5 centímetros aproximadamente, para poder voltear la tela.
English version
Cut out two pieces of fabric, a perfect square of 33 centimeters on each side. For the printed fabric and the one-color fabric.
Place both fabrics face to face, right side together and sew on all 4 sides on the edge of approximately 0.5 centimeters, leaving an unsewn space of approximately 5 centimeters, so that the fabric can be turned over.
Step 2️⃣/ paso 2️⃣
 |  | |
 |  |
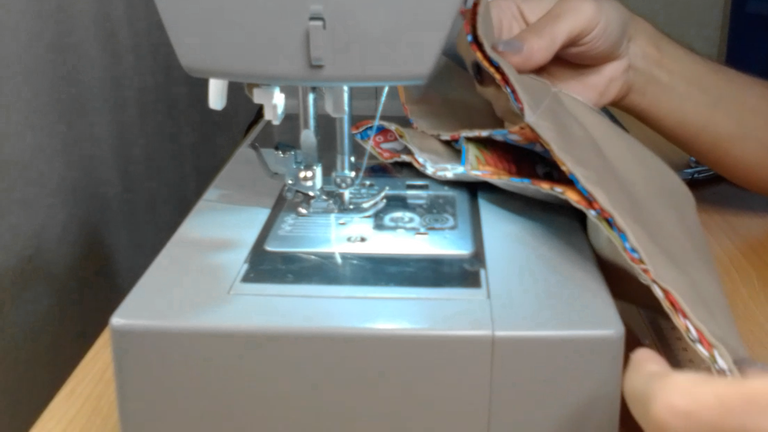
[Esp]
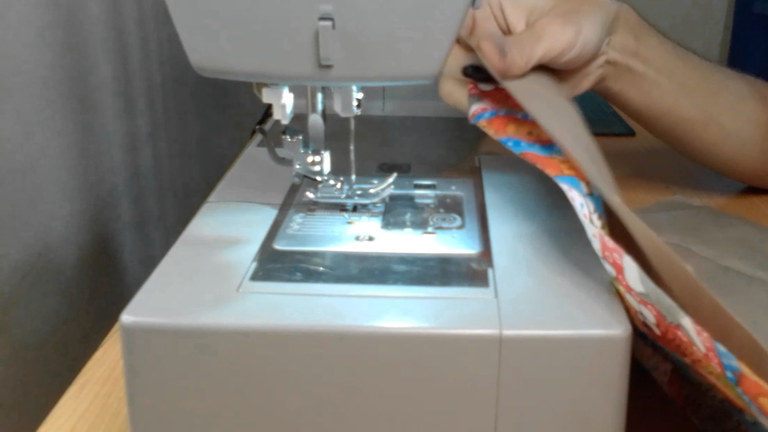
Recorta las esquinas de las 4 puntas para que queden más prolijas, ahora dobla la tela al derecho por el lado que dejaste sin coser.
Para un mejor acabado sugiero dos cosas:
Si quieres que la cesta quede más firme usa tela gruesa acolchada o usa huata.
Plancha la tela al voltearla, será hasta más cómoda para trabajar.
Cose por la orilla de la tela dejando aproximadamente 0.3 centímetros de distancia de la orilla.
Dobla la tela en forma de triángulo dejando la tela unicolor por la parte de afuera.
English version
Trim the corners of the 4 ends to make them neater, now fold the fabric right side out on the side you left unstitched.
For a better finish I suggest two things:
-If you want the basket to be firmer use thick quilted fabric or use huata.
-Iron the fabric when you flip it over, it will be even more comfortable to work with.
Sew along the edge of the fabric leaving approximately 0.3 centimeters distance from the edge.
Fold the fabric in the shape of a triangle, leaving the one-color fabric on the outside.
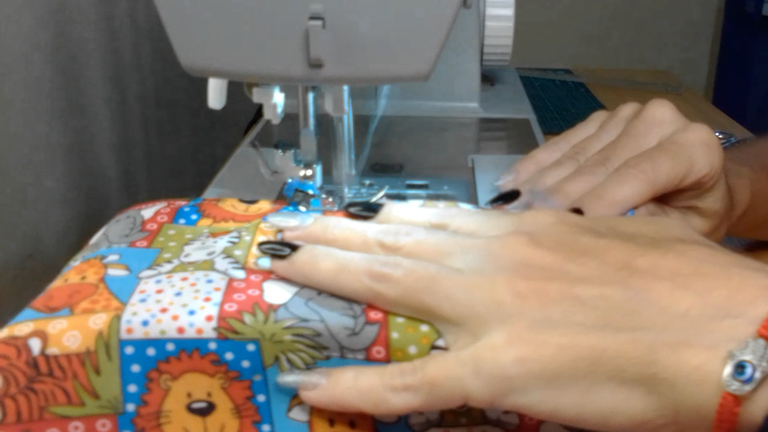
Step 3️⃣/ paso 3️⃣
 |  |
 |  |  |
[Esp]
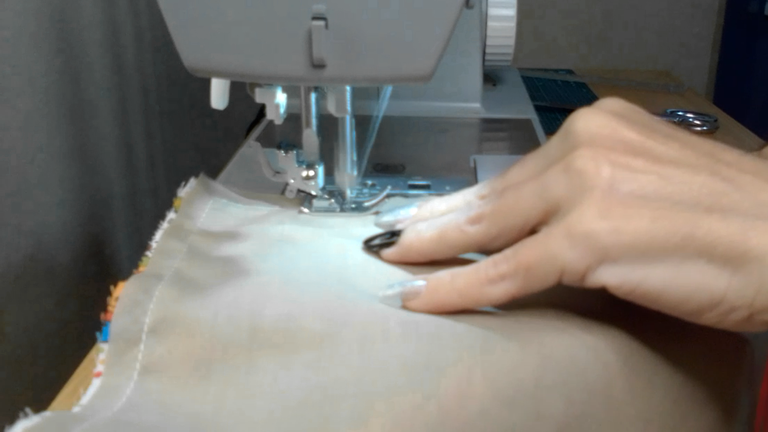
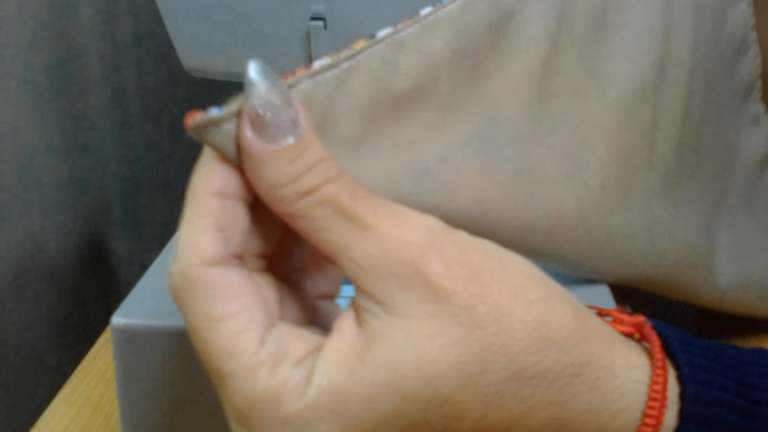
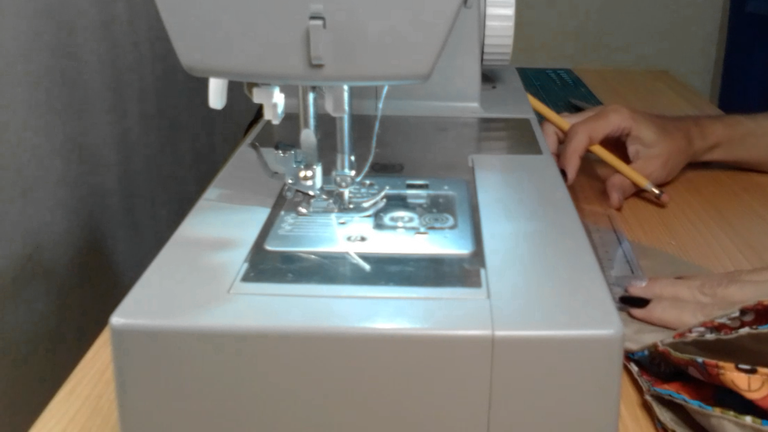
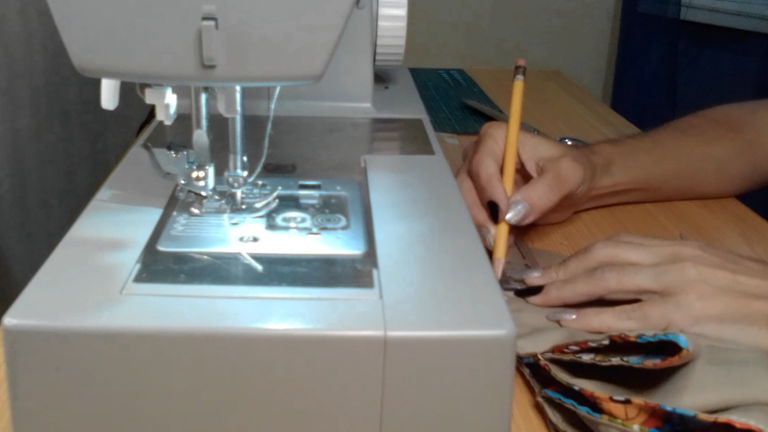
Repite este paso en las 4 esquinas:
Con ayuda de la cinta métrica o la regla, mide 9 centímetros y traza una línea recta con un lápiz, utiliza esa línea como guía y cose.
Ahora voltea la cesta por el lado de la tela unicolor quedando hacia adentro.
English version
Repeat this step for the 4 corners:
Using the tape measure or ruler, measure 9 centimeters and draw a straight line with a pencil, use that line as a guide and sew.
Now flip the basket over with the one-color fabric side facing in.
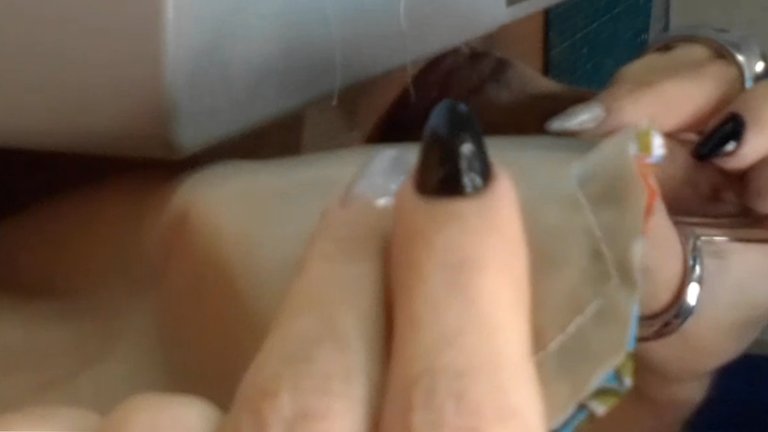
Step 4️⃣/ paso 4️⃣
 |  |
 |  |  |
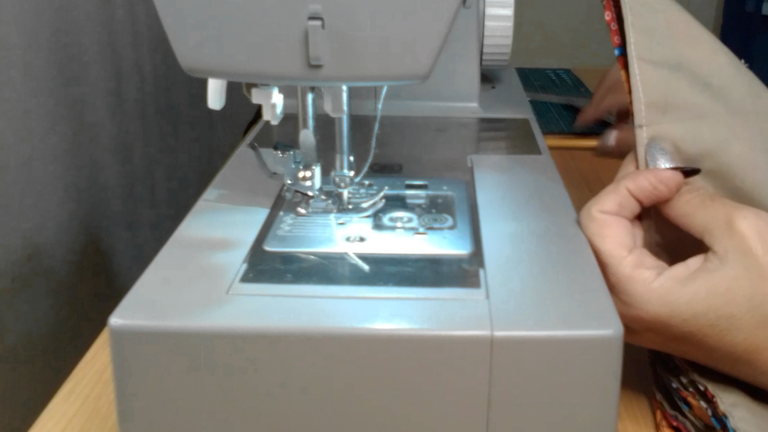
[Esp]
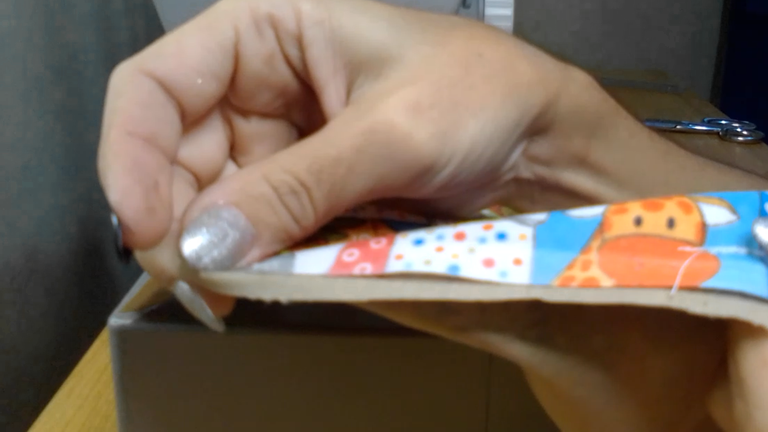
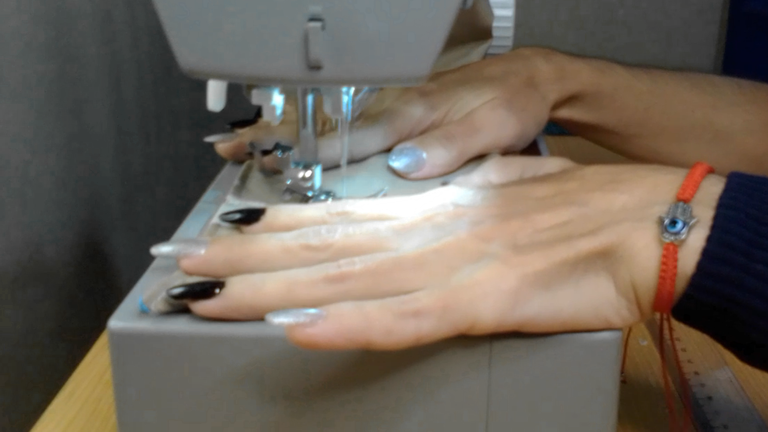
Repite esto en los 4 lados:
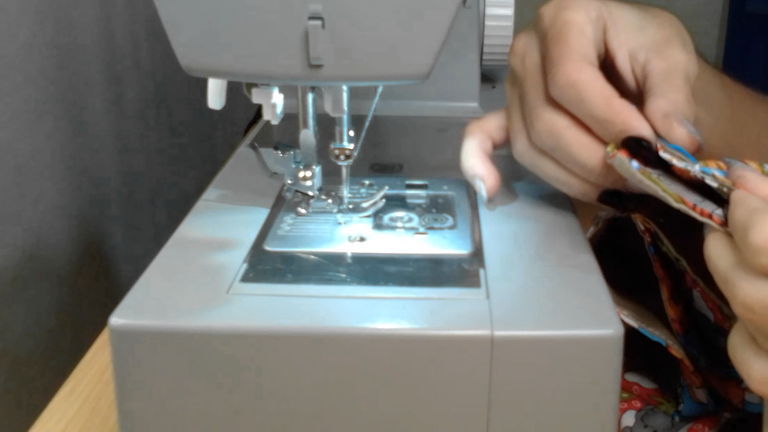
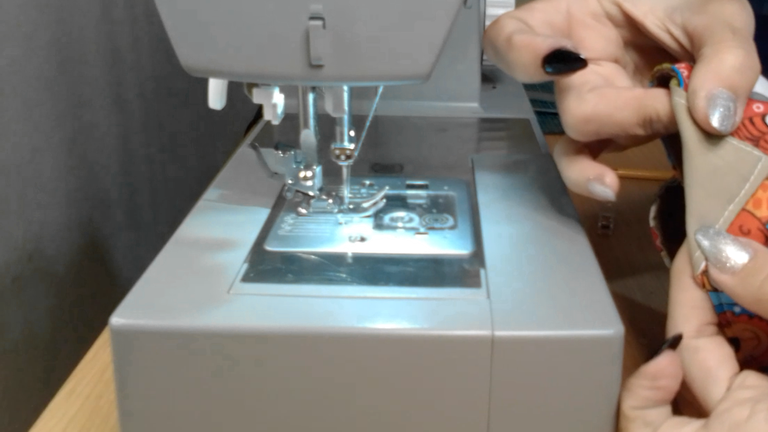
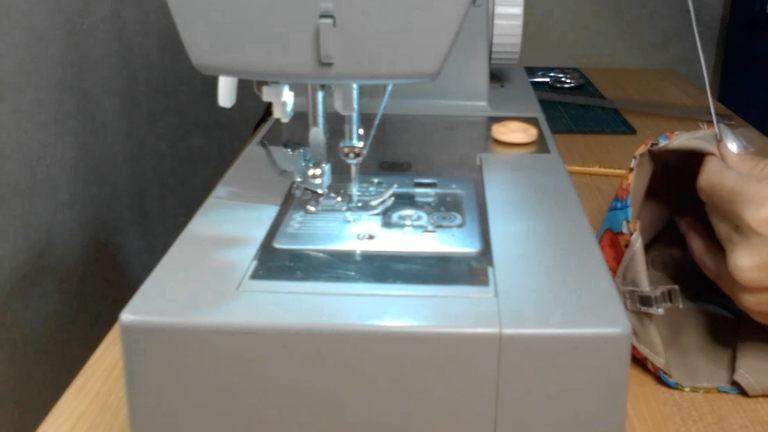
Cada esquina, abre el triángulo dobla la punta hacia afuera. Cose a mano de modo que no se vea por el lado de adentro de la cesta, para sujetar la pieza.
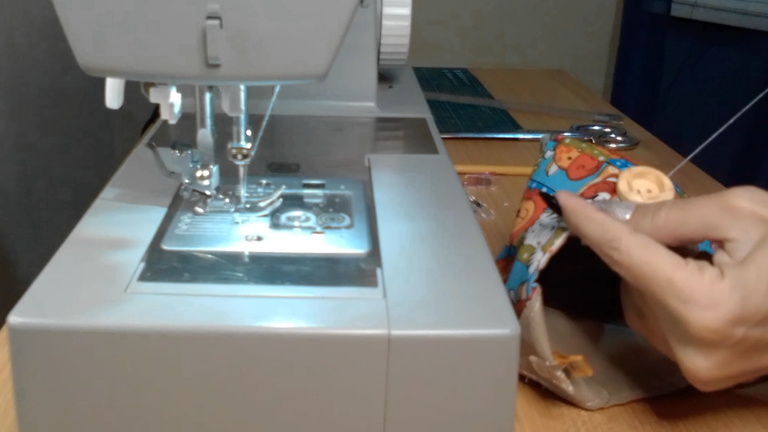
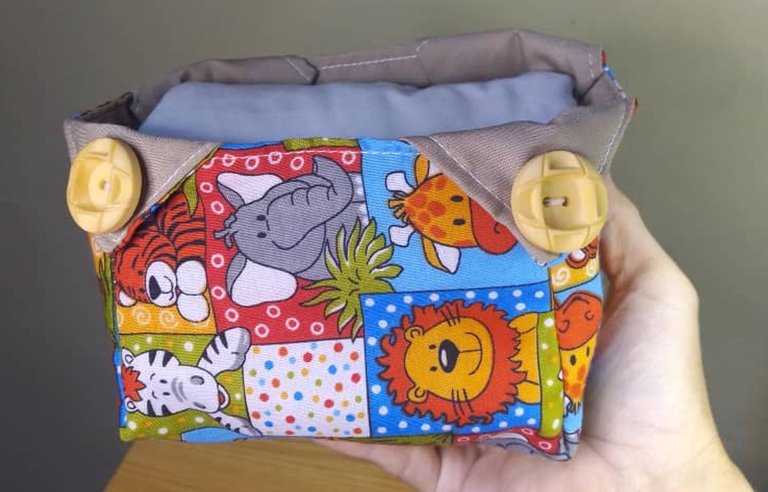
Cose el botón de la misma manera que no se vea el hilo de costura por dentro, el botón es parte de la decoración.
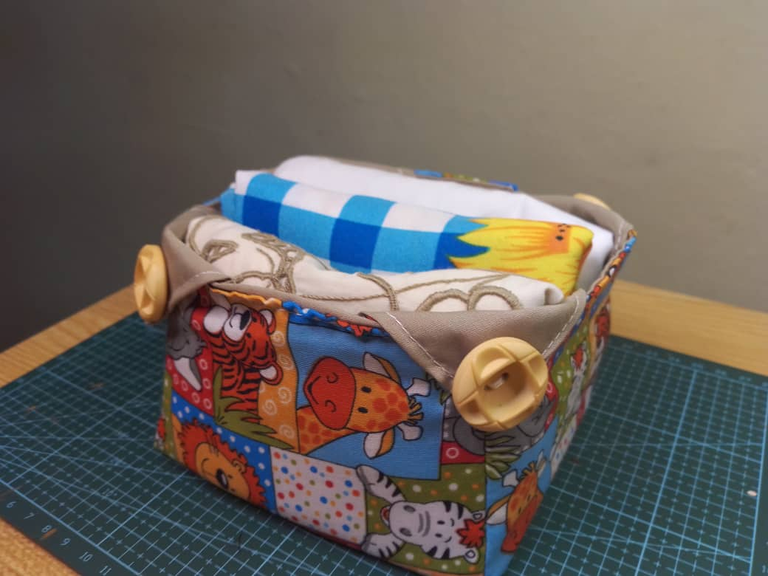
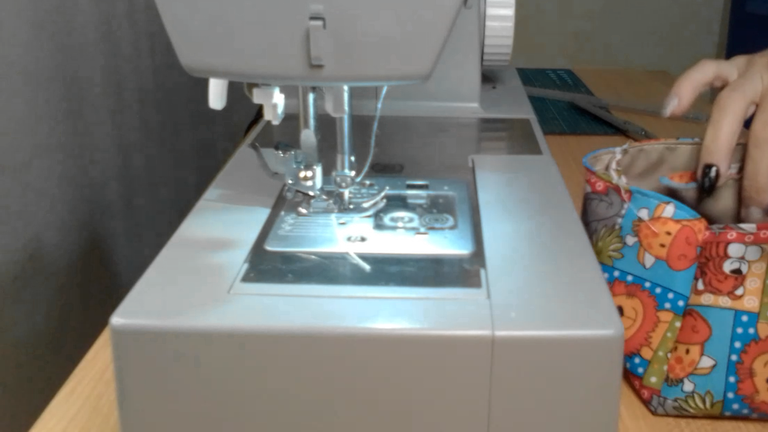
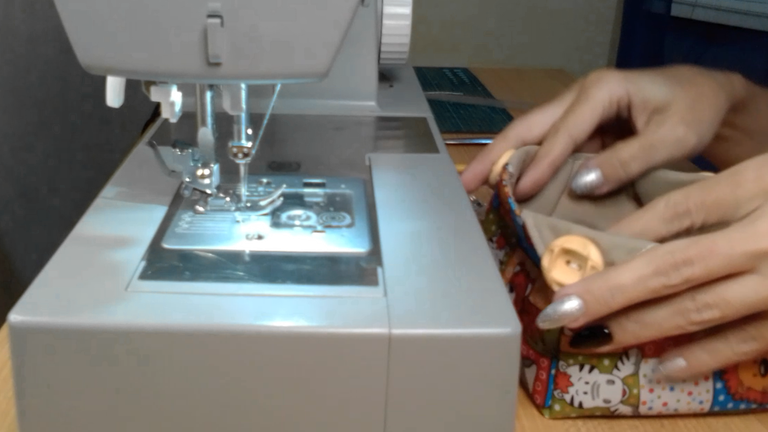
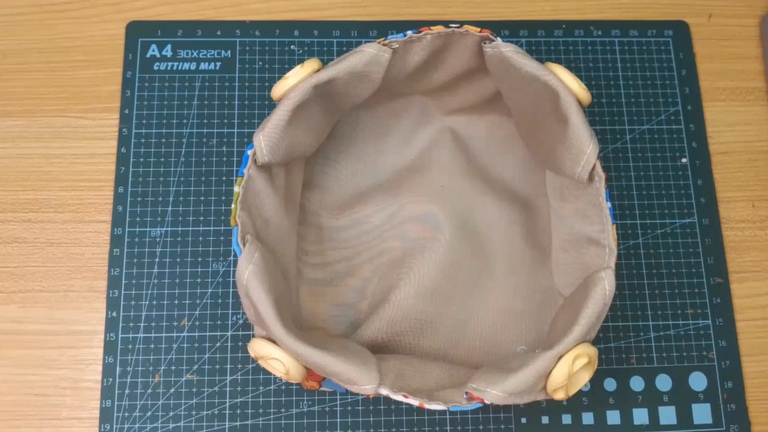
Abre bien la cestita, con ello hemos terminado, ya está lista para colocar lo que desees dentro.
English version
Repeat this on all 4 sides:
Each corner, open the triangle fold the point outward. Hand sew so that it is not visible on the inside of the basket, to hold the piece.
Sew the button in the same way so that the sewing thread is not visible on the inside, the button is part of the decoration.
Open the basket wide, with that we are done, it is ready to place whatever you want inside.

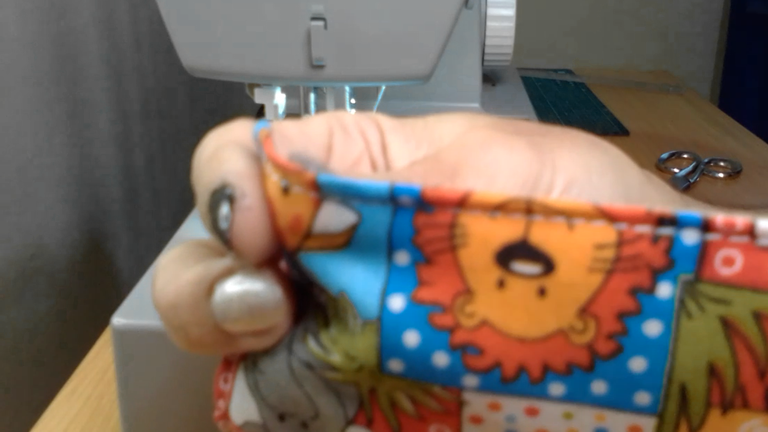
Step 5️⃣/ paso 5️⃣
 |  |
[Esp]
Este proyecto me fue muy satisfactorio, al principio pensé que iba a ser difícil, sin embargo pude ver que puedo hacerlo por mí misma. Nos vemos en mi siguiente publicación. Recrear la cesta a mi estilo me hizo sentir muy bien.
Espero les guste, lo hice con mucho amor.
English version
This project was very satisfying for me, at first I thought it was going to be difficult, however I could see that I can do it on my own. See you in my next post. Recreating the basket in my style made me feel very good.
I hope you like it, I made it with a lot of love.
Créditos / Credits

👇Support the Hive DIY community as a witness 👇


¡¡¡Buen trabajo!!! Gracias por publicar tu excelente contenido en Hive Diy, qué fantásticos pasos y qué cesta tan hermosa, no debió ser fácil cocer cada detalle, pero la cesta es muy útil, me quiero hacer una para esos momentos especiales.
Tu comunidad artesana ahora es testigo

Gracias por el comentario de ayer, la verdad que es tal cual lo describiste me ayuda a reforzar mis estudios y a la vez a liberar estrés del mismo jajaja...
Un abrazo!Uy que cosa más mona @equipodelta, me encantan ese tipo de cestos, bolsas, ... Pero la costura se me da de pena jajaja...
Hola bella! Por ahí tengo más retacitos, seguro se me ocurre otros modelos, me encanta que sean algo como rompecabezas, literalmente me rompí la cabeza en el armado, jajaja!
Disfruté leer también ese tipo de contenido y estoy segura que no fui la única, creo que es una buena catarsis para ti <3
Abrazos para ti también.
I love what you have done, besides being beautiful it is very practical, a beautiful gift for a future mother
It is true, as you can see, that making this diaper holder is very easy to do.
Thank you very much for sharing the step by step
Have a great daygood morning dear friend @equipodelta
Hi Jlufer, I really enjoyed breaking my head trying to put it together, hahaha! it was a challenge. I'm glad you like it.
What a great project, the basket is cute and adorable, I really like that you added a big button element on the outside to add an accent to the basket so it makes it even funnier.
One more thing, this basket reminds me of making a suitcase cover a few months ago. I've been doing this project for a very long time, and now don't have time to hold a sewing machine.
Guess I'll have to make this basket in the future.
Hi, sweetie! I'm glad you also share with me this passion for baskets, you gave me ideas, that was great thank you very much. I too have very limited time, so when I do something I try to enjoy it twice as much. I think I will make some suitcase cover soon to see how they look like.
I'm glad to hear you want to work on a new project. I'm waiting for the results!
Me encanta este tipo de canastas de tela, tienen tantas posibilidades de uso y lo que más me gusta es que son lavables.
En alguna oportunidad hice mi post sobre las que confeccioné, son muy fáciles y cada una le da su toque personal.
Felicitaciones es hermoso tu post @equipodelta ... Como siempre
Hola amiga, por aquí me dijeron que está chevere para usarla como funda de materitos, me gustó la idea. Gracias por la visita
Esta muy bonita, para mi se me hace dificil poder hacerla, debe ser porque para mi es nuevo hacer este tipo de cosas y no entiendo muchas cosas, pero ya para alguien conocedora se le hara muy facil crearlo
Hola Místico. Poco a poco, si queremos se puede lograr. Lo más importante es disfrutar de todo el proceso. a mi me costó un poco hacerla, la verdad es como un rompecabezas.
Cierto y al final de terminarlo esa gran satisfaccion nadien te la quita
Que maravilla! quedo muy linda la cestita, me encanto, saludos.
Me alegra que te guste Coromoto muchas gracias.
Congratulations, your post has been upvoted by @dsc-r2cornell, which is the curating account for @R2cornell's Discord Community. Enhorabuena, su "post" ha sido "up-voted" por @dsc-r2cornell, que es la "cuenta curating" de la Comunidad de la Discordia de @R2cornell.
Muy hermosa, tienes una gran creatividad. Encantada con el trabajo
Gracias Chiqui, me hace feliz, quizá fabricaré otros modelitos más adelante.
Qué linda te ha quedado! Me encantan las cestas de tela, son muy versátiles. Ese detalle de los botones te ha quedado chulísimo. Gracias por compartir tu trabajo. Saludos.
HOla Mdrgyez, la tengo en mi mesa de noche organizando mis cremas, jajajaj quedo bella, muchas gracias, seguro hago otros modelos. Desearía comprar pelón o relleno para que queden más firmes.
Que linda y práctica quedó esta cesta! De verdad muchas gracias por mostrarnos siempre ideas útiles para hacer en nuestro hogar.
Saludos. Gracias @equipodelta por compartirla.
Gracias amiga, viniendo de ti que eres maravillosa en tus proyectos es un honor, un fuerte abrazo
Gracias a ti por tan lindo comentario e igualmente, tu trabajo es espectacular!
Devuelto con mucho cariño y admiración.