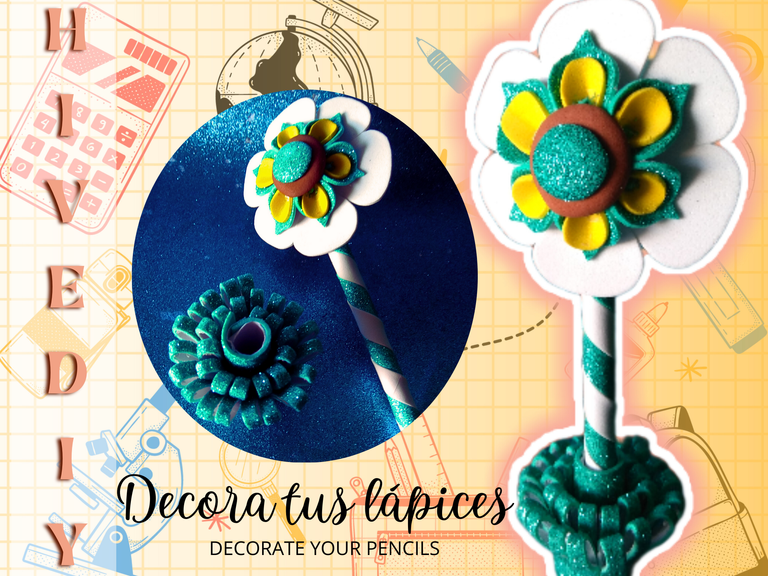
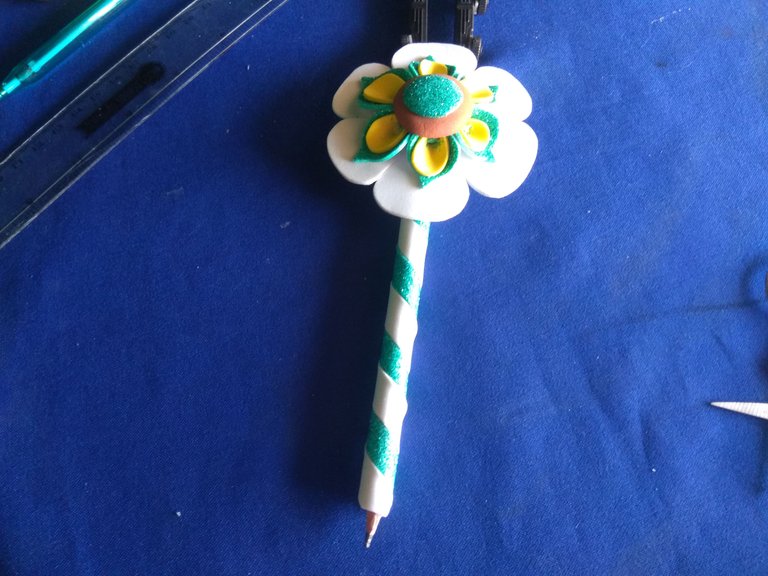
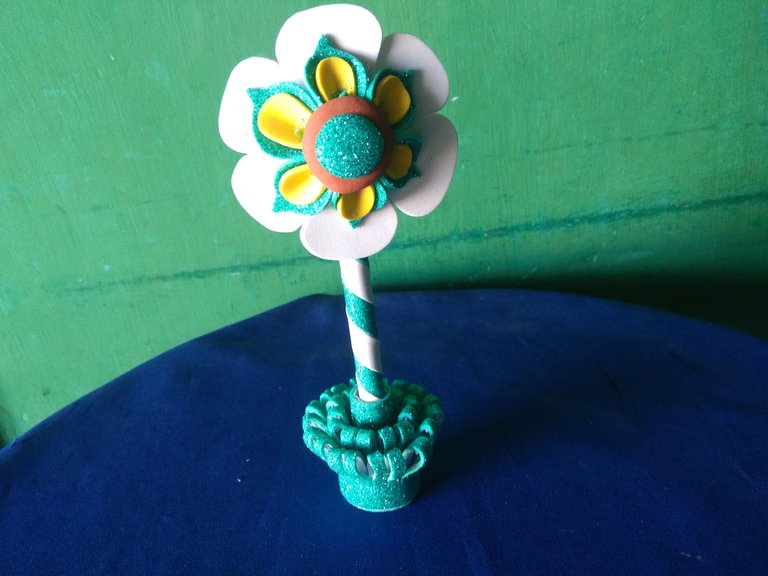
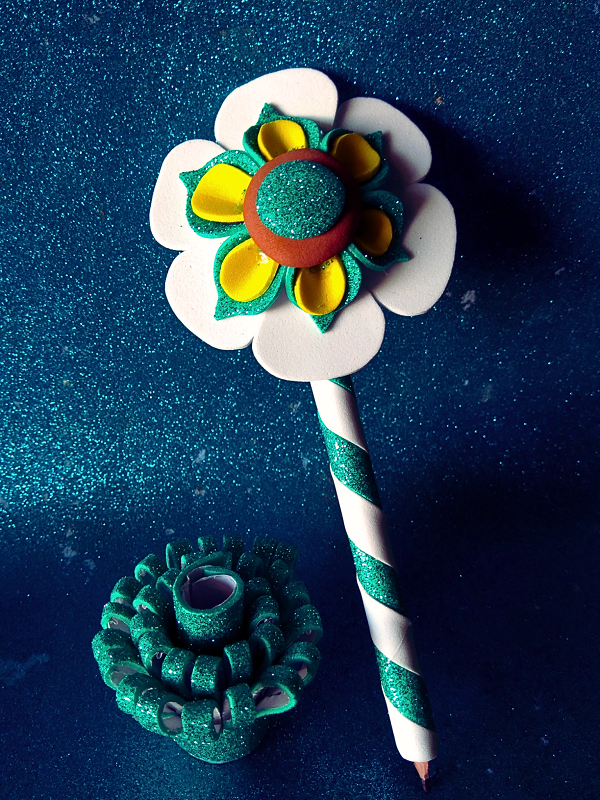
A simple vista sólo se ve una linda flor decorativa, pero si la miran más de cerca y la toman, notarán que en realidad es un lápiz camuflado con forma de flor, para tenerla en el escritorio es ideal, cumple doble función, decorar y usar para anotar lo que deseen, los colores que usen para su flor son completamente opcional, combinen cuantos colores quieran, una idea que dará más vida a la manualidad es hacer a la decoración un rostro con una expresión kawaii, hará de tu lápiz una ternura, y solo necesitas foami, pegamento y tijeras, demos inicio a al paso a paso.
At first glance it only looks like a cute decorative flower, but if you look closer and take it, you will notice that it is actually a camouflaged pencil in the shape of a flower, to have it on the desk is ideal, it serves dual function, decorate and use to write down what you want, The colors you use for your flower are completely optional, combine as many colors as you want, an idea that will give more life to the craft is to make the decoration a face with a kawaii expression, it will make your pencil a tenderness, and you only need foami, glue and scissors, let's start the step by step.


Materiales: || Materials:
▪️ Foami (verde, blanco, amarillo y marrón), tijeras, compás, lápiz, regla geométrica.
▪️ Foami (green, white, yellow and brown), scissors, compass, pencil, geometric ruler.


Paso a paso: || Step by step:
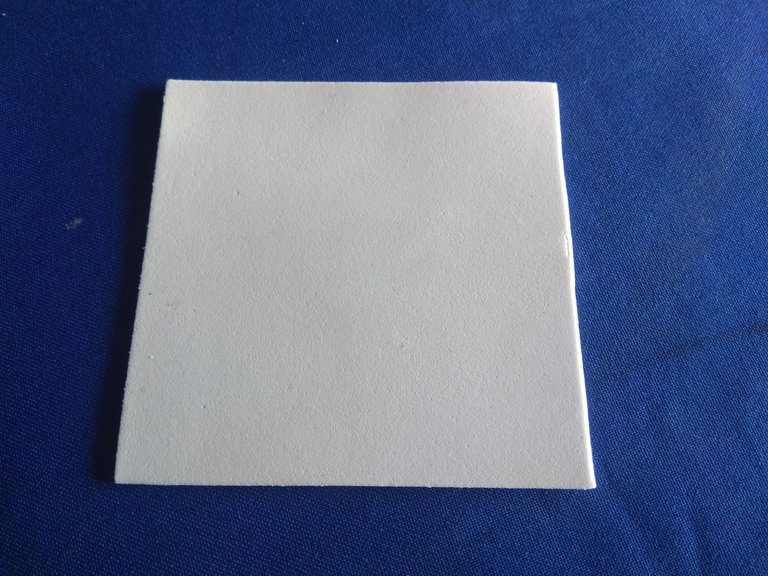
Recortar un cuadrado de 9 cm x 9 cm, trazaremos en el centro un círculo con el compás de 3 cm y otro de mayor tamaño de 8 cm.
Cut out a square of 9 cm x 9 cm, draw a circle in the center with the compass of 3 cm and another larger circle of 8 cm.

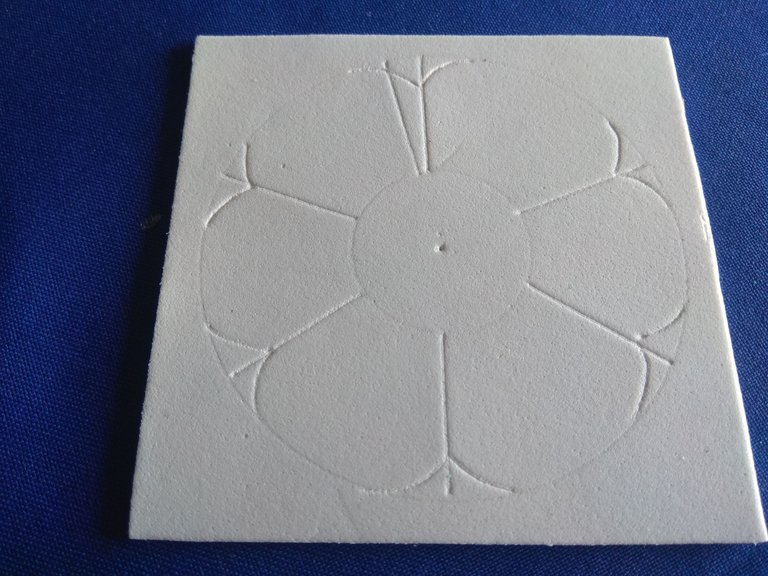
Usaremos un compás para trazas diversas líneas con una distancia entre ellas de 2,5 cm aproximadamente, dibujaremos pétalos con las líneas trazadas y recortaremos la flor.
We will use a compass to draw several lines with a distance between them of approximately 2.5 cm, we will draw petals with the drawn lines and we will cut out the flower.

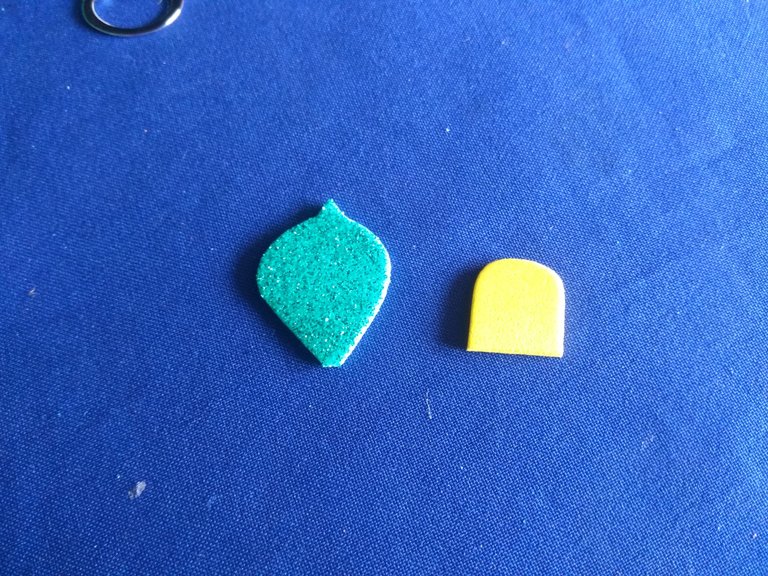
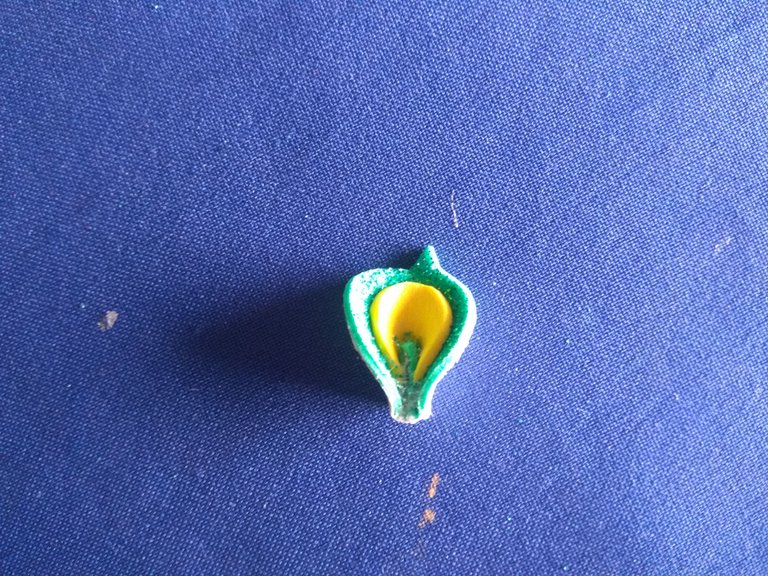
Para los pétalos necesitamos 12 cuadrados 6 de 2 cm y 6 de 3,5 cm, haremos las formas que ven en las imágenes y las uniremos en pares, doblaremos a la mitad y lograremos la forma que ven en la segunda foto, repitan el proceso con todos los pétalos.
For the petals we need 12 squares, 6 of 2 cm and 6 of 3.5 cm, we will make the shapes you see in the pictures and join them in pairs, fold in half and we will achieve the shape you see in the second picture, repeat the process with all the petals.
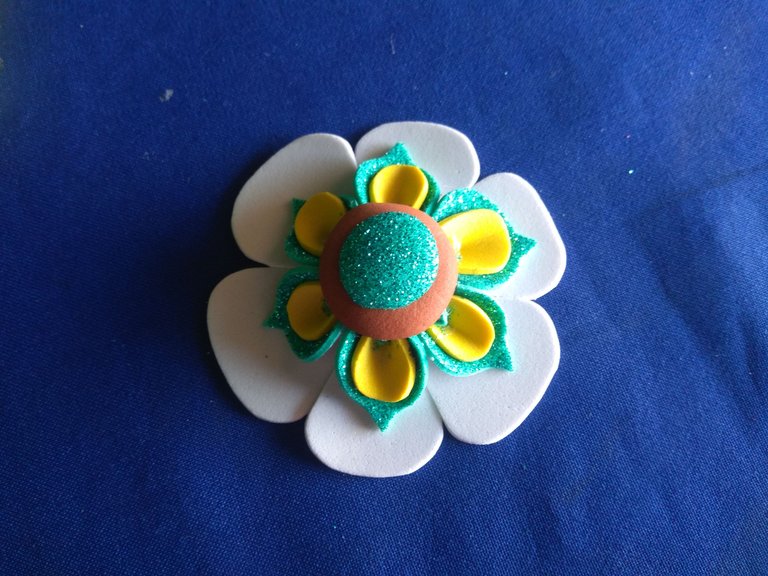
Uní cada pétalo a la base blanca de foami, para conseguir un acabado más prolijo en la flor pegué 2 círculos, uno verde y otro marrón, cubrí el lápiz con dos tiras de foami de 1 cm y al secar el pegamento pegué el lápiz a la flor.
I attached each petal to the white foami base, to get a neater finish on the flower I glued 2 circles, one green and one brown, I covered the pencil with two 1 cm foami strips and when the glue dried I glued the pencil to the flower.
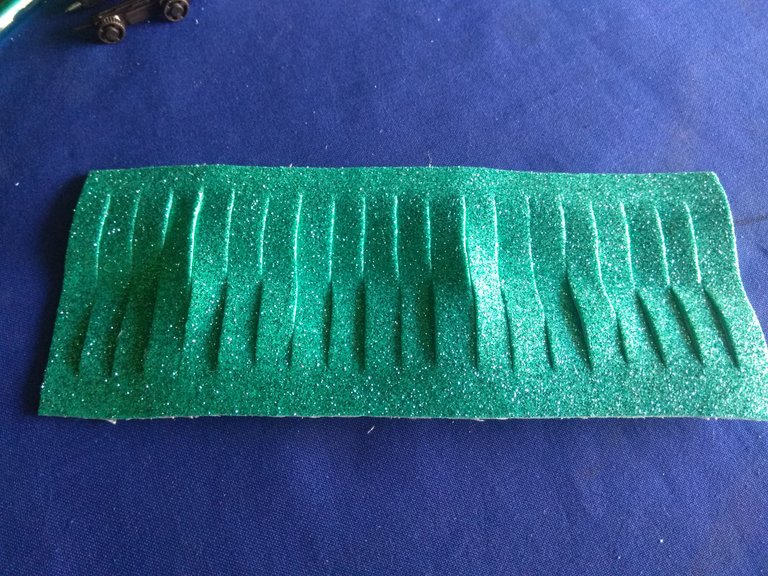
Ahora para la base de la flor recorté una tira de foami verde de 15 cm x 8 cm, hice cortes de 0,5 cm y pegué doblando a la mitad.
Now for the base of the flower I cut a strip of green foami 15 cm x 8 cm, made 0.5 cm cuts and glued by folding it in half.
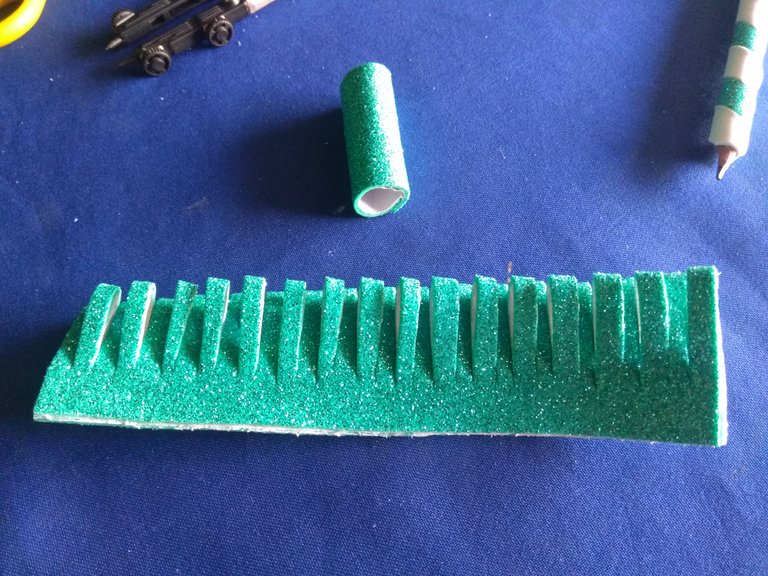
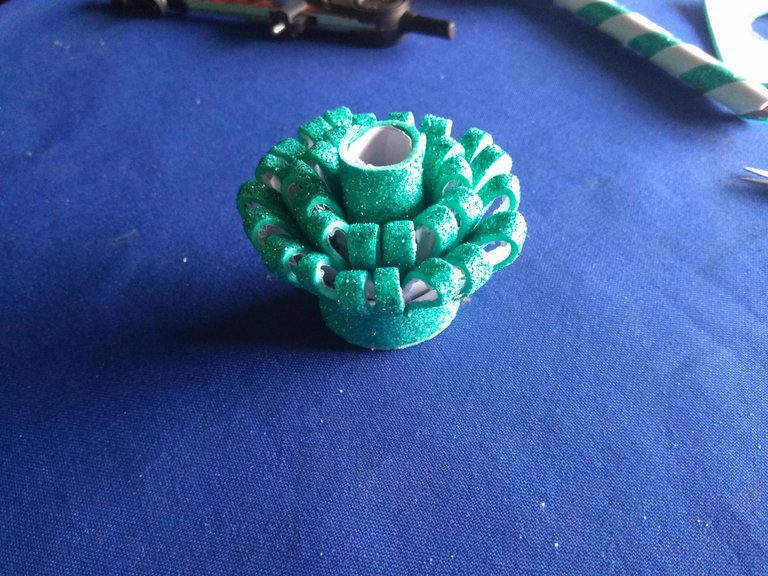
Hice un cilindro en el cual encajara el lápiz de una altura de 4,5 cm, alrededor pegué la figura reciente creada, la cual finalmente pegué a un círculo de foami para sellar la abertura de la base.
I made a cylinder in which to fit the pencil with a height of 4.5 cm, around which I glued the newly created figure, which I finally glued to a circle of foami to seal the opening of the base.
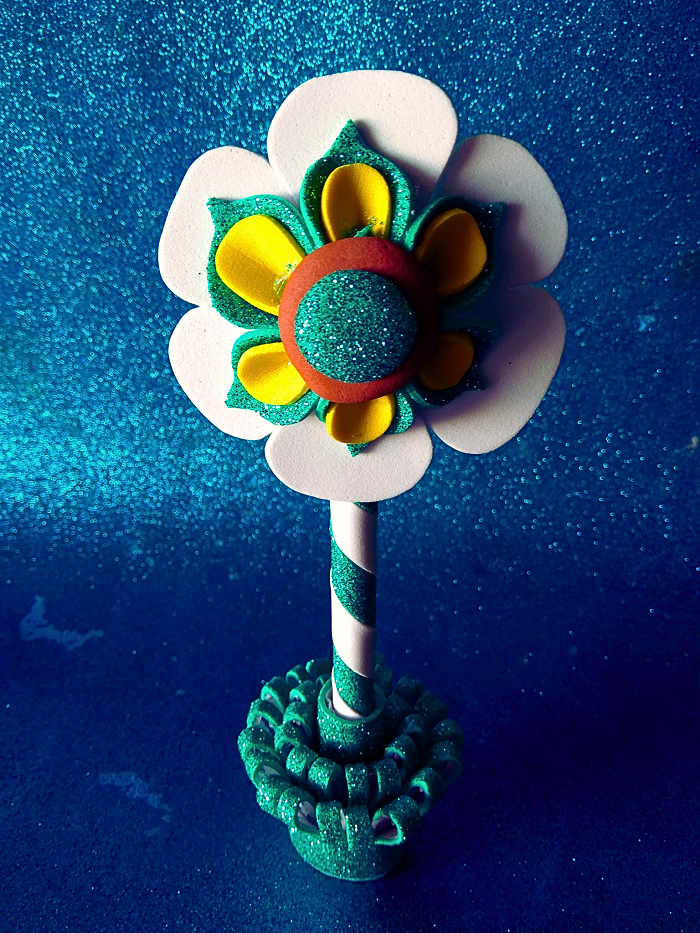

Nunca verás tus lápices igual al ver esta manualidad, te darán ganas de tener tu escritorio como un jardín, lleno de lápices con forma de flor, dime en los comentarios que opinas de esta decoración, gracias por llegar hasta aquí.
You will never see your pencils the same when you see this craft, it will make you want to have your desk as a garden, full of pencils in the shape of flowers, tell me in the comments what you think of this decoration, thanks for coming here.

Imágenes tomadas desde mi Xiaomi Redmi Note 4. || Images taken from my Xiaomi Redmi Note 4.
Separadores hechos en Canva. || Dividers made in Canva.
Ediciones hechas en Canva. || Editions made in Canva.
Vídeos convertidos en gif || Videos converted to gif IMG2GO
Translator Deepl.
Es una idea creativa y divertida para darle vida a los útiles escolares, me gusto como compartiste los pasos detallados y los materiales necesarios para lograr un resultado increíble
Que bonita manualidad, me gustaron los colores que elegiste, gracias por compartirlo.
De verdad que con pocos materiales lograste una decoración muy vistosa y llamativa, me encanta la base también.
Saludos @jennyzer
Que lindo quedó ☺️
Está muy linda la combinación de colores y se ve que es un labor que requiere detalle. Solo me queda un duda ¿Se puede ir sacando punta al lápiz o es mejor dejarlo como decoración?
Saludos y gracias por compartir tu trabajo :)