Español
Hola mis estimados lectores, feliz y bendecido Abril.
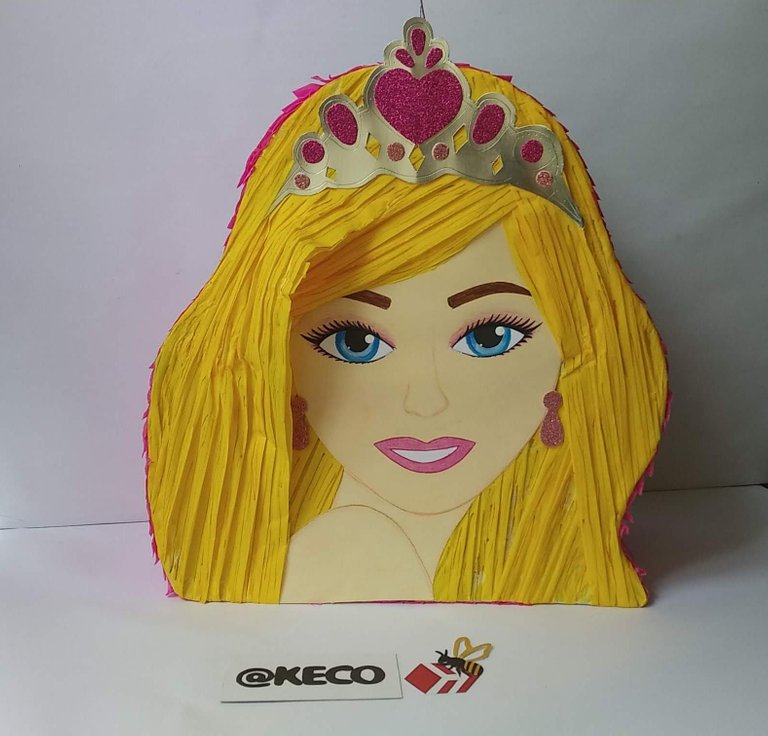
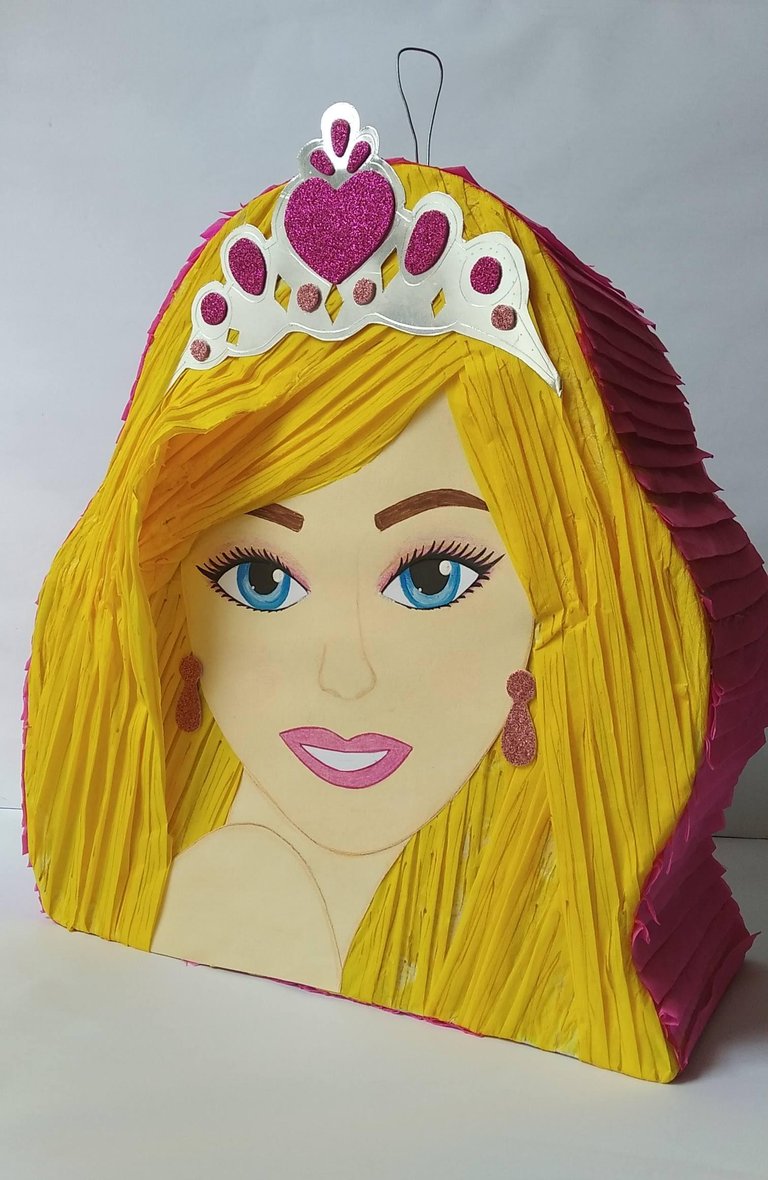
Hoy les quiero mostrar una linda piñata realizada con mucho cariño para una niña que adora Barbie, sin duda, este personaje creció con mucho de nosotros y sin duda, todo apunta a que seguirá siendo personaje favorito de otras generaciones.
Fue bastante fácil y económica, así que los invito a que se animen a crear ustedes mismos sus piñatas…
Sin más, y esperando disfruten del trabajo realizado les dejo los materiales utilizados, el proceso y las imágenes del trabajo.
- Papel bond o hojas recicladas.
- Cartulina color piel.
- Cartulina blanca.
- Cartulina plateada tipo espejo.
- Foami escarchado fucsia.
- Papel crepé rosado.
- Papel crepé amarillo.
- Papel crepé blanco.
- Marcadores de colores.
- Tiza de Colores.
- Cartón grueso y liviano.
- Alambre grueso.
- Lápiz.
- Tijera.
- Cutter.
- Silicón frío.
- Silicón Caliente.
- Engrudo casero.
English
Hello my dear readers, happy and blessed April.
Today I want to show you a cute piñata made with love for a little girl who loves Barbie, no doubt, this character grew up with many of us and no doubt, everything points to continue to be a favorite character of other generations.
It was quite easy and inexpensive, so I invite you to encourage you to create your own piñatas...
Without further ado, and hoping you enjoy the work done, I leave you the materials used, the process and the images of the work.
- Bond paper or recycled sheets.
- Skin colored cardboard.
- White cardboard.
- Silver mirror cardboard.
- Fuchsia frosted Foami.
- Pink crepe paper.
- Yellow crepe paper.
- White crepe paper.
- Color markers.
- Colored chalk.
- Thick and light cardboard.
- Thick wire.
- Pencil.
- Scissors.
- Cutter.
- Cold silicone.
- Hot Silicone.
- Home-made grease.
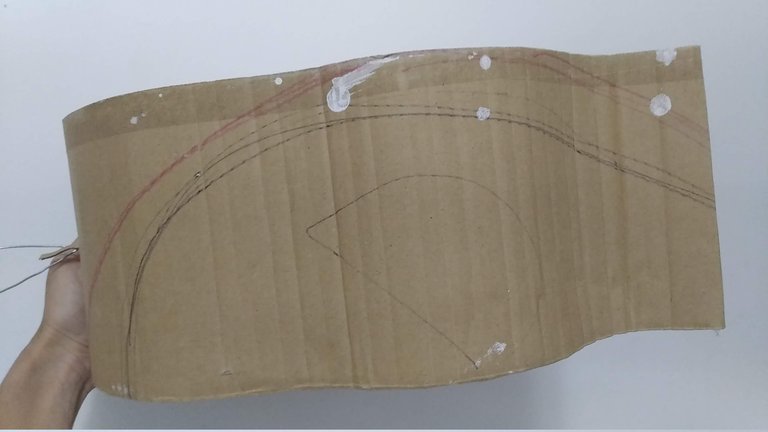
1.- Lo primero a realizar será definir el diseño (alto, ancho y profundidad ) y una vez definido crear el diseño en el papel blanco para que nos sirva de plantilla para crear lo demás. Este diseño tuvo un alto de 50 cm de alto por 40 cm de ancho y 15 cm de profundidad.
1.- The first thing to do is to define the design (height, width and depth) and once defined create the design on the white paper to serve as a template to create the rest. This design had a height of 50 cm high by 40 cm wide and 15 cm deep.

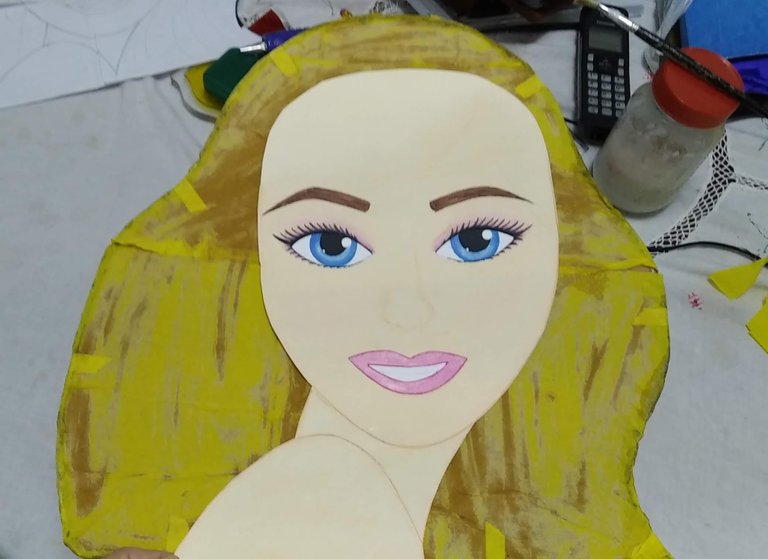
2.- Utilizando la plantilla creada, marcar las partes del diseño (solo rostro) sobre las cartulinas de colores correspondientes. Para ésta piñata se hará el rostro en cartulina y el cabello se creará con el papel crepé.
2.- Using the template created, mark the parts of the design (face only) on the corresponding colored cardboard. For this piñata, the face will be made in cardboard and the hair will be created with crepe paper.
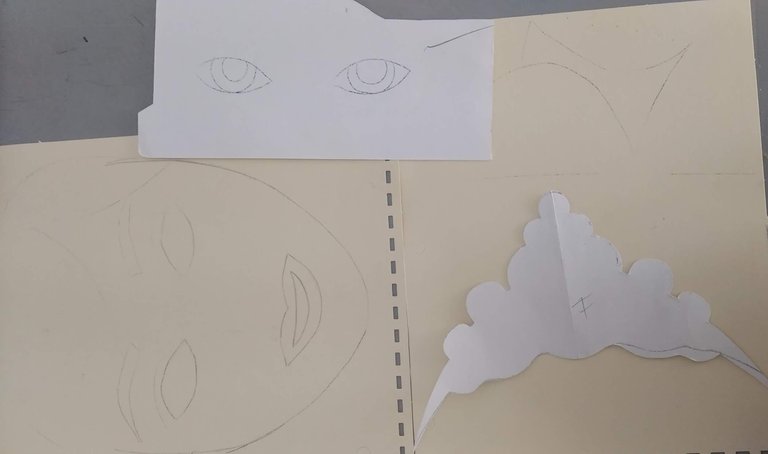
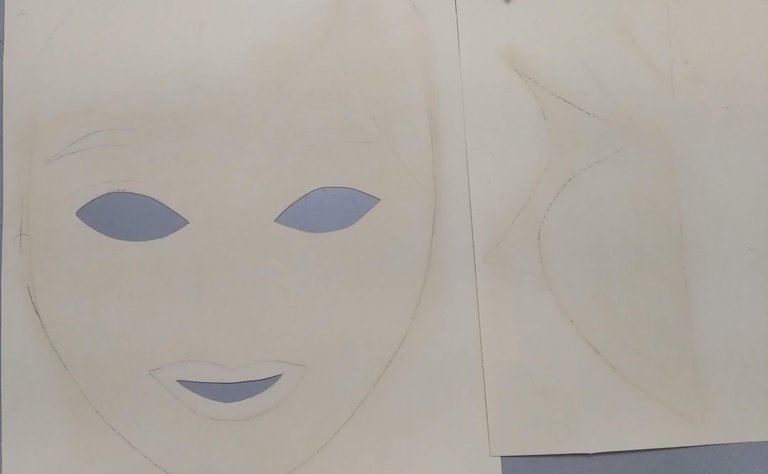
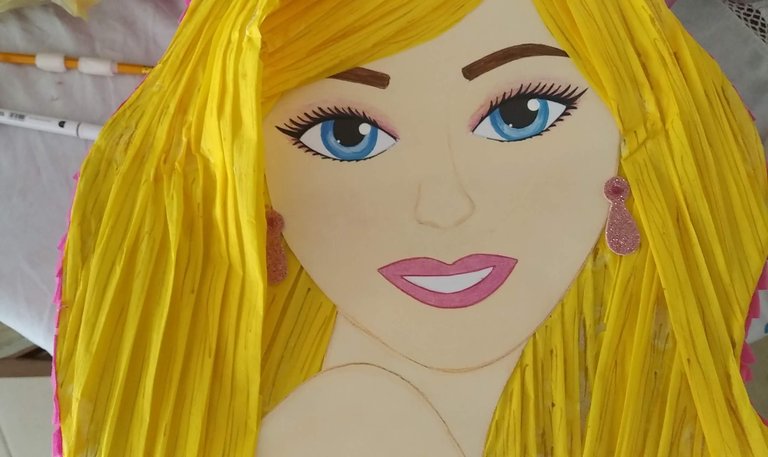
3.- A la pieza del rostro se le deberá cortar con el cutter el área donde van los ojos y los dientes, pues estas áreas se crean aparte y luego se pegan.
3.- The area where the eyes and teeth are located should be cut with the cutter, as these areas are created separately and then glued.
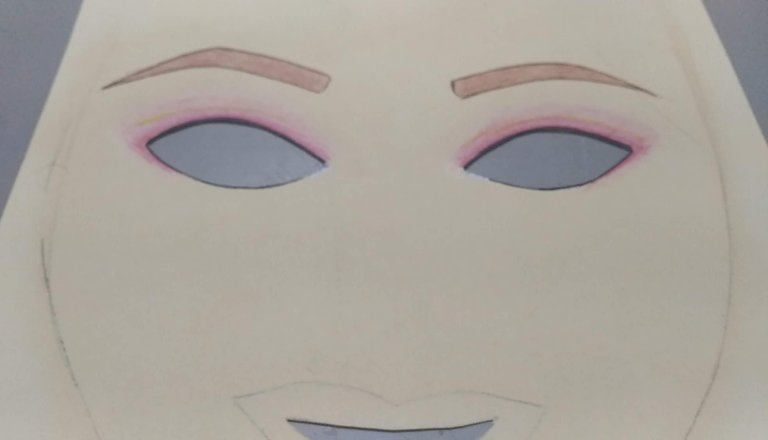
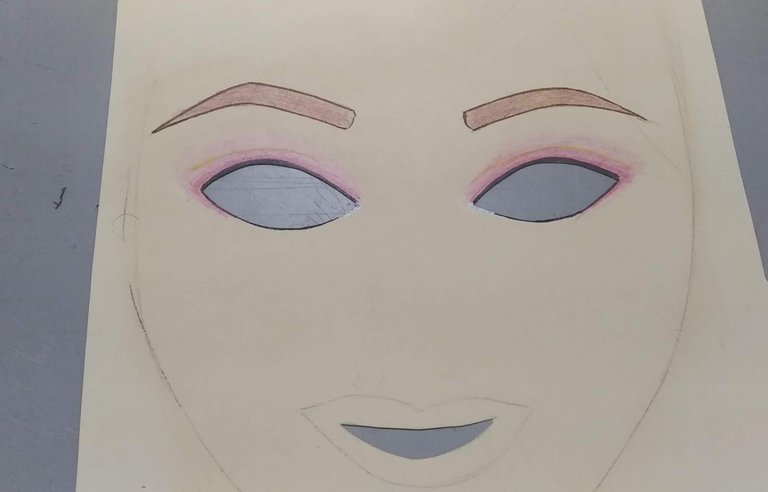
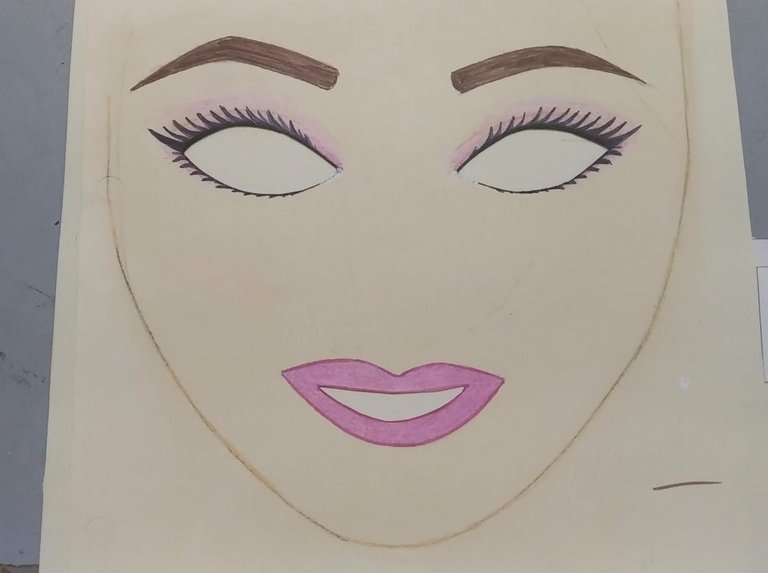
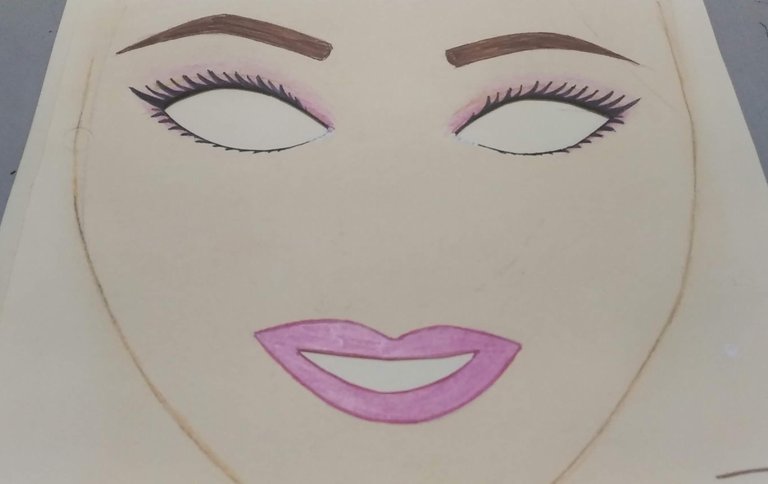
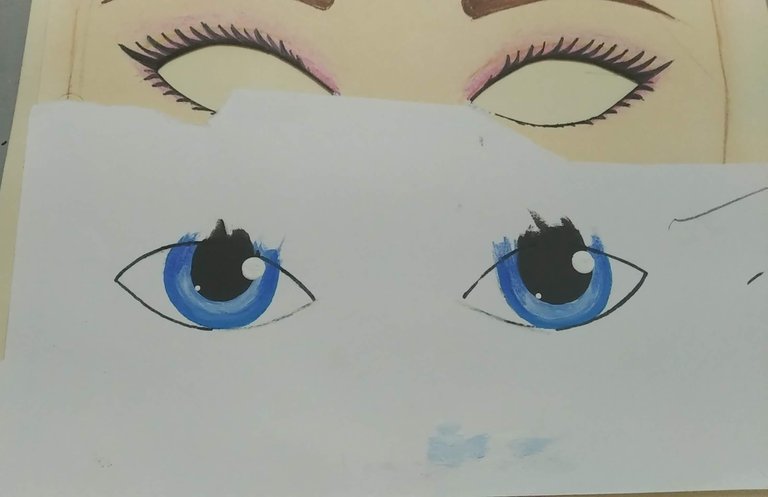
4.- Una vez recortada el área interna de los ojos y los dientes, maquillar el rostro utilizando tiza para el efecto de las sombras y marcadores de colores para boca, cejas y pestañas. Los ojos se pueden pintar con marcadores pero si lo desean para un mejor acabado pueden usar pinturas al frío.
4.- Once the inner area of the eyes and teeth are trimmed, make up the face using chalk for the shadow effect and colored markers for the mouth, eyebrows and eyelashes. The eyes can be painted with markers but for a better finish you can use cold paints.
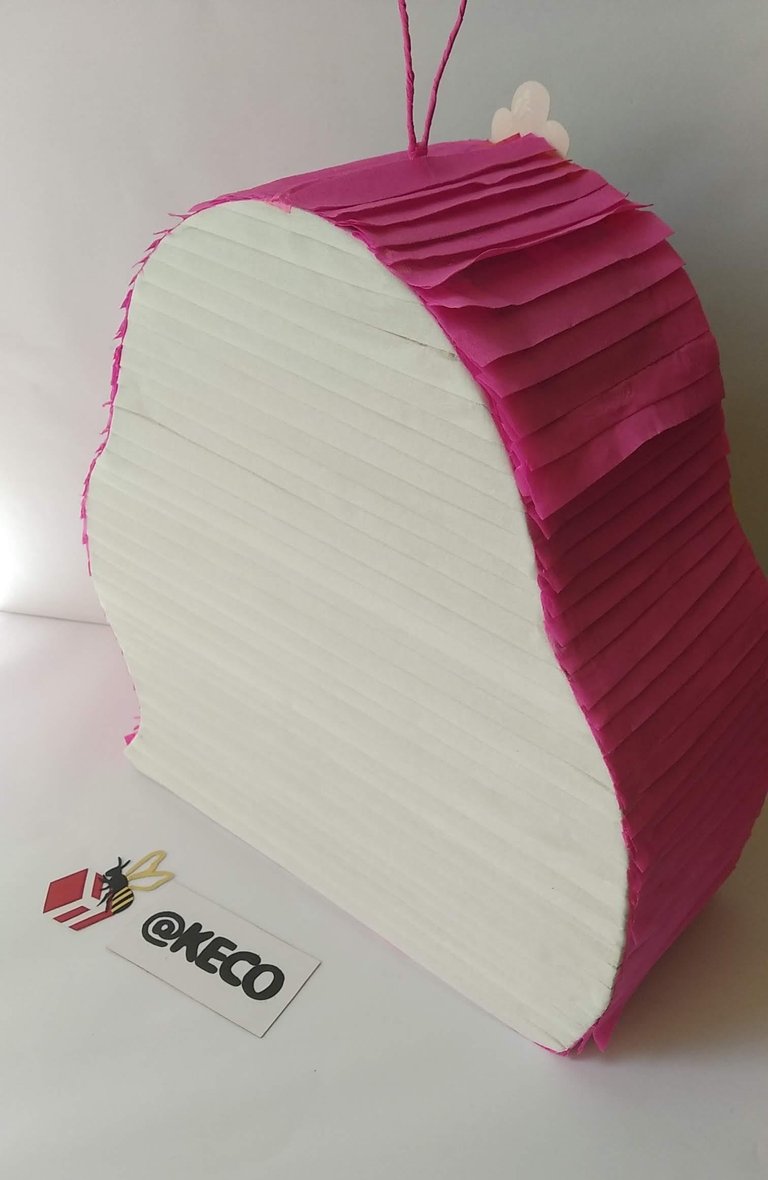
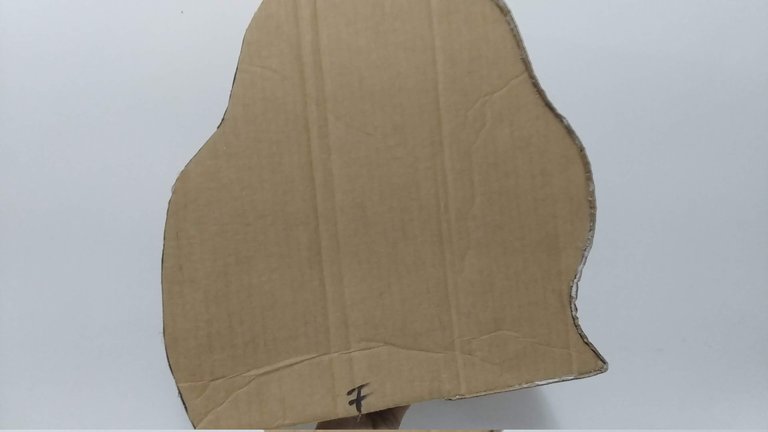
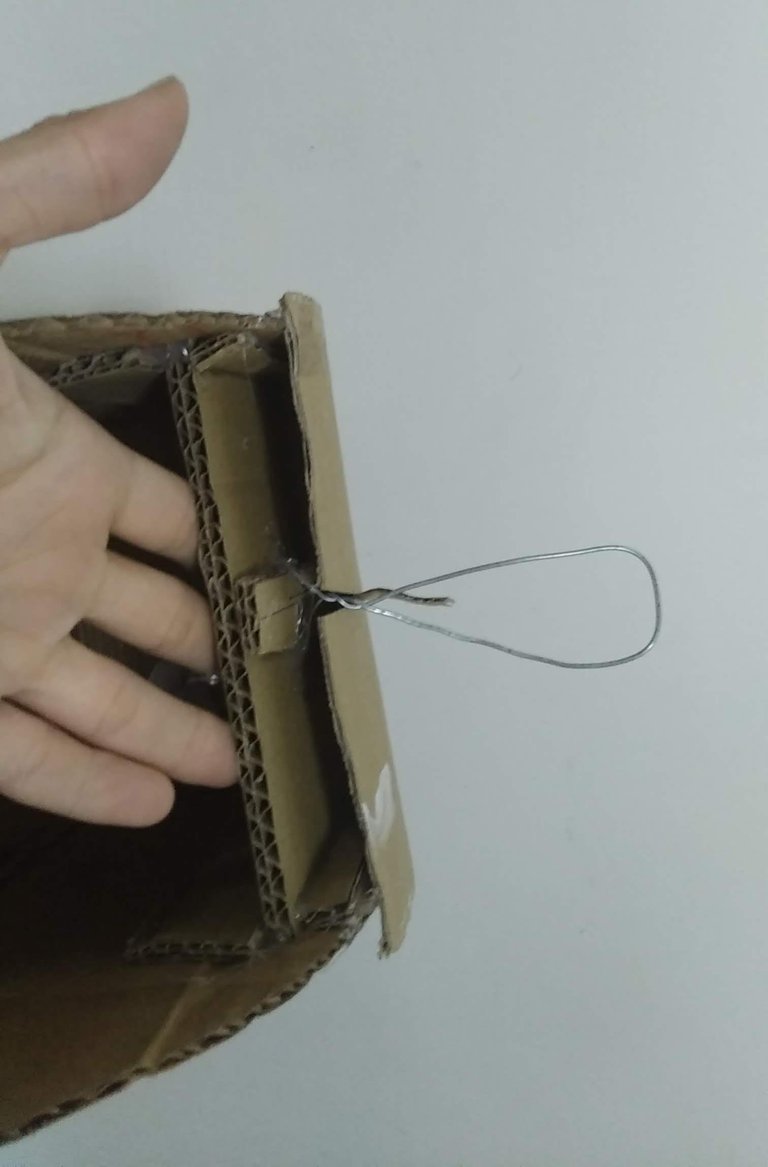
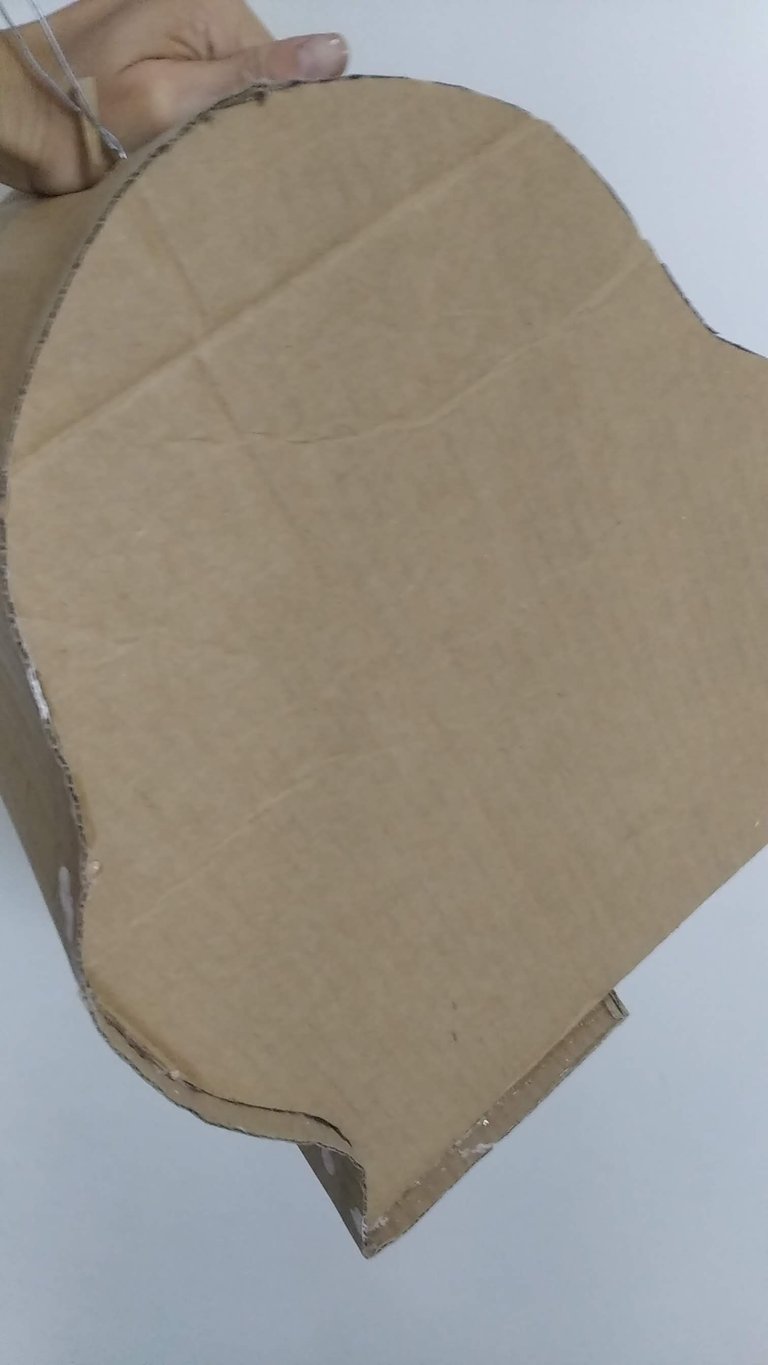
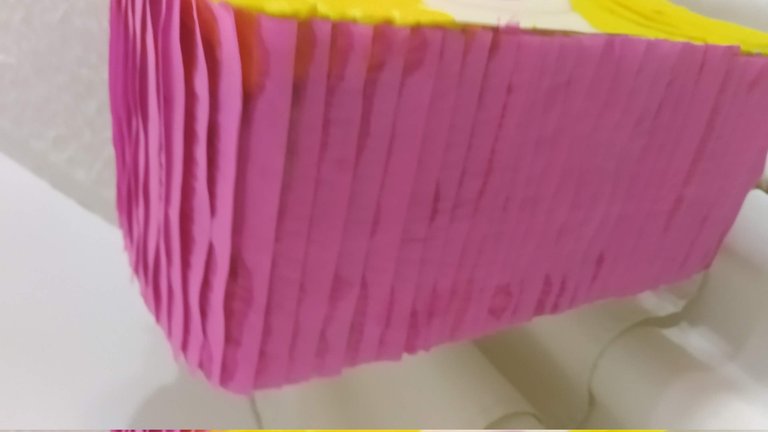
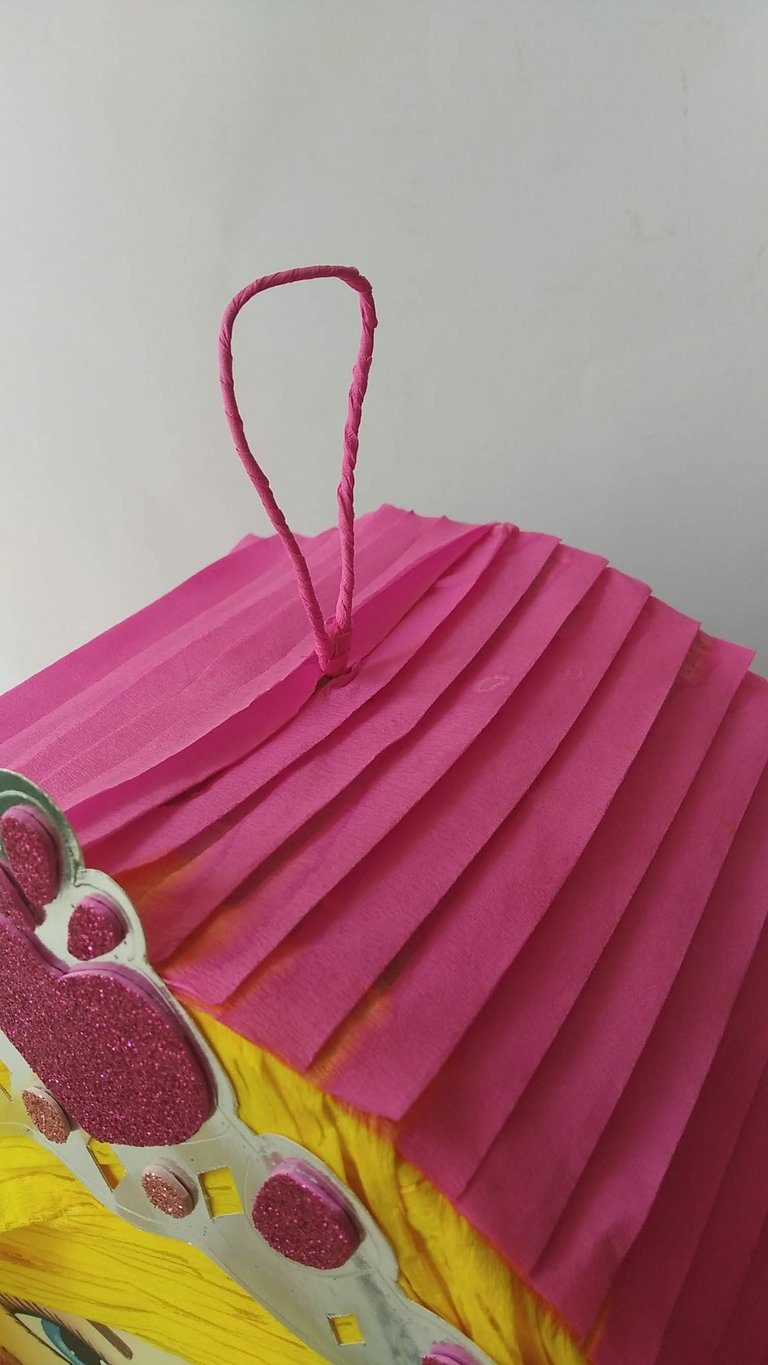
5.- Utilizando la silueta creada en papel, marcar y cortar sobre el cartón, creando dos piezas de igual forma y tamaño. Como la piñata tendrá una profundidad de 15 cm se deberán cortar pequeños trozos de 15 cm que permitirá unir ambas piezas con la silueta del cabello, pegarlos con silicón caliente de alta resistencia. Lo que será la parte superior de la piñata (donde va el alambre), se le debe pegar un trozo de cartón grueso resistente (15 cm ) y reforzarlo con doble trozo de cartón, para lograr así, conseguir la fuerza necesaria. El borde de la piñata pegar con silicón de alta resistencia y reforzar con adhesivo papel si se desea.
5.- Using the silhouette created on paper, mark and cut on the cardboard, creating two pieces of equal shape and size. As the piñata will have a depth of 15 cm, small pieces of 15 cm should be cut to join both pieces with the silhouette of the hair, glue them with high resistance hot silicone. What will be the upper part of the piñata (where the wire goes), a piece of thick resistant cardboard (15 cm) should be glued and reinforced with a double piece of cardboard, to achieve the necessary strength. The edge of the piñata should be glued with high-strength silicone and reinforced with paper adhesive if desired.
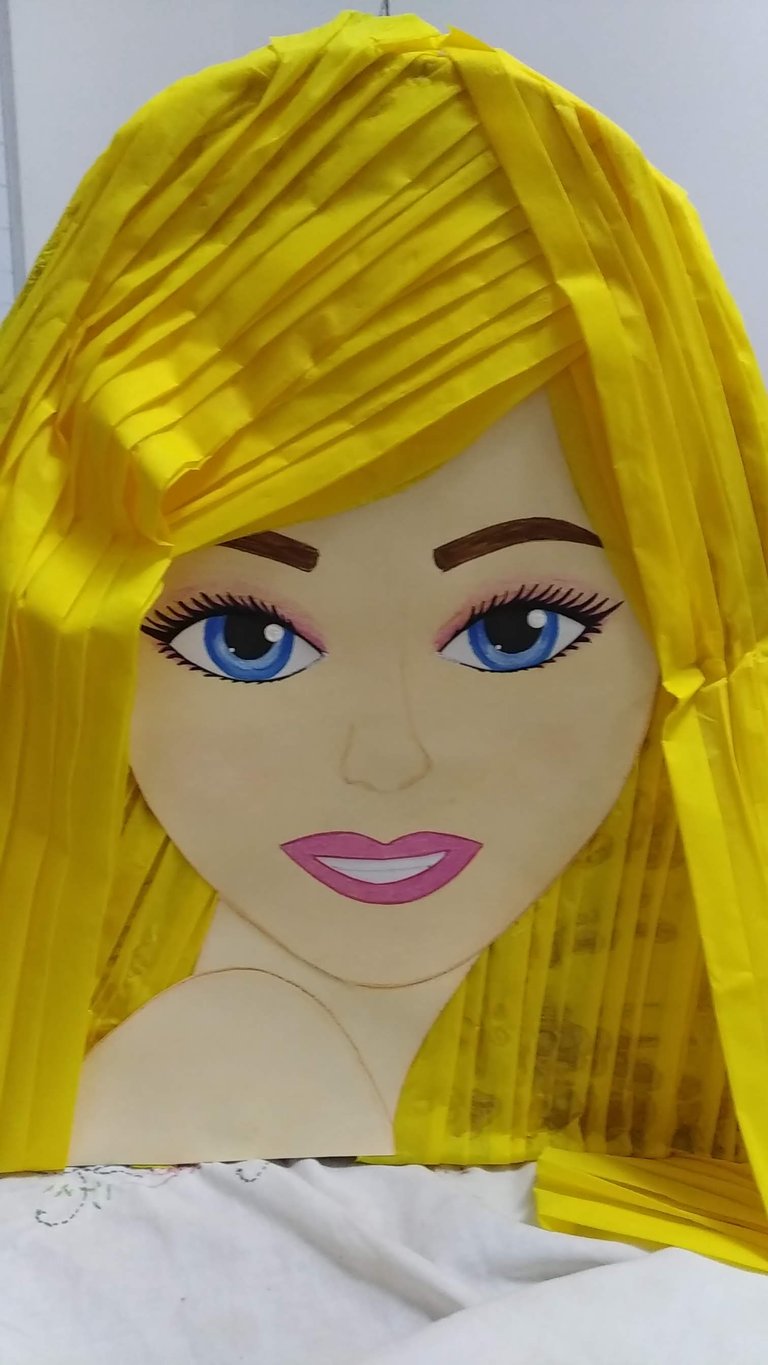
6.- A la pieza frontal de la piñata colocar papel amarillo en la base, para que el color quede bien marcado. Luego pegar el rostro y el hombro ya ensamblado.
6.- To the front piece of the piñata place yellow paper on the base, so that the color is well marked. Then glue the face and the shoulder already assembled.
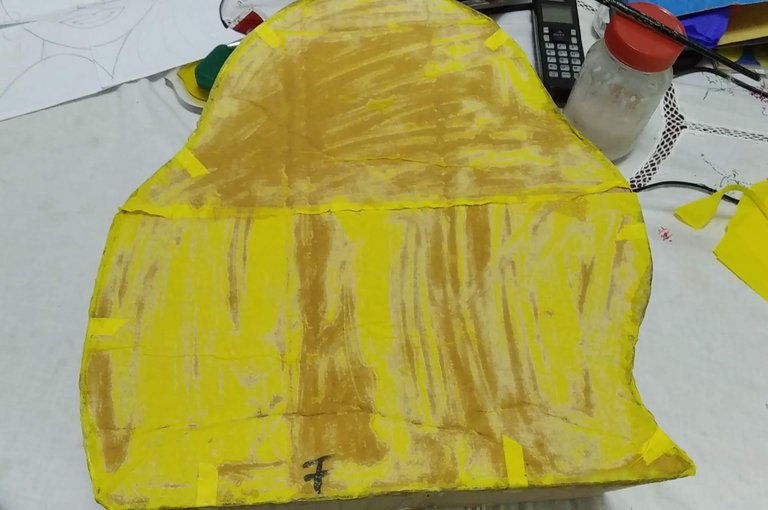
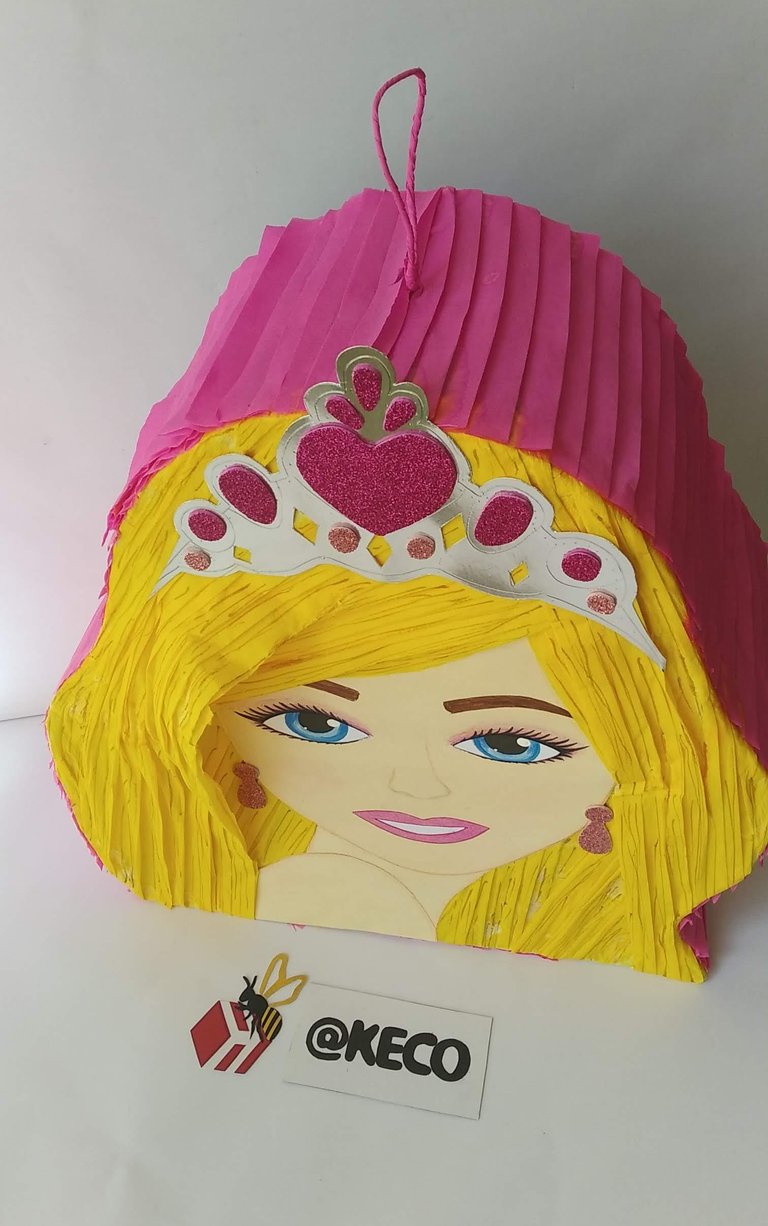
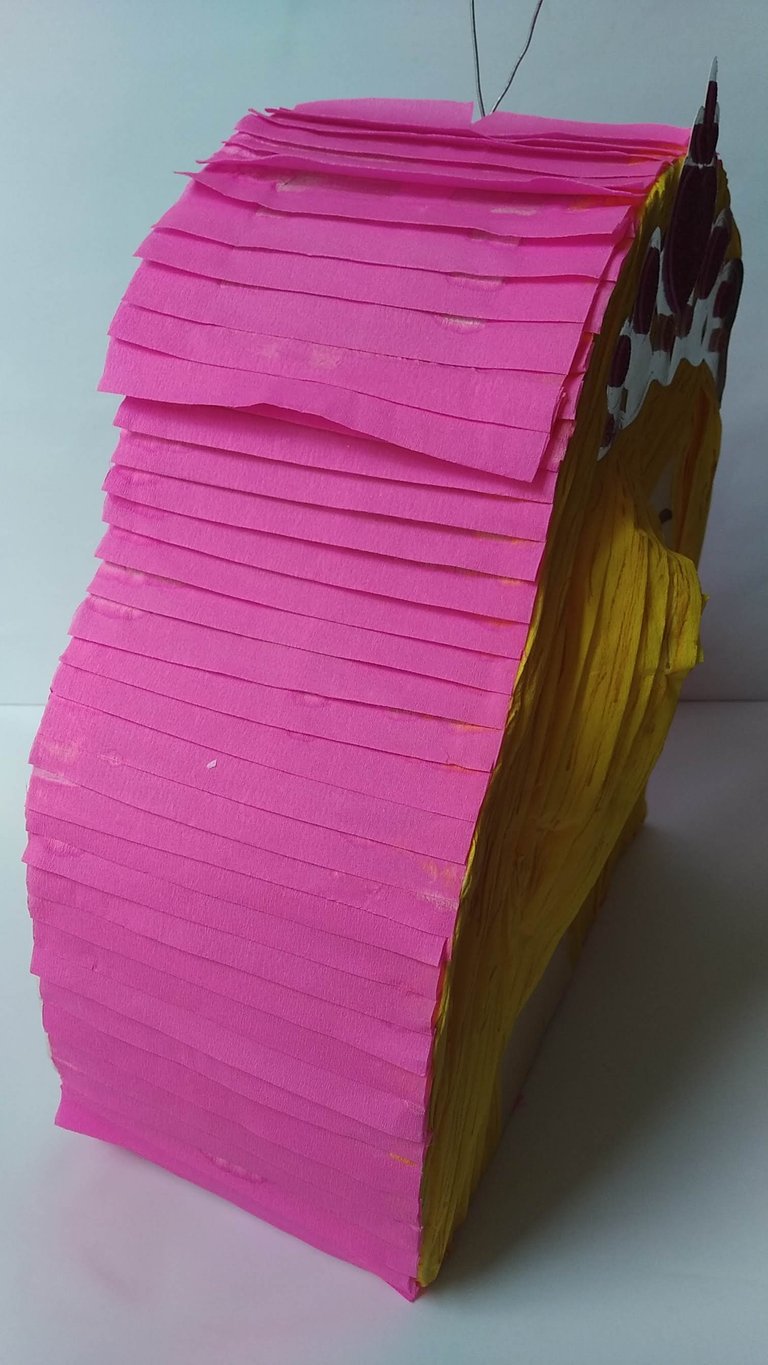
7.- Tomar el papel crepé amarillo y doblar en pliegos. Respetando el diseño original, ir pegando el papel con los pliegos en sentido vertical y diagonal. Cuidando de darle forma y respetar el área de la frente de barbie.
7.- Take the yellow crepe paper and fold it in sheets. Respecting the original design, glue the paper with the folds vertically and diagonally. Be careful to give it shape and respect the area of barbie's forehead.
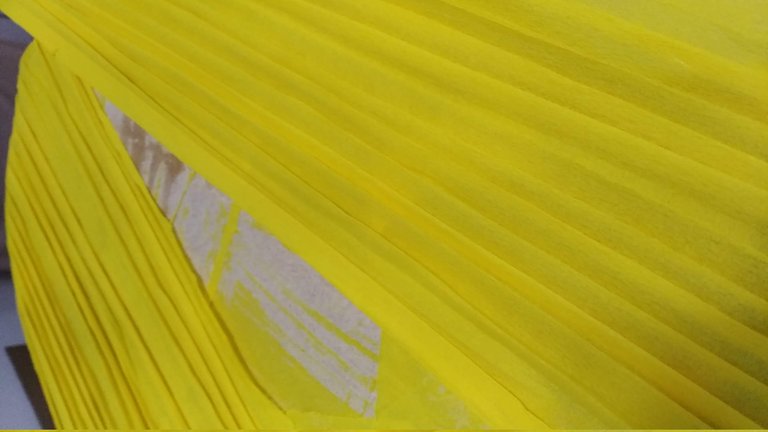

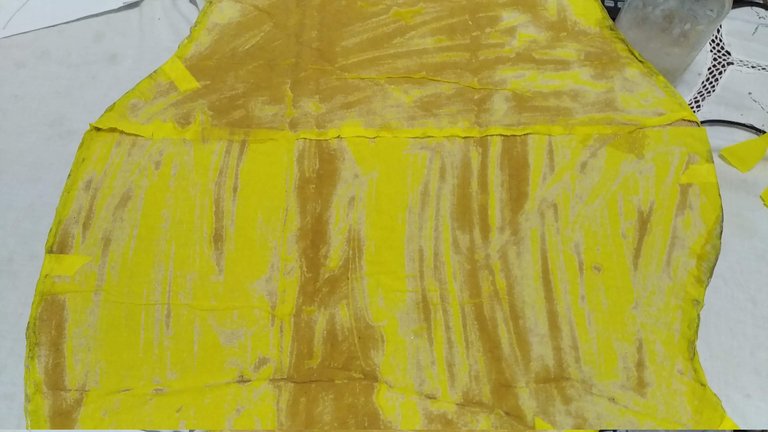
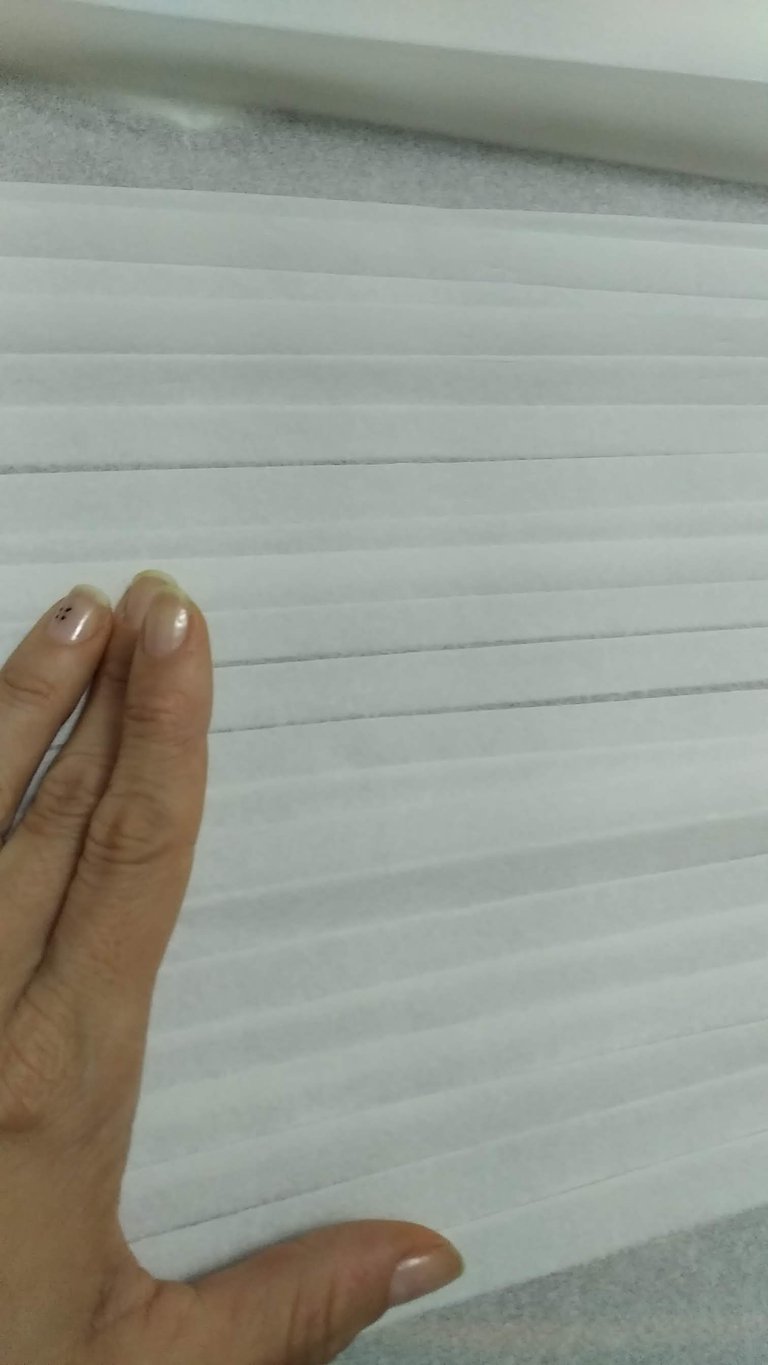
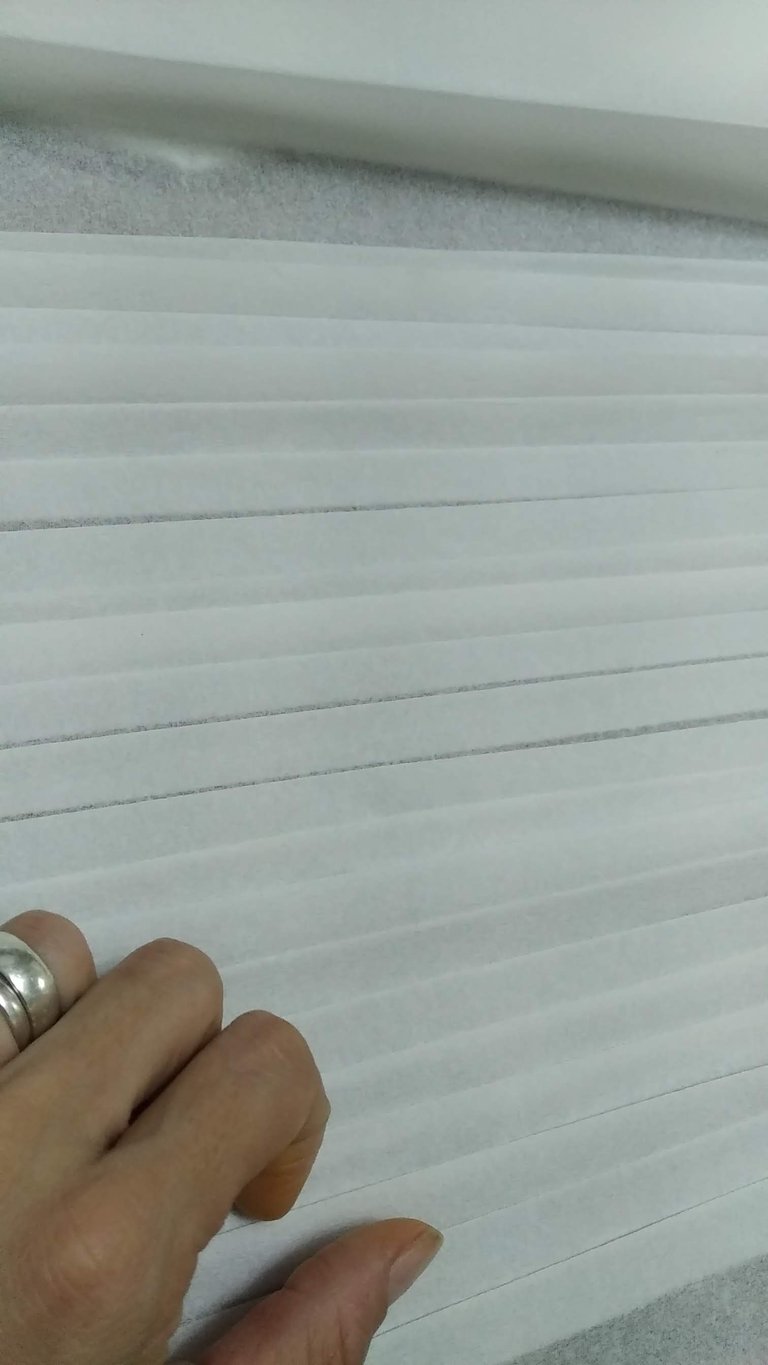
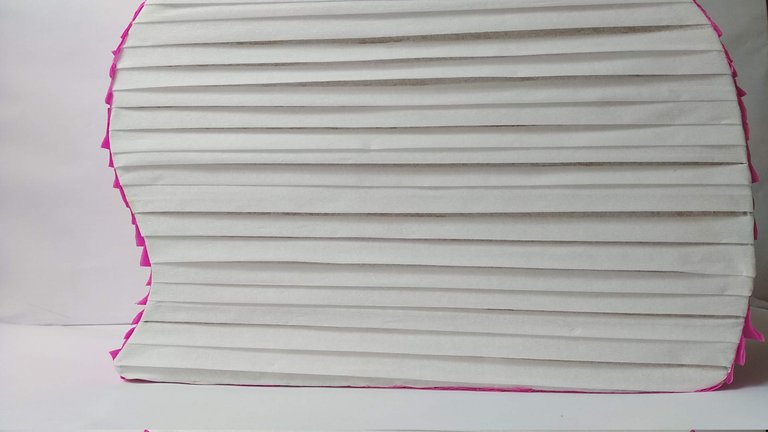
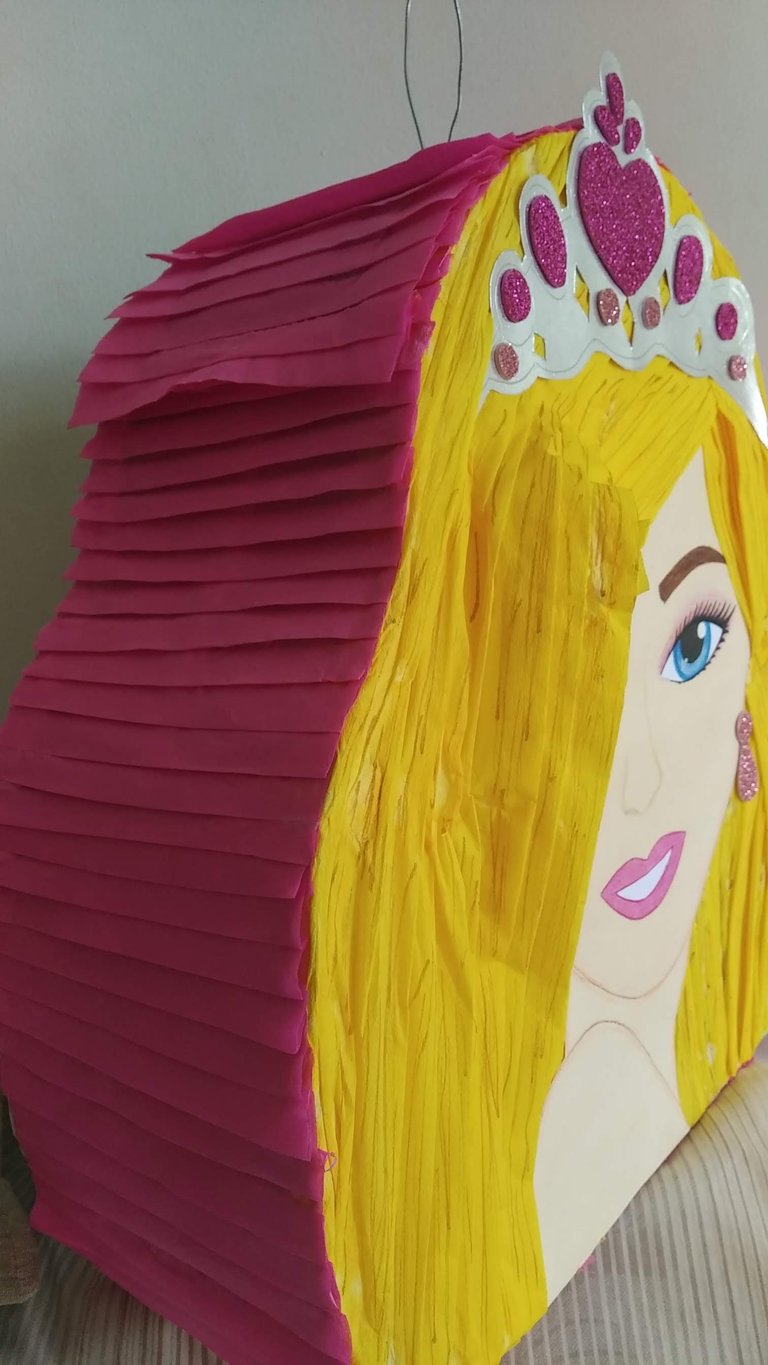
8.- Las otras áreas de la piñata forrar también con papel crepé, pero en vez de usar flecos como se acostumbra de manera tradicional, forrar doblando el papel en pliegos. Se debe cuidar de pegar siempre los pliegos en un mismo sentido ya sean en vertical u Horizontal, pero jamas en ambos, para cuidar la estética. Cuidar de no aplicar mucho engrudo para evitar el papel se dañe.
8.- The other areas of the piñata should also be lined with crepe paper, but instead of using bangs as is traditionally done, the paper should be folded in sheets. Be careful to always glue the sheets in the same direction, either vertically or horizontally, but never in both, to take care of the aesthetics. Be careful not to apply too much paste to avoid damaging the paper.

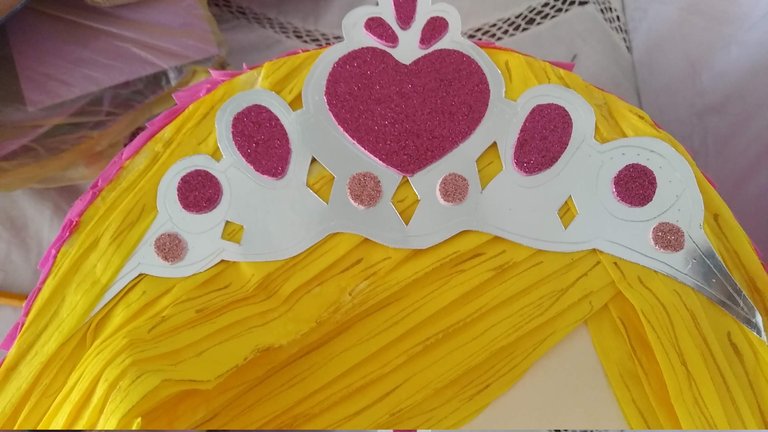
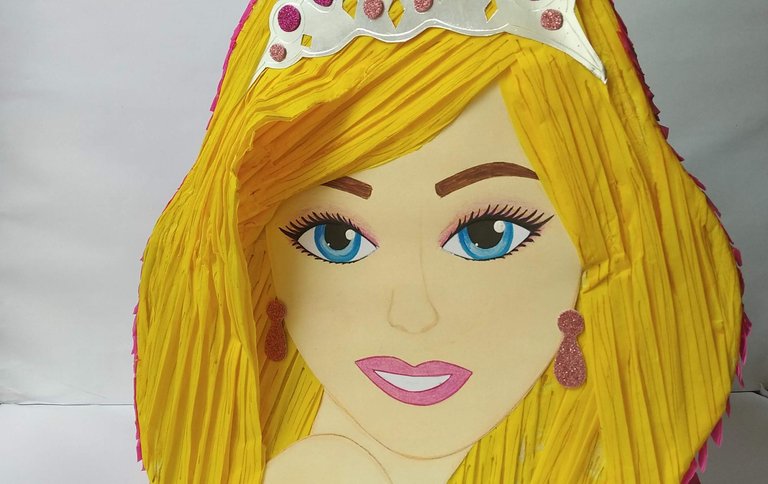
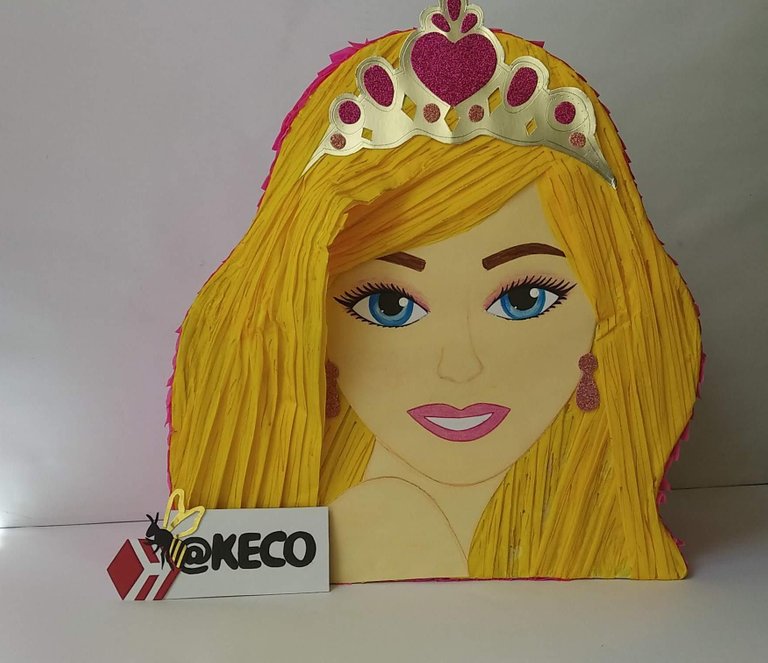
9.- Una vez todo el papel este bien seco, terminar la piñata aplicando detalles especiales como la corona y los zarcillos. La corona marcar y cortar en cartulina plateada y ponerle detalles en foami brillante fucsia y rosado. Los zarcillos también recortar en foami rosado brillante. Para darle tonos distintos al cabello, marcar sobre el amarillo finas lineas de marcador marrón oscuro y claro y así dar un efecto mejor a cabello.
9.- Once all the paper is dry, finish the piñata by applying special details such as the crown and tendrils. The crown should be marked and cut in silver cardboard and details in fuchsia and pink shiny foami. The tendrils can also be cut in shiny pink foami. To give different tones to the hair, mark thin lines of dark and light brown marker on the yellow to give a better effect to the hair.

Espero les haya gustado y sobre todo se entusiasmen a crear algo parecido para sorprender a familiares y amigos.
I hope you liked it and, above all, I hope you get excited to create something similar to surprise your family and friends.

Fuente
SALUDOS / REGARDS
Todas las Fotos fueron tomadas con mi teléfono Redmi 7A.
Contenido original de @keco (fotos y texto) - Todos los derechos reservados Publicado en HIVE así como en mi instagram : http://instagram.com/carton_pintura_algo_mas
All Photos were taken with my Redmi 7A phone.
Original content from @keco (photos and text) - All rights reserved Posted on HIVE as well as on my instagram: http://instagram.com/carton_pintura_algo_mas
que hermosa te quedó, te felicito por que se ve que sabes dibujar muy bien y le imprimiste amor en cada detalle.
Está bella
¡Felicidades! Esta publicación obtuvo upvote y fue compartido por @la-colmena, un proyecto de Curación Manual para la comunidad hispana de Hive que cuenta con el respaldo de @curie.
Si te gusta el trabajo que hacemos, te invitamos a darle tu voto a este comentario y a votar como testigo por Curie.
Si quieres saber más sobre nuestro proyecto, acompáñanos en Discord: La Colmena.
Your content has been voted as a part of Encouragement program. Keep up the good work!
Use Ecency daily to boost your growth on platform!
Support Ecency
Vote for new Proposal
Delegate HP and earn more
Excelente trabajo. Me ha gustado sobre todo la descripción del proceso, repleto de detalles y explicaciones. Felicidades
aunque ya estoy grande para las barbies llegue a aun conservo las 15 que logre tener.
y esa que hiciste es de la comiquita de a princesa y la estrella de pop😄
bello .
que tengas feliz semana exitoso
Thank you for sharing this amazing post on HIVE!
Your content got selected by our fellow curator @hafizullah & you just received a little thank you via an upvote from our non-profit curation initiative!
You will be featured in one of our recurring curation compilations and on our pinterest boards! Both are aiming to offer you a stage to widen your audience within and outside of the DIY scene of hive.
Join the official DIYHub community on HIVE and show us more of your amazing work and feel free to connect with us and other DIYers via our discord server: https://discord.gg/mY5uCfQ !
If you want to support our goal to motivate other DIY/art/music/homesteading/... creators just delegate to us and earn 100% of your curation rewards!
Stay creative & hive on!
Que bellaaa esa piñata amiga te quedó expectacular muy bien elaborada y los pasos bien explicados. Bendecido día
Hiciste un hermoso trabajo, se nota mucha dedicación porque te fijas muy bien en los detalles. Felicidades.
Nice work! 👌

Mine: