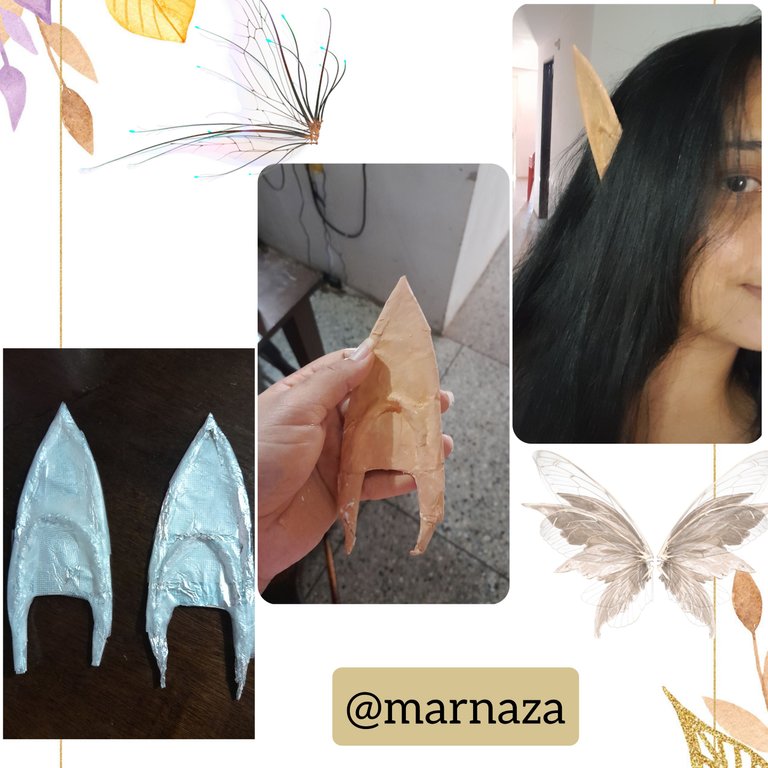
Saludos mis estimados compañeros de Hive, Bienvenidos nuevamente a mi Blog en esta ocasión les mostraré como hacer unas orejas de Elfos y Hadas para realizar, disfraces o maquillajes artístico y para muchas cosas mas, las pueden utilizar las veces que sean necesarias.
Greetings my dear fellow Hive members, Welcome back to my Blog this time I will show you how to make Elves and Fairies ears to make, costumes or artistic makeup and for many other things, you can use them as many times as necessary.
USE THE FOLLOWING MATERIAL
UTILICE EL SIGUIENTE MATERIAL
-Aluminio
-Carton de material reciclables
-Pega en Barra
-Pintura Blanca
-Maicena
-1 Pincel
-Esponja
-Cinta adhesiva
-Base
-Hoja blanca y lapiz
-Hoja delgada del Block
-Polvo suelto
-Brocha grande
-Aluminum
-Carton of recyclable materials
-Bar glue
-White paint
-Maicena
-1 Brush
-Sponge
-Adhesive tape
-Base
-White paper and pencil
-Thin sheet of Block
-Loose powder
-Large brush

PROCEDURE
PROCEDIMIENTO
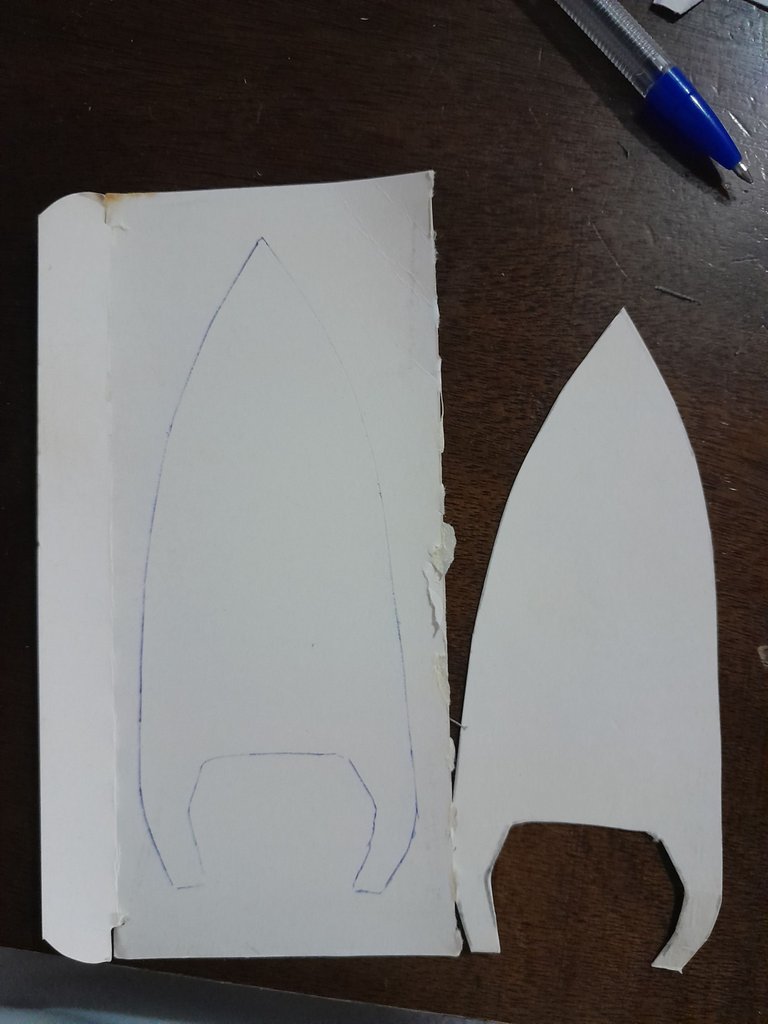
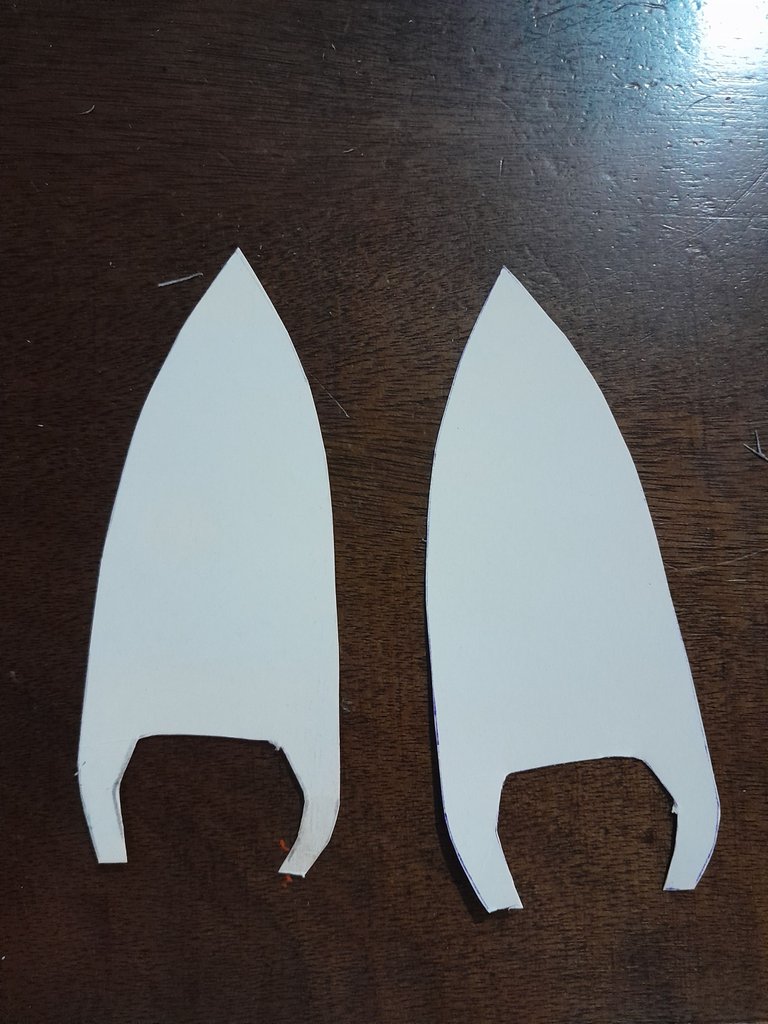
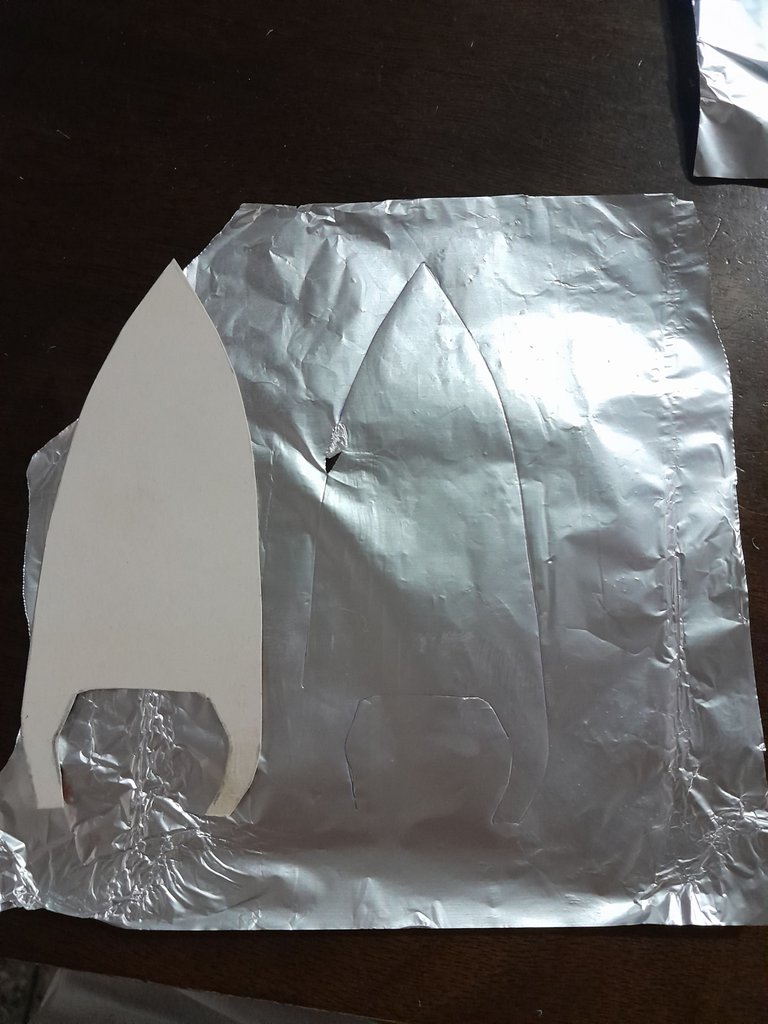
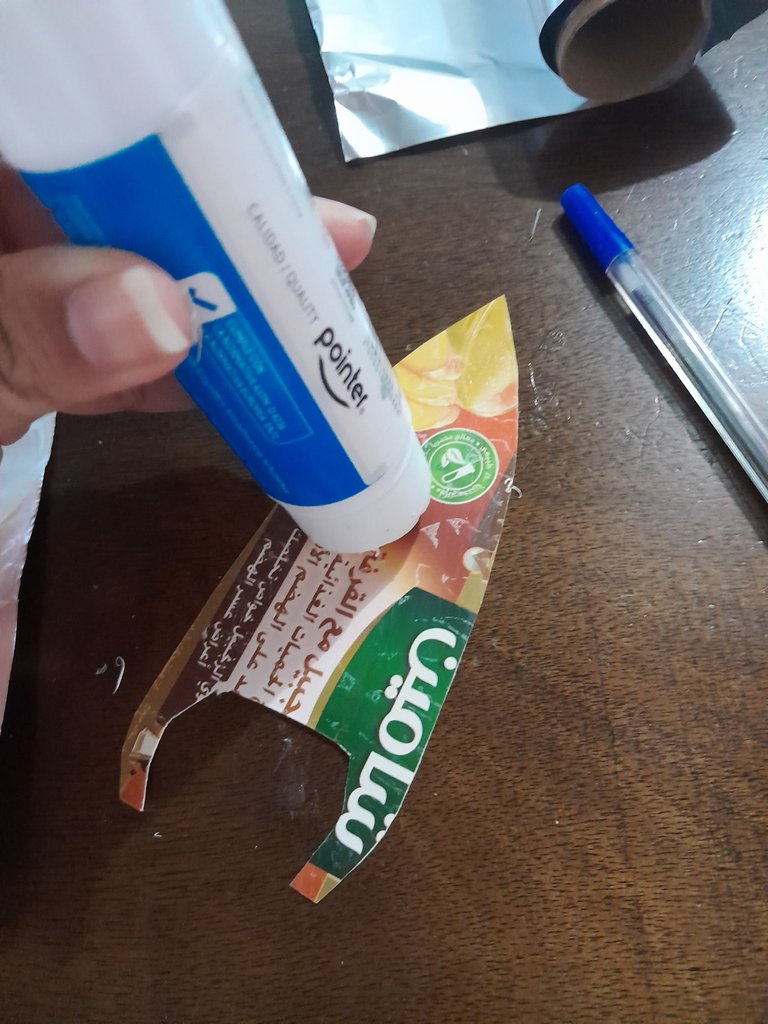
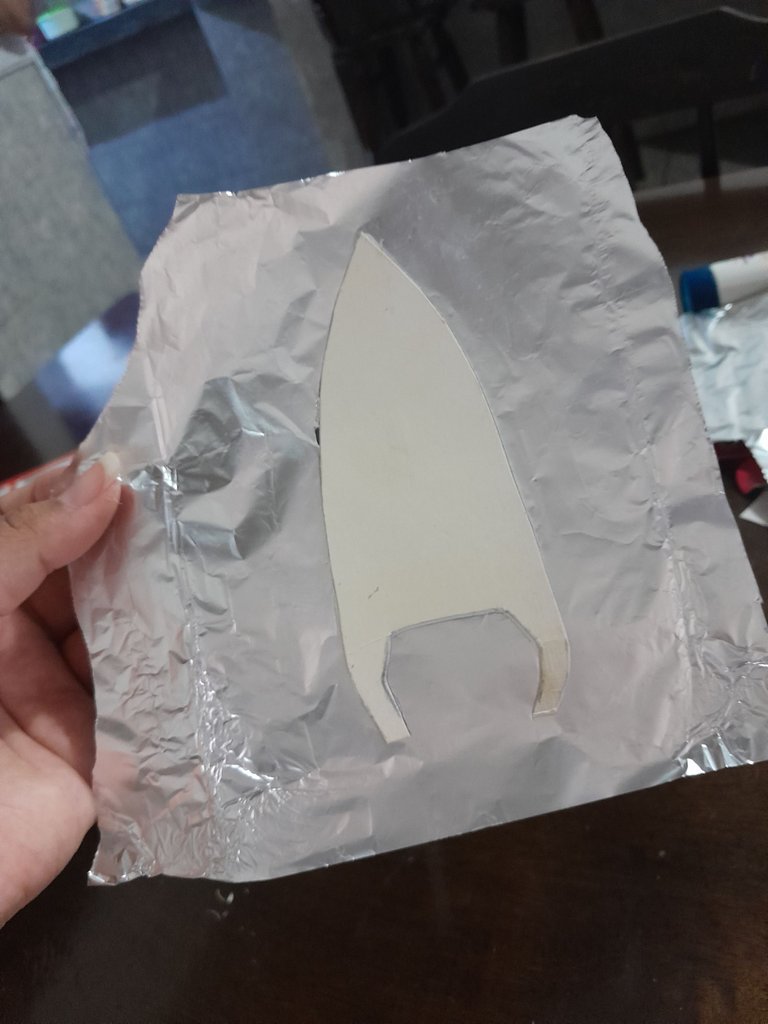
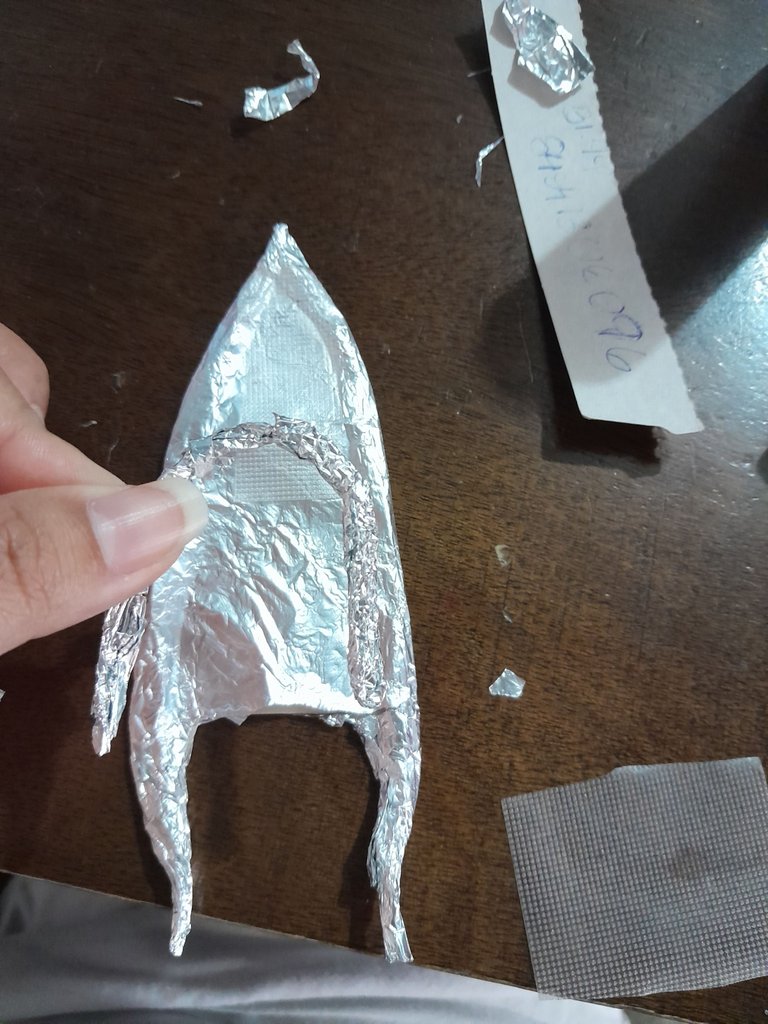
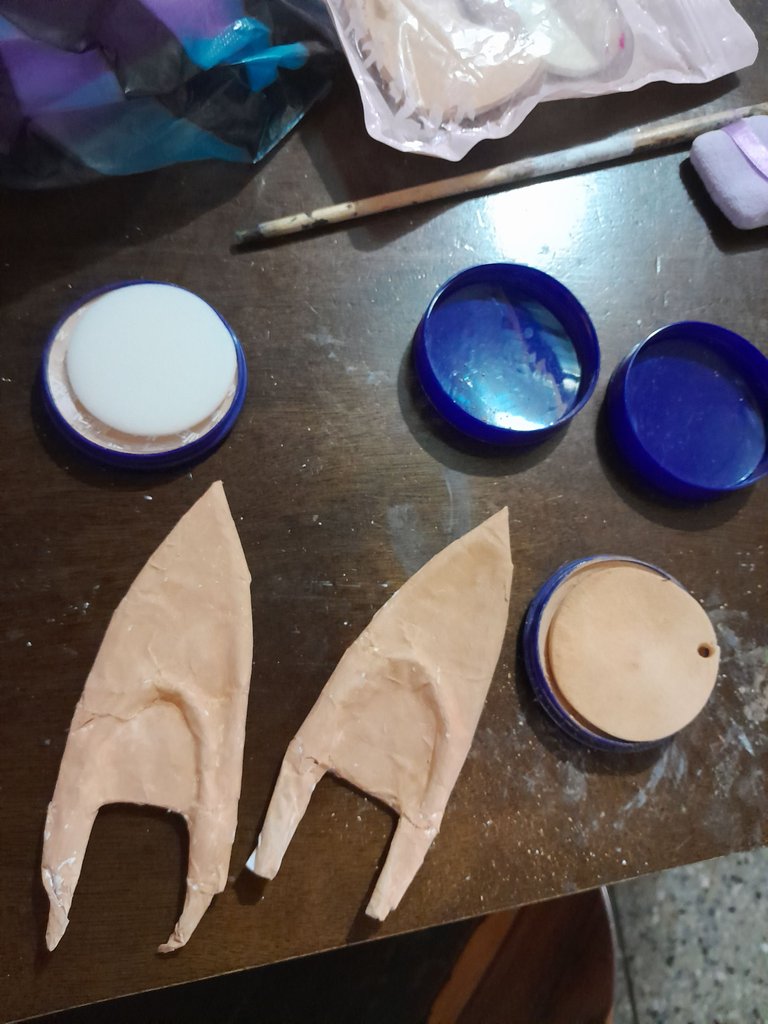
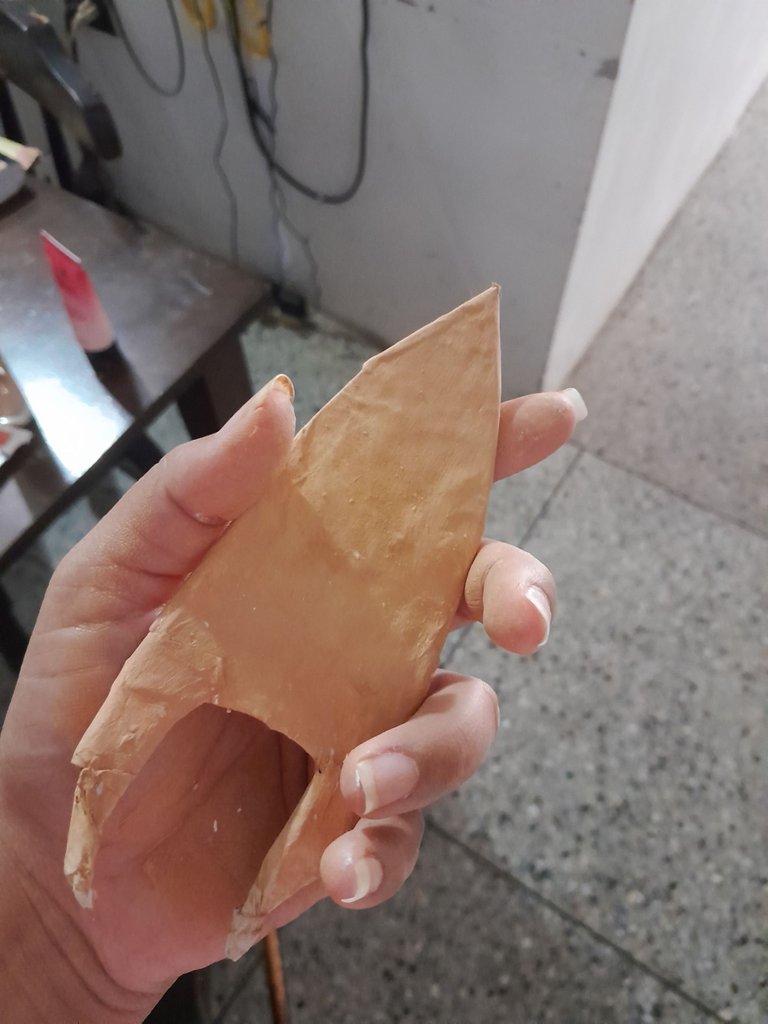
El cartón que utilice fue el de las cajitas de té, porque es bastante delgado y moldeable, así que primero en una hoja blanca dibuje la plantilla de una de las orejitas, y después la piqué con la tijera y lo que hice fue colocarlas en el cartón y las marque y con la tijera ya saque el molde en el cartón y con las dos plantillas listas pique aluminio y con el lapiz marque la plantilla en el, después en la parte de atrás de la plantilla coloque pega en barra y la pegue justo donde la había marcado en el papel de aluminio.
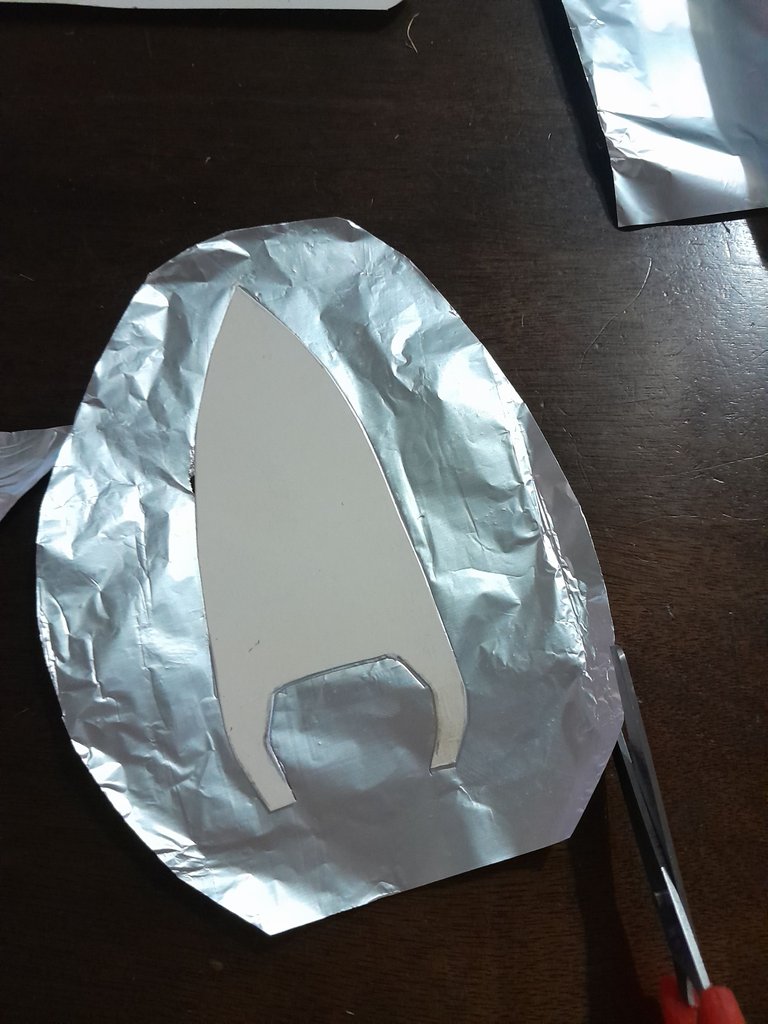
Con la tijera le di forma de circulo al aluminio y lo fui moldeando en las orillas para que queden gruesitas en las orillas y después pique el centro del aluminio donde van las dos paticas y también les di forma en ellas.
The cardboard I used was the one from the tea boxes, because it is quite thin and moldable, so first on a white sheet I drew the template of one of the ears, and then I cut it with the scissors and what I did was to place them on the cardboard and mark them and with the scissors I took out the mold on the cardboard and with the two templates ready I cut aluminum and with the pencil I marked the template on it, then on the back of the template I put glue stick and glued it just where I had marked it on the aluminum foil.
With the scissors I shaped the aluminum into a circle and molded the edges so that they would be thicker on the edges and then I cut in the center of the aluminum where the two pawls go and I also shaped them.
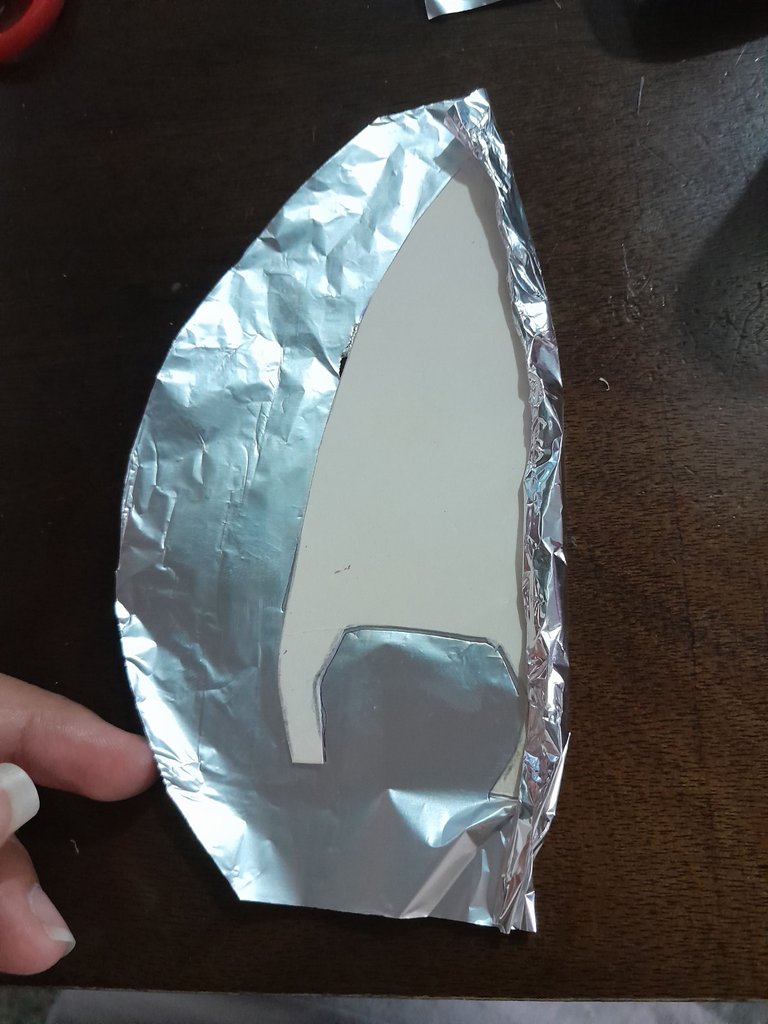
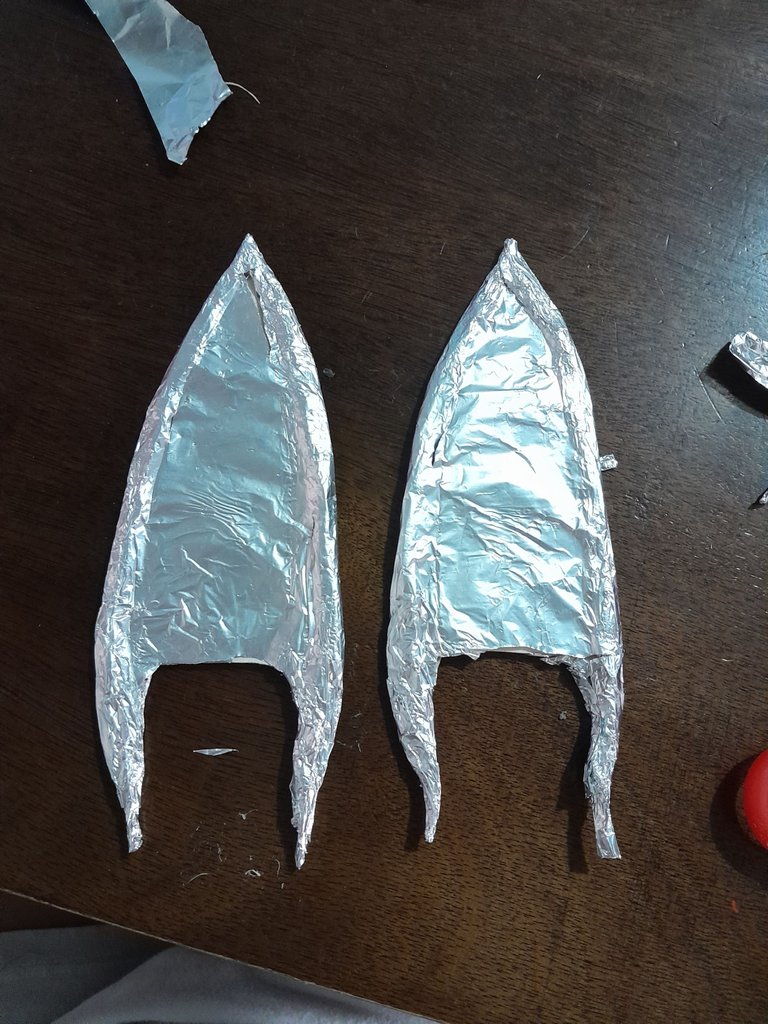
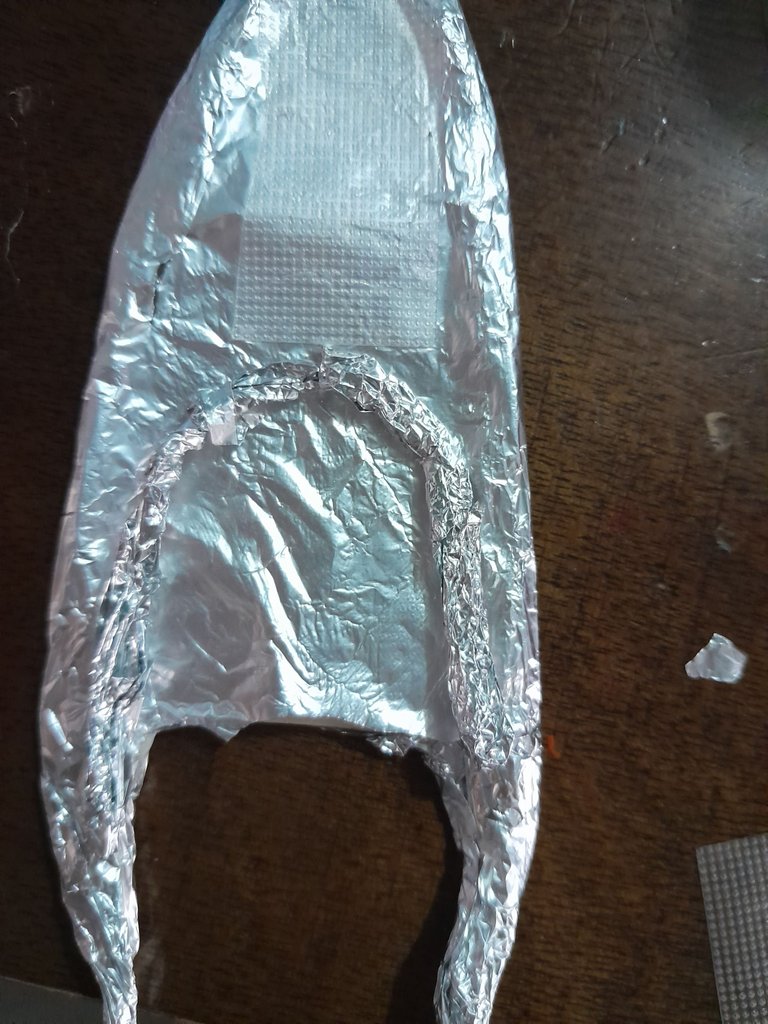
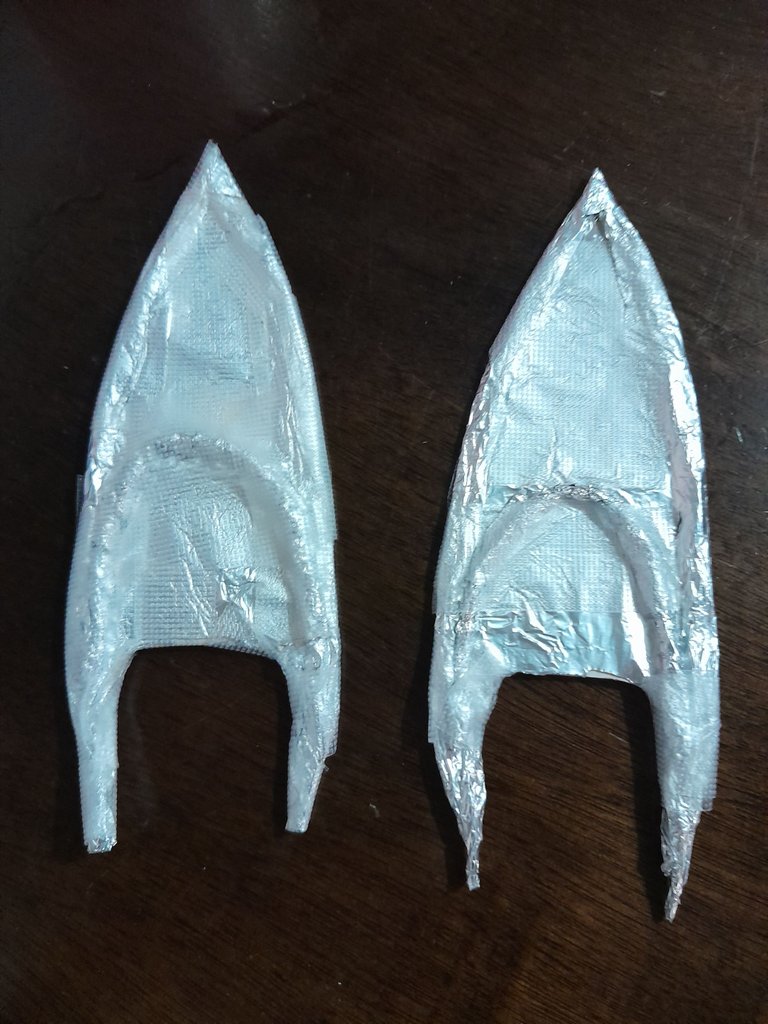
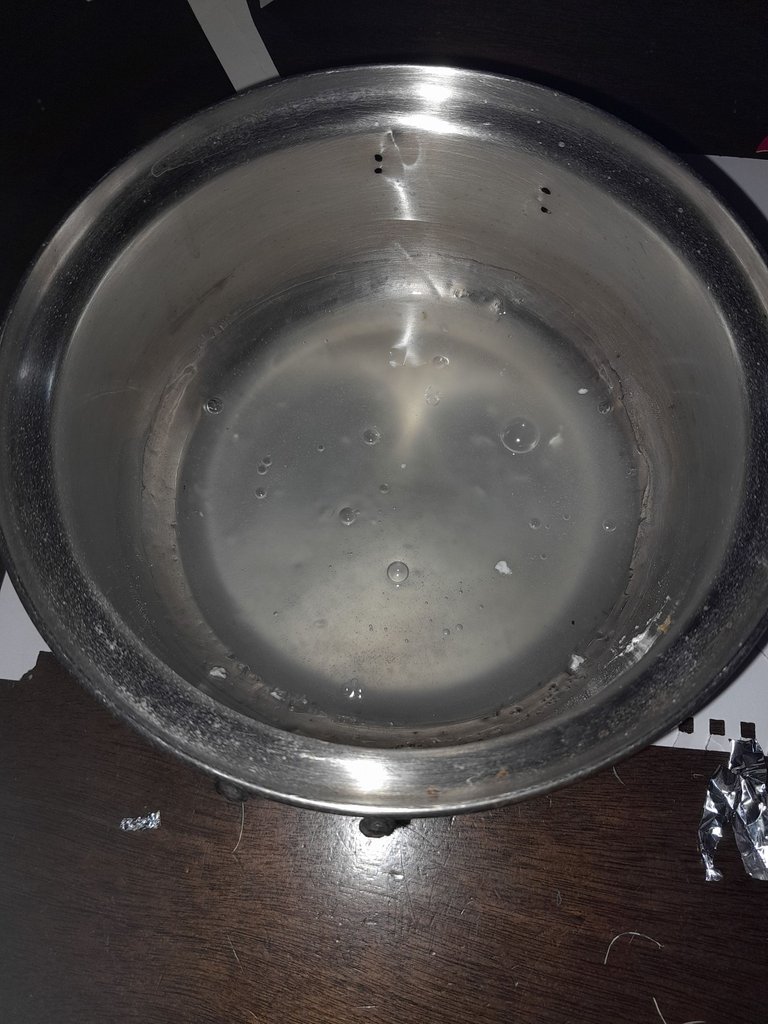
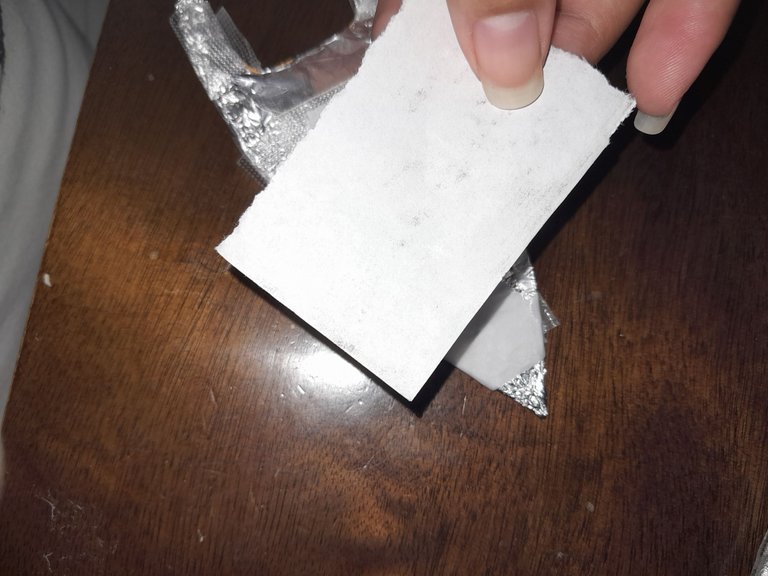
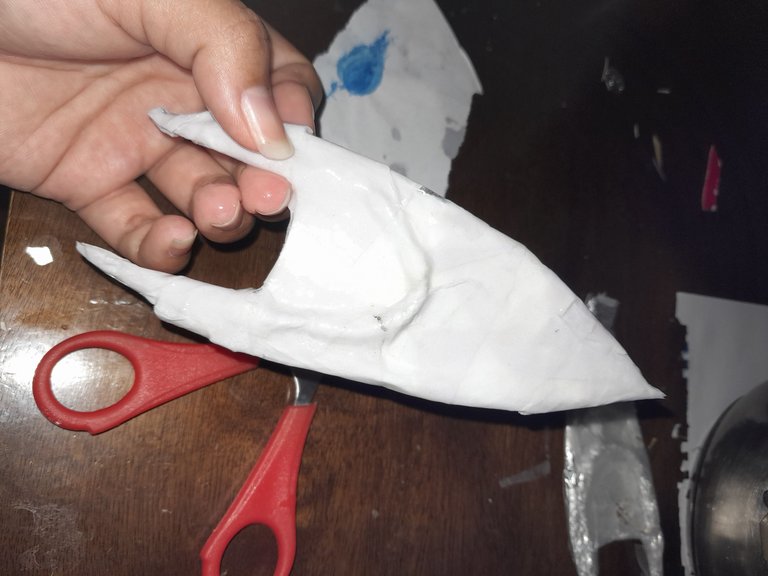
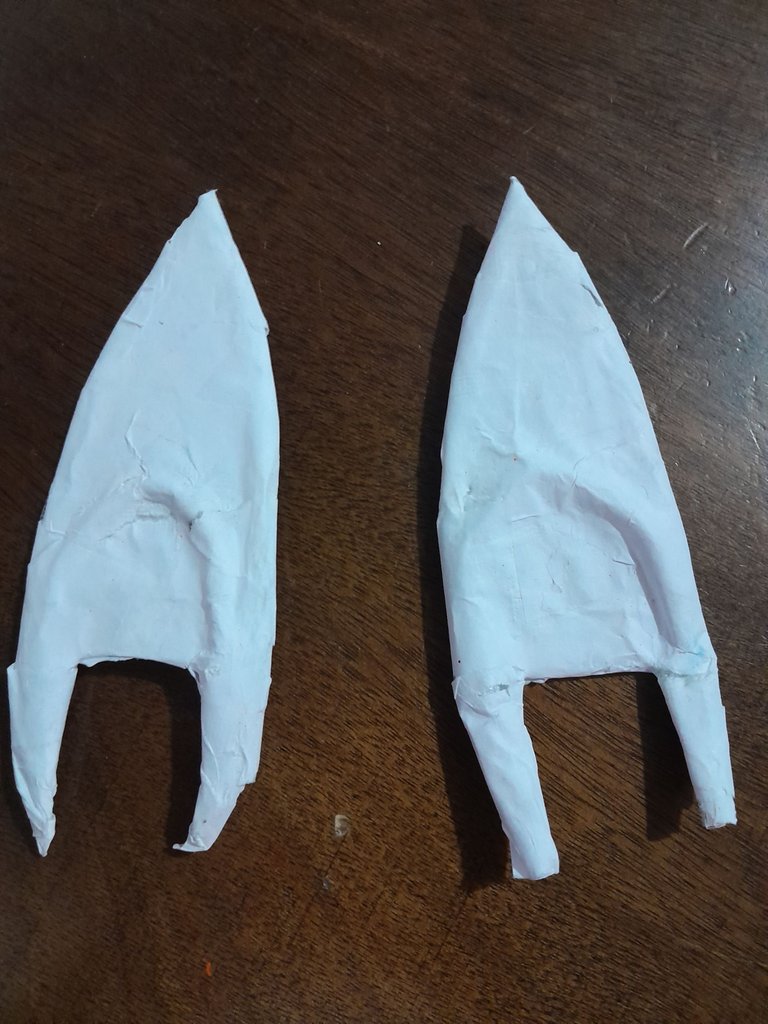
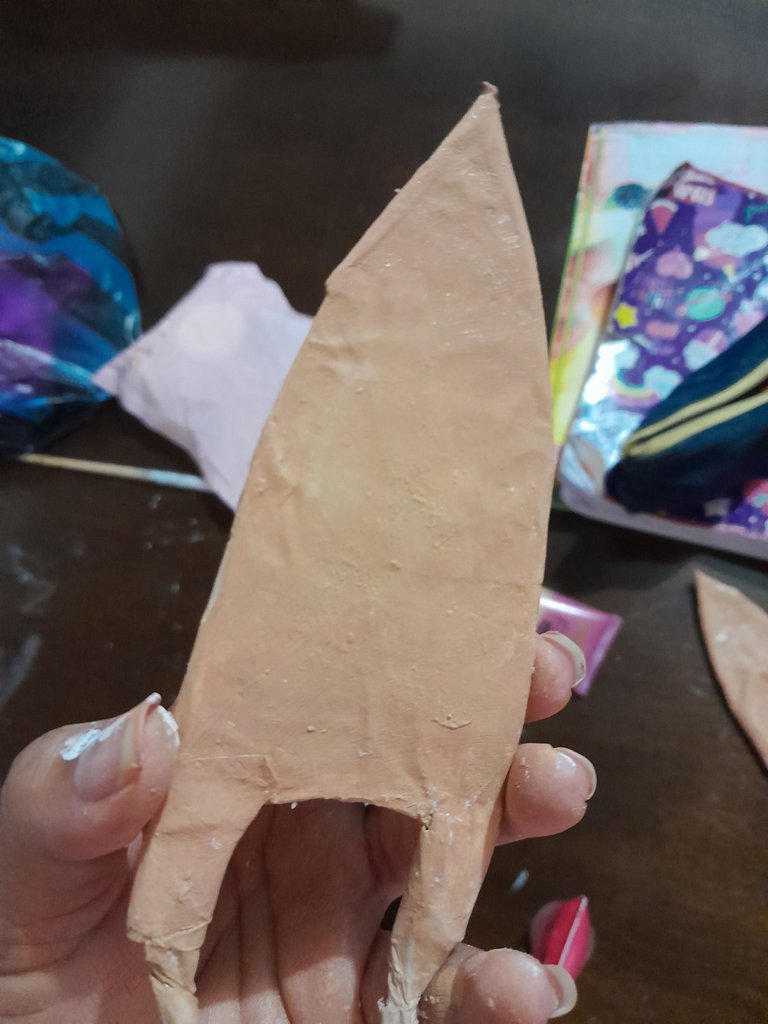
Saque dos trozos más del aluminio y los pegue en la parte de adelante, después hice como unos palitos delgados con aluminio y los coloque en forma de U pero alrevez justo en la parte de abajo, ahí comence a colocar cinta adhesiva por toda la orejita y cuando ya estaban listas, Comencé a preparar la maicena y así mismo con mucho cuidado de no quemarme estando caliente comence aplicar trozos de la hojita delgadita del Block y las fui pegando con la maicena con una pincel plano hasta que mis dos orejitas ya estaban bien forradas las puse en el sol alrededor de una hora, después las pinte con pintura blanca y las puse en el sol por otra hora más hasta que estuvieran bien secas.
I took out two more pieces of aluminum and glued them in the front part, then I made some thin sticks with aluminum and placed them in a U shape but upside down just at the bottom, then I started to put tape all over the ear and when they were ready, I began to prepare the cornstarch and in the same way, being very careful not to burn myself being hot, I began to apply pieces of the thin sheet of Block and I was sticking them with the cornstarch with a flat brush until my two little ears were well lined, I put them in the sun for about an hour, then I painted them with white paint and I put them in the sun for another hour until they were well dry.
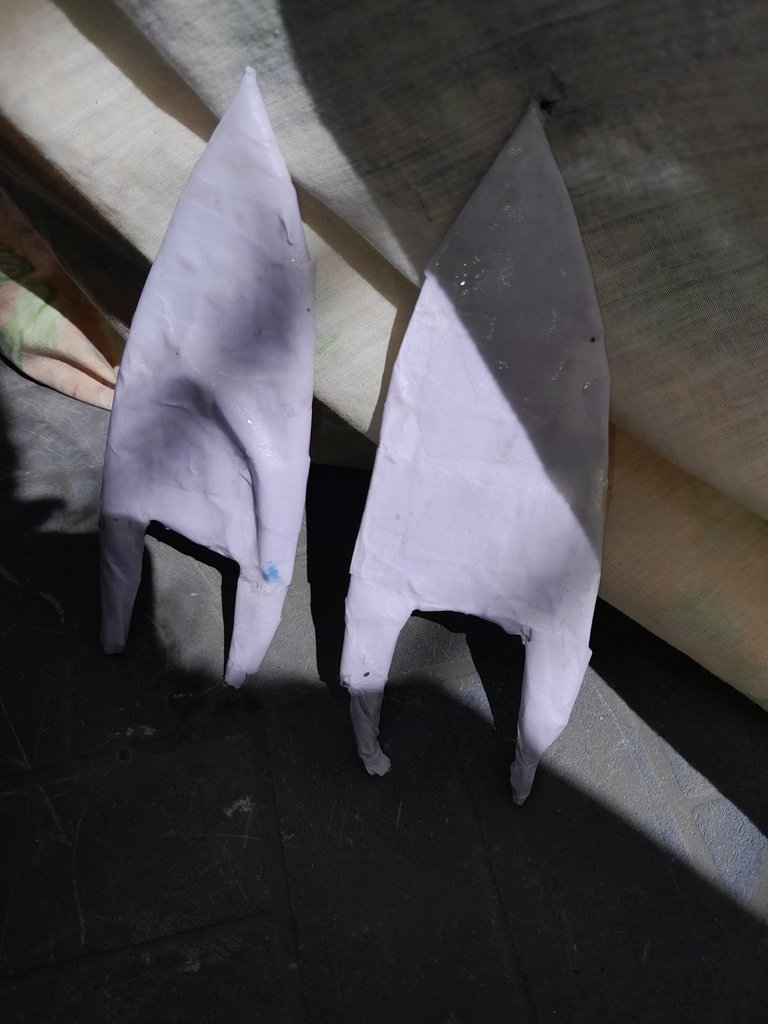
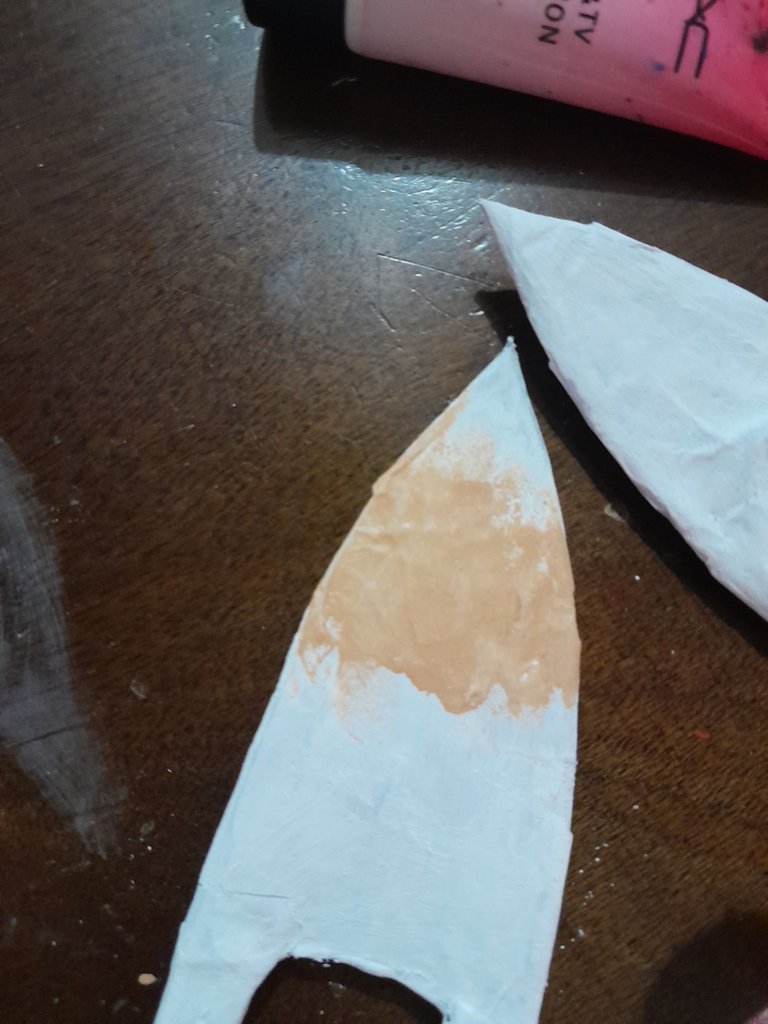
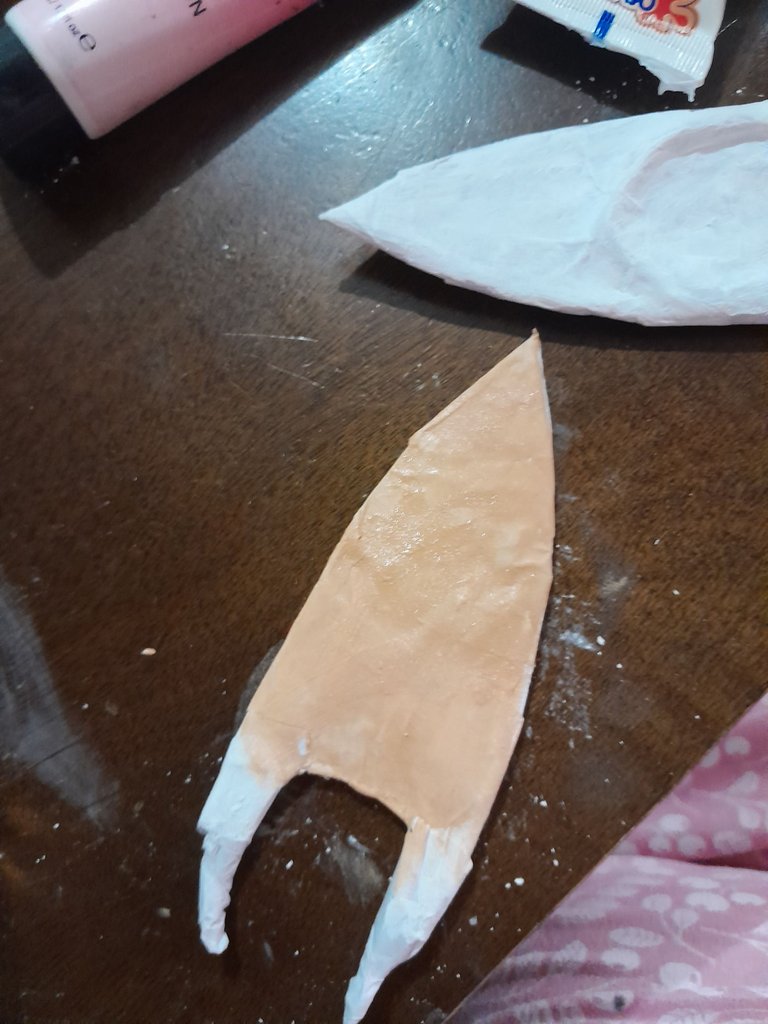
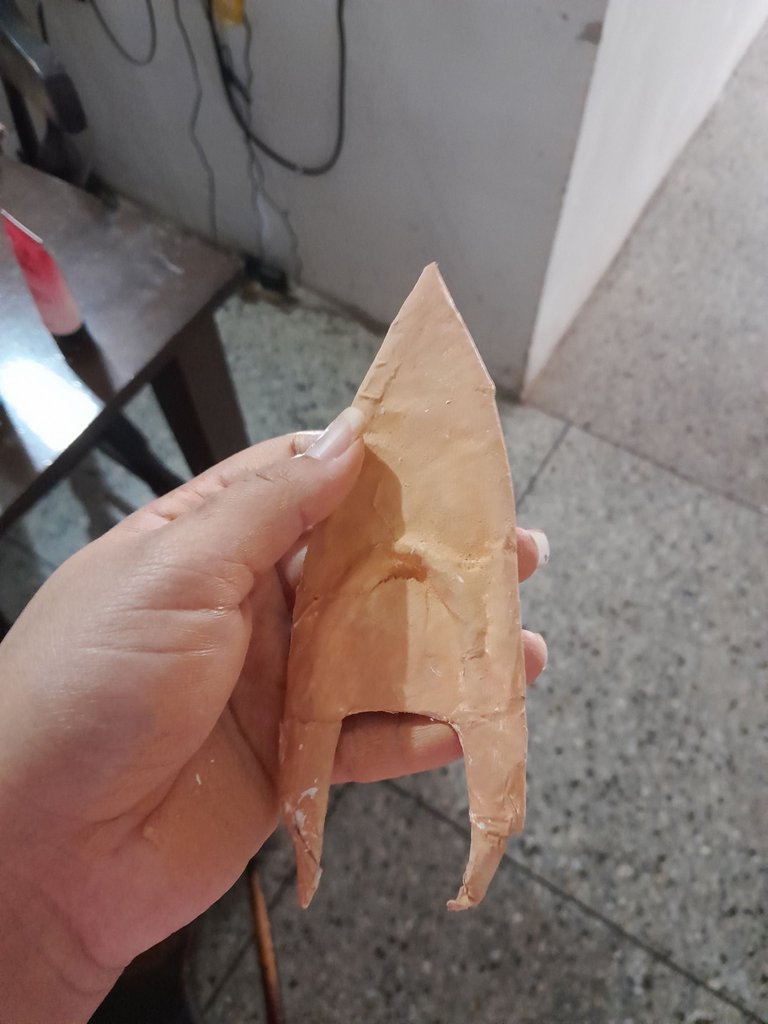
Con base de mi tono de piel y una esponjita comence aplicar la base dando ligeros golpesitos hasta cubrirlas por completo y después las selle con polvo compacto y una brocha grande para que el tono quedara mucho mejor.
With foundation of my skin tone and a sponge I started applying the foundation with light strokes until it was completely covered and then I sealed it with pressed powder and a large brush so that the tone would be much better.
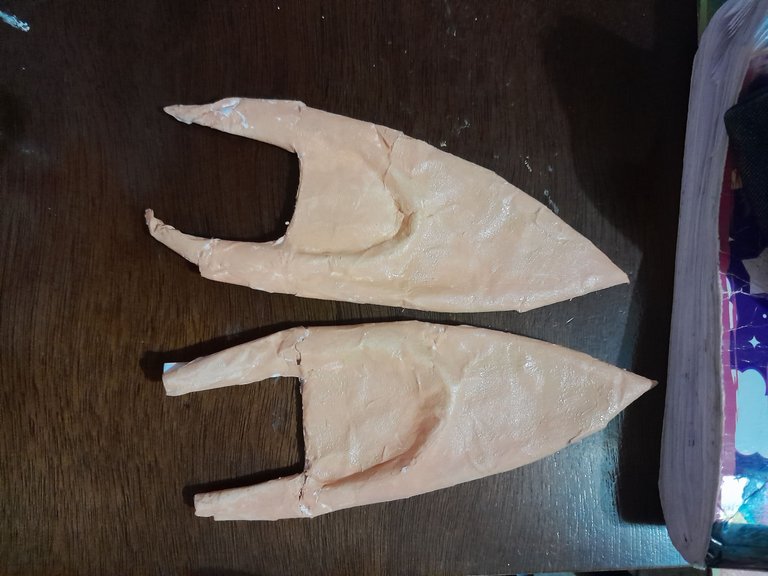
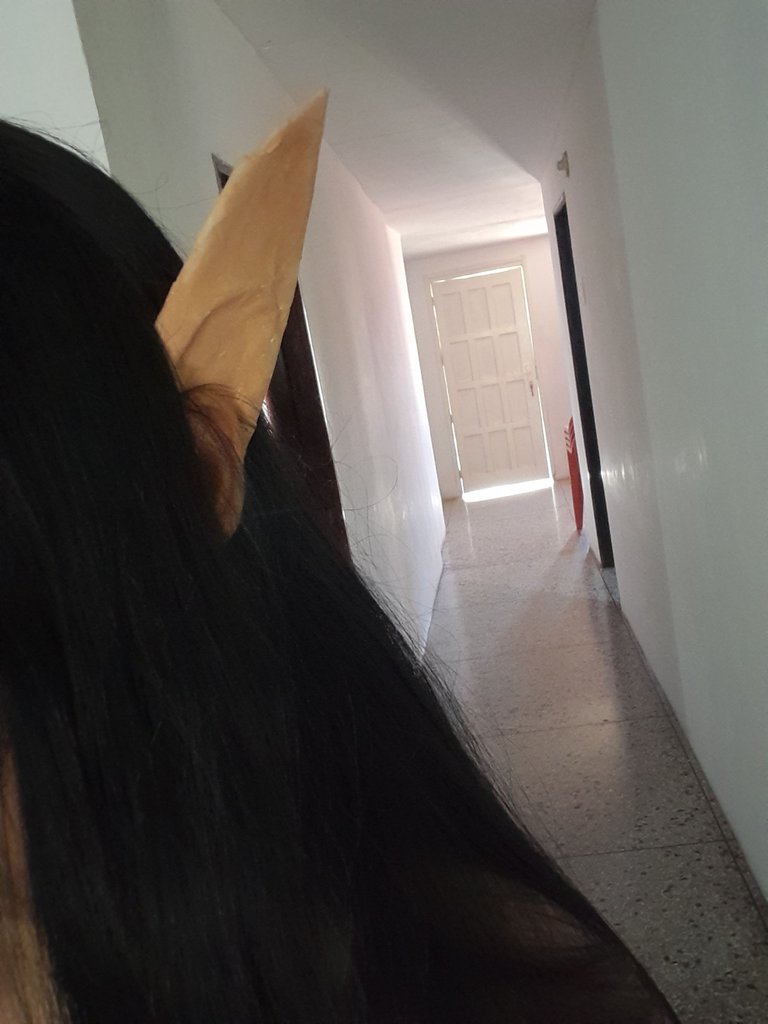
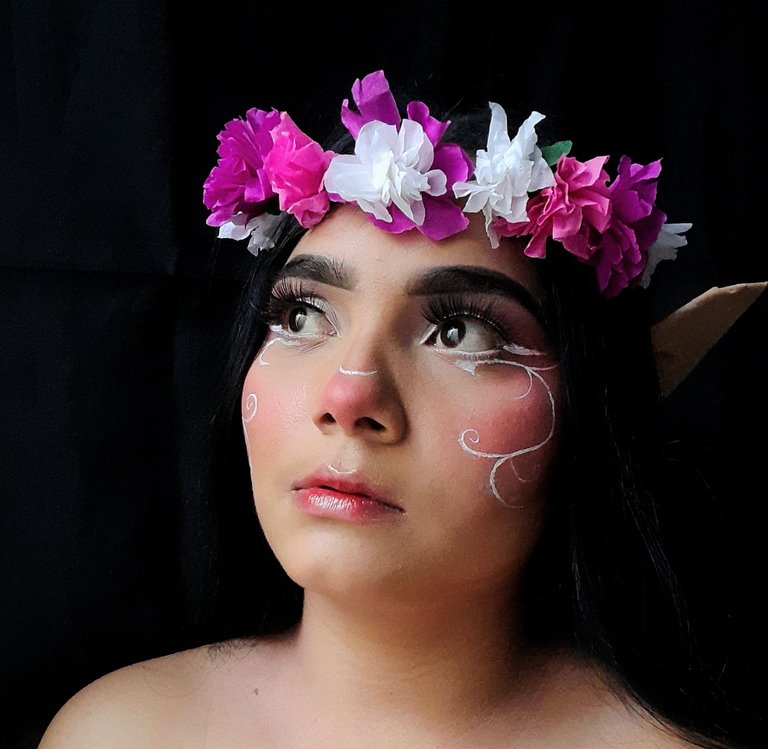
La verdad es que me encantaron como quedaron yo las hice para usarlas en una maquillaje artístico de Hadas y se ven muy bien y lo mejor es que las puedo seguir usando en otros maquilajes que ameritan este tipo de orejitas, disfrute mucho a la hora de hacerlas la verdad fue bastante fácil.
The truth is that I loved the way they turned out, I made them to use them in an artistic fairy makeup and they look great and the best thing is that I can continue using them in other makeups that require this type of ears, I really enjoyed making them, the truth is that it was quite easy.
RESULTADOS
RESULTS

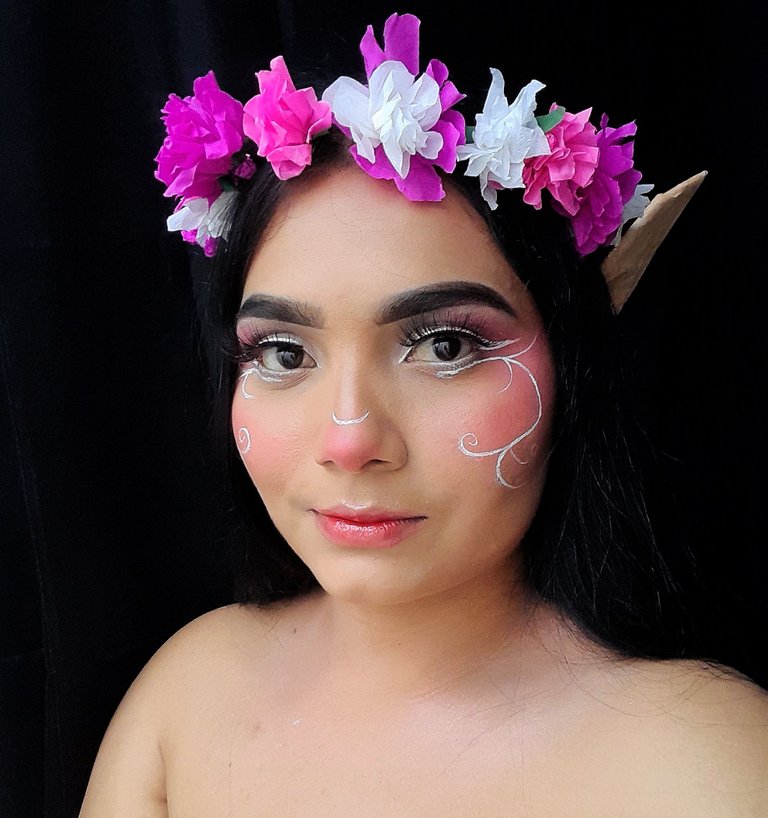
Este fue el maquillaje de hadas que realicé para usar mis hermosas orejitas, es mejor hacerlas e invertir poco dinero que comprarlas ya lista y así nos queda la experiencia de volver a realizarlas.
This was the fairy makeup I made to use my beautiful little ears, it is better to make them and invest little money than to buy them ready to use, so we have the experience of making them again.
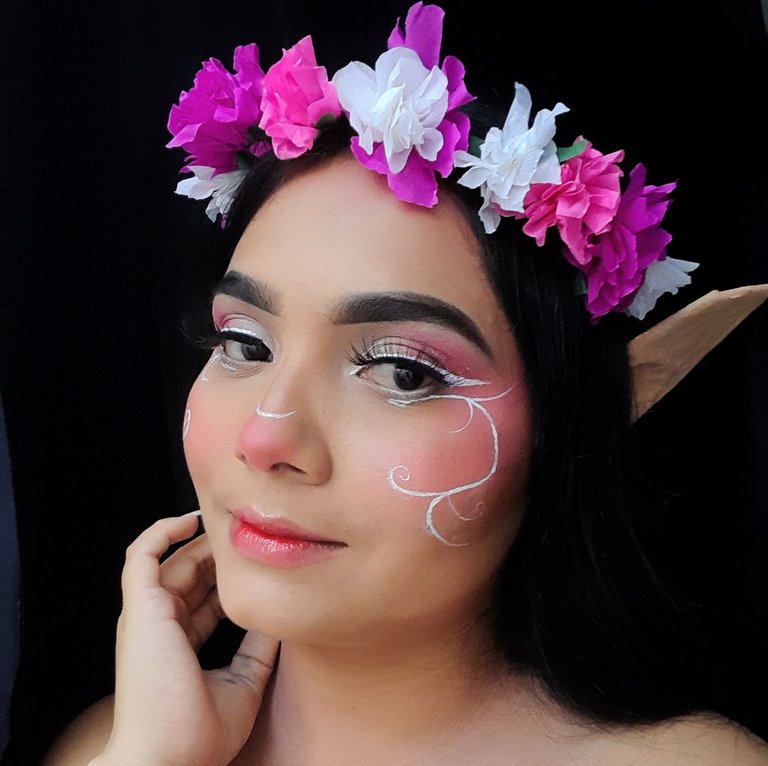
Espero que les guste mi post y puedan ponerlo en práctica para realizar estas hermosas orejitas de las criaturas del bosque, nos vemos en un siguiente post queridos amigos.
I hope you like my post and can put it into practice to make these beautiful little ears of forest creatures, see you in a next post dear friends.
To translate each paragraph in English use the application.
https://www.deepl.com/translator-mobile
Para traducir cada parrafo en ingles use la aplicación.
https://www.deepl.com/translator-mobile
Use la aplicación polish para edición de las fotografias.
Use the polish application to edit the photos.
Todo el contenido y las fotografìas me pertenecen y son exclusivos para Hive
All content and photos belong to me and are exclusive to Hive.
Aunque no tenía mucho interés en esta área, estaba muy interesado. Estás haciendo un gran trabajo con este maquillaje y pelucas, es genial. 🤩
Hola me alegro que te gustó. En realidad mi post trata de las orejitas de hadas. Bonito día 🤗
Thank you for sharing this amazing post on HIVE!
Your content got selected by our fellow curator @rezoanulvibes & you just received a little thank you via an upvote from our non-profit curation initiative!
You will be featured in one of our recurring curation compilations and on our pinterest boards! Both are aiming to offer you a stage to widen your audience within and outside of the DIY scene of hive.
Join the official DIYHub community on HIVE and show us more of your amazing work and feel free to connect with us and other DIYers via our discord server: https://discord.gg/mY5uCfQ !
If you want to support our goal to motivate other DIY/art/music/homesteading/... creators just delegate to us and earn 100% of your curation rewards!
Stay creative & hive on!
Gracias por tanto apoyo.
Congratulations @marnaza! You have completed the following achievement on the Hive blockchain and have been rewarded with new badge(s):
Your next target is to reach 1500 comments.
You can view your badges on your board and compare yourself to others in the Ranking
If you no longer want to receive notifications, reply to this comment with the word
STOPTo support your work, I also upvoted your post!
Check out the last post from @hivebuzz:
Support the HiveBuzz project. Vote for our proposal!
Gracias por el apoyo🤗
Excelente trabajo!! es muy hermoso <3
Muchas gracias, me alegra mucho que te guste😊