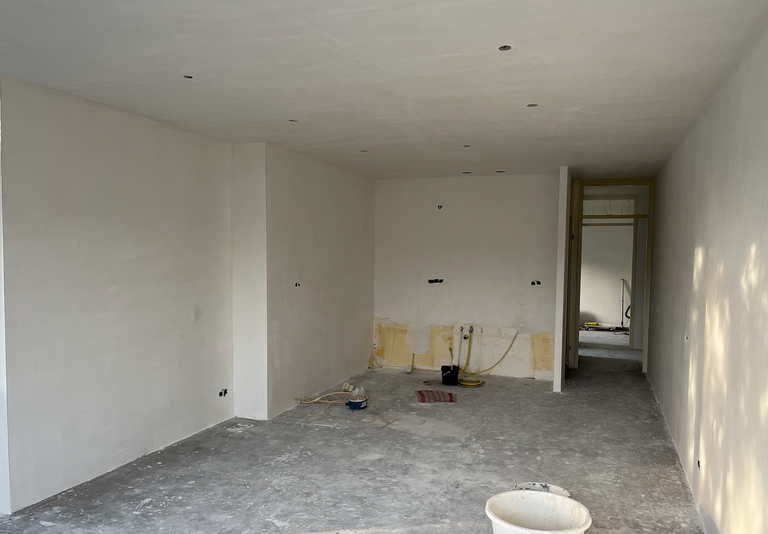
It has been a while since my last update on the house. In the meantime a lot has been done. At this point the major rough work is done and hopefully the construction dust will be a thing from the past.
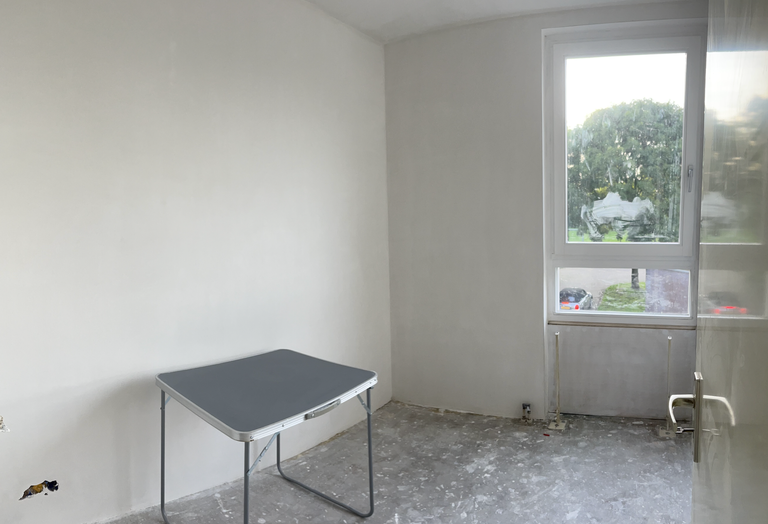
With all the walls and ceilings smooth and crisp it is time to focus on the paint work. First prepping of course.
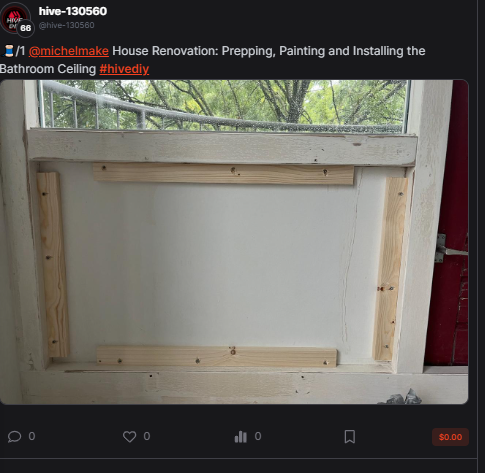
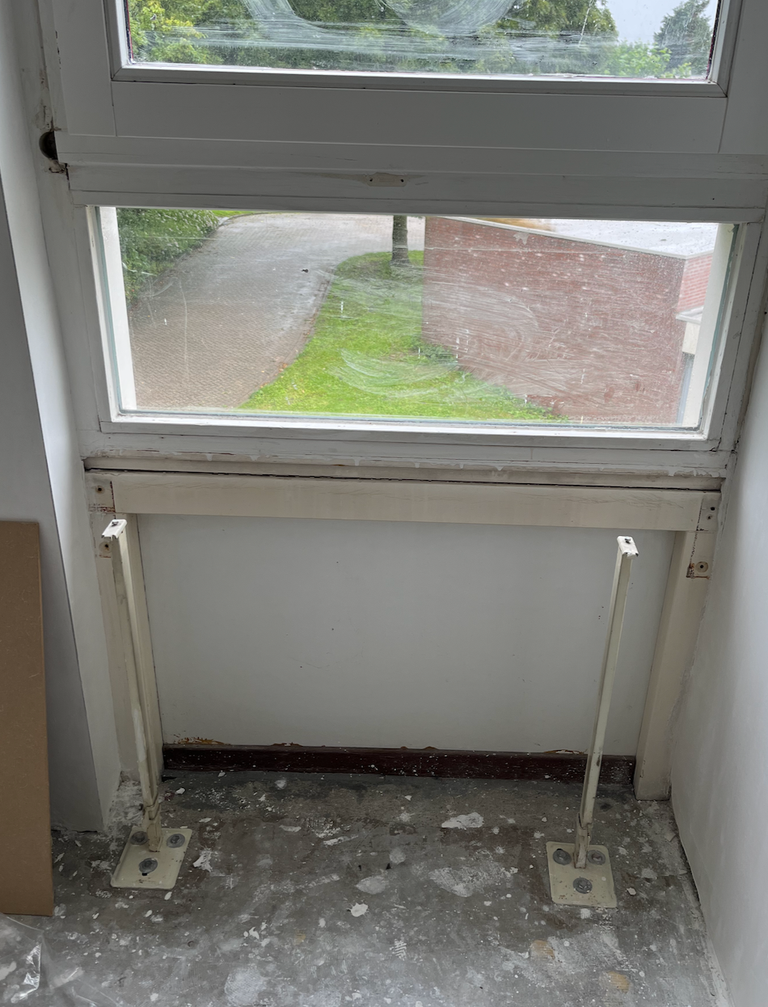
A made a few inserts for the window frames in order to add some extra makeshift instulation. For this I got some panneling cut to size at the local hardware store and installed these with some insulation material behind it.
First I installed some slatt and put the insullation material in between:

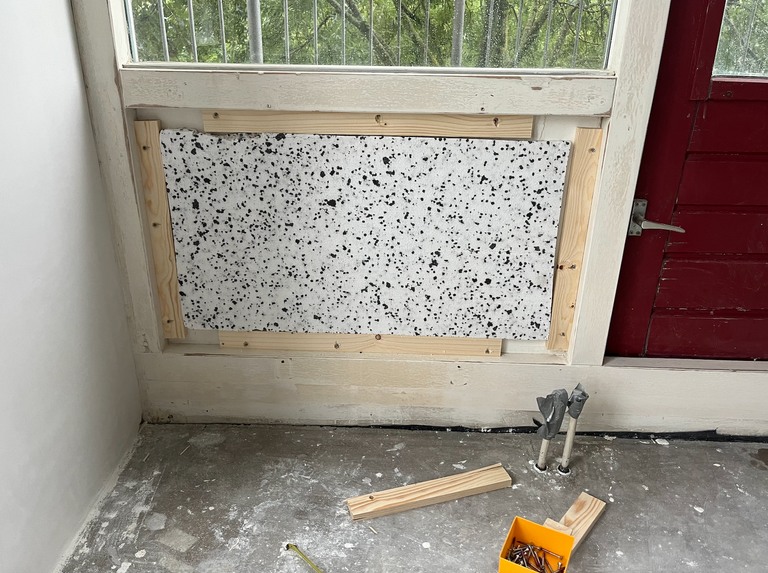
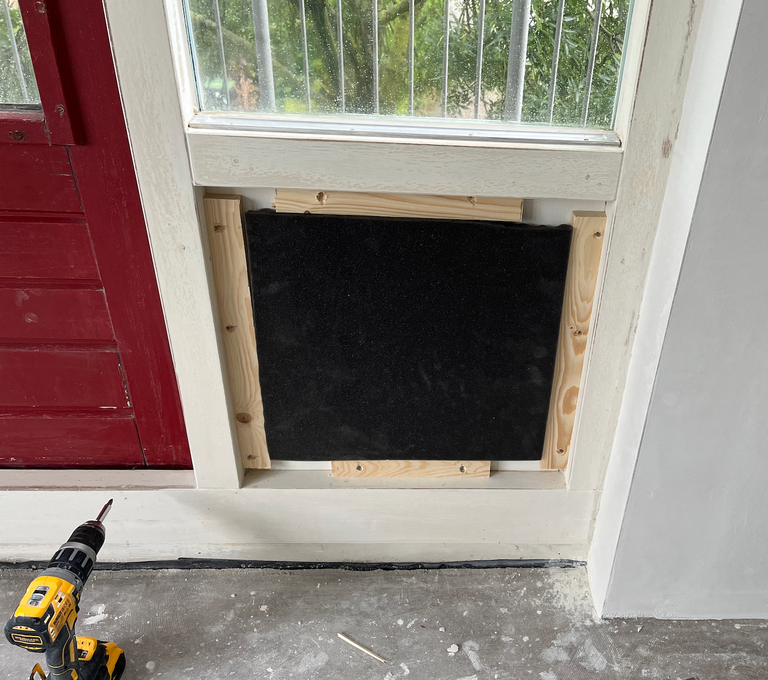
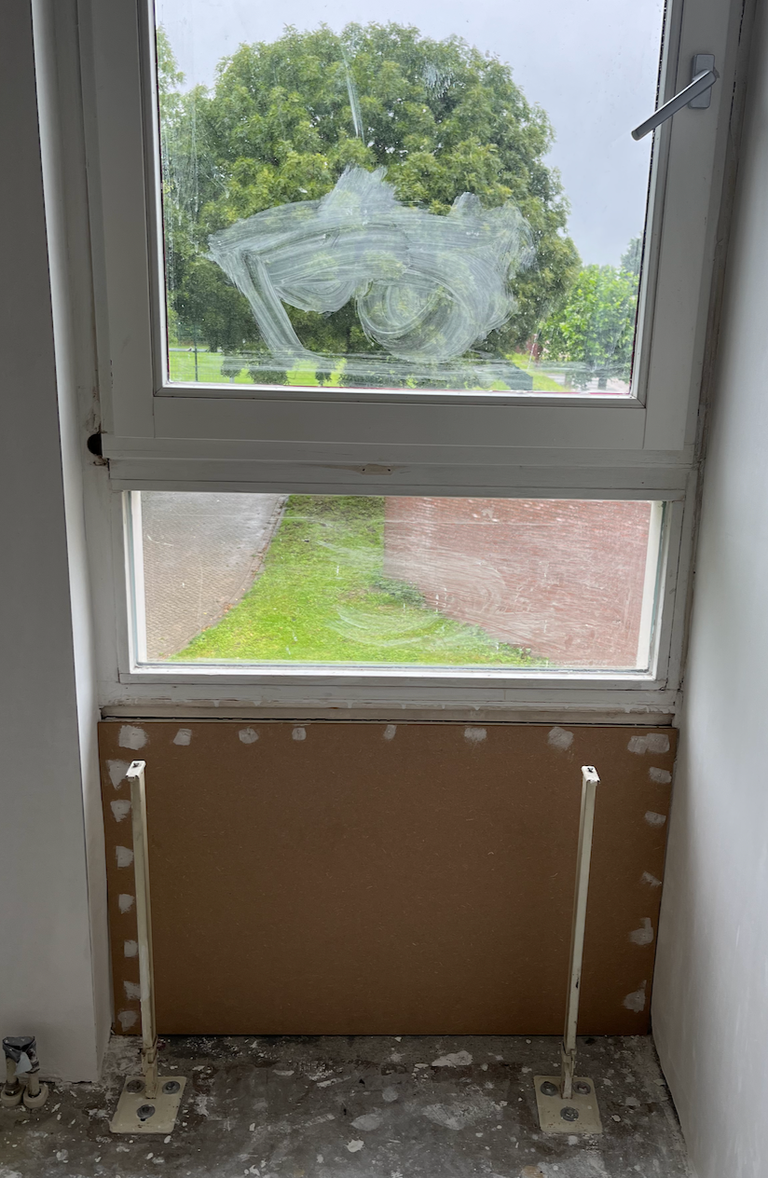
Then to cover it all up, I nailed the panneling over the insulation and used some fairing to hide the nails for painting. Here's the prepped result. Note also that the frames are already sanded at this point.
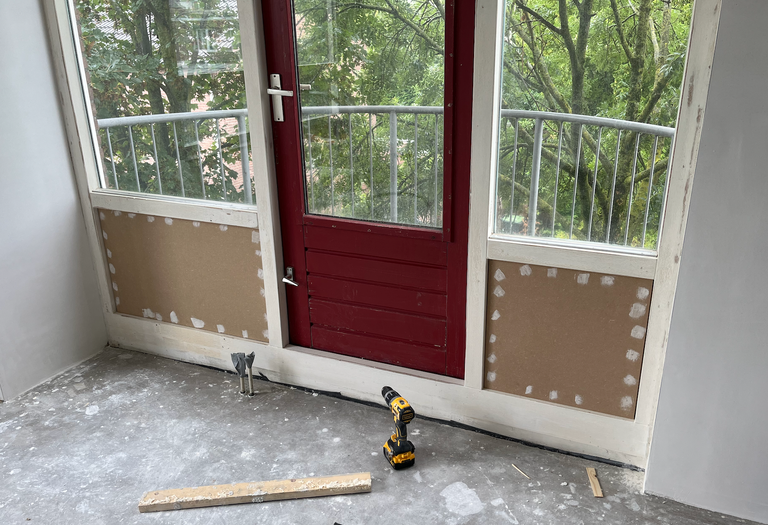
The same process was repeated for some other windows:
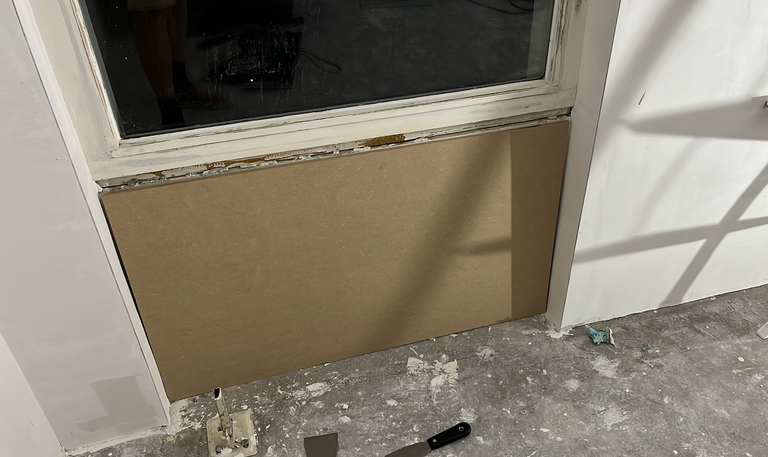
Although the pannelling was installed a bit hacky and the insulation material isn't the best, I am on somewhat of a time crunch to get the place liveable and move in.
After intselling the pannels, lots of sanding and fairing, we could finally start painting. To keep the appartement somewhat neutral we decided to go for a standard off-white for both the walls and window frames. RAL 9010, to be precise. Here some shot of the place after the painting was done:
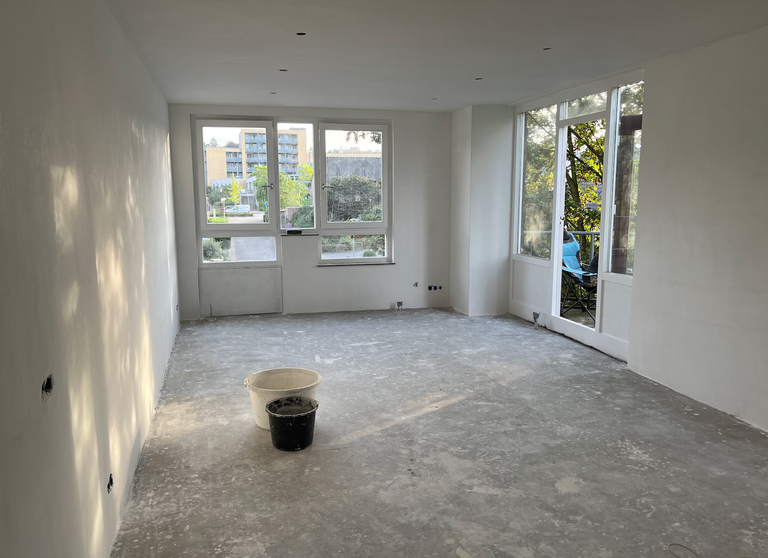
We are quite happy with the result after many days of hard work!
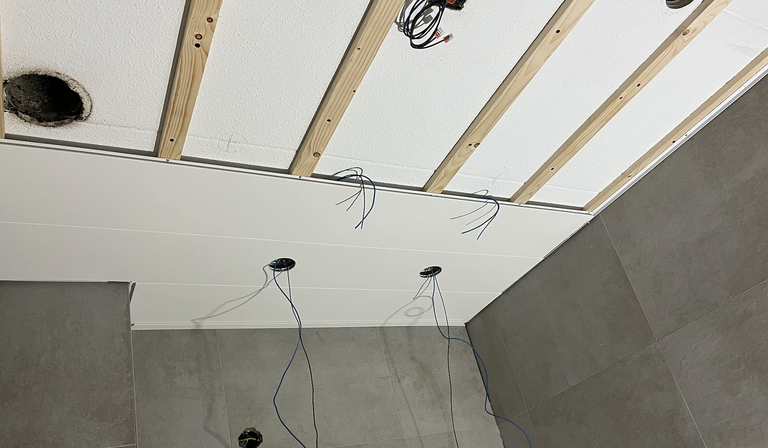
In parallel to the painting work I worked on installing the bathroom ceiling. Other then the plastering work in the rest of the house, we decided to install some bathroom-proof panelling instead. This panelling it attached to a wodden frame that I attached in turn to the existing plasterboard ceiling. This is a double layer plastering board construction that is quite solid. I used plasterboard screws directly. Here's how the framing looks like for the toilet and bathroom:
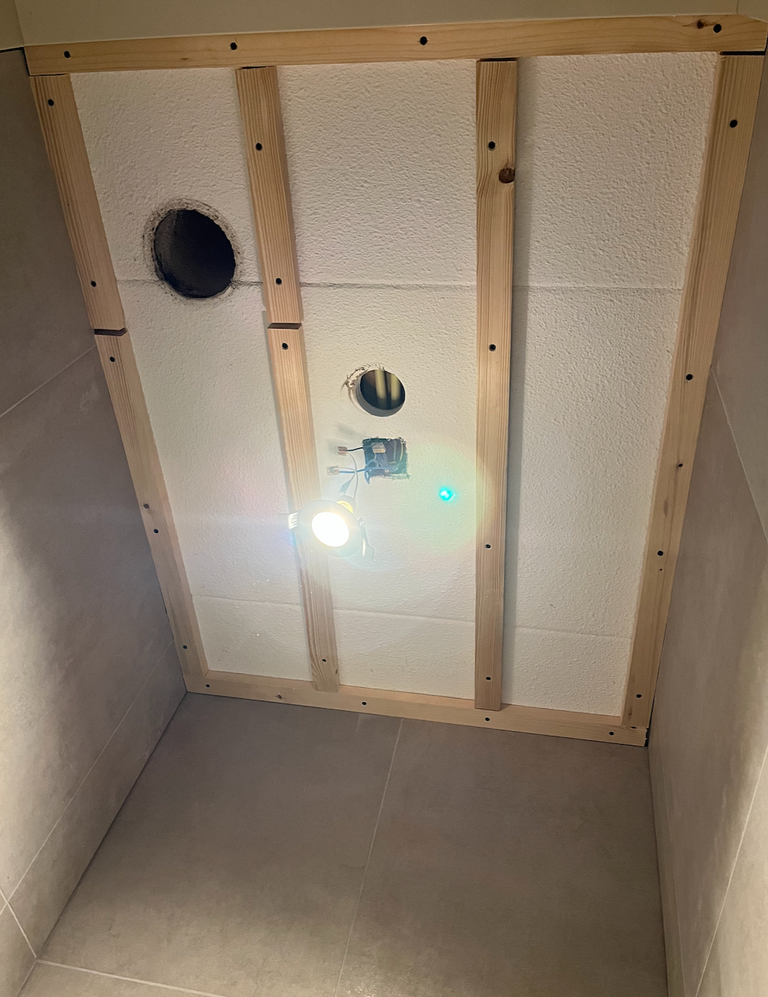
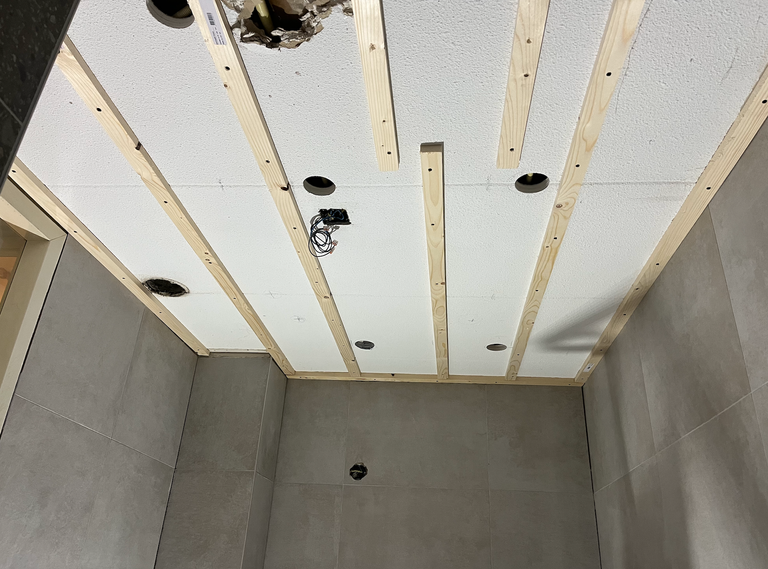
The holes are place to house the ceiling lighting to be installed later. Next, installing the panneling itself:
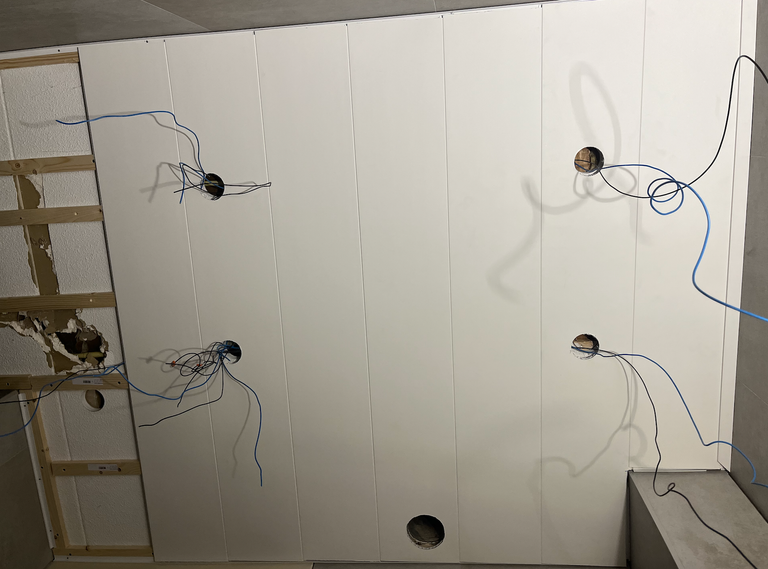
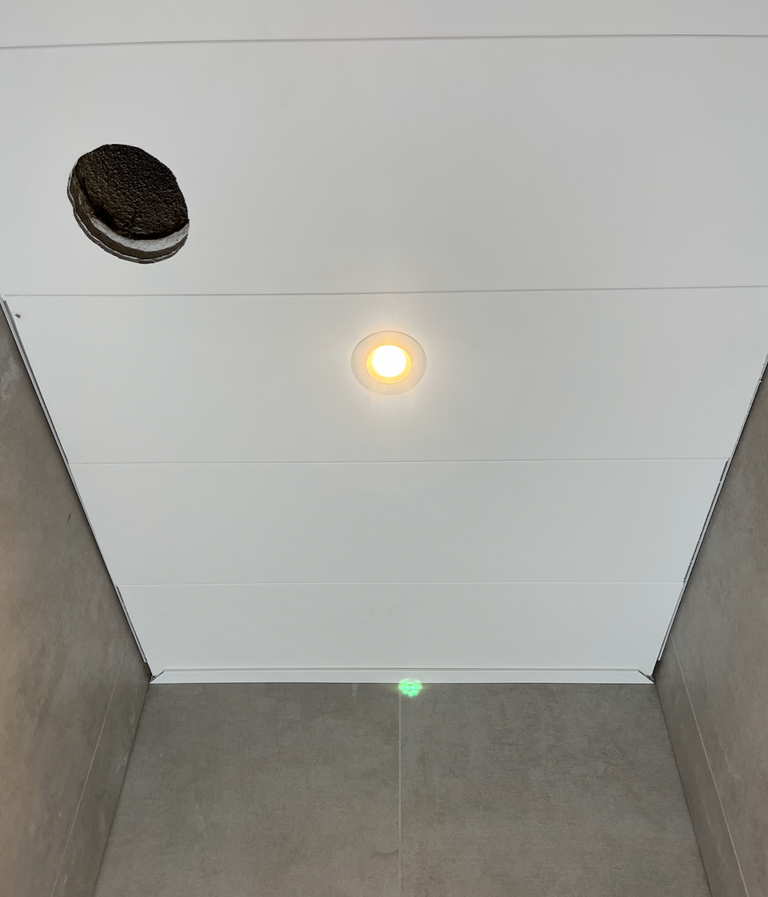
In this last picture you can see a spot already installed. The big hole is for the vantilation. A cover for it needs to be installed still. Also the trimming around the edges is to be done still.
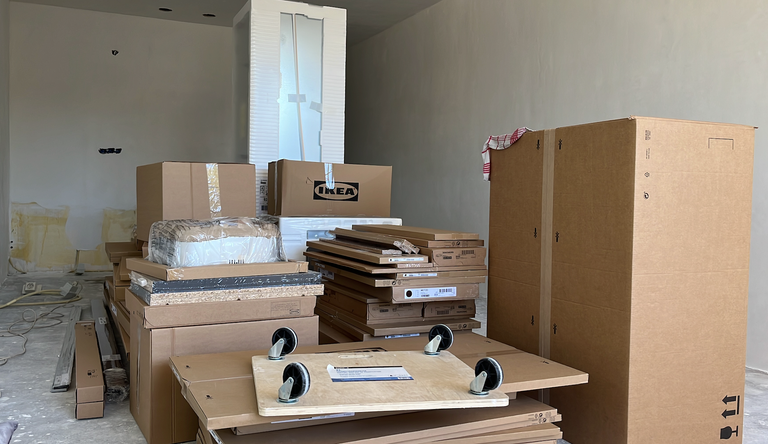
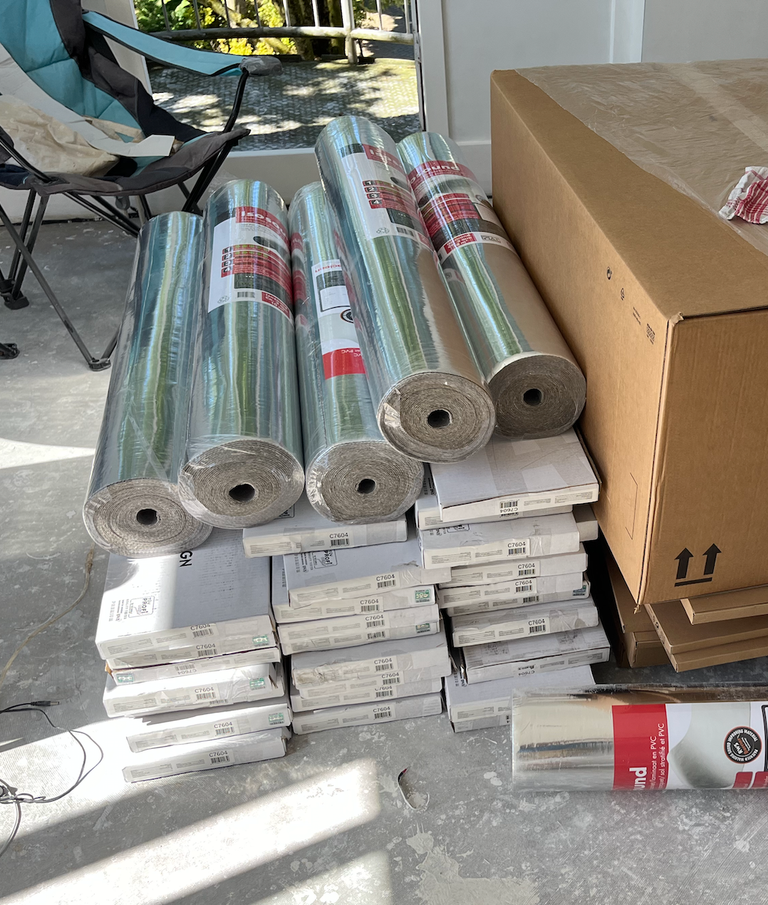
As you can see, lots has happened and the place starts to look like a home again. Some other exciting news: the kitchen and floors were delivered. Below some sneakpeak, but more on that soon!
Thanks for stopping by!
For the previous updates see these posts:
House Renovation: Entering a New Phase
House Renovation: Ready for Plastering
From Kitchen to Workbench
Starting a Renovation Project
https://peakd.com/hive-130560/@michelmake/house-renovation-entering-a-new
That's really cool if you can do that much yourself! That's actually something we hope we can do one day, fix a house completely to our liking. I'm not sure if it will ever happen in terms of us working on it ourselves though, especially me with the back issue, but I'm pretty sure my boyfriend will take the task upon him to at least help once we buy property. First we need to save a few more years, though.
Thanks for sharing some insides on your renovation, it's looking great!
!PIMP
You must be killin' it out here!
@thisismylife just slapped you with 10.000 PIMP, @michelmake.
You earned 10.000 PIMP for the strong hand.
They're getting a workout and slapped 3/3 possible people today.
Read about some PIMP Shit or Look for the PIMP District
Ha thanks! It can be daunting from time to time, but at the end of the day with applying common sense everyone can do it. And if the first project isn't perfect (like mine), then the next will be nicer :)
If Hive pumps, you might shave off some of the saving-tine :P
Everything is taking shape little by little. Nice work
Thanks! Yeah, slow and steady :)
@michelmake
https://inleo.io/threads/view/hive-130560/re-leothreads-kykpz6u8