Quiero primeramente mandar un saludos a la moderadora de este concurso @marybellrg y a toda la comunidad #hivediy, por darnos la oportunidad de ver lo que somos capaces de hacer, espero les pueda gustas la "Mariquita Fiestera".
First of all I want to send my regards to the moderator of this contest @marybellrg and to all the #hivediy community, for giving us the opportunity to see what we are capable of doing, I hope you like the "Mariquita Fiestera".

Estoy muy contenta de poder presentar esta idea para seguir realizando decoraciones para la fiesta de mi niña, aunque he estado full trabajo este participación me da muchas ideas de combinar con la publicación anterior, voy de a poco armando un tema que a ella le guste, una Mariquita Fiestera realizada con anime y foami, con solo dos colores resalta mucho.
I am very happy to present this idea to continue making decorations for my little girl's party, although I have been full of work this participation gives me many ideas to combine with the previous publication, I'm slowly putting together a theme that she likes, a Party Ladybug made with anime and foami, with only two colors stands out a lot.
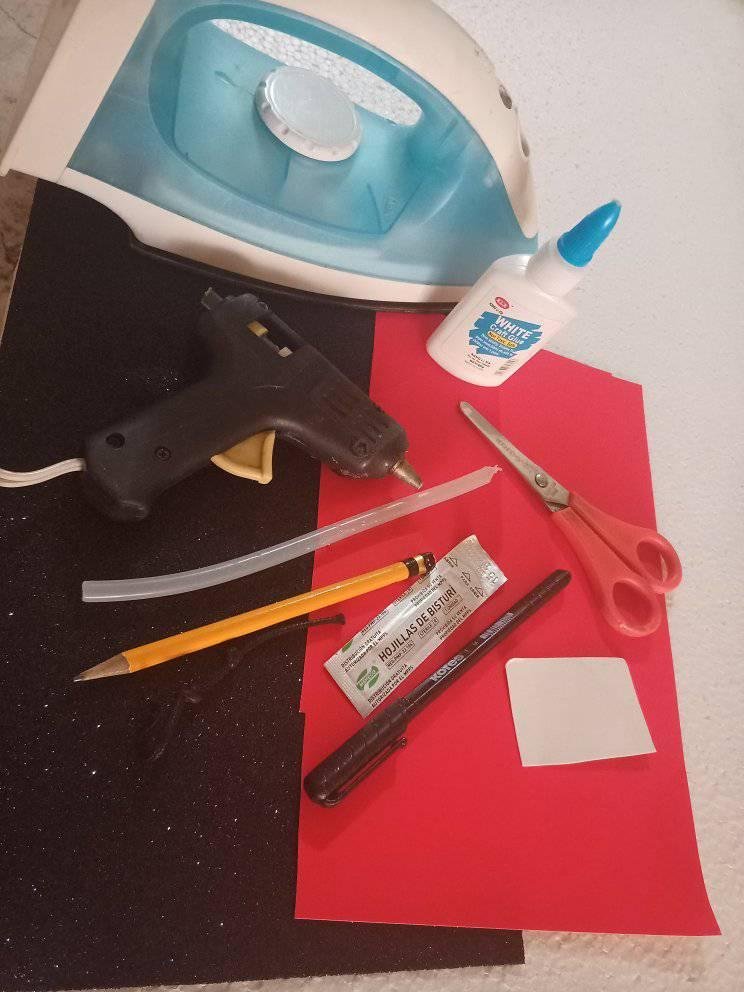
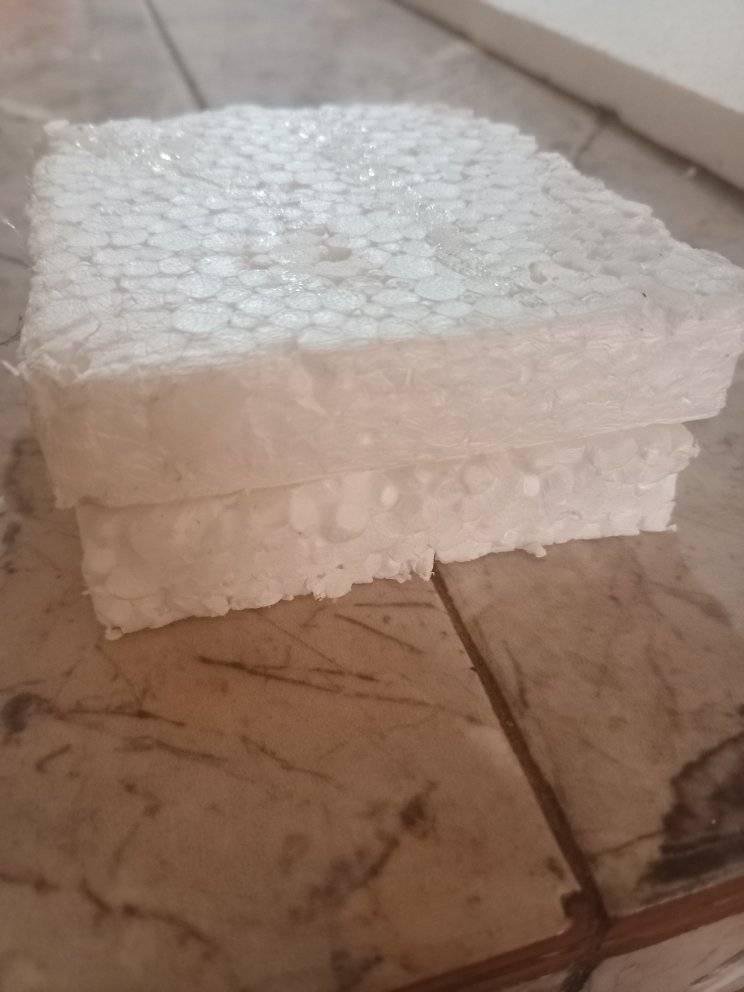
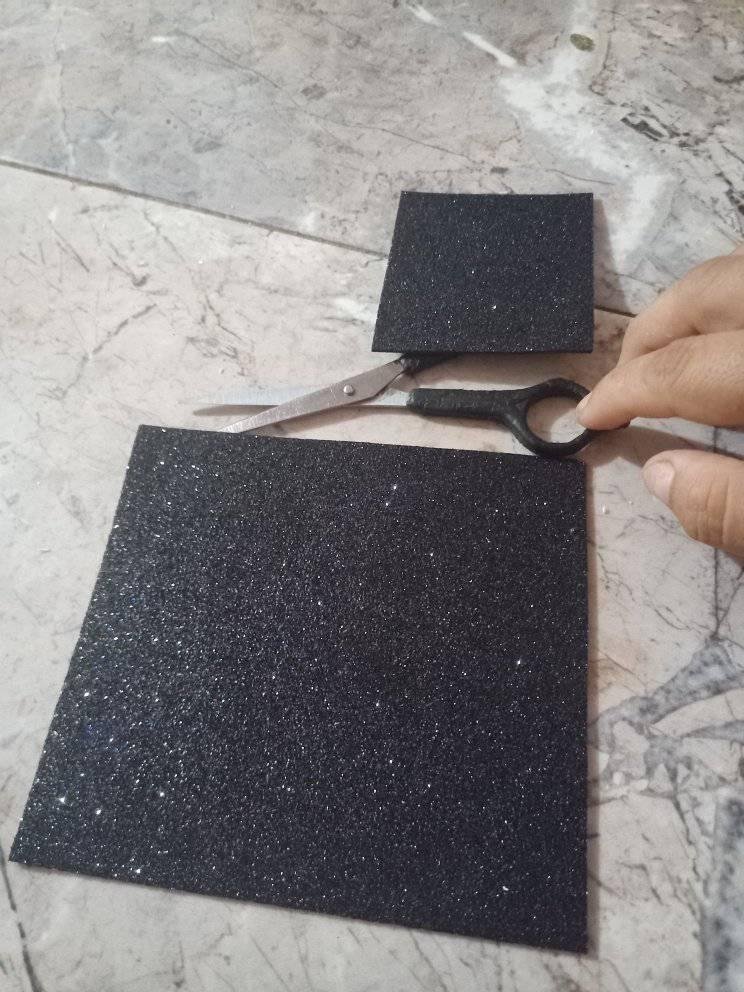
- 1 Anime Reciclado
- 1 Cartulina roja tipo carta
- 1 Foami negro escarchado tipo carta
- 1 Bisturi # 11
- 1 Barra de silicón pequeña
- 1 Pega pequeña
- 1 Pedazo de blanca reciclada
- 1 Pistola de silicón
- 1 Plancha
- 1 Tijera
- 1 Lápiz creyón
- 1 Cordón Negro
- 1 Recycled Anime
- 1 Red card stock
- 1 Black frosted Foami card
- 1 Scalpel # 11
- 1 Small silicone stick
- 1 Small glue stick
- 1 Piece of recycled white
- 1 Silicone gun
- 1 Iron
- 1 Scissors
- 1 Crayon pencil
- 1 Black string
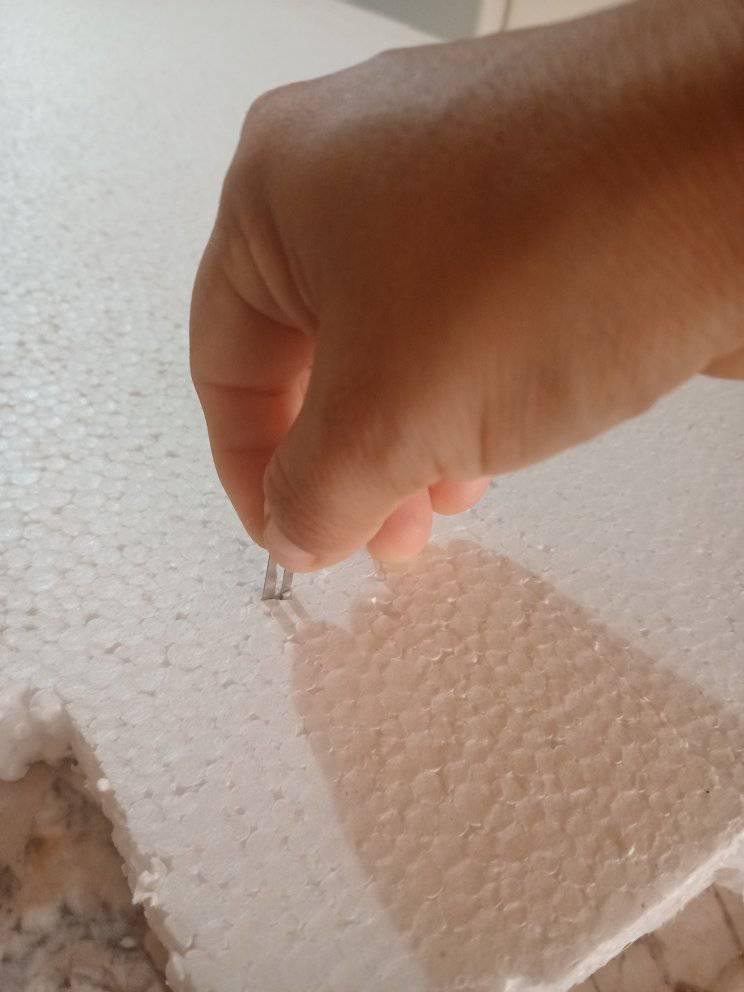
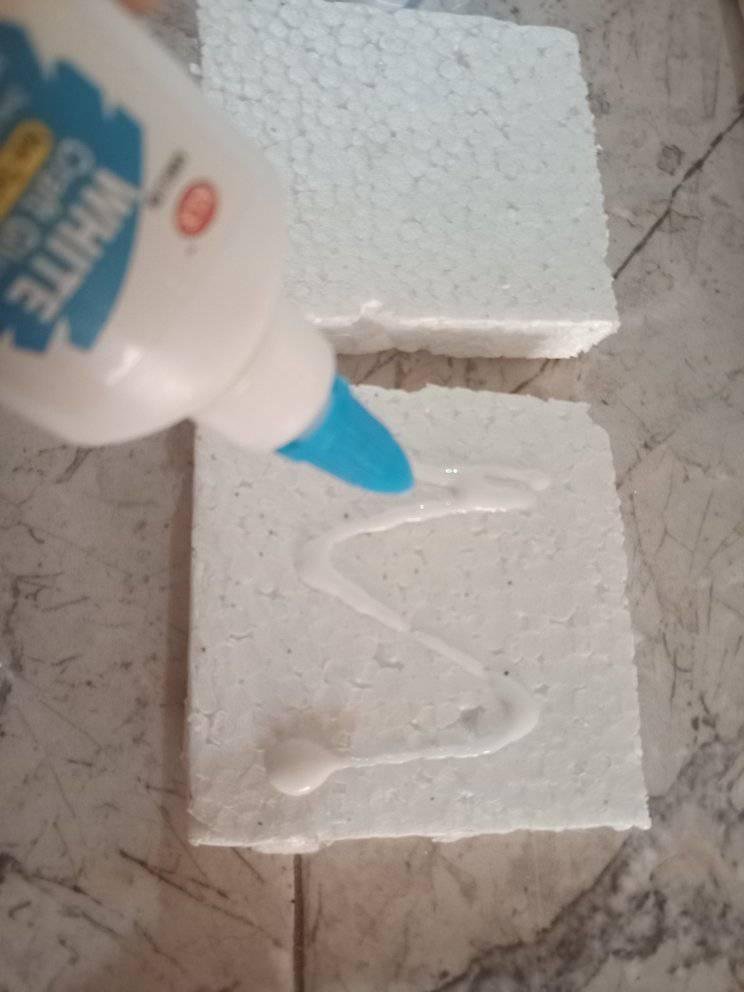

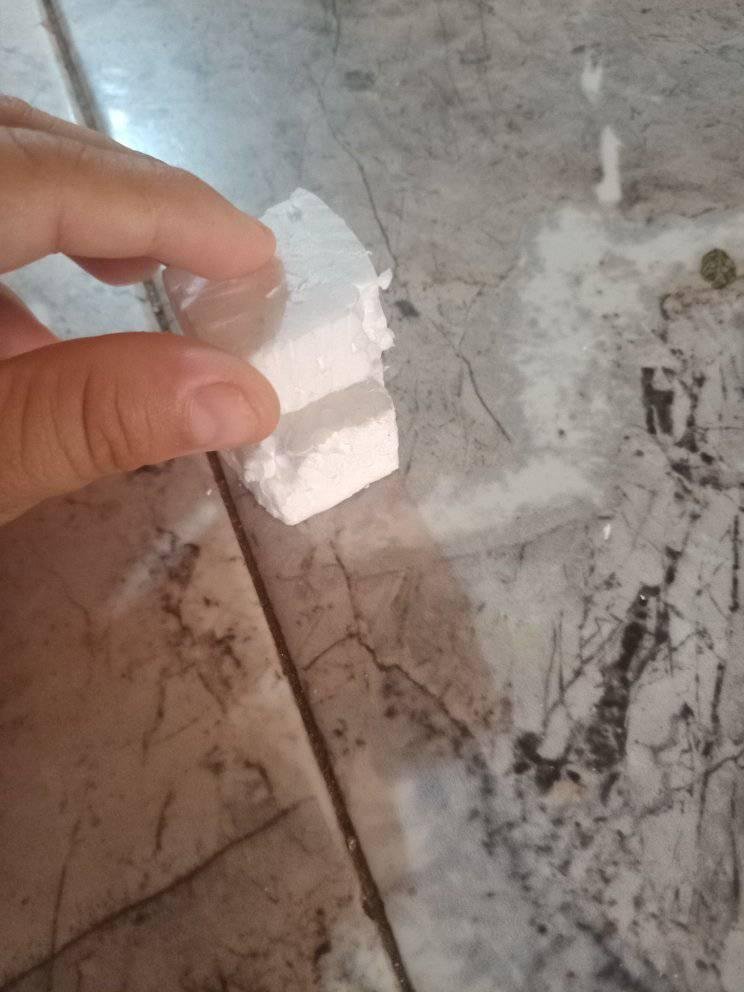
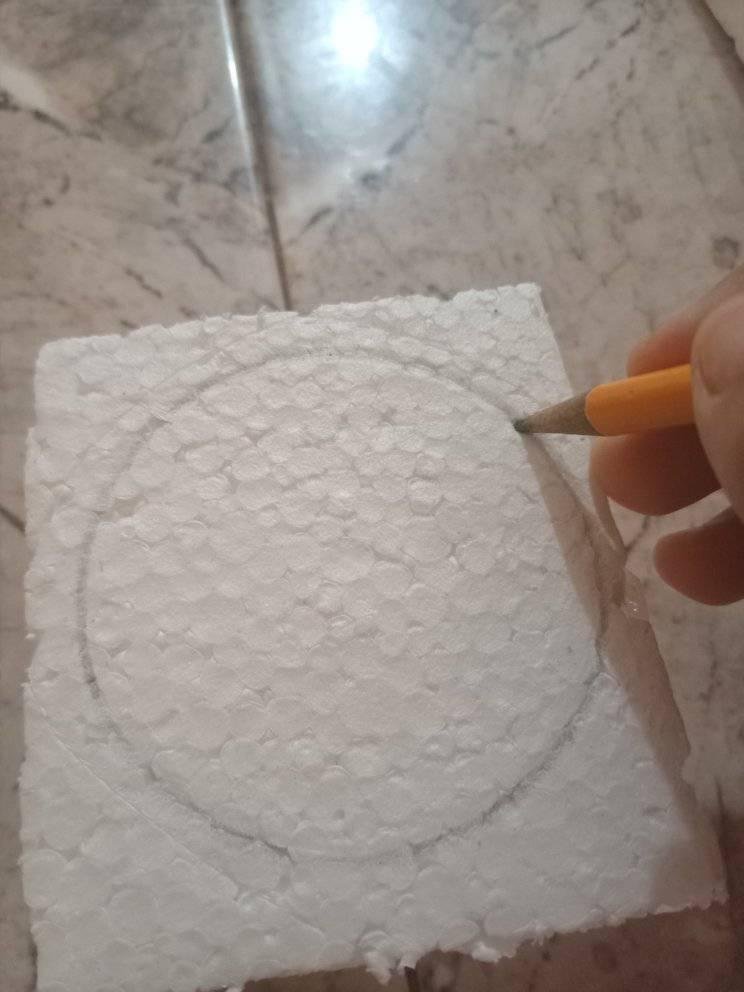
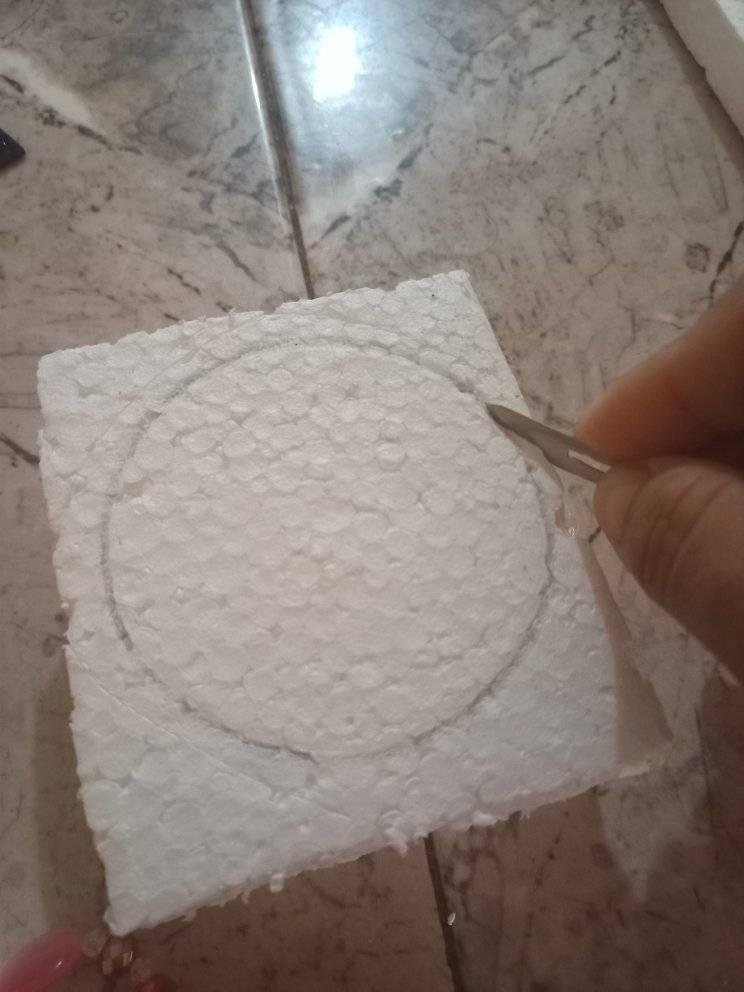
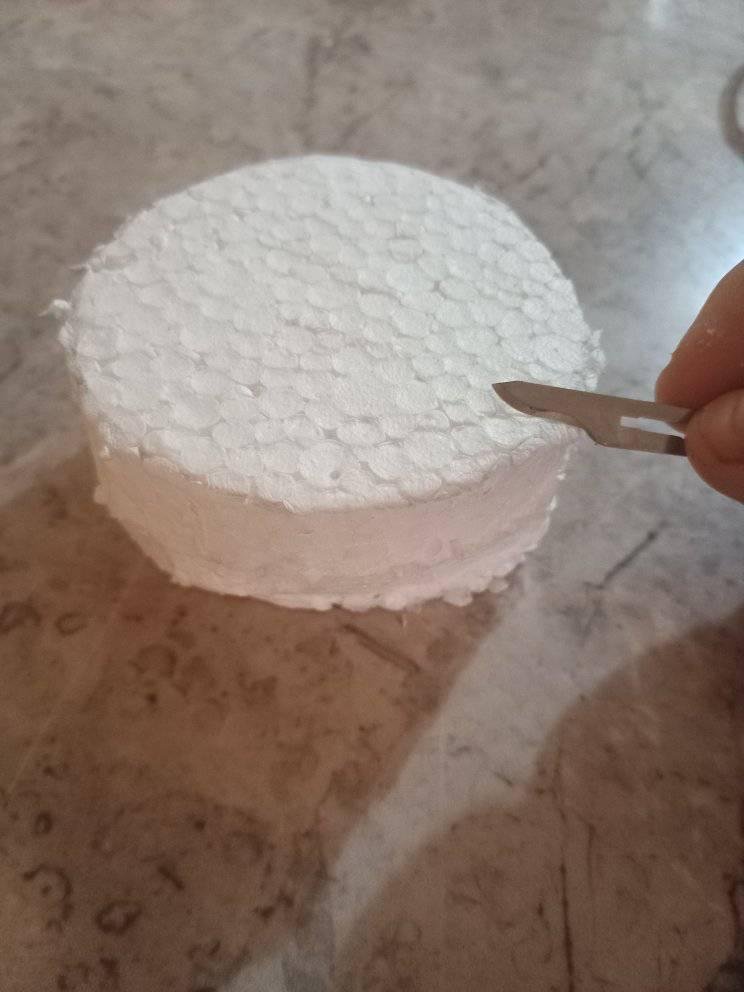

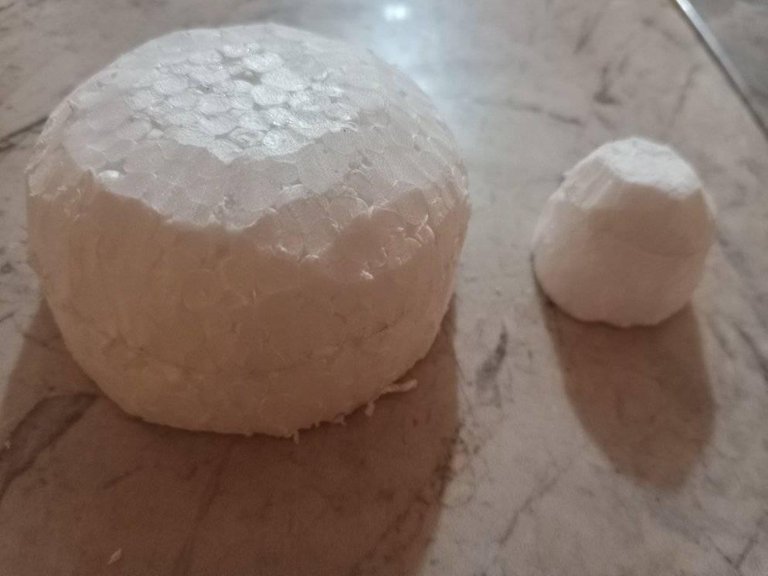
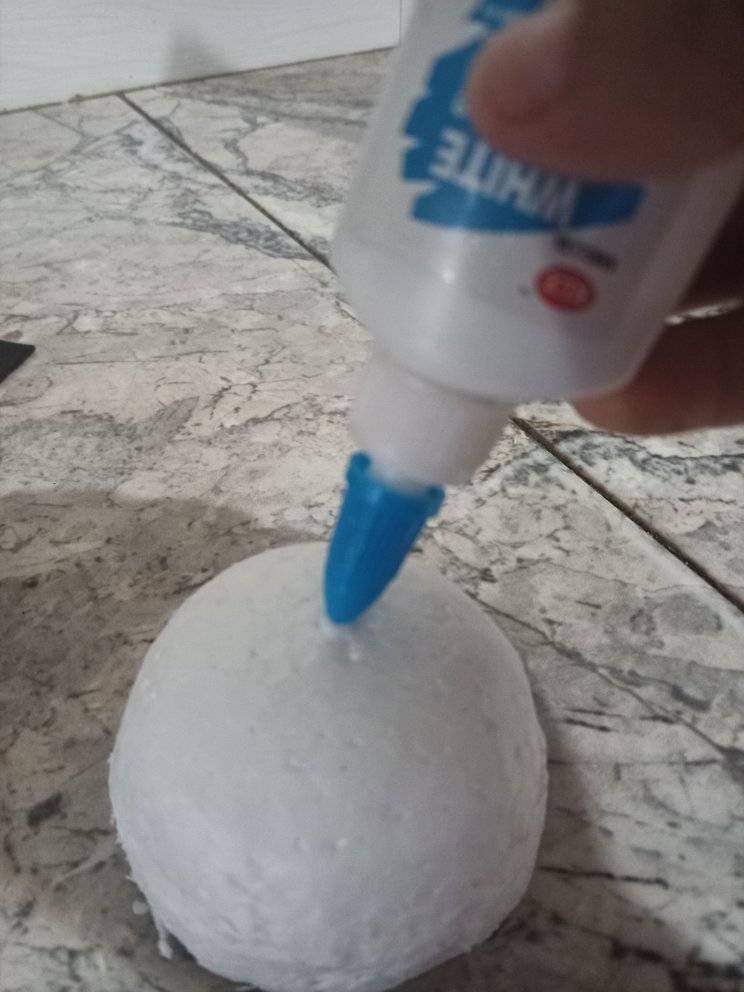
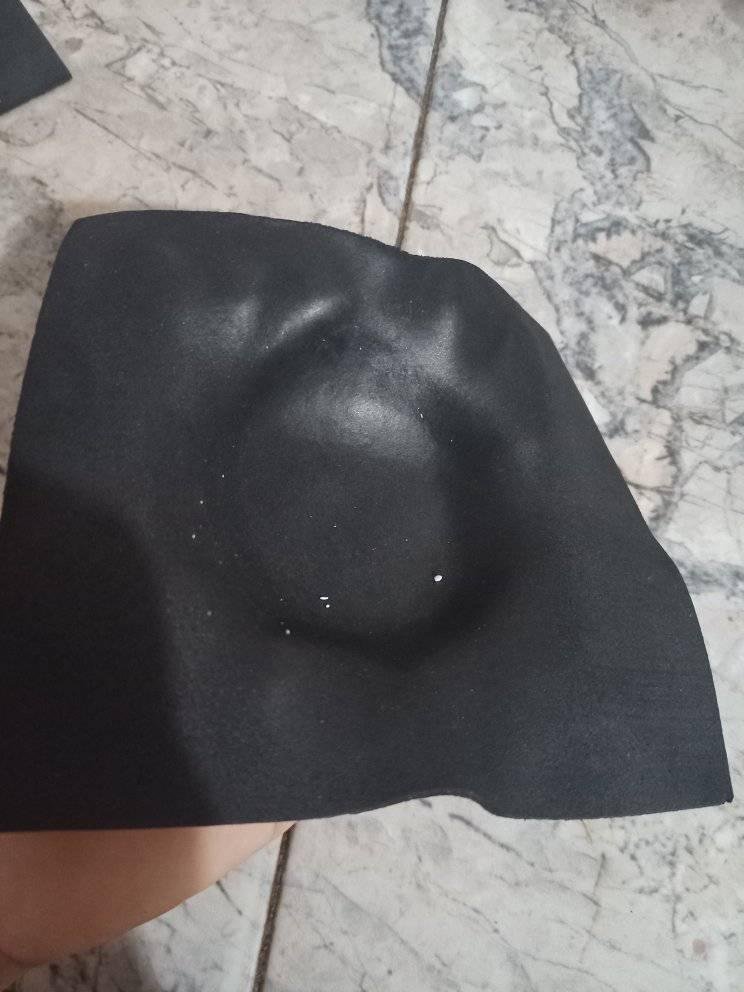
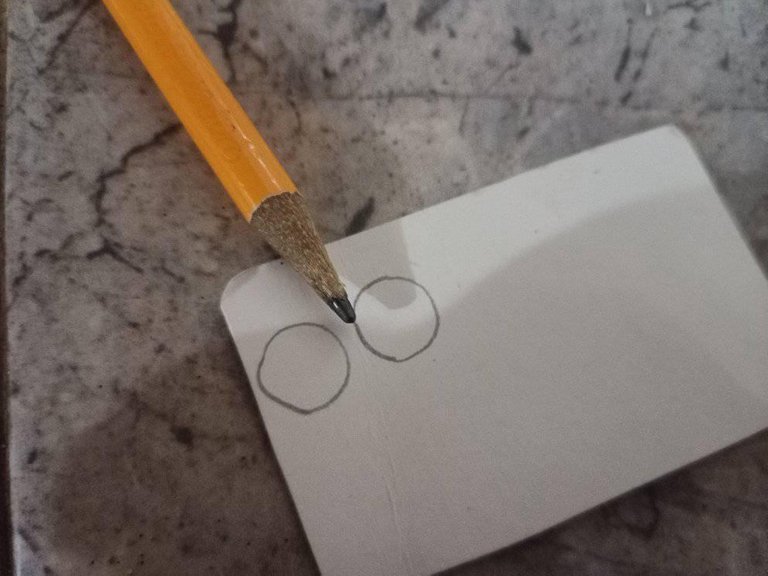
Con el bisturí recortas el anime con las siguientes medidas 10 x 10 cm para el cuerpo y 3 x 3 cm para la cabeza de la mariquita, luego marcas con un lápiz creyon un circulo, para después pasar el bisturí como se ve en la imagen, sacando 2 recortes colocas uno abajo agregas pega blanca para colocar el otro anime arriba dejas secar, terminas sacando forma esférica con el bisturí, de igual manera lo hacer con el pequeño.
With the scalpel cut out the anime with the following measures 10 x 10 cm for the body and 3 x 3 cm for the head of the ladybug, then mark with a pencil creyon a circle, then pass the scalpel as shown in the image, taking 2 cuts place one below add white glue to place the other anime above let dry, finish taking spherical shape with the scalpel, just as you do with the small one.
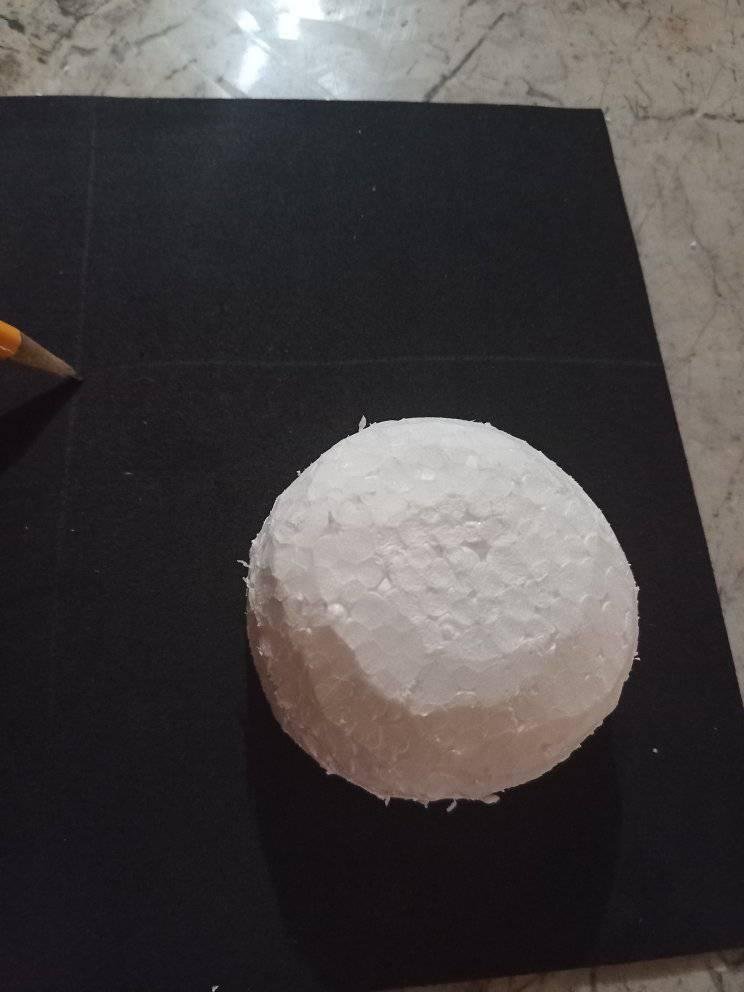
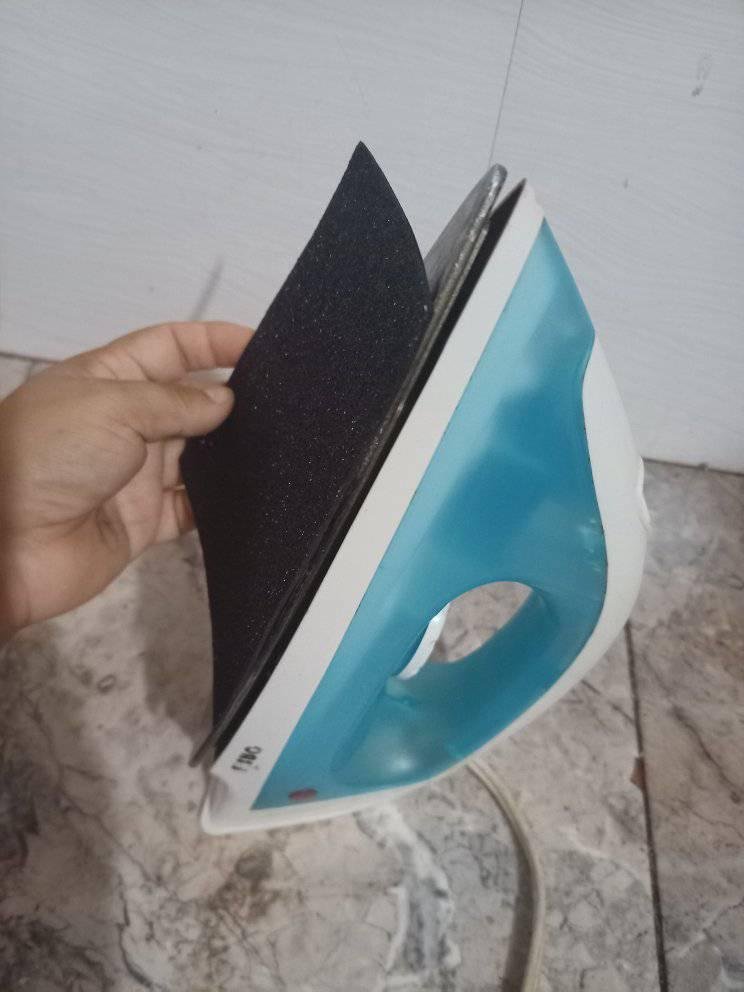
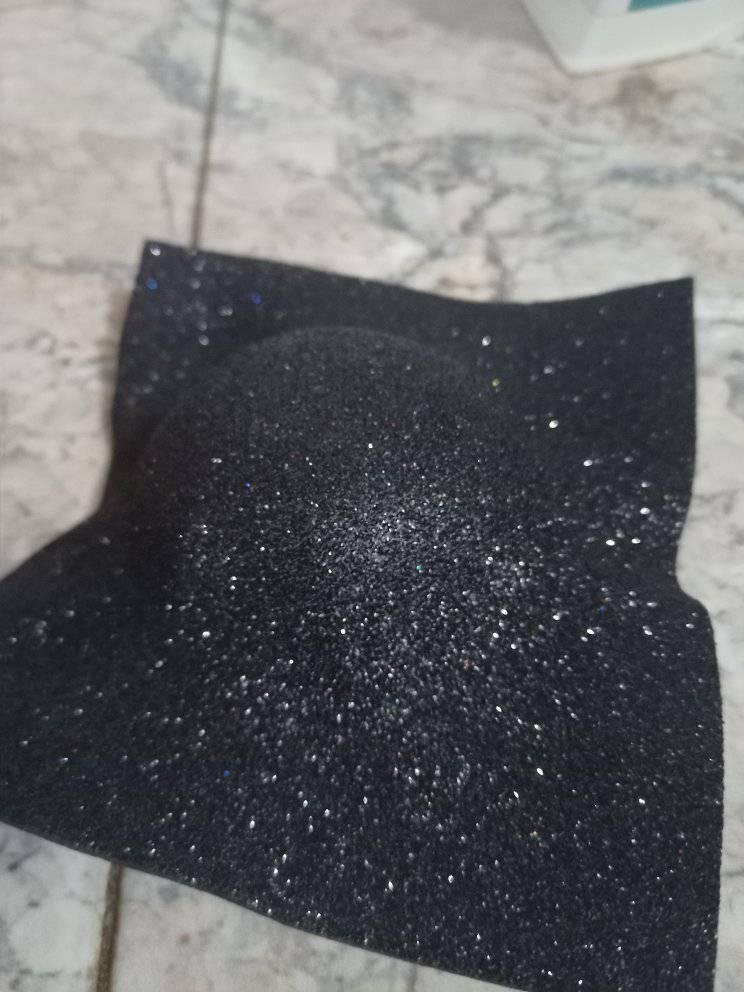
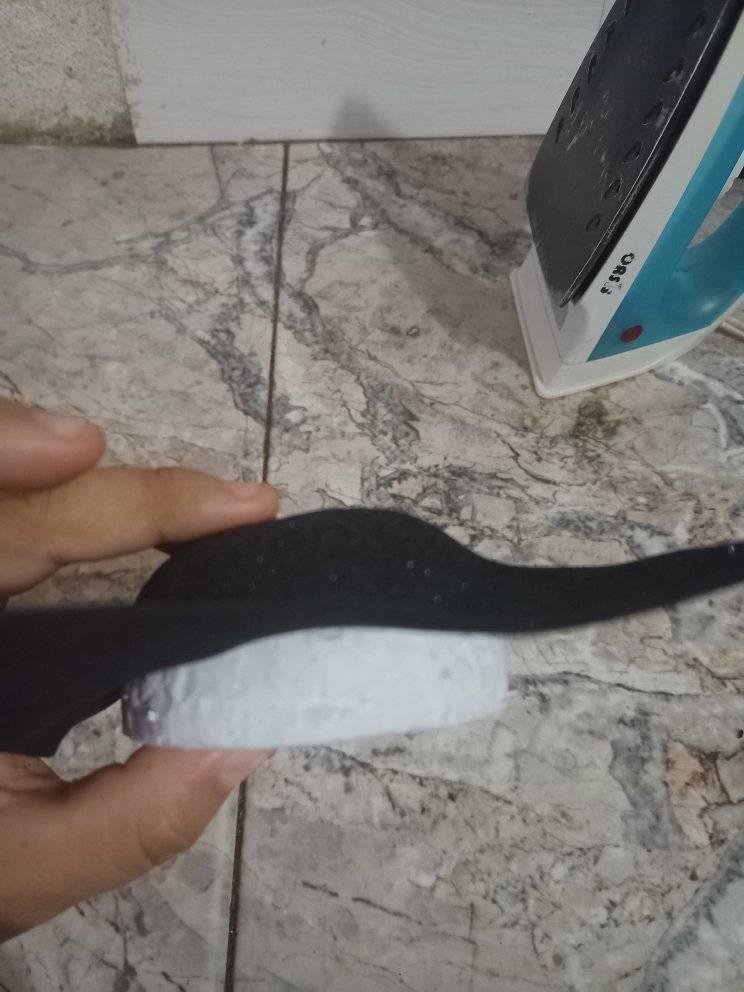
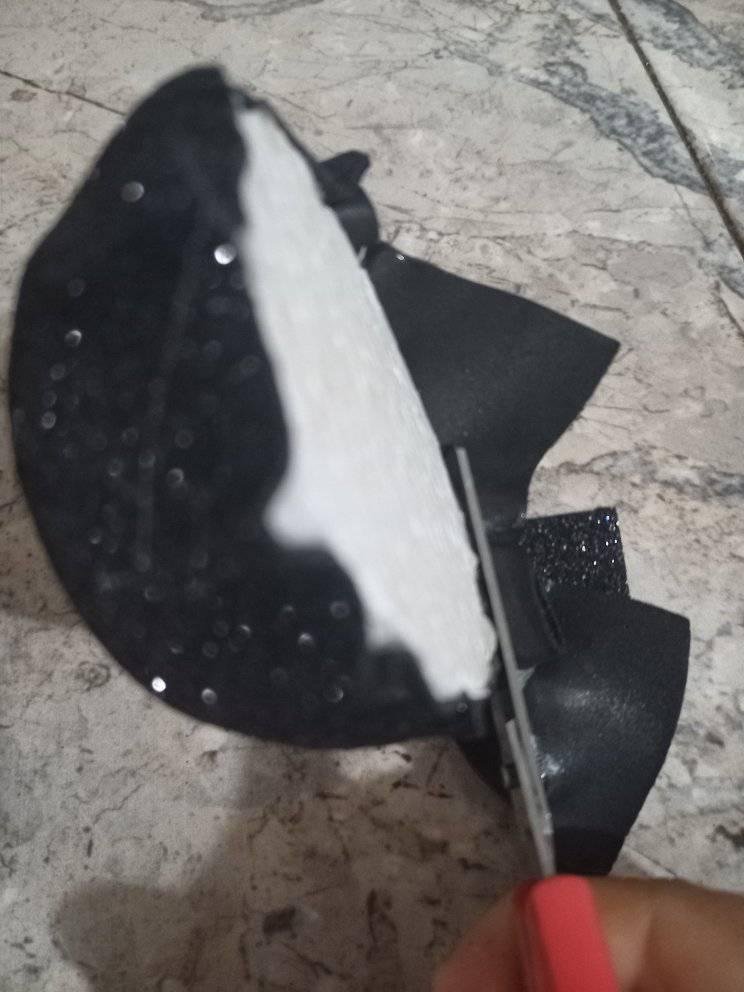
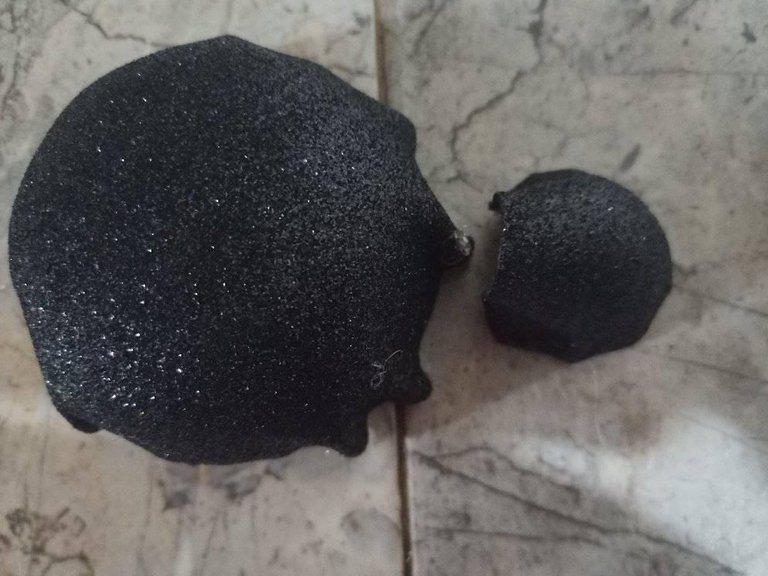
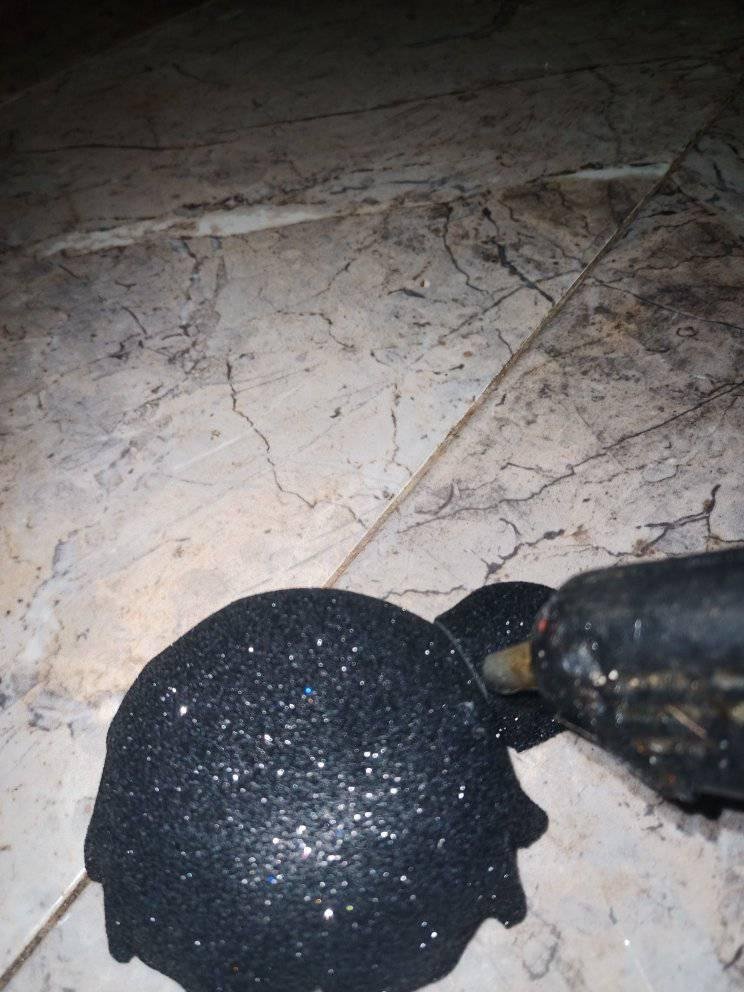
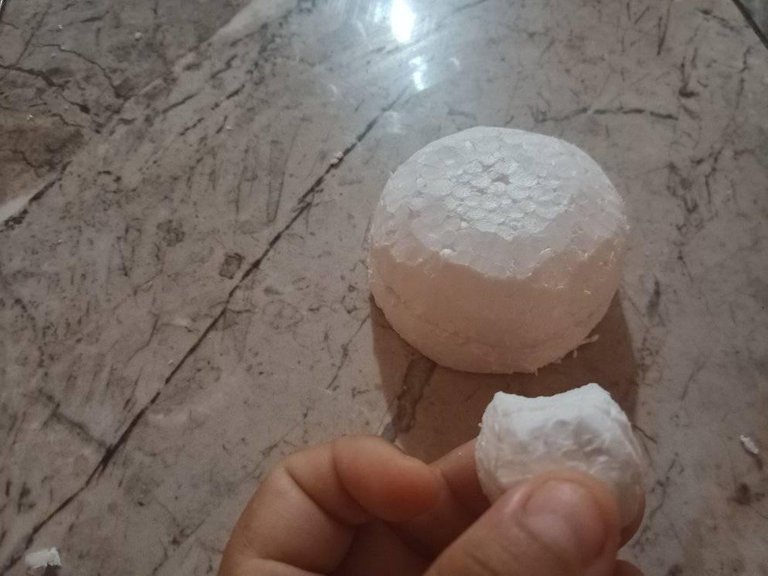
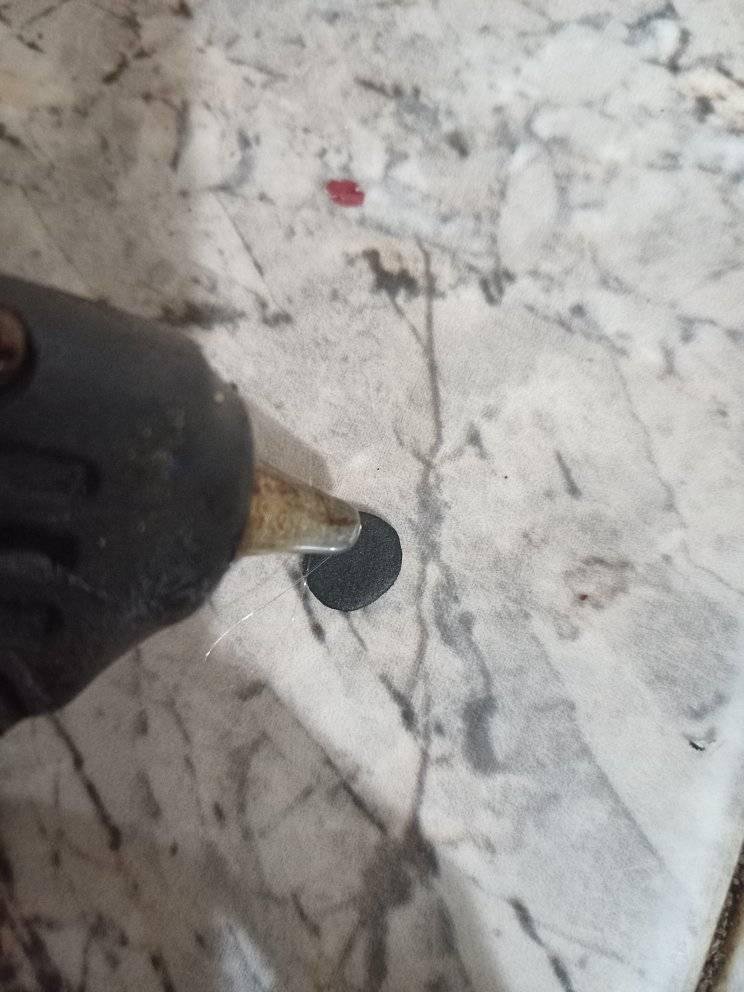
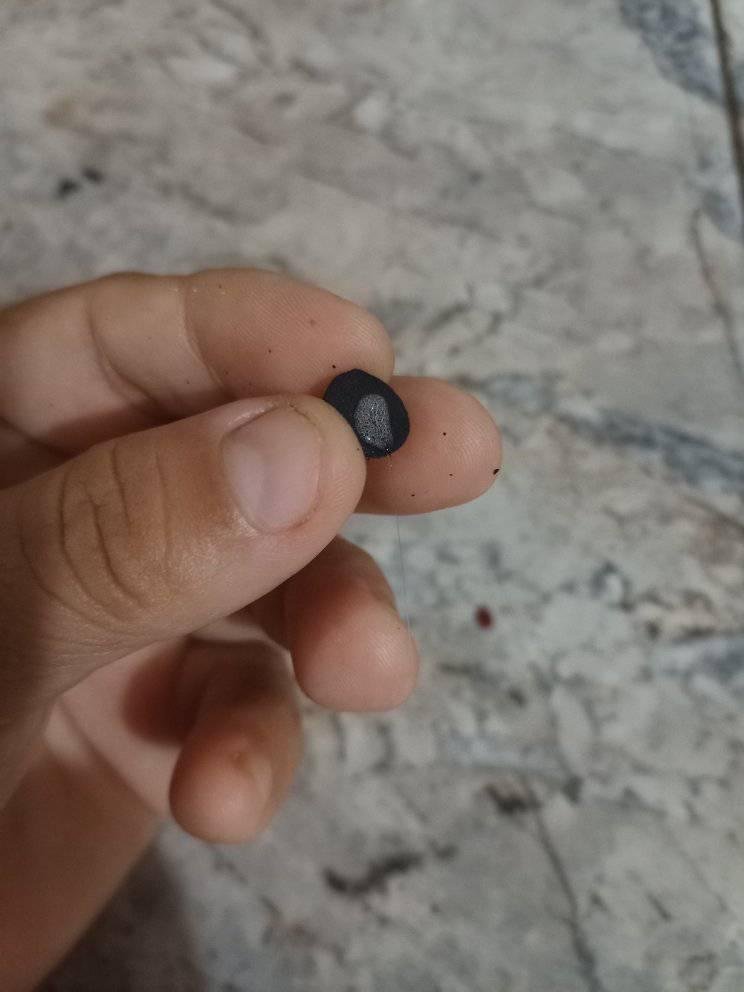
Colocas encima del foami negro escarchado la esfera de anime para dejar aproximadamente 3 cm de diámetro a los lados, lo recortas con la tijera y lo colocas frente a la plancha para que se suavice el foami, después lo pones rápidamente encima de la esfera dando presión hacia abajo para sacar la forma, retiras y procedes a untar pega blanca en la bolita, esperas un rato a que se seque lo mides asegurándote bien donde recortar el sobrante, cuando lo hagas con el cuerpo y la cabeza, unes con el silicon caliente todo como esta en las fotos.
Place on top of the frosted black foami anime sphere to leave about 3 cm in diameter on the sides, cut it with scissors and place it in front of the iron to soften the foami, then put it quickly on top of the sphere giving pressure down to remove the shape, remove and proceed to spread white glue on the ball, wait a while to dry and measure it making sure where to cut the excess, when you do it with the body and head, join with the hot silicone all as in the photos.
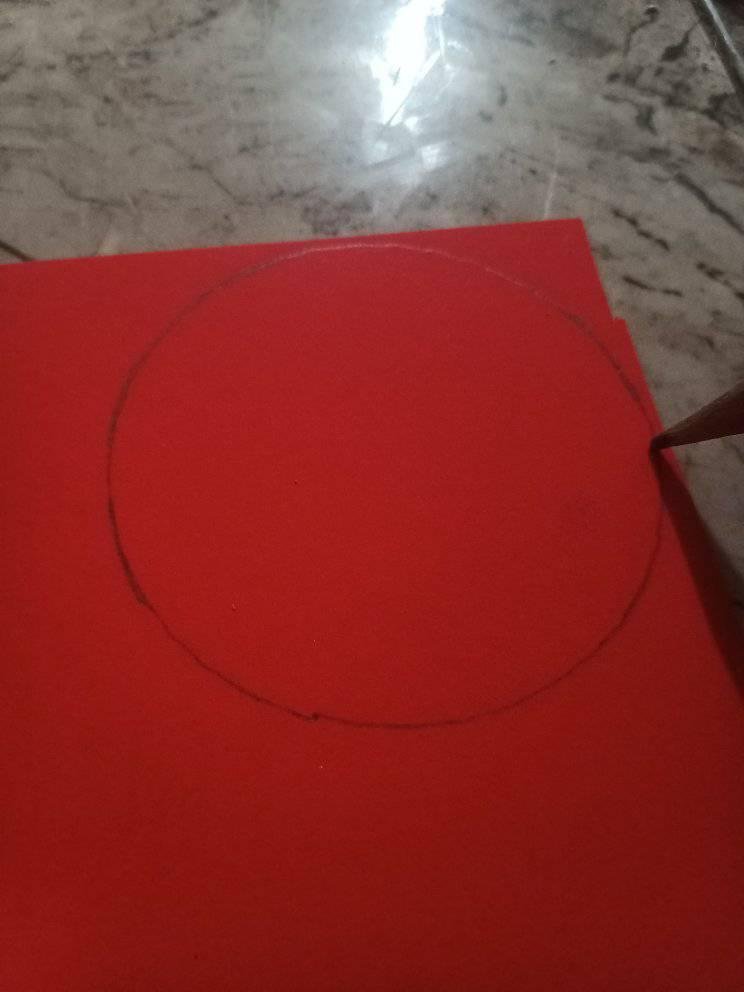
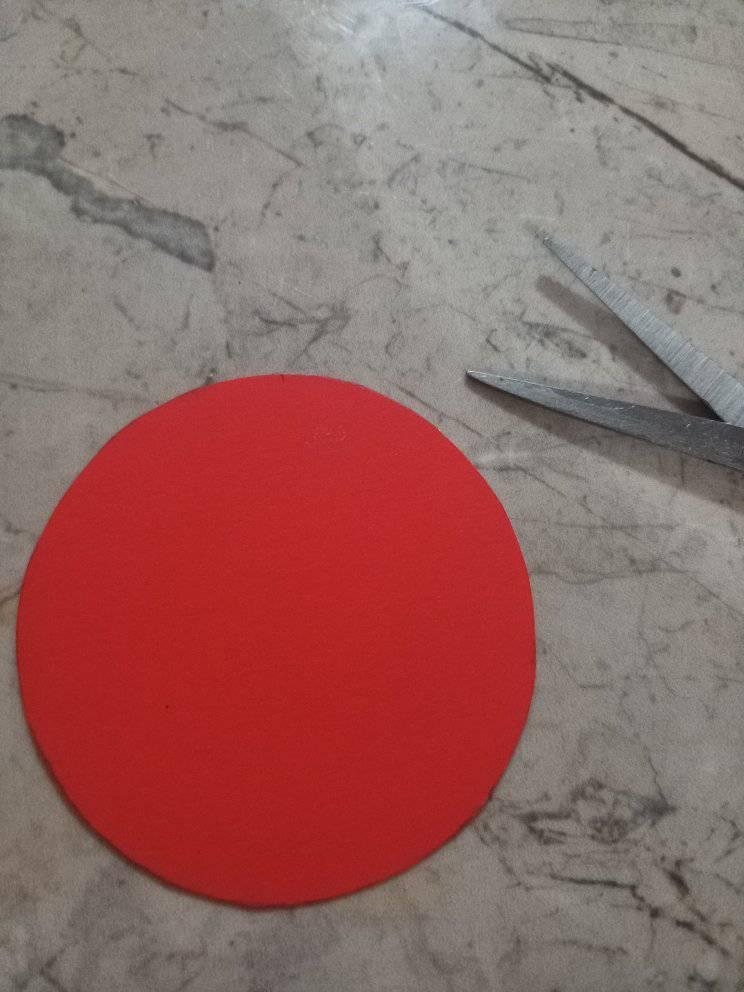
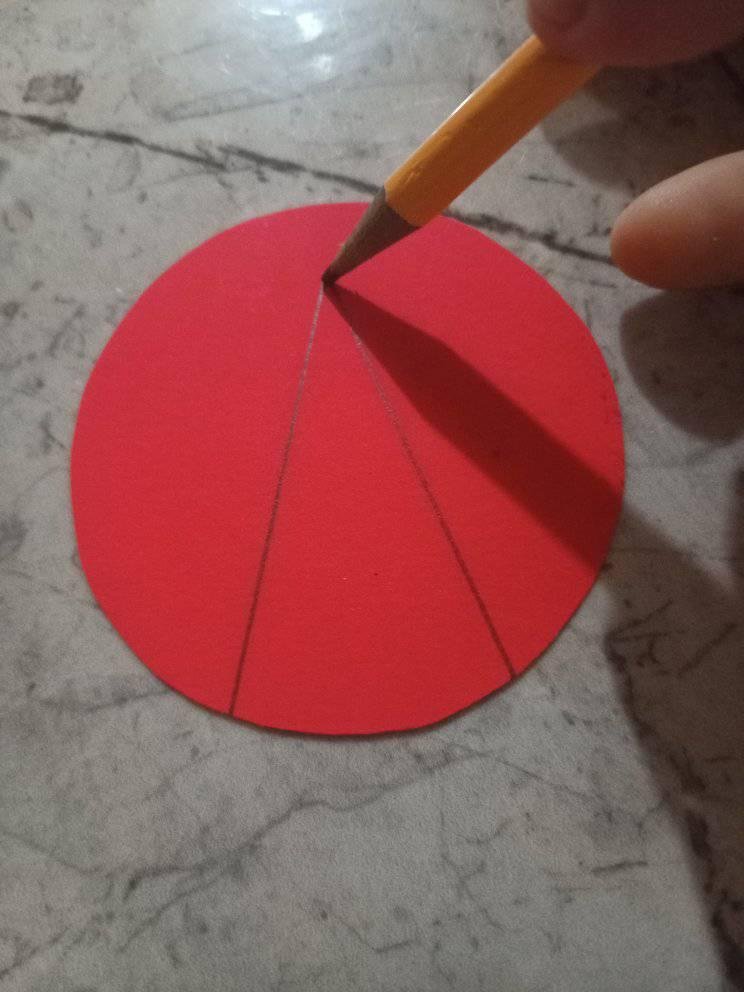
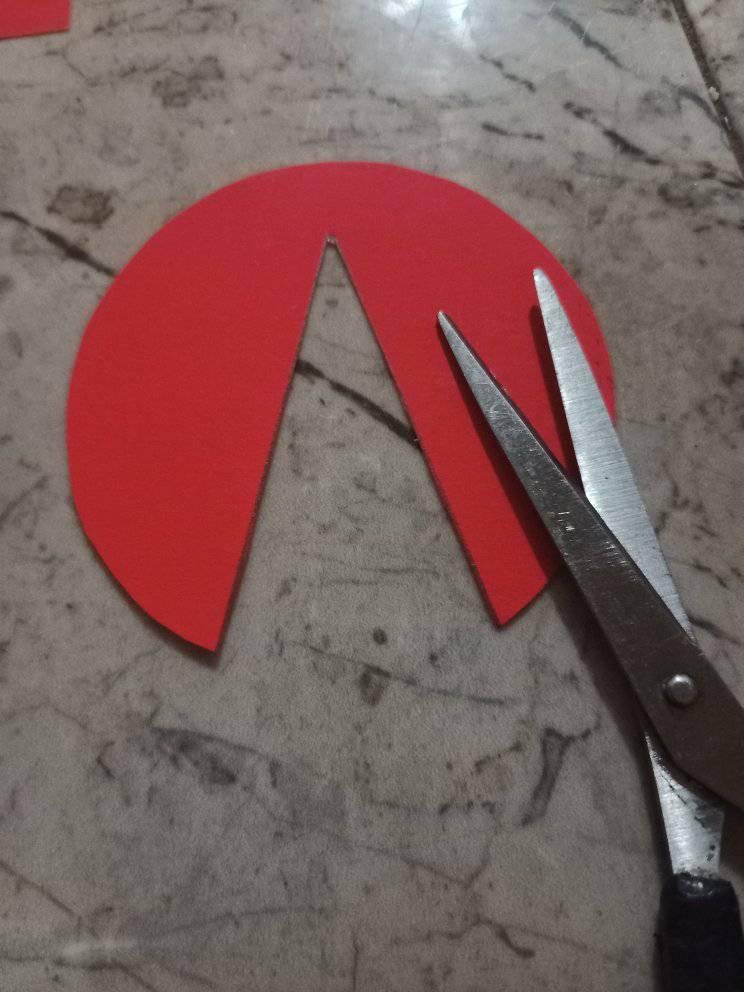
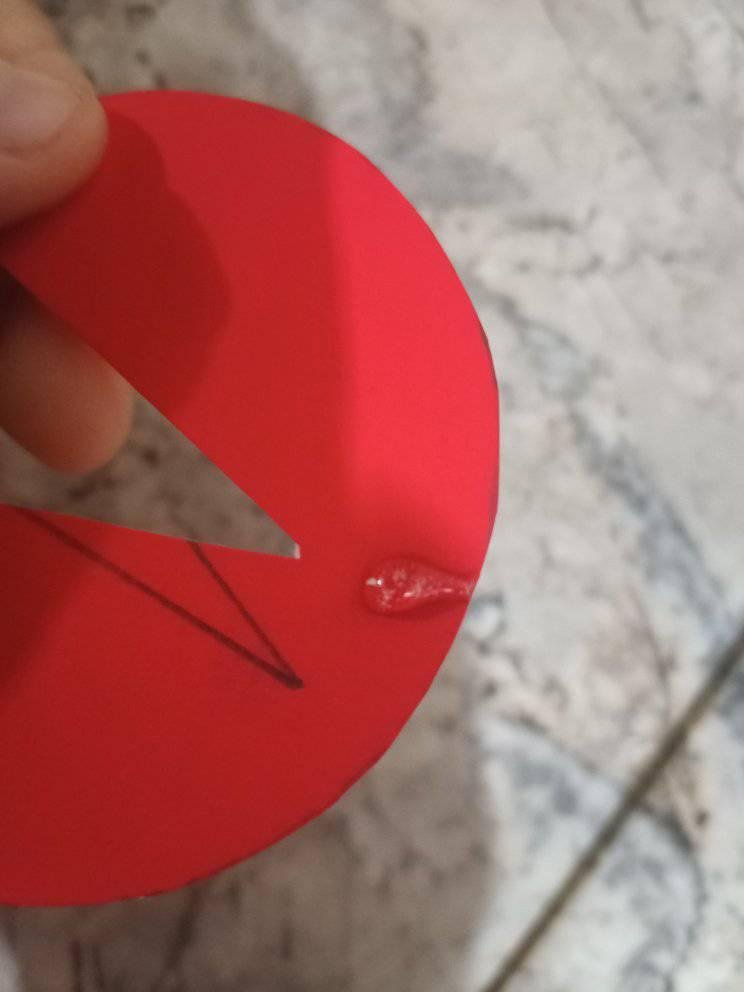
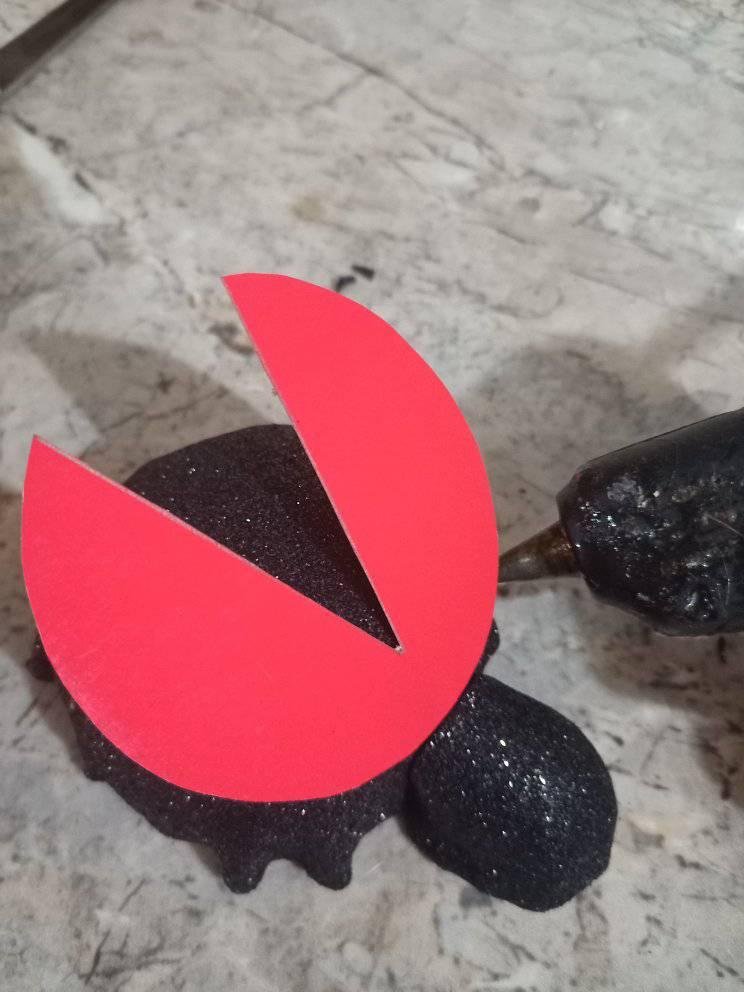
Realizas un circulo de 8 cm con el creyon en la cartulina roja tipo carta, recortas y después haces unos trazos de forma triangular con una base de 3 cm como se ve en las foto, también procedes a recortas para así buscar el centro y por la parte de atrás de la cartulina colocas una gota de silicon caliente, pegándolo en el lomo con dirección hacia la cabeza de la mariquita.
Make a circle of 8 cm with the creyon on the red cardboard type letter, cut out and then make some triangular shaped strokes with a base of 3 cm as shown in the photo, also proceed to cut out to find the center and on the back of the cardboard place a drop of hot silicone, sticking it on the back towards the head of the ladybug.
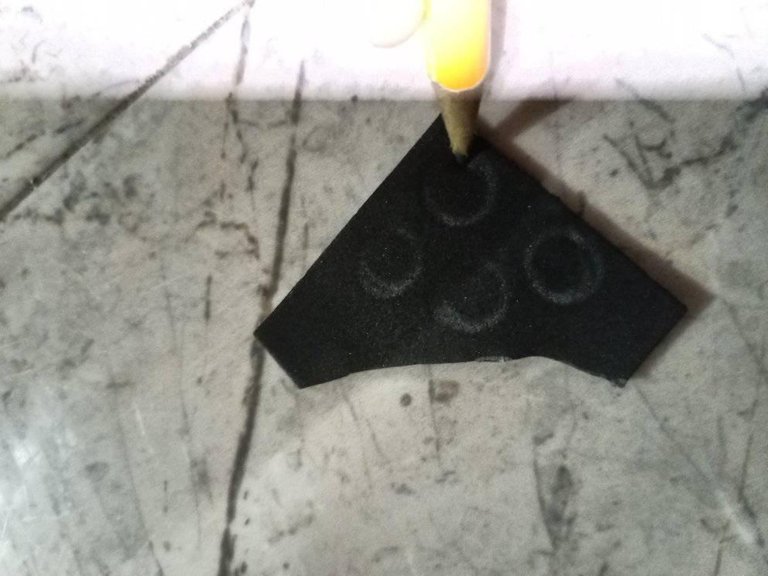
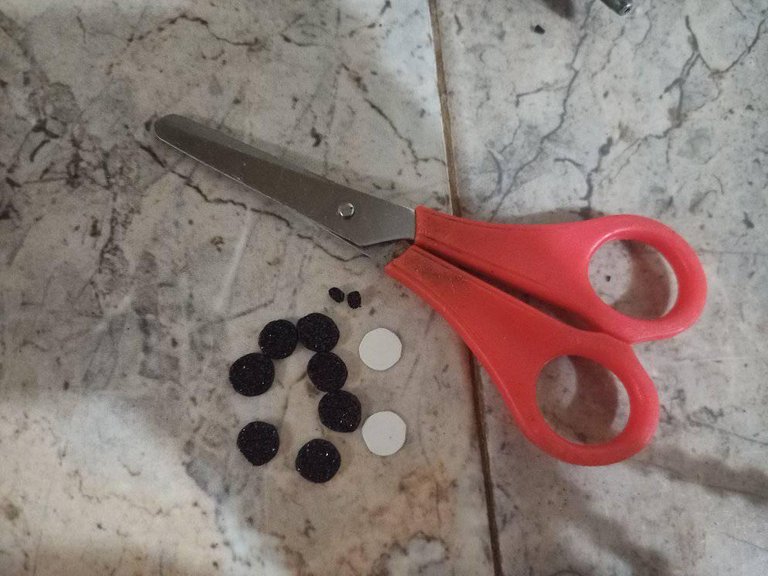
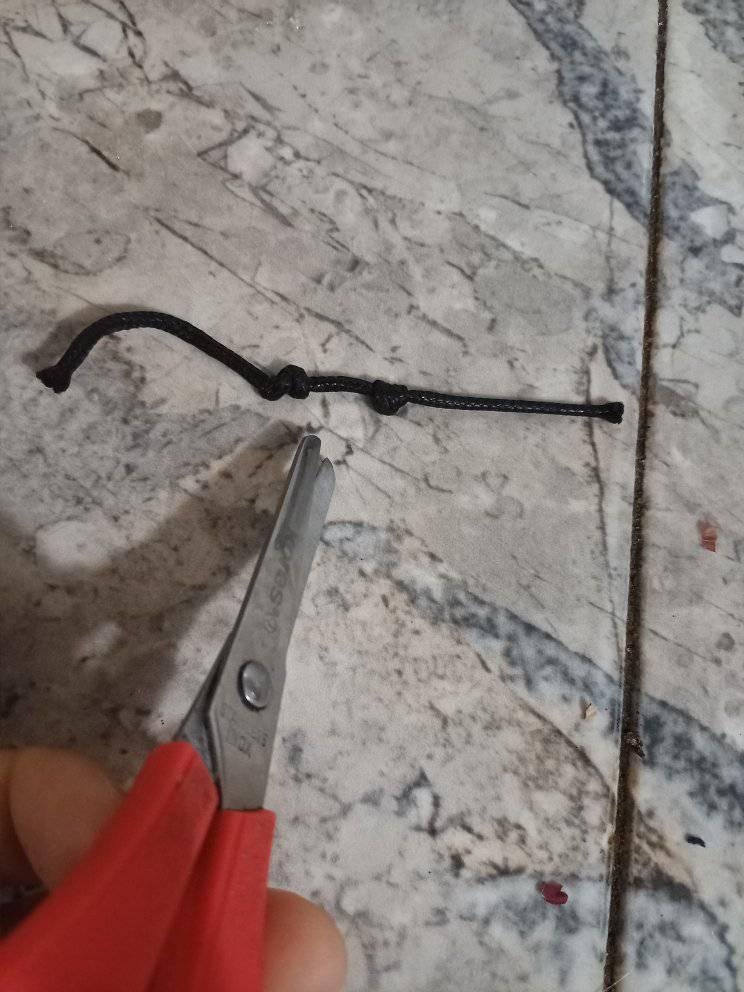
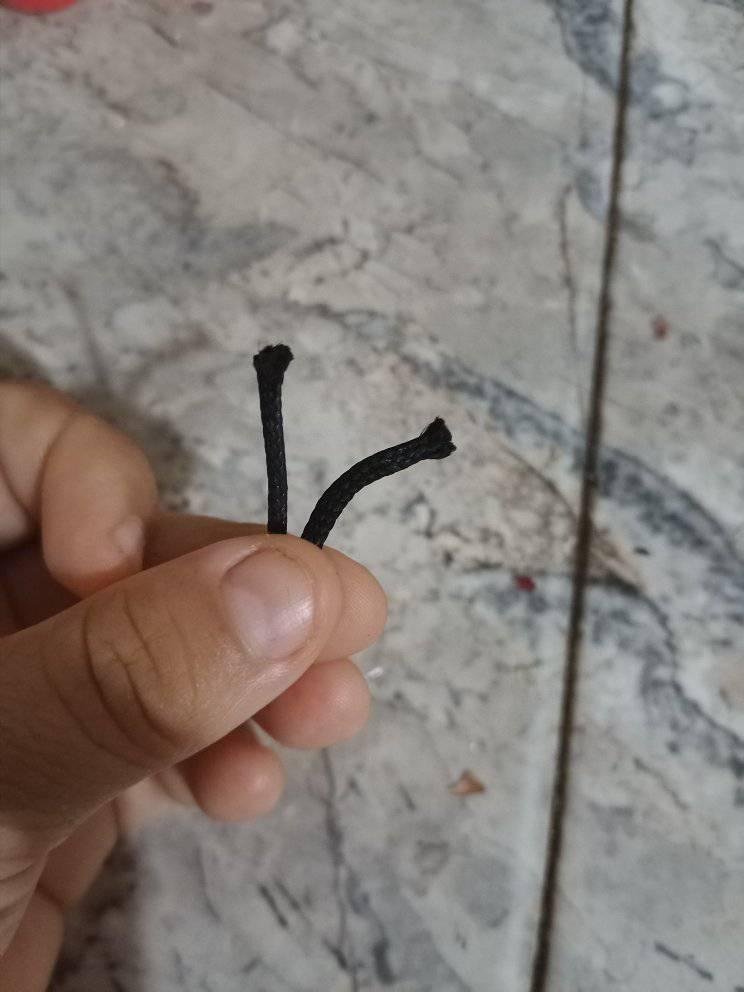
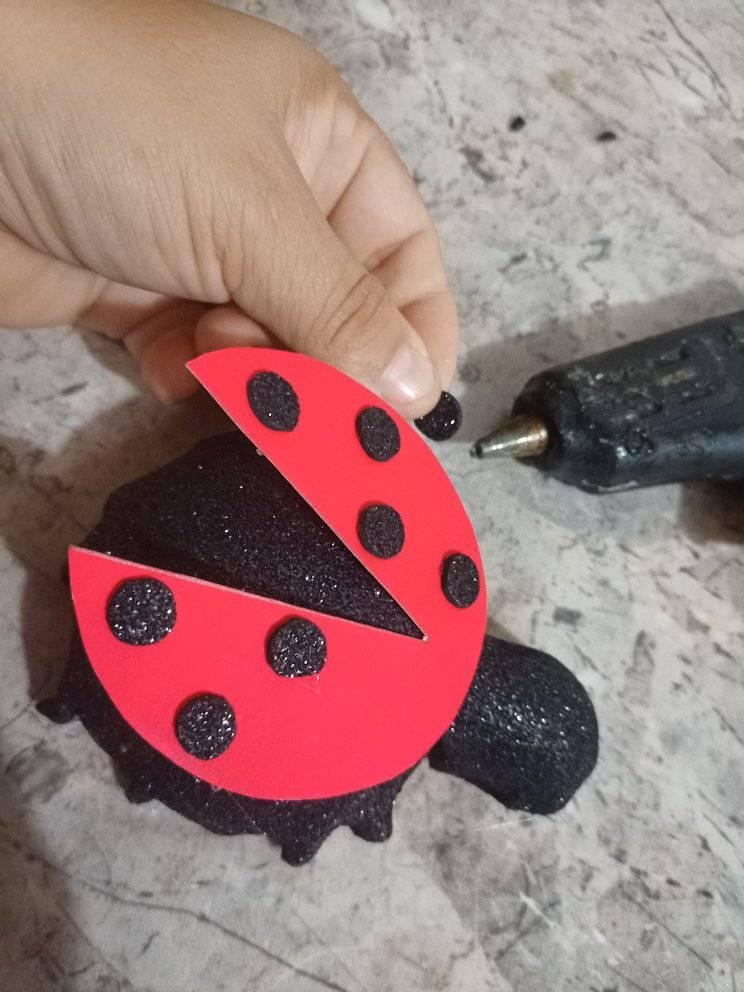
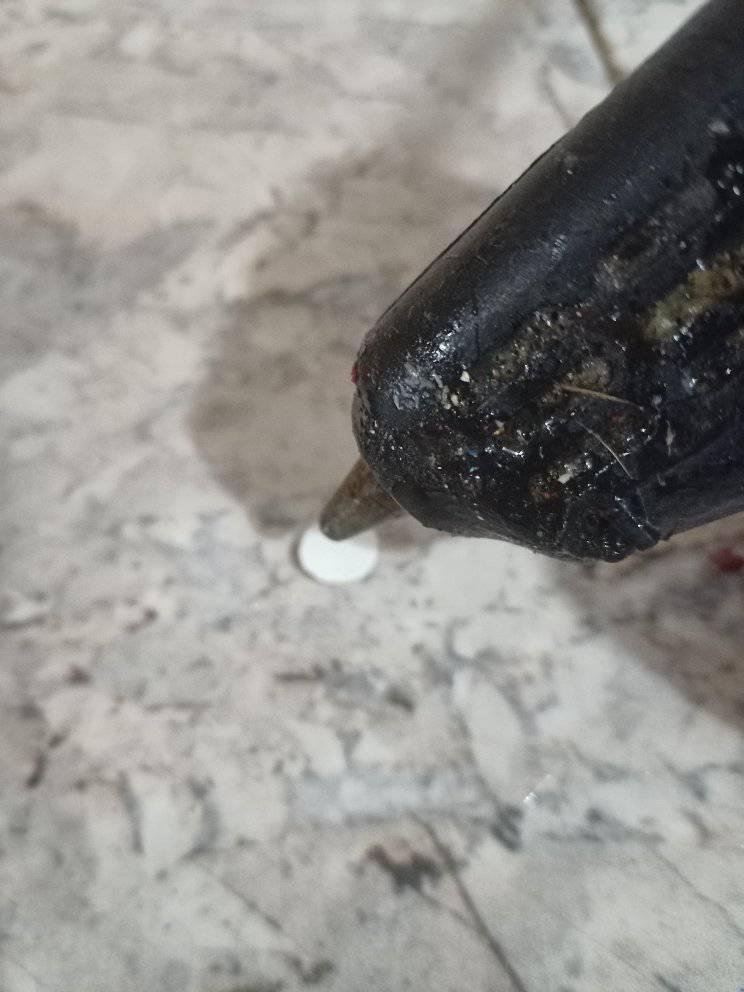
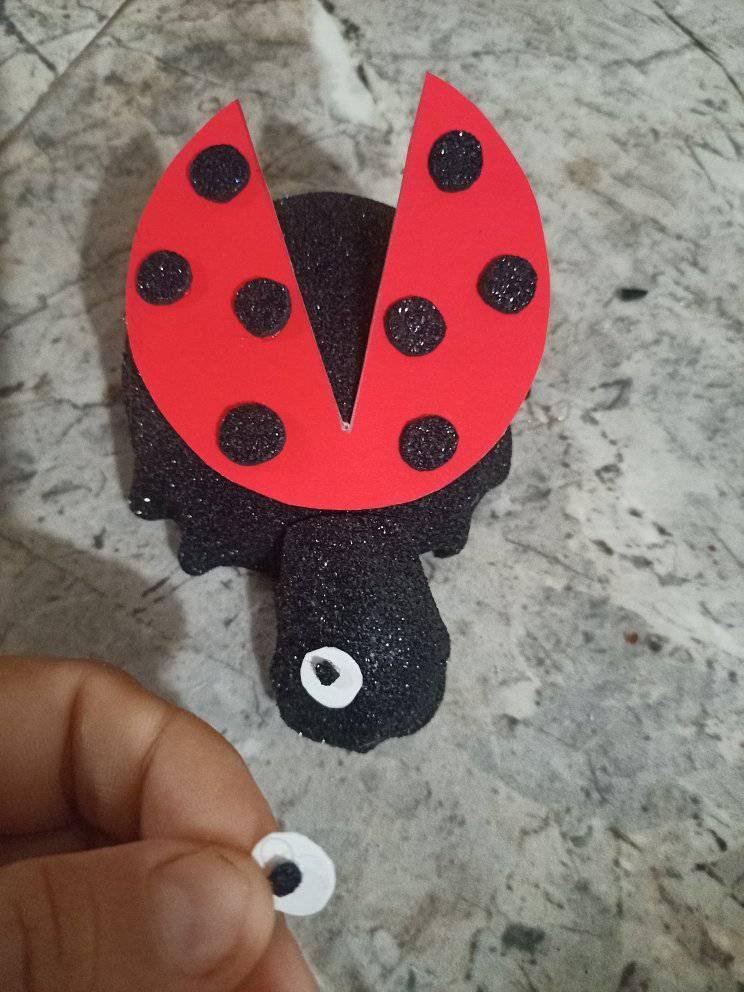
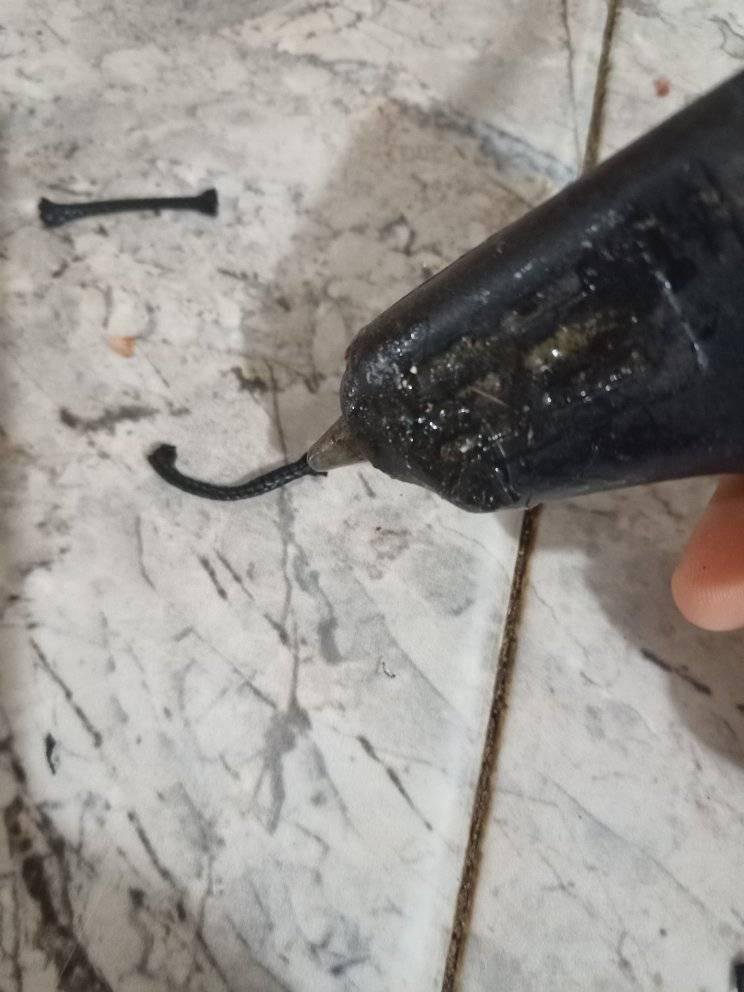
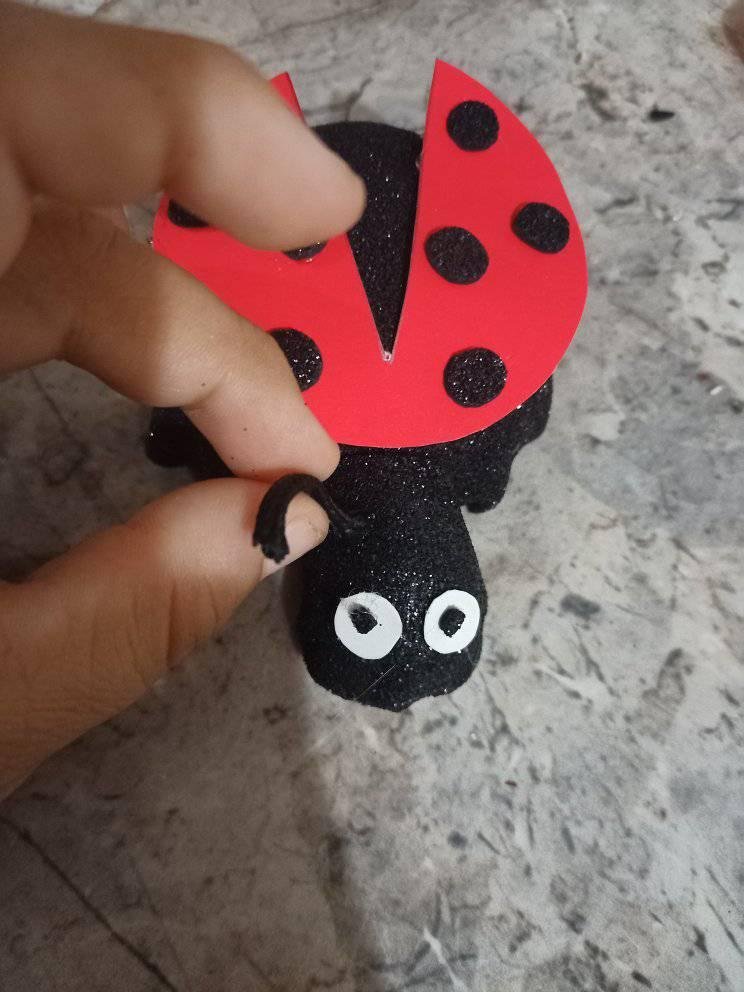
Realizas pequeños círculos en el restante del foami negro escarchado y dos en el pedazo de hoja reciclada, luego recortas y con silicon caliente comienzas a pegar las manchas en las alas y los ojos de la mariquita, también recortas 3 cm y medio del cordón negro, pegando como antenas en su cabeza.
Make small circles on the rest of the black frosted foami and two on the piece of recycled paper, then cut out and with hot silicon start gluing the spots on the wings and eyes of the ladybug, also cut 3 cm and a half of the black string, gluing as antennae on its head.
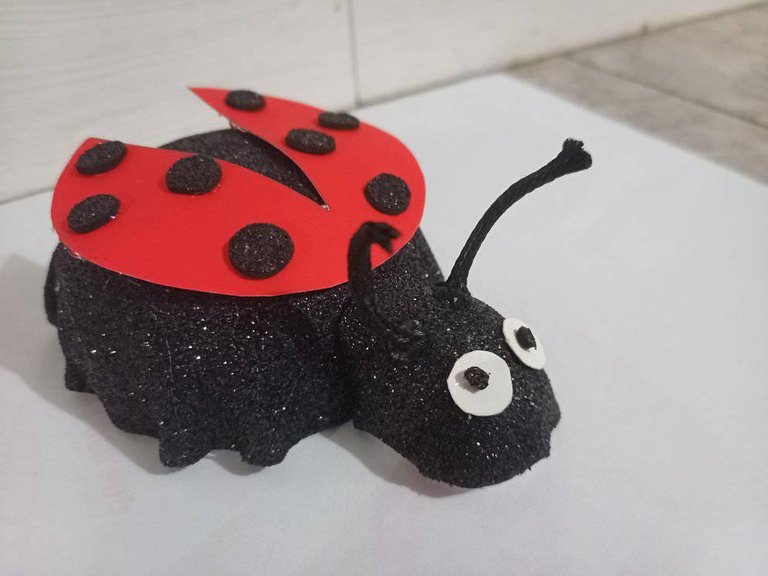
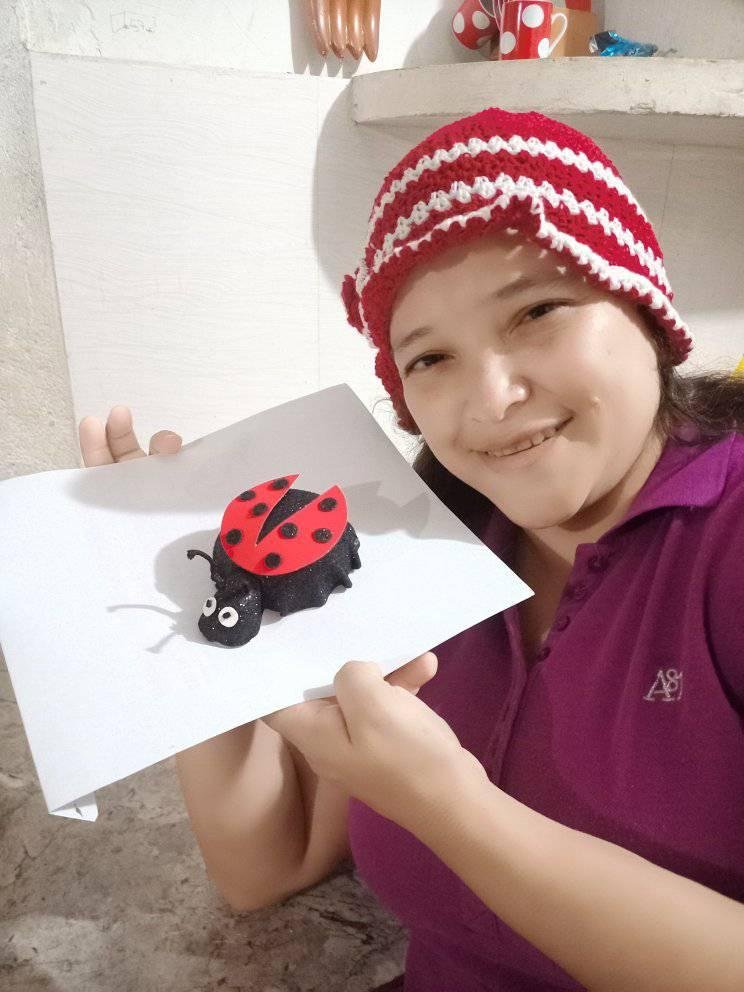
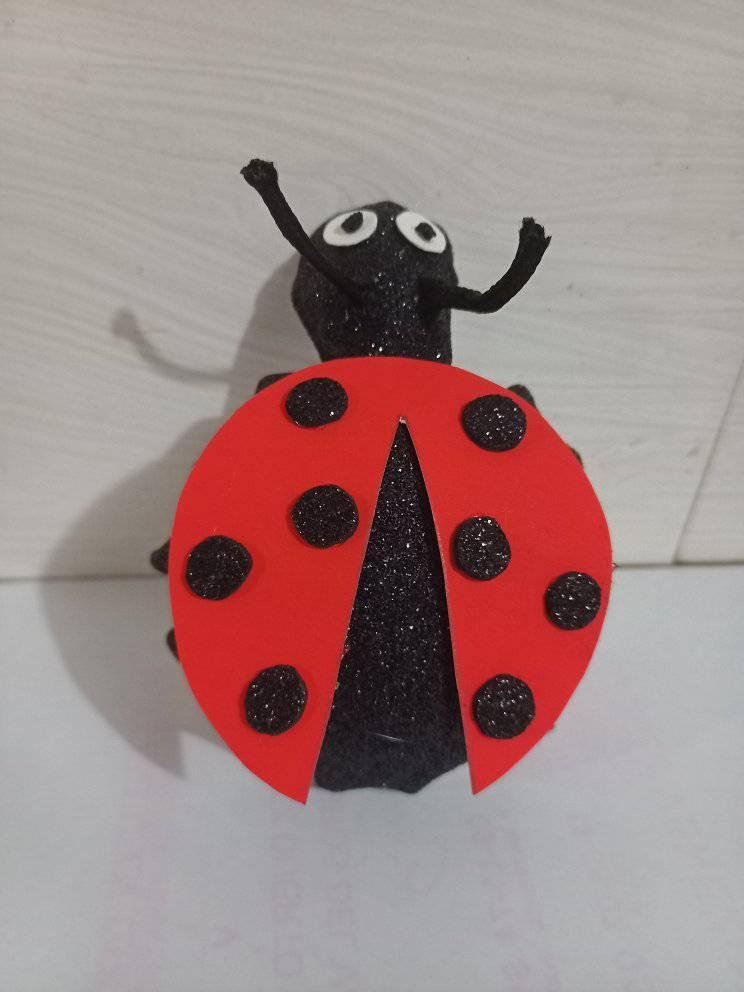
Este resultado final quedo listo para decorar, me encanta el efecto que tiene el acabado del borde del foami negro escarchado parecieran sus paticas, sus hermosos colores resaltan, quede enamorada con Mariquita, espero también les guste.
This final result was ready to decorate, I love the effect that has finished the edge of the frosted black foami look like their paws, their beautiful colors stand out, I was in love with Mariquita, I hope you also like it.
I would like to invite @mariana30 and @eribetzi to participate in this contest.
All photos are my own, with Umidigi Bison phone.

Congratulations @omaira74! You have completed the following achievement on the Hive blockchain and have been rewarded with new badge(s):
Your next target is to reach 8000 upvotes.
Your next target is to reach 500 replies.
You can view your badges on your board and compare yourself to others in the Ranking
If you no longer want to receive notifications, reply to this comment with the word
STOPCheck out the last post from @hivebuzz:
Congratulations, your post has been upvoted by @dsc-r2cornell, which is the curating account for @R2cornell's Discord Community.
Enhorabuena, su "post" ha sido "up-voted" por @dsc-r2cornell, que es la "cuenta curating" de la Comunidad de la Discordia de @R2cornell.
Excelente trabajo, me agrado esa baquita, gracias por compartir, te sigo, saludos.
Que detalle gracias por comentar.