From the old to the new
My balcony is really just a laundry room with no window installed. The wall is five feet high and you have to go on your toes to peak over the edge. It's okay because I don't really like heights. Before I show you the new system, here is the old experimental system built for small spaces.
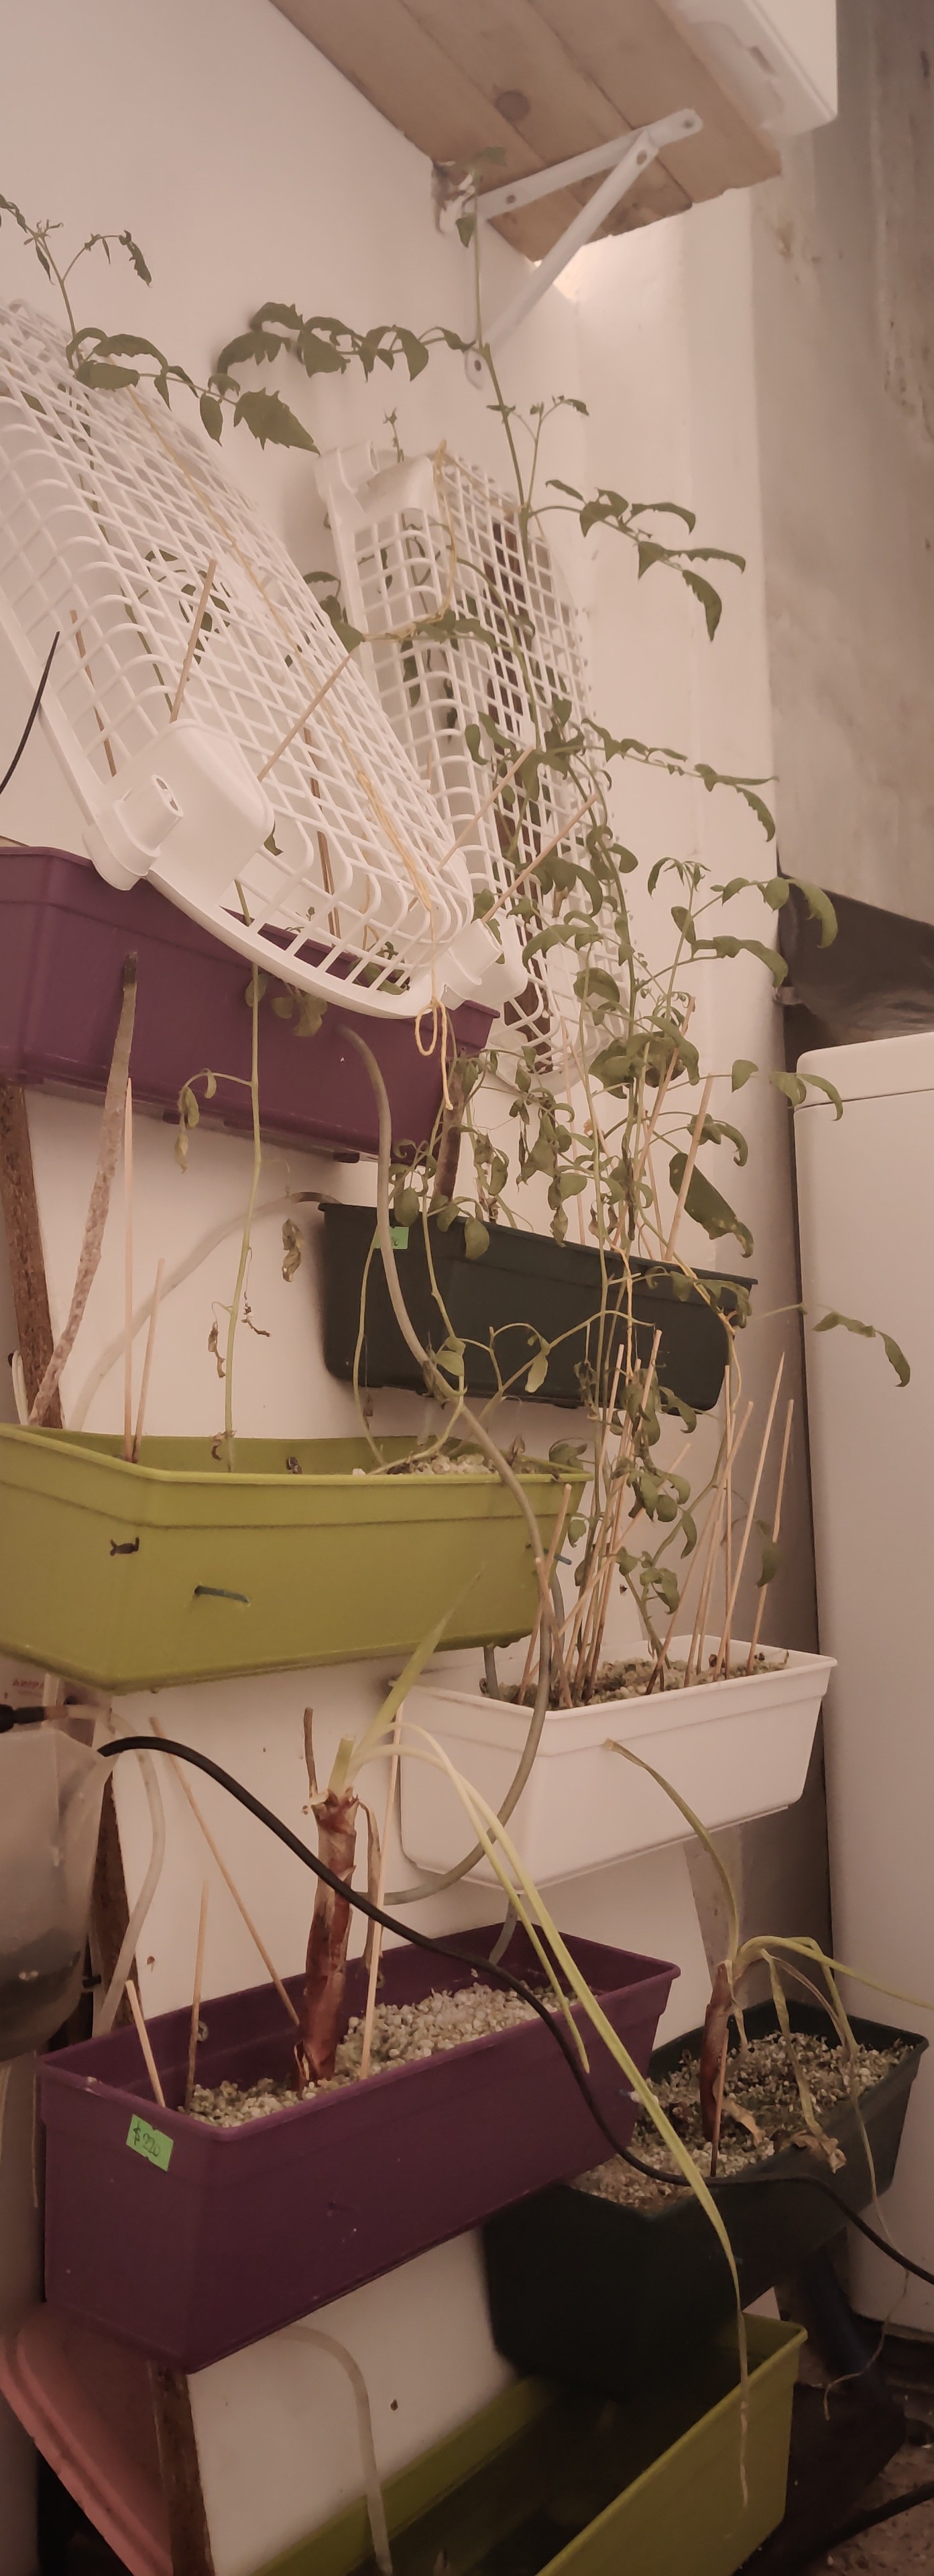
Some time back, I had made this self irrigating test system. It used to run on distilled water for my carnivorous plants. As winter arrived, I put the delicate plants in an indoor green house and played with starting vegetables in the hydroponic system in order to see if they would grow without dirt. As you can see, they do. The largest tomato plant has been cropped off the top several times.
These were started as winter set in. The system is 100 percent perlite and water. I have chives, cucumber, and a lot of tomato plants growing. I was trying to give the tomatoes something to climb on because they did not stay babies. I have pumps keep the water flowing back up to the top where it runs back down to the bottom reservoir.
This system has a problem, the pots are too small and the pumps flood the upper pots. Perlite floats which is not good for the base of the plants. It would be fine if I watered it manually, but that is not the point. I want a maintenance free system. It is a winter mess now, but as soon as I transplant the tomatoes, this will be scrapped. It was a good system but I am going bigger now.
The new system is half done.
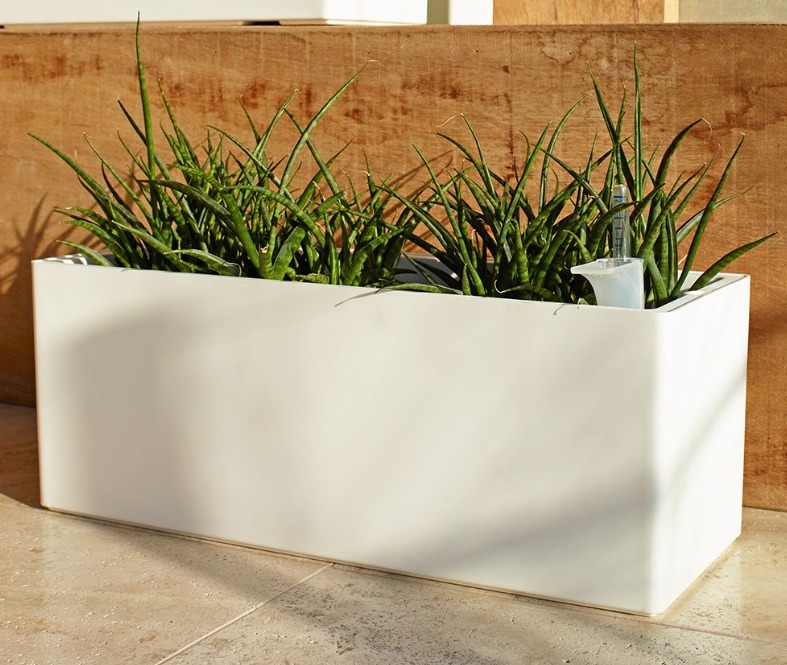
It uses this pot which is 51cm by 20cm. There is an inner pot that houses the water level indicator. Then the outer pot which holds the water. I tweaked the pot by lining the four reservoirs inside the inner pot with a fine mesh.
Then I filled the bottom two inches of the inner pot with perlite. There are alternating layers of potting soil and perlite all the way to the surface. Perlite is a volcanic ash that holds a lot of water and as I stated, plants can grow in perlite alone as long as hydroponic nutrients are added to the water.
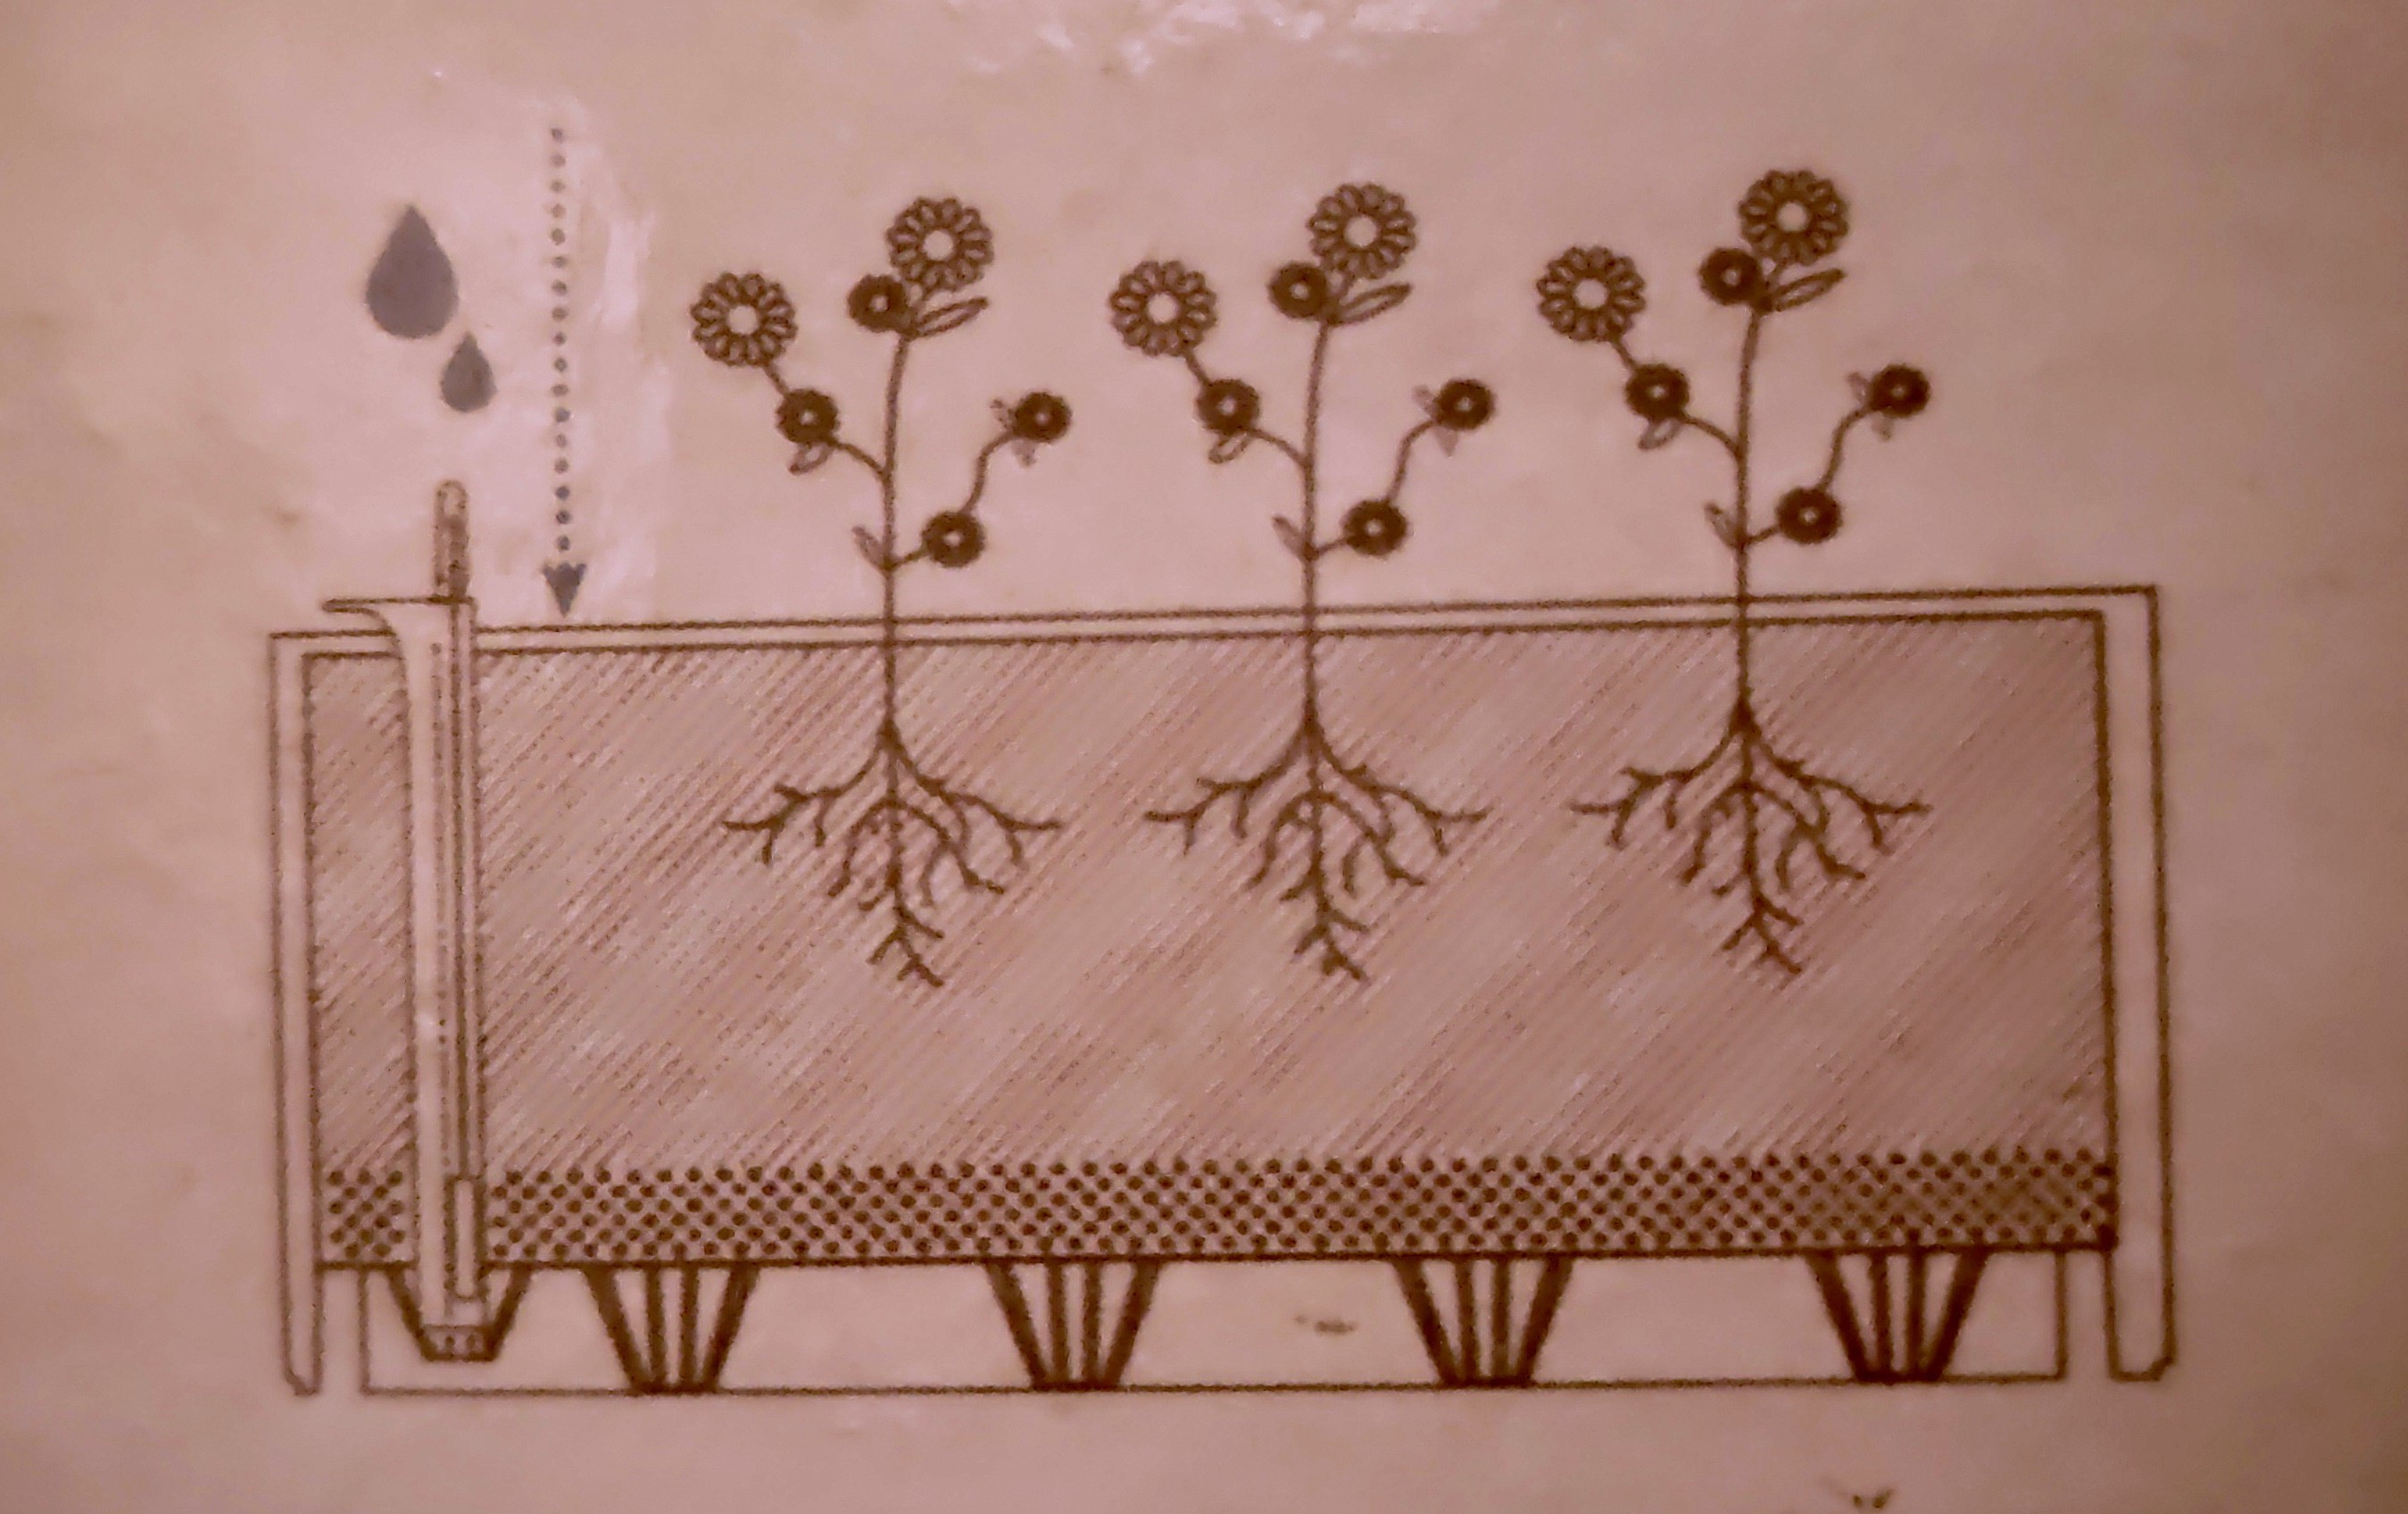
This diagram was taken from the box that these pots came in. The bottom four cone shaped things are in an area that only has water - no dirt. I have drilled into the outer pot and connected all of the pots together with tubing.
They are stacked, side to side, on the edge of the wall. If it were a balcony, the wall would be the railing.
There will be a pump to put water into the first pot, then flowing its way in an S shape to the last pot, where it will be drained into the pump reservoir. I have found that pumping the water around a closed system is the best way to oxygenate the roots of plants.
inside view
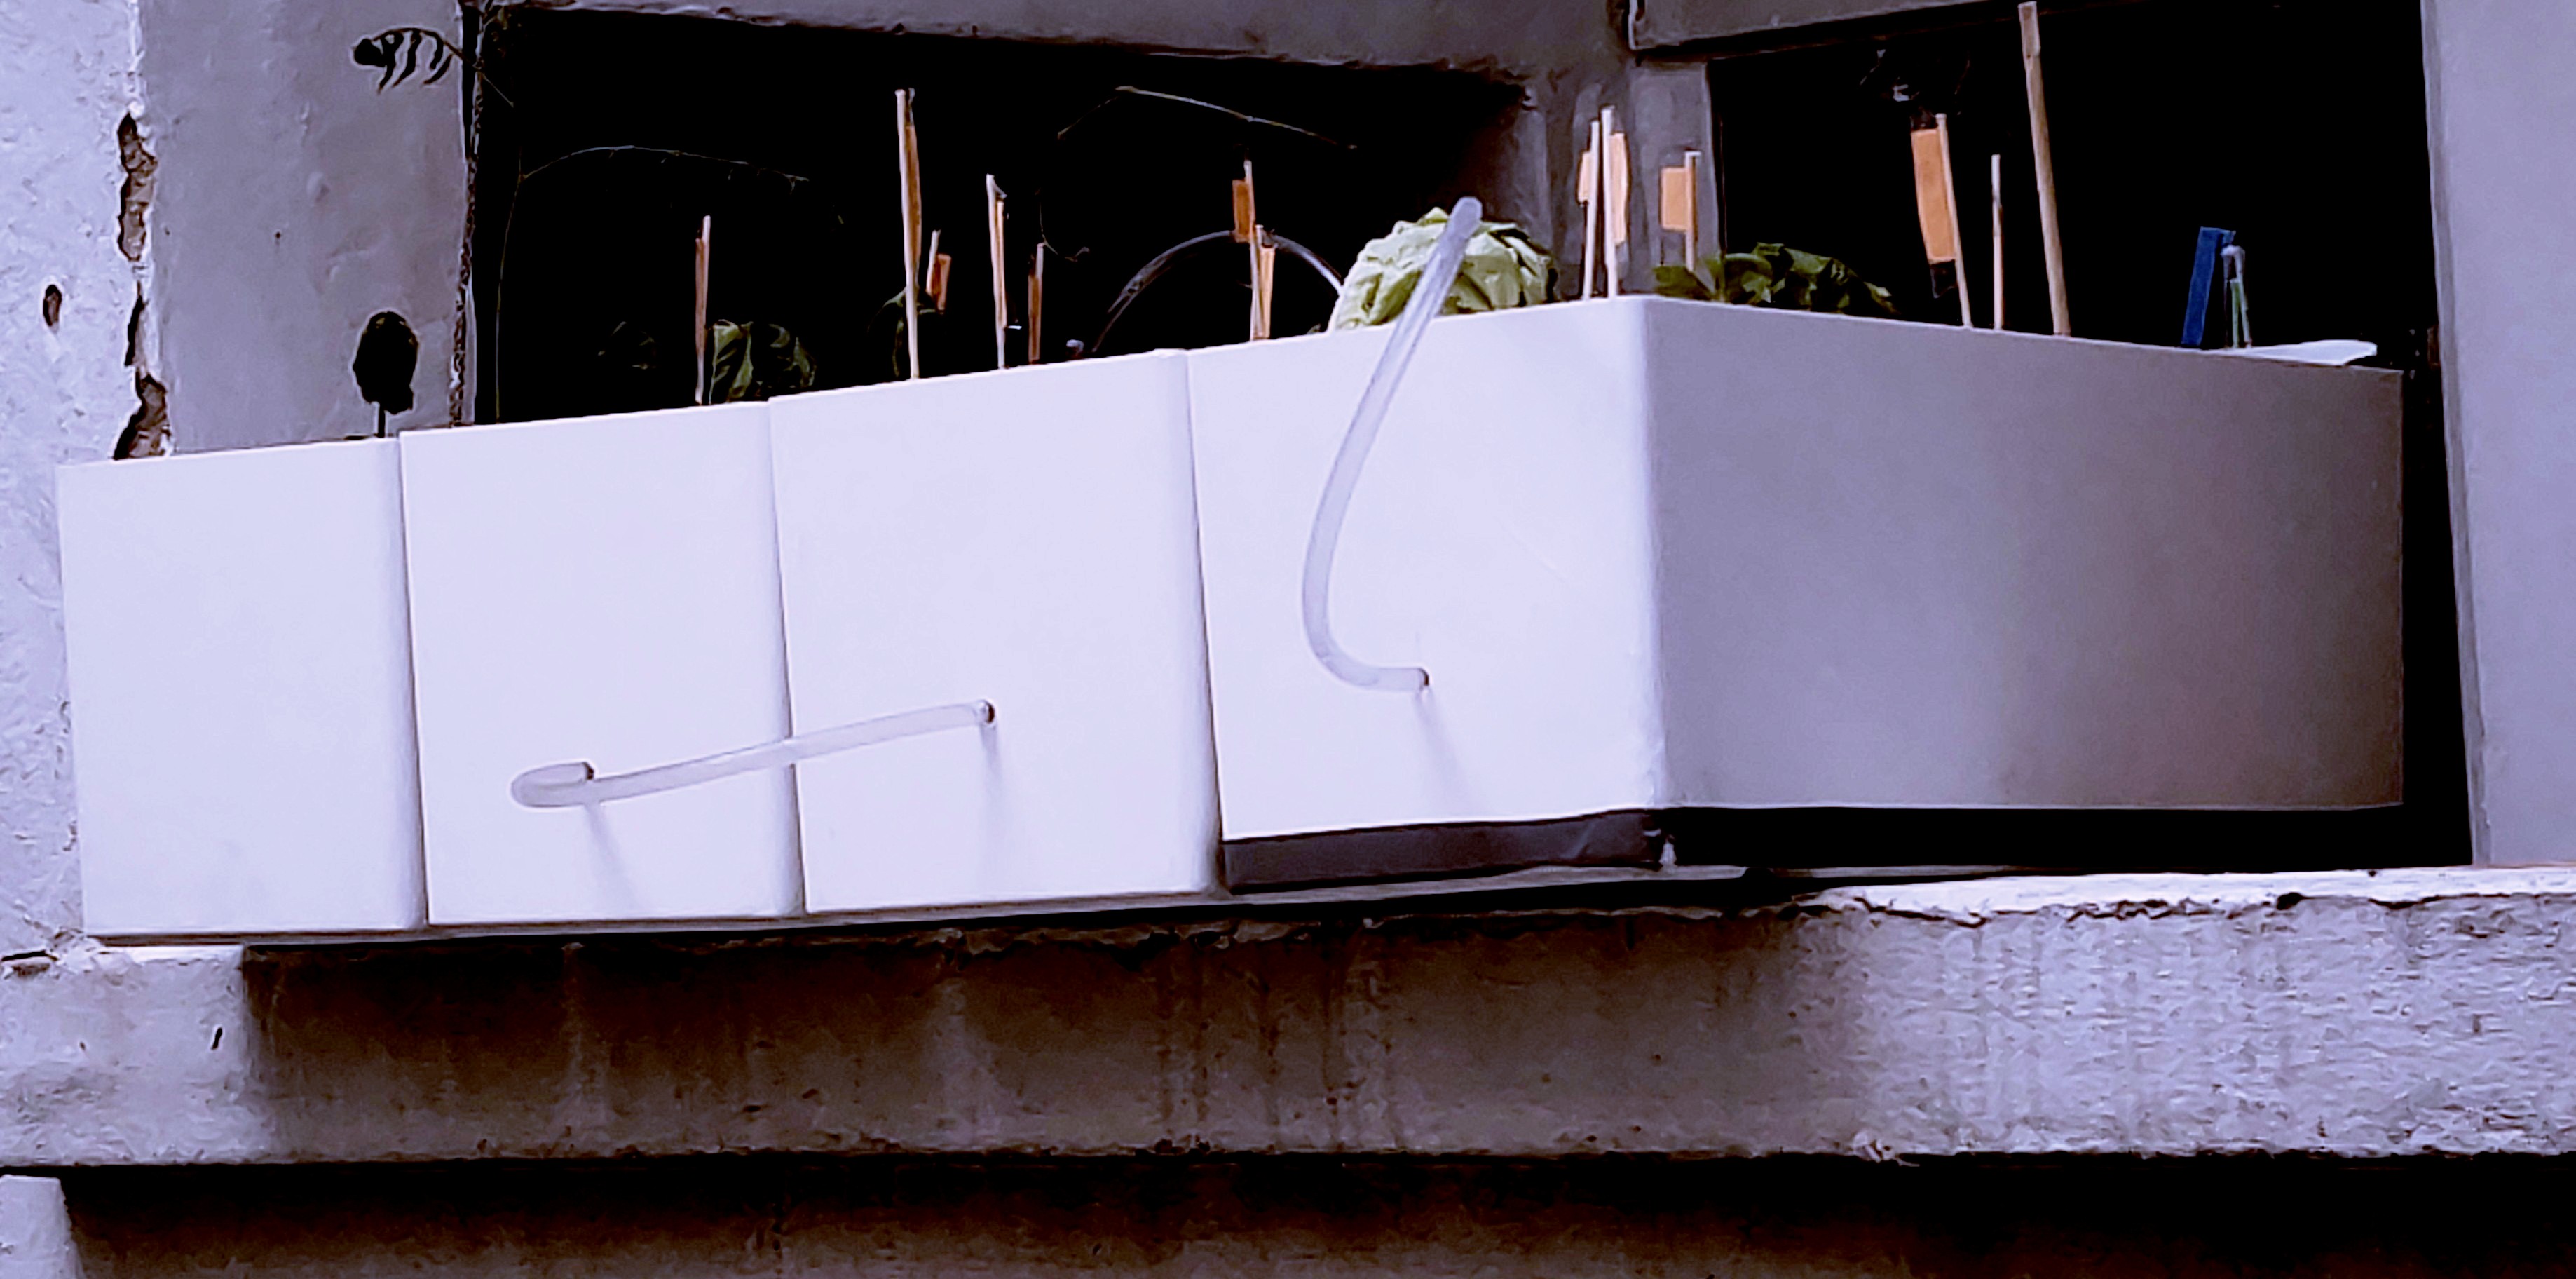
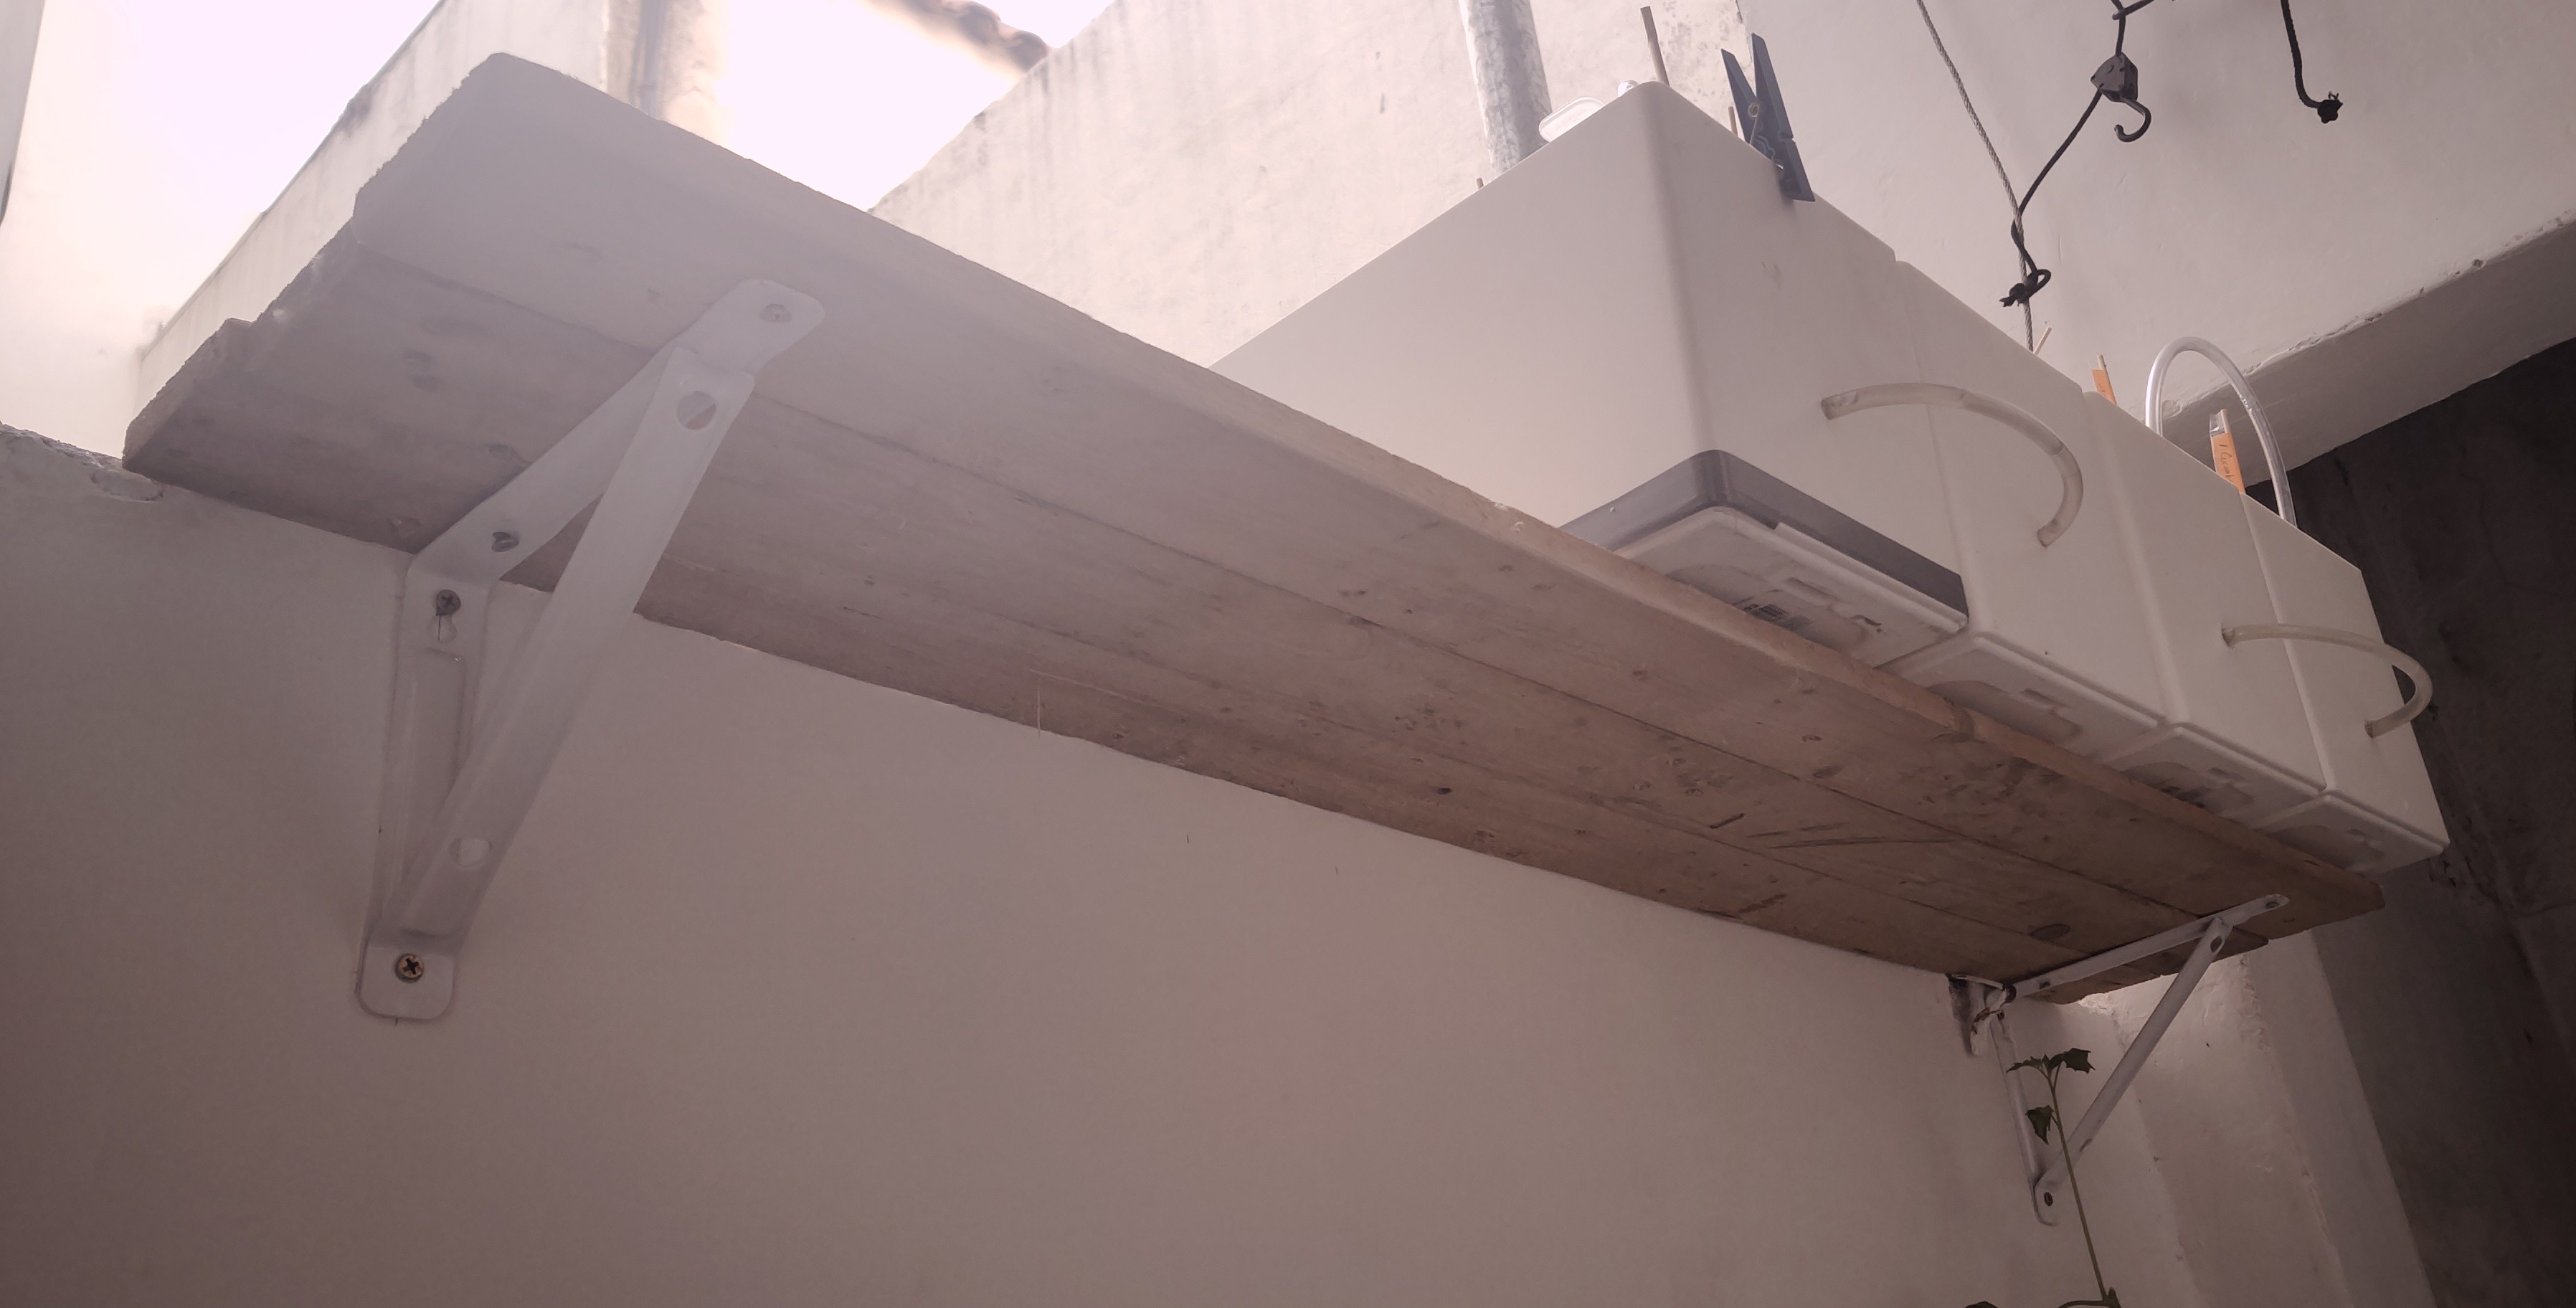
outside ledge
I have four out of seven pots balanced on the edge of the wall right now. I have to go and get more of these pots before I can grow the system and add the pump. The tubing that you see going upwards will be trimmed and put into the next pot when get it. These are all supported by shelving which keeps most of the weight on the inside. There are neighbors below that would not like falling planters. If they ever fell, it would be on the floor of the laundry room.
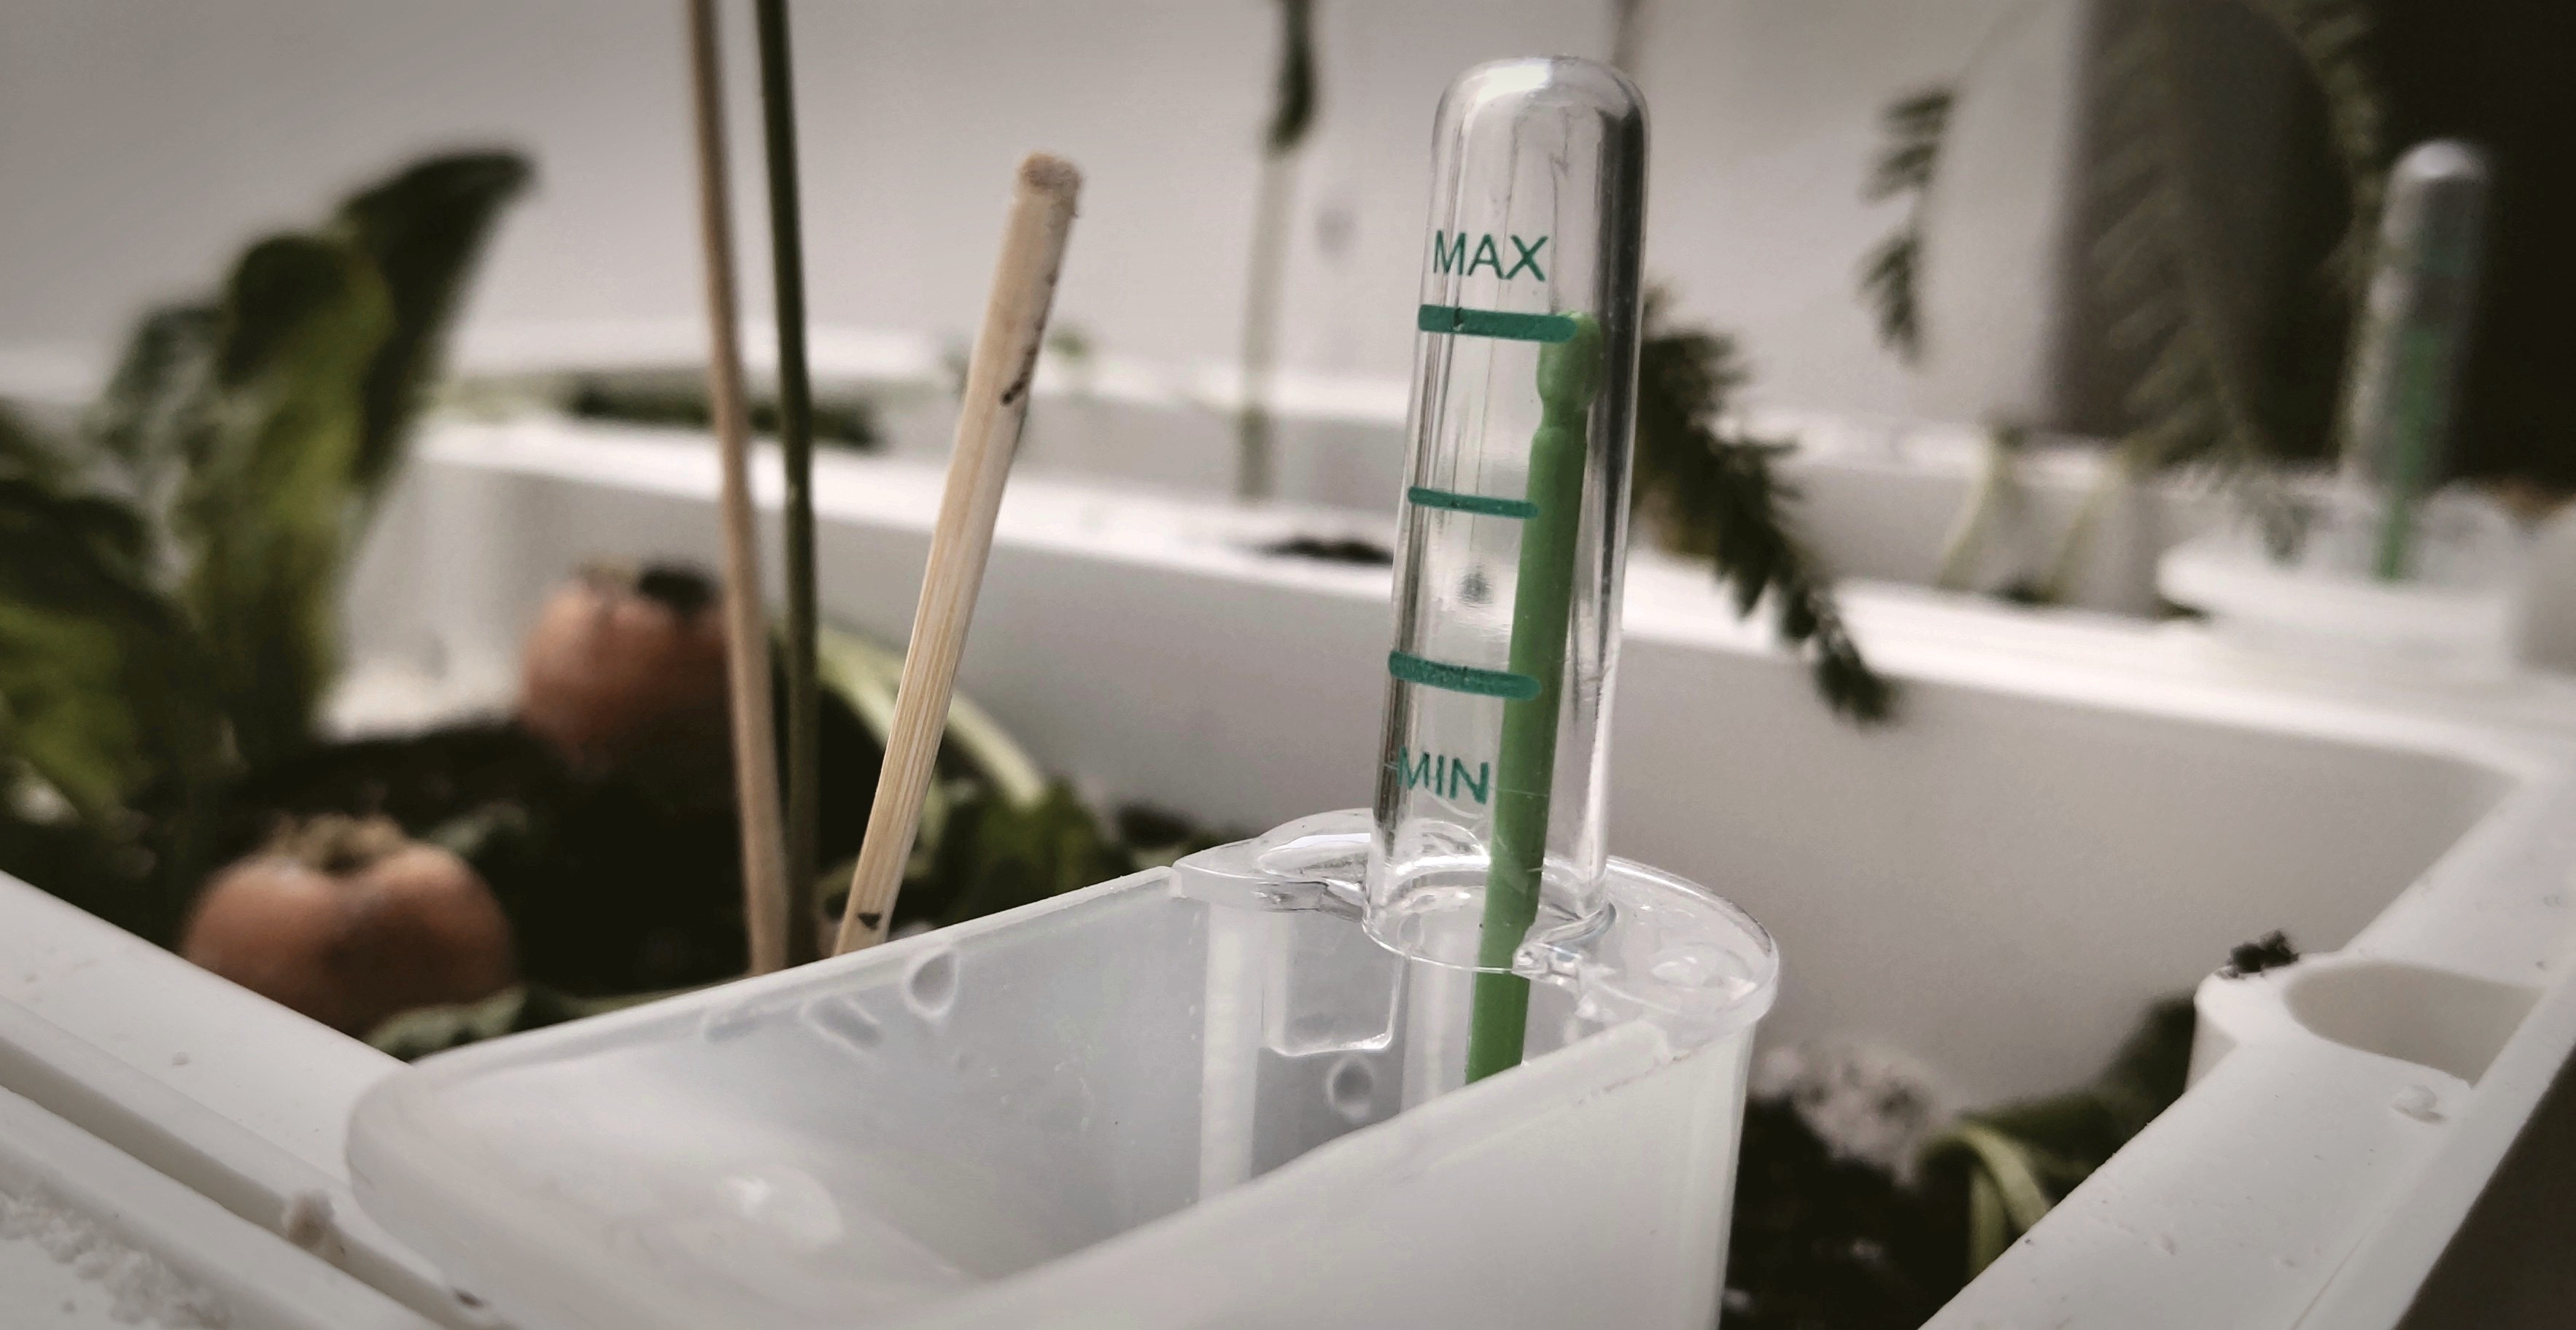
Even though I am pumping water in one end and cycling it through all of the planters, the water levels can still be checked just by looking out the window. The meter dips down into the bottom clear water sector (as shown in the above diagram). The green float shows subterranean water levels.
Growing Vegetables
I have seeds sprouting but there are quicker ways to get a harvest.

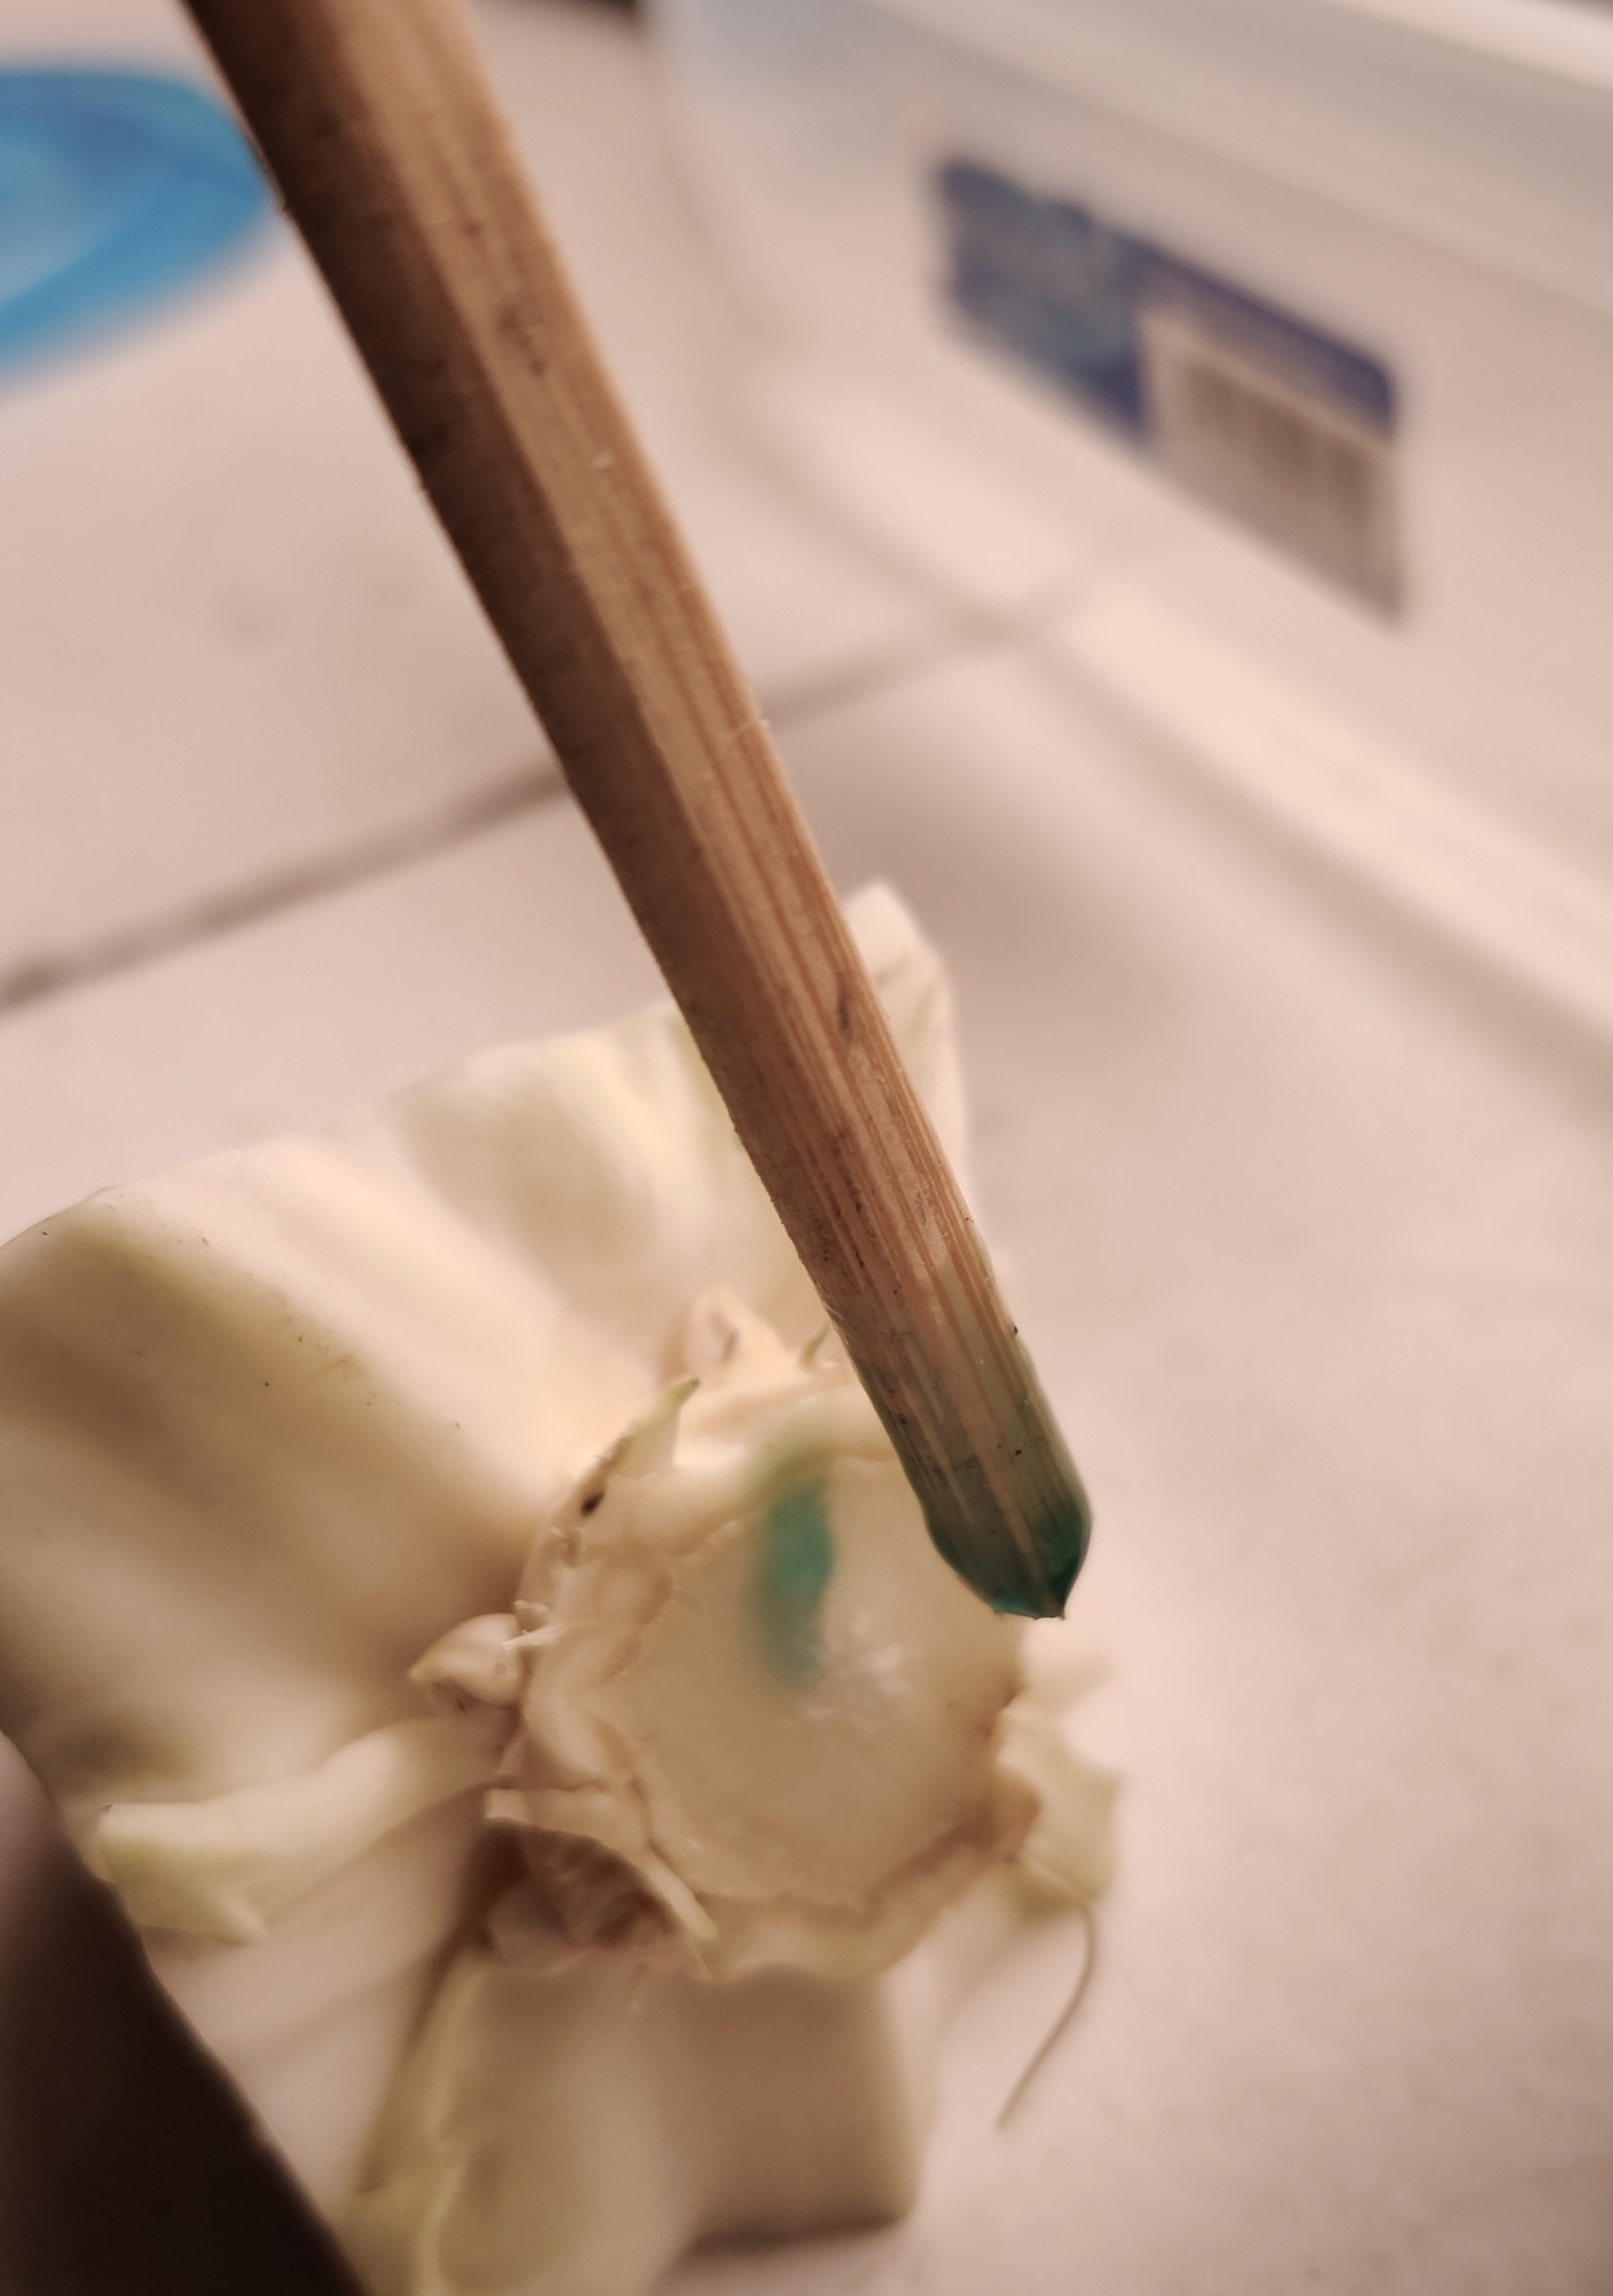
Pick up some rooting hormone at the plant store.
When you finish a head of lettuce or cabbage, cut it as shown here. There is no need to have a full leaf as most of these will turn brown and fall away. The new cabbage will grow out of the center.
We want the core.
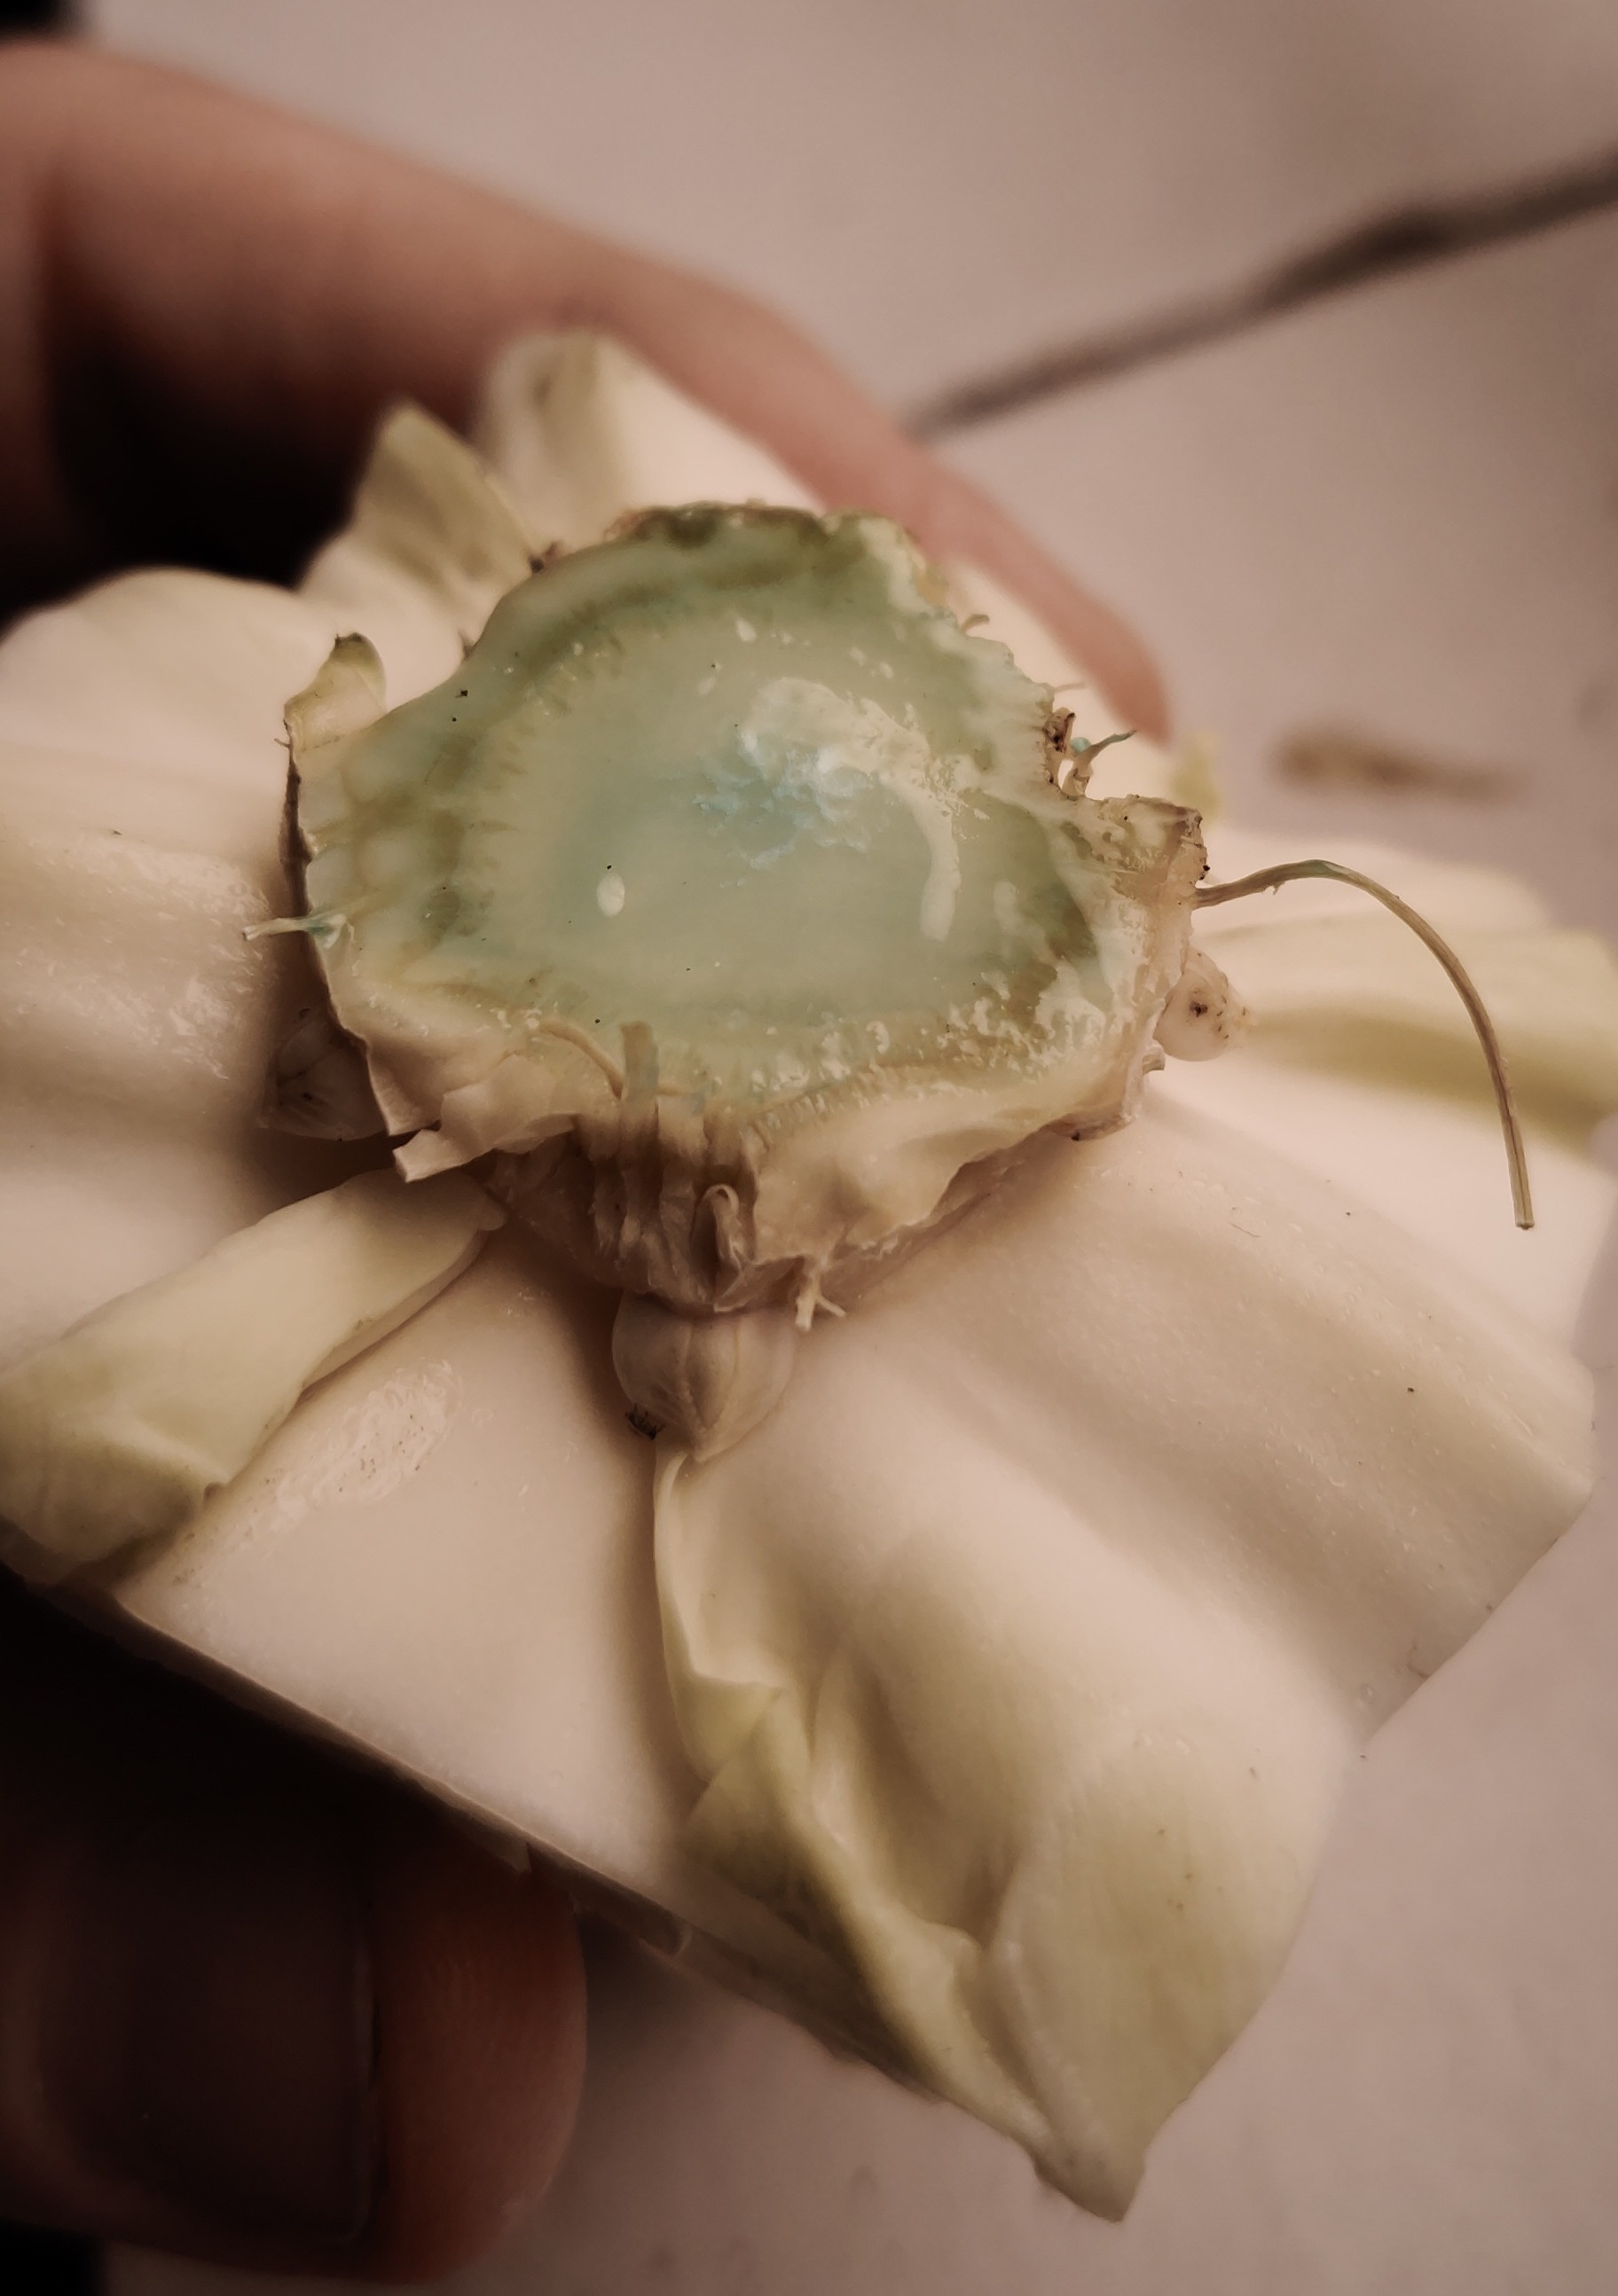
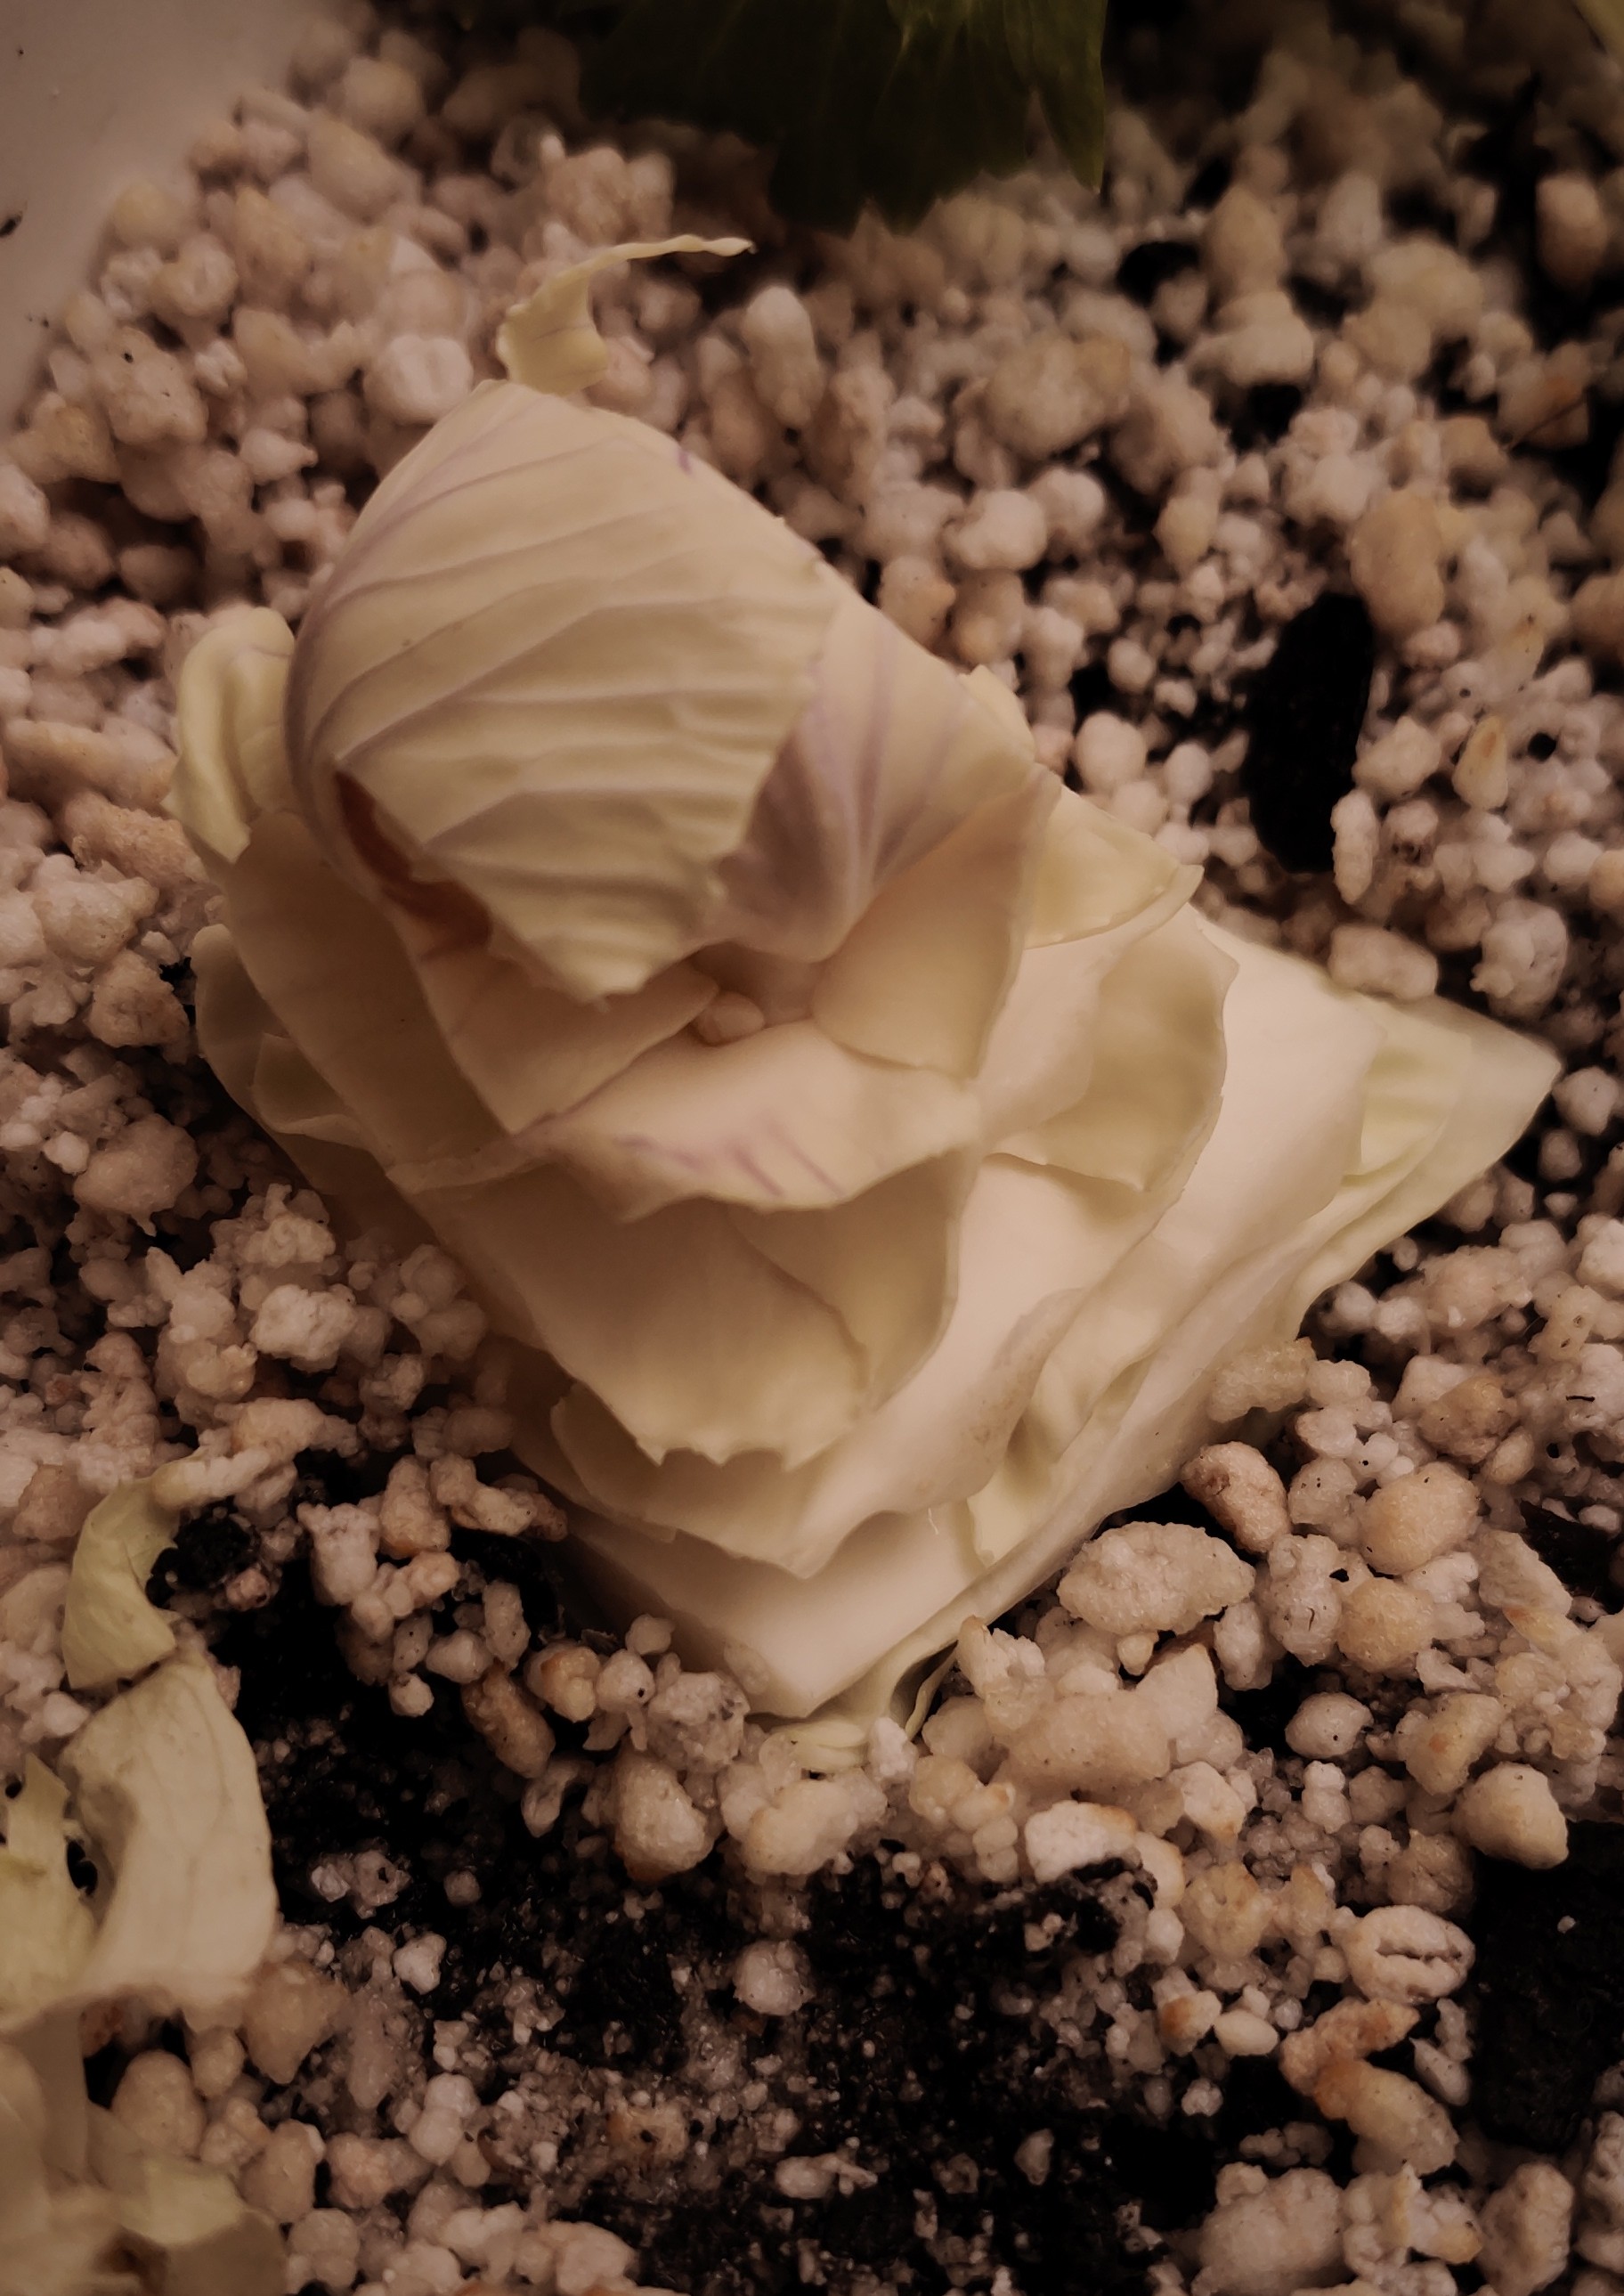
Continue by cutting off a quarter inch from the stalk, apply rooting hormone and let it sit for an hour or so. You can see that this one has already spouted a couple of roots when it was in the fridge.
Finally, just push it into the wet dirt or perlite and you will have new lettuce or cabbage very quickly.
Here is a head of lettuce that I finished about a week ago.
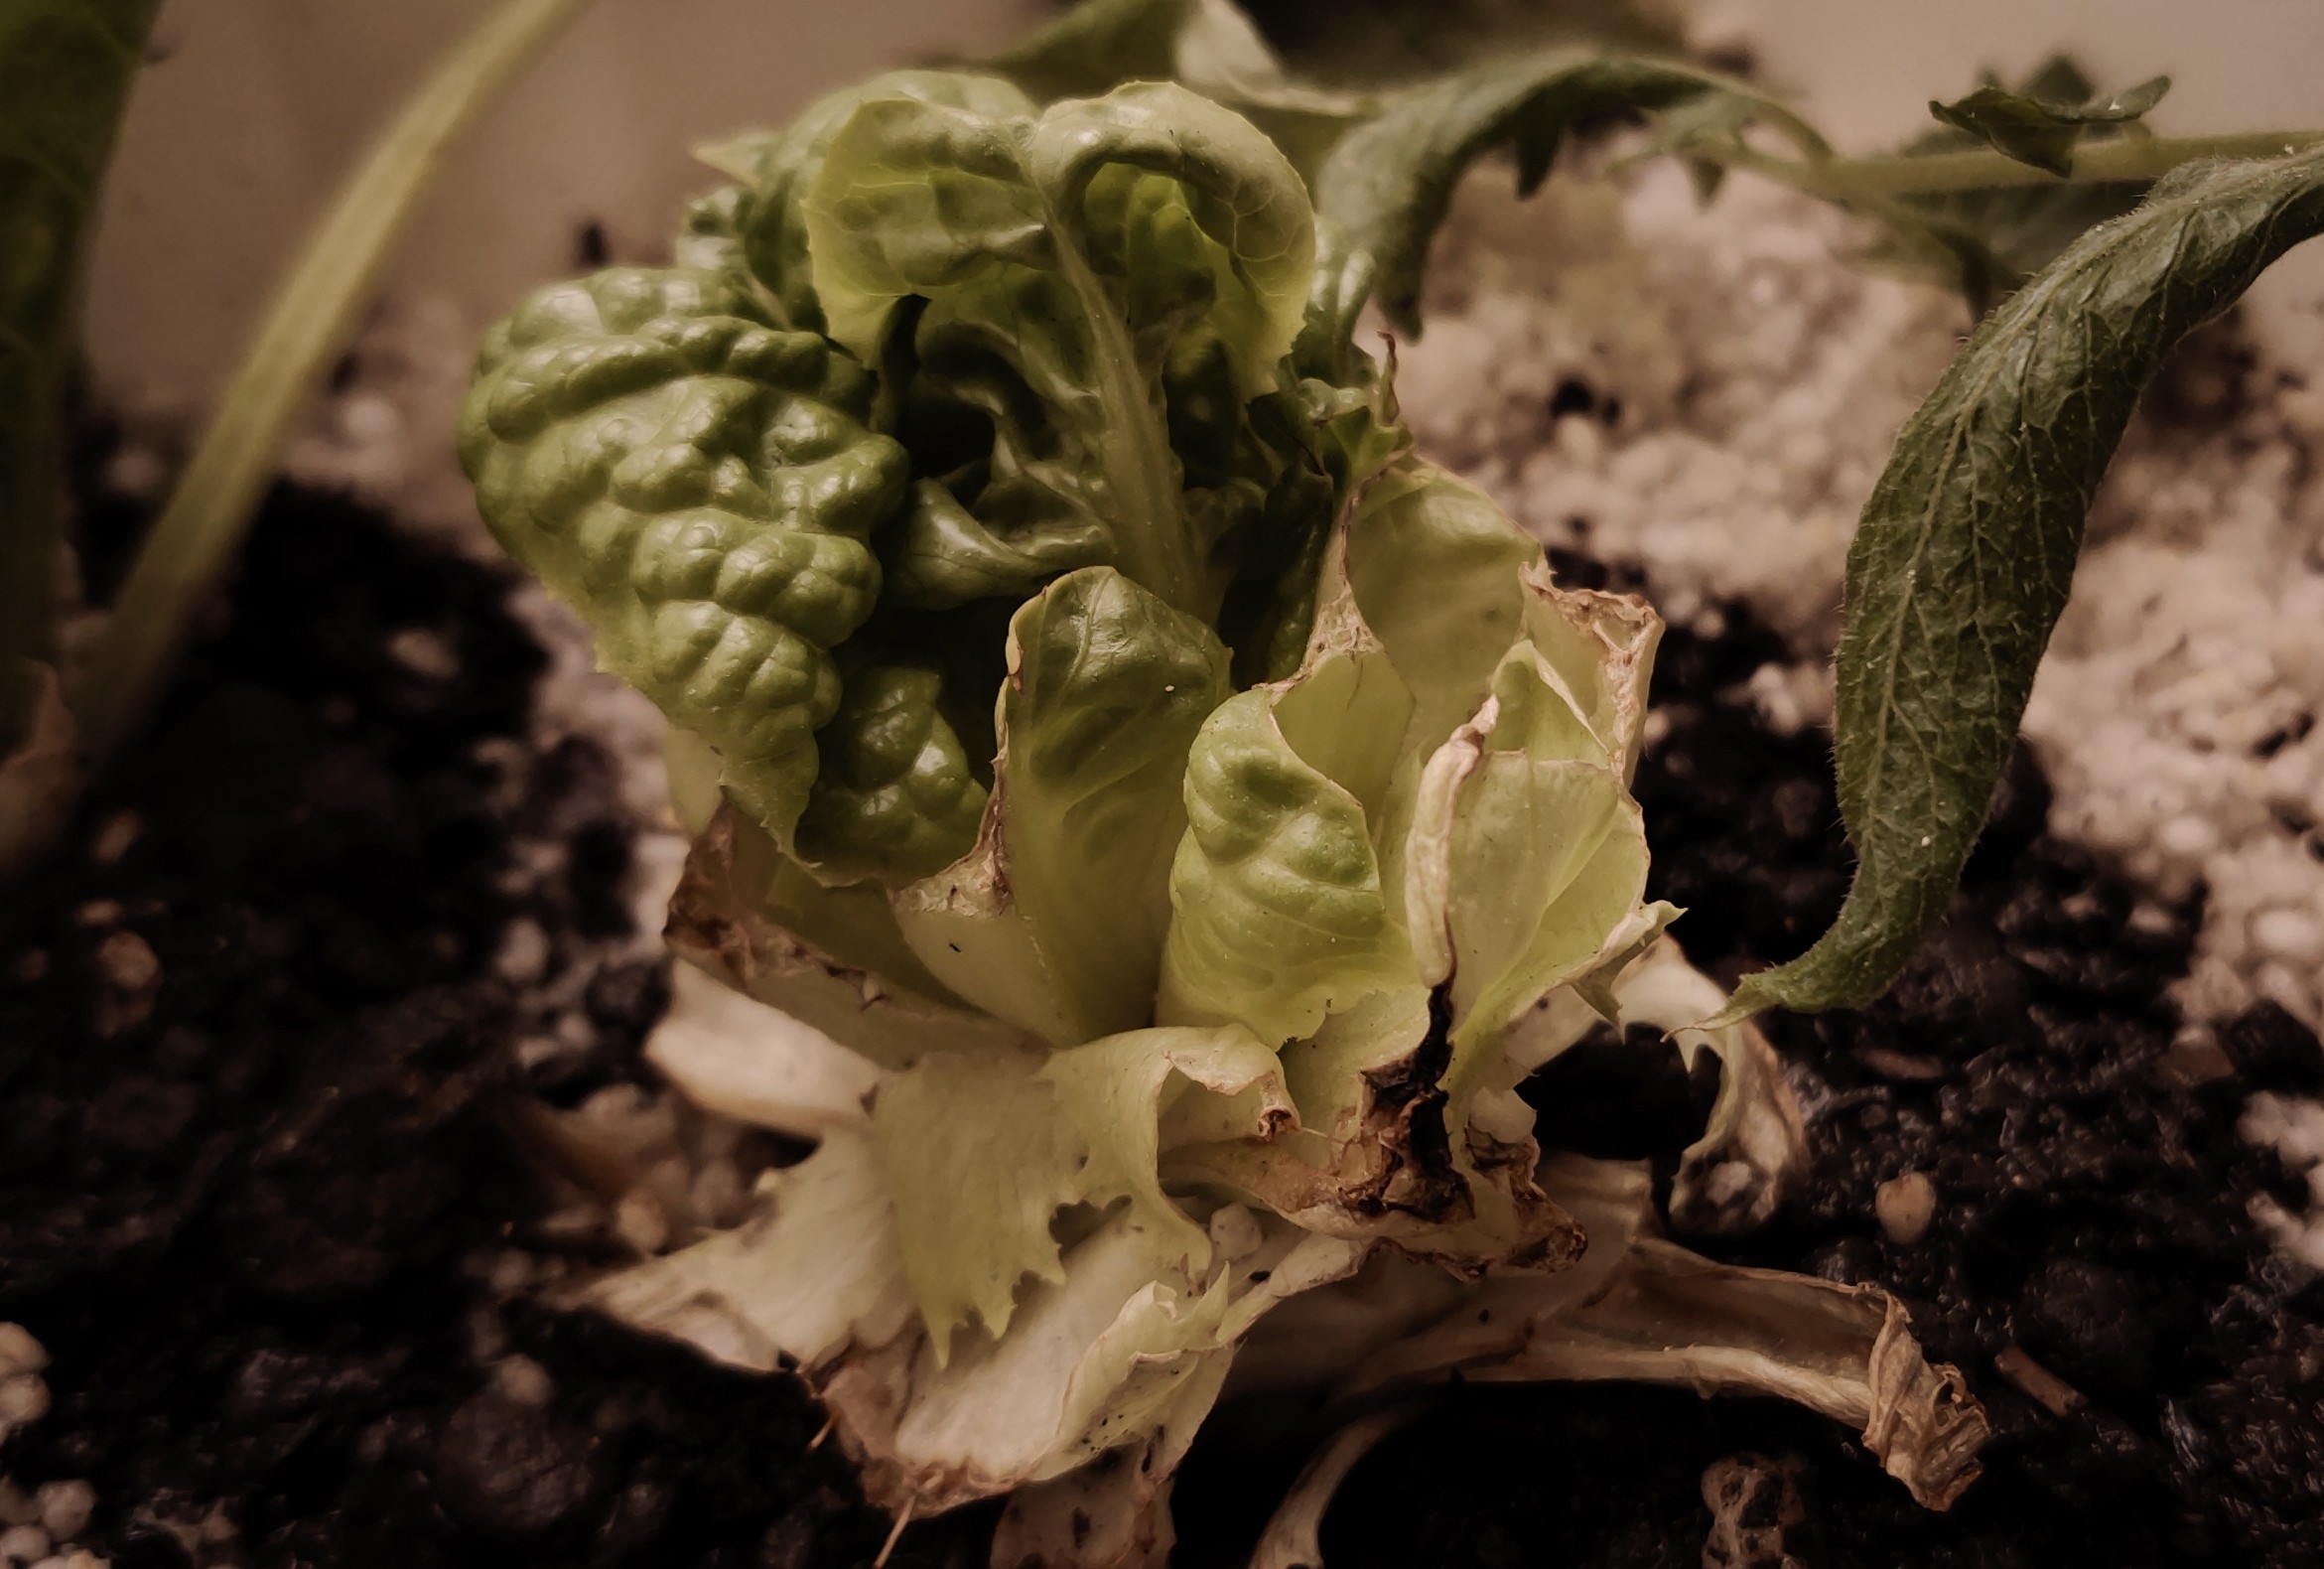
I cut this one identically to the cabbage above and your can see the new growth coming out of the middle.
It is the dead of winter here, with nearly no sun getting to my plants. Temperatures in the mid 40's to low 50's and everything still grows.
Carrots and potatoes are even easier since they are roots - just save the last inch nearest the top and plant it.
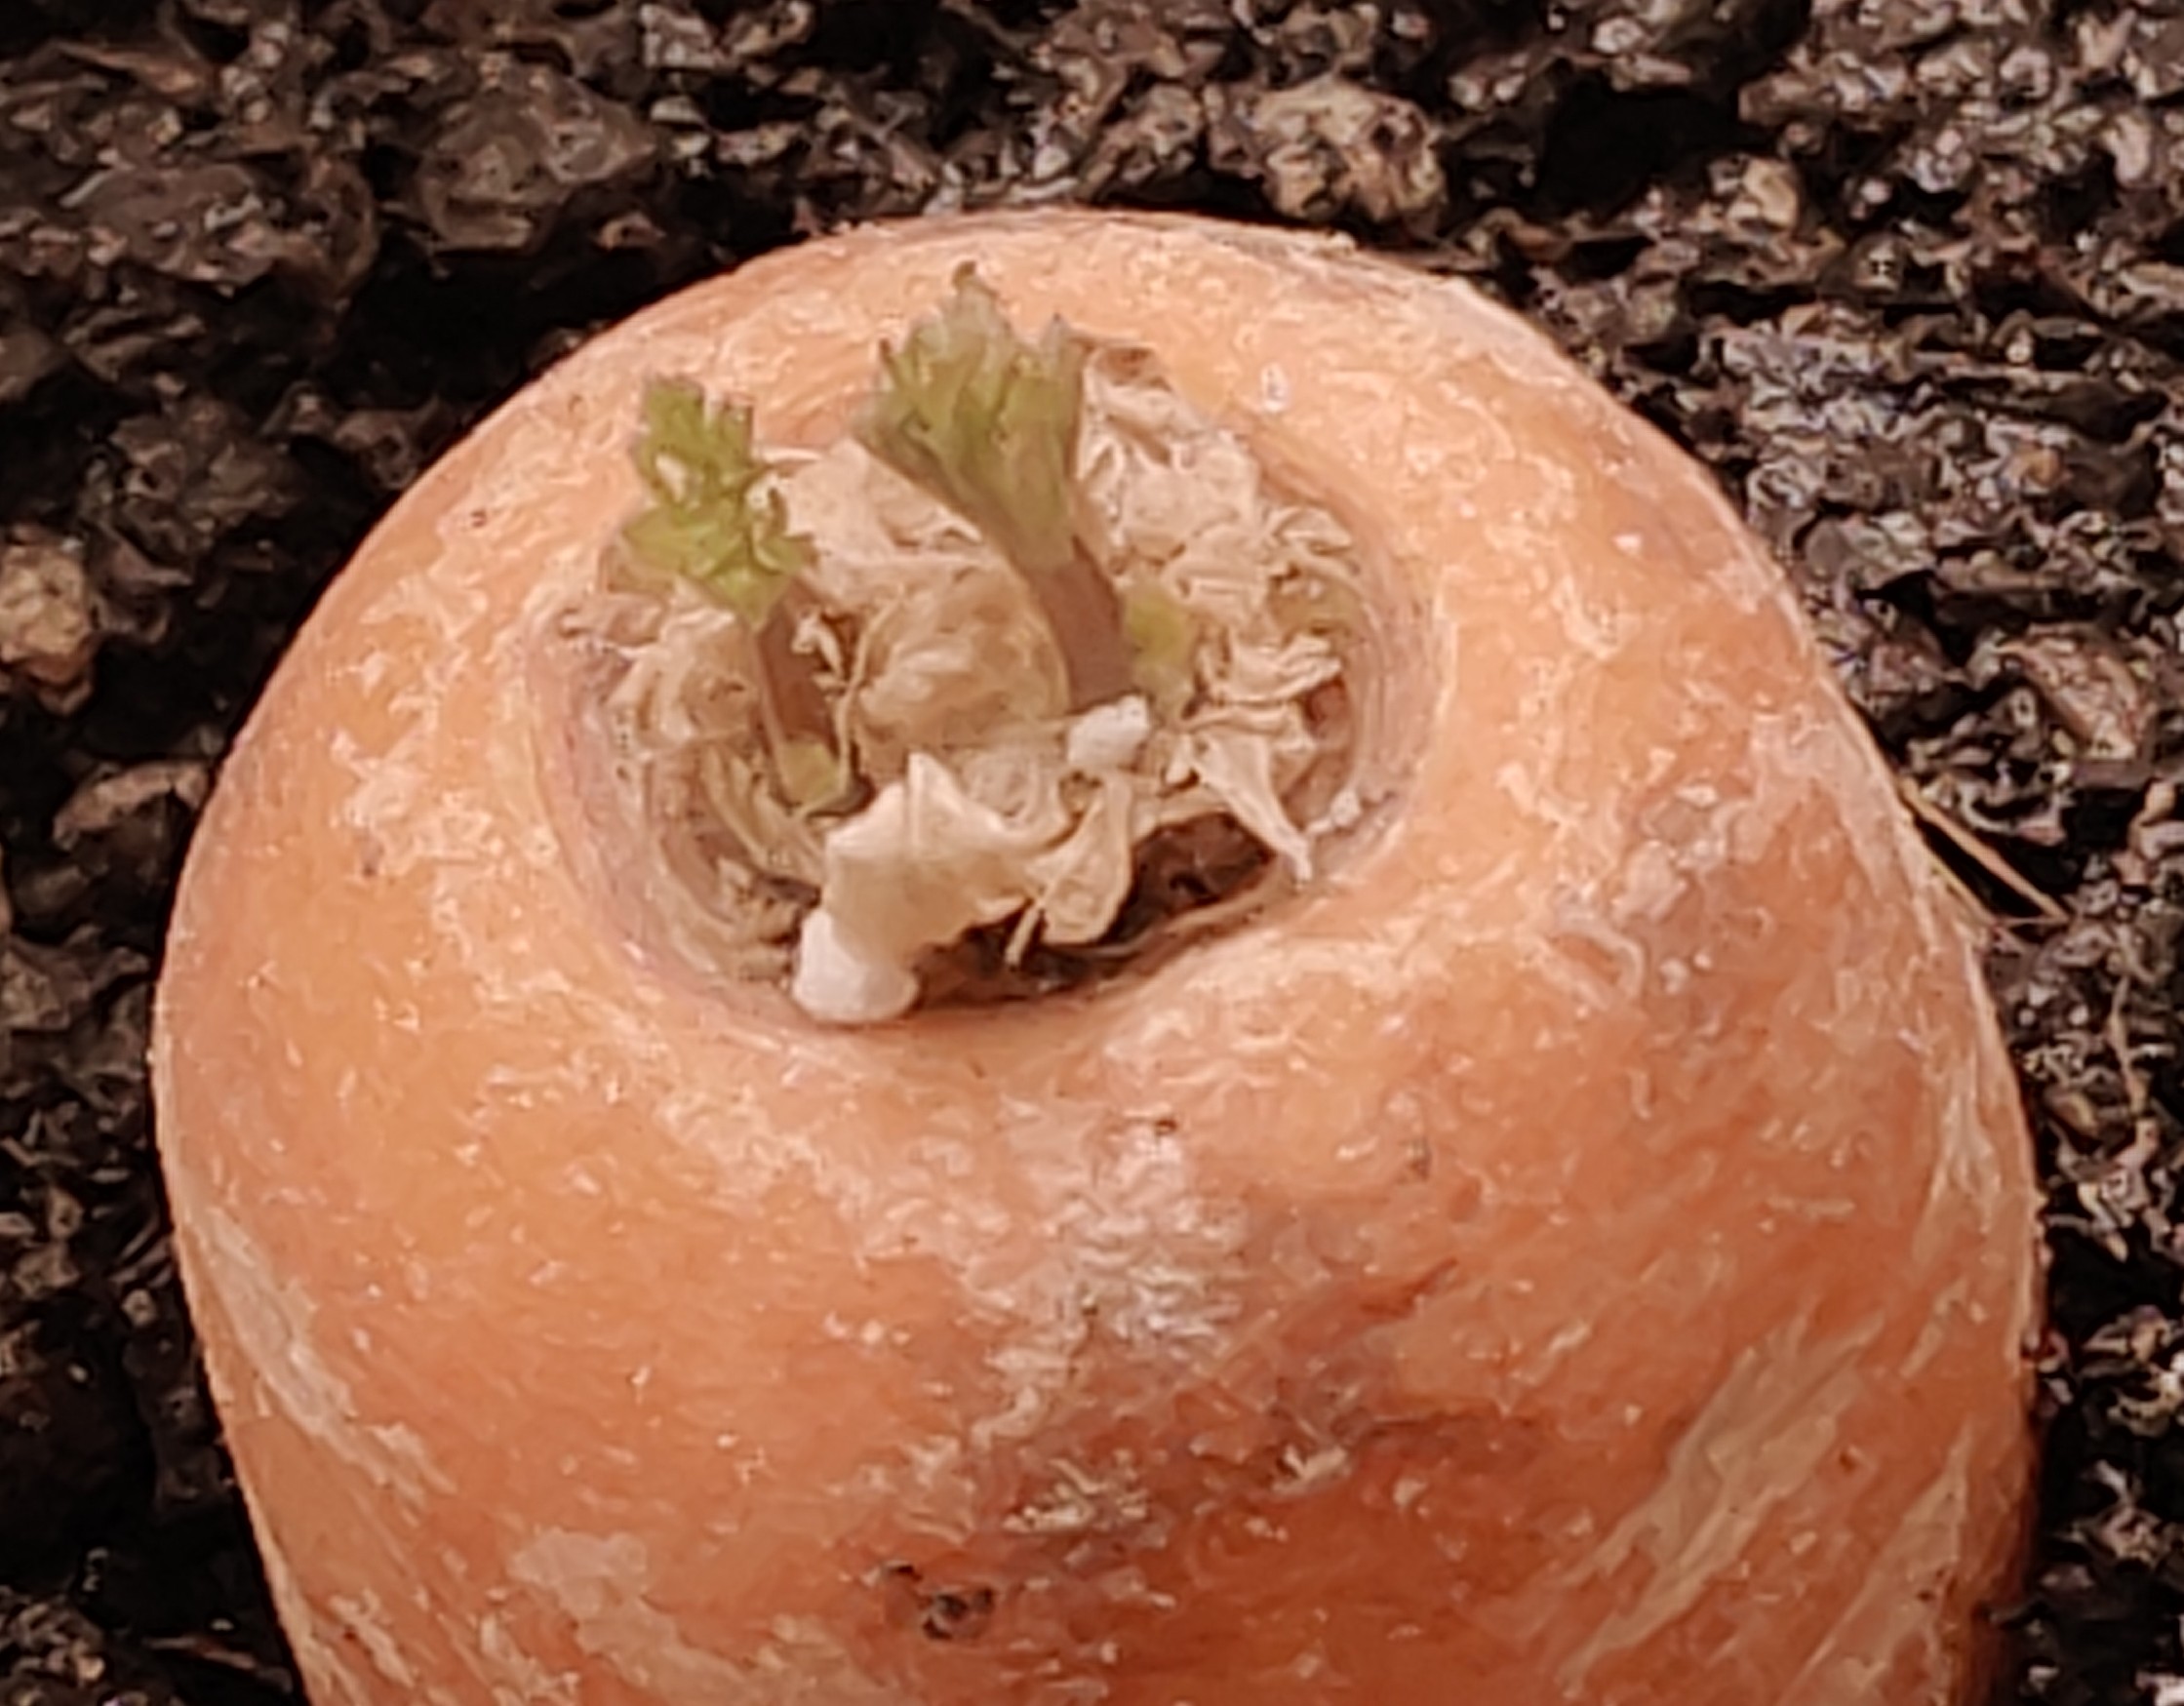
This carrot was also planted about a week ago and it has a couple of greet leaves sprouting up. If it were summer this would already be bushy!

Wow, how interesting - I remember that my mother used to make some archaic but homemade systems; similar to your irrigation system, her plants were always beautiful. many of the tricks that you teach us were totally unknown to me, thank you very much for your good publication
Your content has been voted as a part of Encouragement program. Keep up the good work!
Use Ecency daily to boost your growth on platform!
Support Ecency
Vote for Proposal
Delegate HP and earn more
Wooow! Me encanta estas produciendo tu propio alimento! Te deseo mucho éxito!
Experimentacion para ver como funciona el crecimiento. Que grande es dios por darnos la posibilidad de poner una hoja en la tierra y se convierta a una ensalada!